

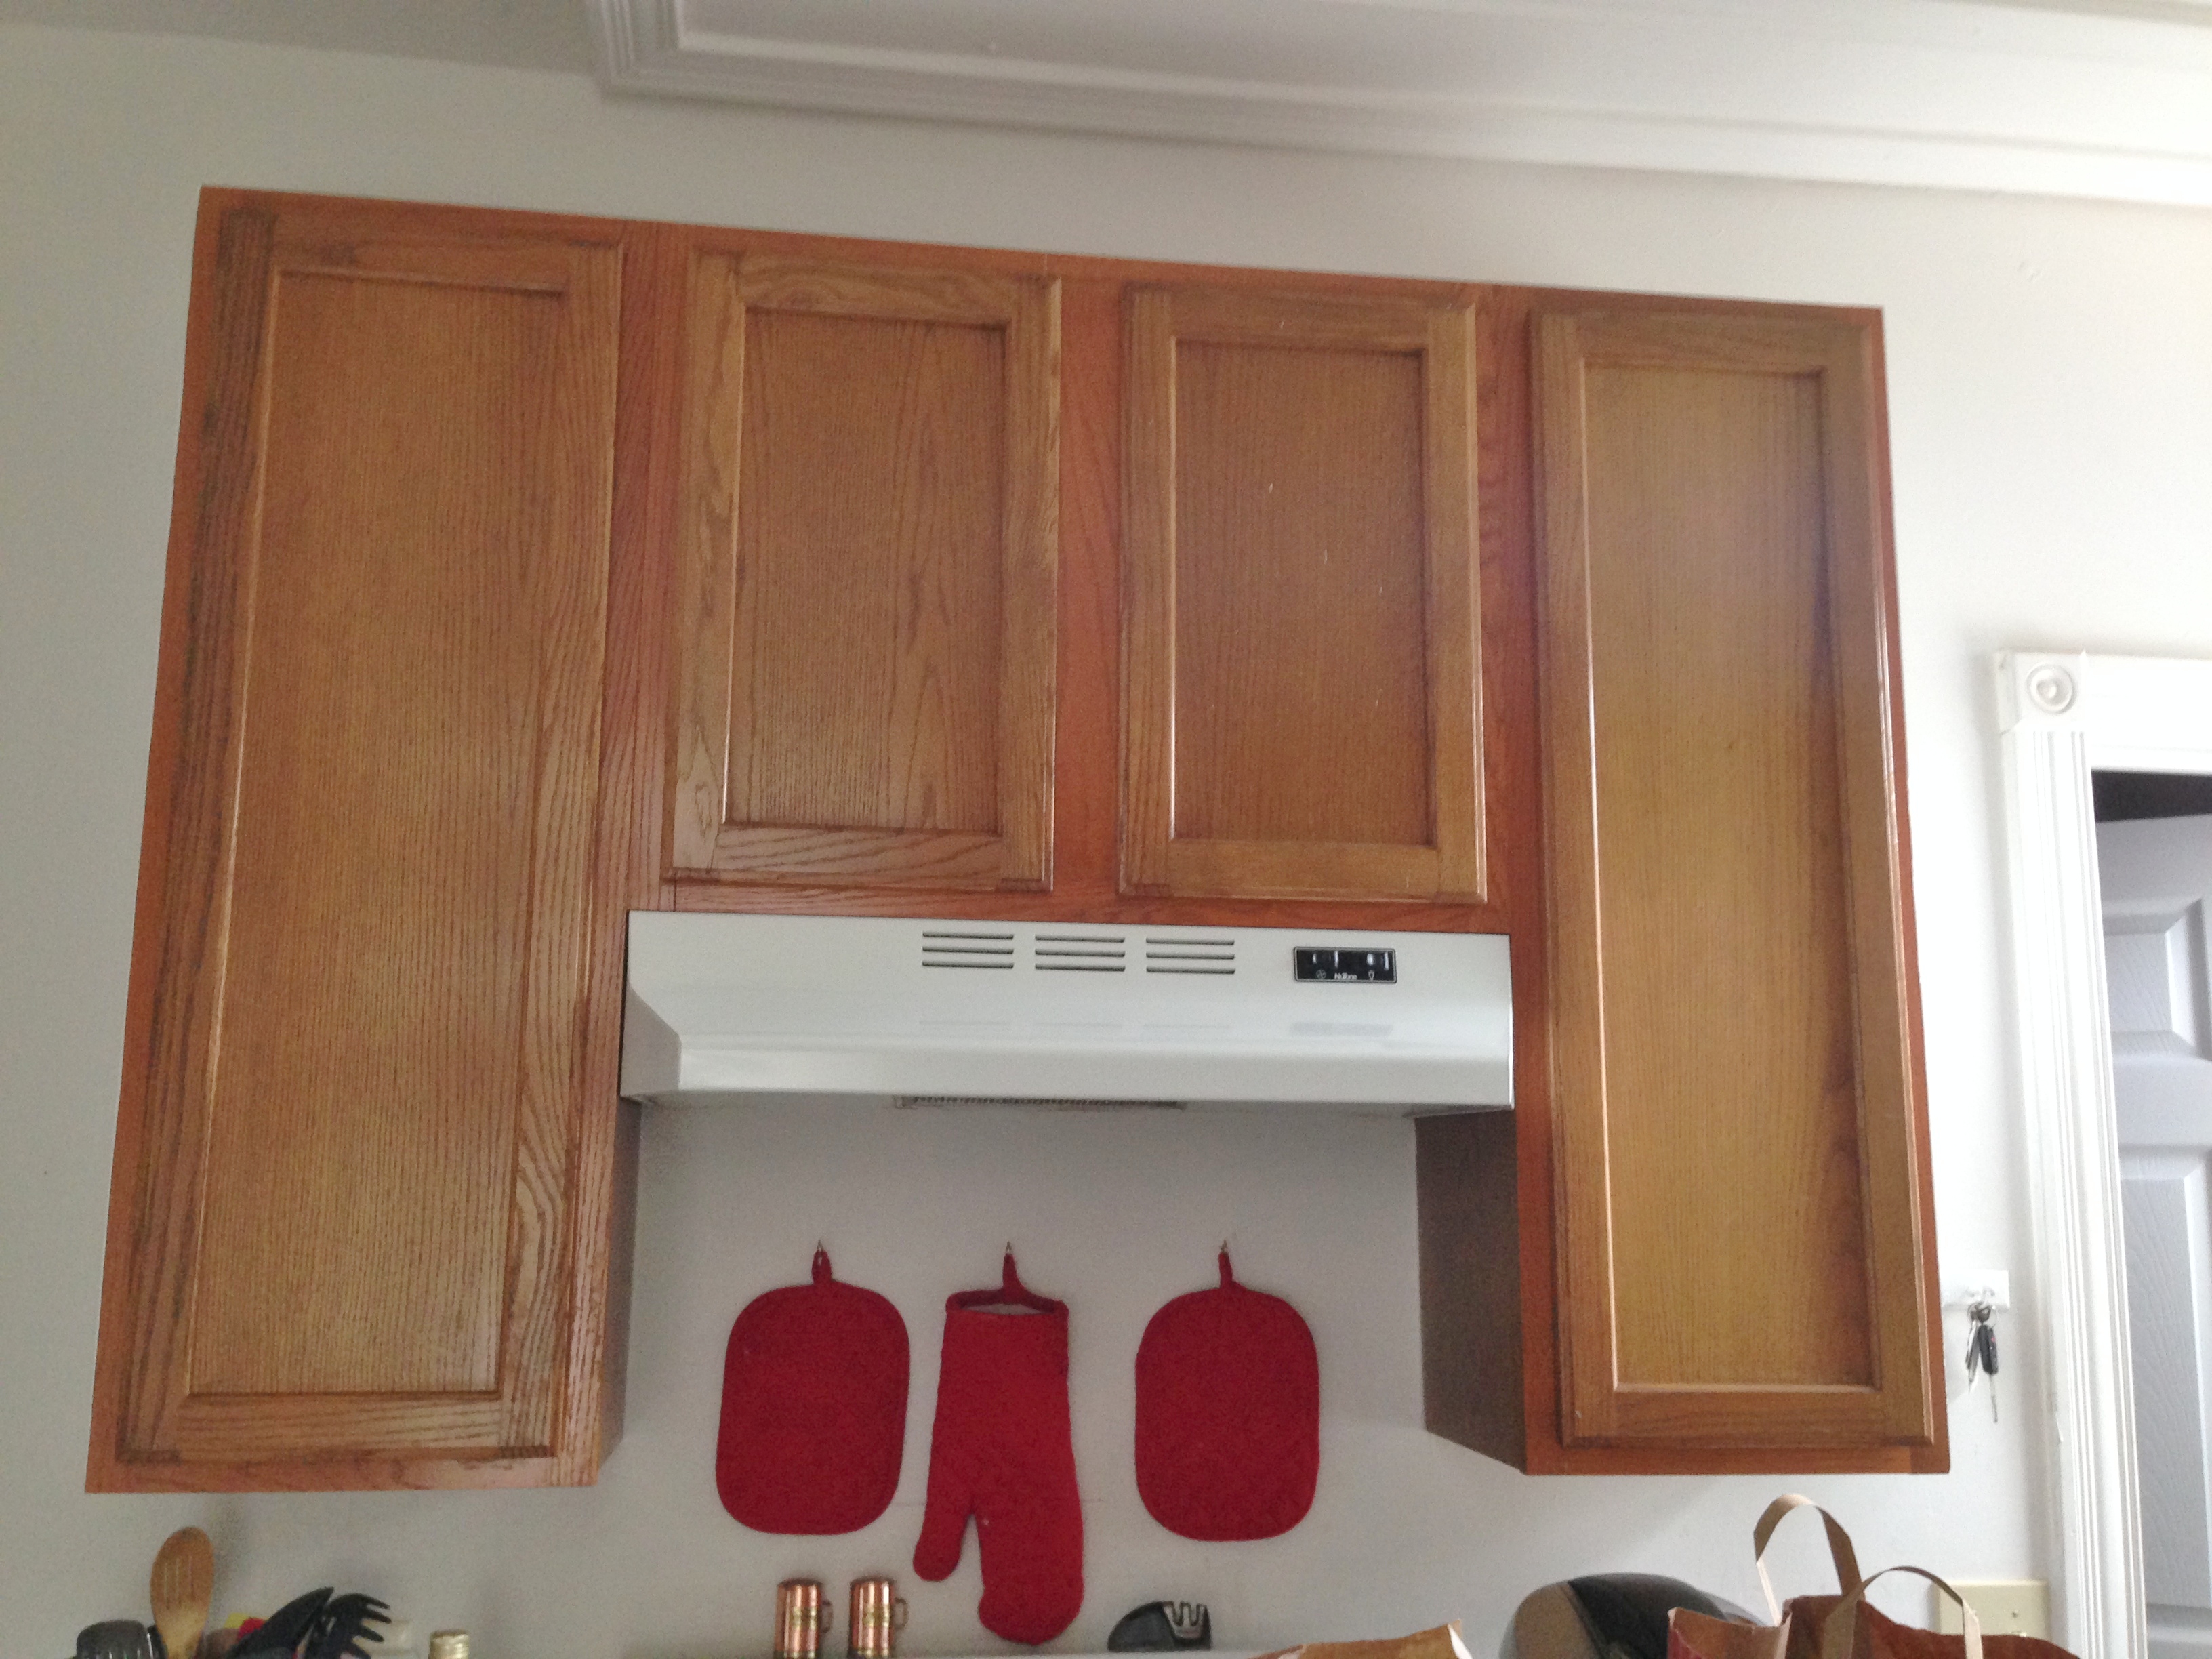
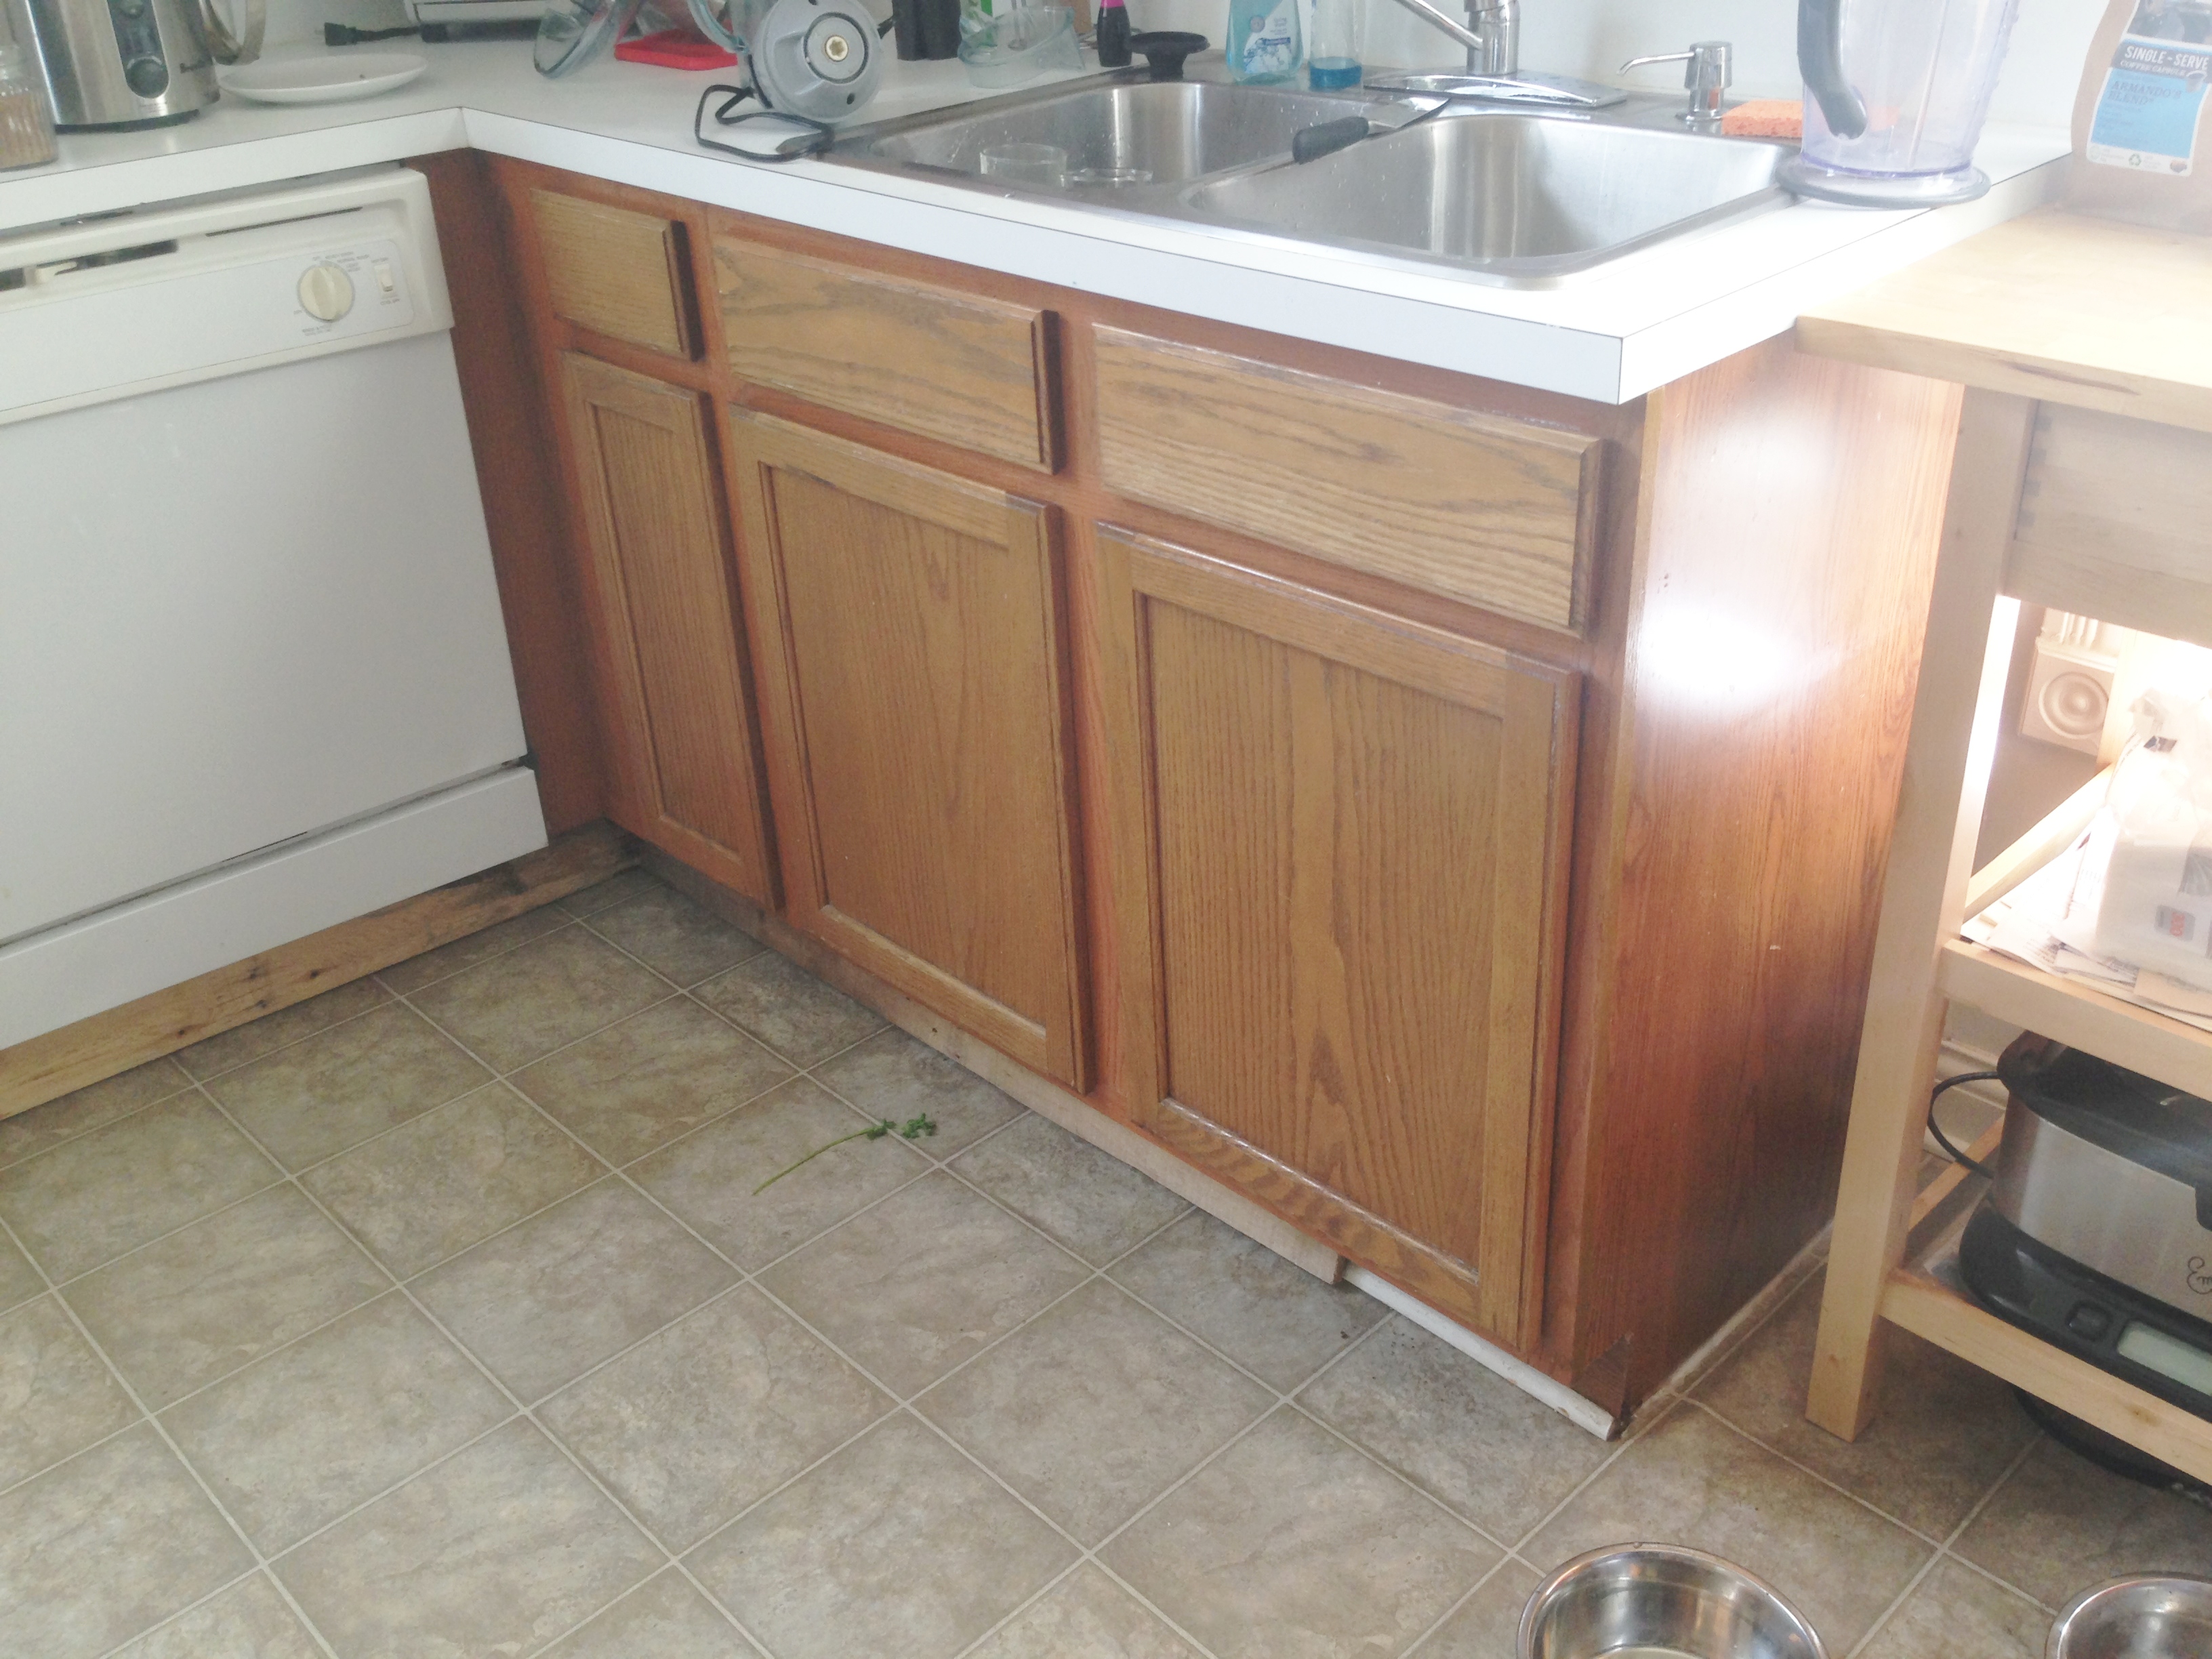
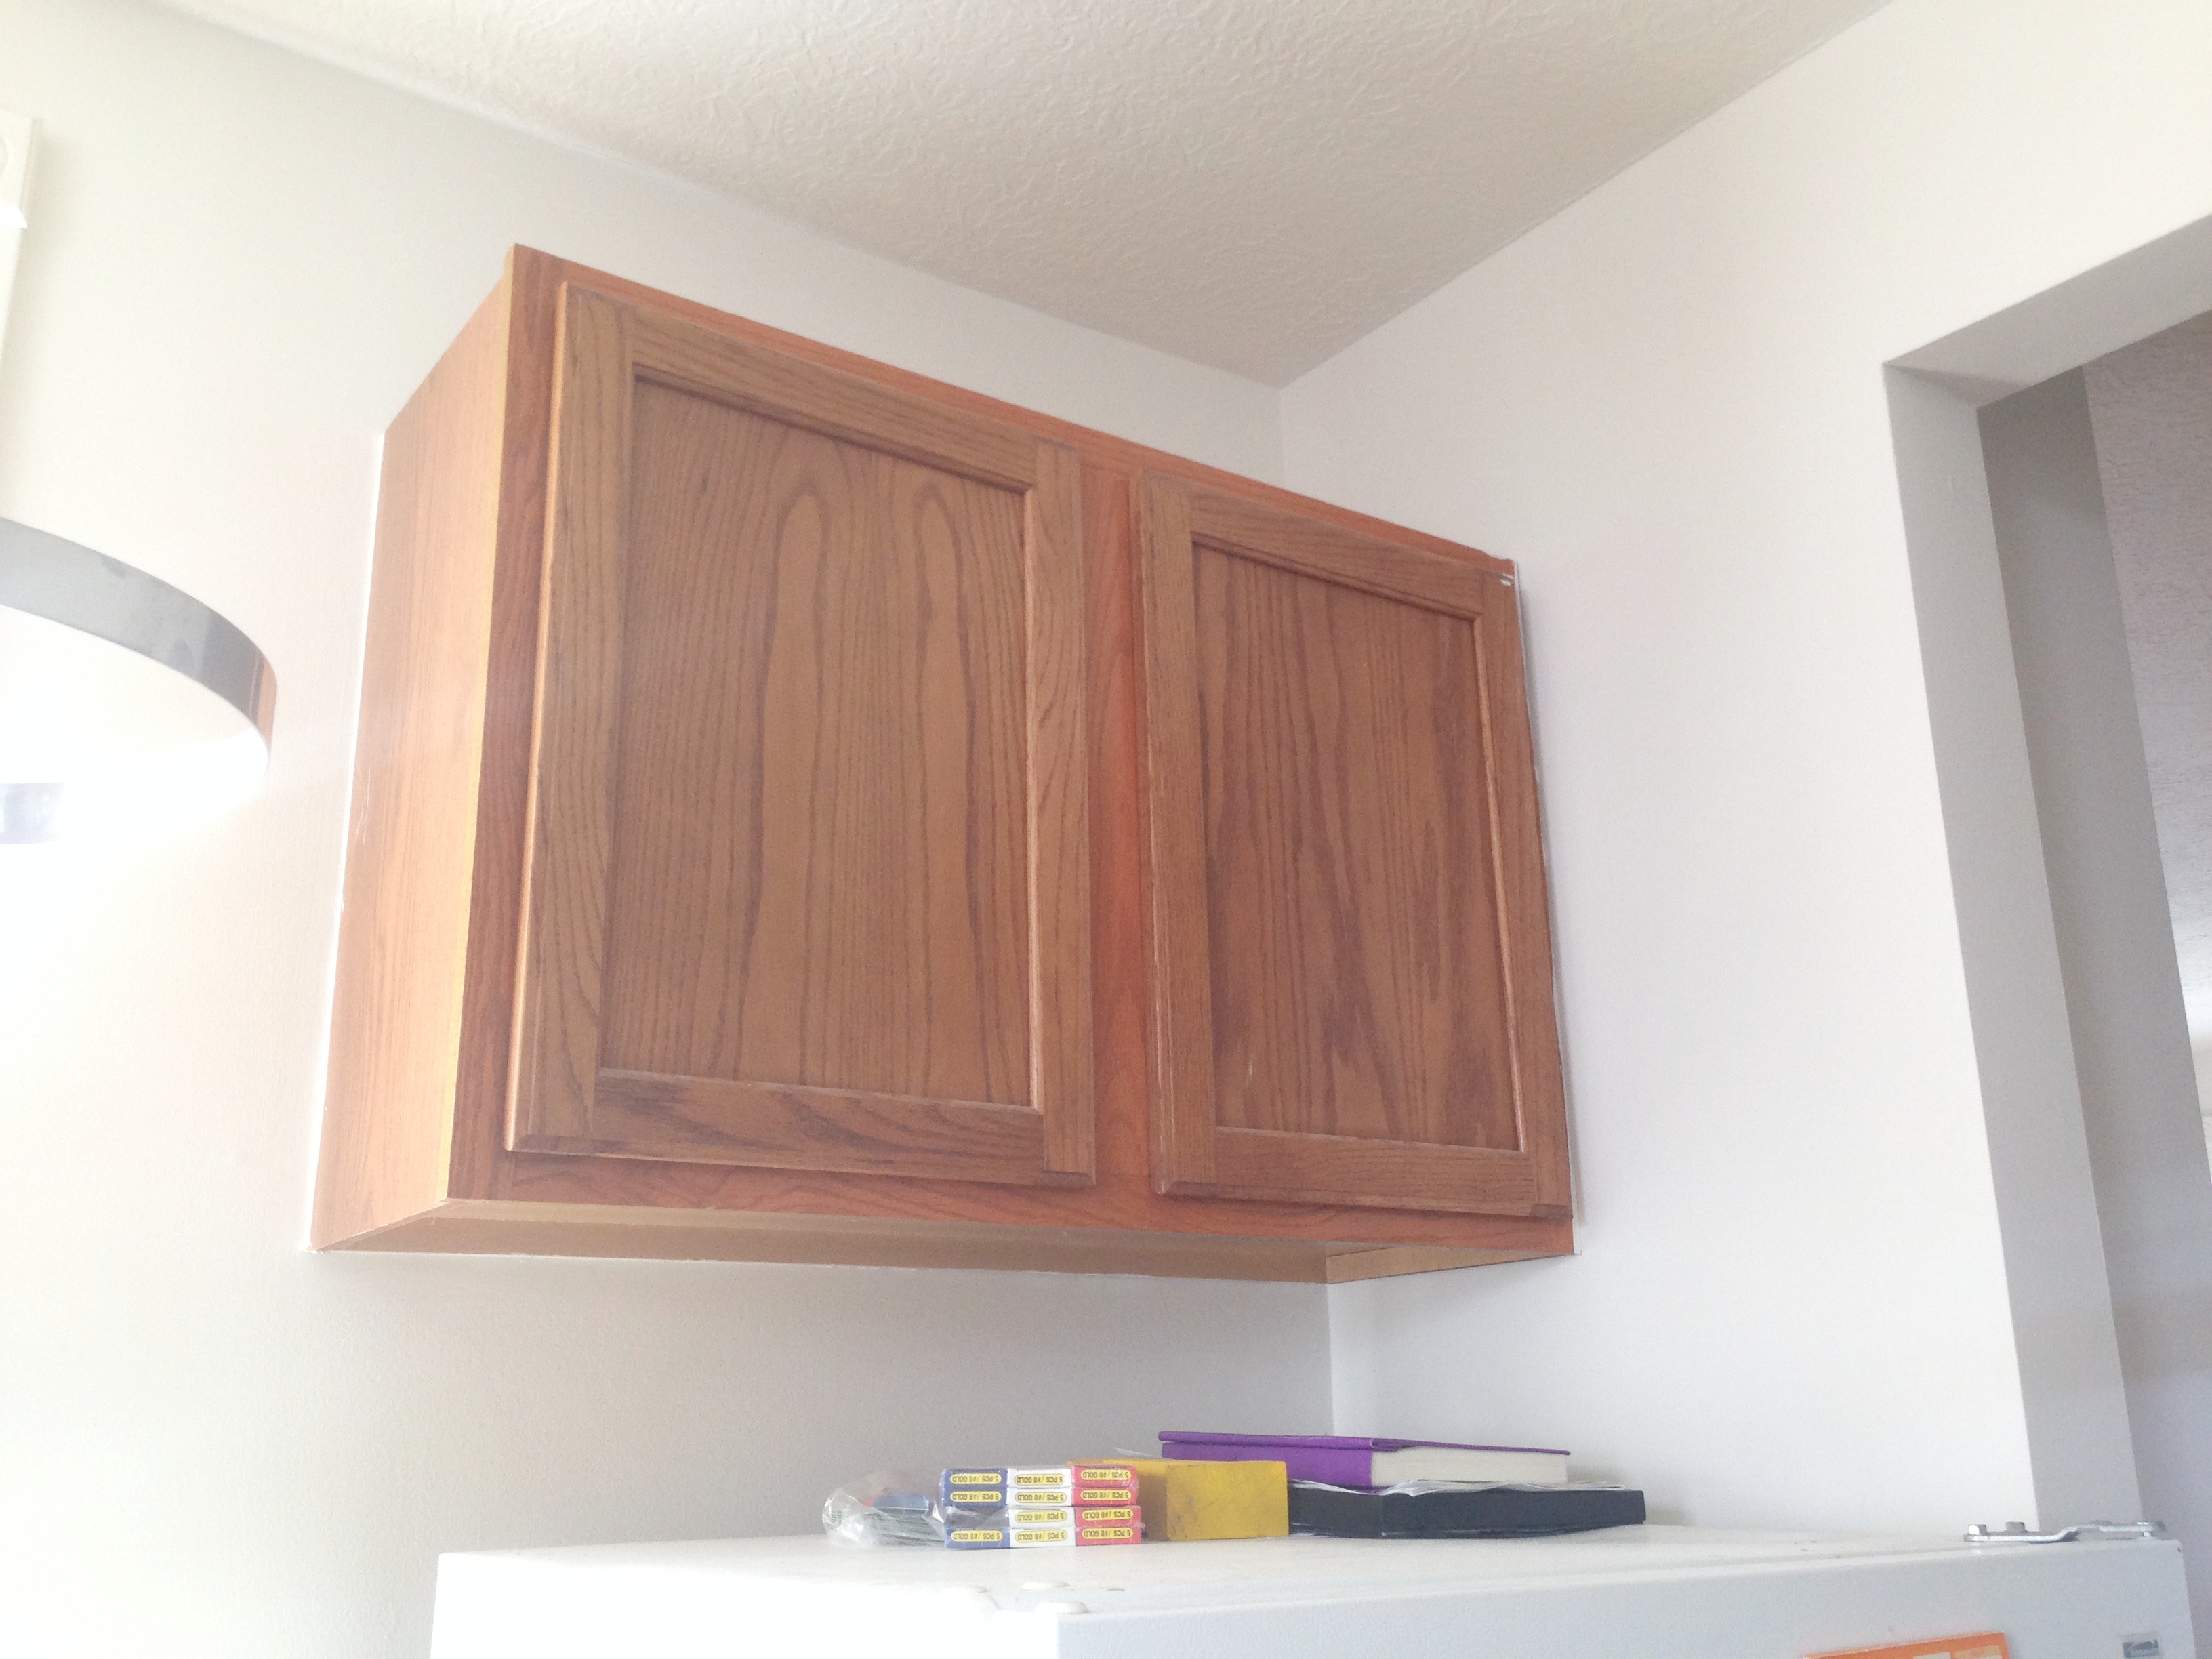
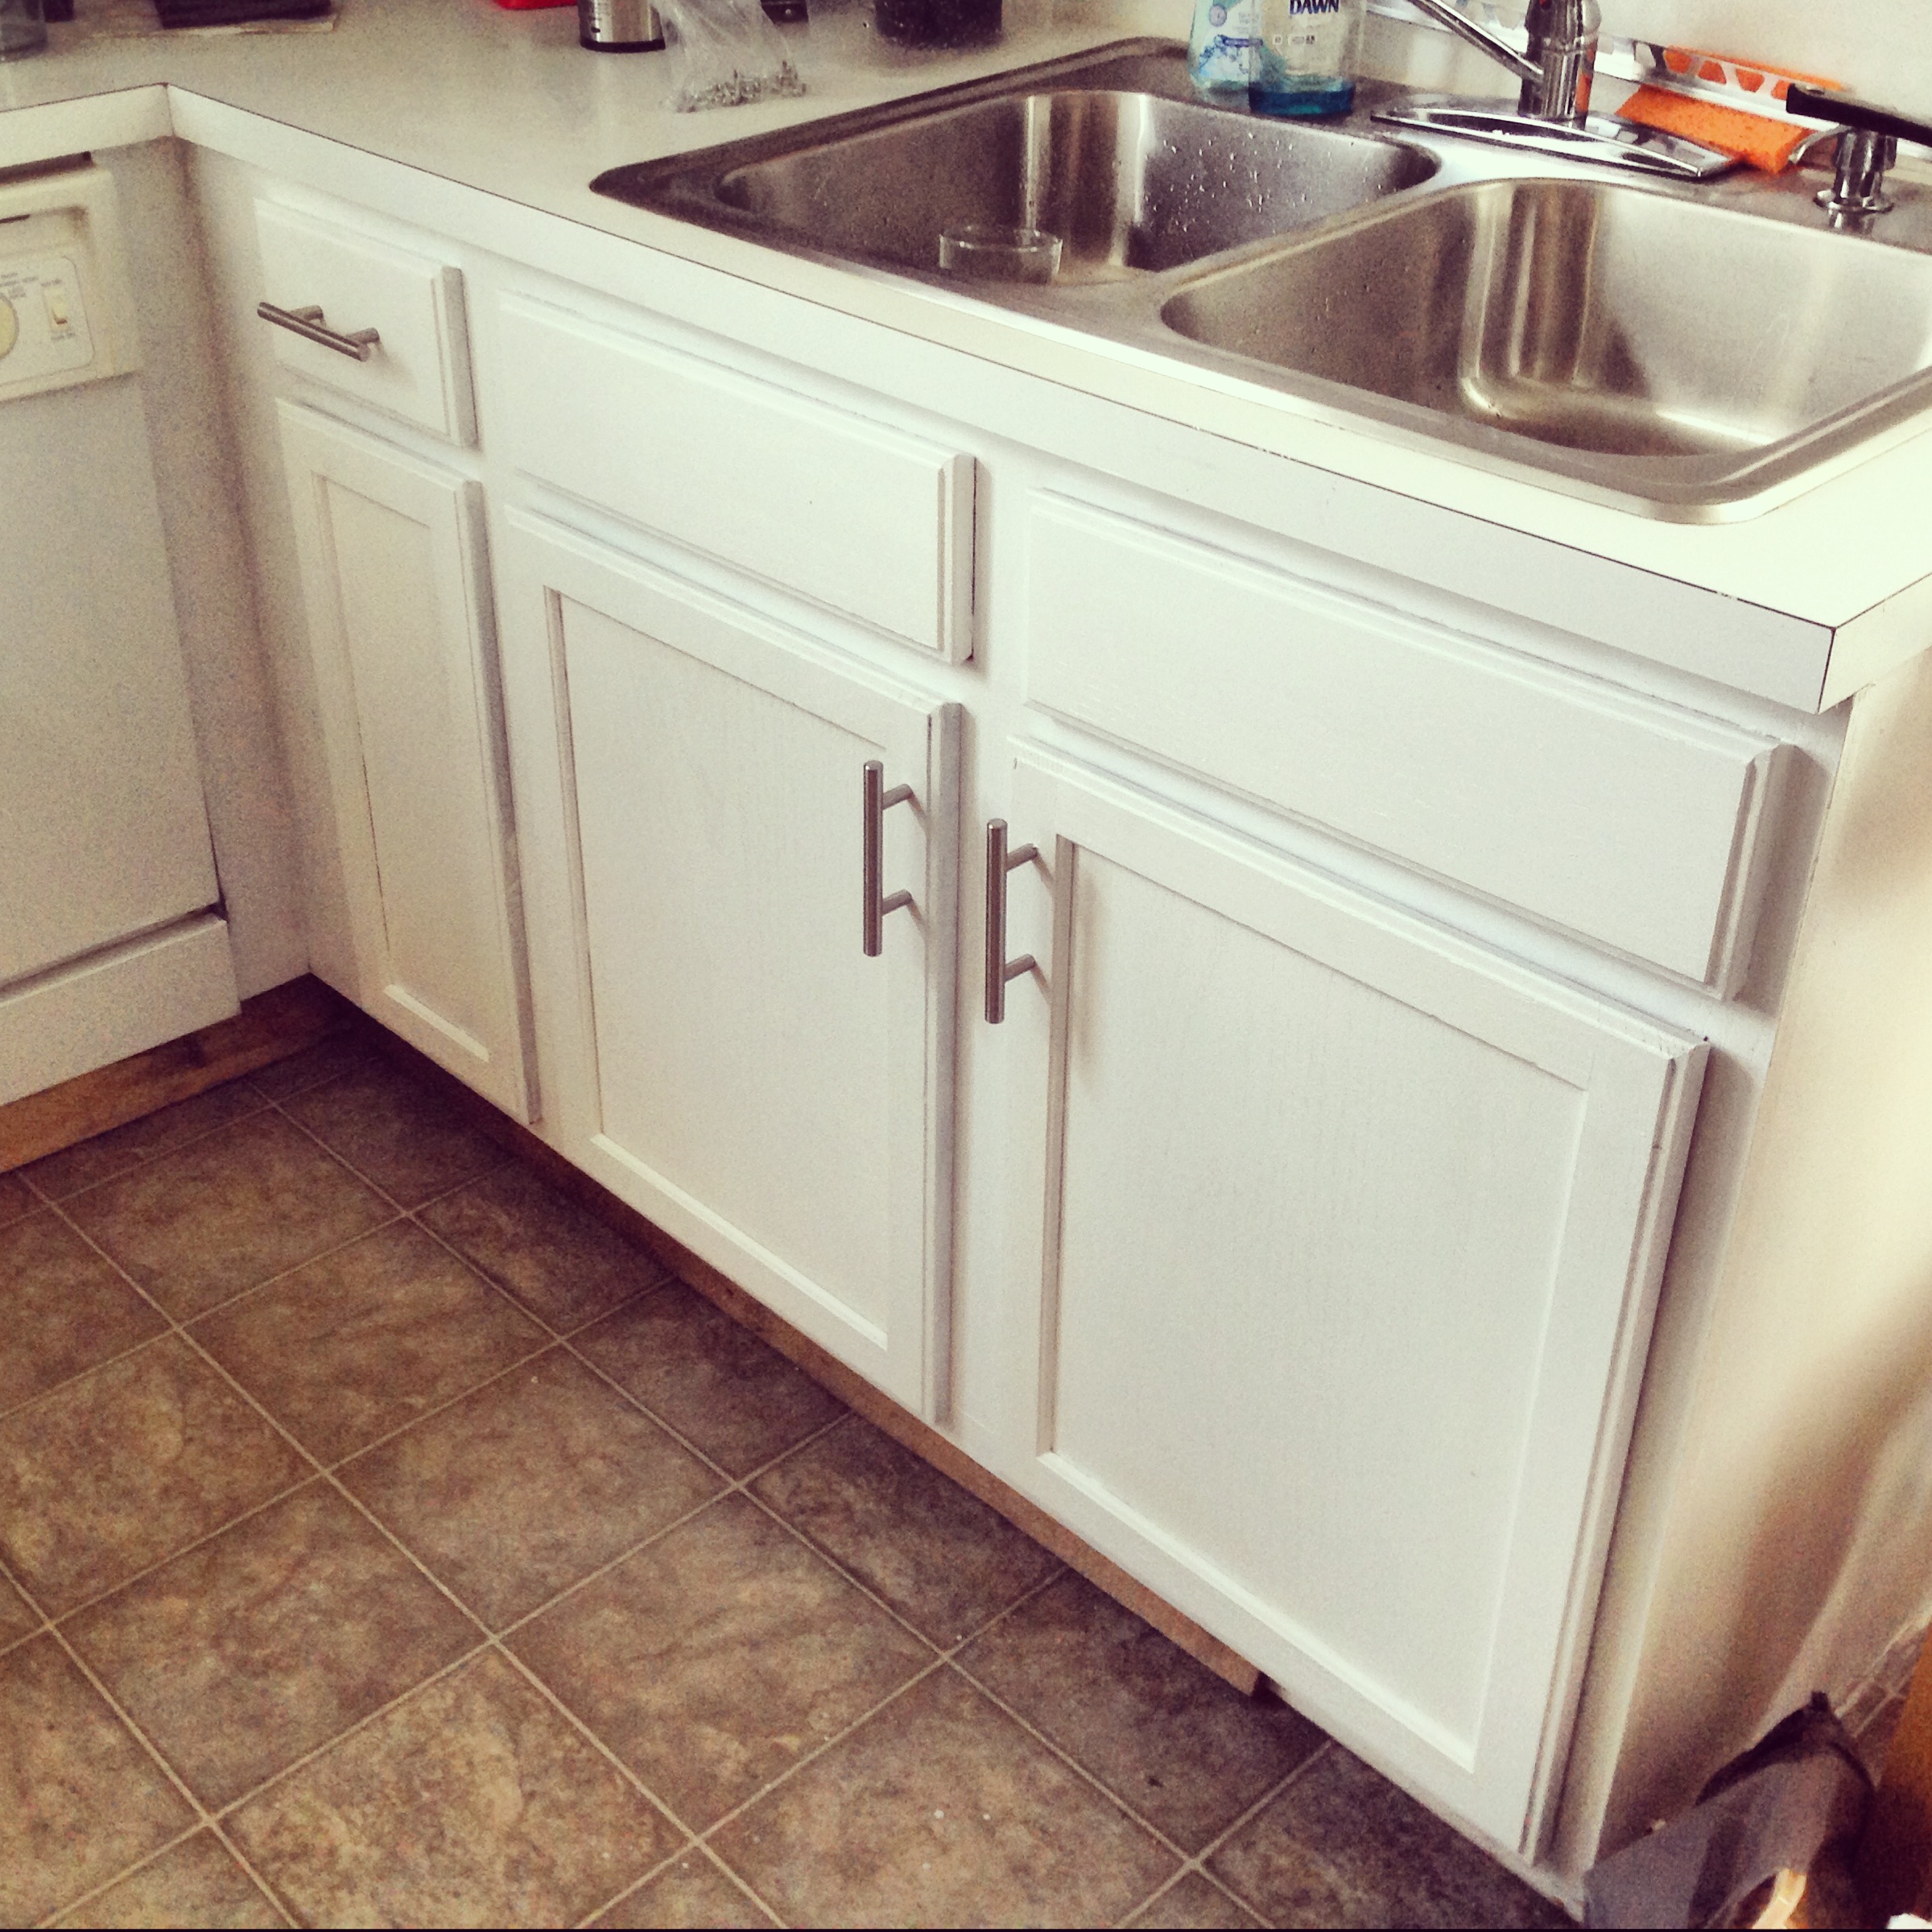
If you’ve seen our home tour, you know that our kitchen is one of the only rooms we haven’t touched since we moved in. It’s also the room that we’ve been wanting to change the most, but we’ve been trying to balance time in our house between renters (we explained here how we’ve been renting it out as a vacation rental), money in the bank, and quick-ish return on investment.
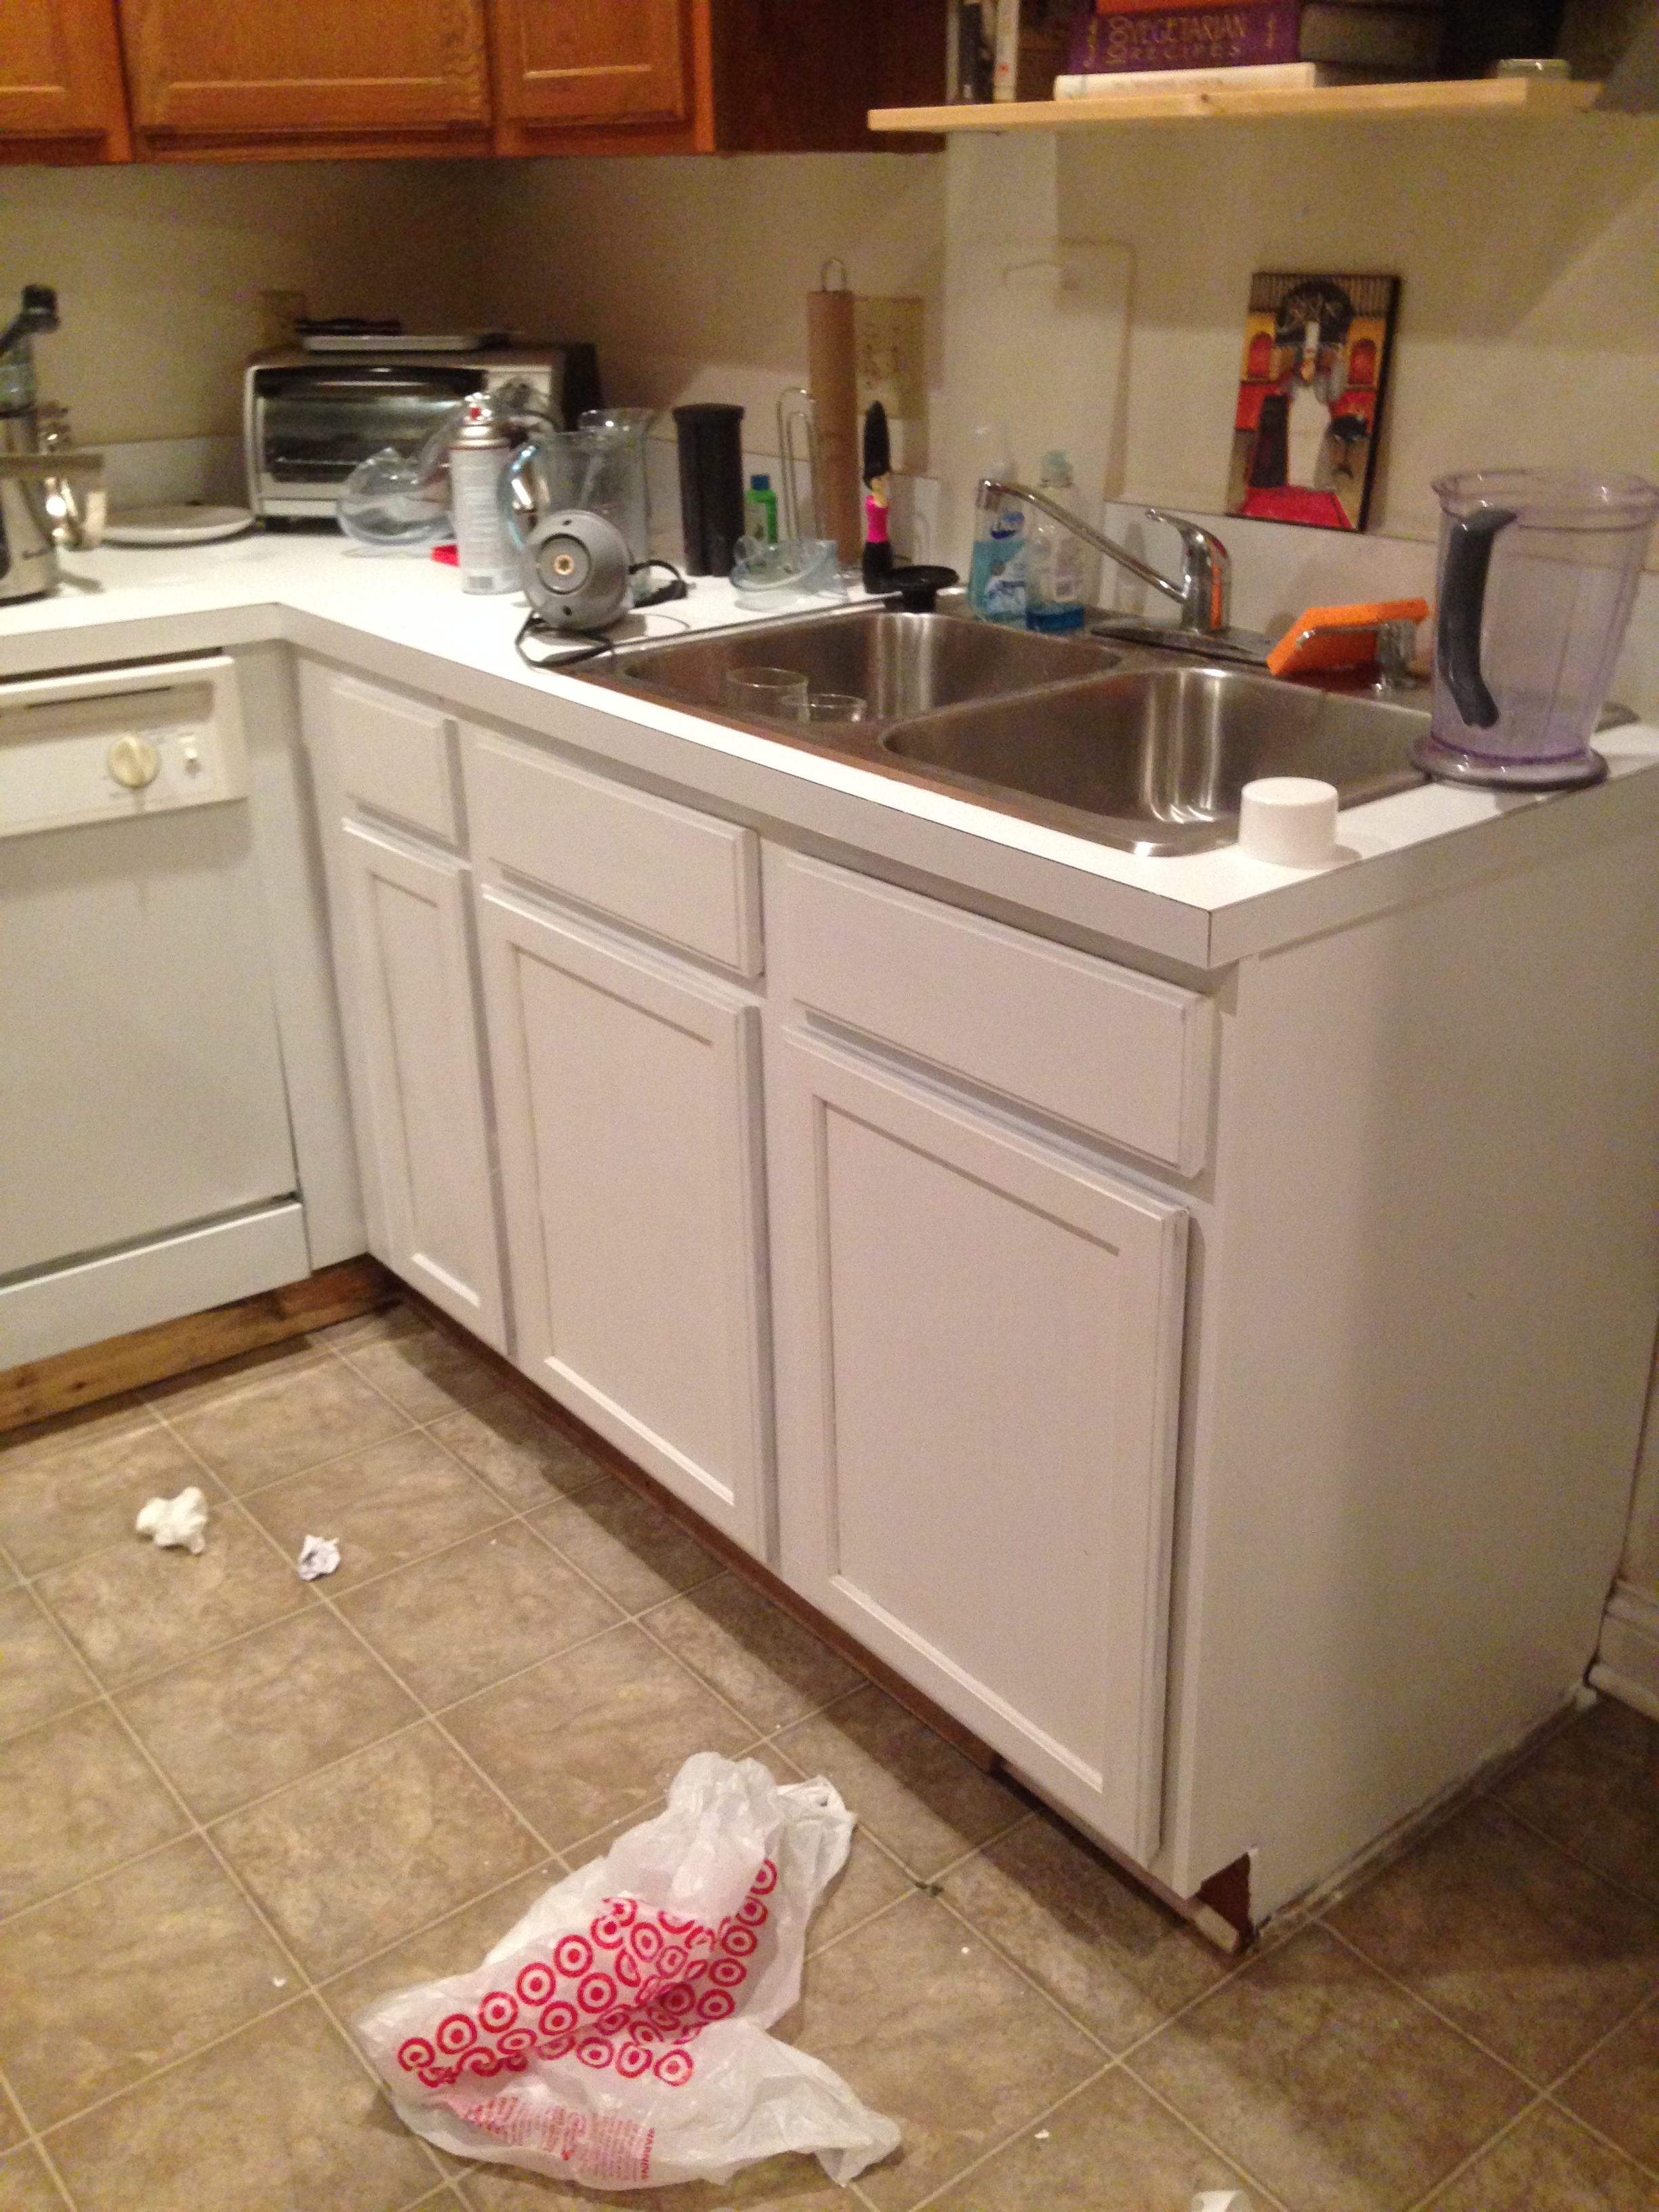
Here’s what we’ve been working with. Brown ’90s cabinets, white appliances, and lovely laminate floors (our favorite). B-E-A-UUUTIFUL!

Bryan and I would have loved to gut this kitchen and start from scratch, but that just wasn’t going to happen. We figured we’ll take one thing at a time, starting with what would give us the biggest bang for our buck: painting the cabinets.
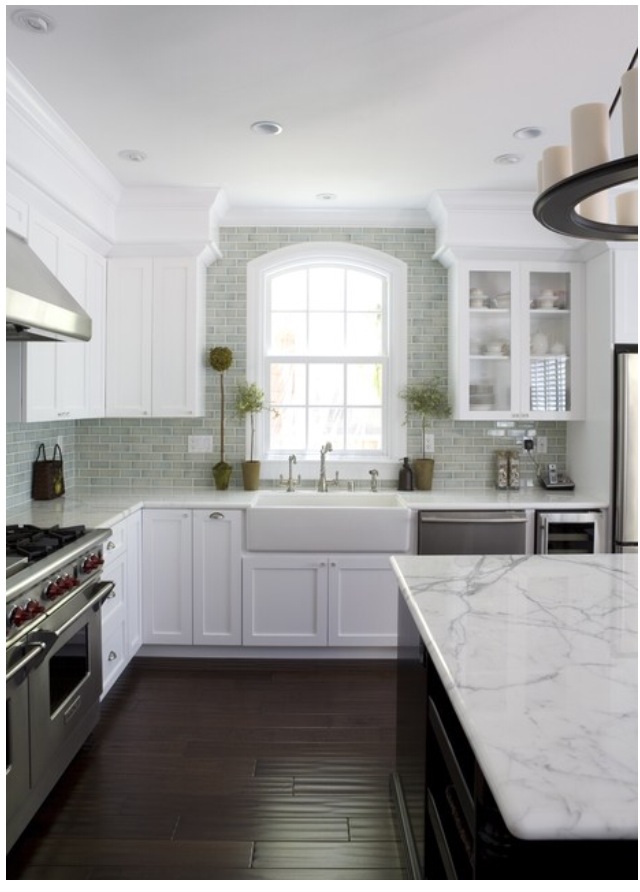
We’ve been stashing photos of kitchen remodels on Pinterest and Houzz for the past few months, just in case the day would ever come for us to make moves. We both like the look of bright, white cabinets with a neutral backsplash, dark floors, and light countertops, like this beauty:
… Someday….
In the meantime, we used this photo as inspiration to paint the cabinets white.
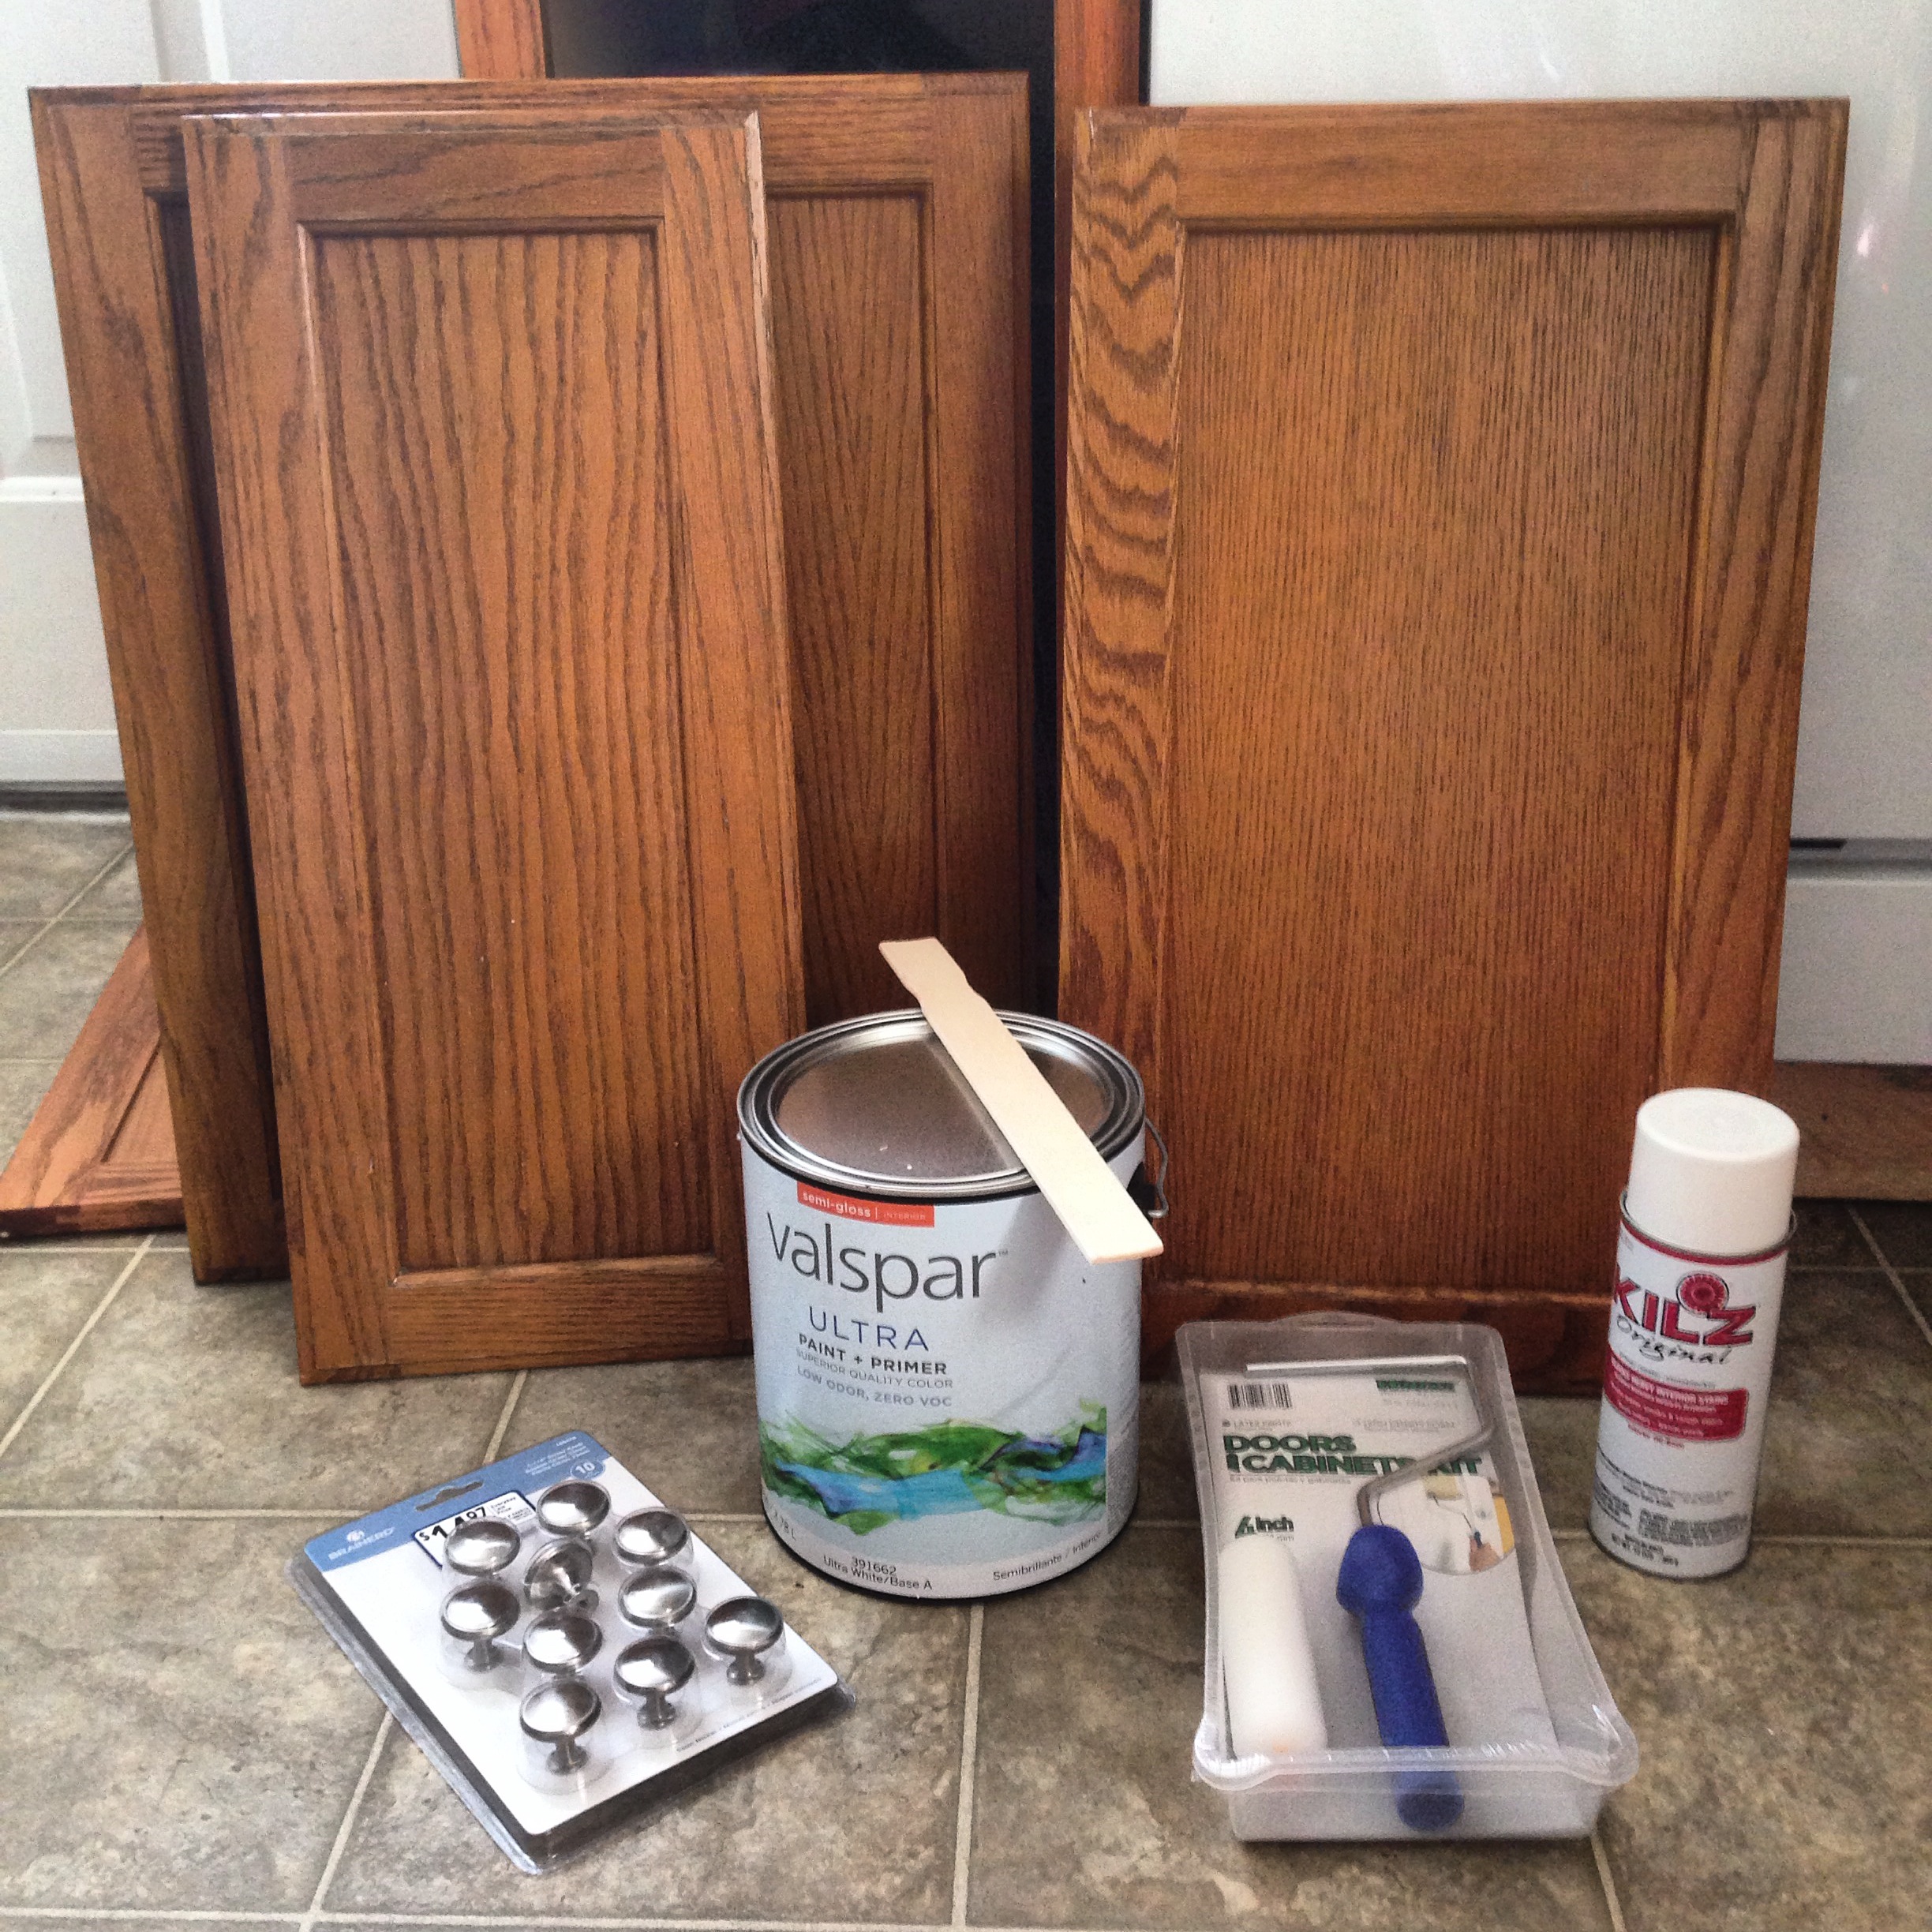
We made a few trips to Lowe’s to gather supplies for the project. All in all, we spent $113! Not too shabby, if I do say so myself.
Cost Breakdown:
1 Gallon of Valspar Ultra White – $23
2 Foam Rollers (2″ and 6″) & Paint Trays – $10
2 Cans of white, oil-based primer – $12
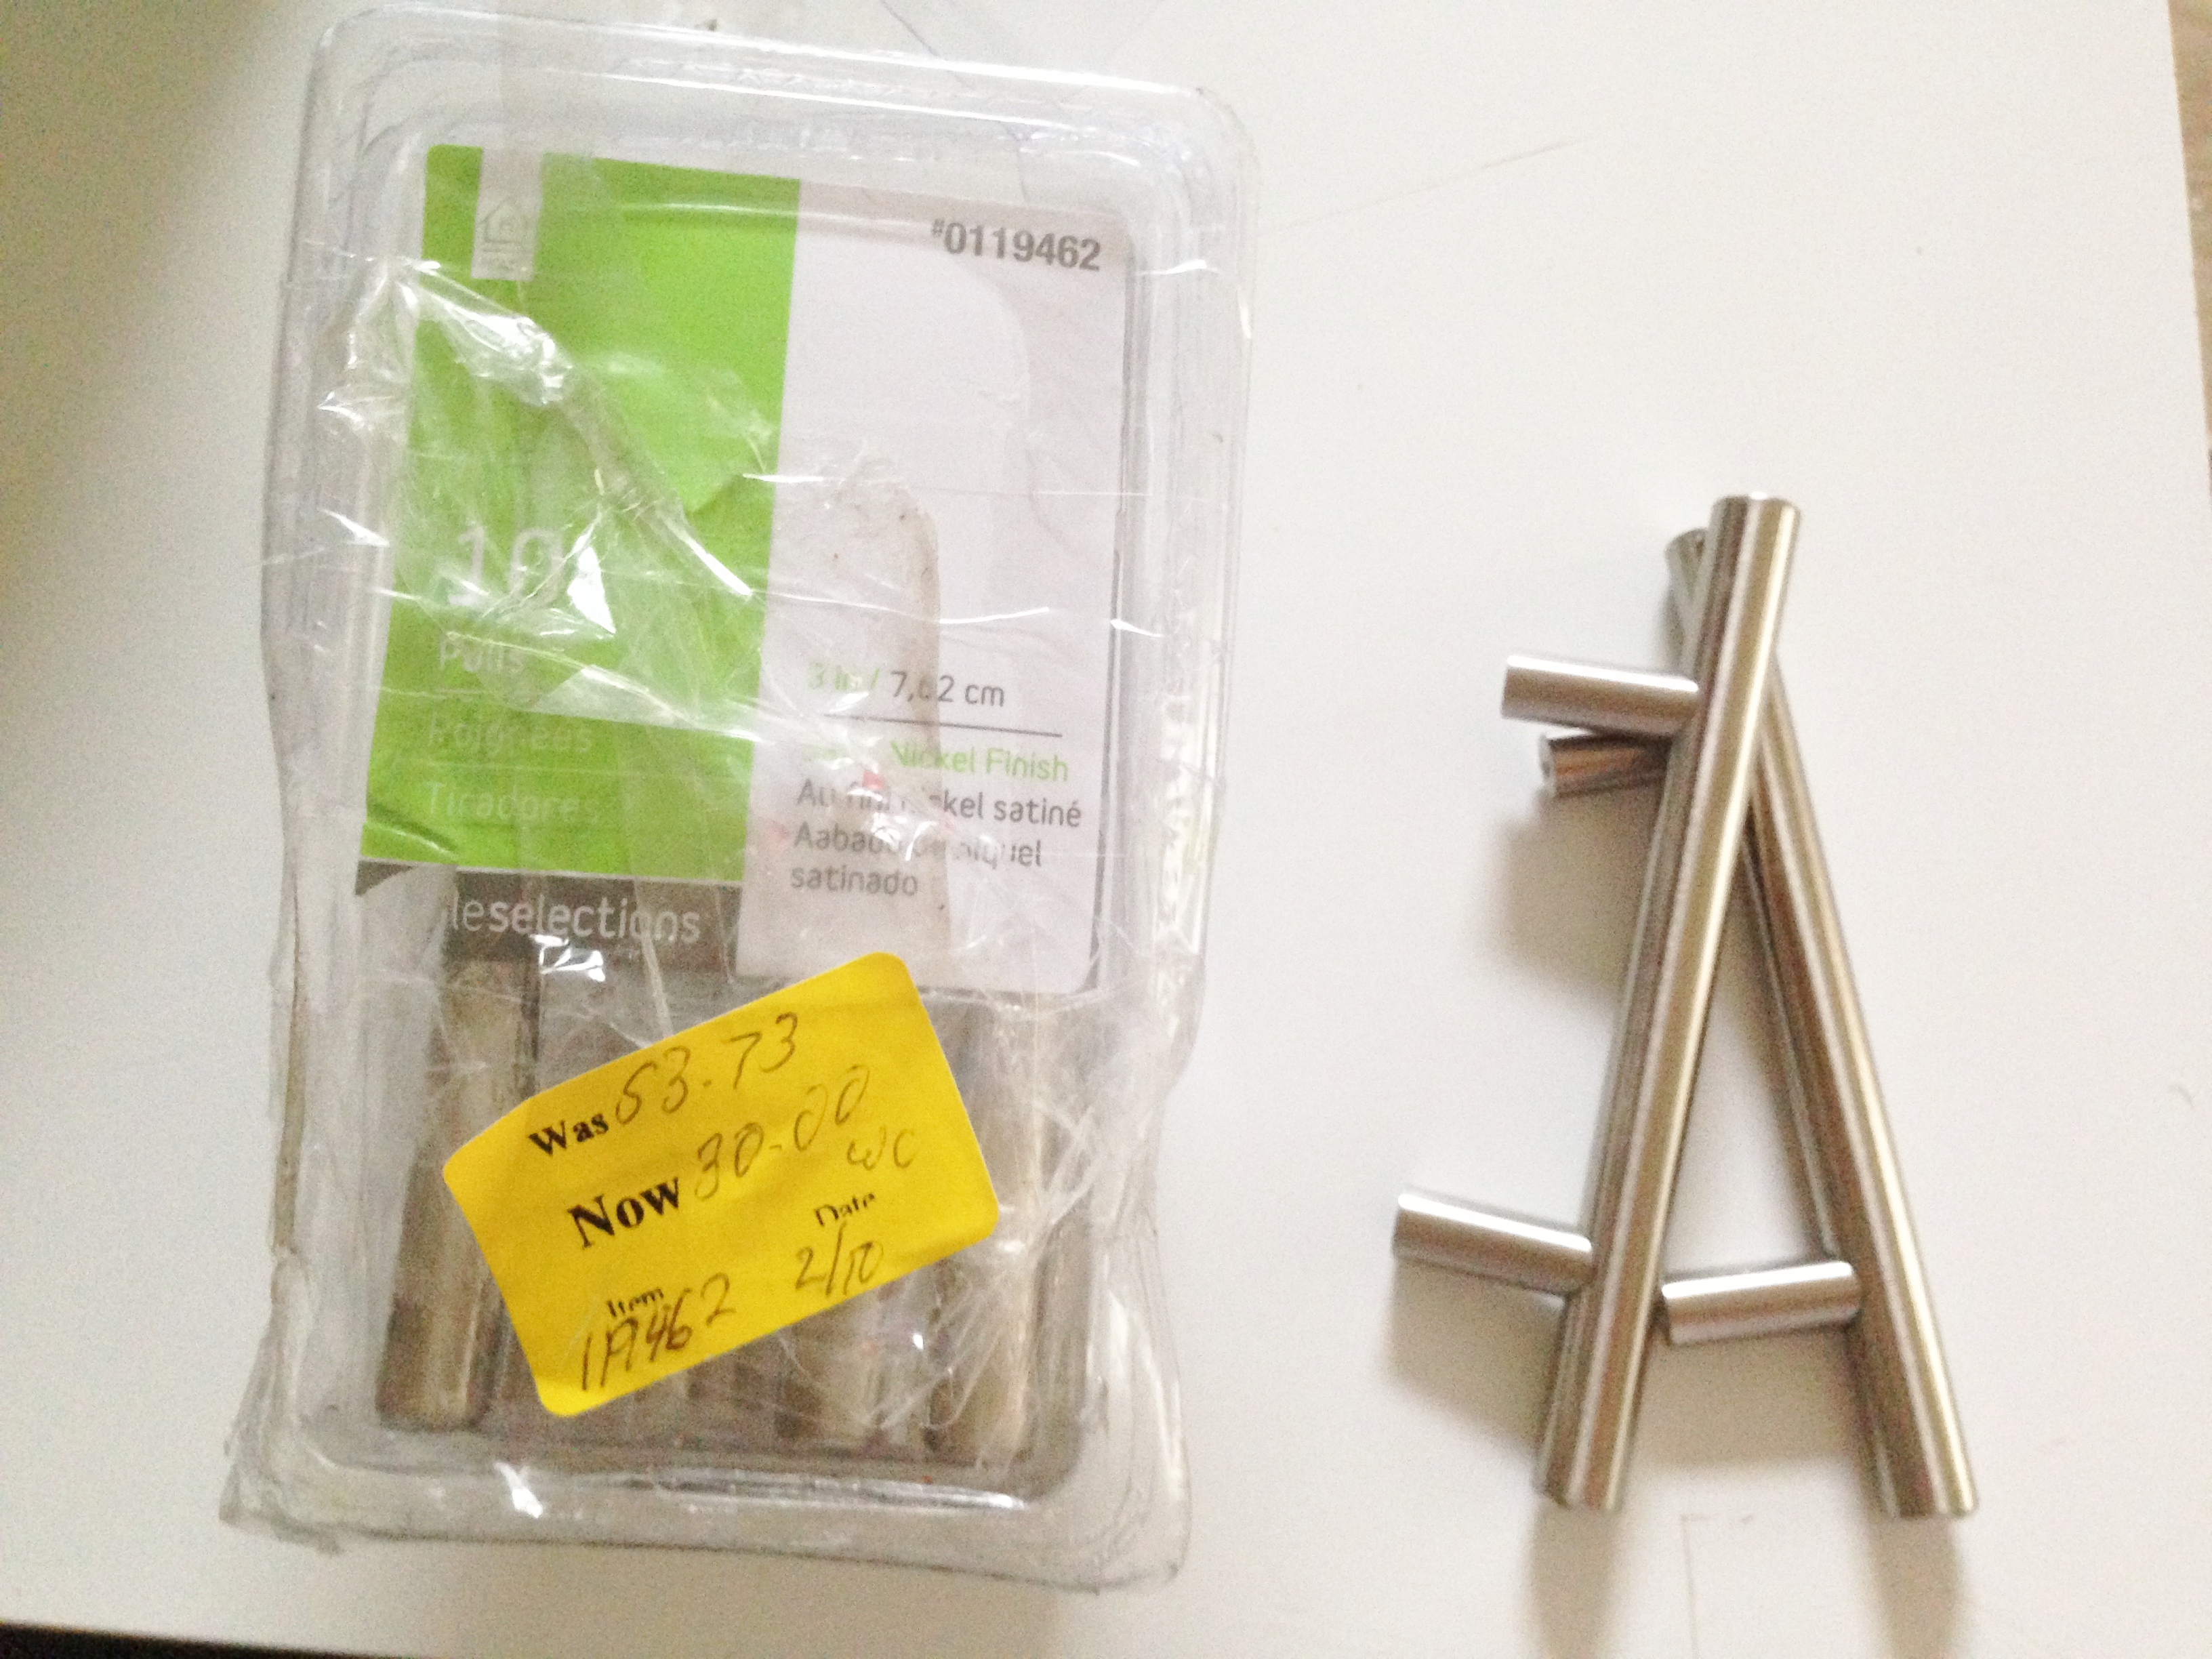
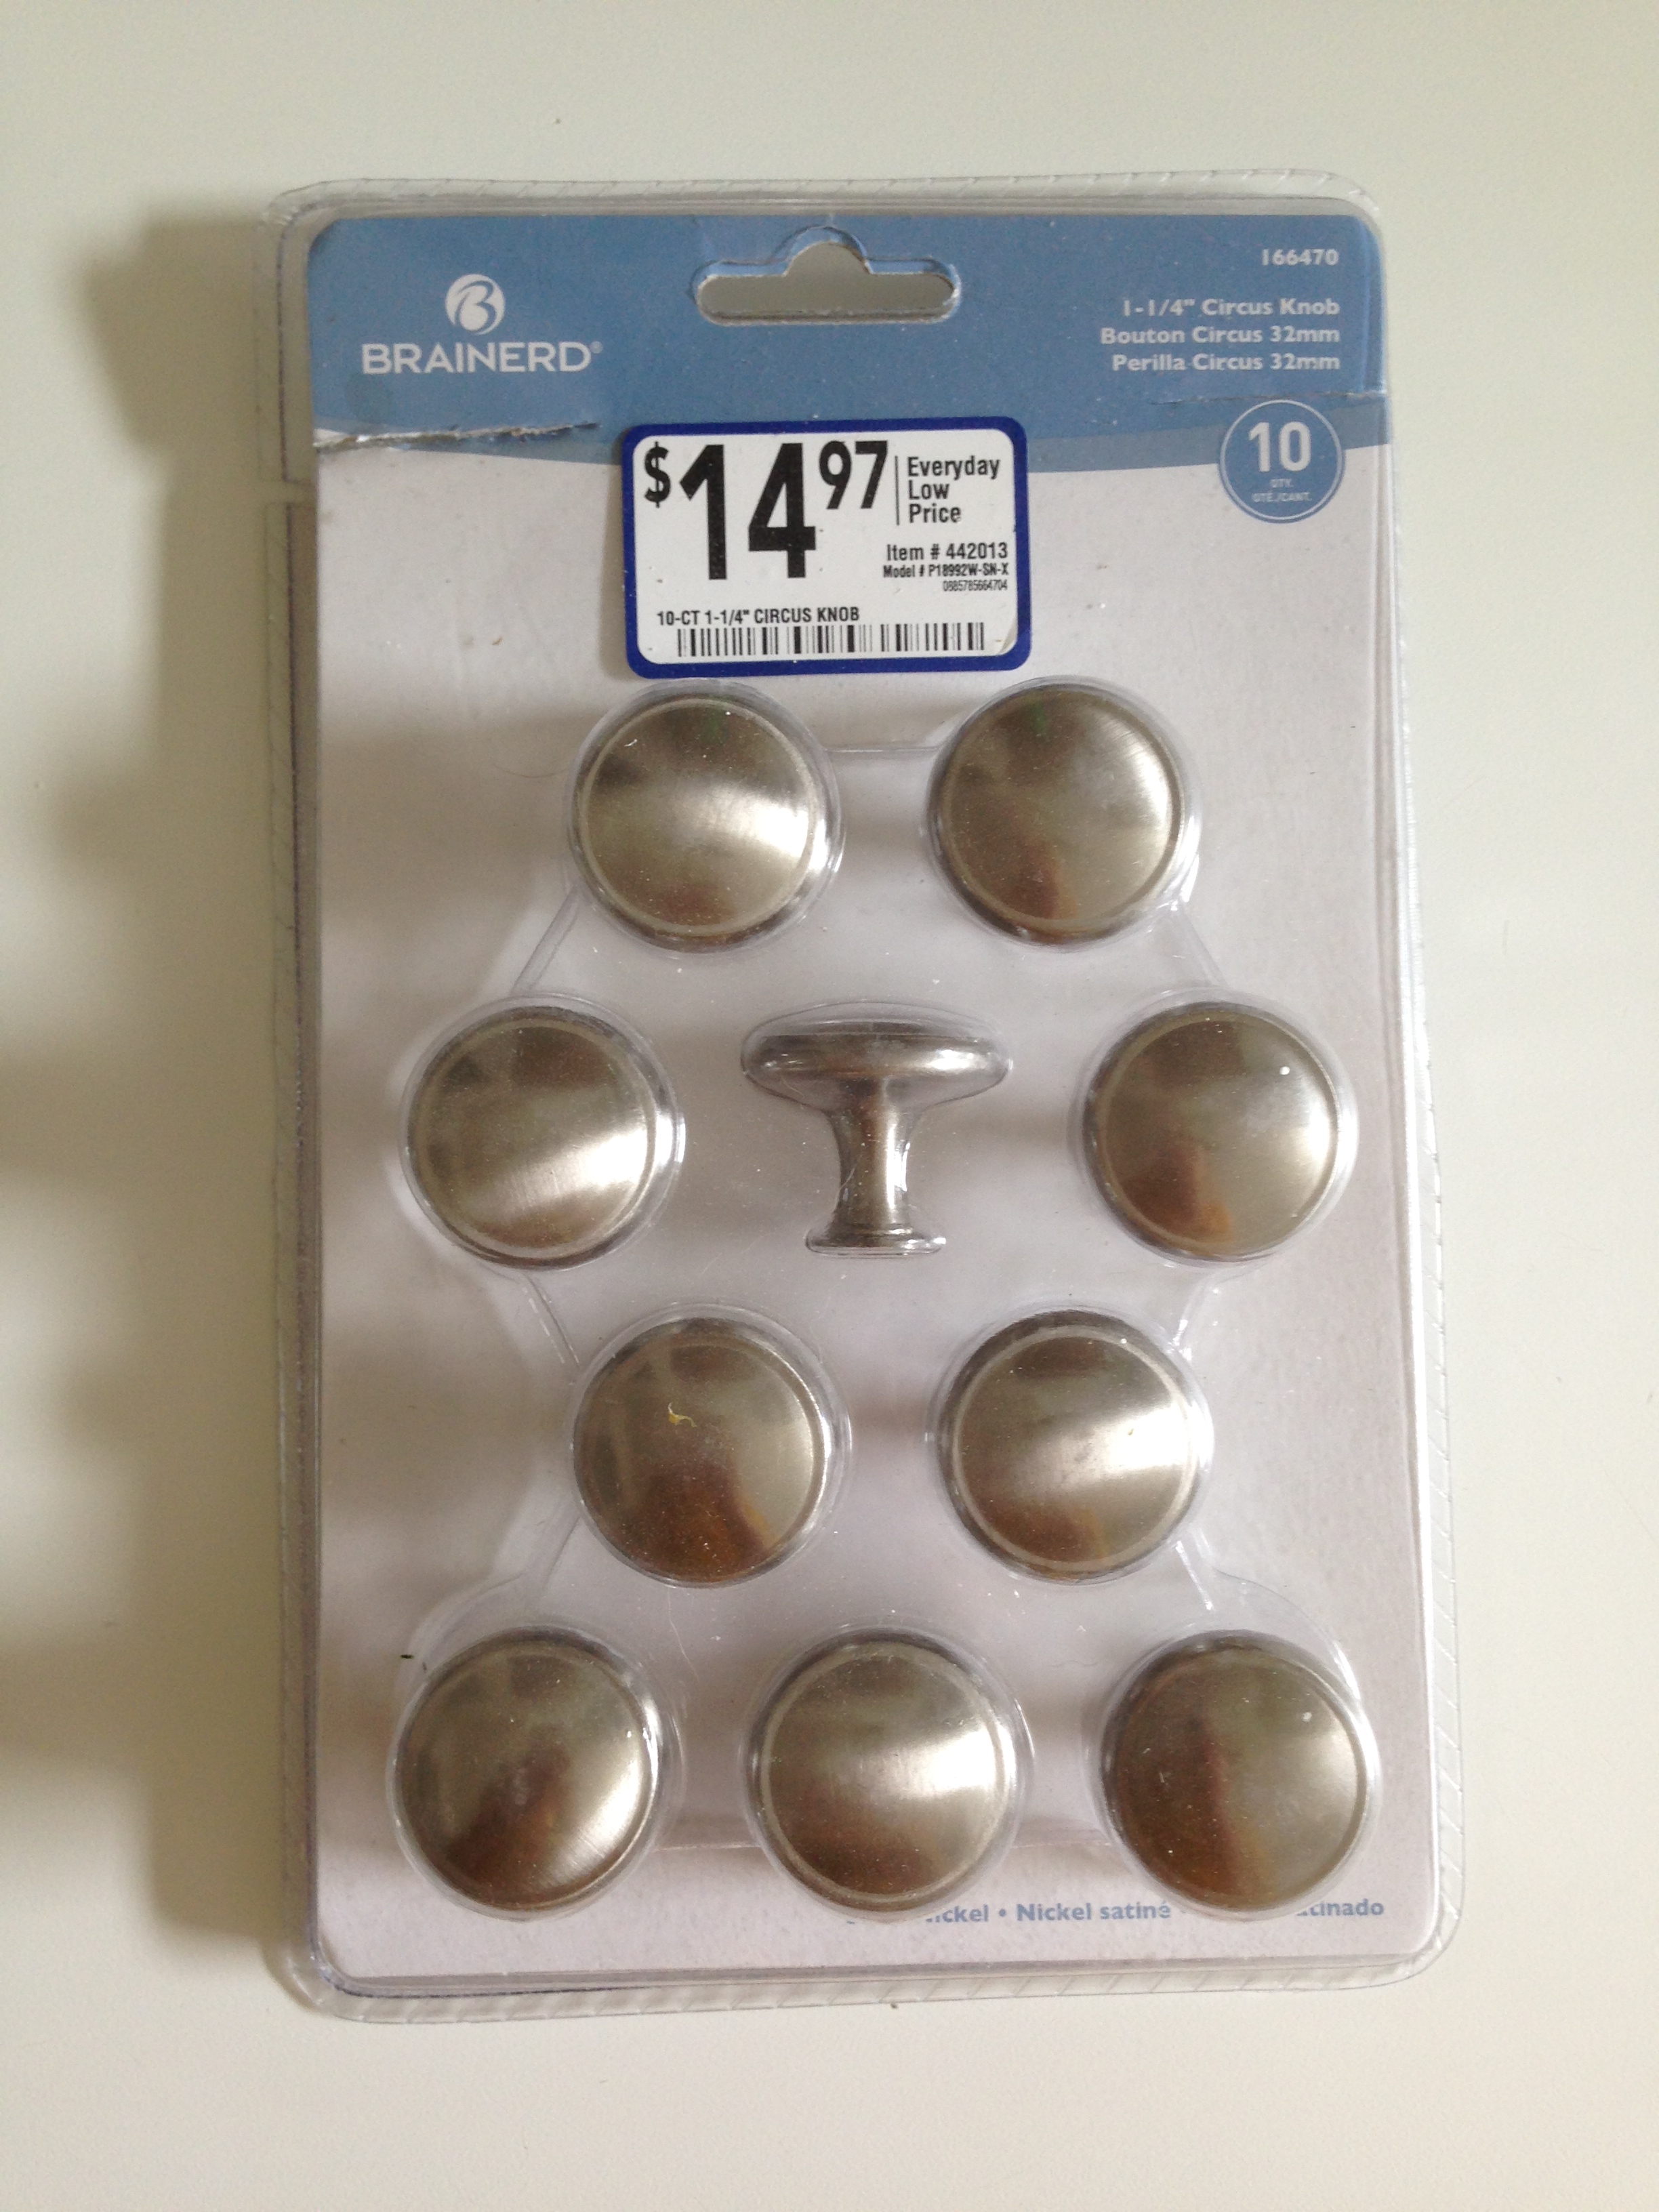
Chrome knobs for upper cabinets (1 pack of 10 for $15 + 3 individuals)- $24
Chrome handles for base cabinets (1 pack of 10 on clearance for $30 + 2 individuals) – $42
Paint brush – $2
Tarp (had it)
Drill/screwdriver(s) for removing cabinet doors (had it)
Once we had everything in place, we got to work and followed these steps:
1. Remove all doors and drawers from the base cabinets.
We split up the job by doing all of the base cabinets from start to finish before starting the upper cabinets. By focusing on just the base cabinets first, it made the project feel less overwhelming. It also helped with space management, since we didn’t have a ton of space to lay out all of our cabinet doors and drawers at the same time.
2. Clean.
We cleaned the base cabinets, doors, and drawers really, really, really well. We used standard household cleaners to remove all of the grease and dirt. It took several rounds of cleaning to get everything off. After that, we went over all of them again with a wet paper towel to remove any residue that was left from the cleaning products, and let them dry.
3. Prime.
I read lots of different articles about whether to sand or not to sand before priming. Some sources say you must do it; other sources say primer is sufficient. Since our cabinets weren’t very glossy, we took our chances and skipped the sanding. We used a Kilz oil-based primer spray from Lowe’s that one of the guys recommended, and let it dry for about an hour.
4. Paint.
We used both the 2″ and 6″ rollers for the job. The 2″ came in handy for the trim on the face of the doors, the sides, and the areas on the base cabinets in between the doors and drawers. The 6″ was perfect for the face of the doors and drawers, and the larger areas of the base cabinets. The rollers we used were perfect – foam is definitely the way to go. We also used the paint brush to get into the cracks on the edge of the trim, and then went over it again with the roller to smooth it out. We gave each door 2-3 coats of paint to make sure everything was fully covered. After we were all done, we let everything dry overnight.
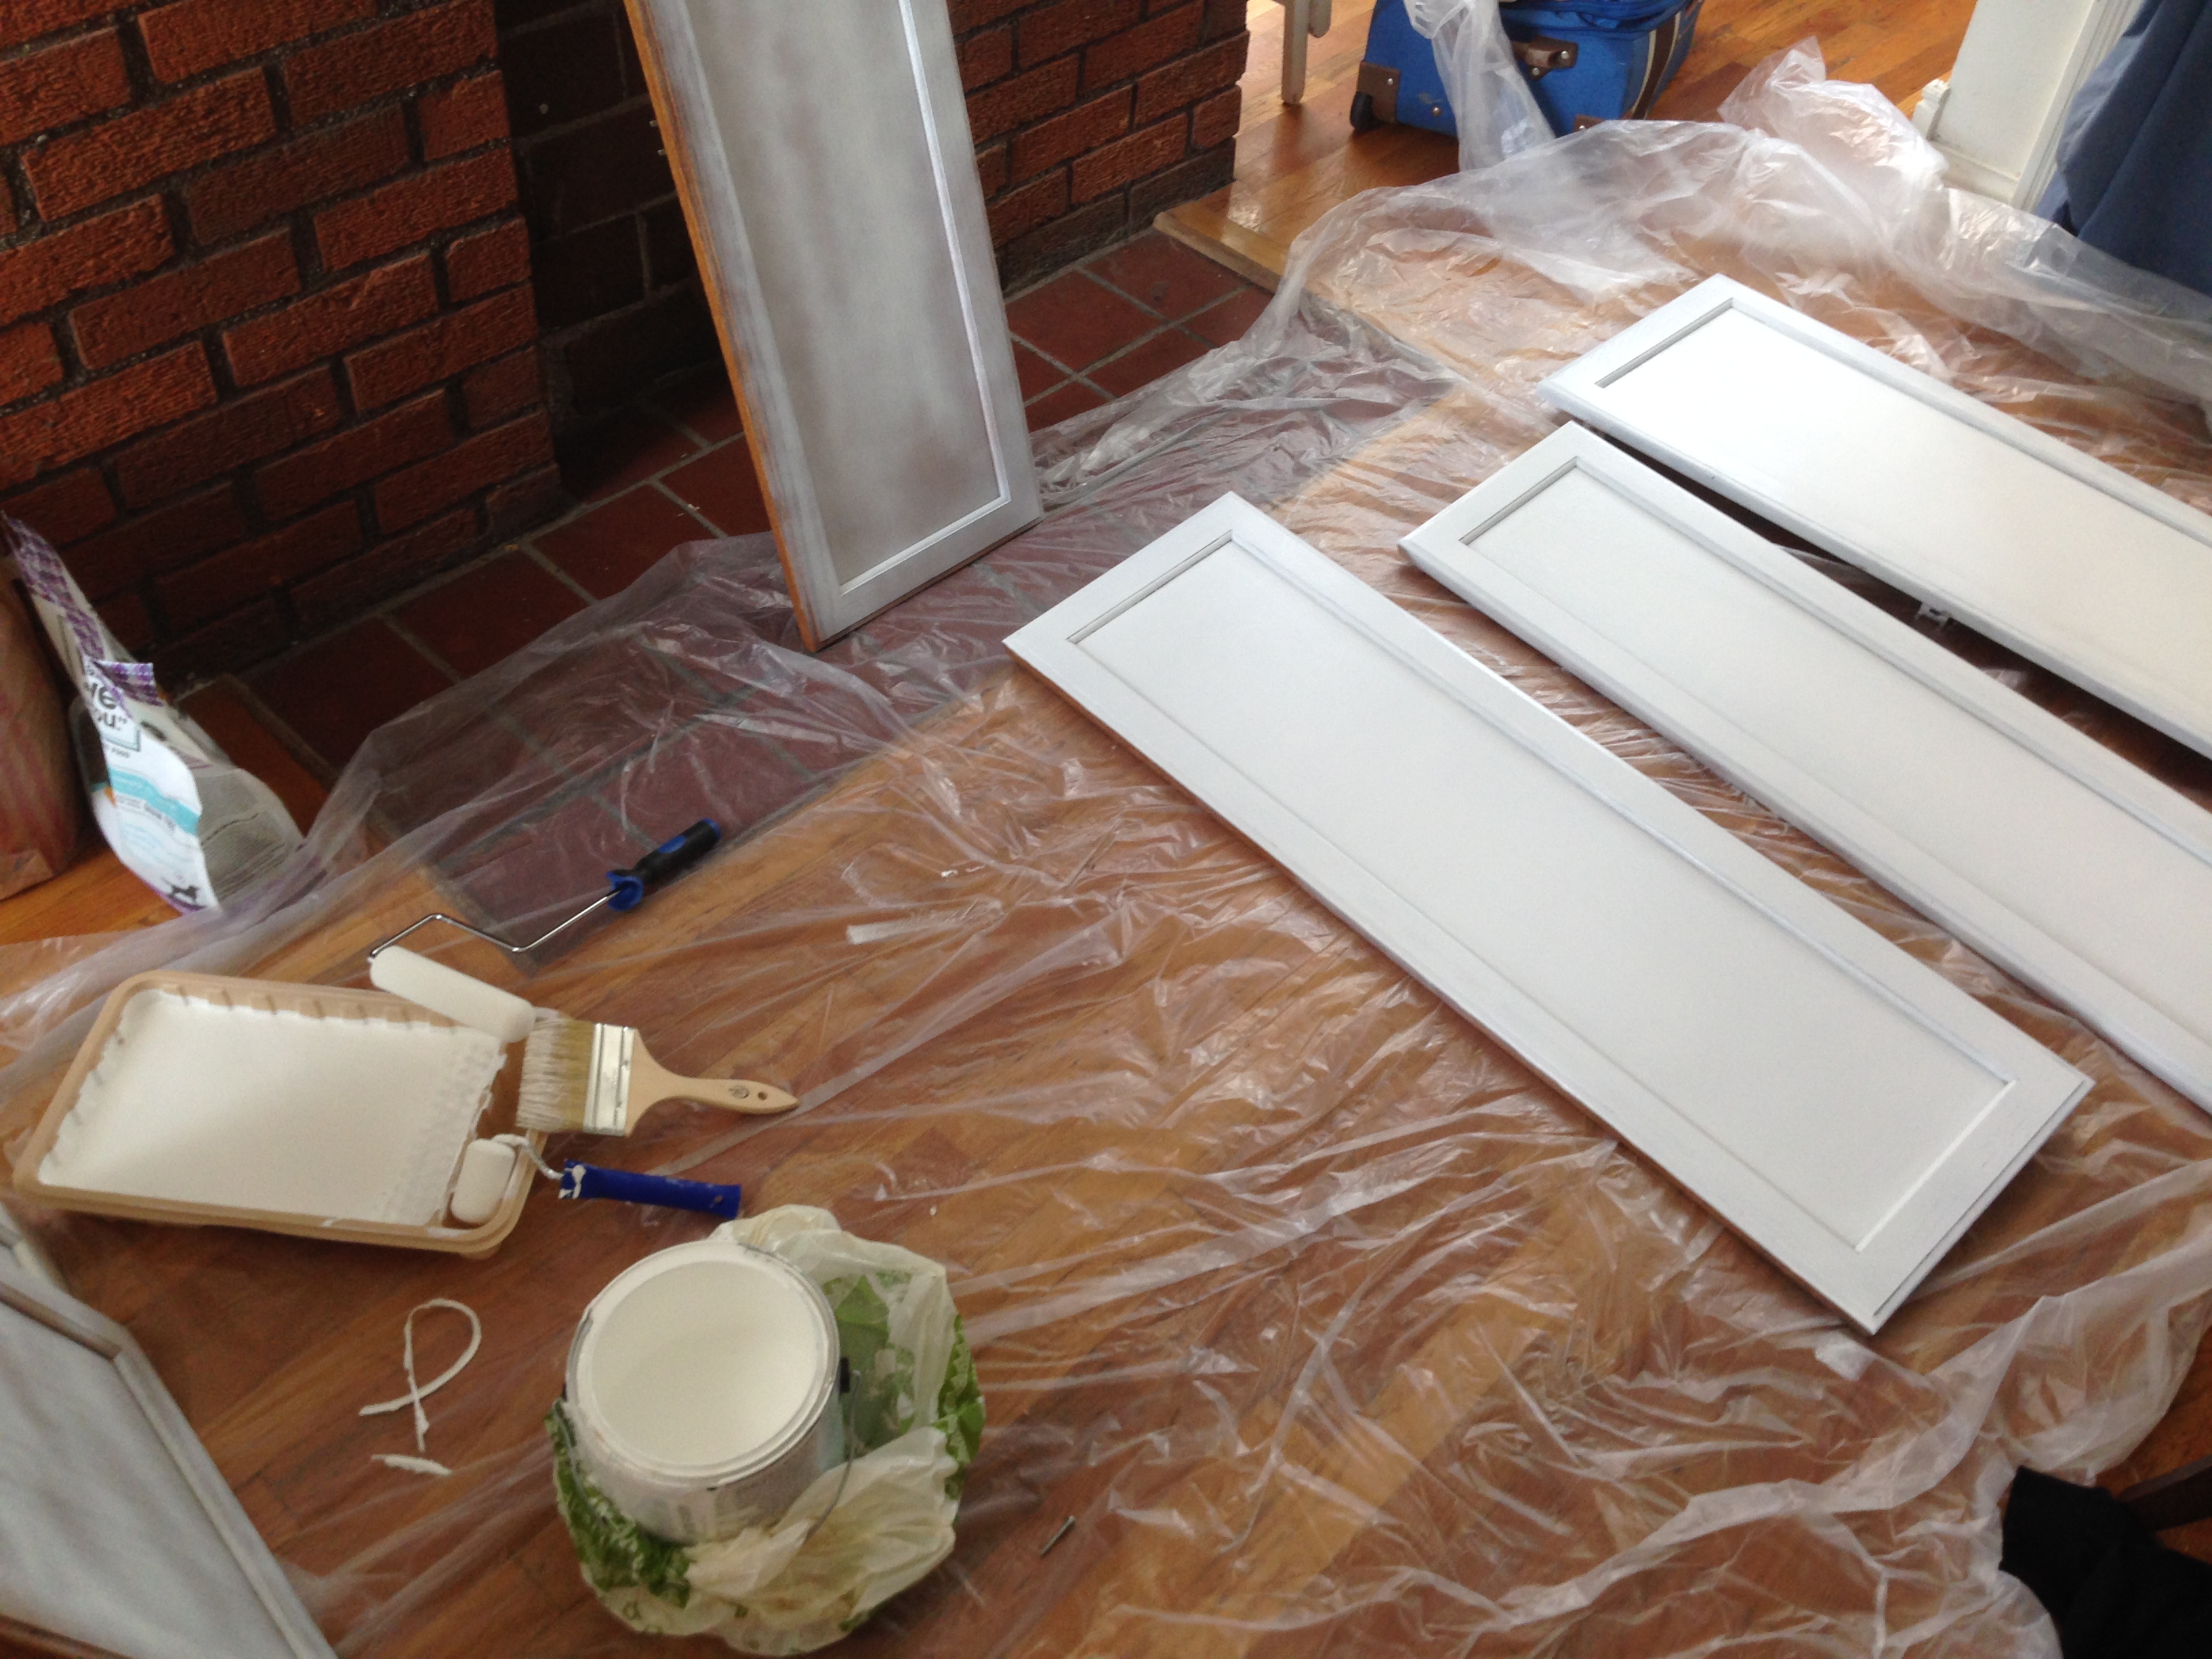
Quick tip: Instead of painting the front and sides of each door at once, try painting all of the fronts first and let those dry. Then paint all of the sides (1 or 2 at a time) and let those dry. Tackling them in sections makes it easier to turn the doors and pick them up without getting paint all over your hands. Also, if you have two horses or paint buckets or crates that you can lay the cabinet doors on, it makes it easier to get to the edges than propping them up yourself!
5. Re-attach doors to the base cabinets.
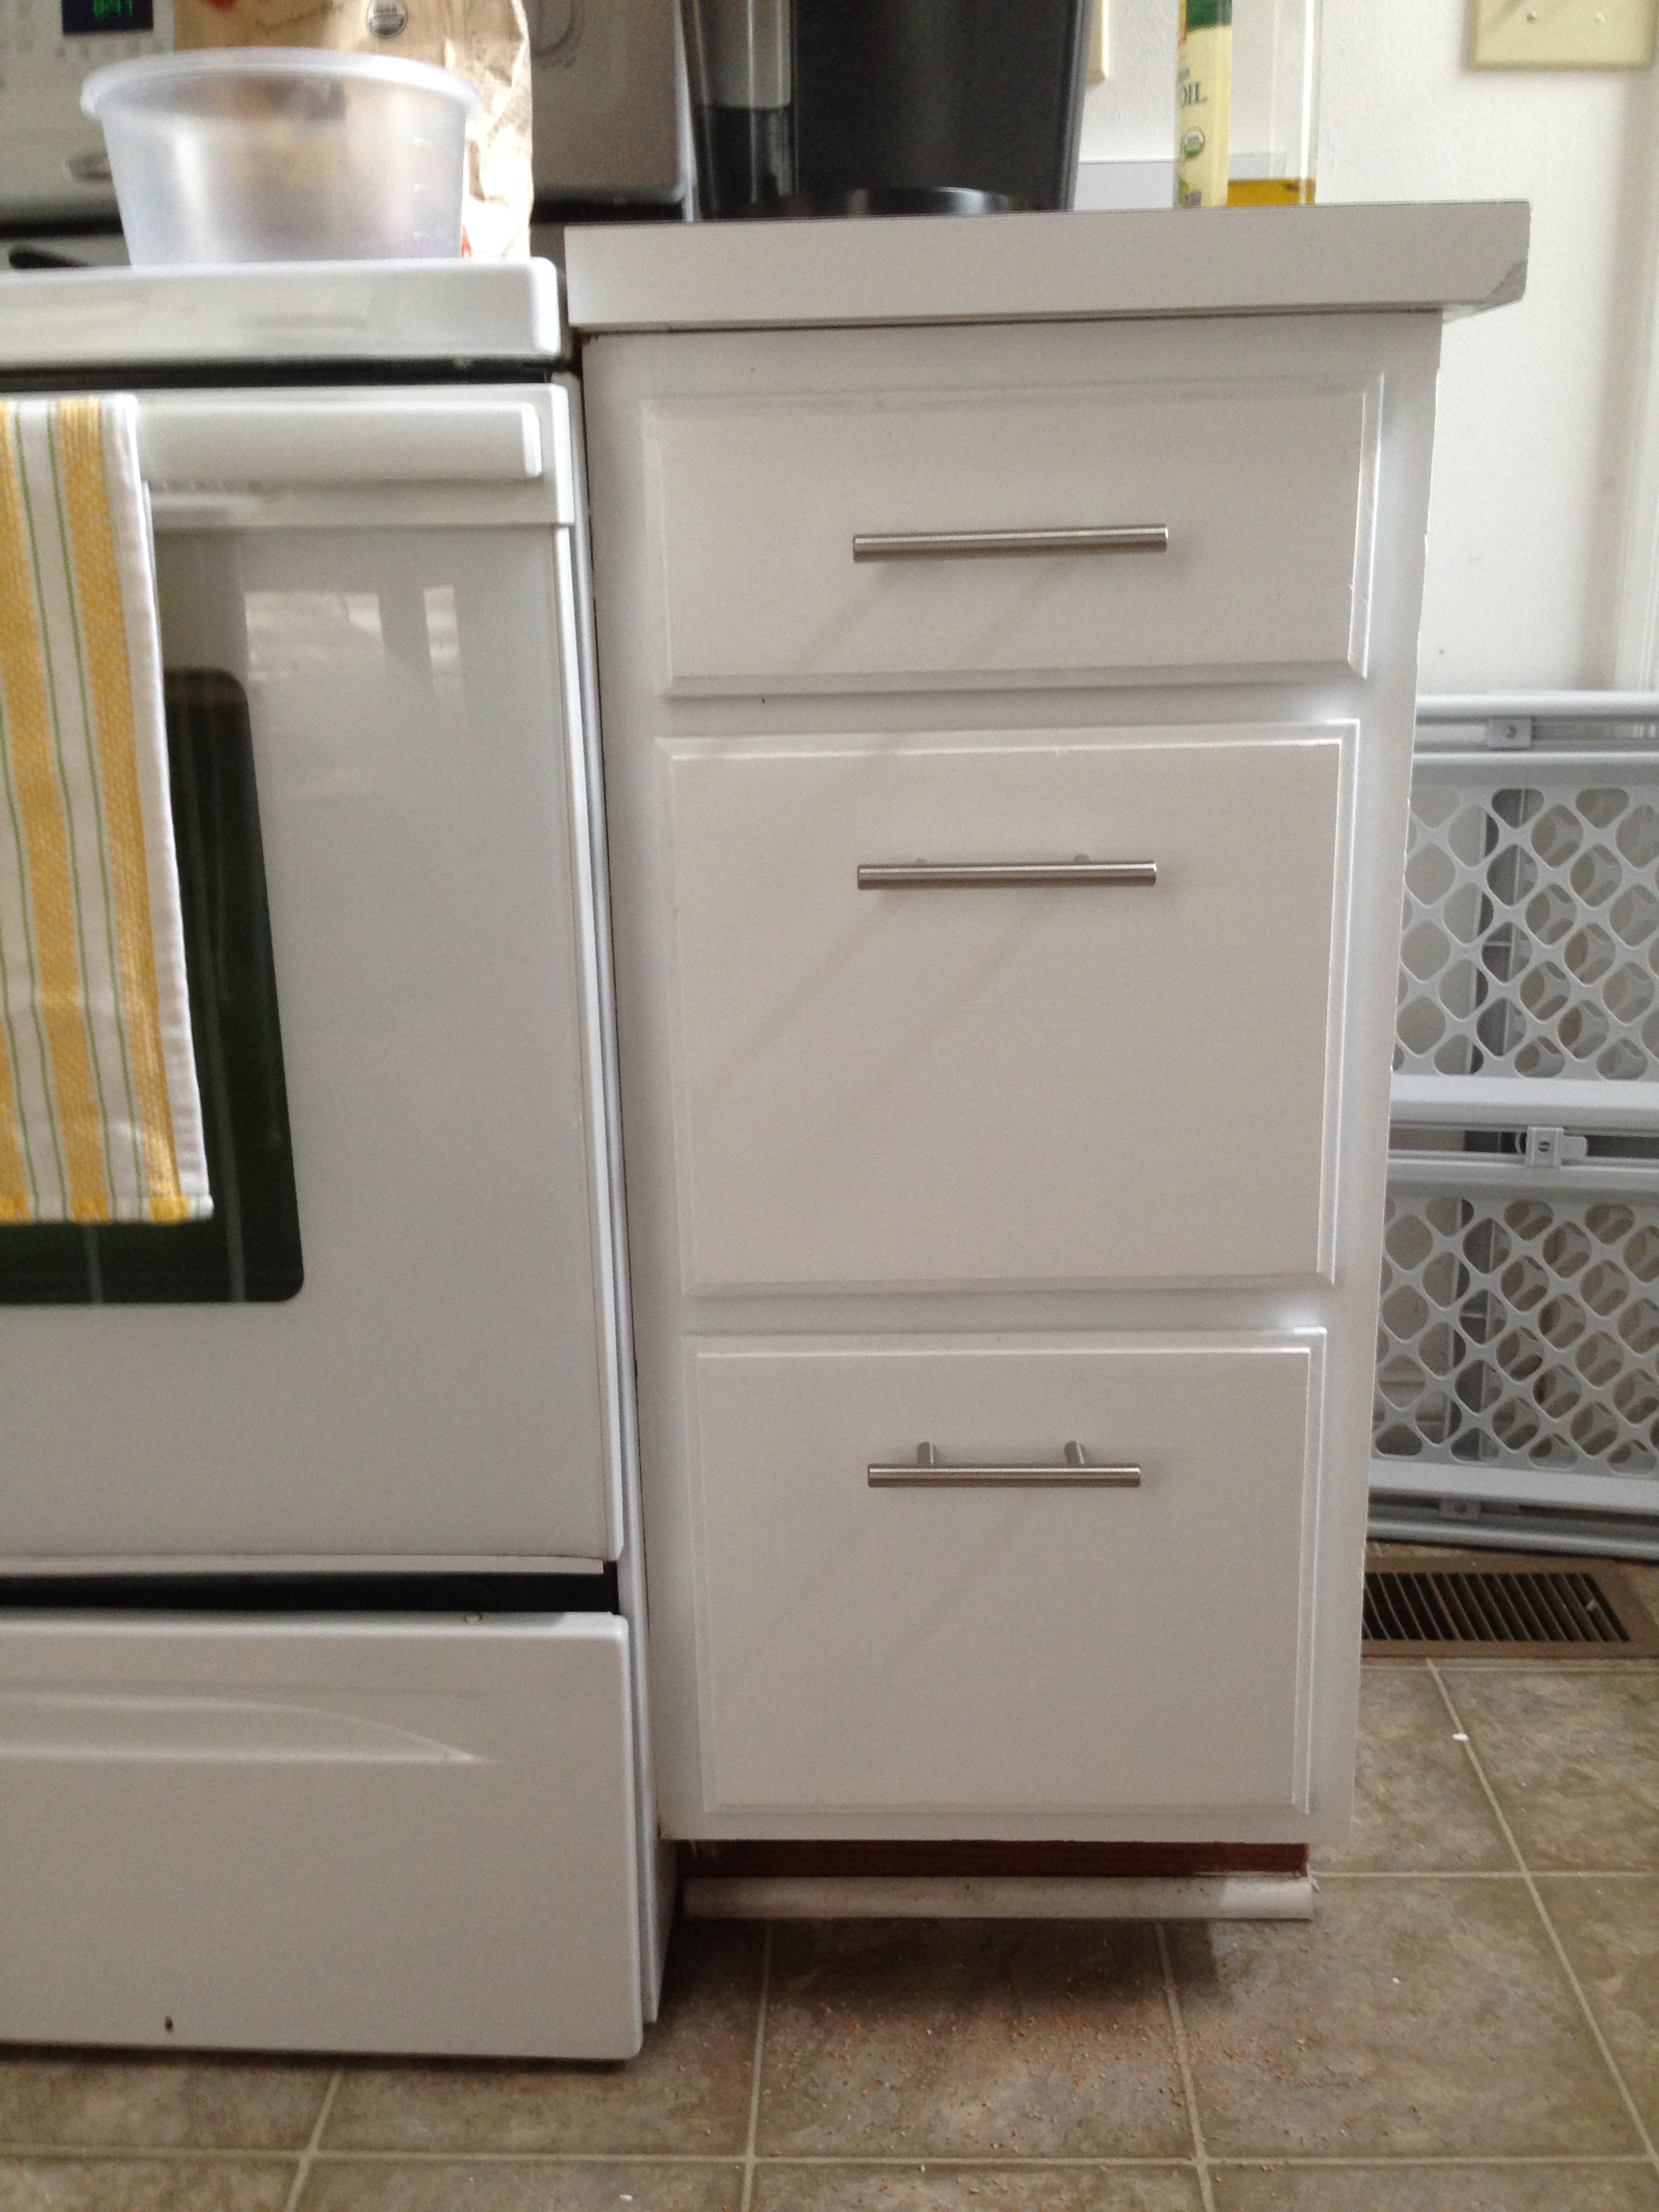
After both the base cabinets and the doors/drawers were dry, we put them all back where they belonged. Once they were in place, we touched up the doors and let them dry before putting on the hardware.
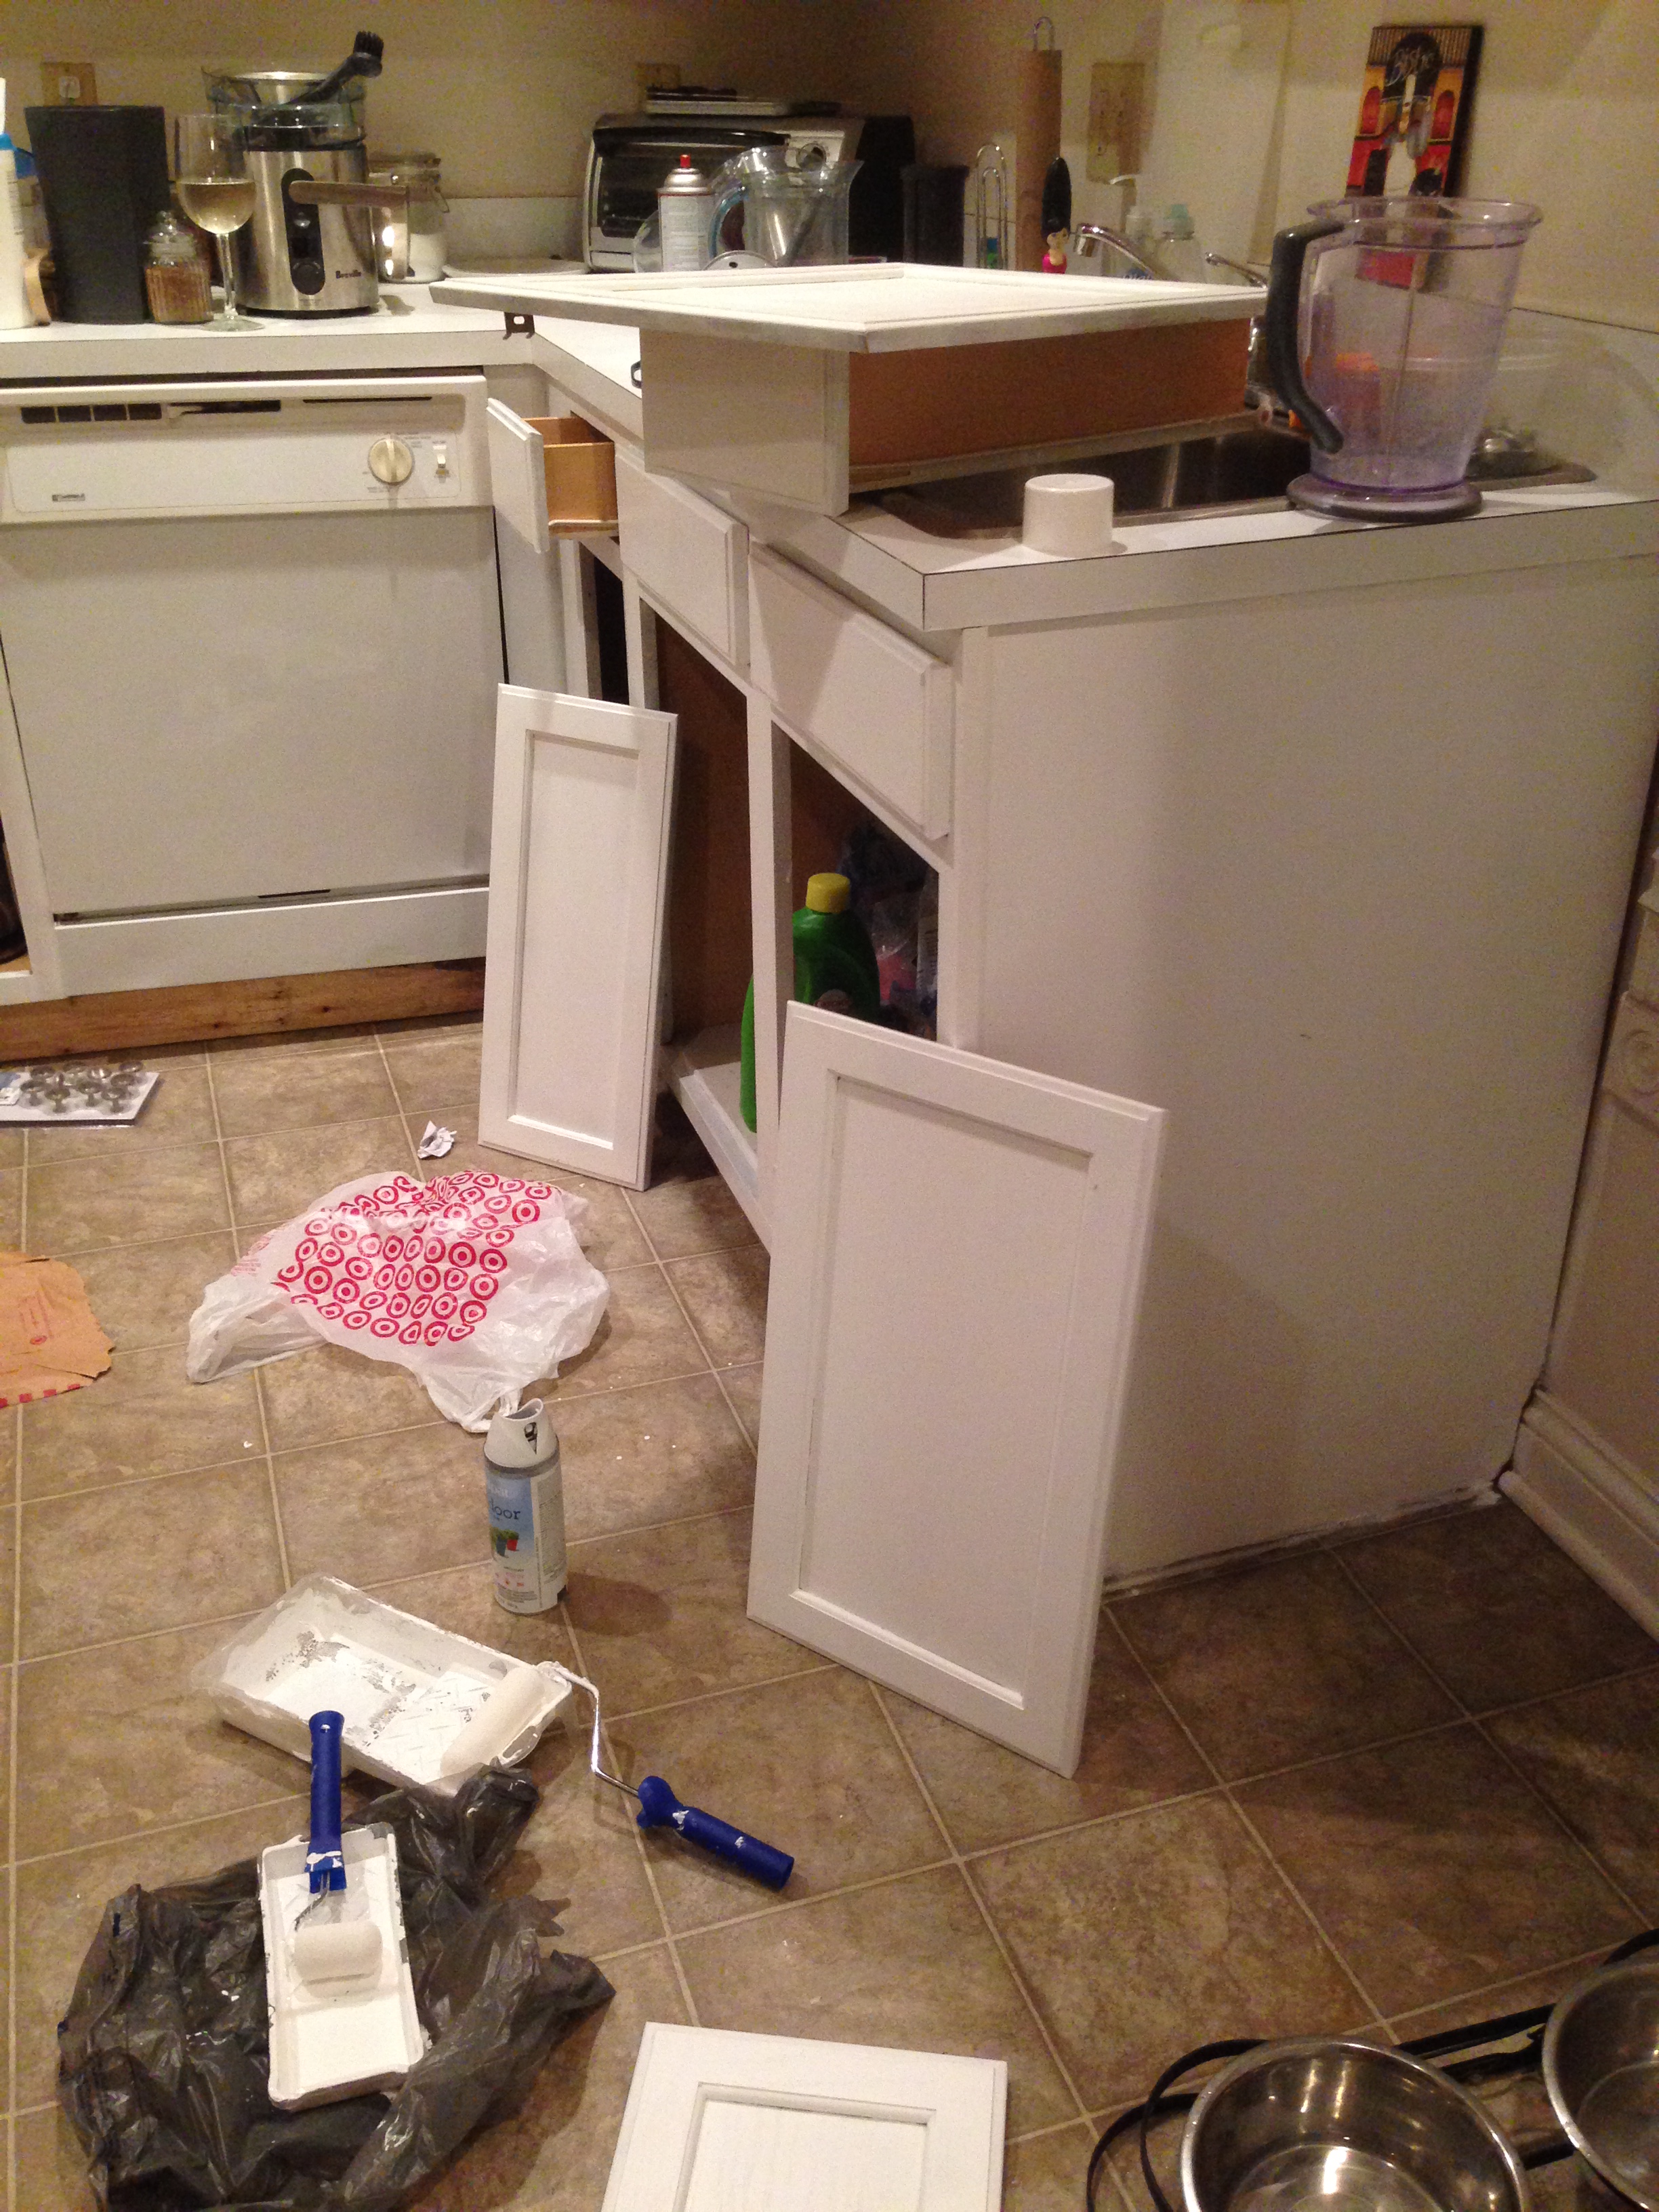
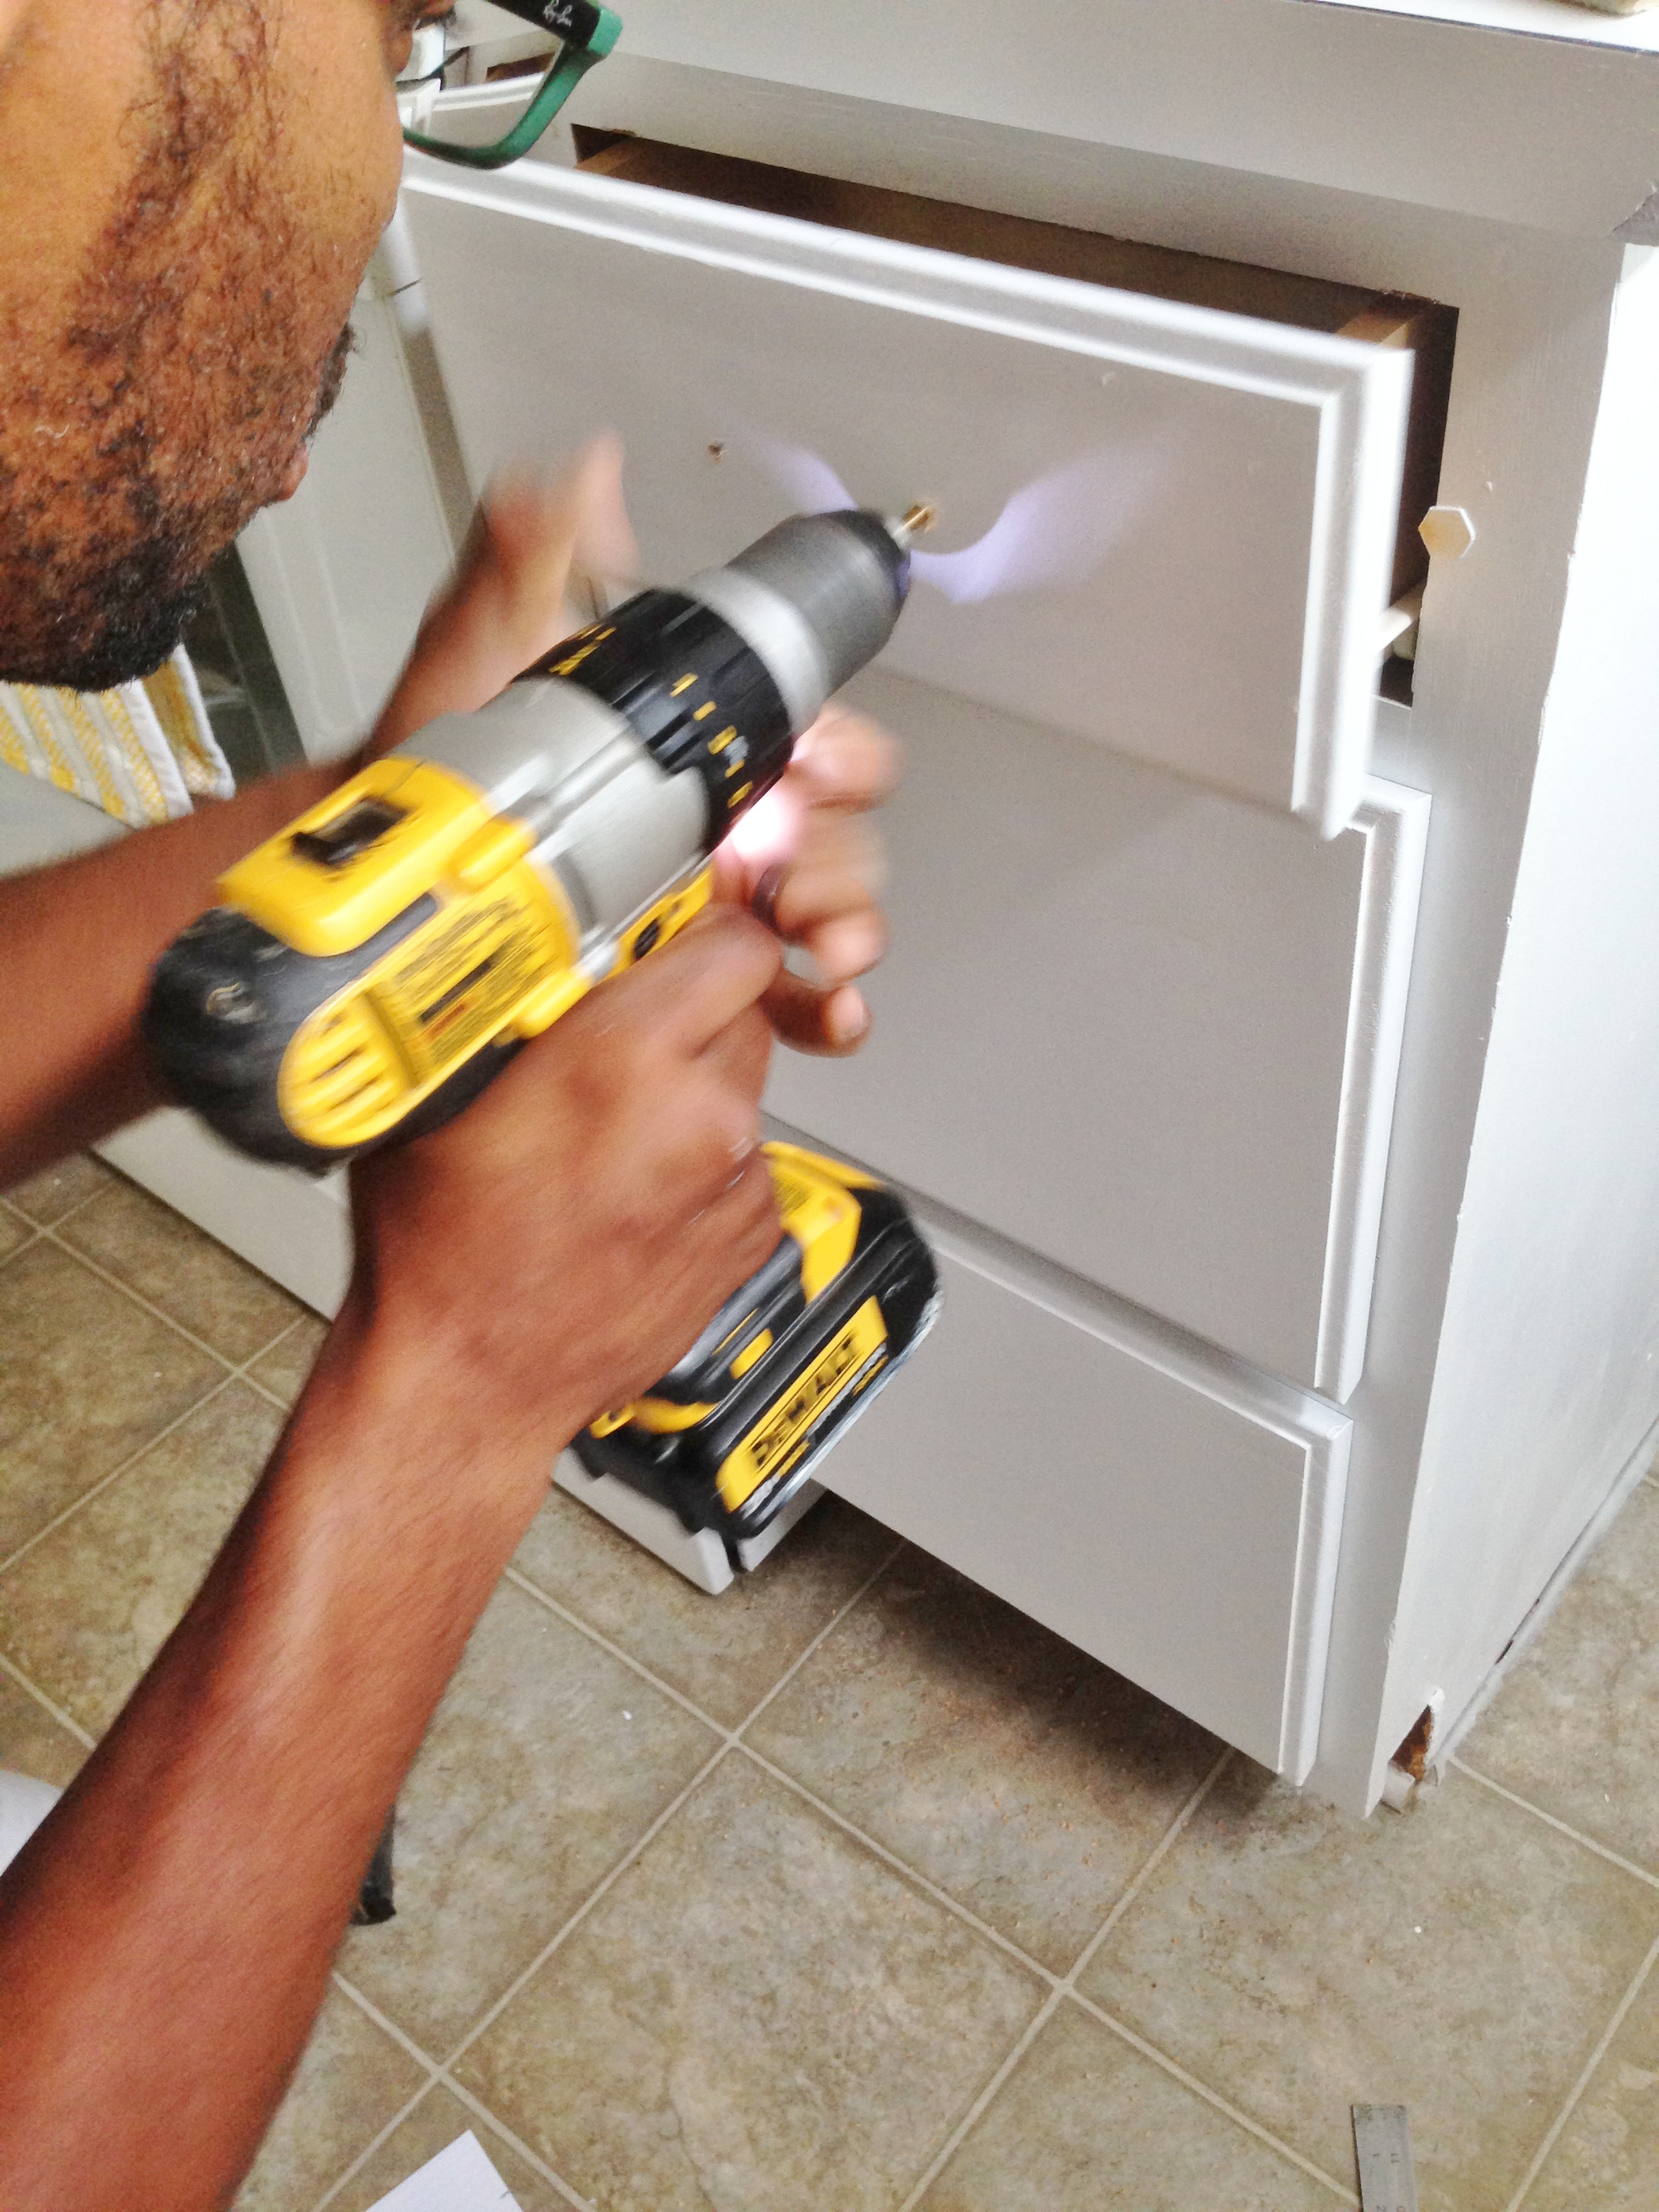
6. Install hardware.
We used a measuring tape to get to the right location of each drawer and door, and marked the spot. We used a drill to make holes where the spots were marked, and then screwed in the hardware.
7. Repeat steps 1-5 for the upper cabinets.
Nothing more to it! The cabinets took us a few days to finish because we both had to work. If we didn’t, I feel like we could have had it all done in a day or two.
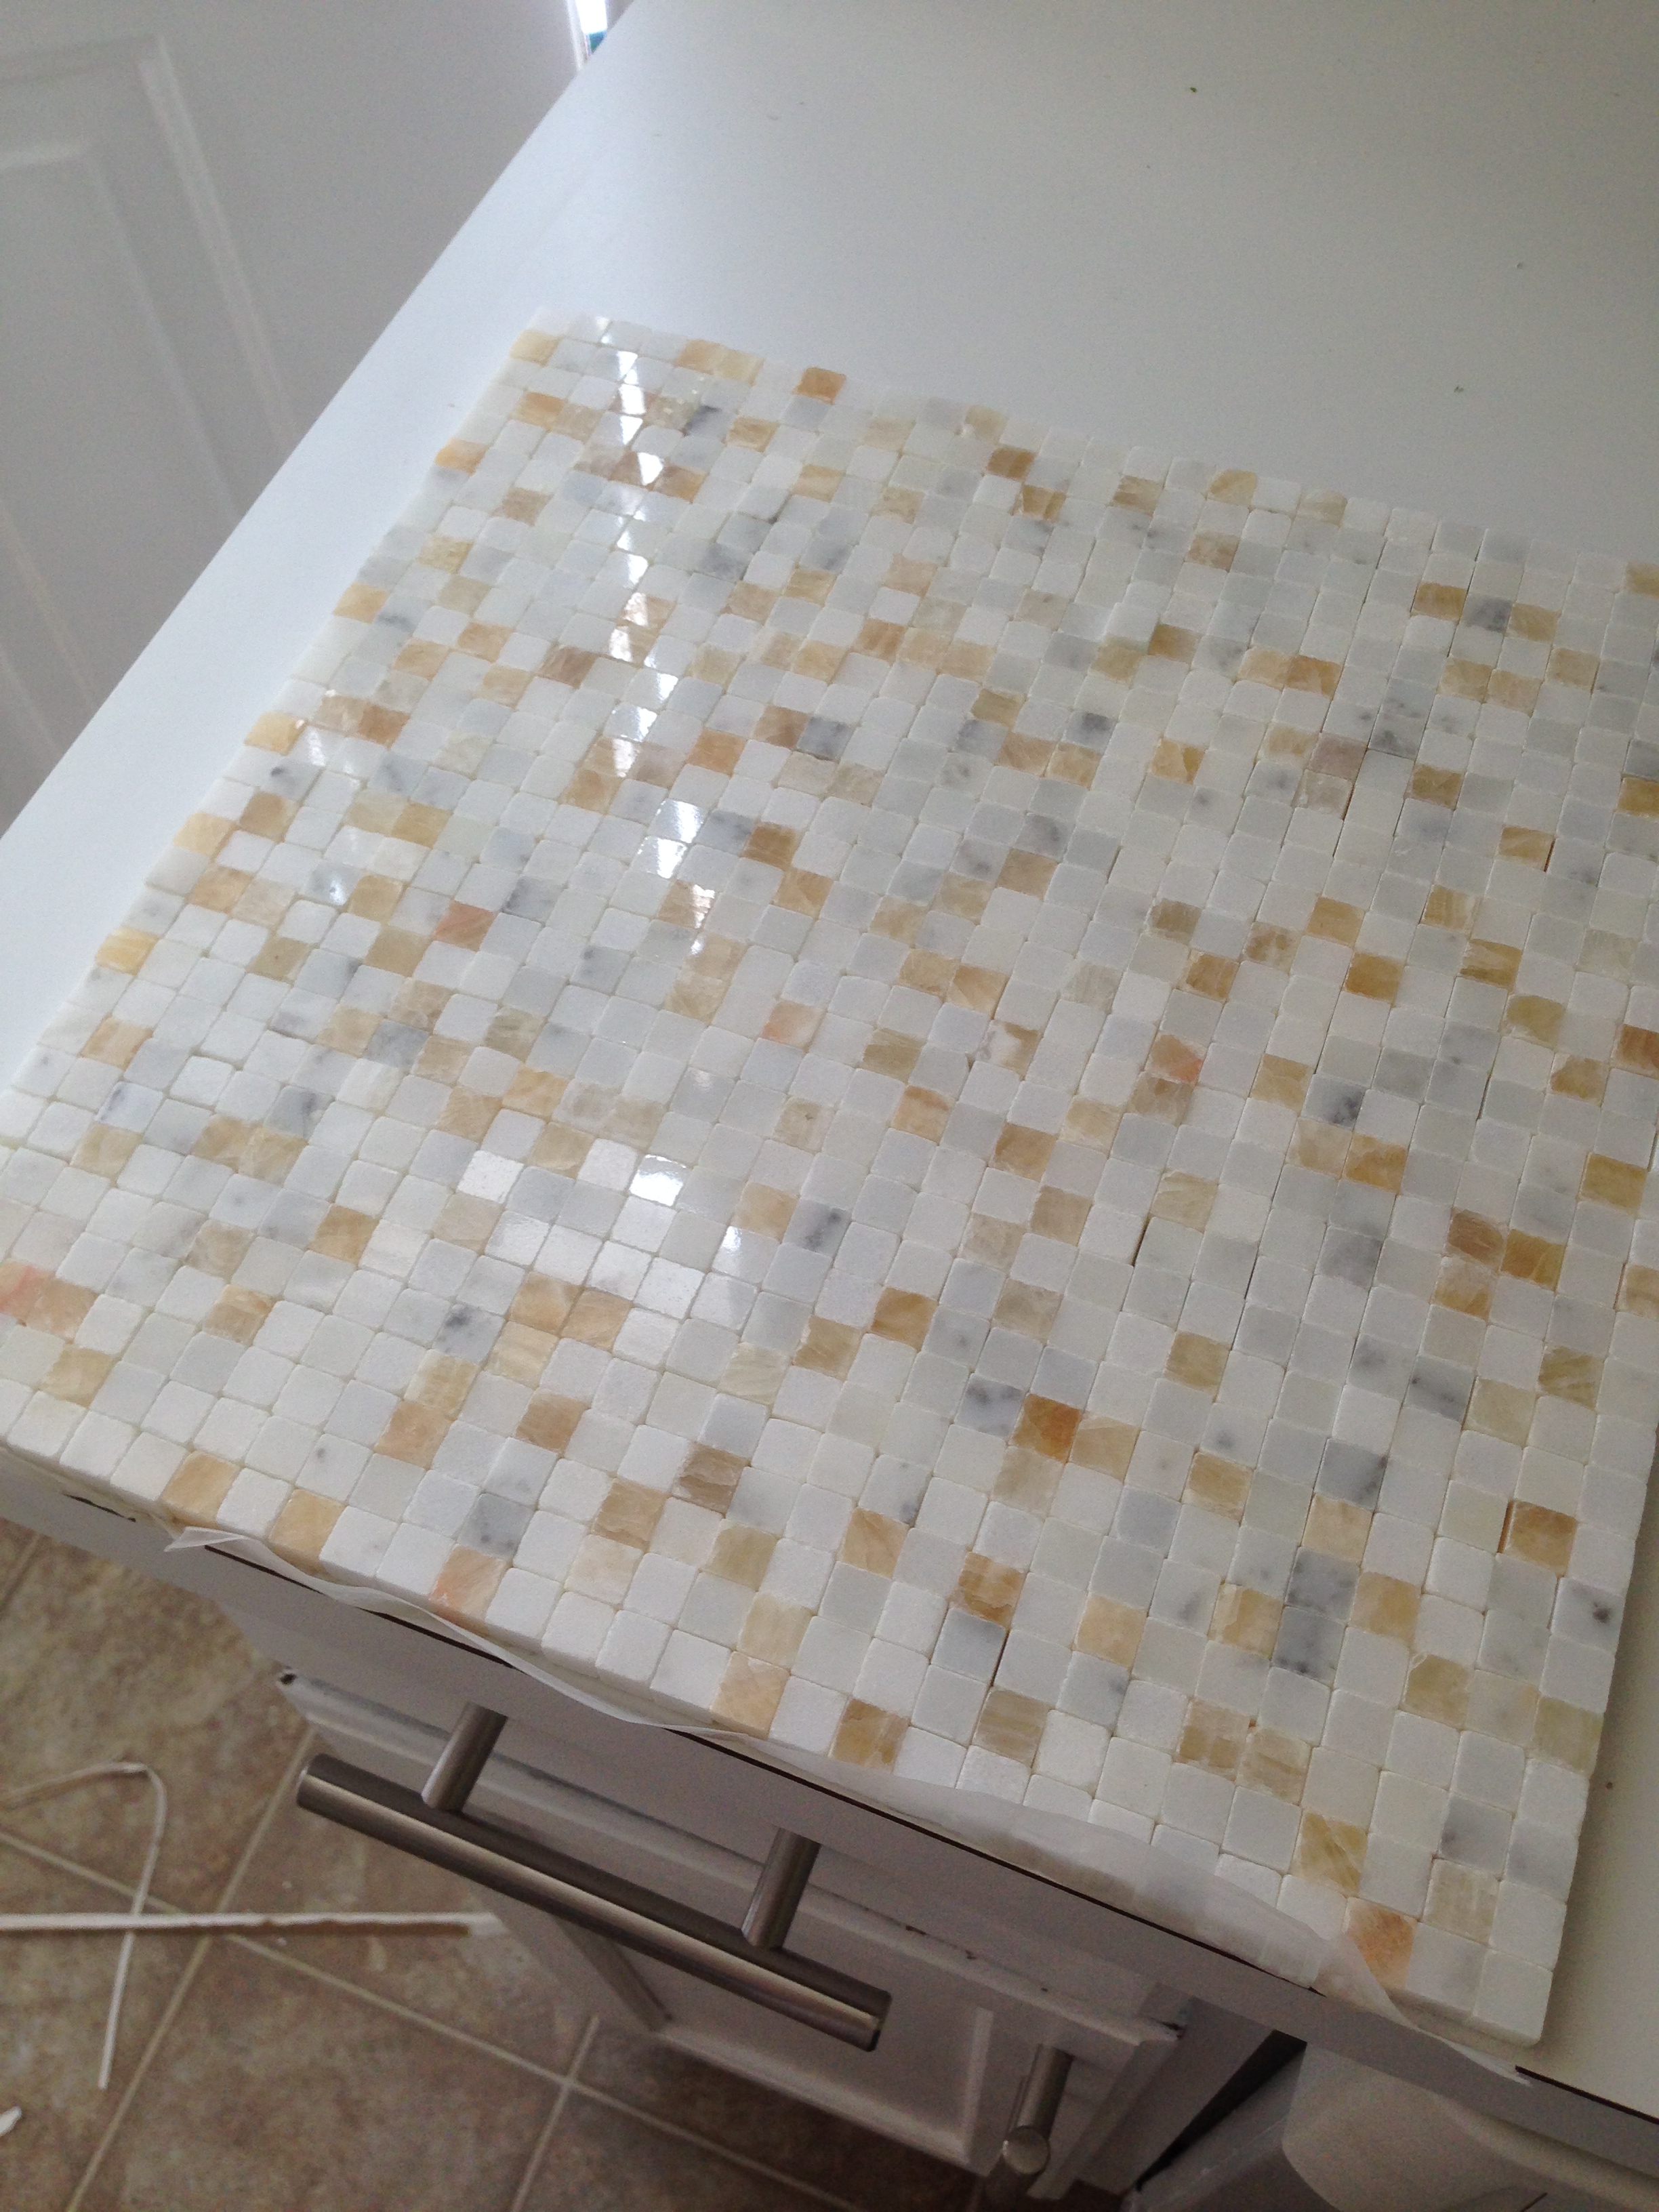
While we were in the middle of our project, we stopped over at a discount tile & floor outlet here in Columbus. Just to look. Kind of. They happened to be having a clearance event, and we found the perfect marble mosaic tile for a half off ($5.99/sq ft)! So, we caved and got it for a backsplash.
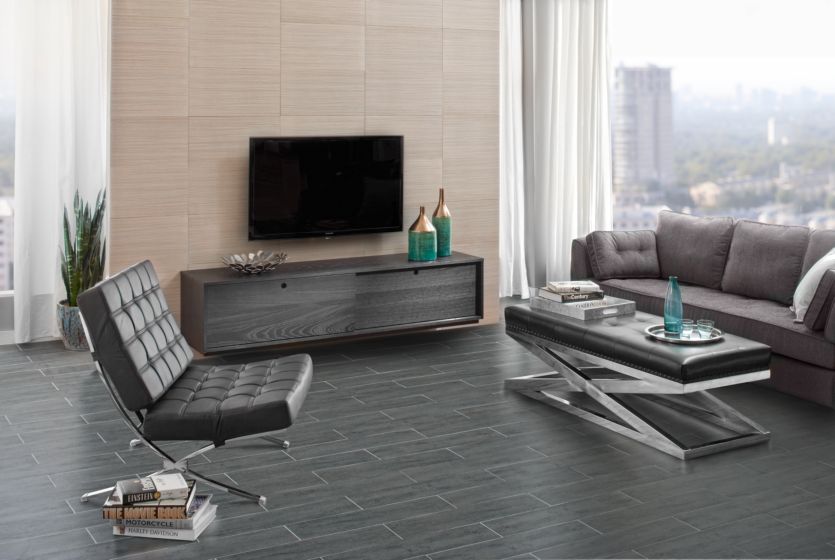
We also have our eyes on these dark gray porcelain tiles ($1.76/sq ft) for the floor! This is what they would look like:
We can’t wait to share more on our budget kitchen makeover, including our full reveal photos. So stay tuned!


I love it.. You make me want to do this for my kitchen!!
[…] week, we started our kitchen update project by painting the cabinets white and adding hardware. Since then, we’ve finished the second phase of our project: the backsplash! We […]
[…] it’s time for some before & after photos! In our last two posts, we shared how we updated the cabinets and added a backsplash. We also swapped out the old ivory switch plates for new metal ones, […]
Your cabinets are beautiful. What type of finish did you use for your paint? semi gloos or gloss. Also was it water based paint?
Did you get any roller marks on the doors, hard to tell from photos, those drive me nuts.
And did you seal the doors with any poly or wax?
Thanks for your help.
Thanks Dee! We used a semi gloss for the cabinets (at the recommendation of the guy at Lowe’s!) It was water based paint, yes. We didn’t have roller marks on the cabinets because we did several coats of paint… At least 4, maybe 5. We didn’t seal them, although we might in the near future, just to give them an extra layer of protection.
How is the paint on the cabinets wearing? I am really nervous about painting mine with that in mind. Also thinking about doing the bottom cabinets black with the top cabinets white :/
Chris – no chips yet. If you want to be extra safe, you could sand first and then put poly or some other kind of sealer on it after the painting is done. I think doing dark base cabinets with light upper cabinets could look cool. I’ve seen them do that on Property Brothers before!
Love the fresh white look! I think grey is a great colour for the kitchen floor especially if you have light cabinets. It always looks so sophisticated.