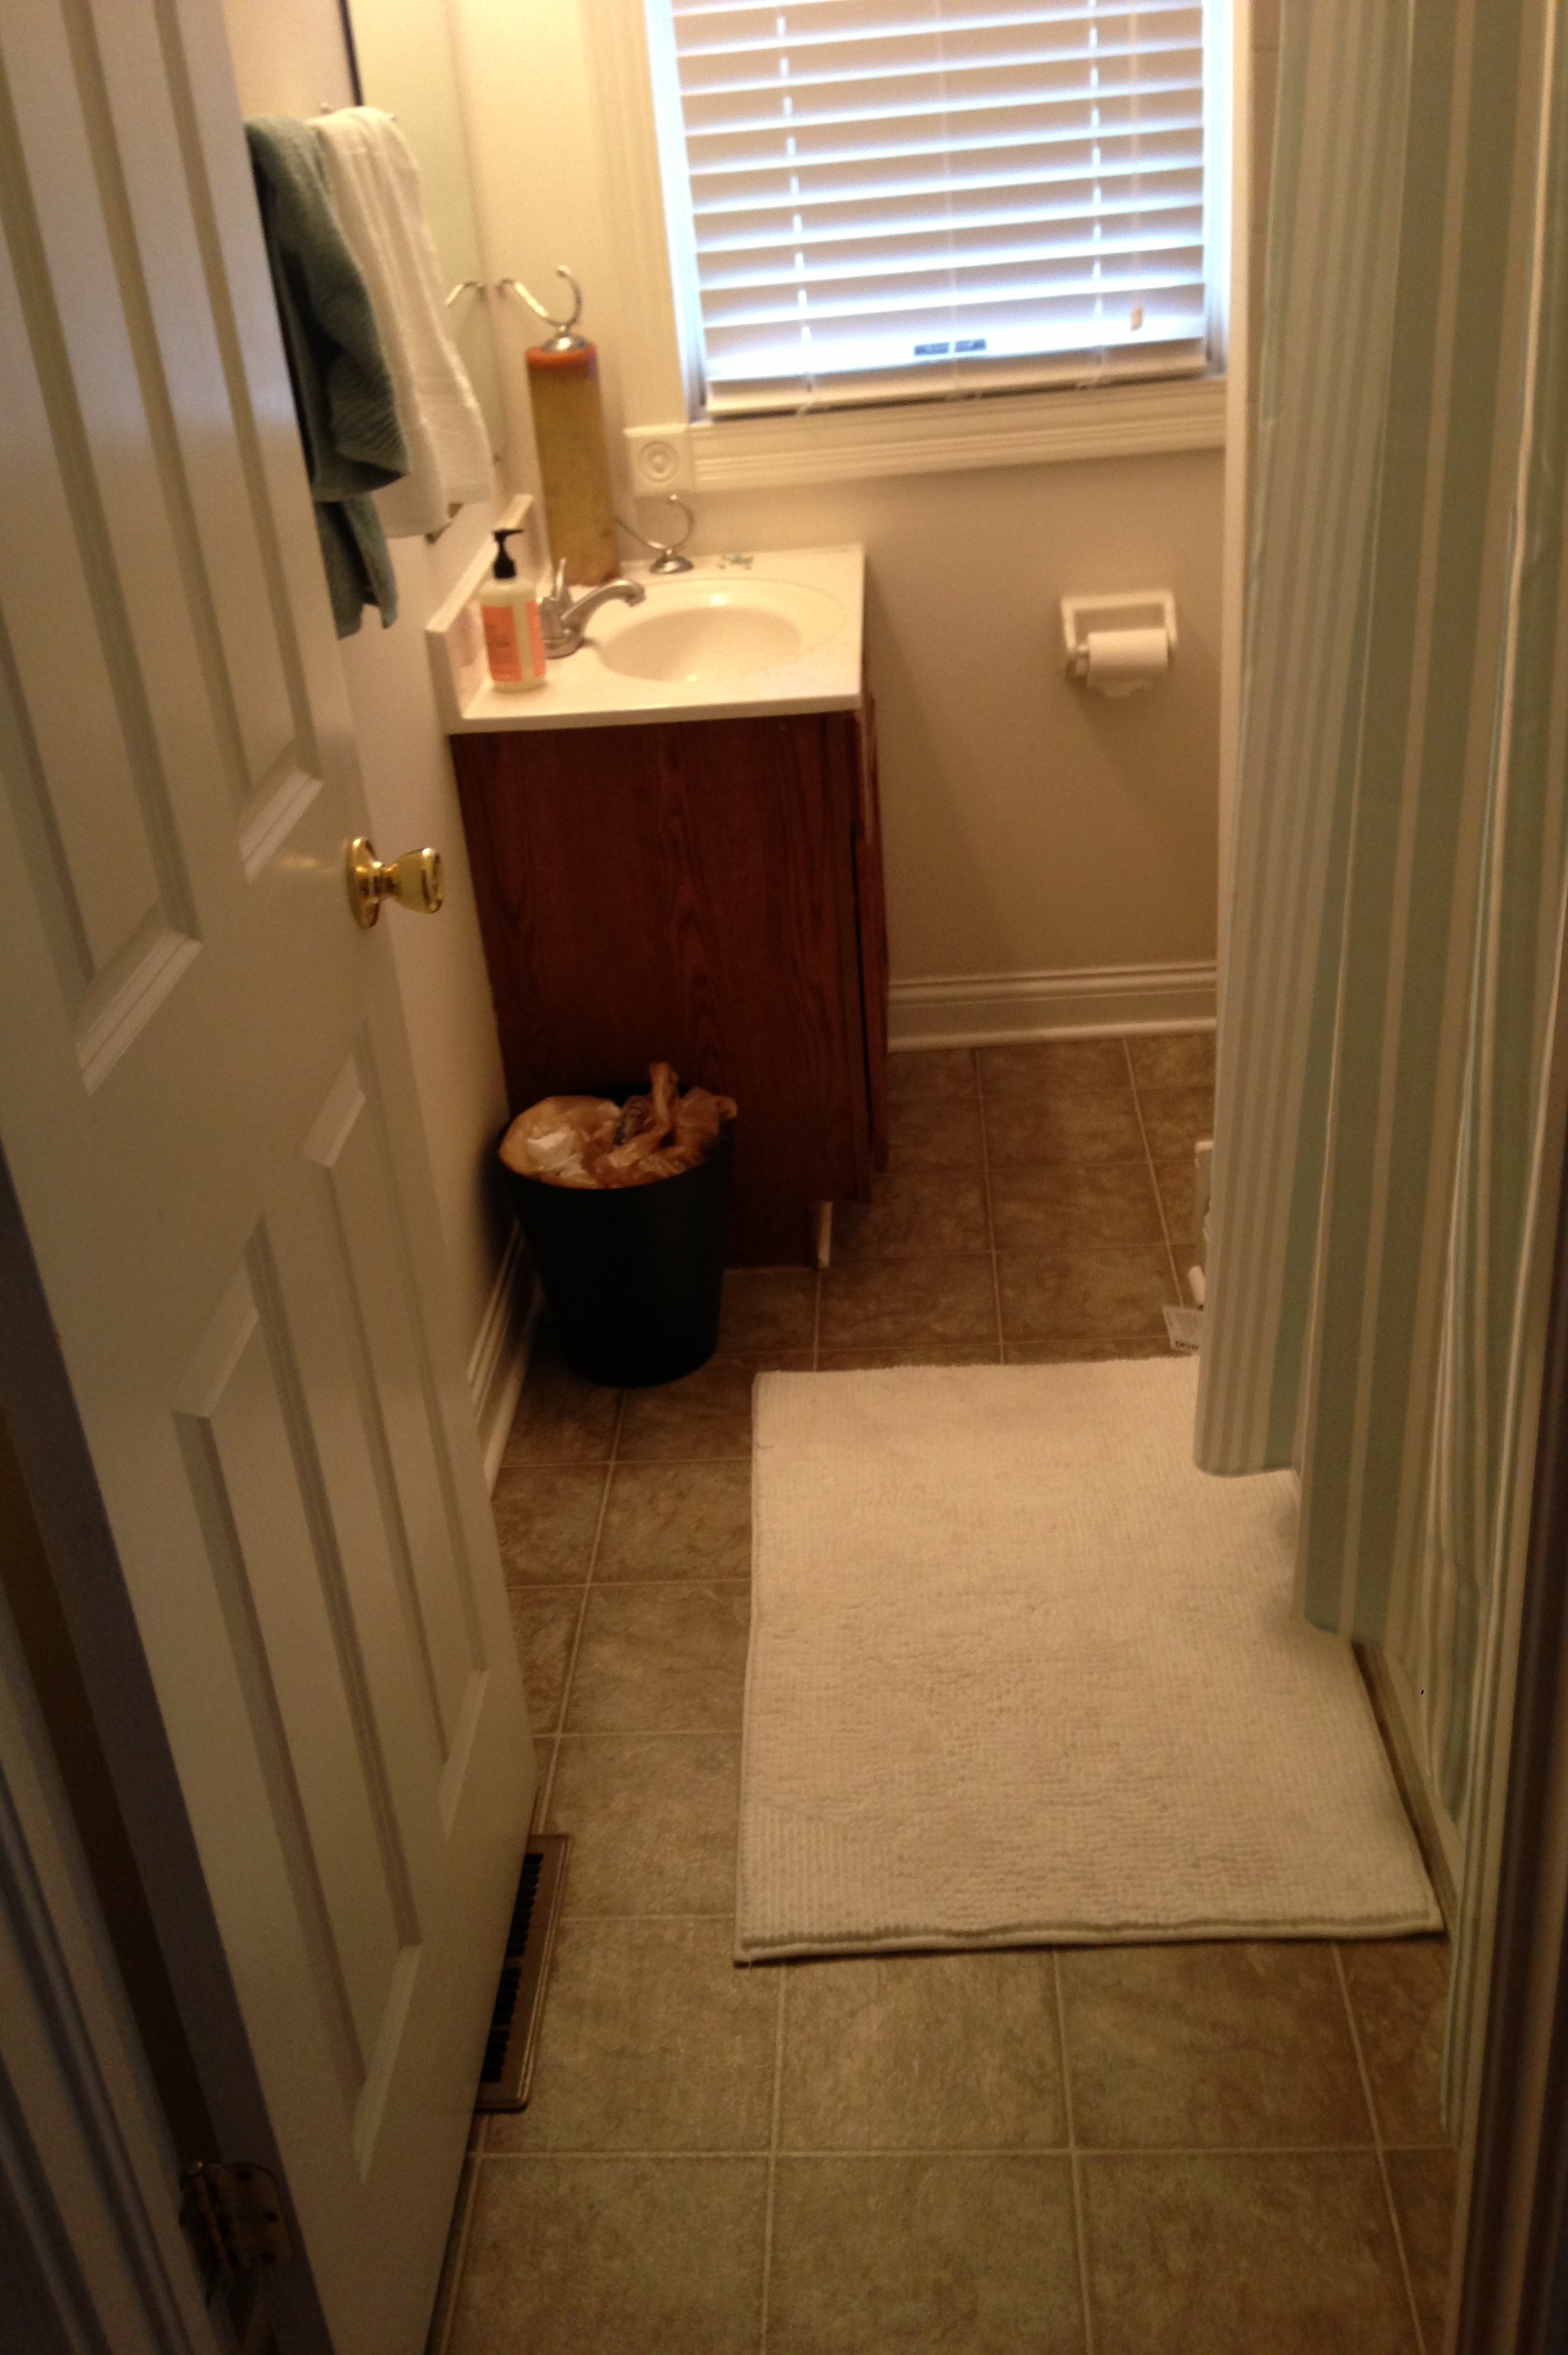
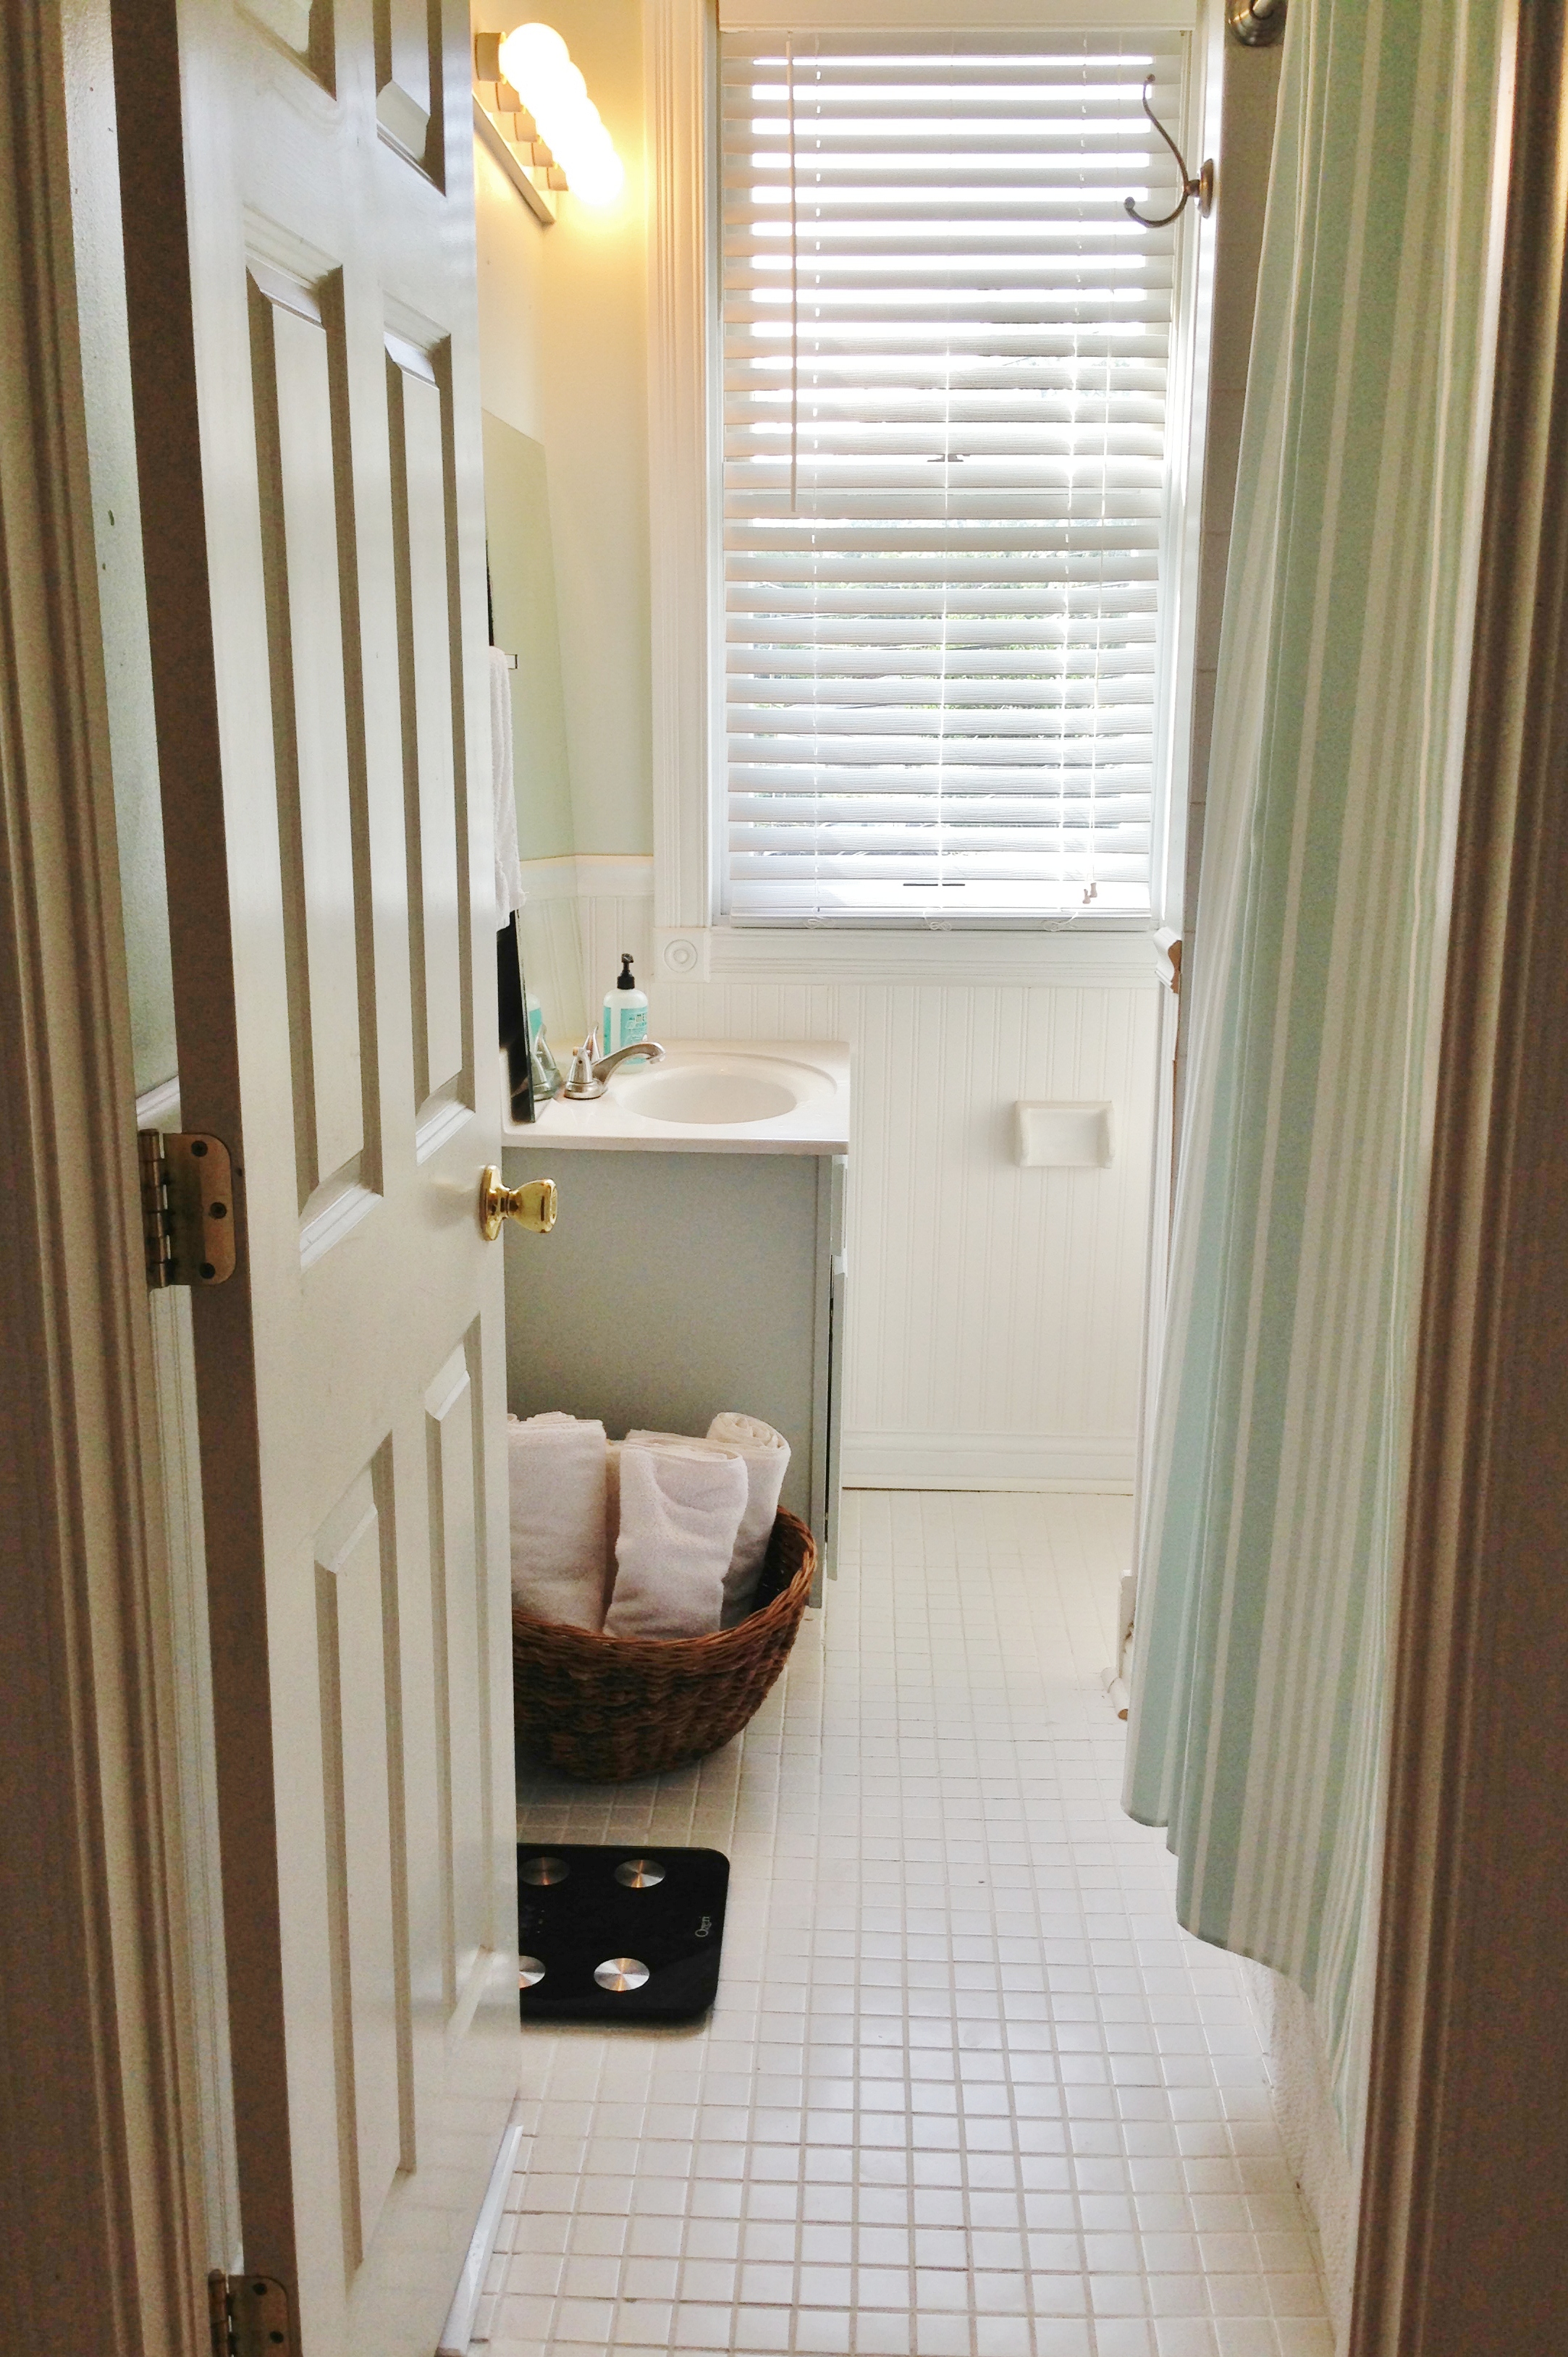
Over the past few weeks, we’ve been browsing design ideas for our powder room downstairs, which made me realize I never shared the details behind our guest bathroom refresh! This was one of the first DIY projects we did after moving in, and we learned so much along the way. It feels fresh and clean, and we’re LOVING the real tile vs the laminate floor that was previously in there. The whole thing cost us under $225!
Here’s what we did:
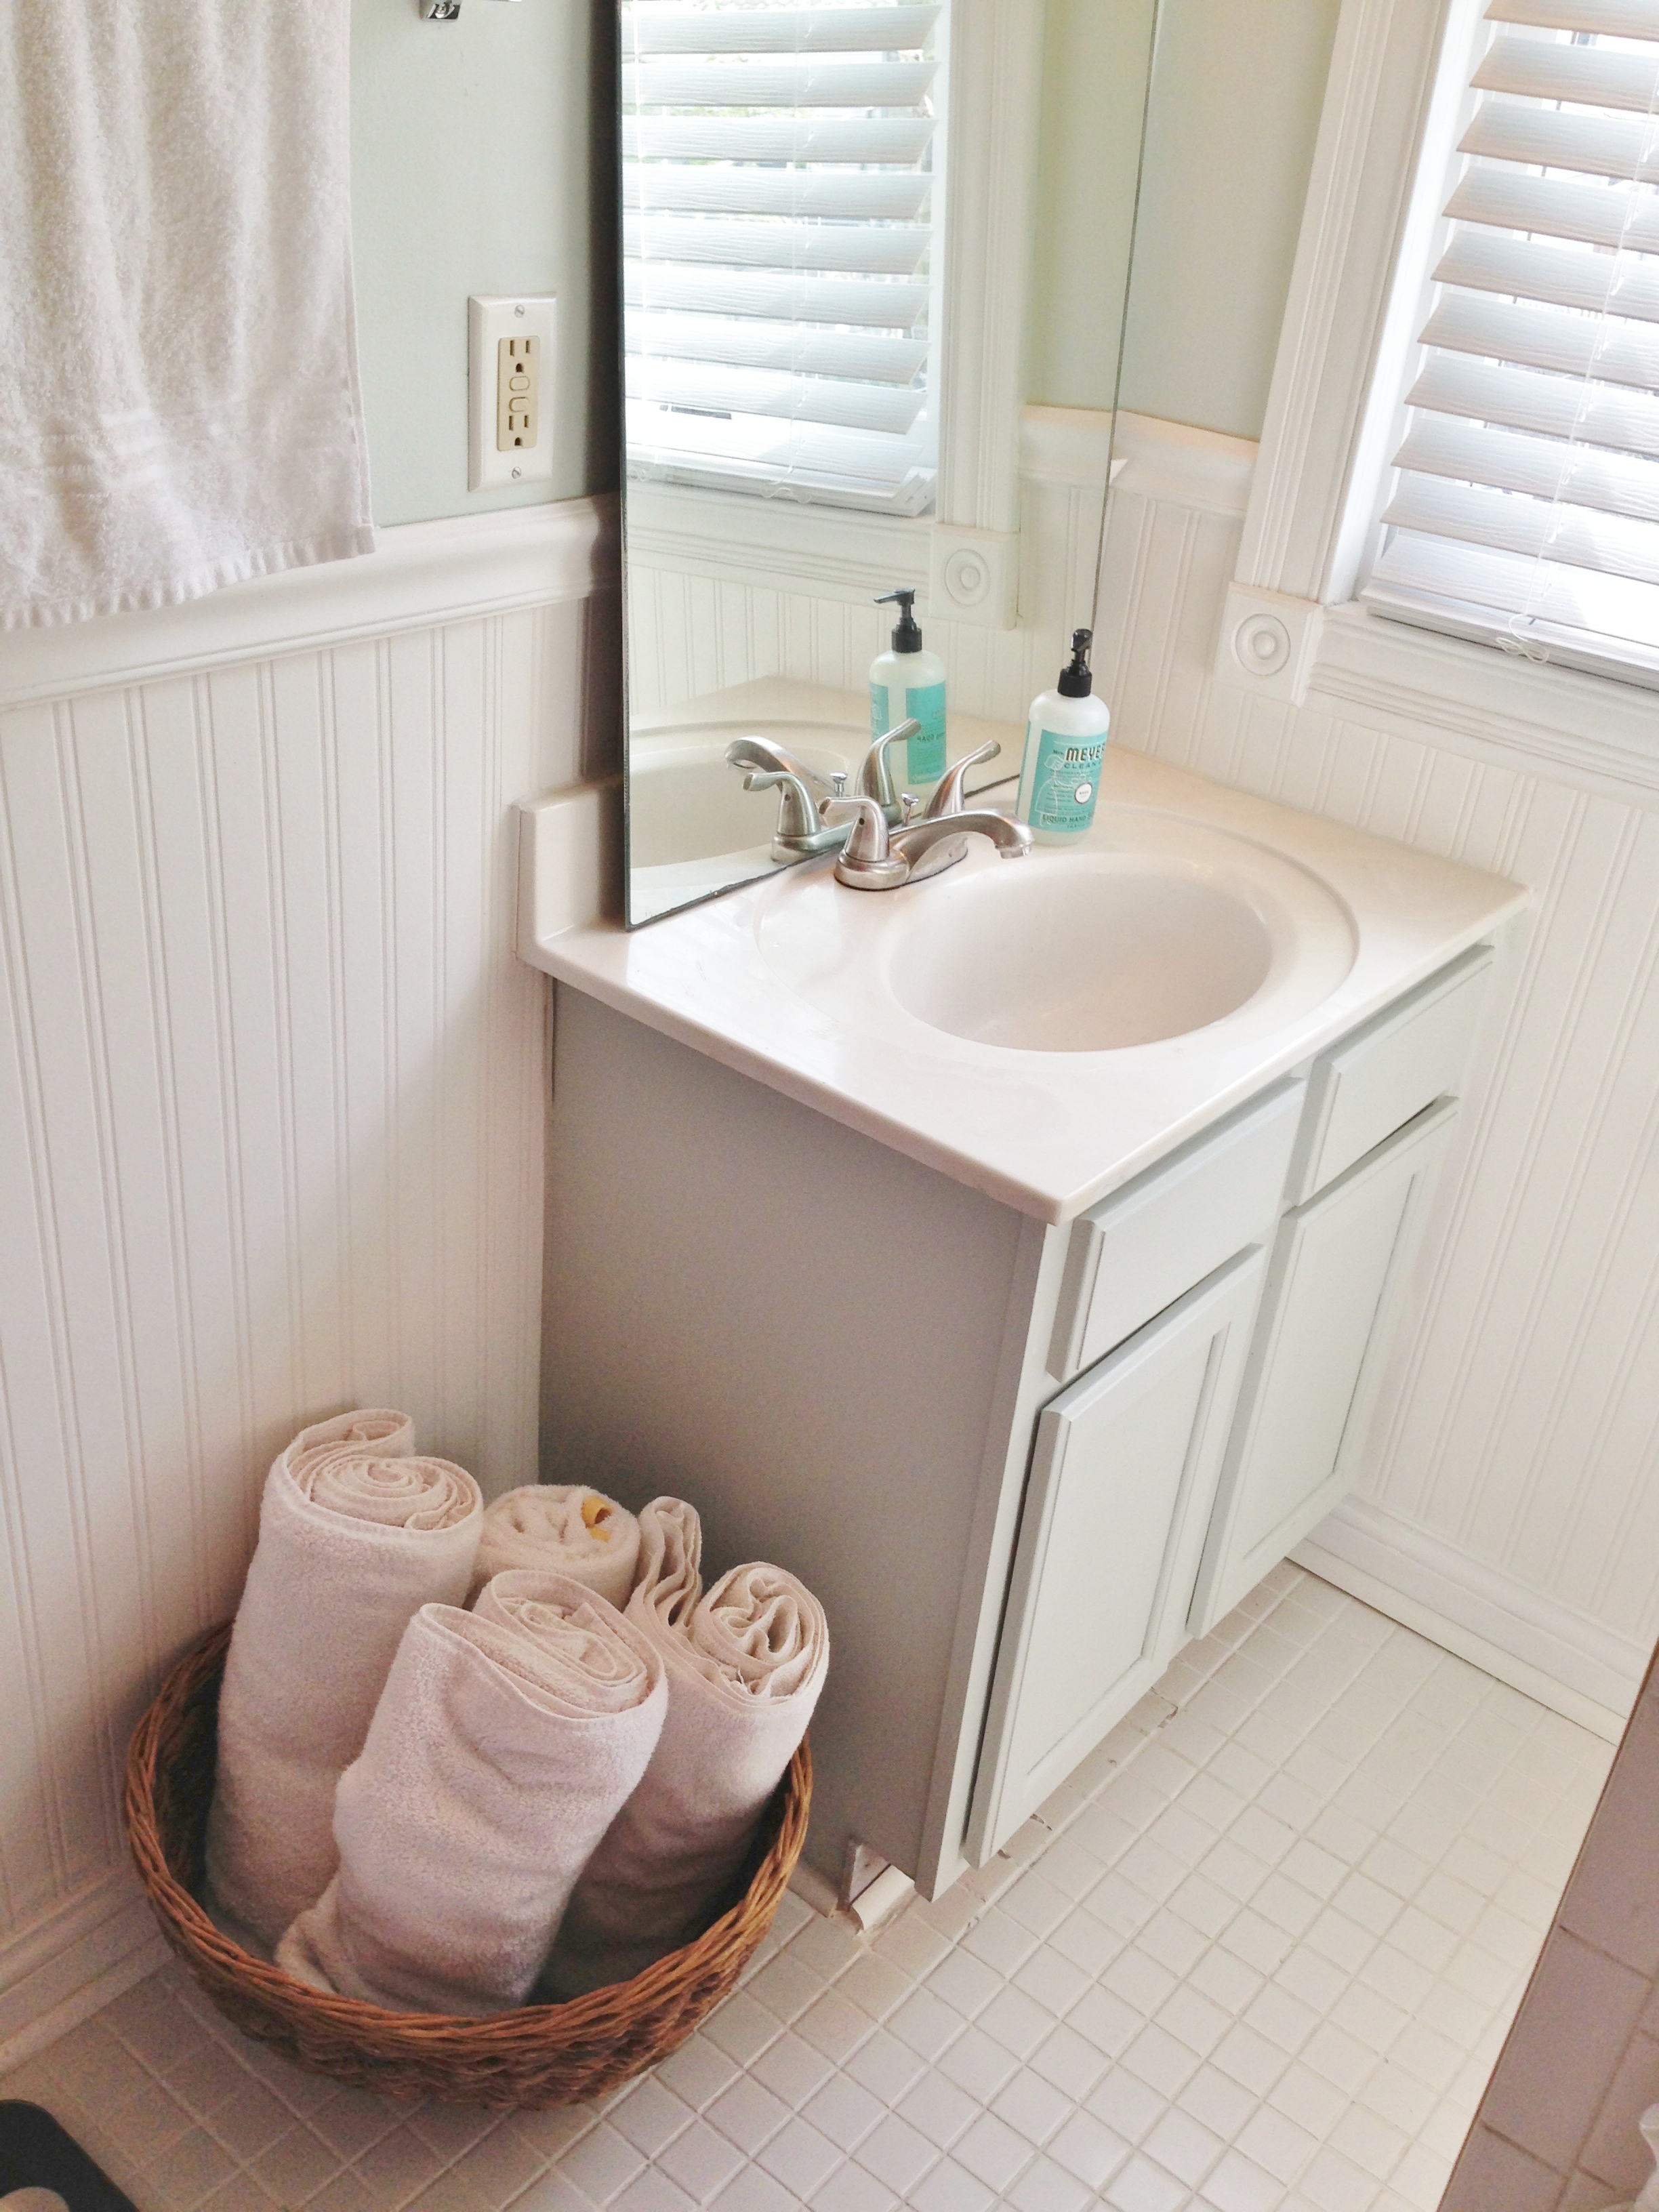
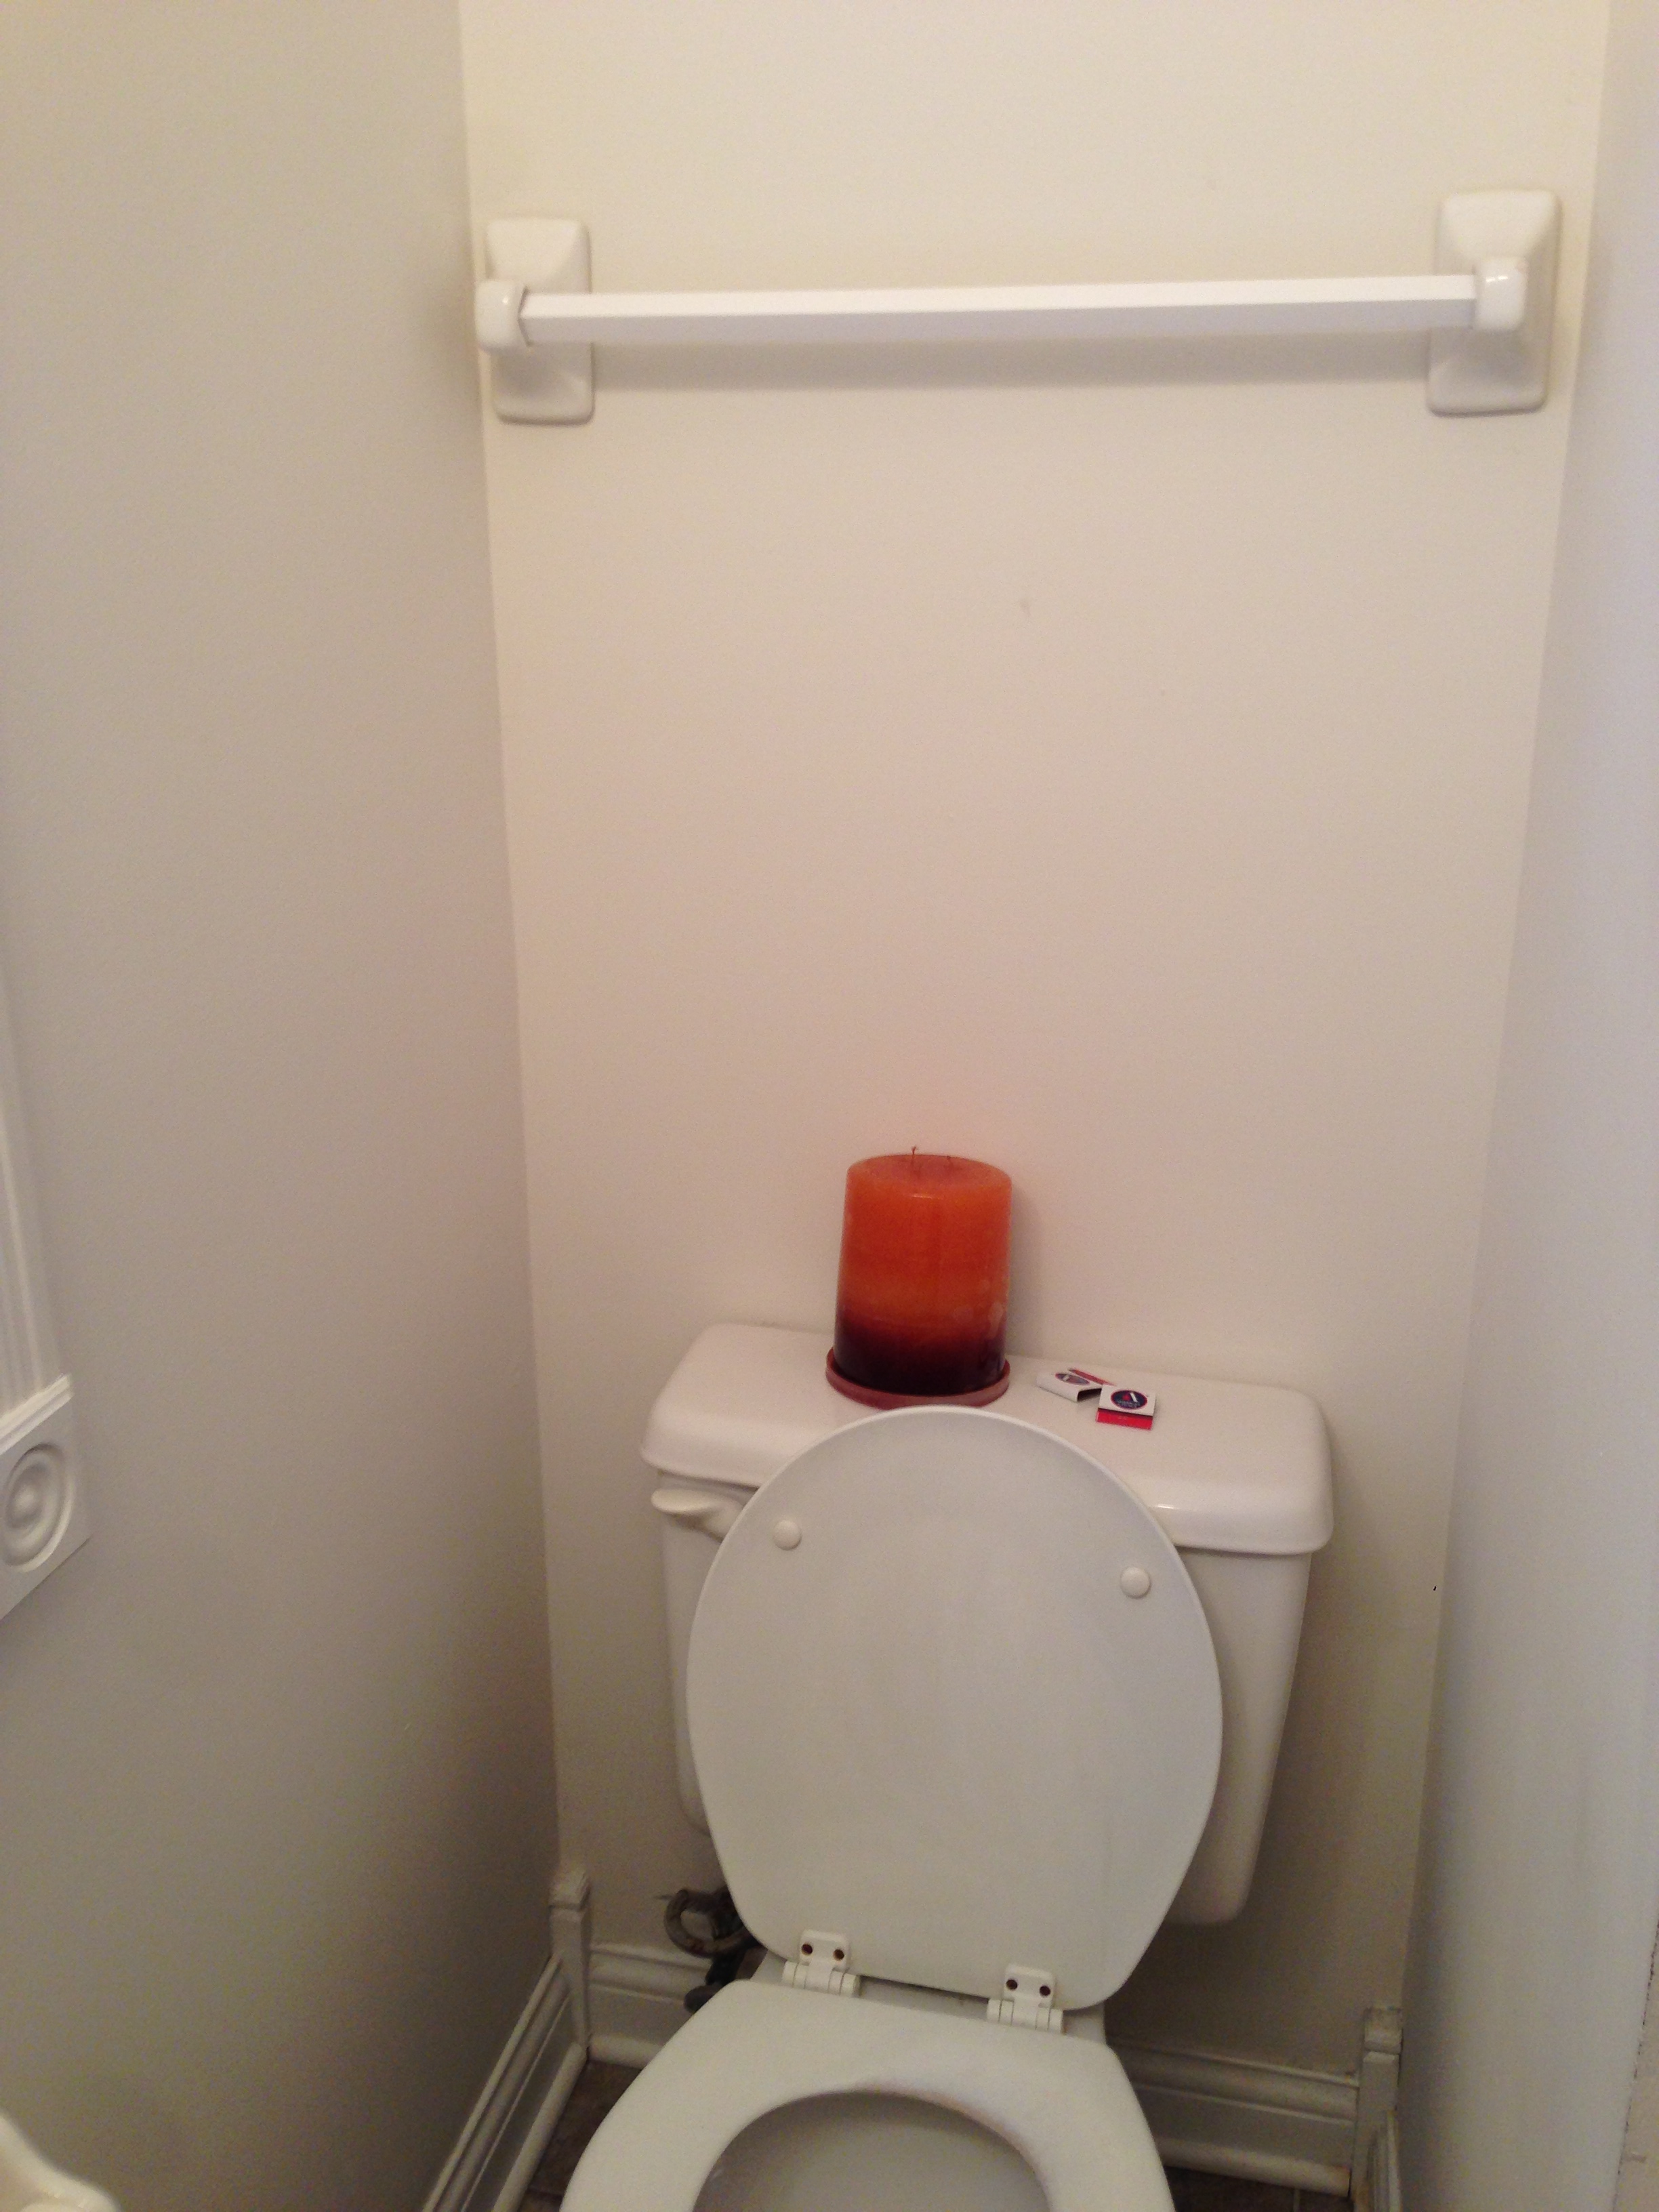
What we did: We painted! We got away with using a grey paint sample that cost $3. We also took the mirror off the wall to install the beadboard wallpaper and chair rail, and never put it back up. We’re kind of digging the leaning mirror look until we find the perfect one for the space.
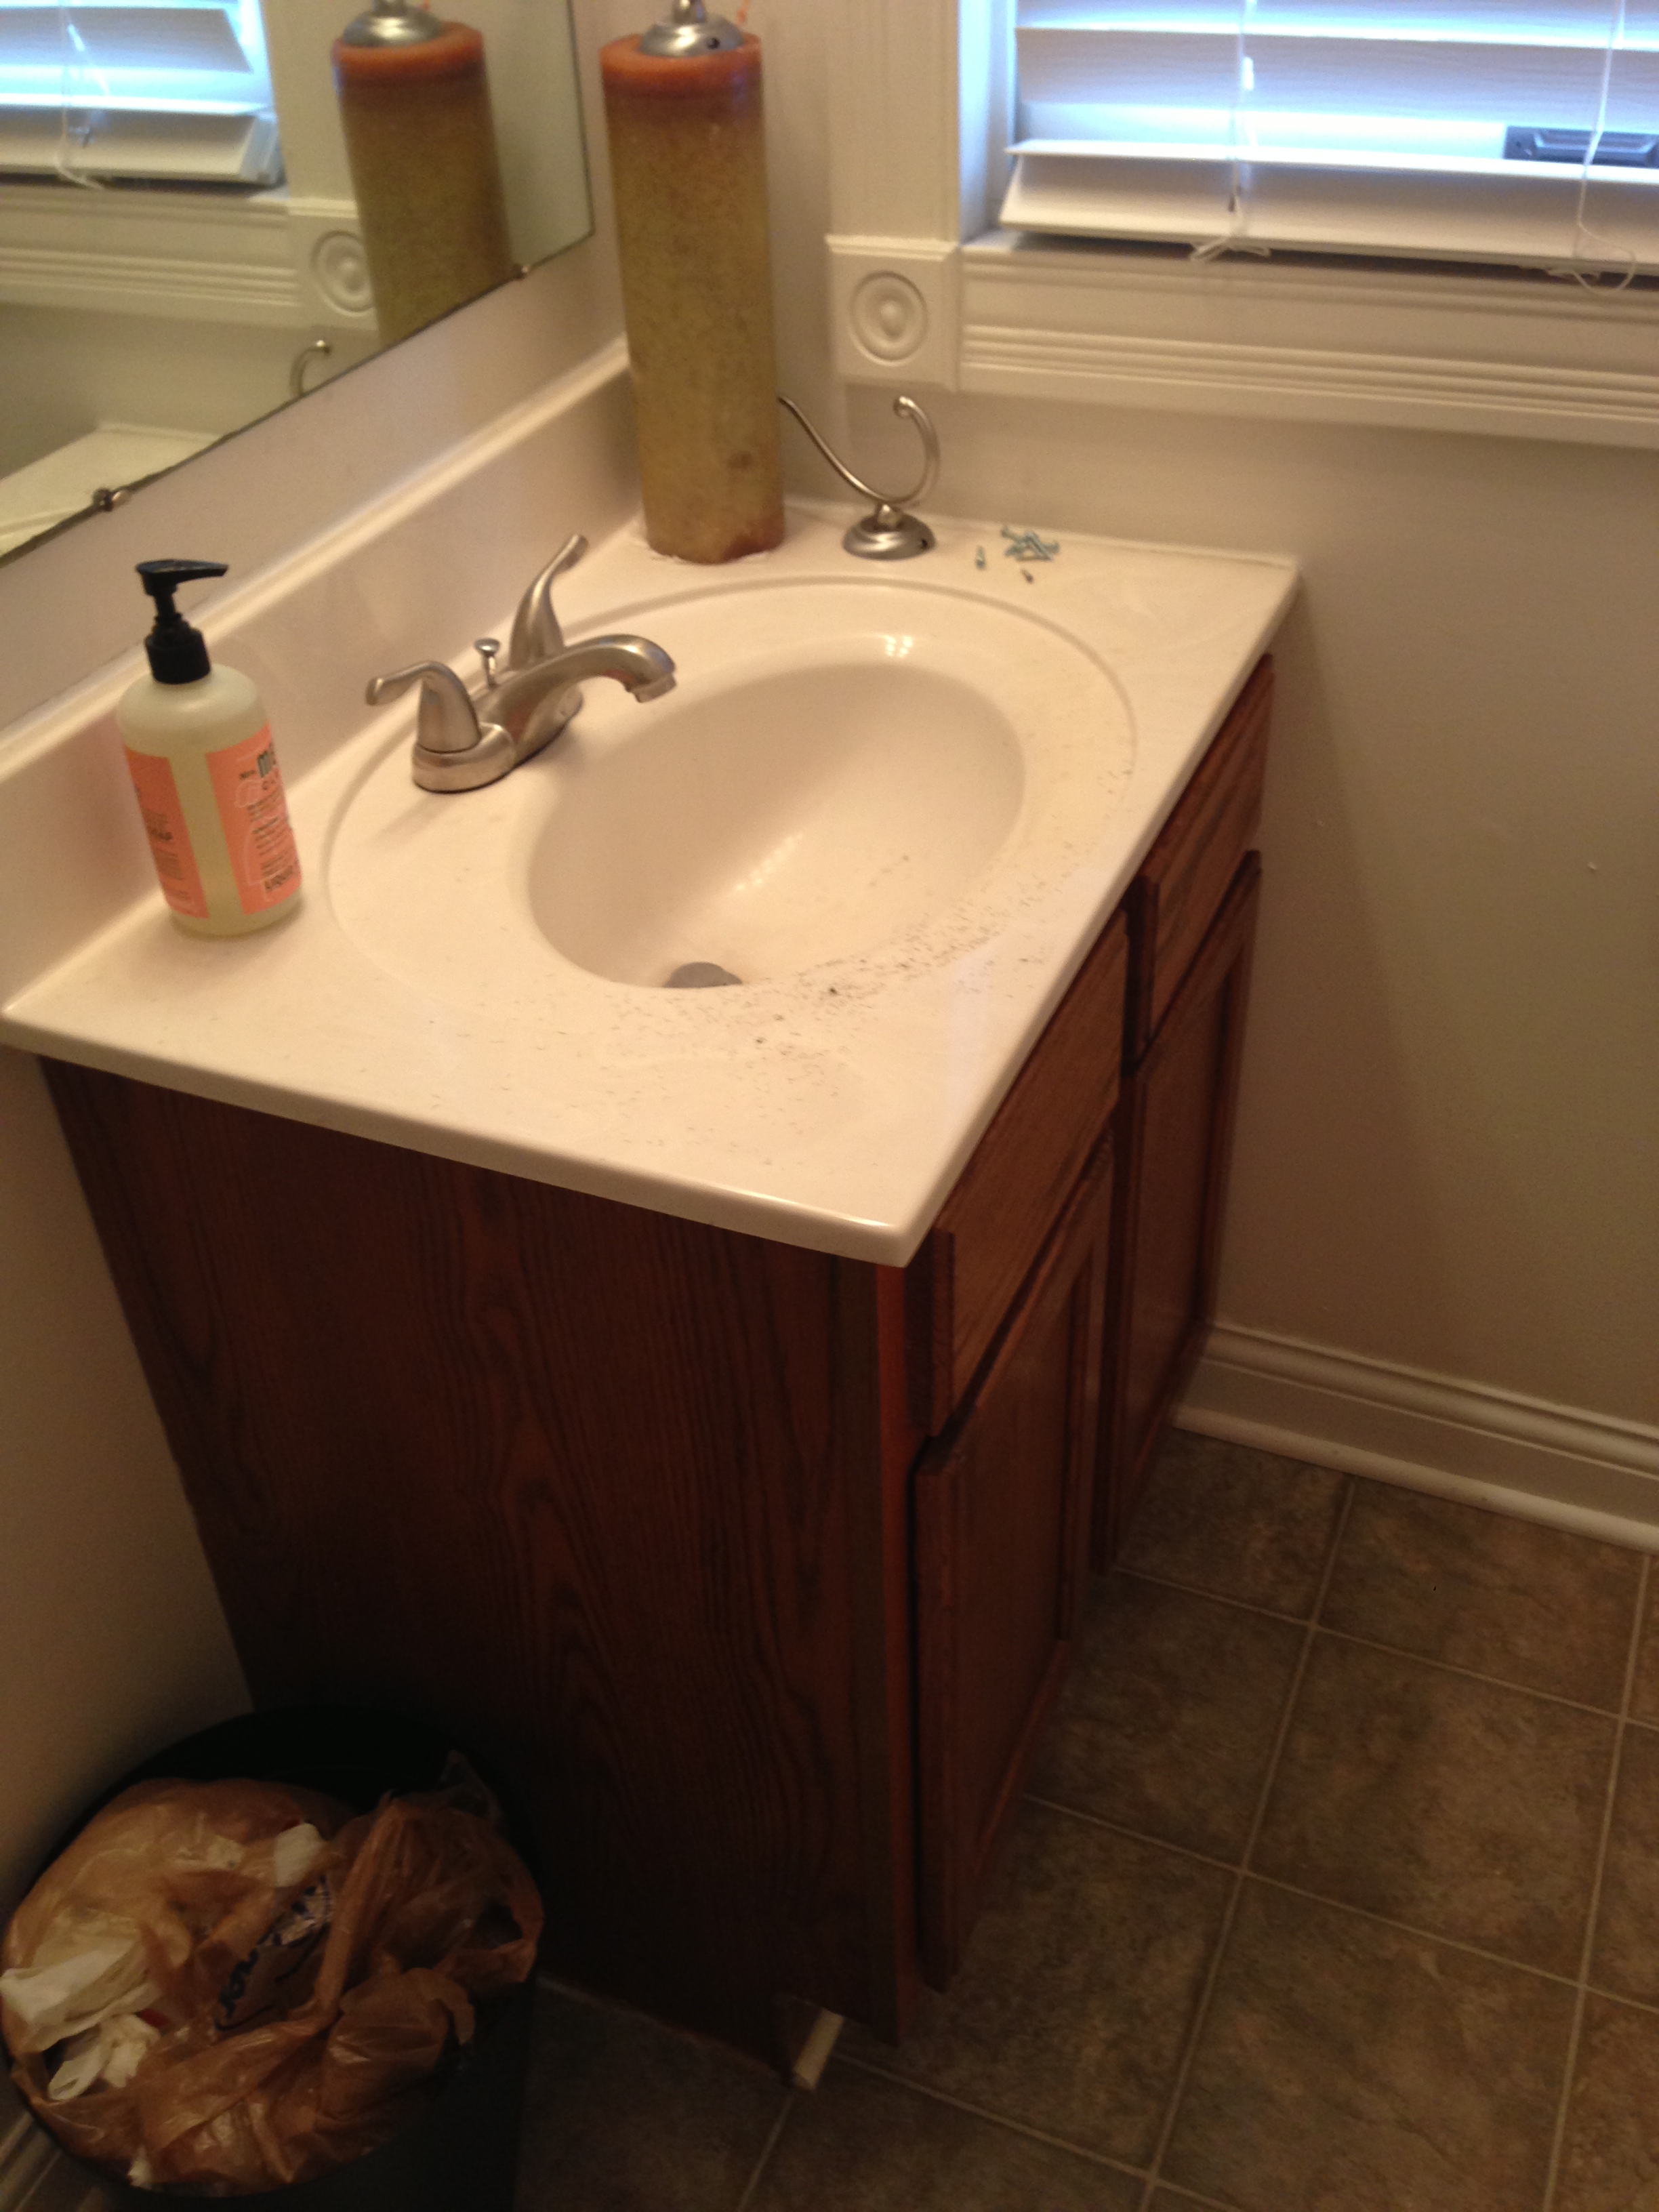
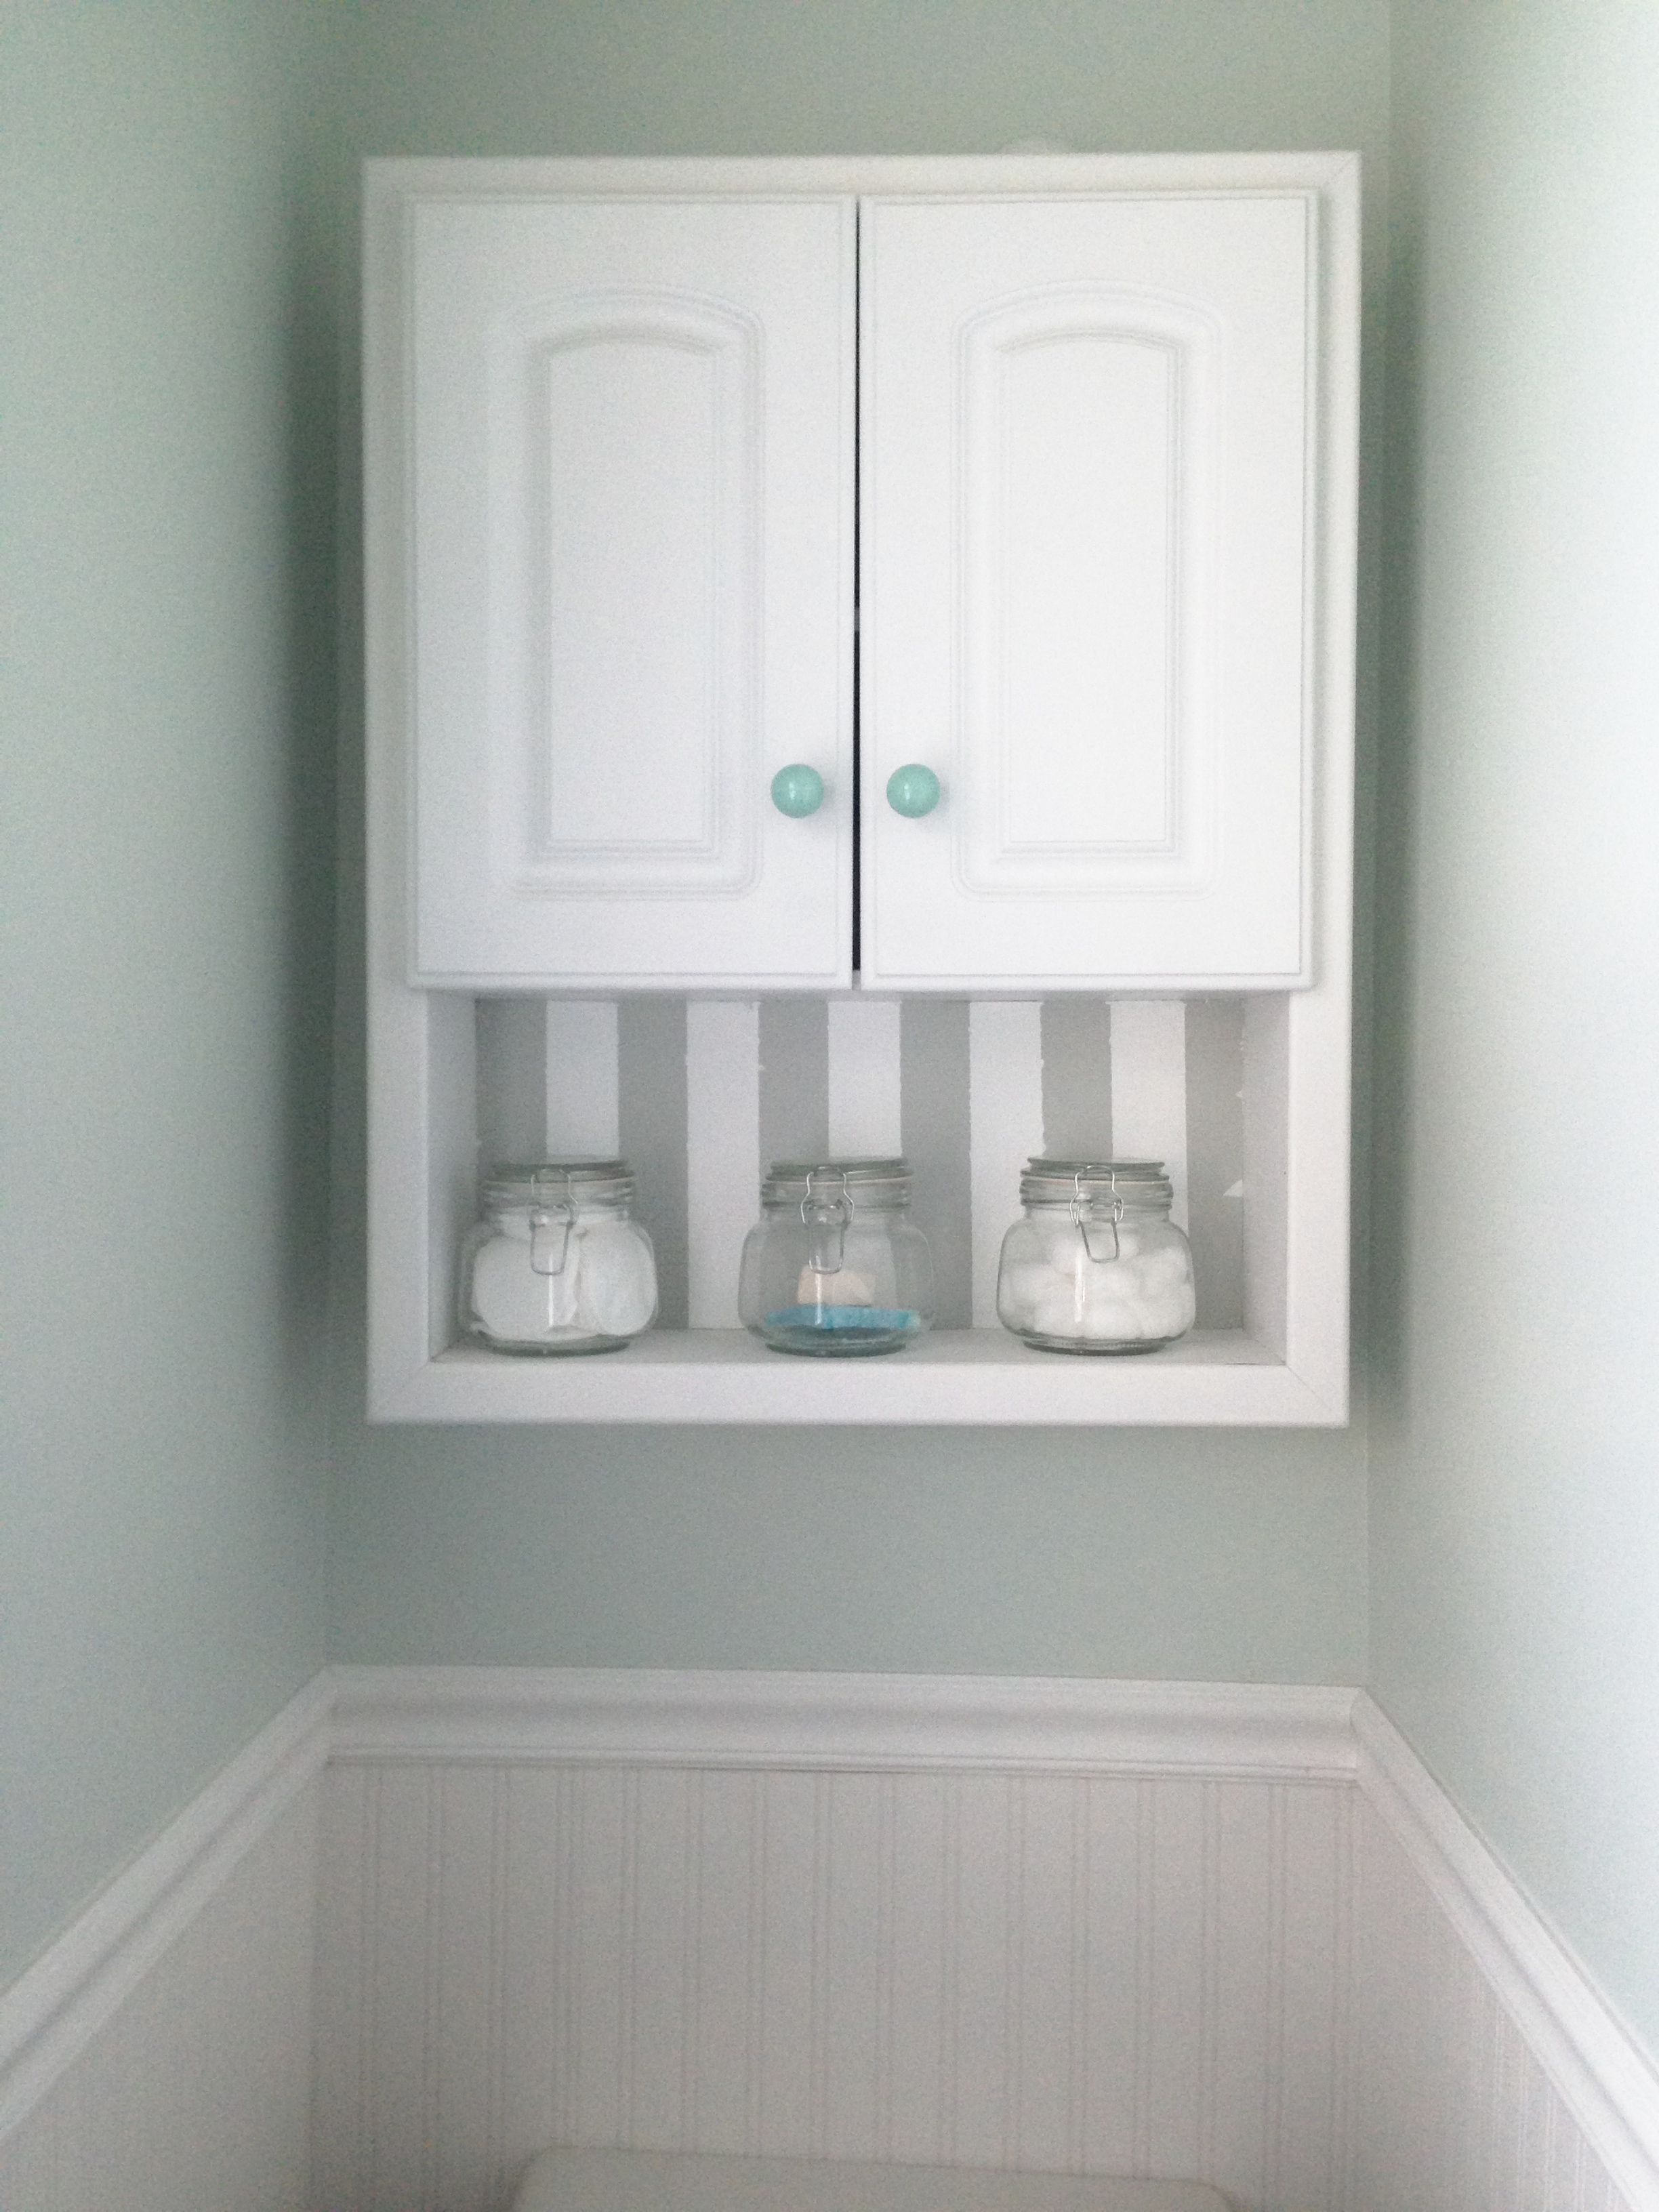
What we did: We got lucky with this one. Someone was giving this cabinet away, and we snatched it up for free! We bought a paint sample for $3 and painted grey/white stripes in the background to add some interest. We splurged on knobs from Anthropologie, which cost $7 each. The storage jars were from Dollar Tree and cost $1 each.
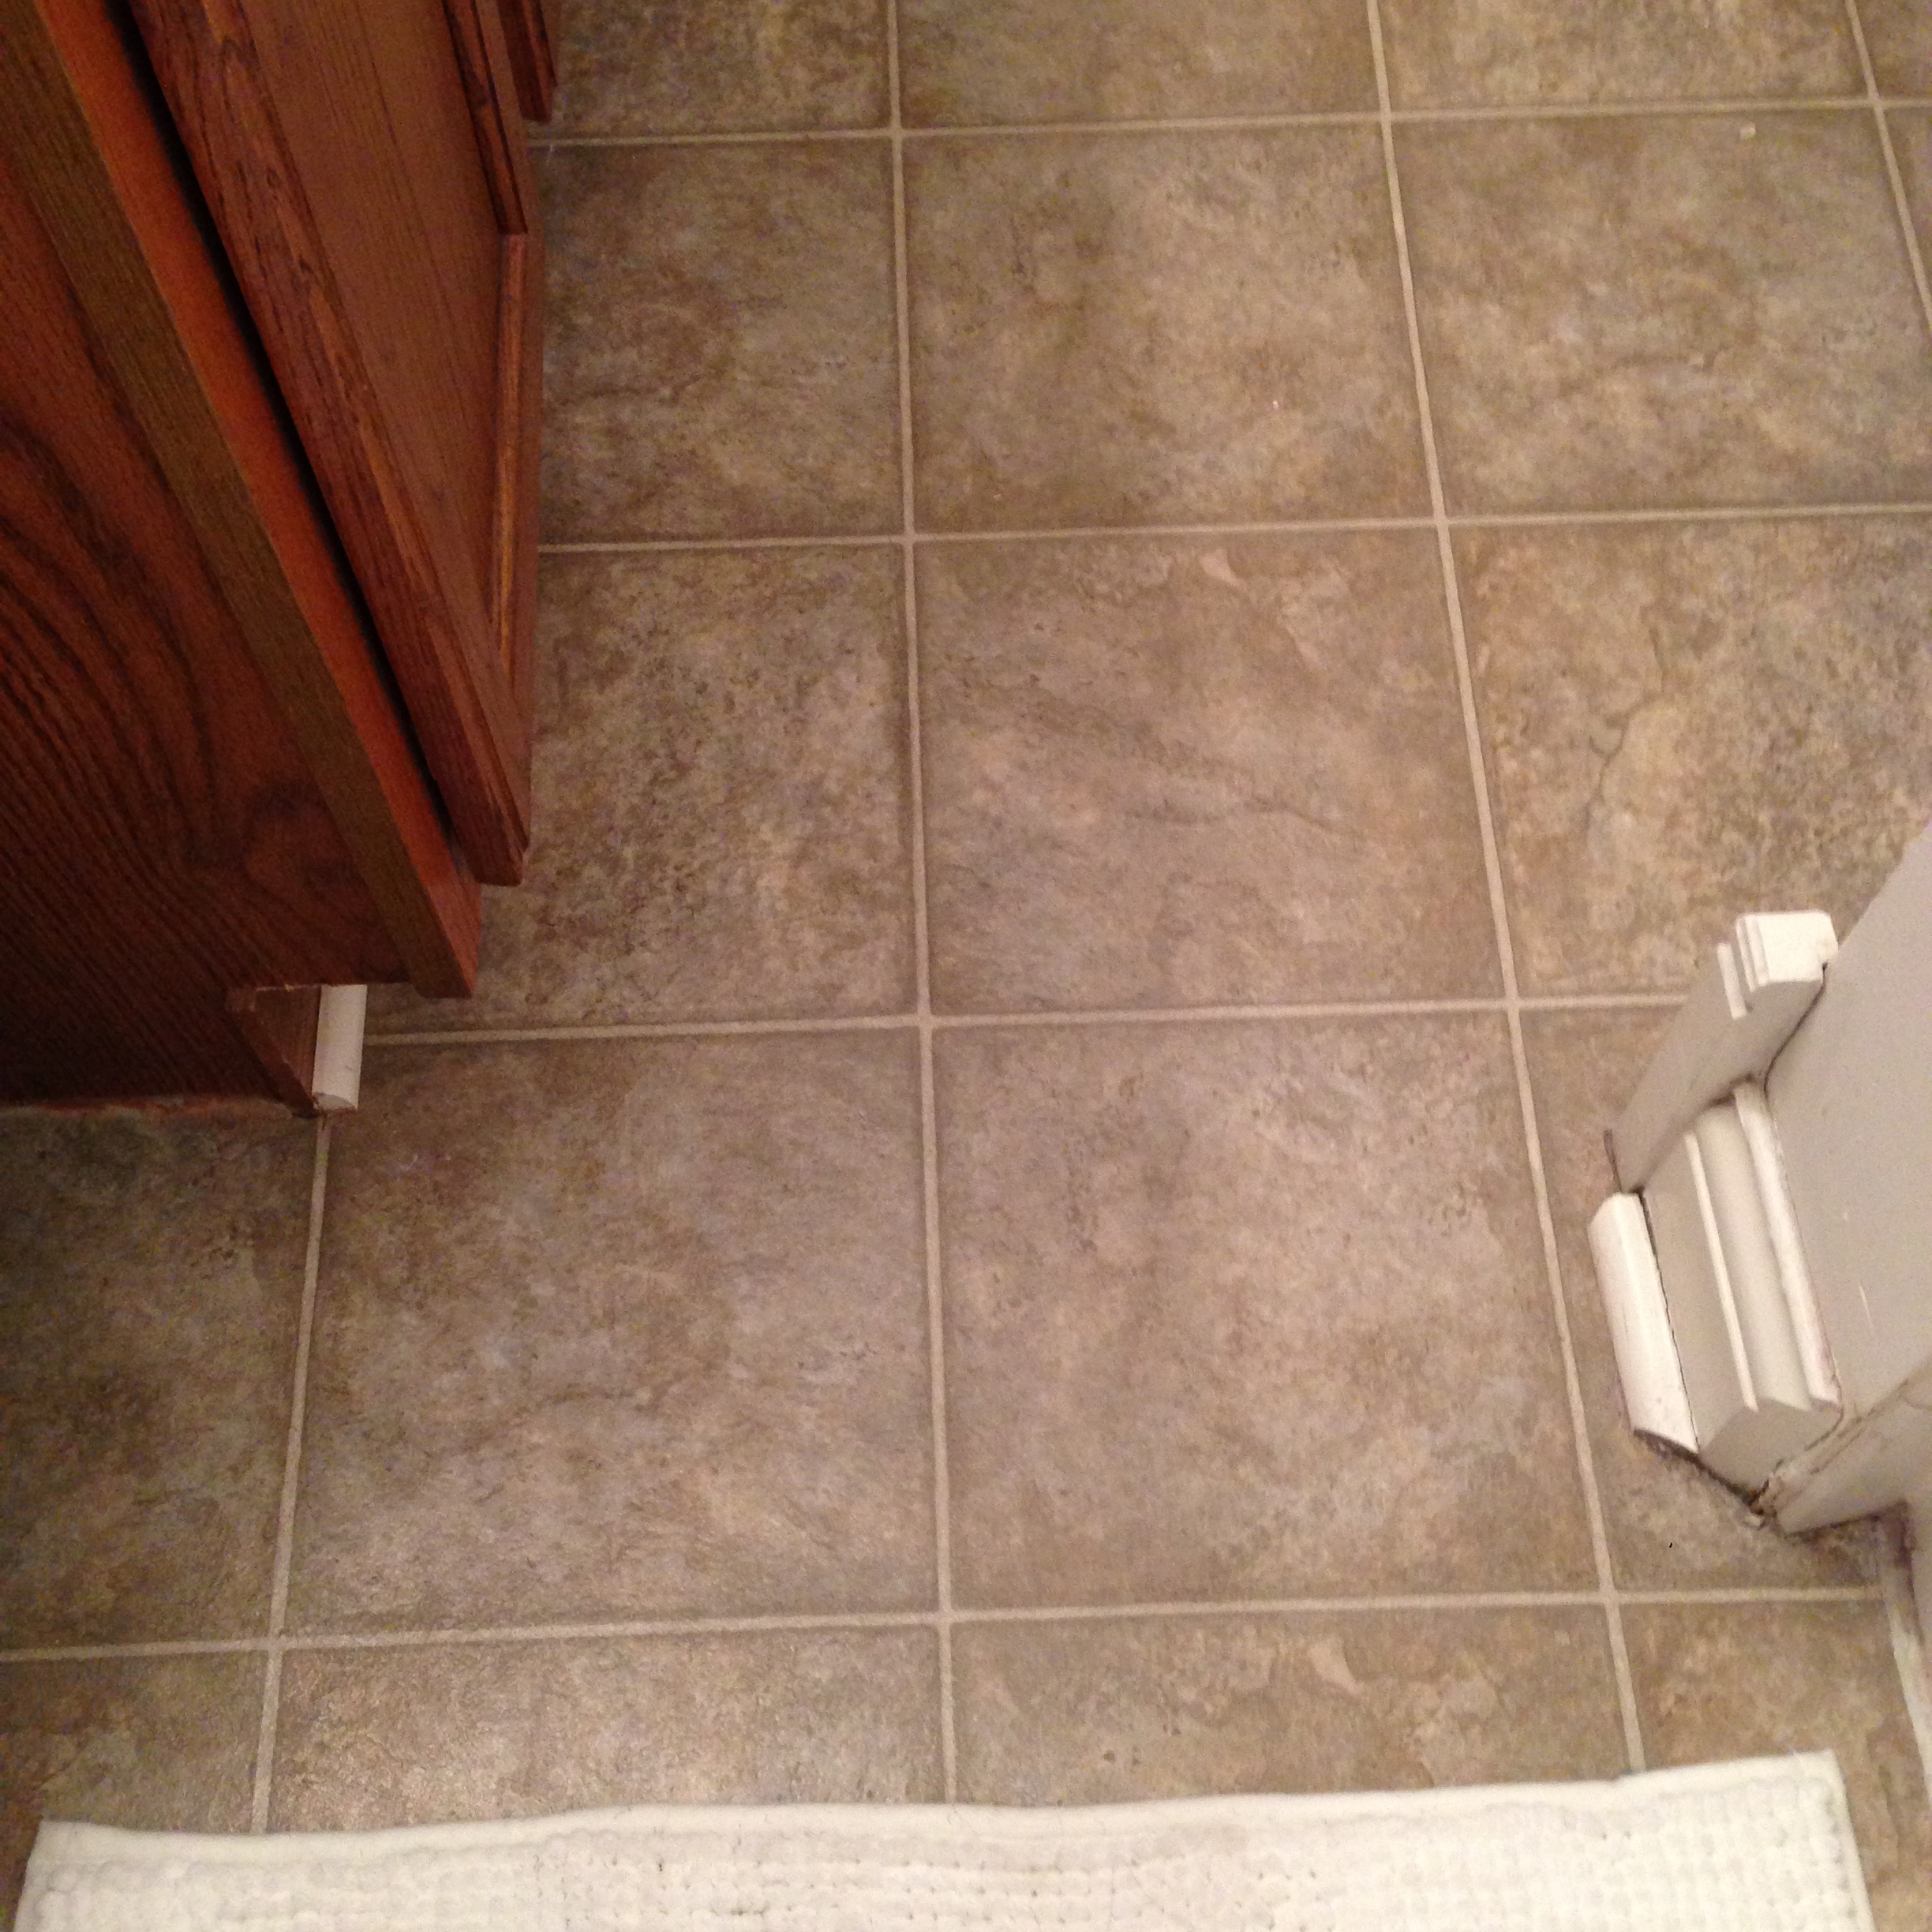
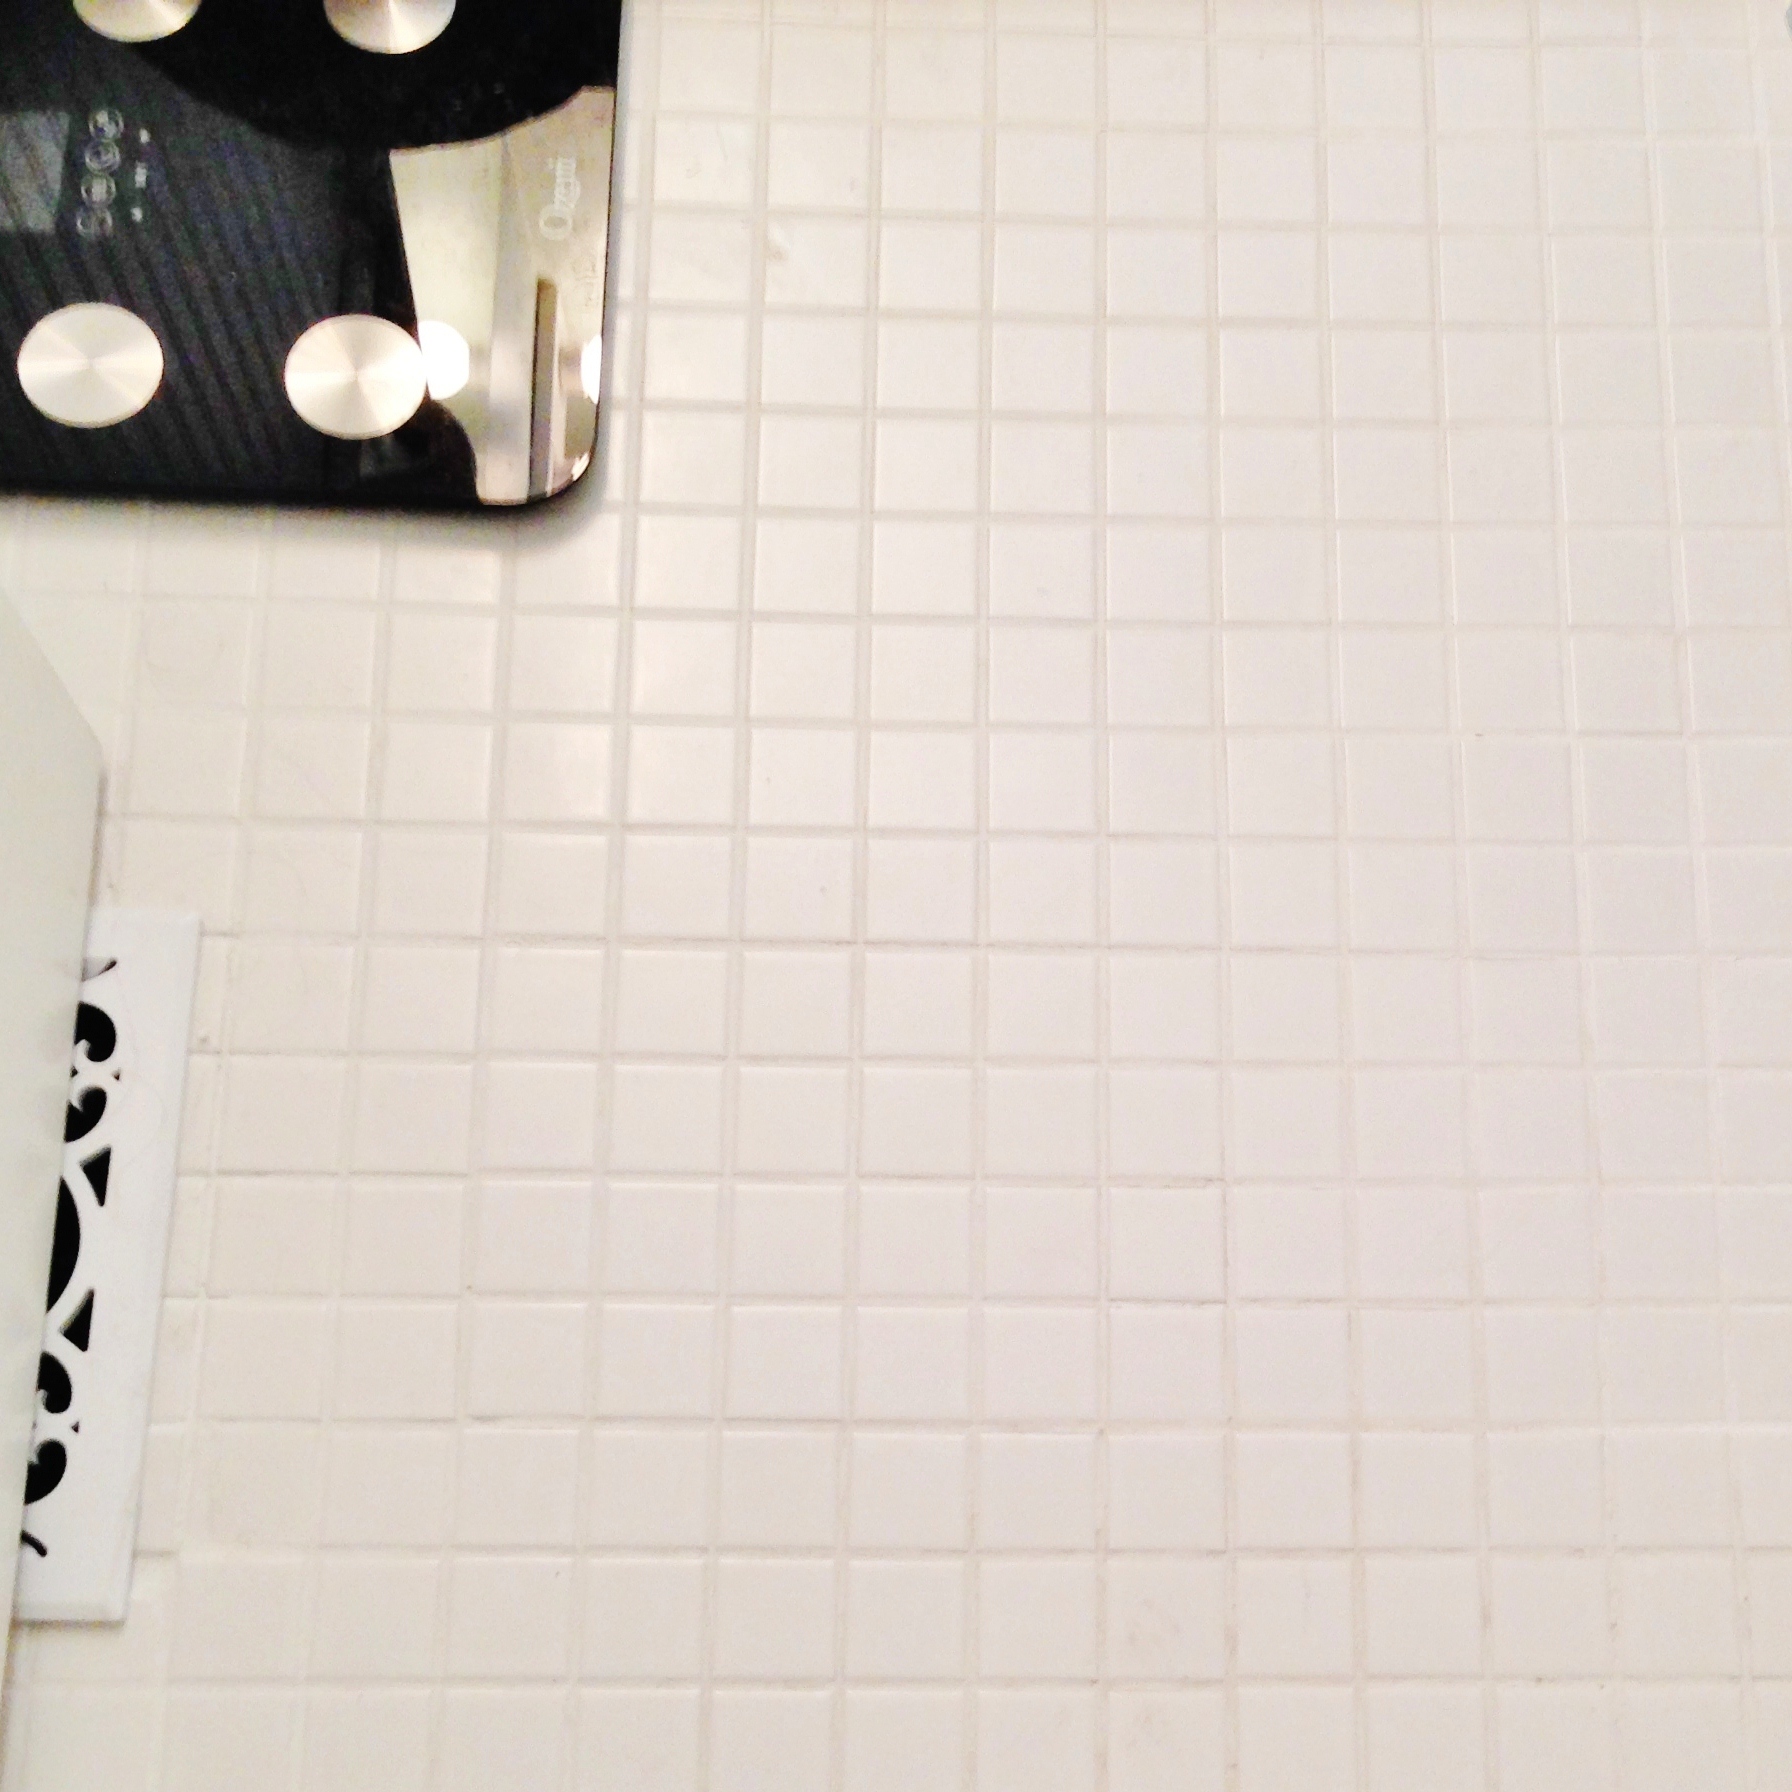
What we did: We tore up the old linoleum tile, which was actually much easier than we expected because it was one big sheet. We replaced it with crisp, white tile that cost $2.55/sq foot ($85 total for us). As part of the project, we had to purchase grout ($30 for premixed), thinset ($10), and a tile cutter to trim the edges ($10).
The Whole Thing: Before & After
Total Cost Breakdown:
Beadboard wallpaper (Frontgate Outlet clearance) – 2 rolls for $25
Wallpaper adhesive – $15
Chair rail – 2 for $12
Floor tile and installation materials: $135
Vanity paint: $3
Wall cabinet, paint and accessories: $20
Basket: Free (had it)
Total cost: $210
What do you think? Have you done a budget bathroom refresh?
Would not have known that was wallpaper. I was wondering if you had pulled out the whole vanity to install the beadboard and then I read down. Looks great and much easier to install.
What a difference! Absolutely beautiful!
It is so much fresher. Looks great!
Great job! That’s a huge difference for the small price you paid.
ugh i need you at my house! for budgeting and DIY! bathroom looks amazing, so inspired to do mine now… where do u get your cheap materials…tile etc?
You totally should! Most of the stuff we just get at Lowes (it’s 5 min from our house… Good thing and bad thing!). There’s also this discount tile/floor place in Columbus that we love called Floor & Decor.
Very nice!!!! Have you thought about painting around (or stenciling) around the mirror??? Like with a frosted soft leaf or floral design???? You could also make your own frame or find a pretty one, from an old picture….ect.
Thanks Debra. Yes! That actually is the plan, to make our own frame from trim and then put it back up op the wall!
Beautiful! Did you tile the floor yourself?
We did! And by we I mean my handy husband 🙂
I have a similar oak cabinet and have been told to use a “grain filler” or several coats of primer before attempting to paint it. Did you prep the cabinet in any special way? What finish was your paint sample?
Thanks for stopping by Sandy! We didn’t do significant prep work on this vanity, mainly because the vanity doesn’t get touched all that often. We cleaned it and sanded lightly. We did give it several coats of paint (3+). No chips yet and it’s been a year and a half, but that could be due to its location and light use. If your cabinet is in a higher traffic room, the extra sanding and priming would probably be a good idea, but that’s just my unprofessional opinion 🙂
The paint sample was matte I believe. They said we’d have to get a quart if we wanted any special finishes, so we sacrificed that for the $ savings.
Looks beautiful. Is very inspiring. Thank you for sharing.
Thanks Regina!