When we moved into our house, the master bedroom had one big, plain, window-free wall that was just screaming for some attention.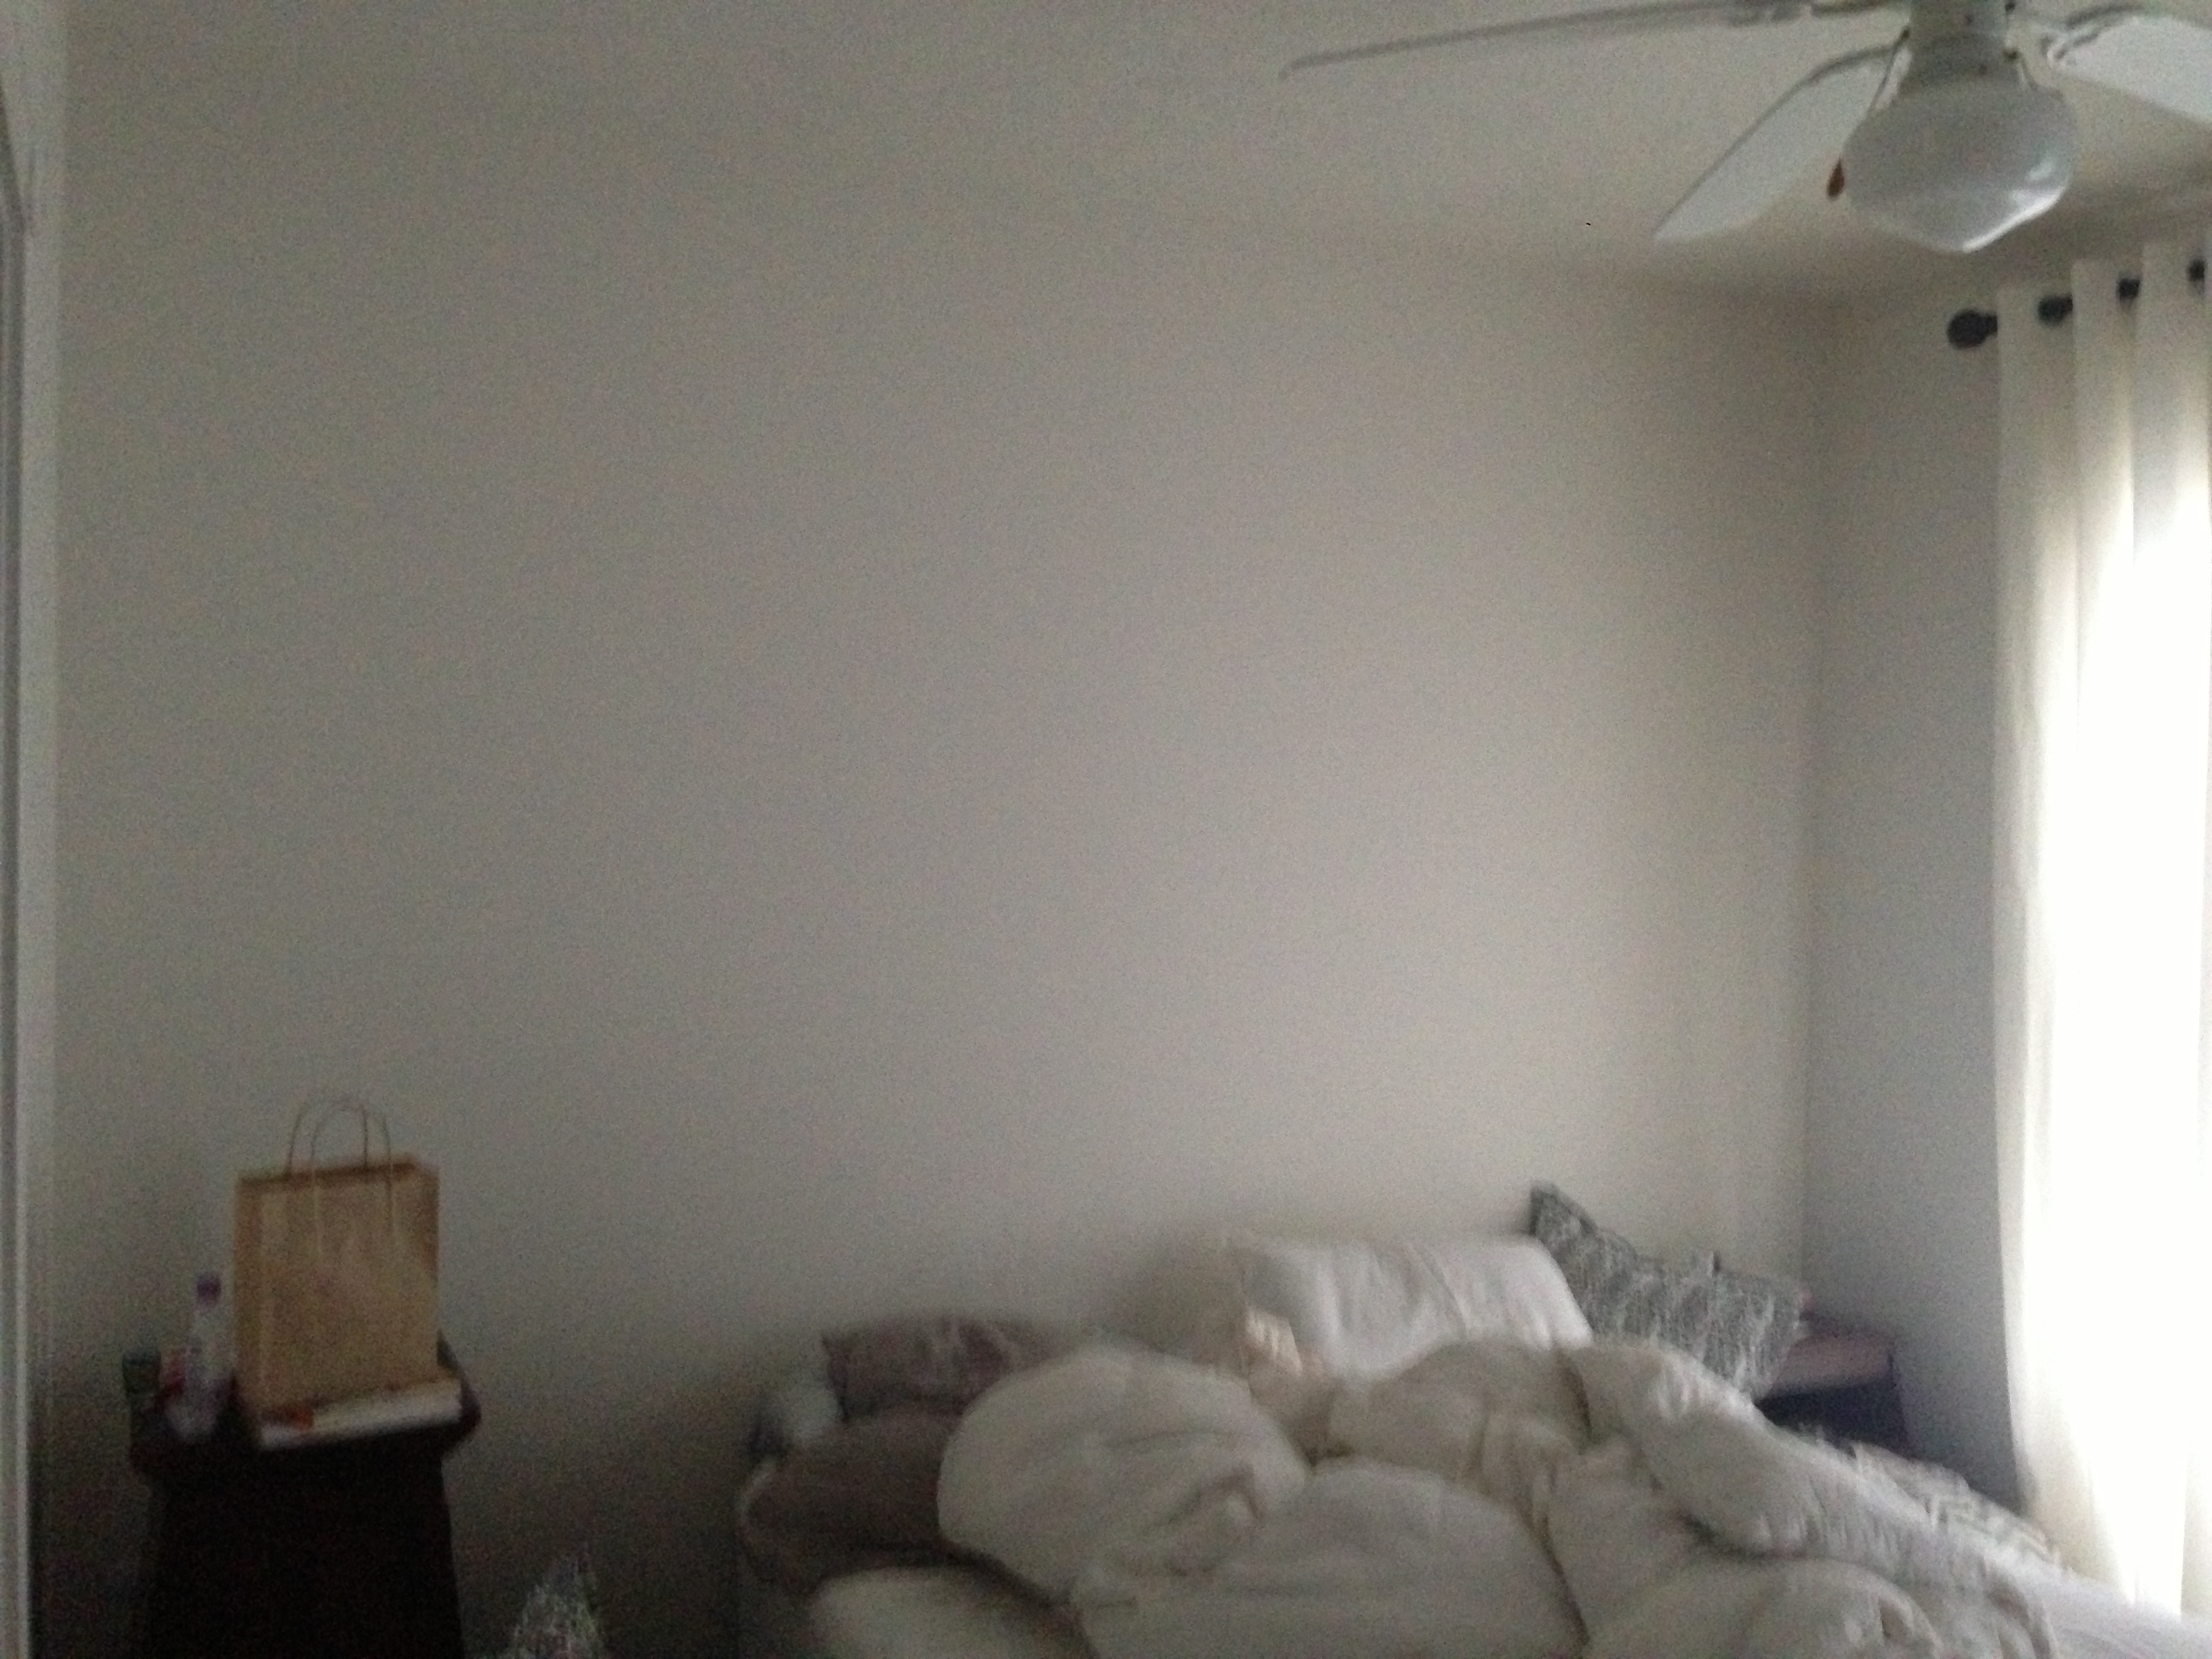 We talked about doing a stencil wall, similar to the one in our dining room, and also talked about doing something with wood or brick veneer. When we found this tutorial that explained how to create an accent wall out of reclaimed wood, we realized how easy it would be. The only question was what kind of wood to use. Would we buy it or try to find something that we could reclaim?
Then, we had a light bulb moment. Bryan had lots of extra pallets at his job = FREE WOOD!
For those of you who don’t know what pallets are (I must admit, I had no idea before doing this project), they look like this:
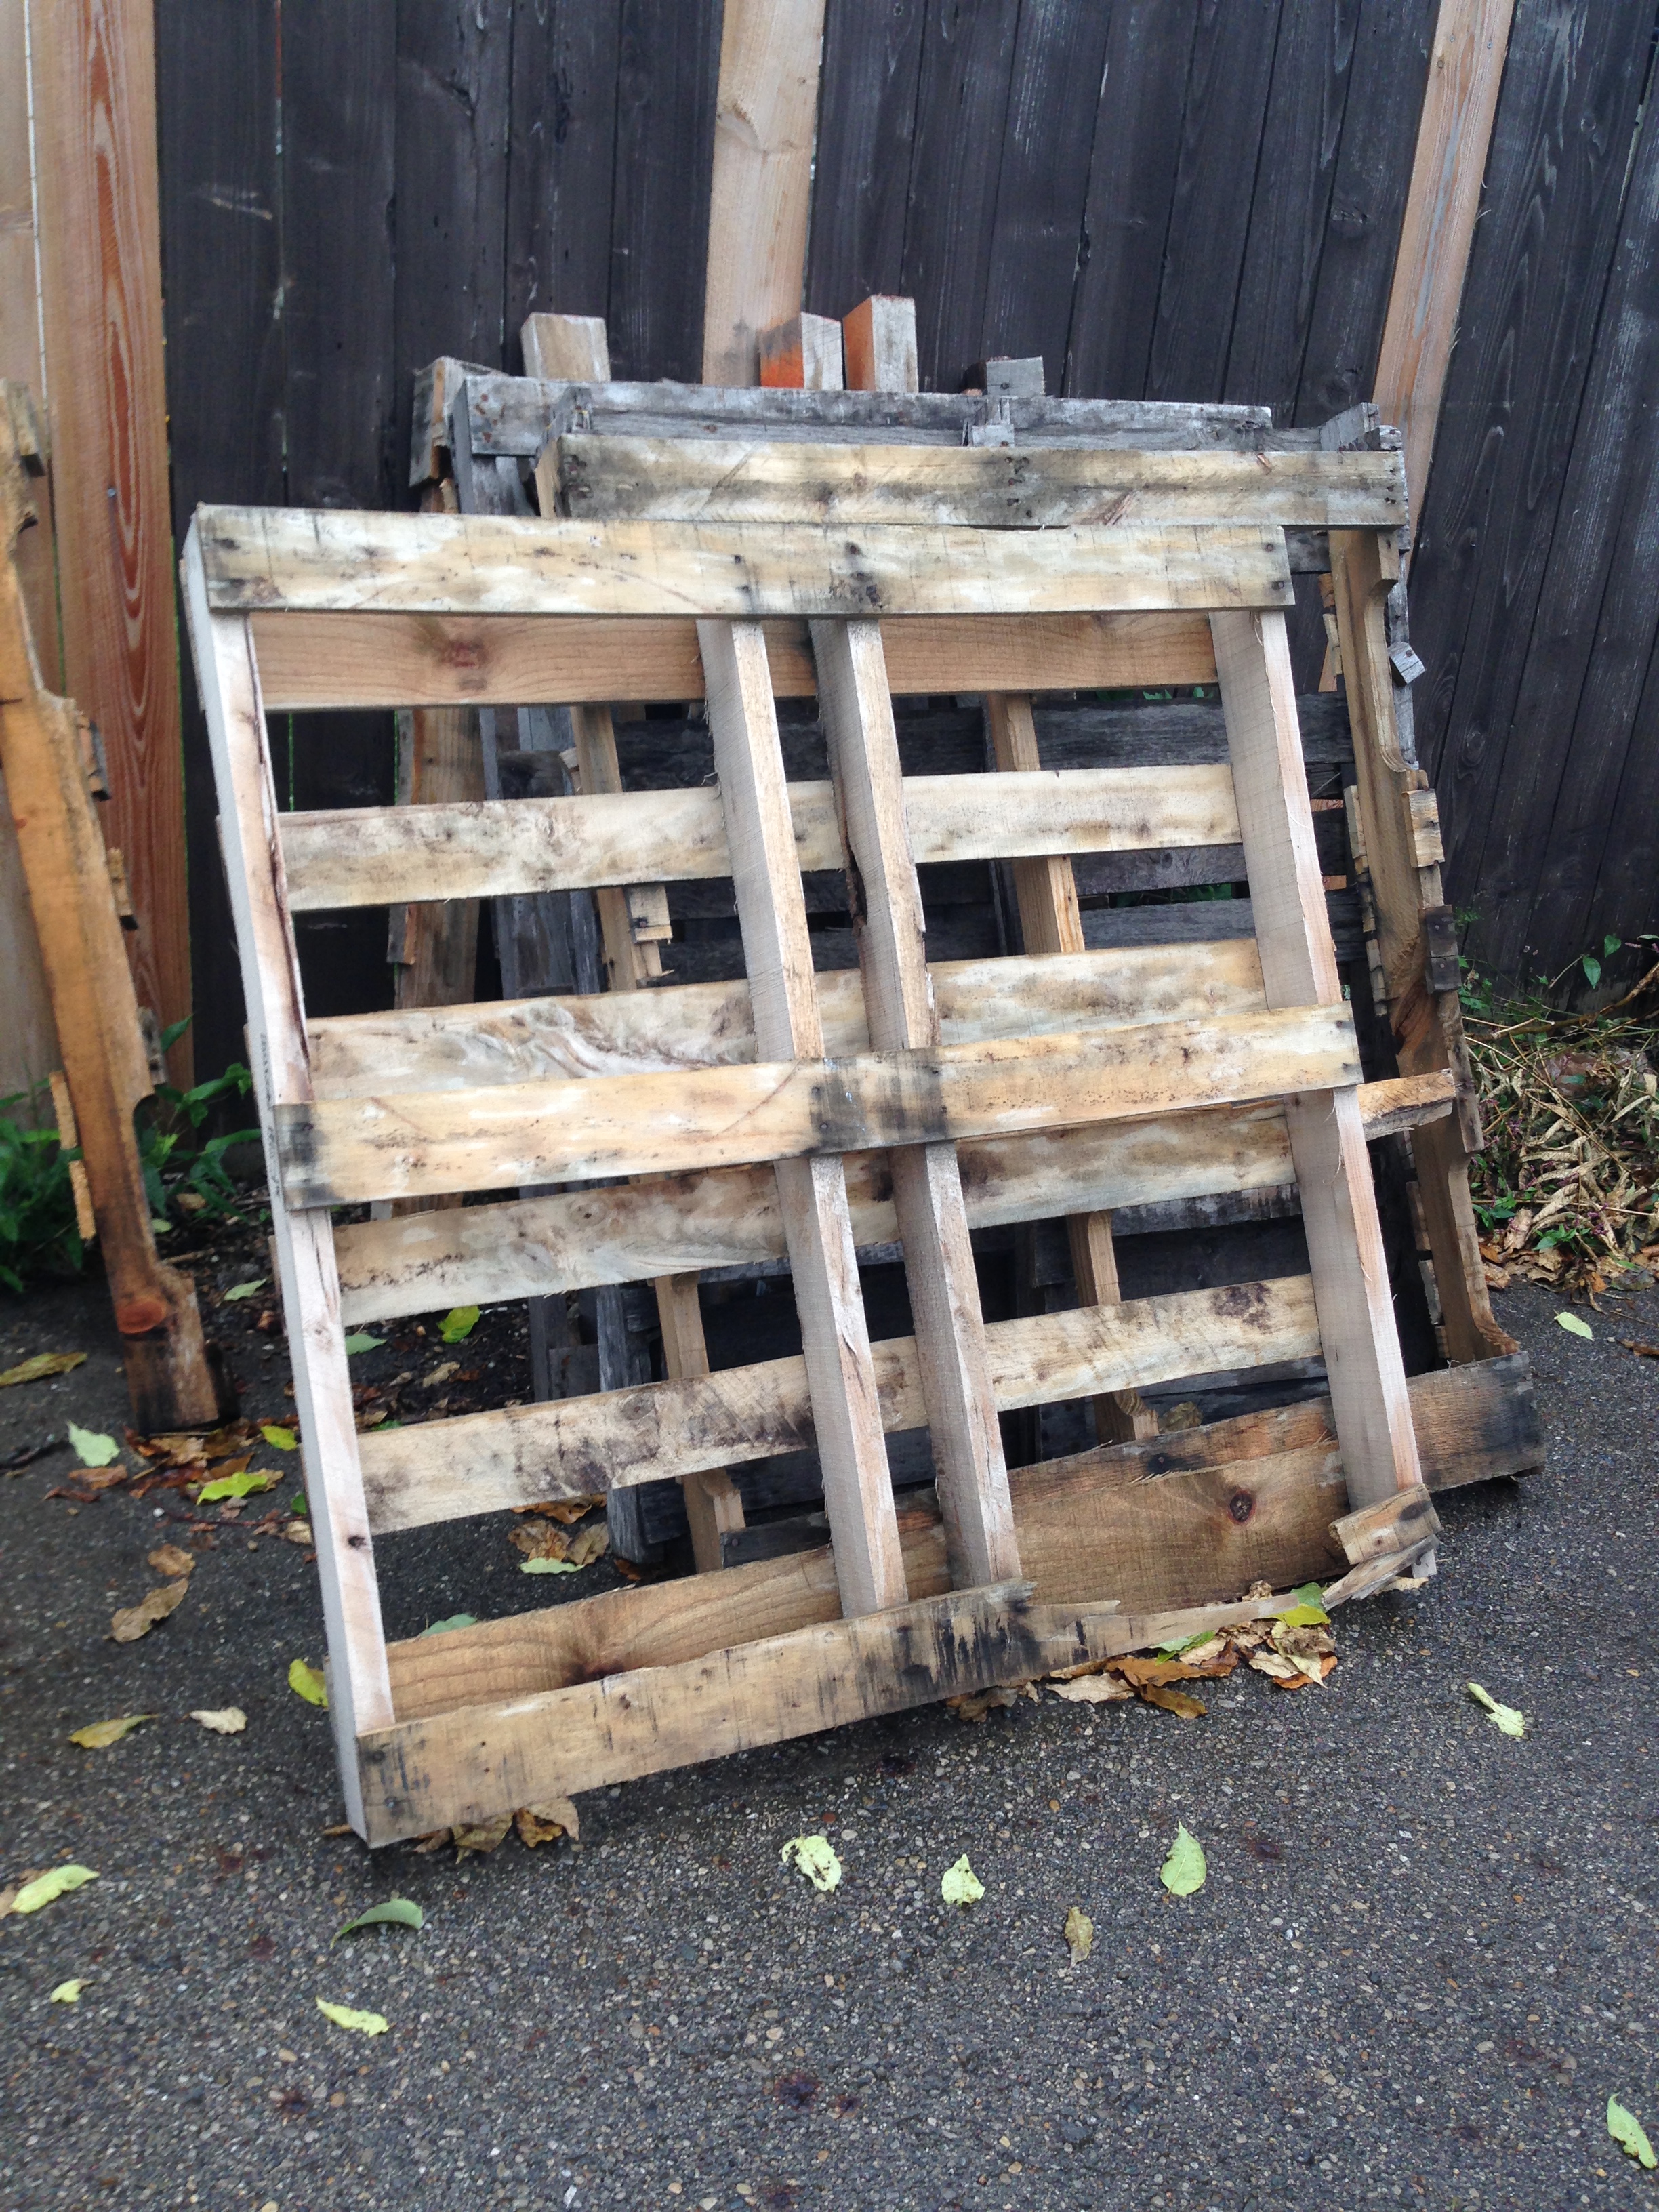 You can find them at home improvement stores, grocery stores, garden centers, etc. (Note of caution: don’t steal! If you happen to see what appears to be unused pallets lying around, always ask before taking.). Many times Craigslist has them listed for free, too.
When choosing pallets, make sure they have a “HT” stamp before bringing it into your home. The “HT” stands for Heat Treated, which means there were no chemicals used to preserve the wood, just heat.
To get started, we gathered the following supplies:
1. Enough “HT” pallets to cover the wall
2. A sanding machine & sandpaper
3. A hammer
4. Finished nails
5. Soap & water
6. Table saw
First, we rinsed all of the pallets with soap and water. Easy peasy.
Once dry, we broke apart each pallet using a hammer. After breaking them apart, we removed all of the nails that were still in each piece. Not so easy peasy. But, it was free… so no complaining, right?
Next, we sanded. I’d be lying if I said we sanded each and every piece, because we didn’t. We knew we were going to have a large, thick headboard between us and the wall, so we were okay with leaving some of the pieces as is. For added peace of mind, we tried to put most of the unsanded pieces toward the top of the wall, out of our reach.
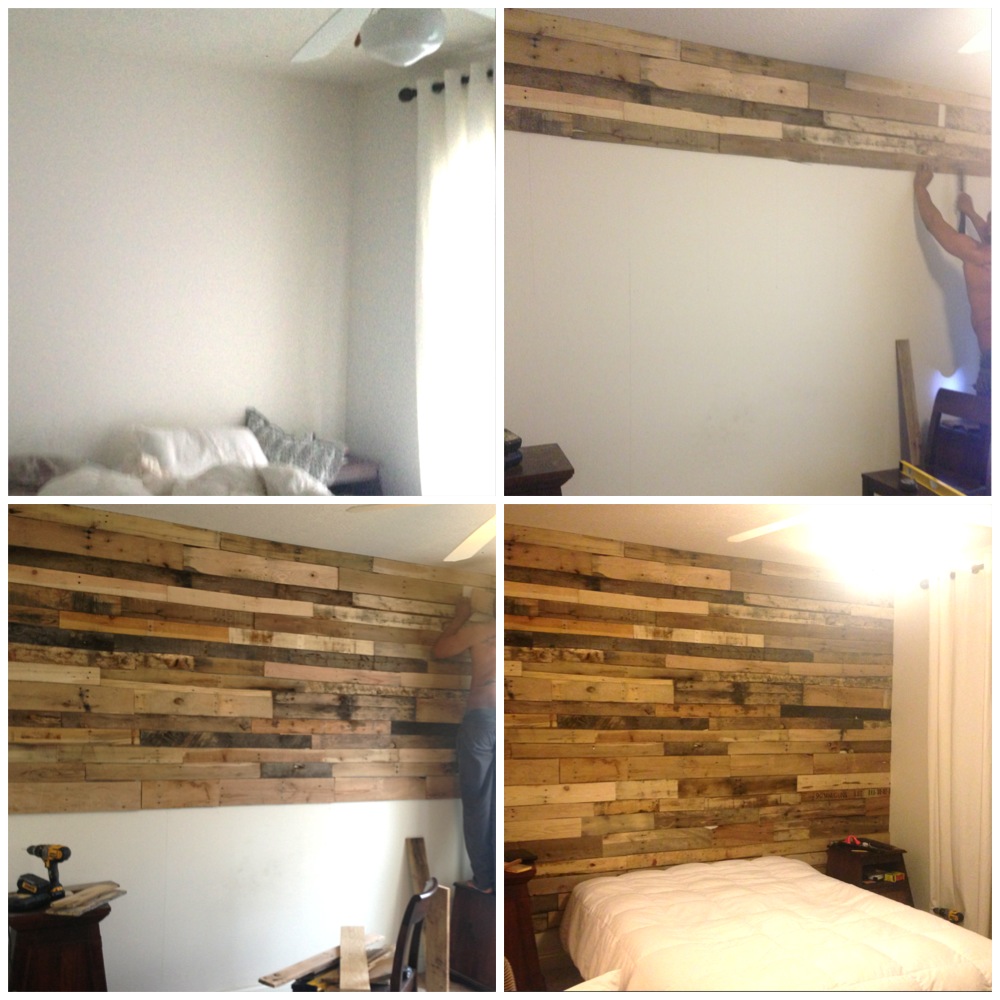
Last, we brought all of the pieces of wood upstairs and nailed them onto the wall. Bryan worked on one row at a time and went from left to right. He made each row look different by mixing various sizes and colors. The table saw came into play to make the wood on the right side of the row fit evenly with the end of the wall.
Tip #1: If you only have 1 shade of wood and want more, a few cans of different stains can fix that.
Tip #2: If you want a bit more certainty in the placement of the wood, try laying them all out on the floor before nailing them to the wall.
 This is what it looks like now, after Bryan made us an awesome upholstered bed! Our original plan was to replace the ceiling fan with a chandelier for a rustic/chic look, but after living here one summer, we’re in love with our fan and don’t think we’ll be able to part with it.
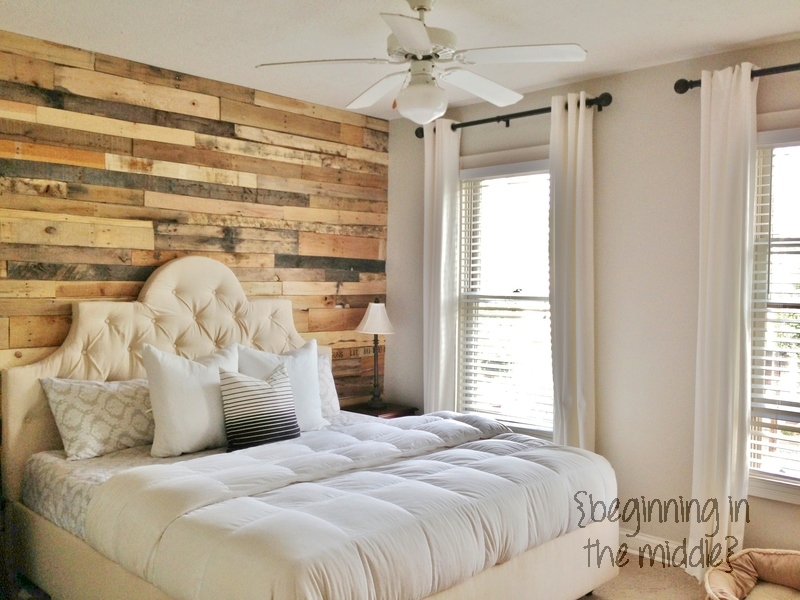

Love the wall, but not gonna lie, the last pic is my favorite! Super snuggle-able (I know not a word, but in this instance it is!)
Gorgeous. Wow. My gears are turning!
Also – I feel you on the ceiling fans. i wish I could add chandeliers and other cute lights, but I really need my fans.
Wow! This is absolutely stunning. I have a plan to do this to a wall in my living room! You’ve definitely inspired me to get going on putting my plan into action. Now to collect those pallets!
dwellbeautiful.wordpress.com
Thank you all! I would love to see photos if you try it yourself.
I **LOVE** this! Any thoughts about how it would work for an exterior wall?
Thank you! I’m not sure about making it work for outside… What did you have in mind?
I’ve been looking for a solution for this insanely ugly cinderblock wall. http://inglewoodcraftsman.files.wordpress.com/2014/03/image5.jpg Obviously the spraypaint idea isn’t going well…
I see pallets for free all the time on Craigslist, so they’d be easy enough to find. The major concern I’d have is securing them to the cinderblock wall itself.
Love your bedroom!
Would the same technique apply to brick? Been wanting to do one inside wall brick.
Deb – we haven’t done a brick accent wall yet so I’m not sure! But, we do have a lot of brick that we’re in the process of exposing in our new investment property. We’ll share how that whole process goes once we figure it all out 🙂
[…] did a pallet accent wall in our master bedroom, and it completely transformed not only the wall, but the entire room. […]
[…] Image: source […]
[…] Sure, the wood pallet craze might be waning, but if rustic décor is still your M-O, this type of accent wall is unbeatable. Depth, character, visual interest, and warmth are all immediate results of a wood pallet accent wall. Bonus: DIY compatible. […]
[…] Sure, the wood pallet craze might be waning, but if rustic décor is still your M-O, this type of accent wall is unbeatable. Depth, character, visual interest, and warmth are all immediate results of a wood pallet accent wall. Bonus: DIY compatible. […]
[…] Sure, the wood pallet craze might be waning, but if rustic décor is still your M-O, this type of accent wall is unbeatable. Depth, character, visual interest, and warmth are all immediate results of a wood pallet accent wall. Bonus: DIY compatible. […]
[…] This post is old. You can find a new and improved version of our post at our new site here! While you’re over there, you can check out our latest projects […]
[…] Pallet Accent Wall […]
[…] Pallet Accent Wall […]
[…] Photo via http://www.beginninginthemiddle.com […]
This is gorgeous. I wanna do this to my ceiling… but I heard breaking apart pallets is hard work!!
Thank you! It’s not easy!
[…] want is a half completed room getting in the way of all the other things going on in your home. DIY Pallet Wall […]
This is amazing DIY idea. I really love this reading. Thank you for sharing it.
Thank you!