

This week has been jam packed with progress, and our little old basement is looking way better than I expected. We’re nearly finished with skim coating the walls, painting the floors & spraying the ceilings, which means we’re ready to start installing everything else (!!) Here’s an update on where we’re at.
This post is sponsored by Lowe’s Home Improvement.
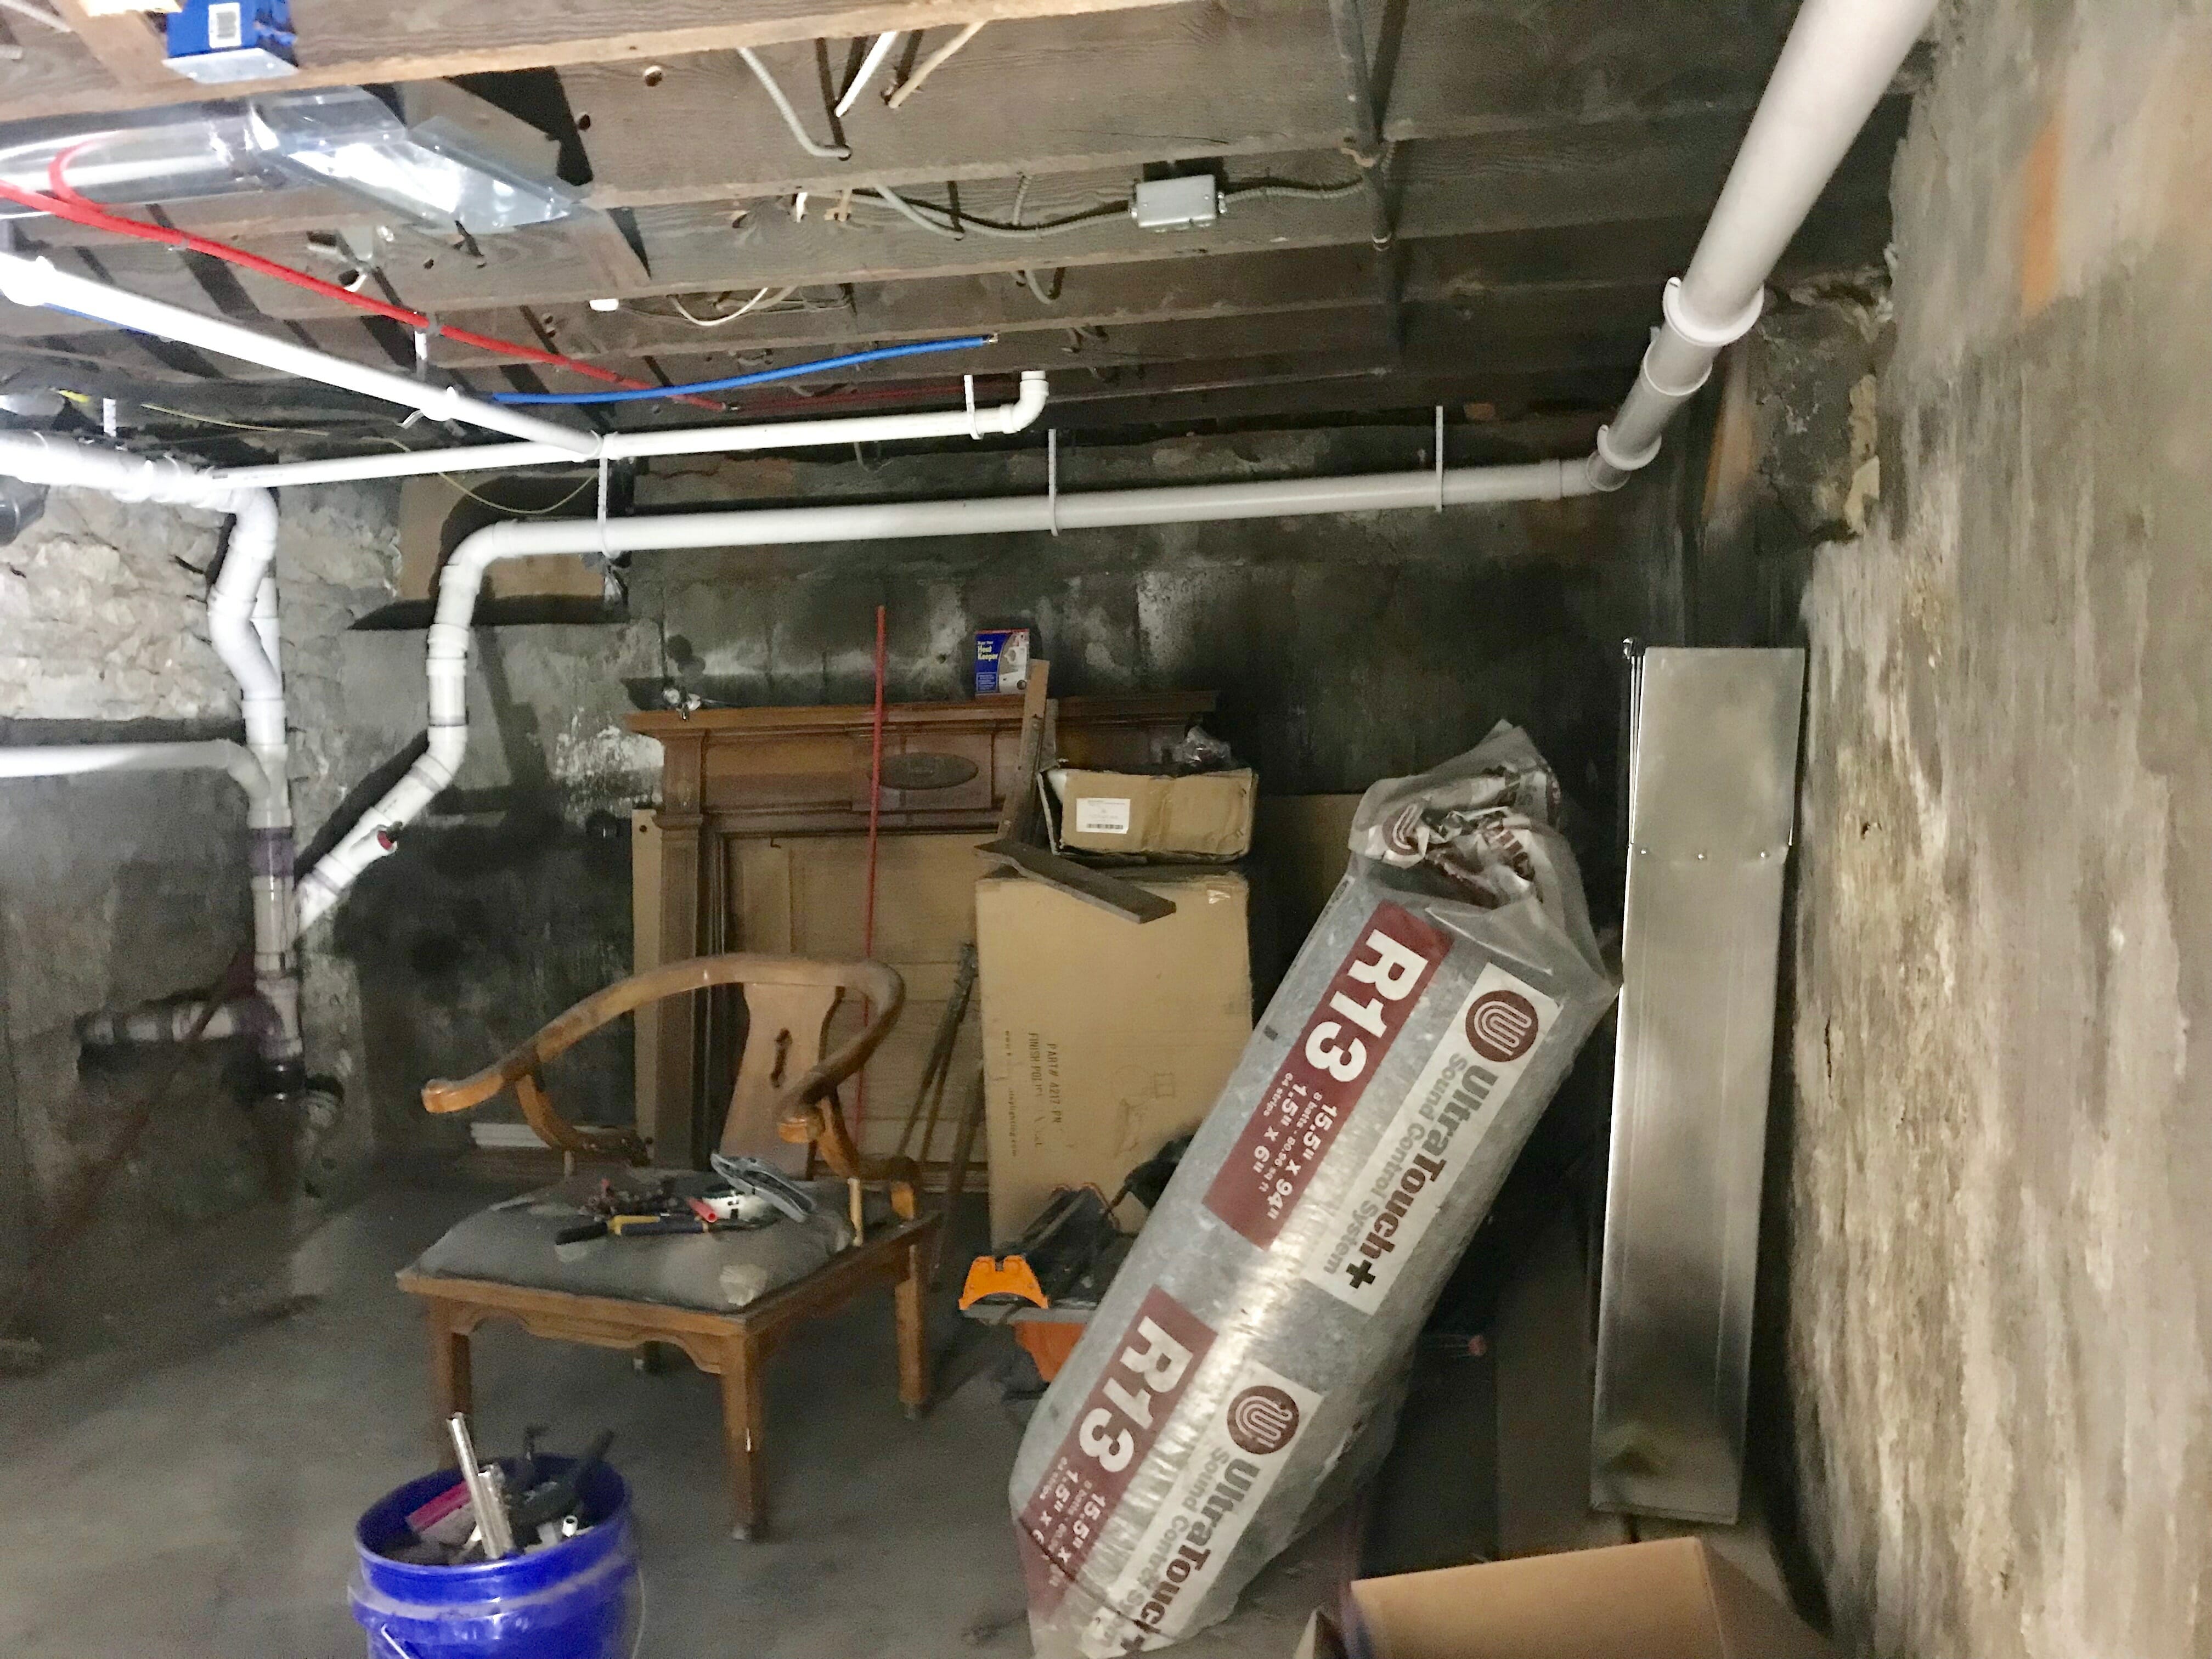
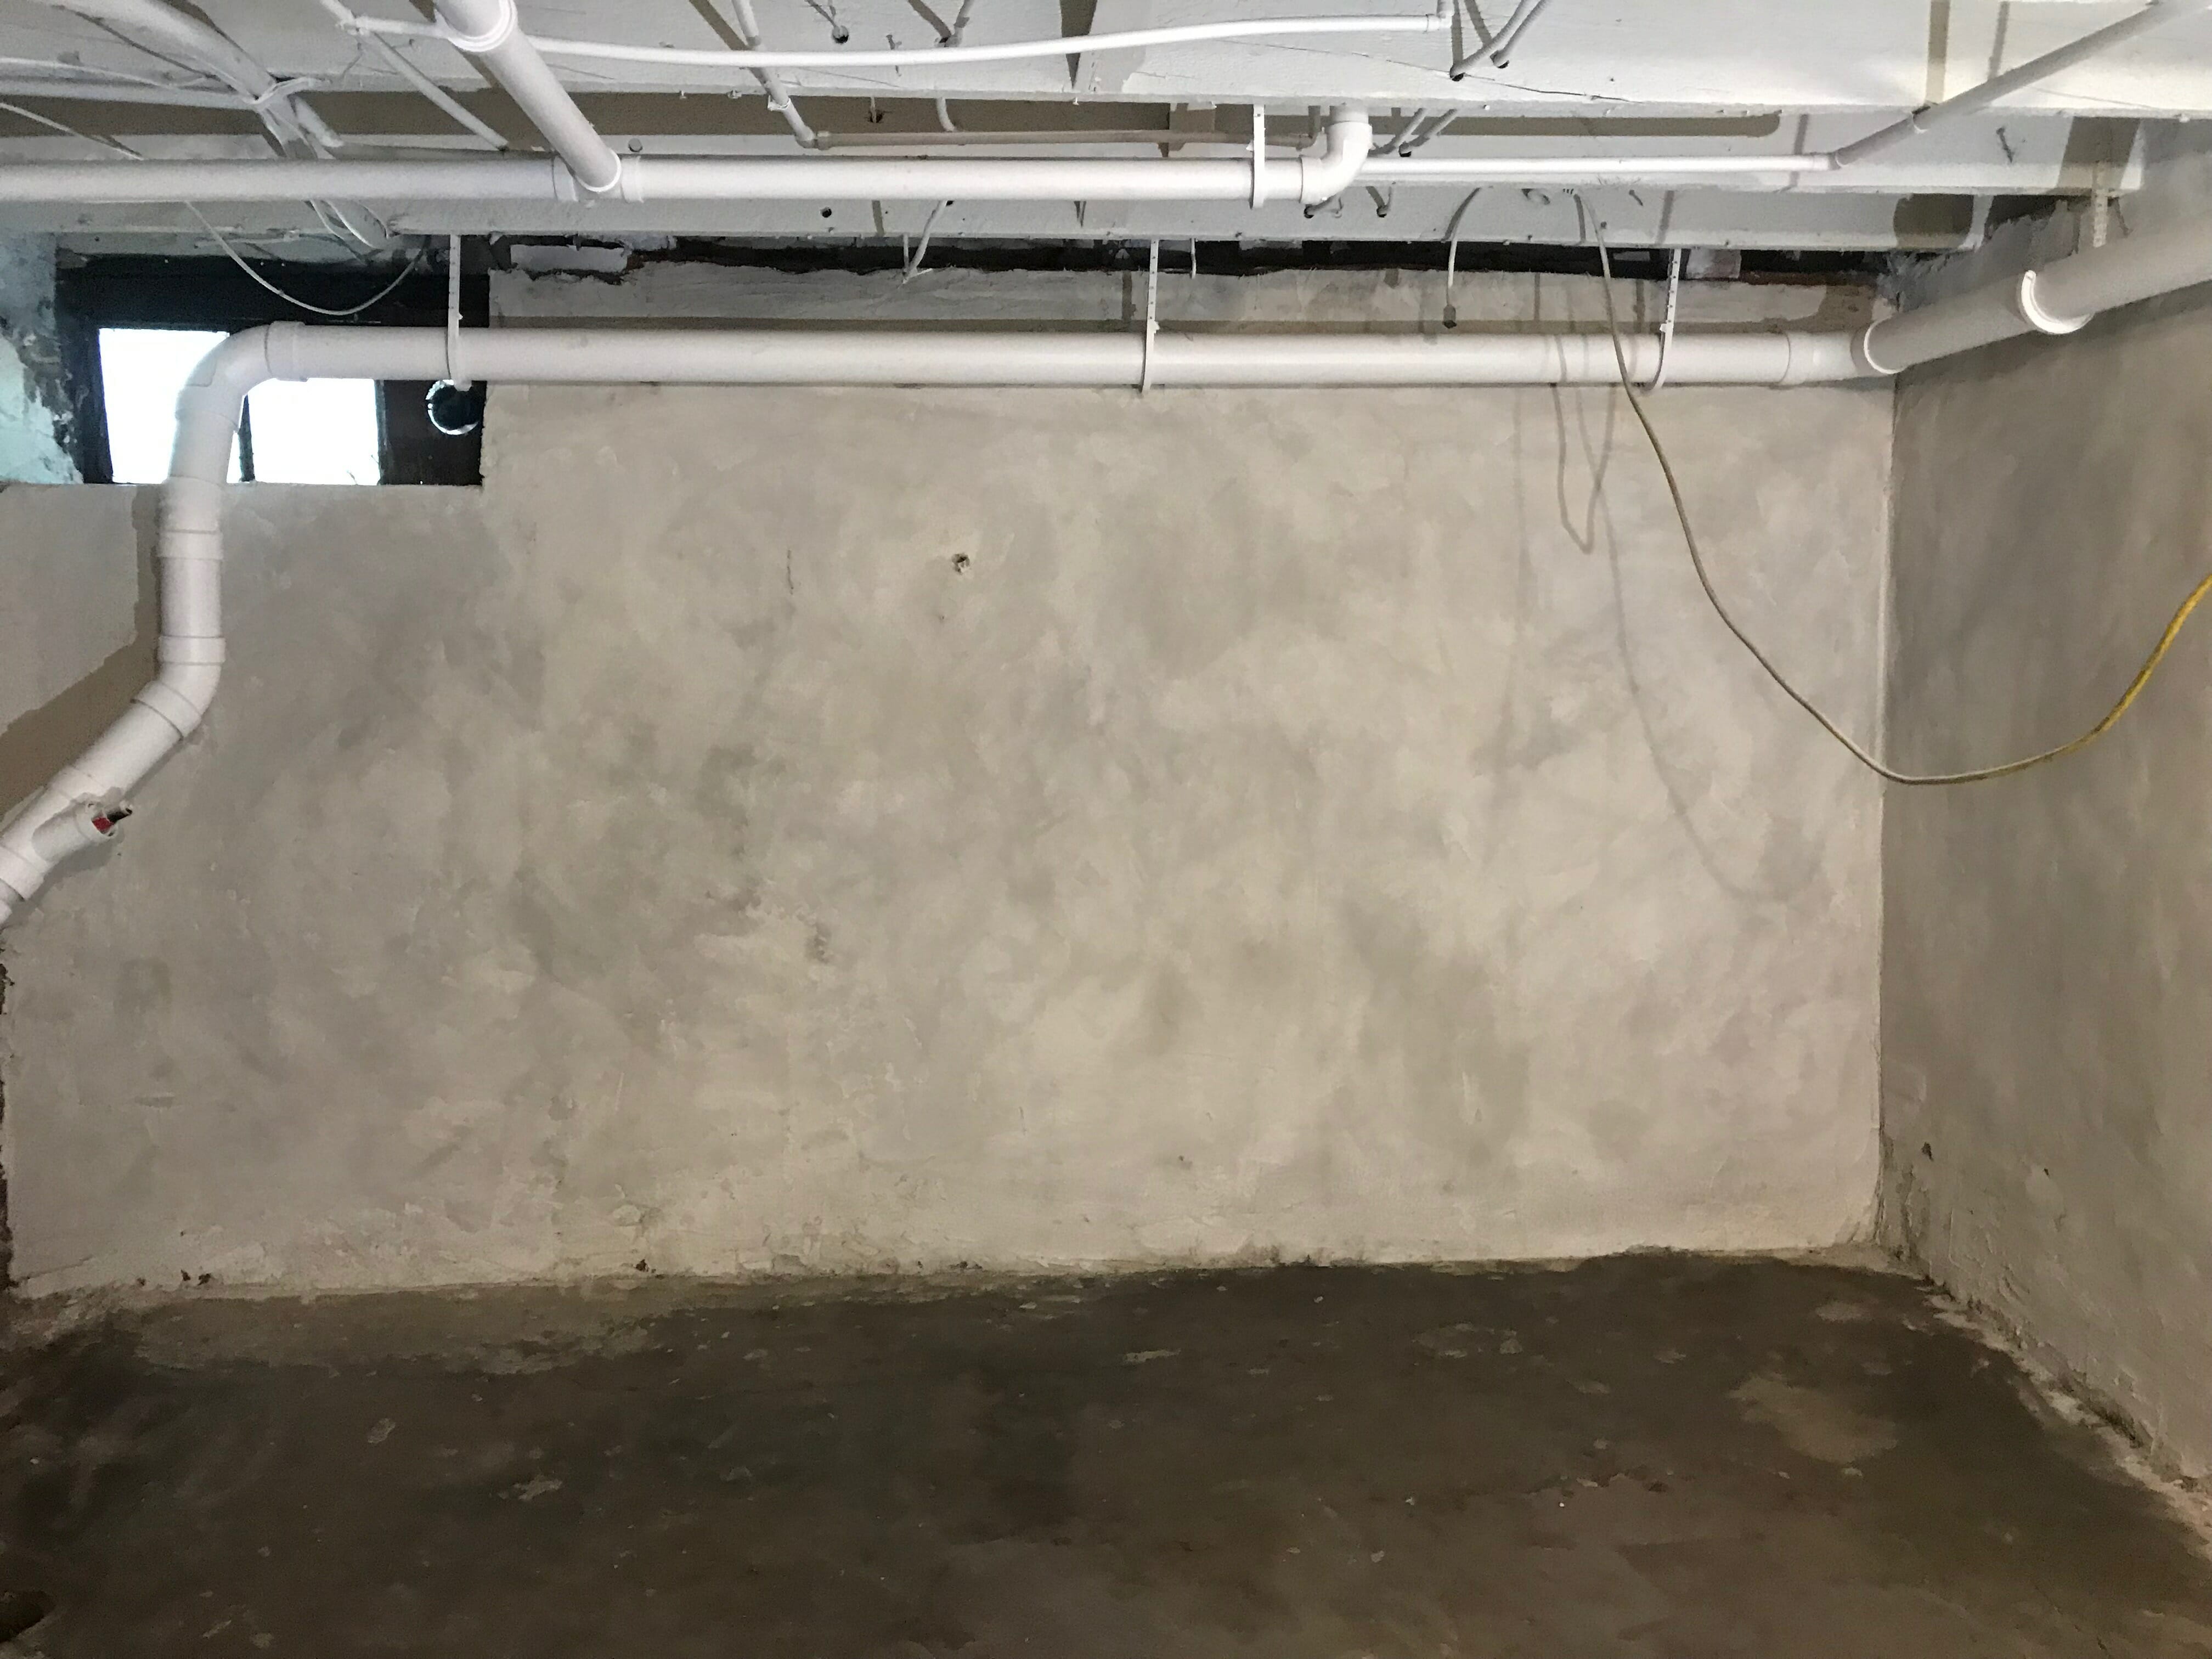
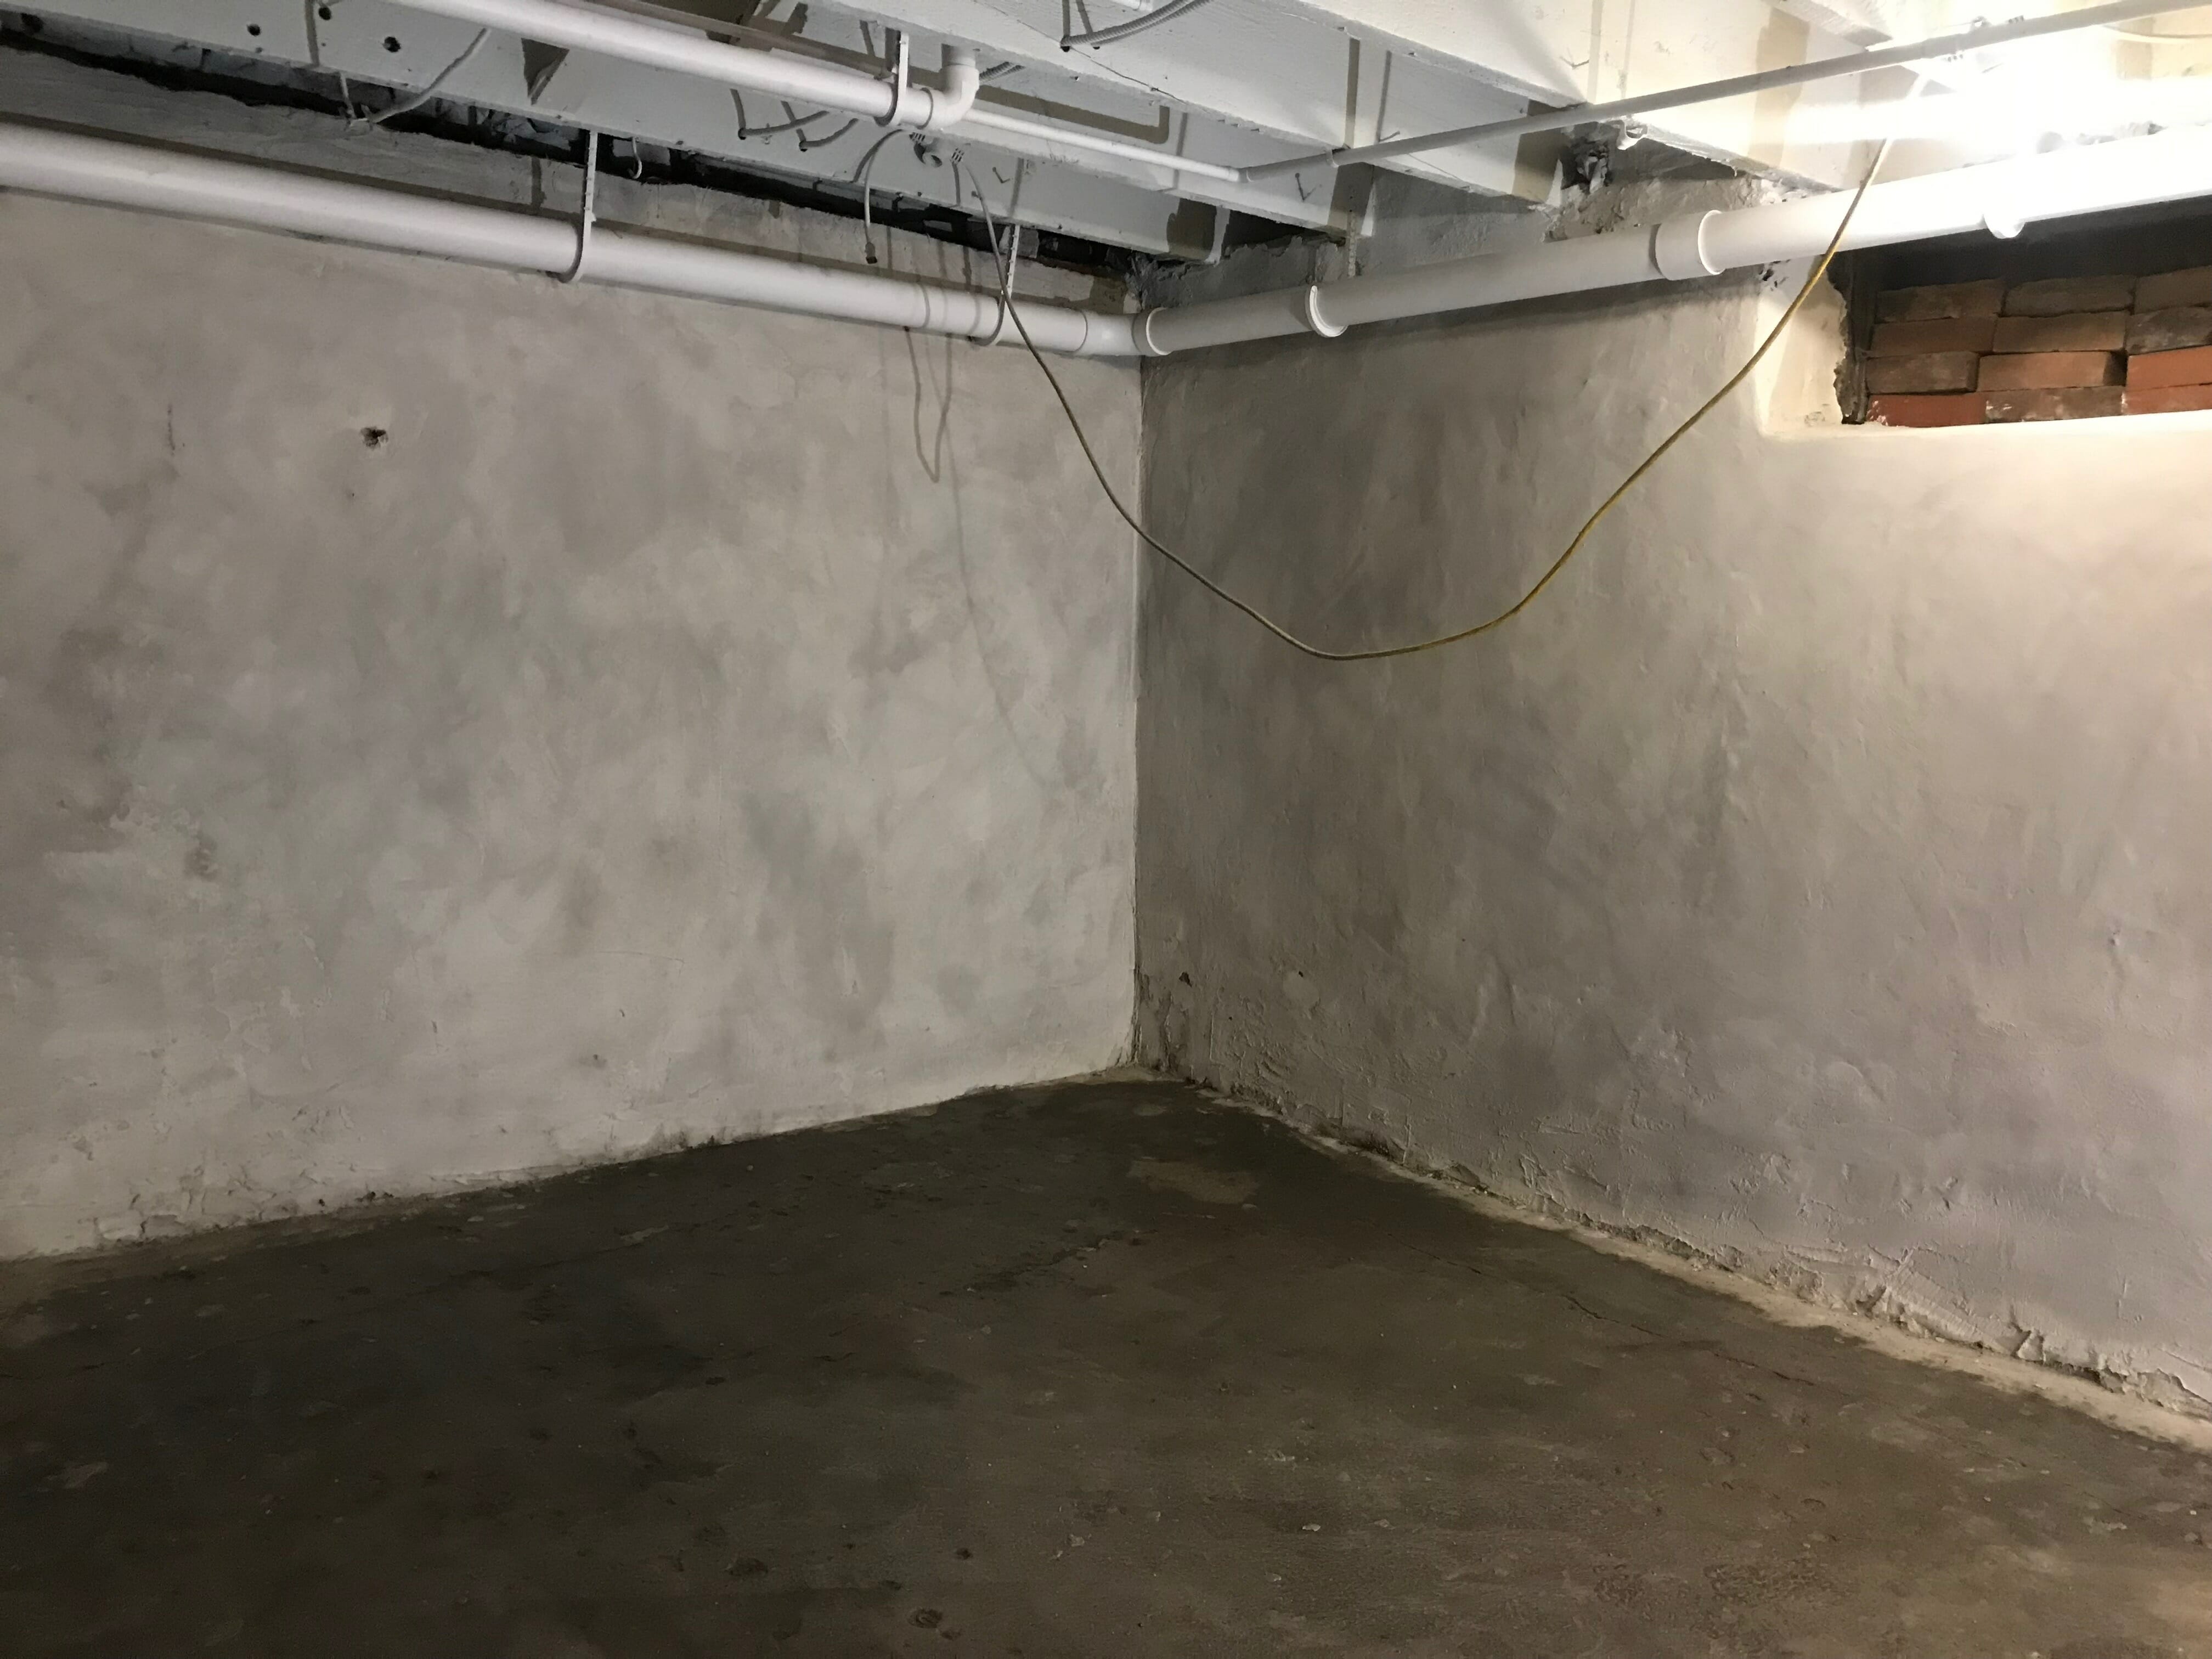
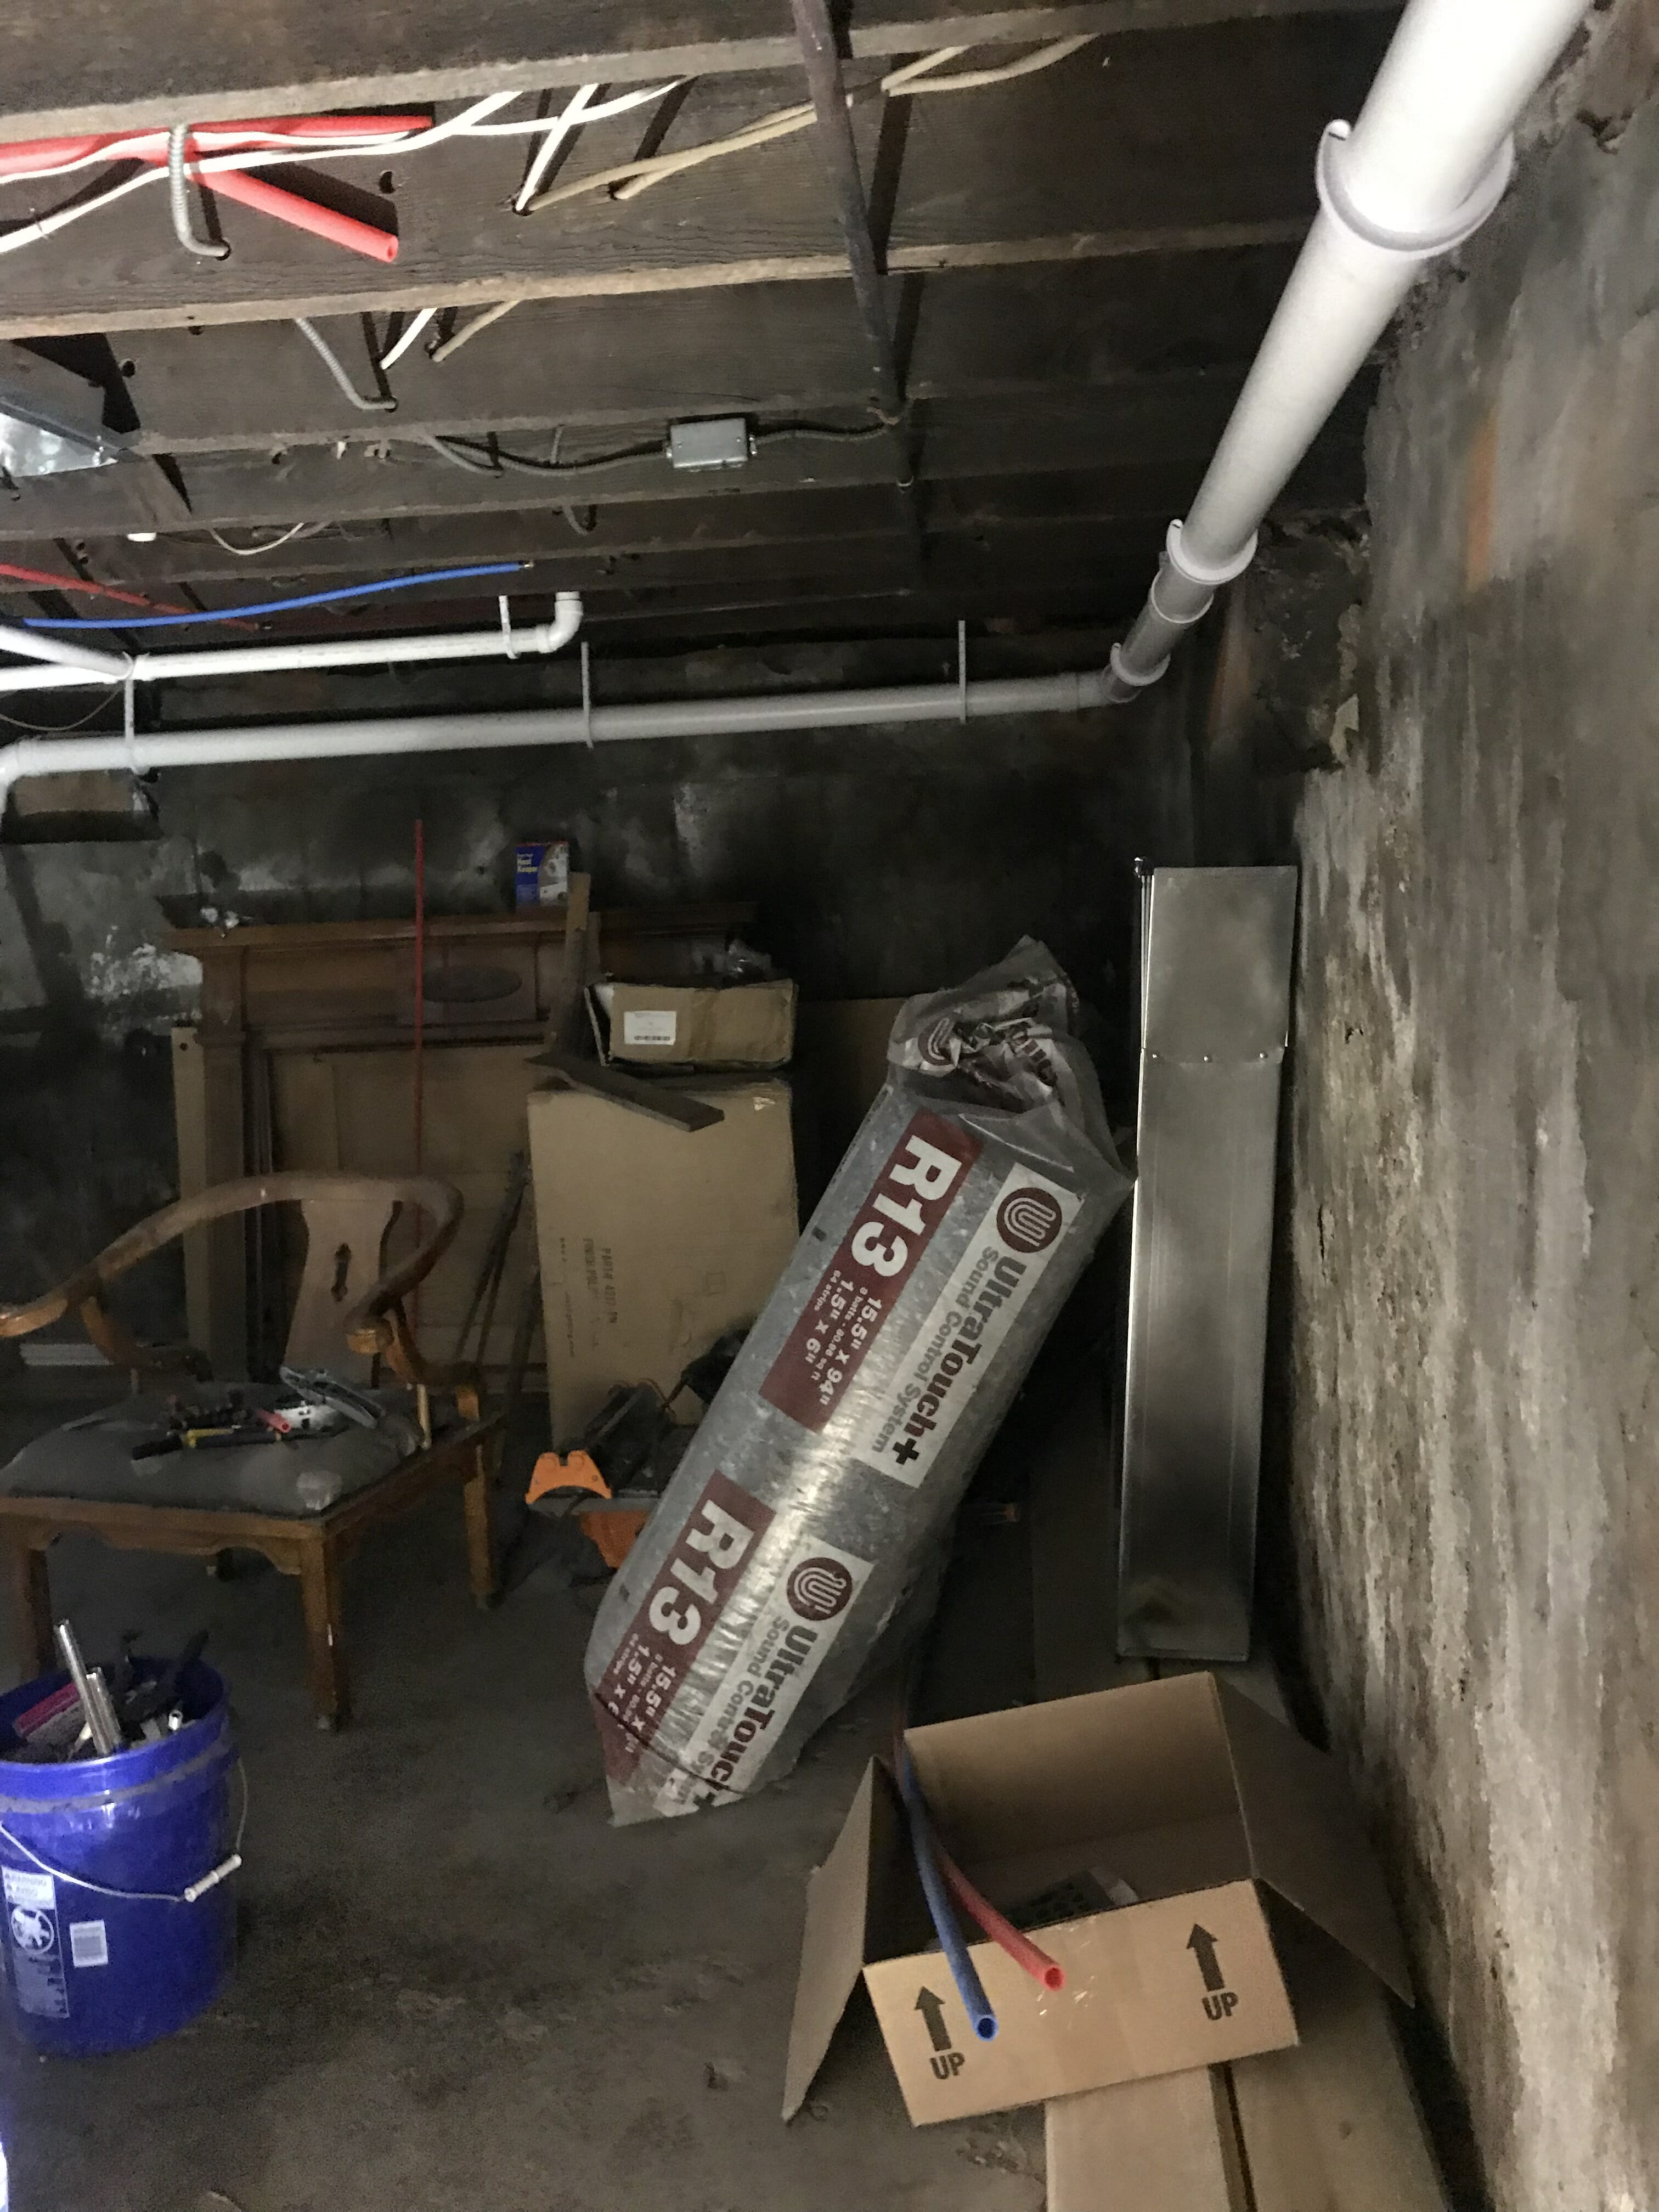
We started with an old, dingy basement that was definitely NOT a welcoming, comfortable laundry space. In last week’s post, we introduced our project, shared plans and inspiration, and the products we planned to buy within our $2,000 materials budget. Catch up here if you missed it, then keep on scrolling!
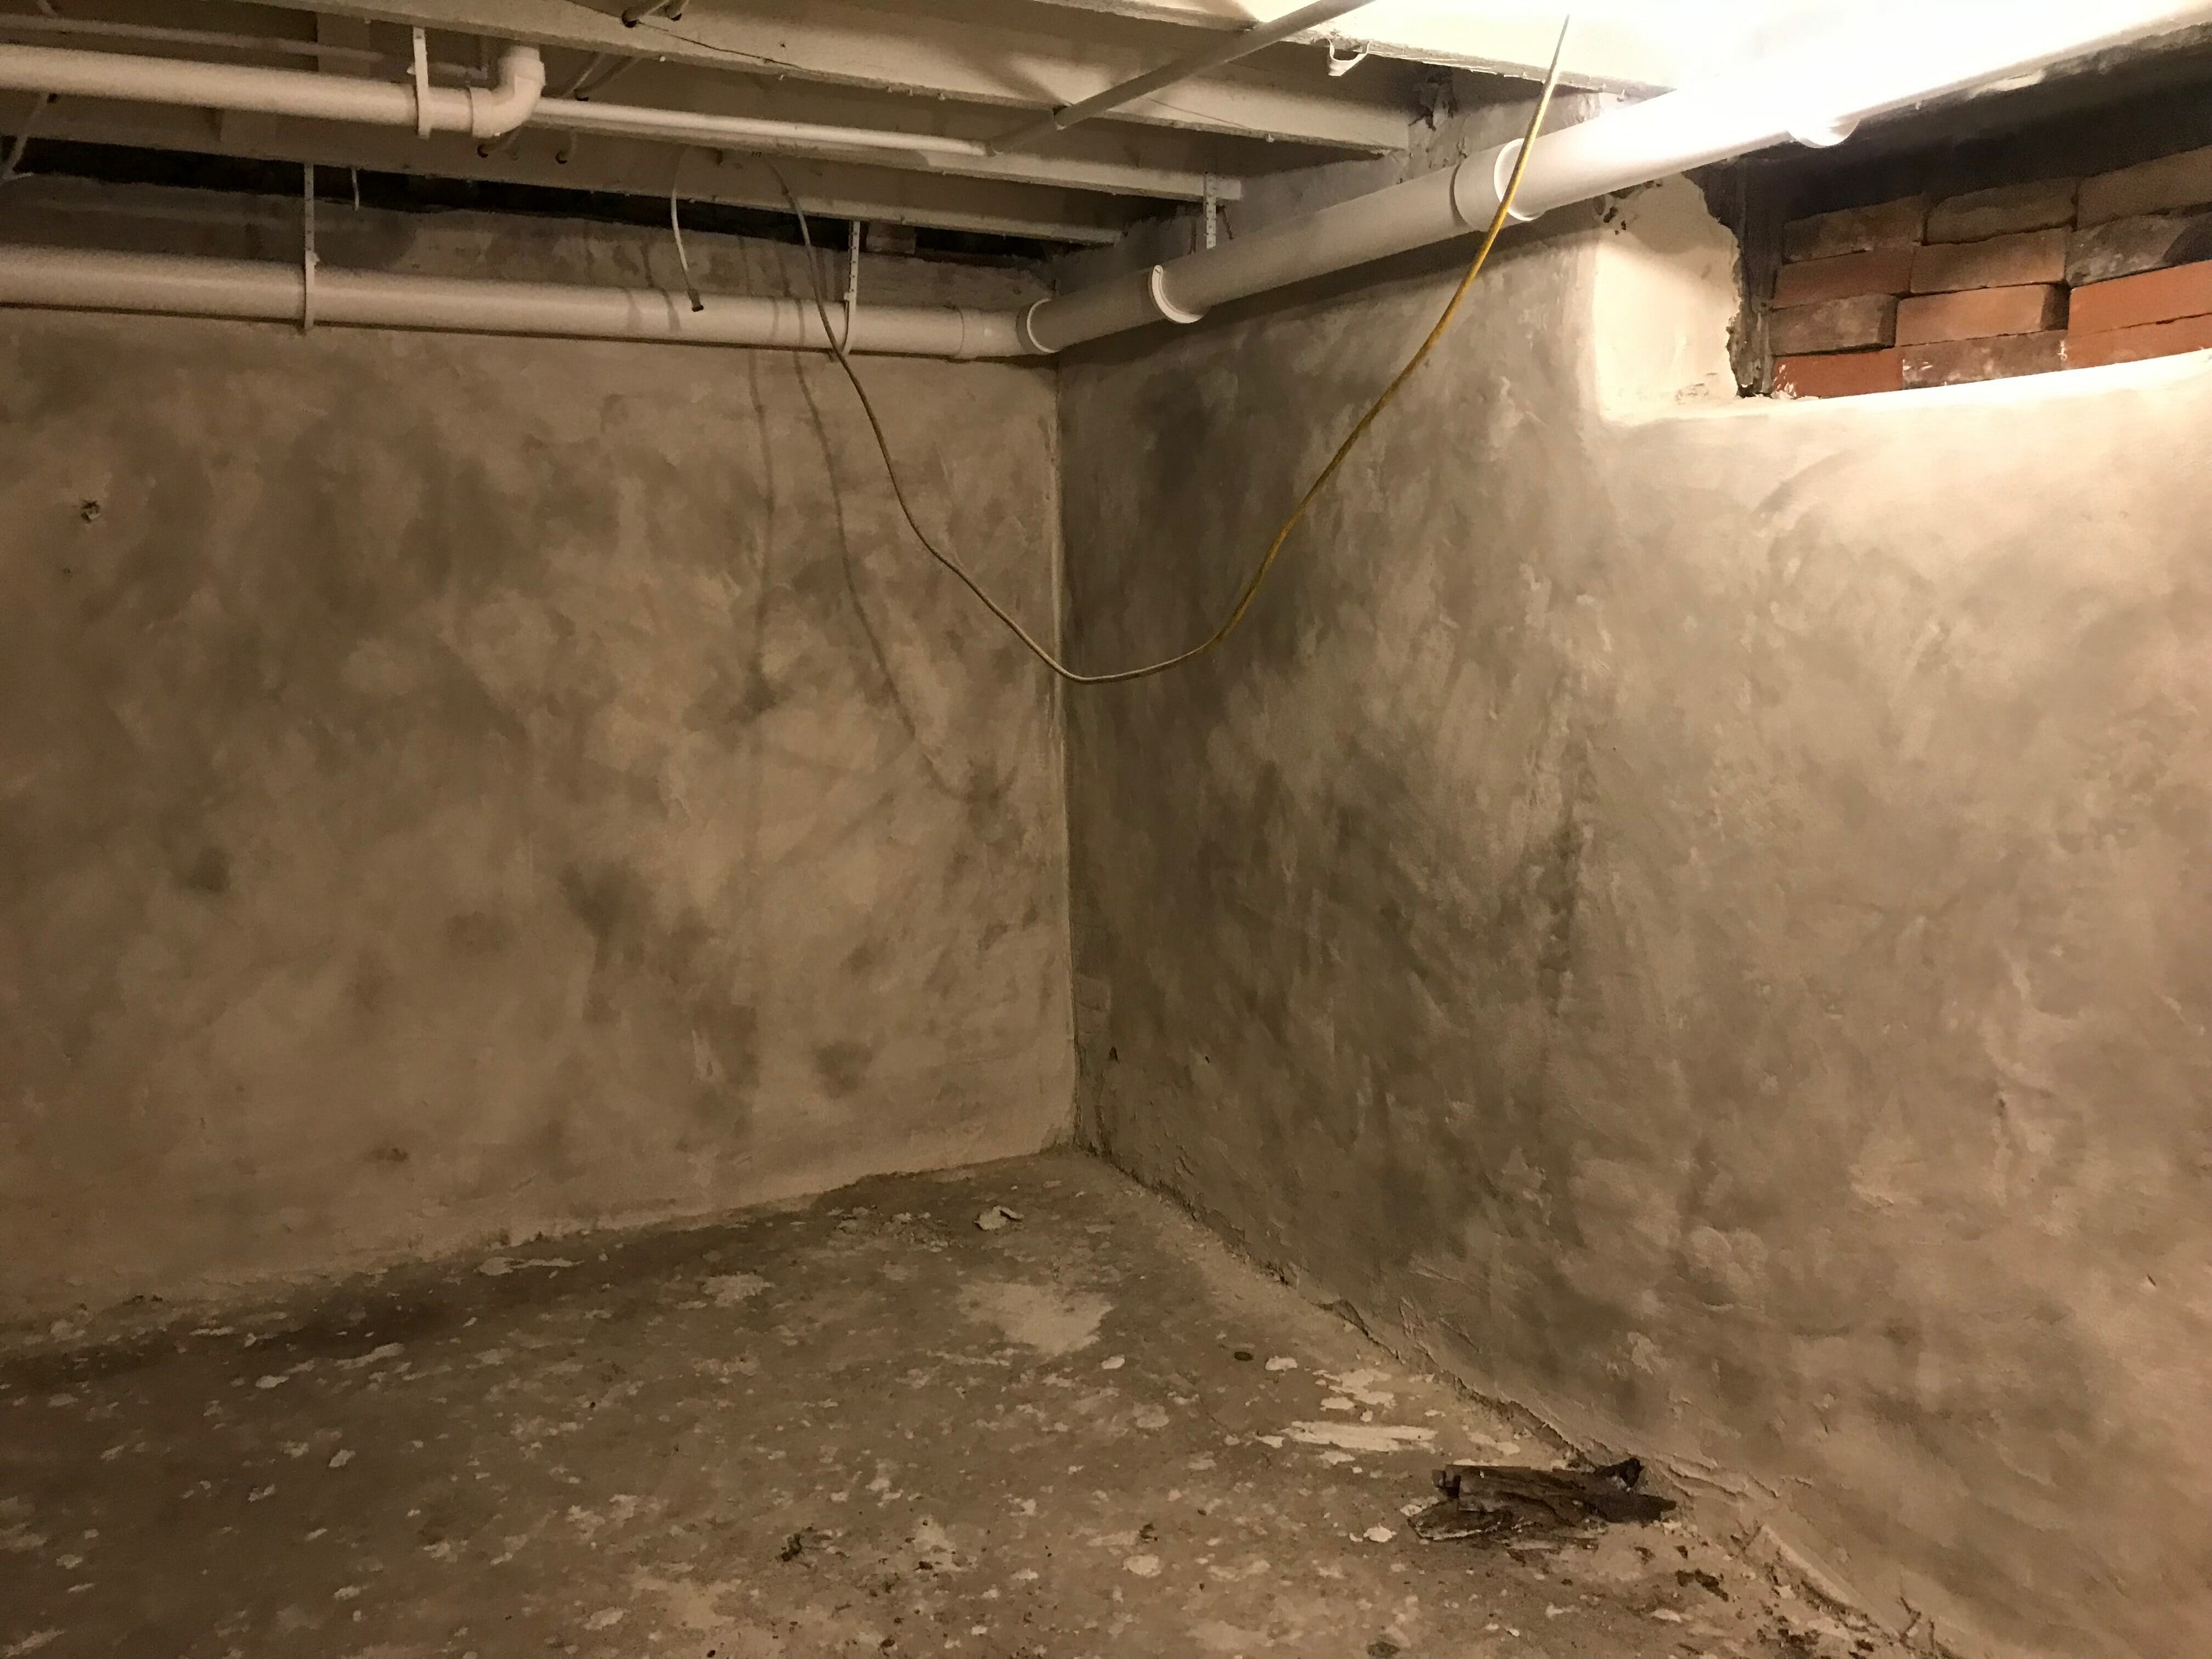
This past week, we sprayed the ceiling white, painted the floor, and smoothed out all of the walls. Here’s a peek at where we started…
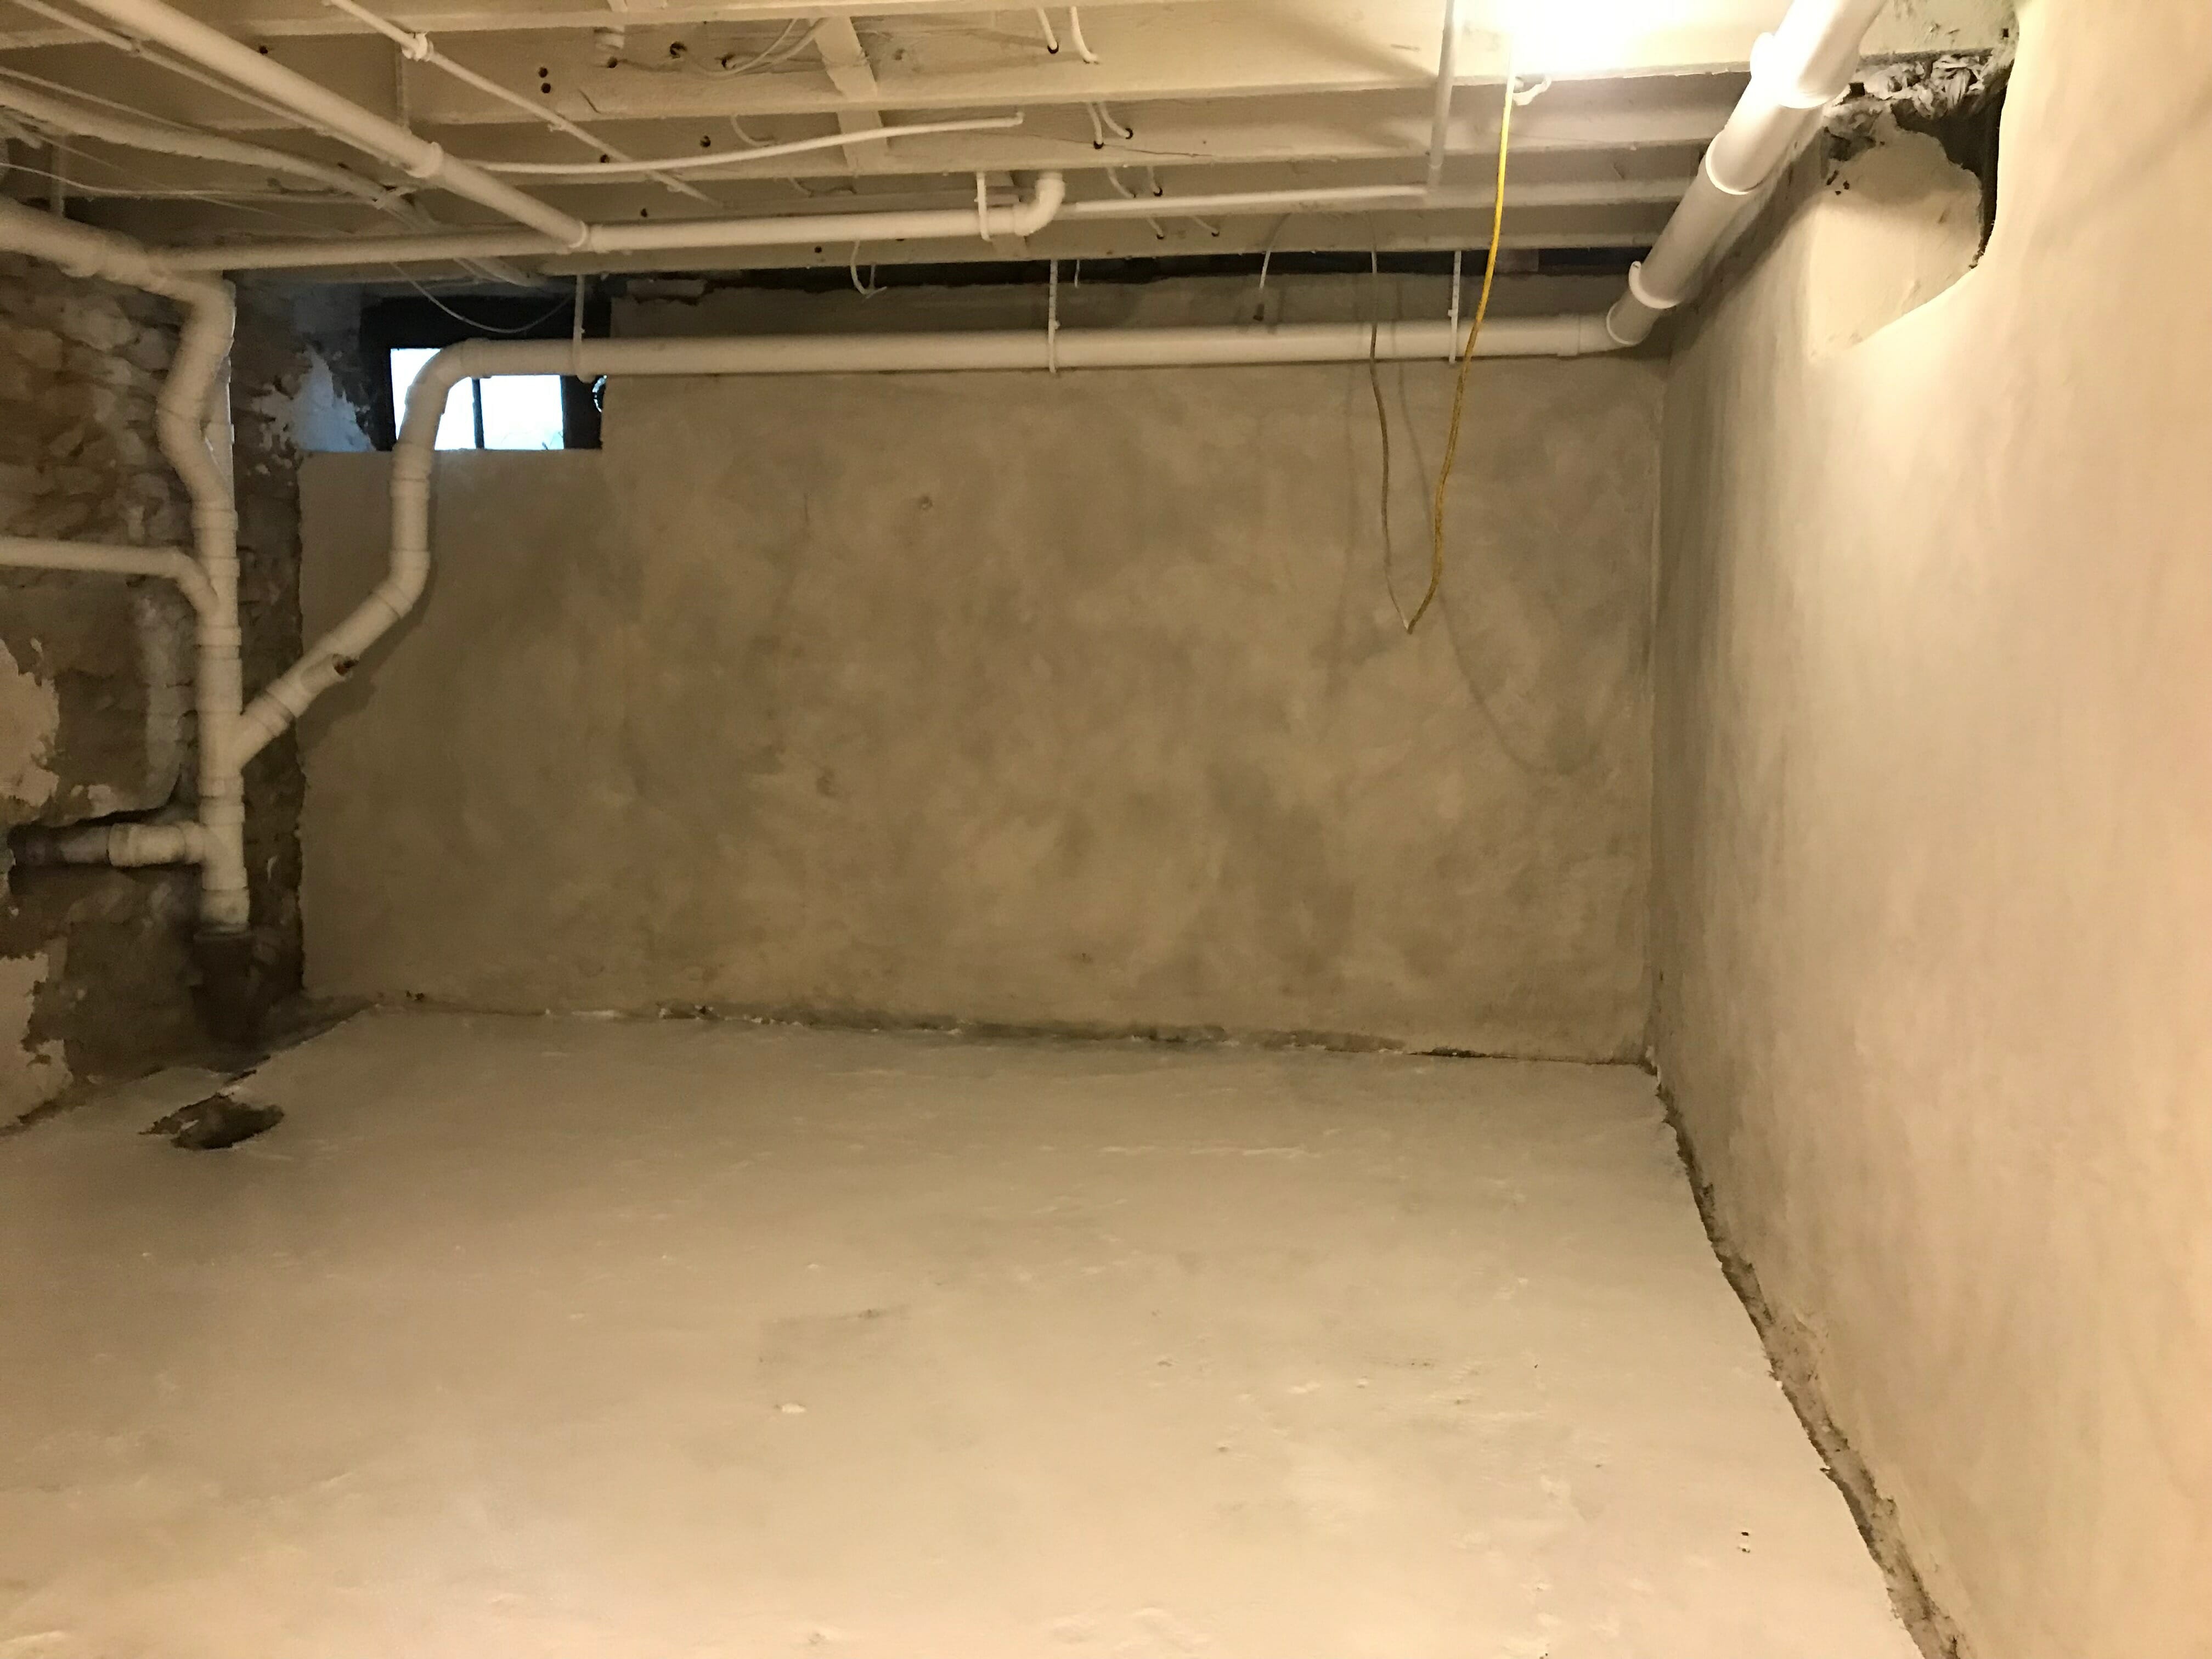
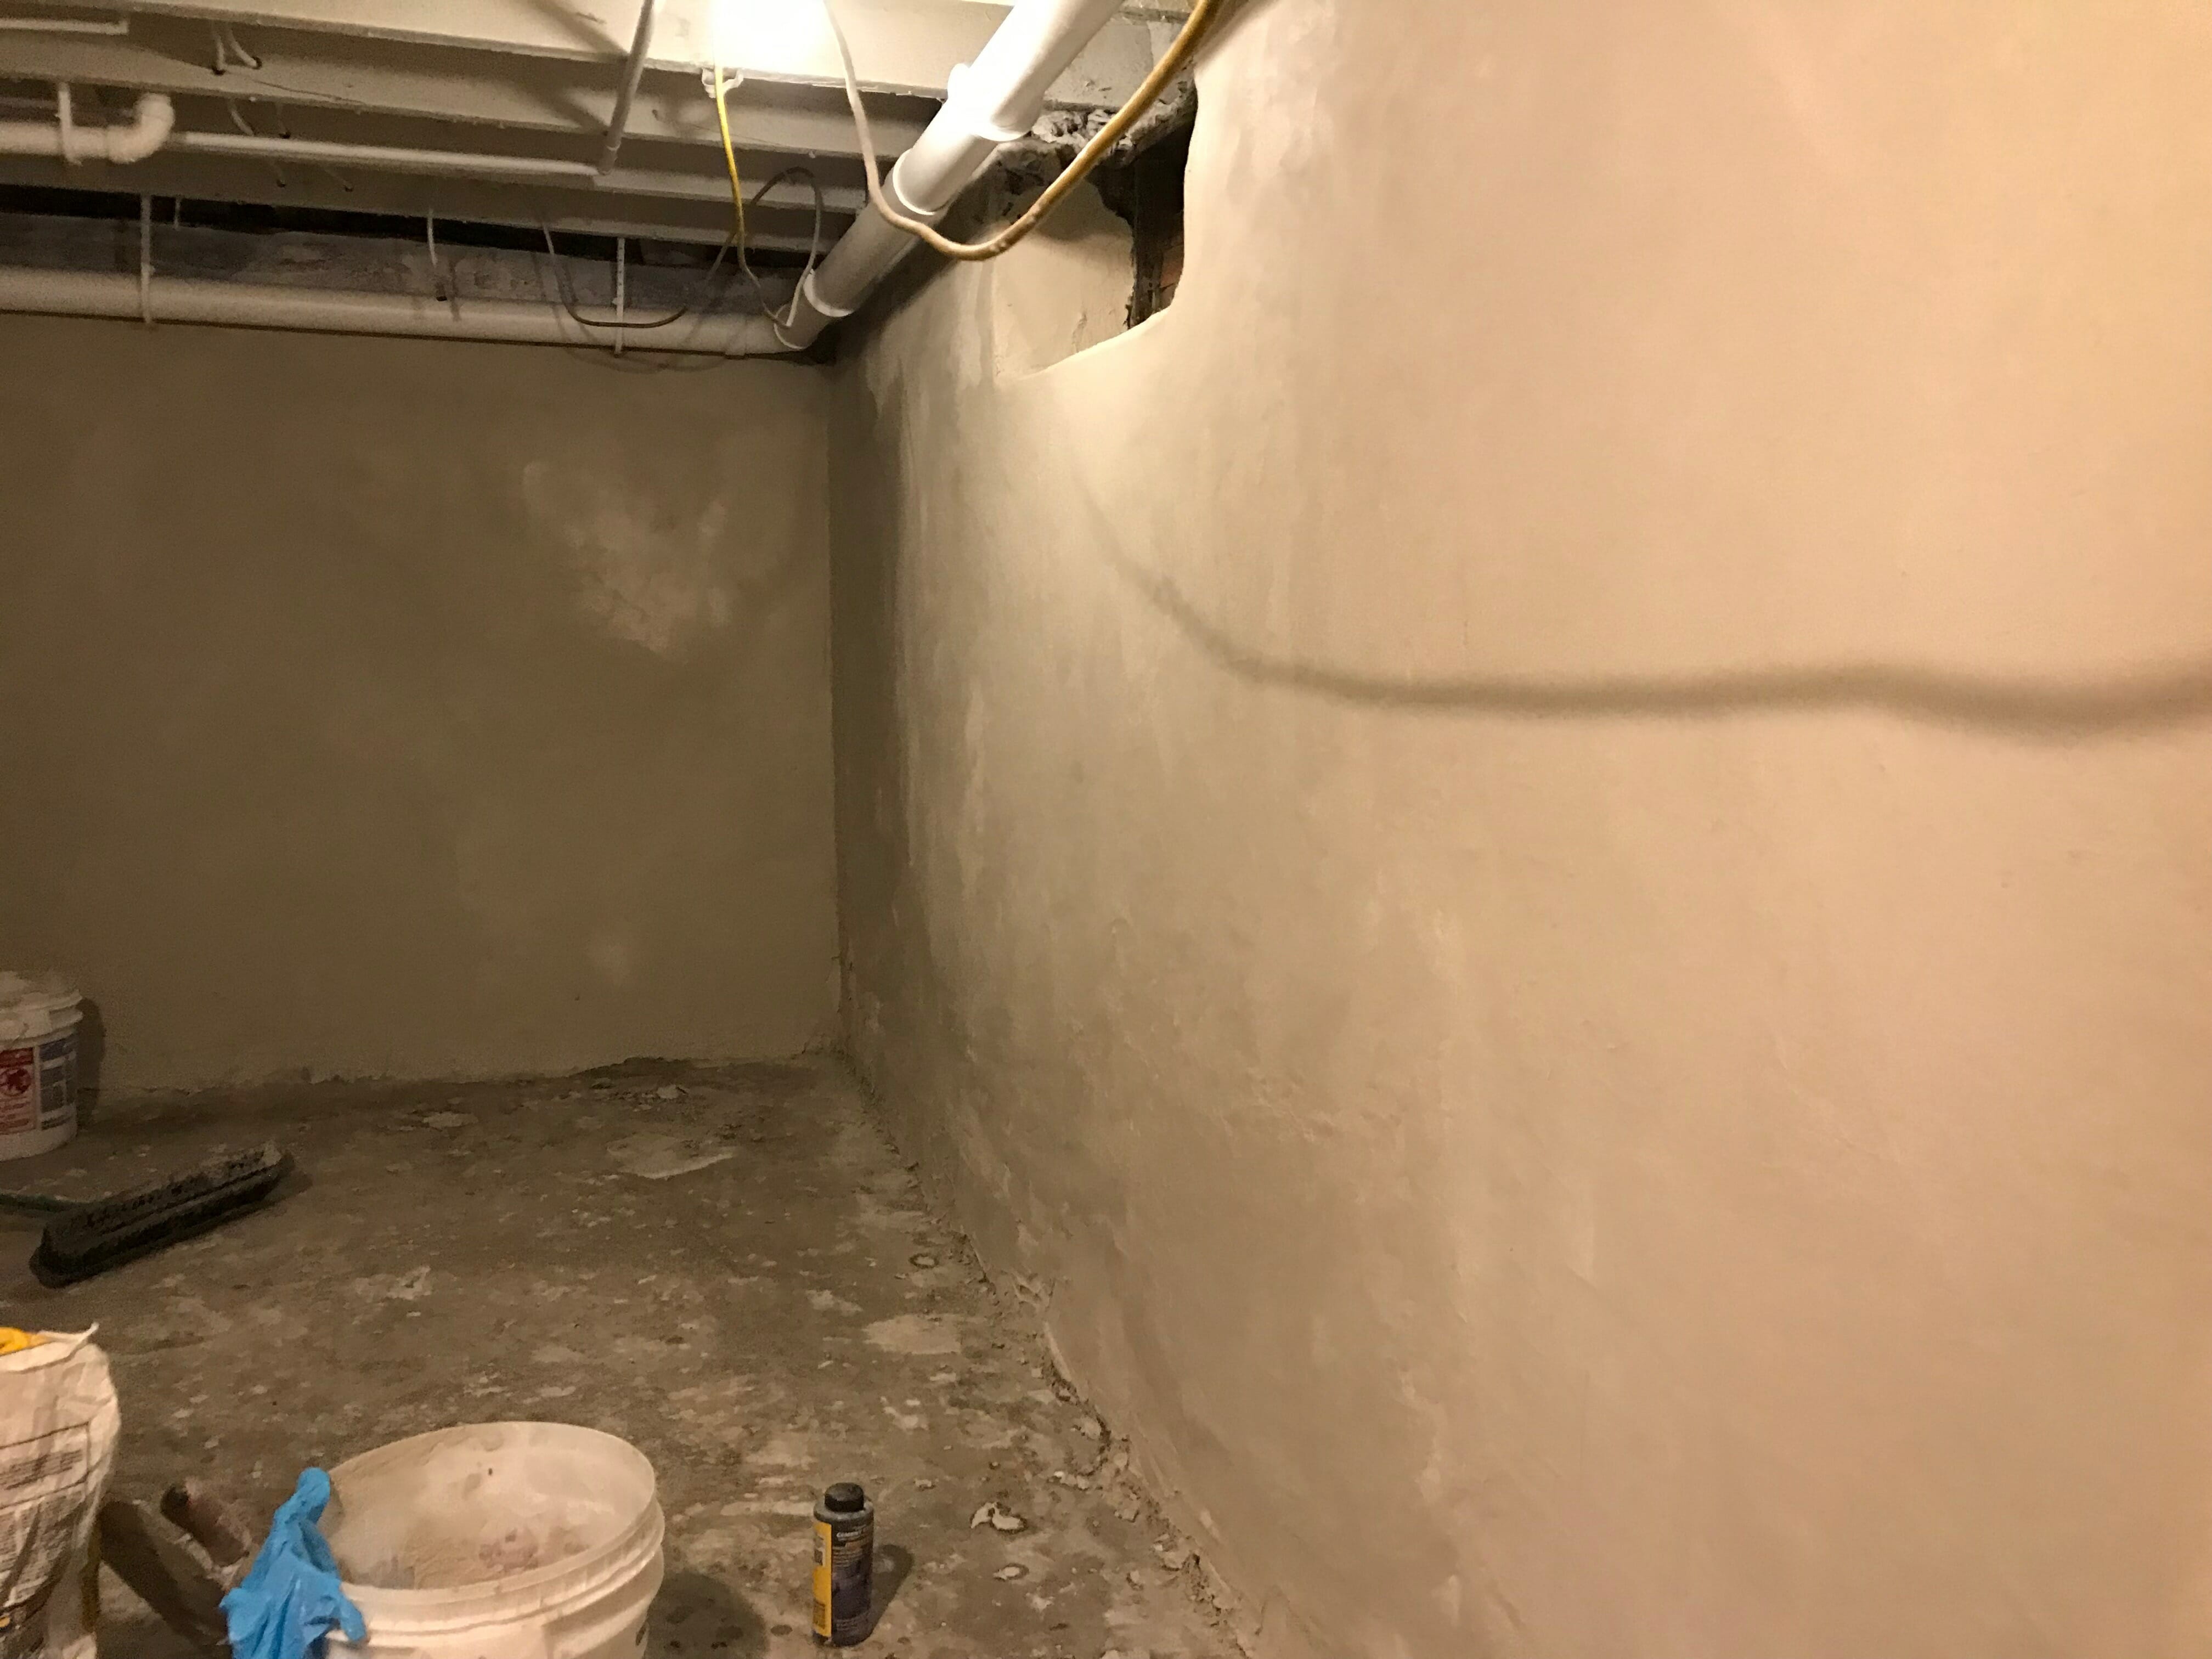
Aaaaand where we’re at now. (Excuse the lighting – our electrician hasn’t installed lights down here yet so we’re working with temporary lights!)
Ceilings
We started by spraying the ceilings with our new Graco paint sprayer (which is amazing and lives up to all the great reviews, btw). Painting a basement ceiling without a sprayer would be a nightmare! By doing the ceilings first, we had almost no prep work because we knew we’d be redoing the walls & floors next. We went back and forth about whether to go light or dark since we published our first post last week. After taking another look at the space, we decided white was the way to go… mainly because our ceiling height is low (7′-ish).
WALLs
I’m super, super excited about the walls, guys! We visited Puerto Rico a few months ago and saw lots of buildings that had this beautiful muted concrete look to them, almost like limewash, but not.
THESE WALLS.

We’ve been seeing limewashed walls pop up everywhere and thought about doing them… it just felt like a bit overkill for an unfinished basement. Going with a concrete material made much more sense, being that it does well with moisture & is really inexpensive. Here’s how we did them.
Step #1: Skim with a Trowel
We started by skimming all of our walls with Quikwall surface bonding cement, which is specially formulated for vertical surfaces (walls, not floors!) We mixed the cement with water until we got a thick pancake batter – like consistency — smooth and substantial, but not runny. The great thing about this product is that it’s fine grain, so it was easy to apply to our walls, and… it’s WHITE! This saved us from having to paint, and allowed us to tint it easily in Step #3.
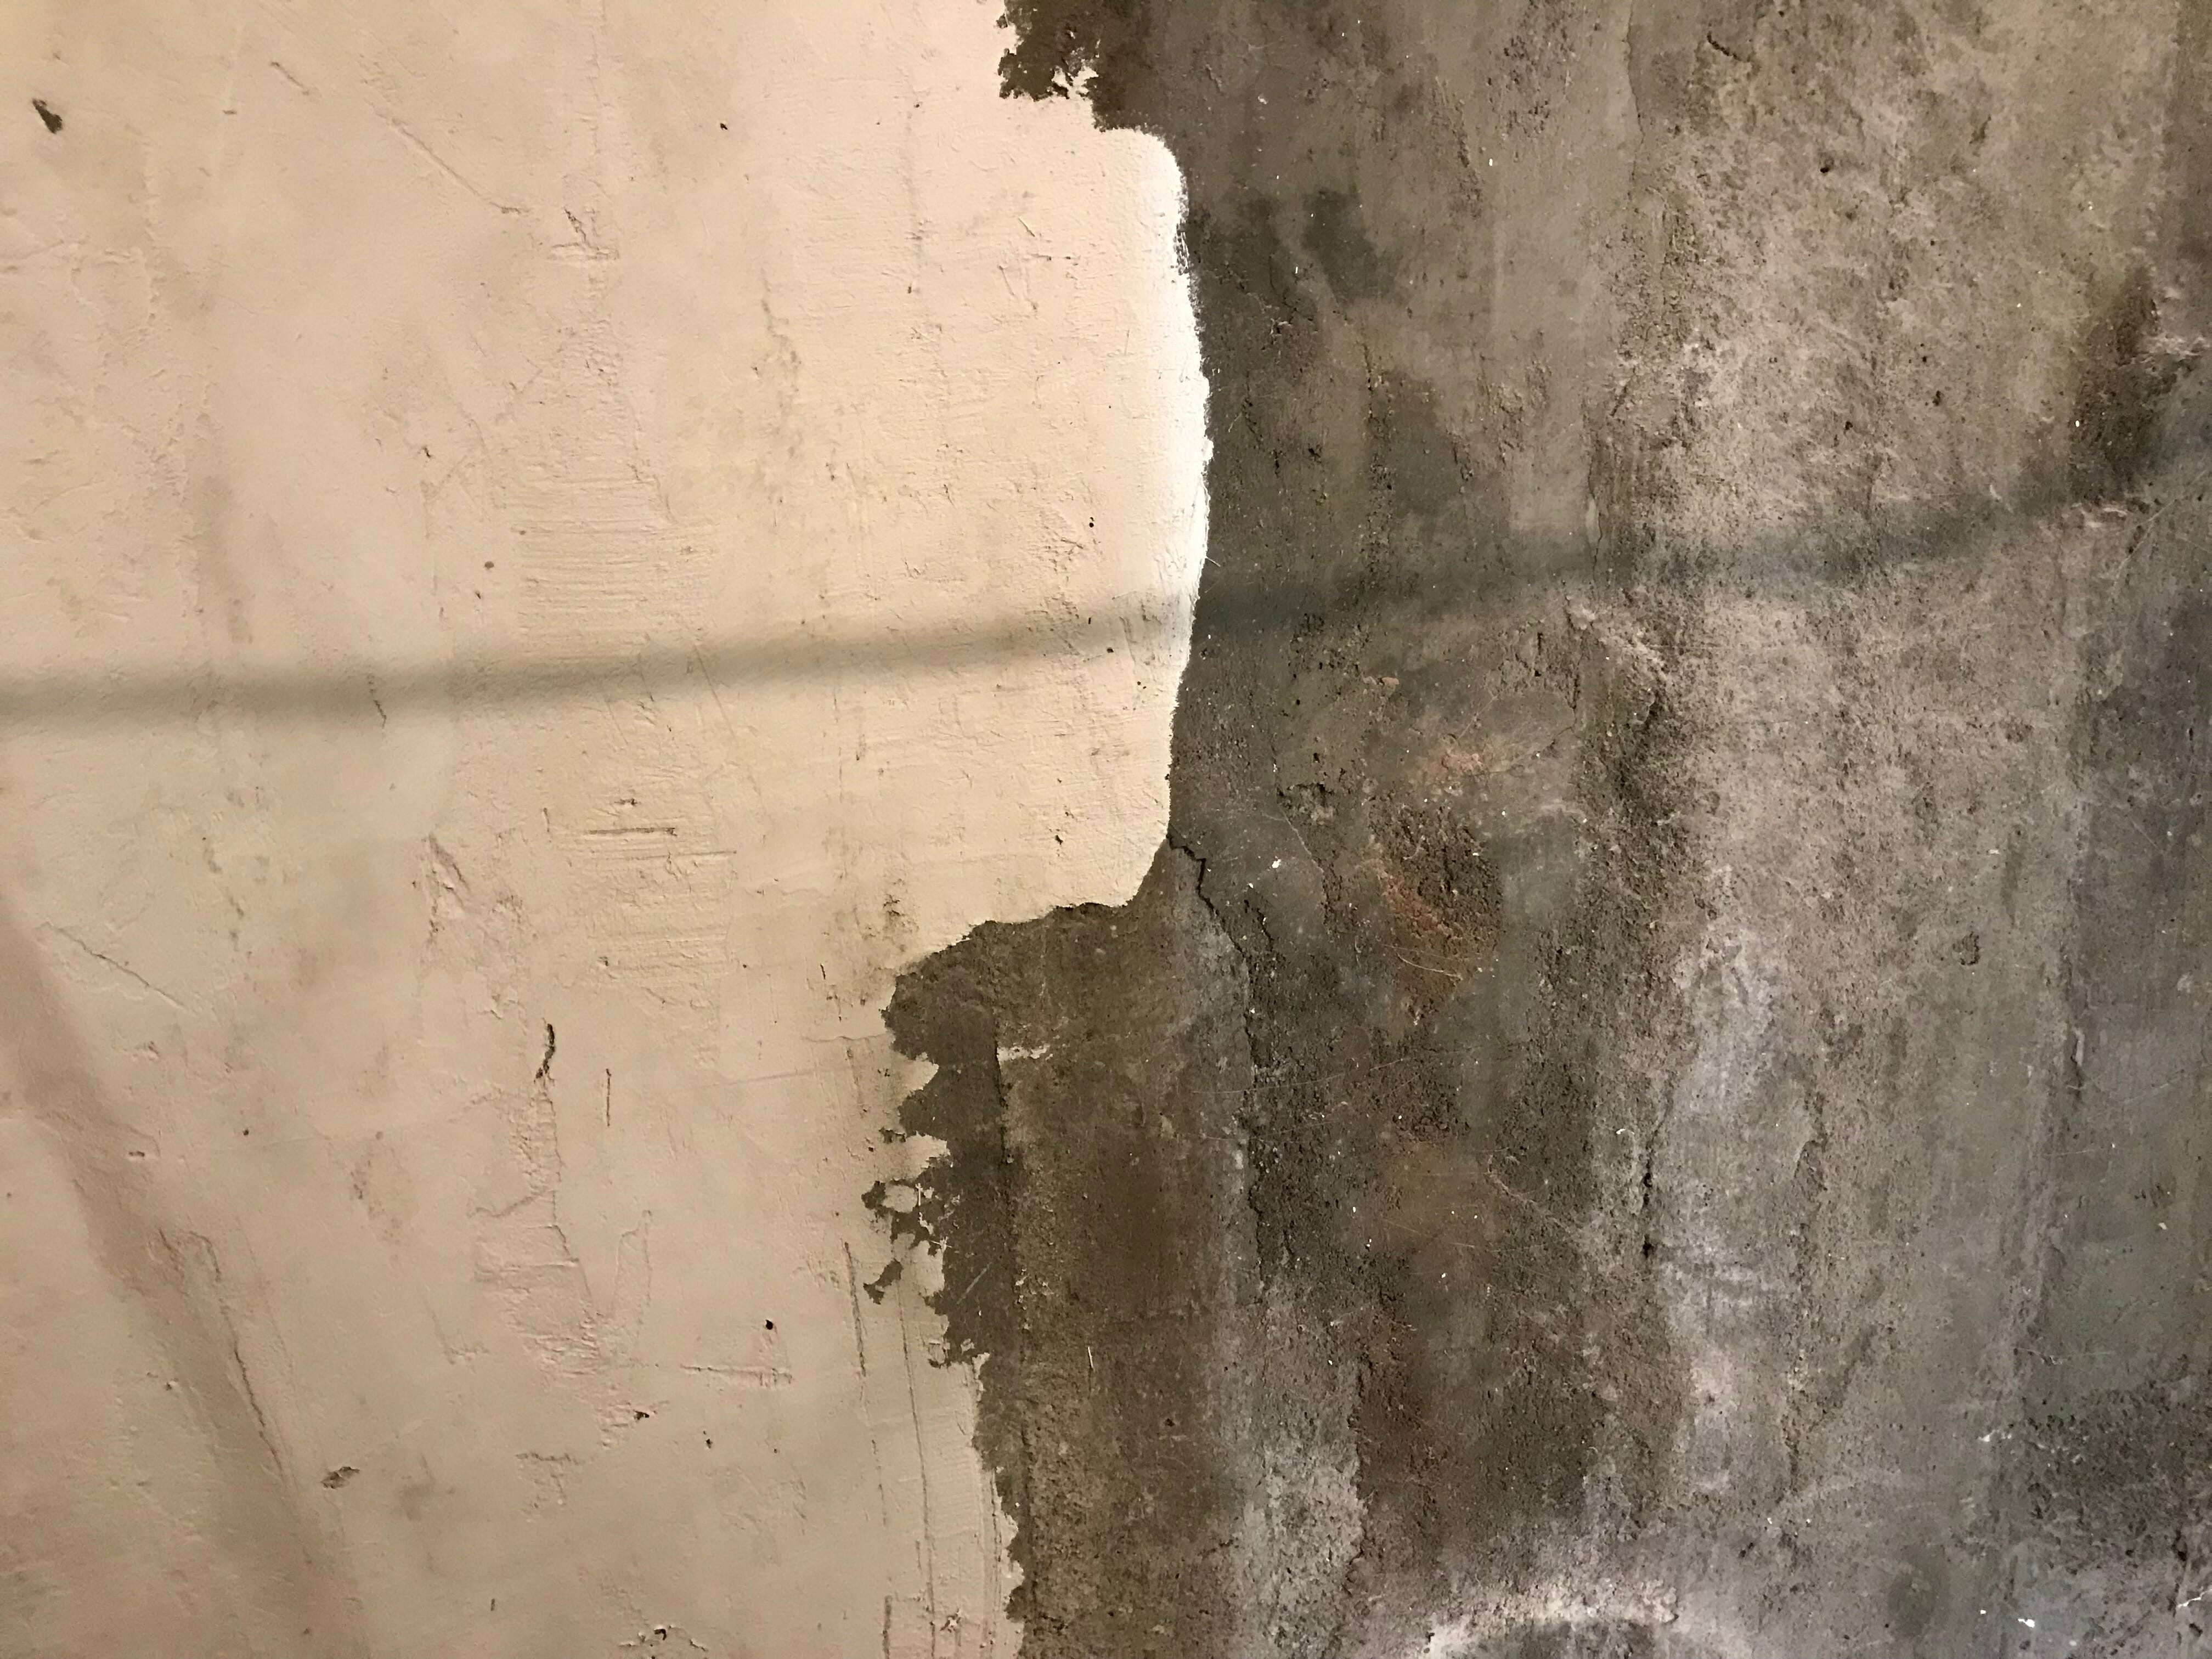
Step #2: Sponge Finish
We let the Quikwall start to harden for a bit before sponge finishing, which is essentially smoothing over the rough spots with a damp sponge. Doing this smoothed out our walls dramatically – not as flat as drywall, but great for our purposes.

Here’s the progression of the sponge finish looked like, from start to finish. These photos are showing as a clay color because they’re right under the light, but in real life, they’re creamy white.
The smooth walls were key to making this space feel more finished.
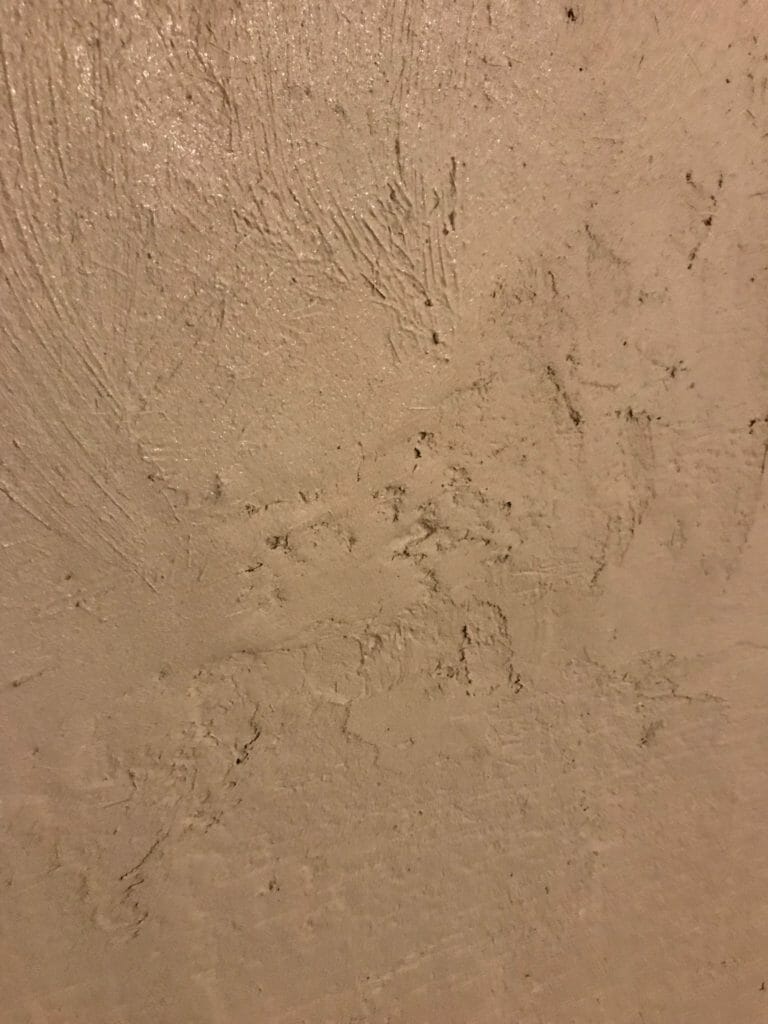
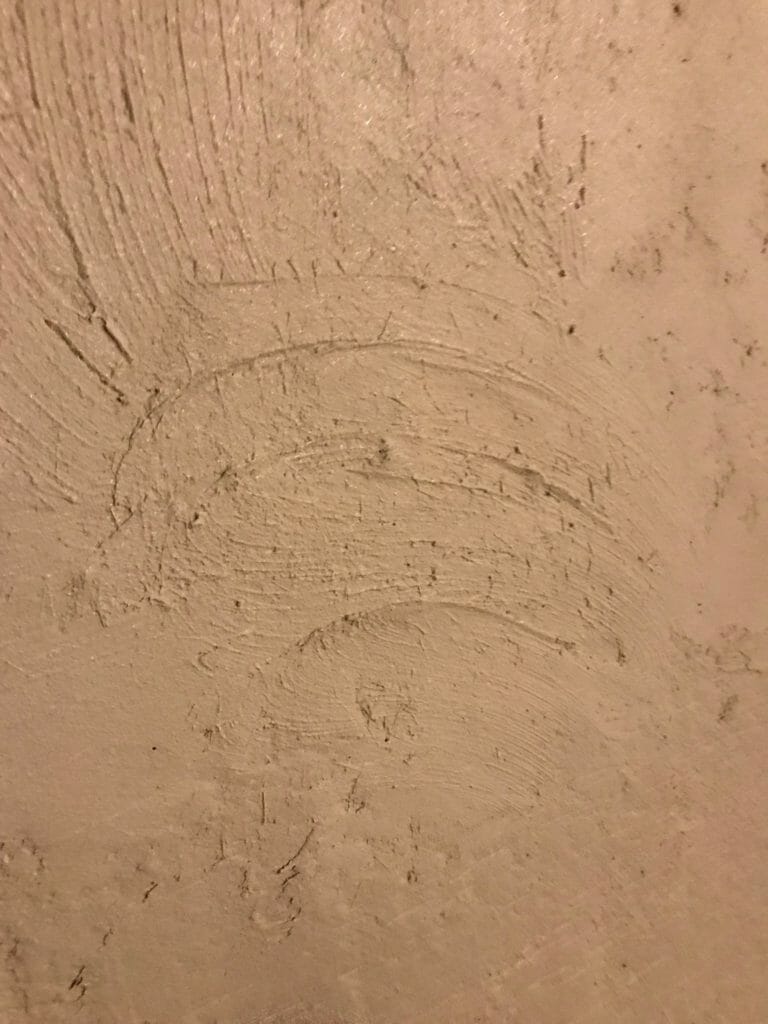
Step #3: Sponge Skim
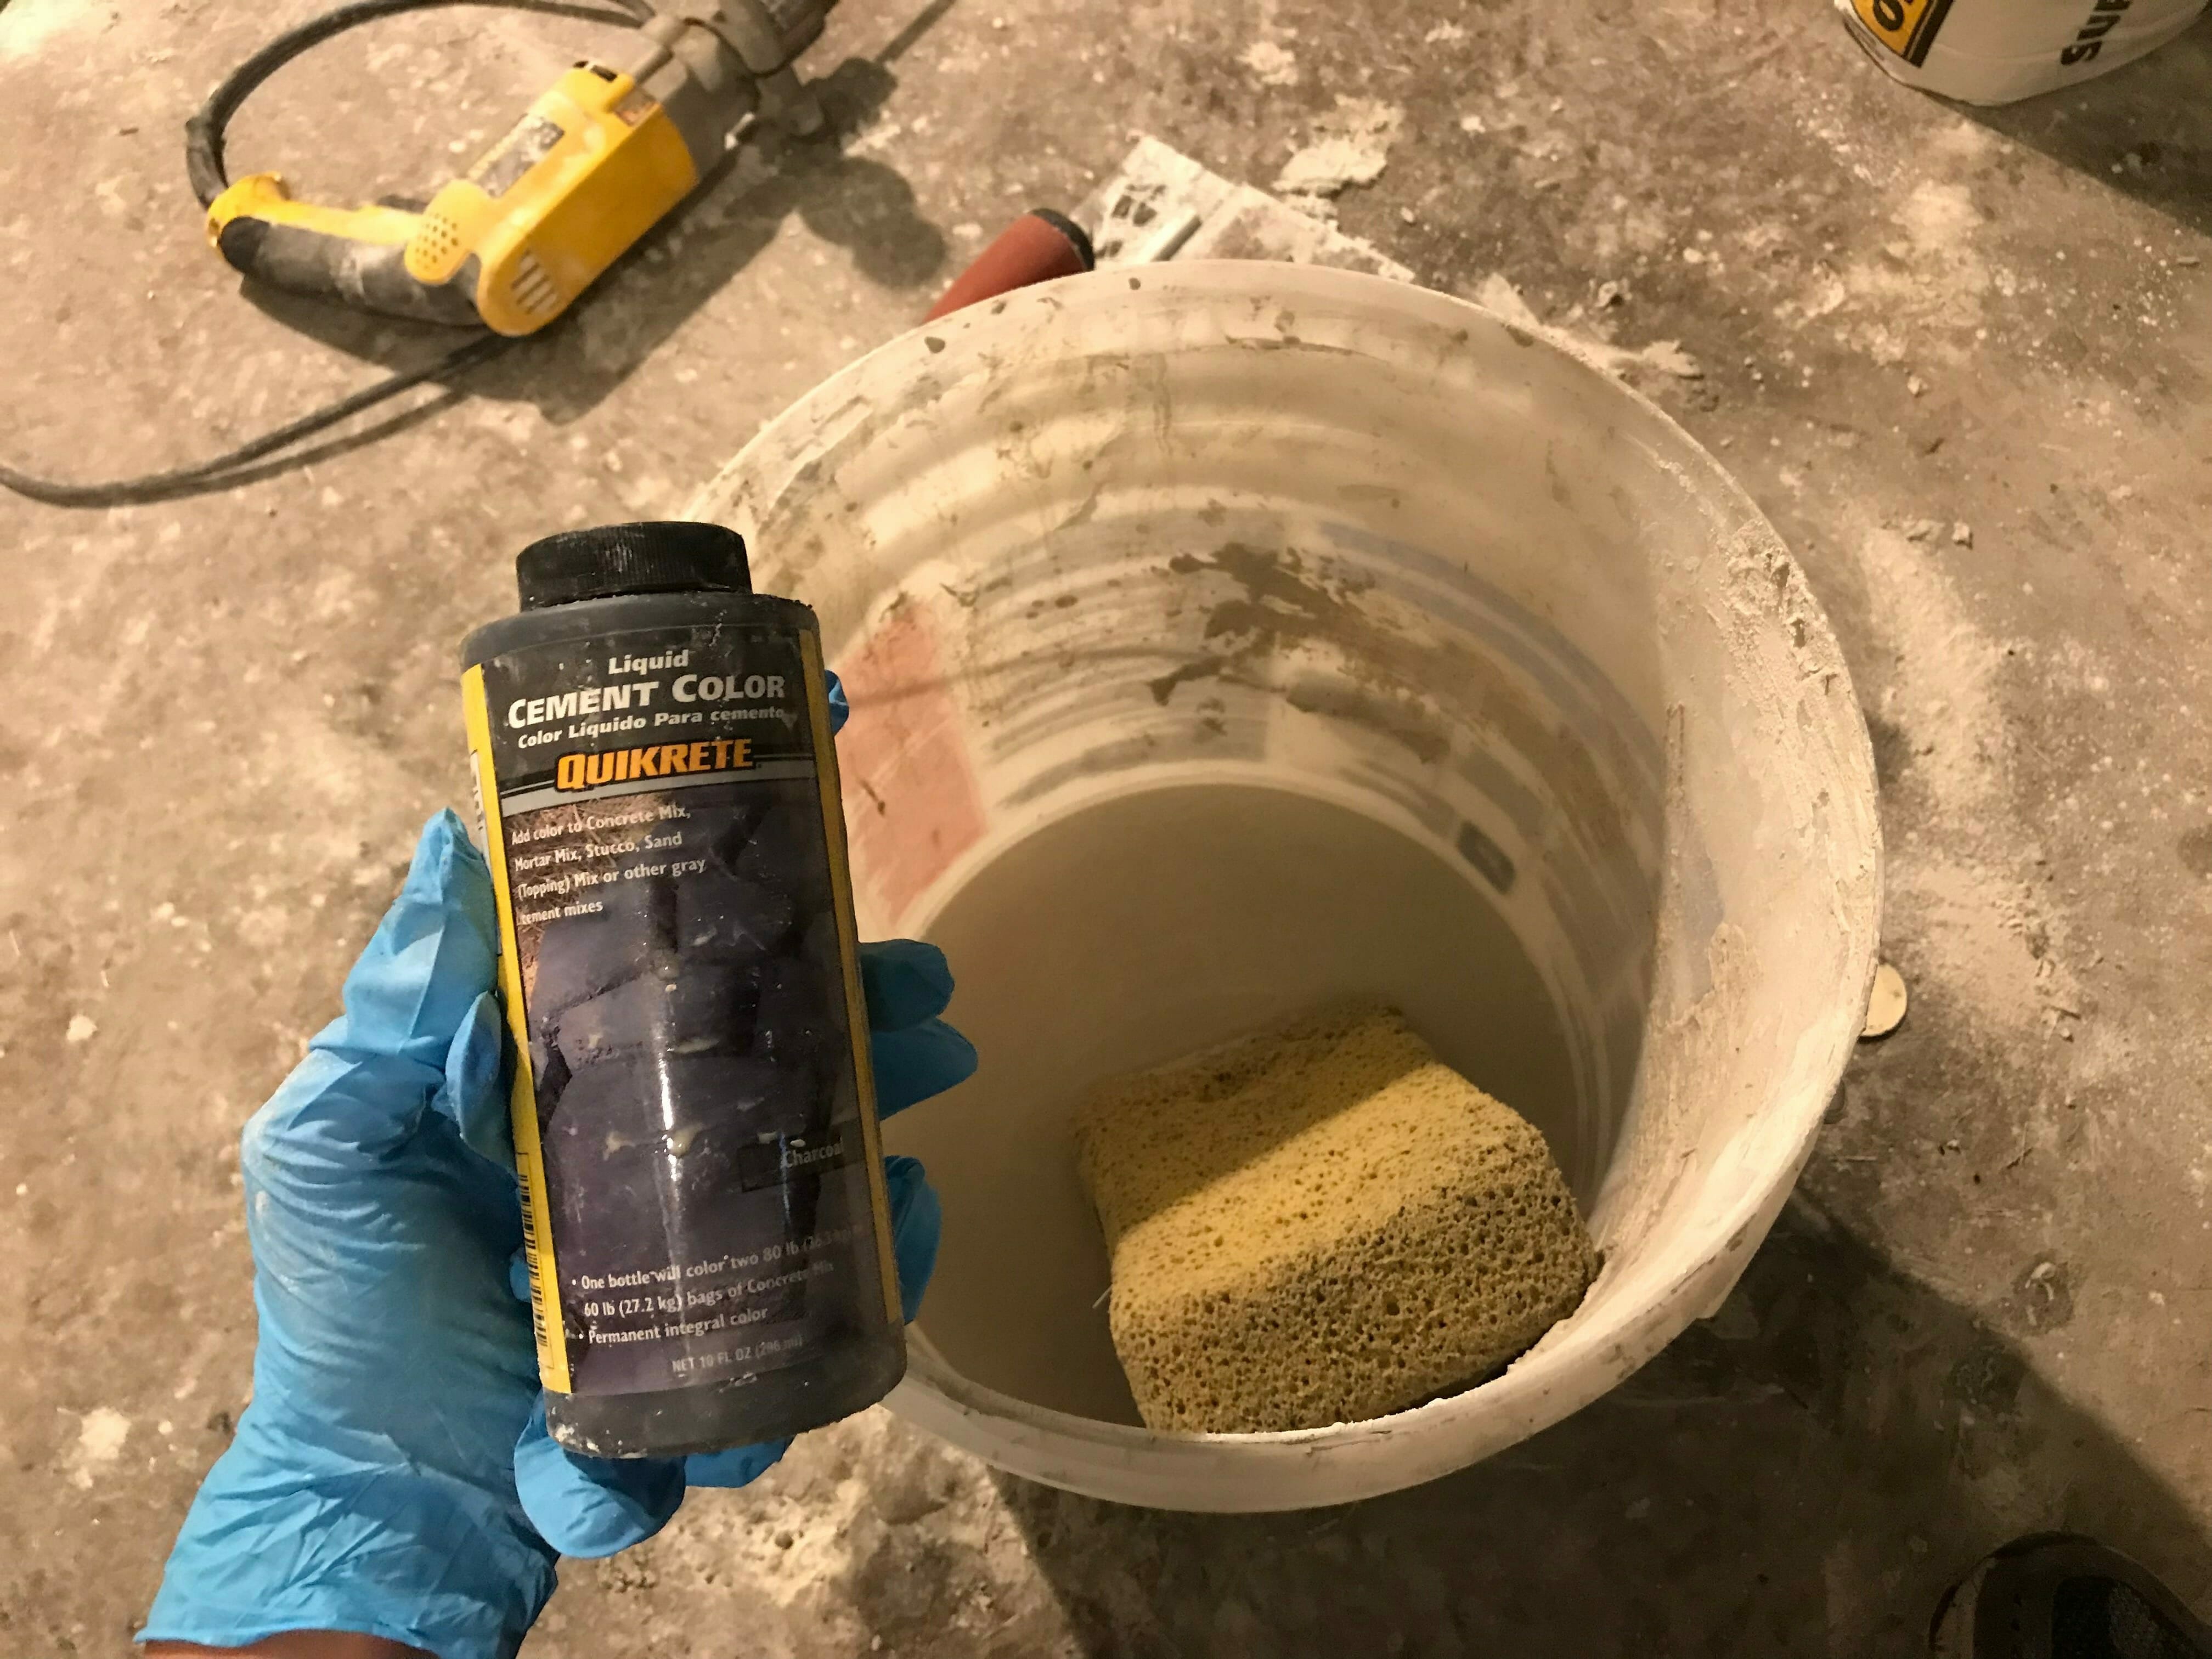
I don’t know if this is an actual term, but we did just that: applied a second, very liquid coat of the Quikwall + water mix to the dried walls. This time, we added a few drops of Quikrete dark grey tint to give it the variation we were looking for and mixed everything until the consistency was like a creamy bisque. We applied the finish really randomly with a mix of Xs and swirls, and used a sponge to do it.
This is what the walls looked like immediately after sponging on the second thin layer…
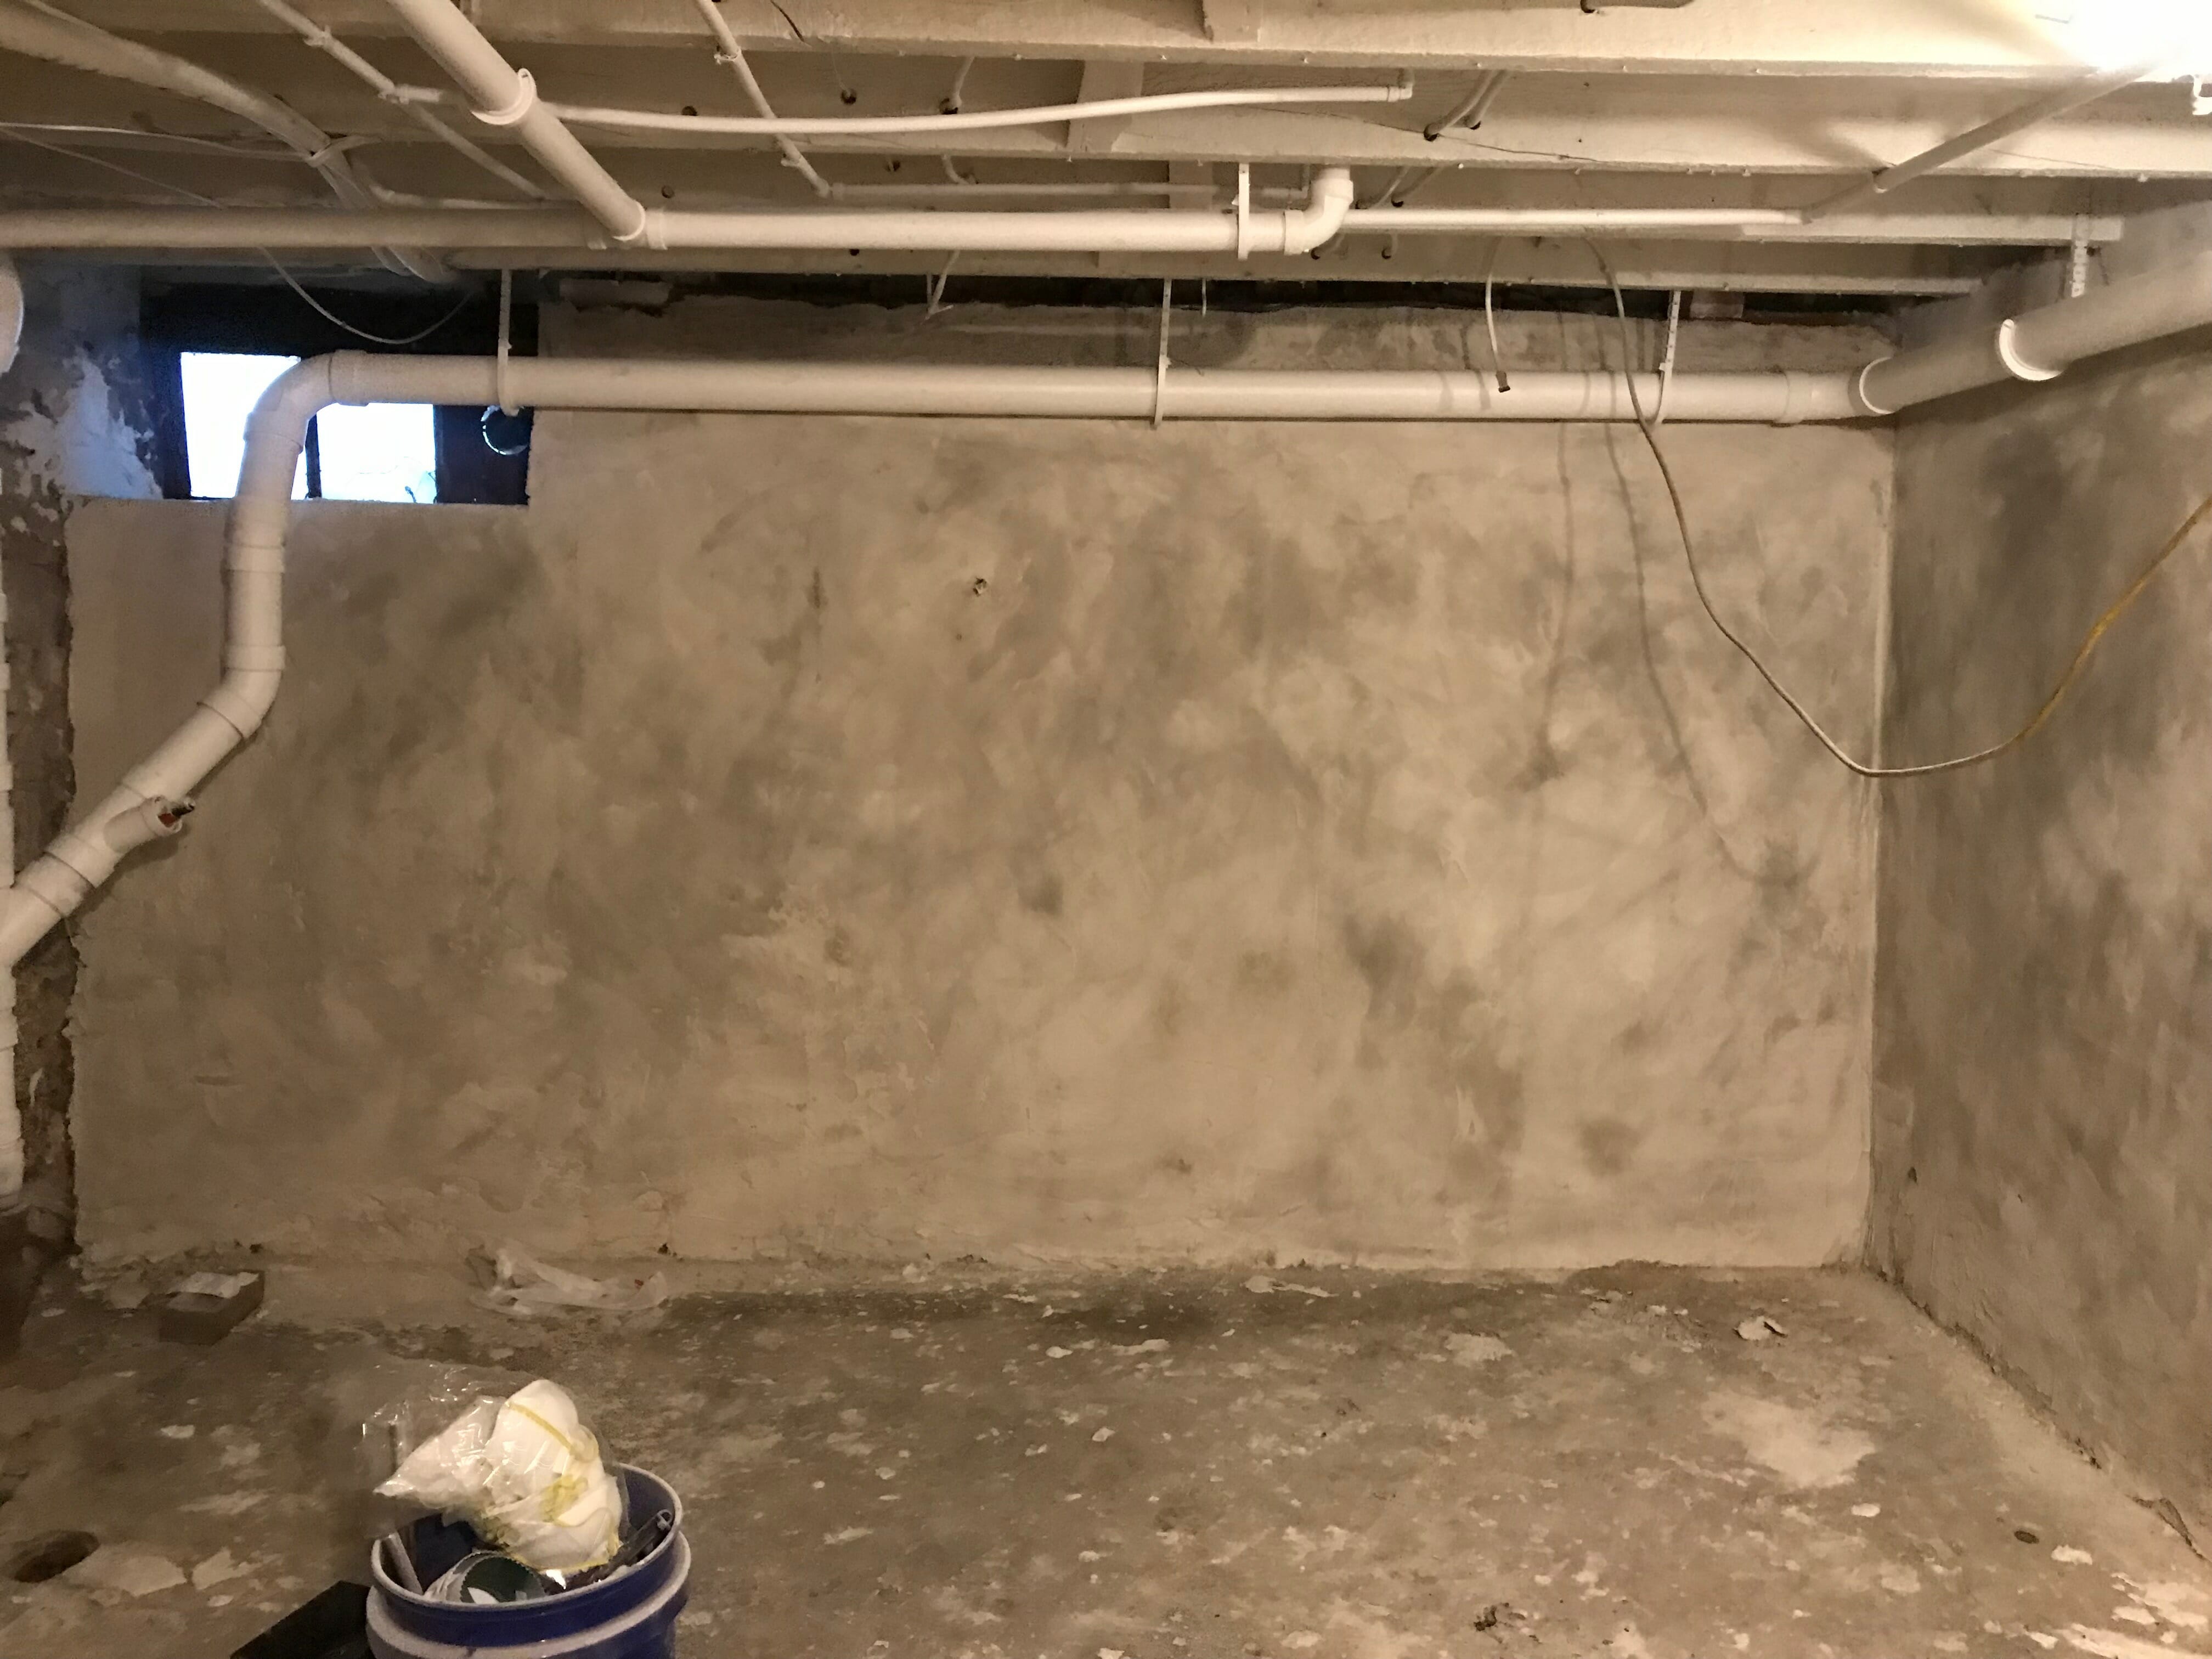
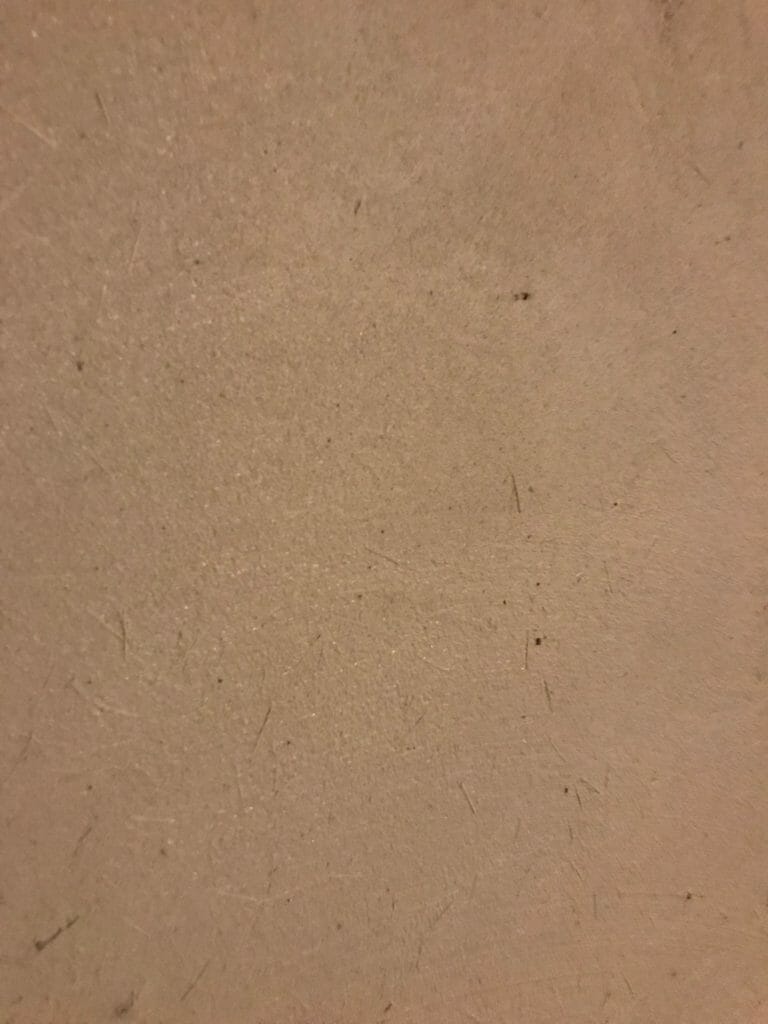
And this is what they looked like partially dry (after about 45 minutes).
They’re PERFECT! These photos are actually pretty true to color, too. They’re like a creamy light gray.
Last but not least, we painted the old concrete floor.
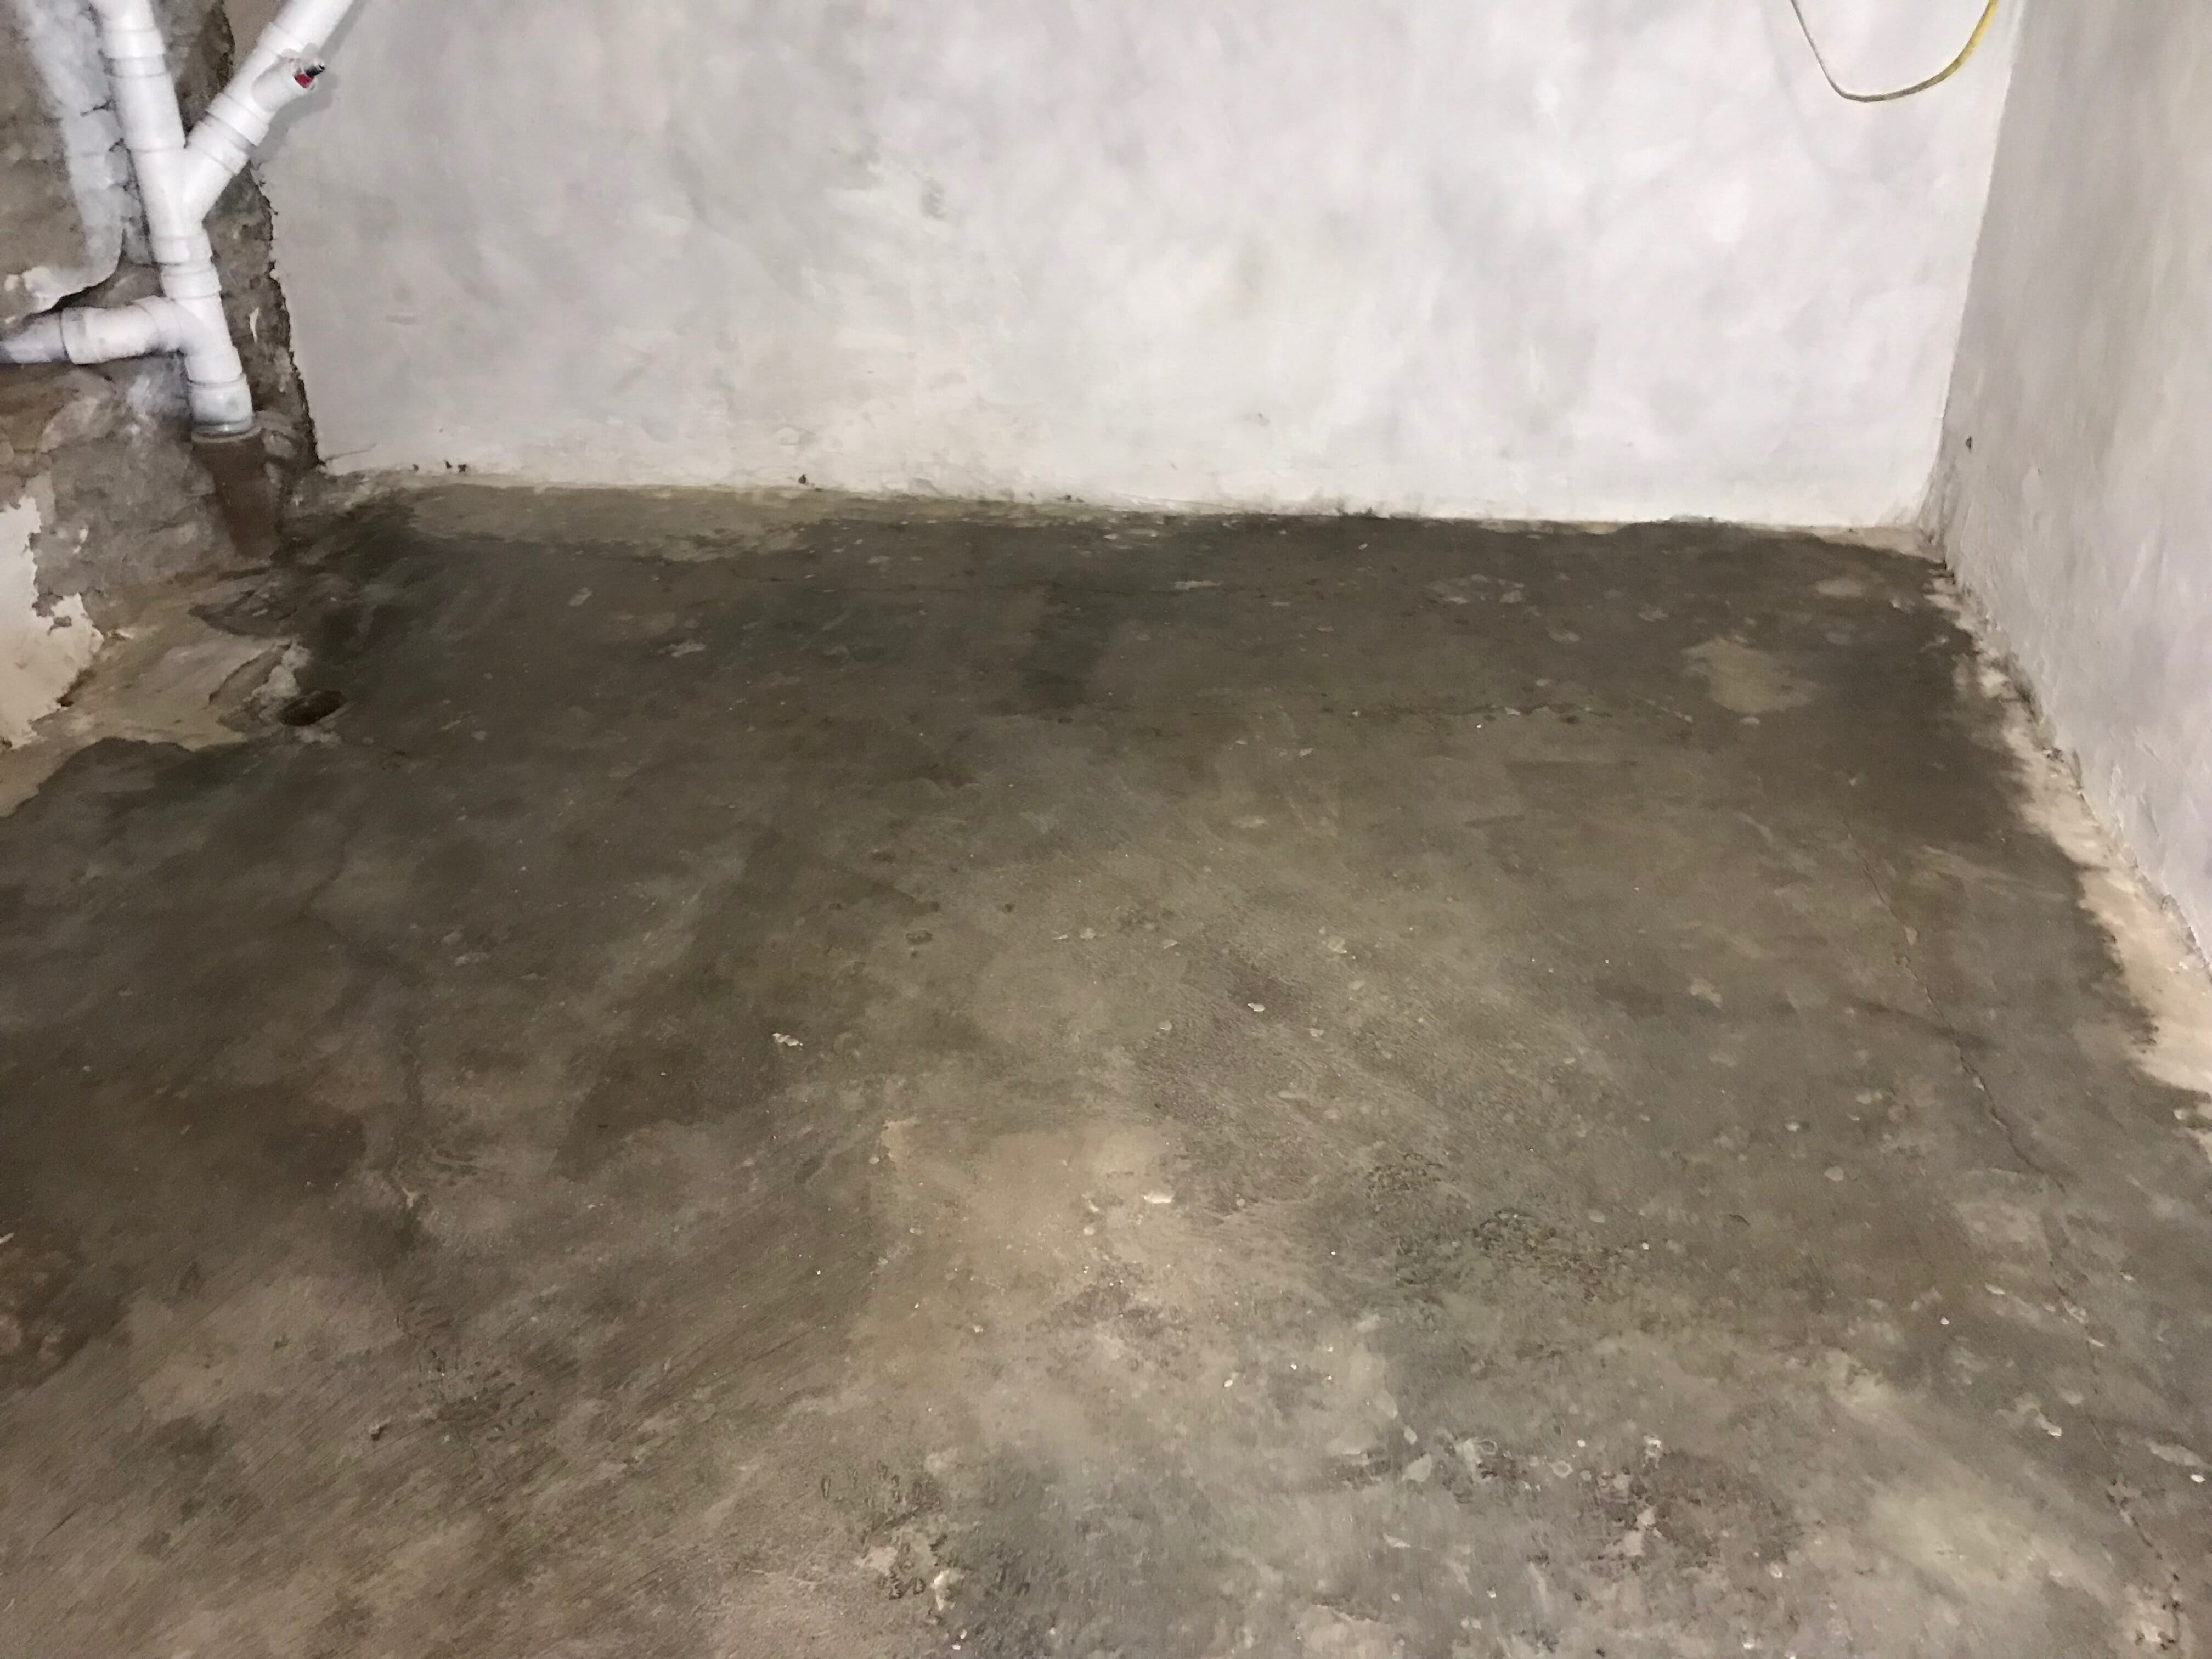
We had originally planned on pouring new concrete down here, but as it turned out, the concrete was in great shape (less $ to spend = cue happy dance). We cleaned the floor with some soap and water, and then painted it with Valspar white porch paint.
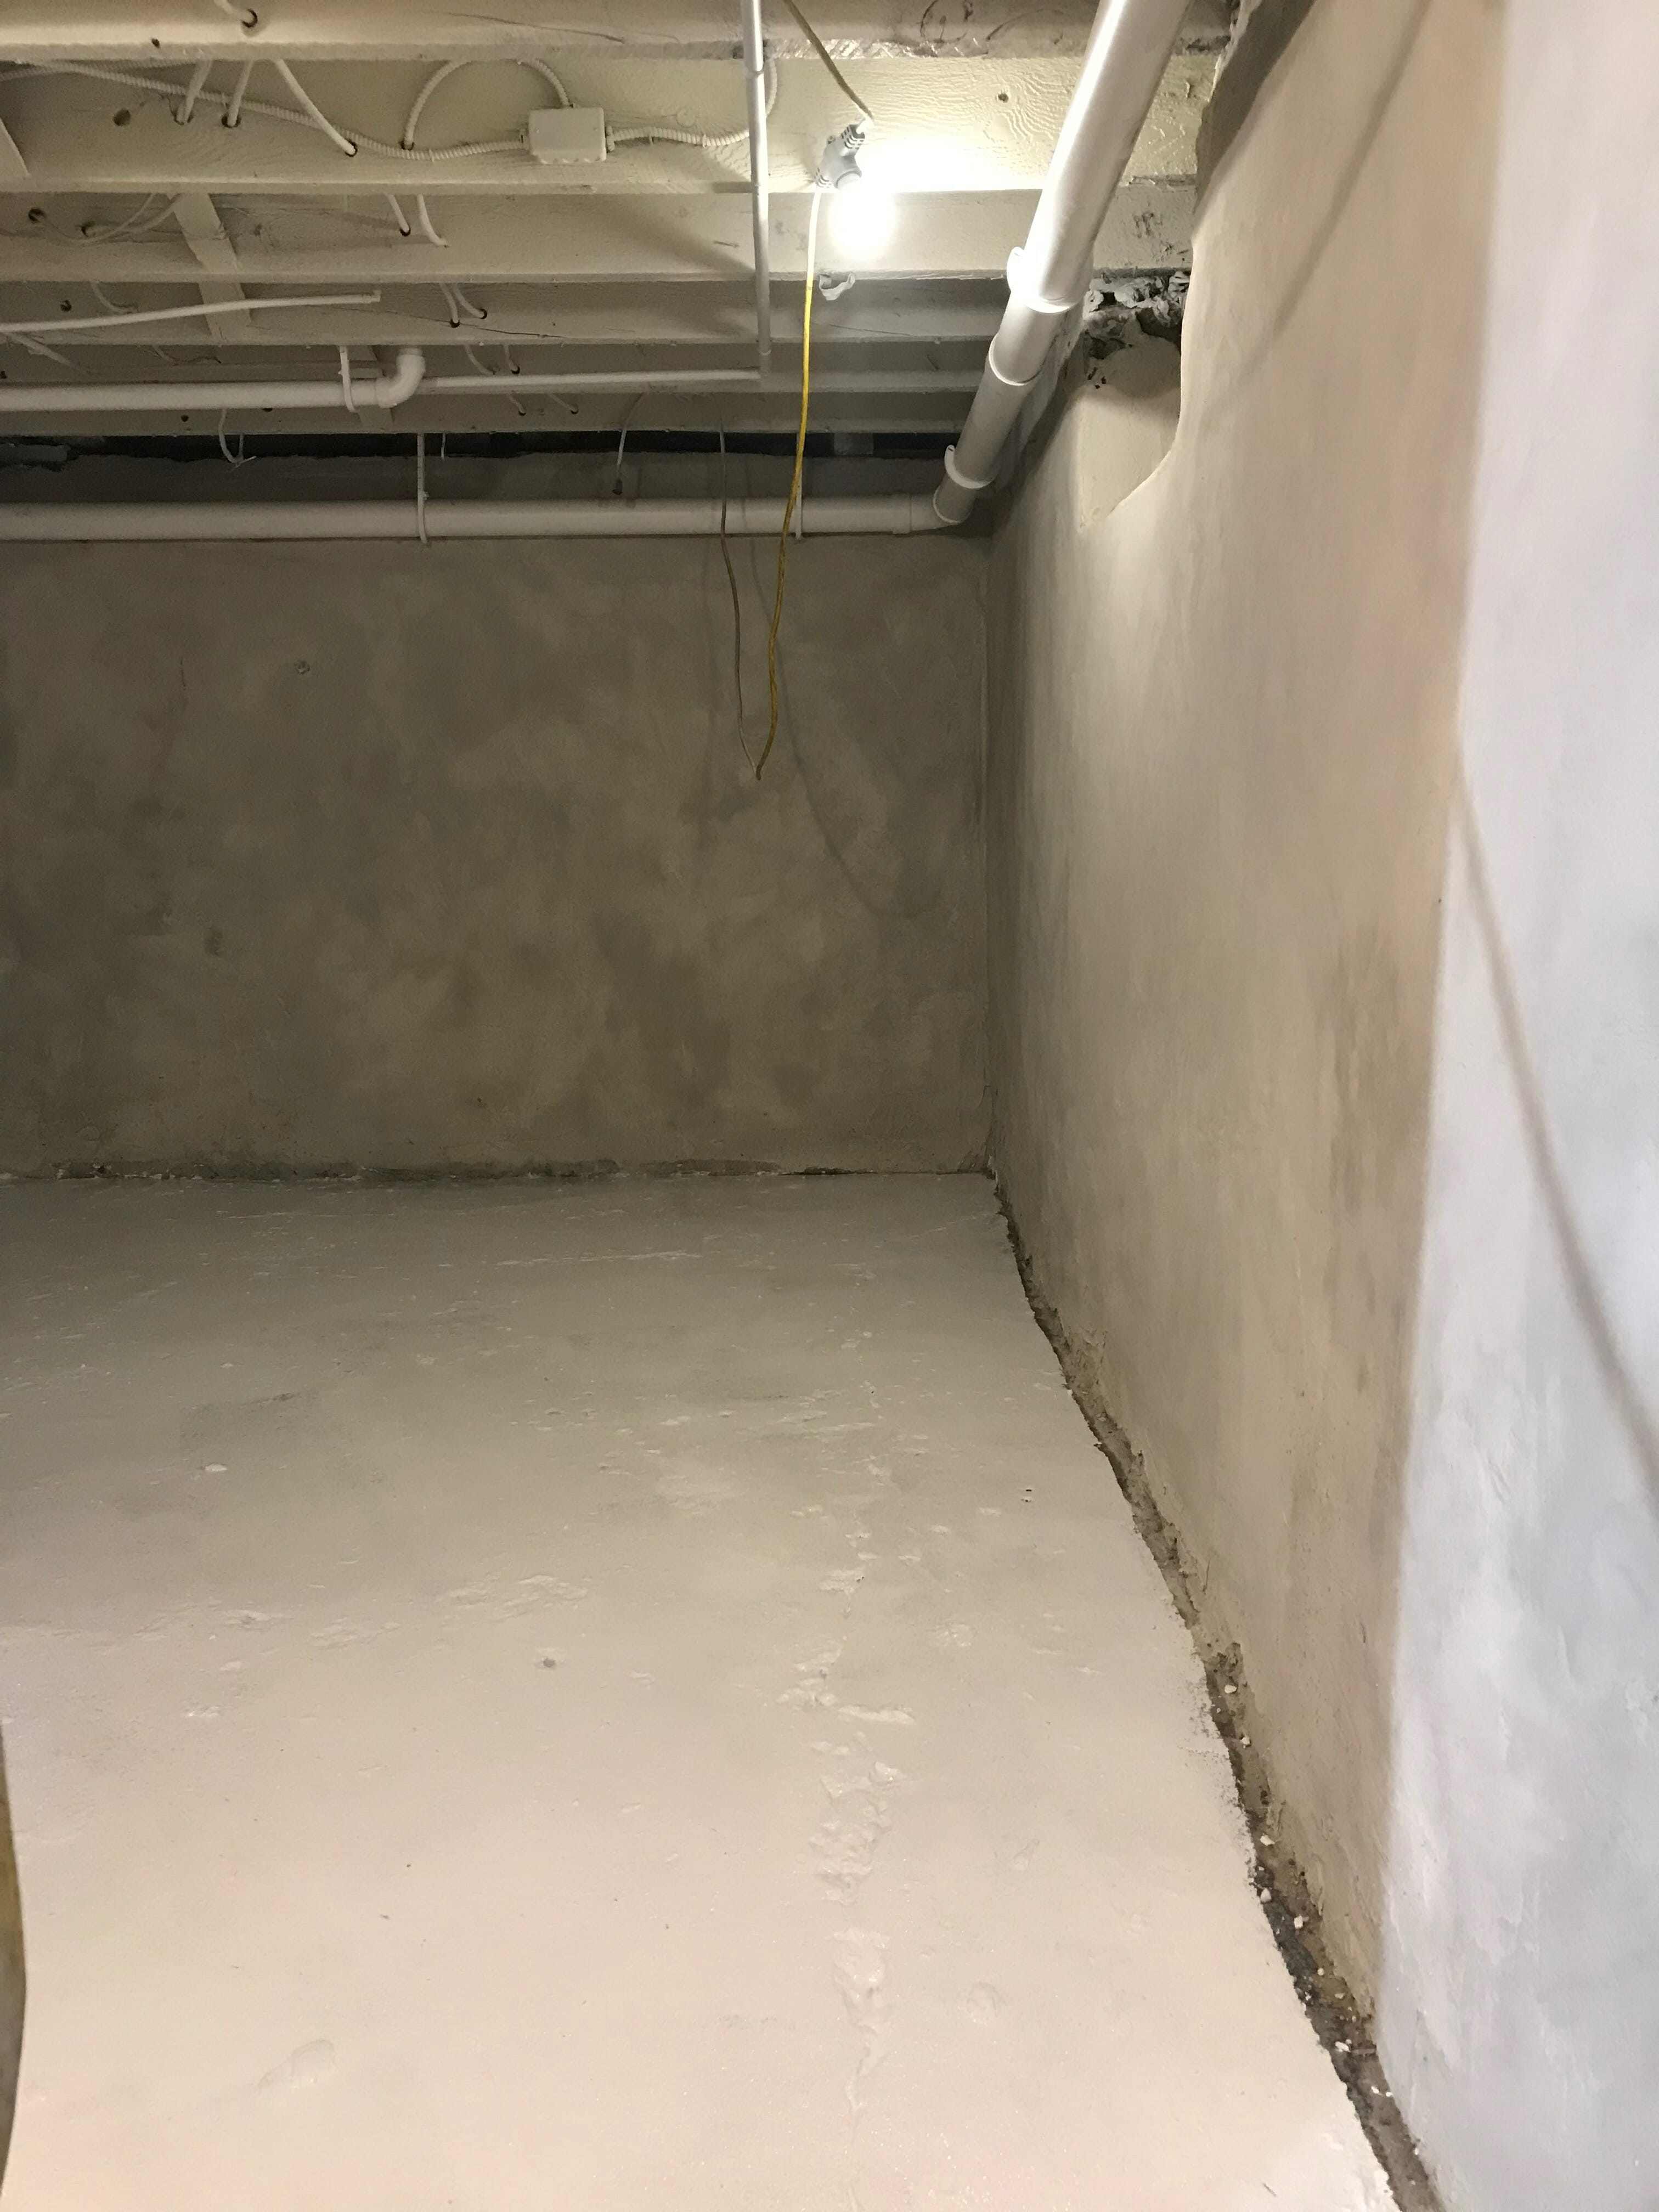
Will white get dirty? Possibly, but I’m loving the way it brightens the whole space. If we need to change it in the future, we can do that quickly & easily with a gallon of paint.
WHAT’S NEXT?
We have a lot to get done by our deadline next week! On the agenda:
- Build our plywood shelves / storage
- Install our new LG 7300 Series washer & dryer
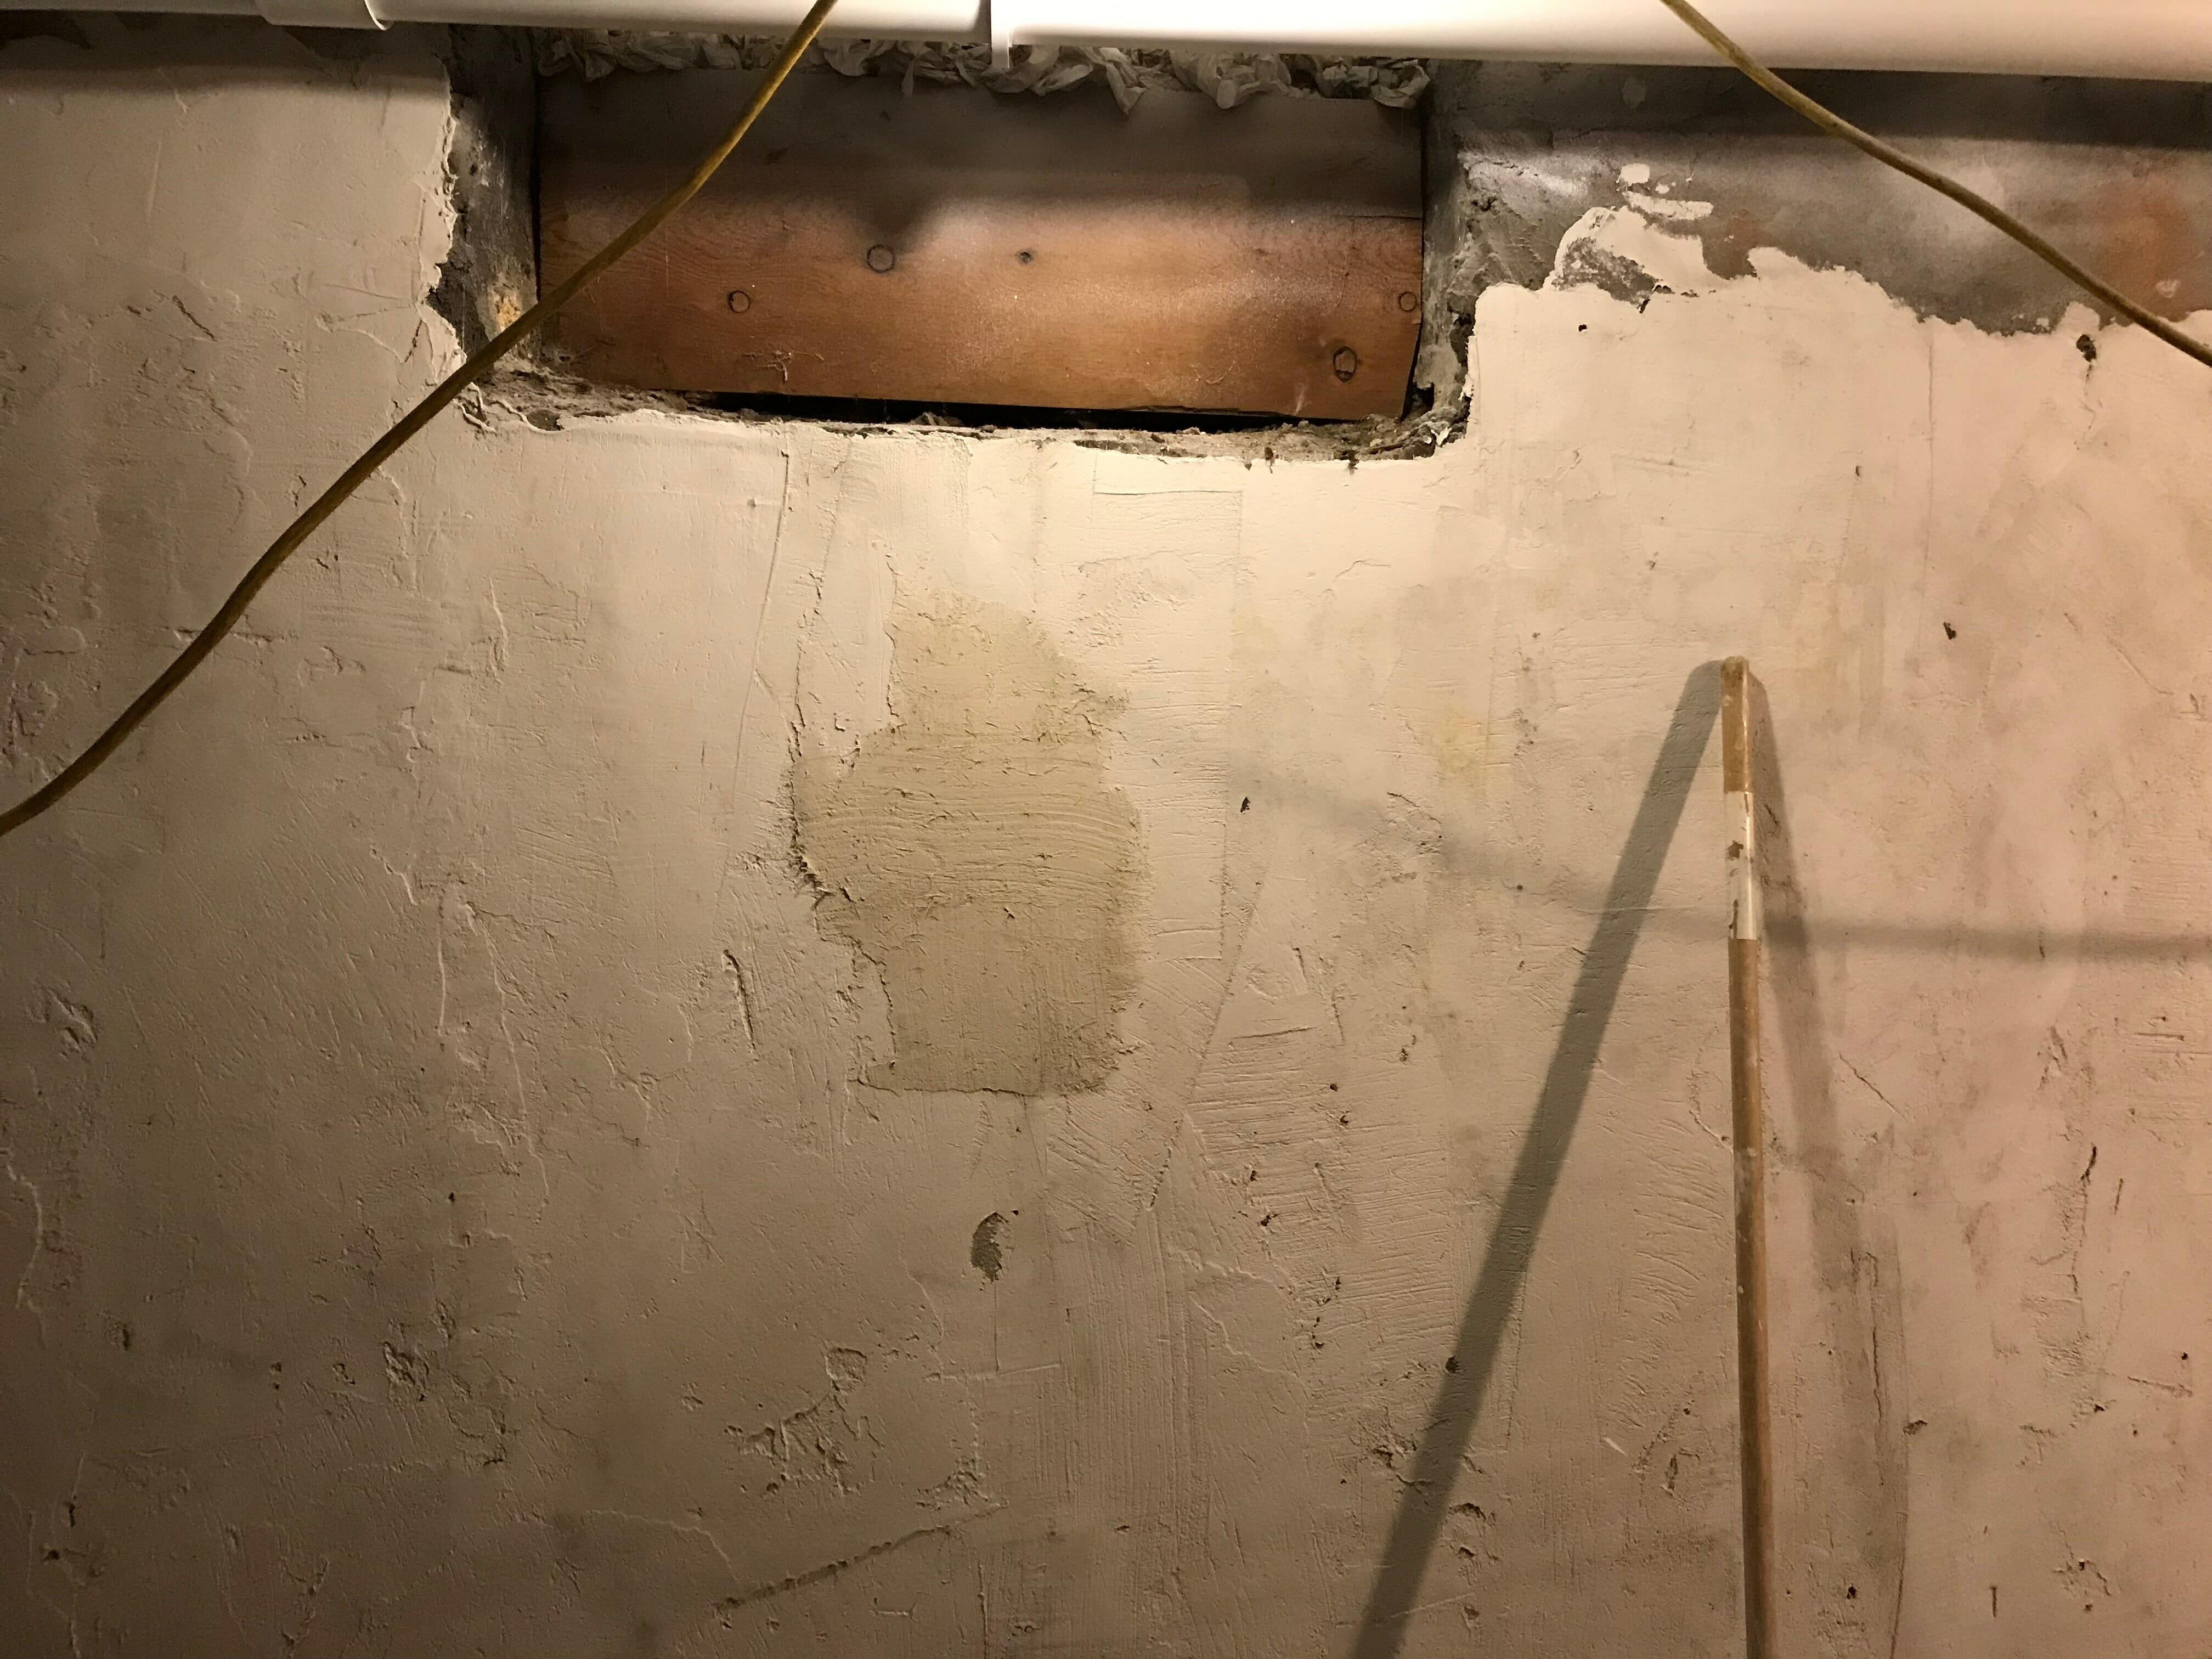
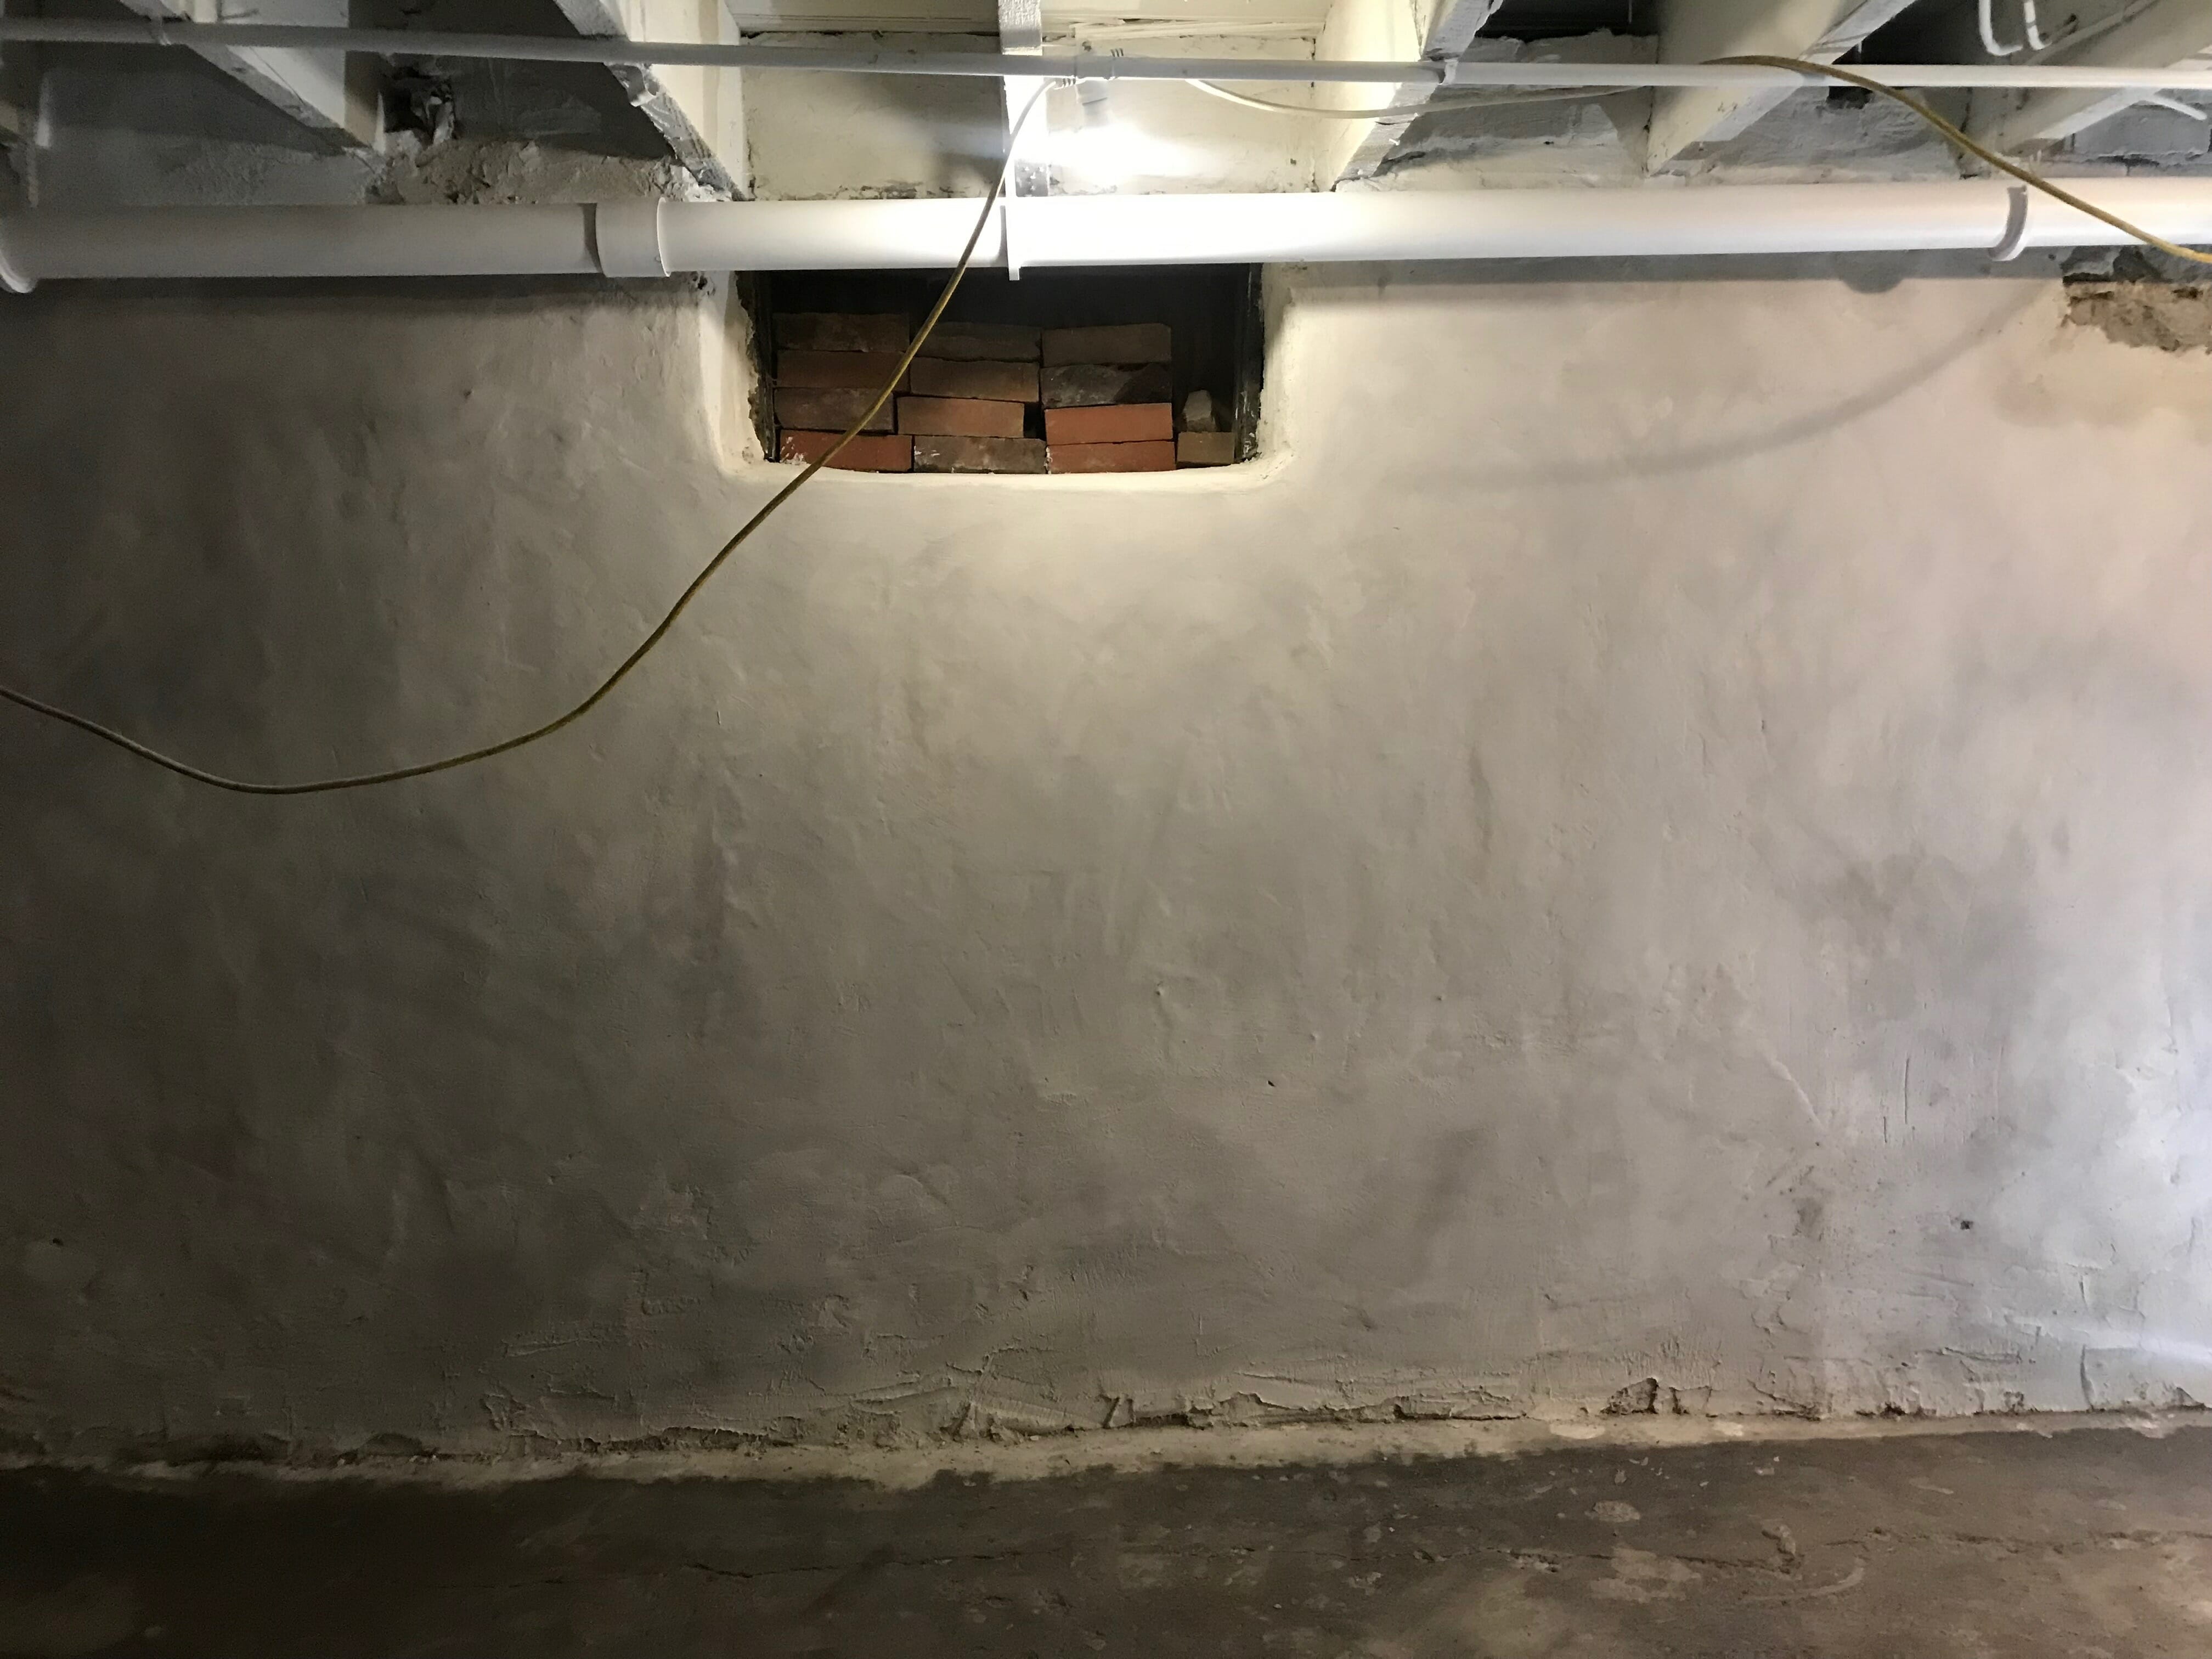
- Install windows that are currently bricked in
- Finish painting
- Install lighting
- Run pipes to machines & wash sink (thinking of keeping the copper exposed – stay tuned!)
We’ll be back next week with our final reveal (eeeek) and will be documenting all of our progress in Stories in the meantime!
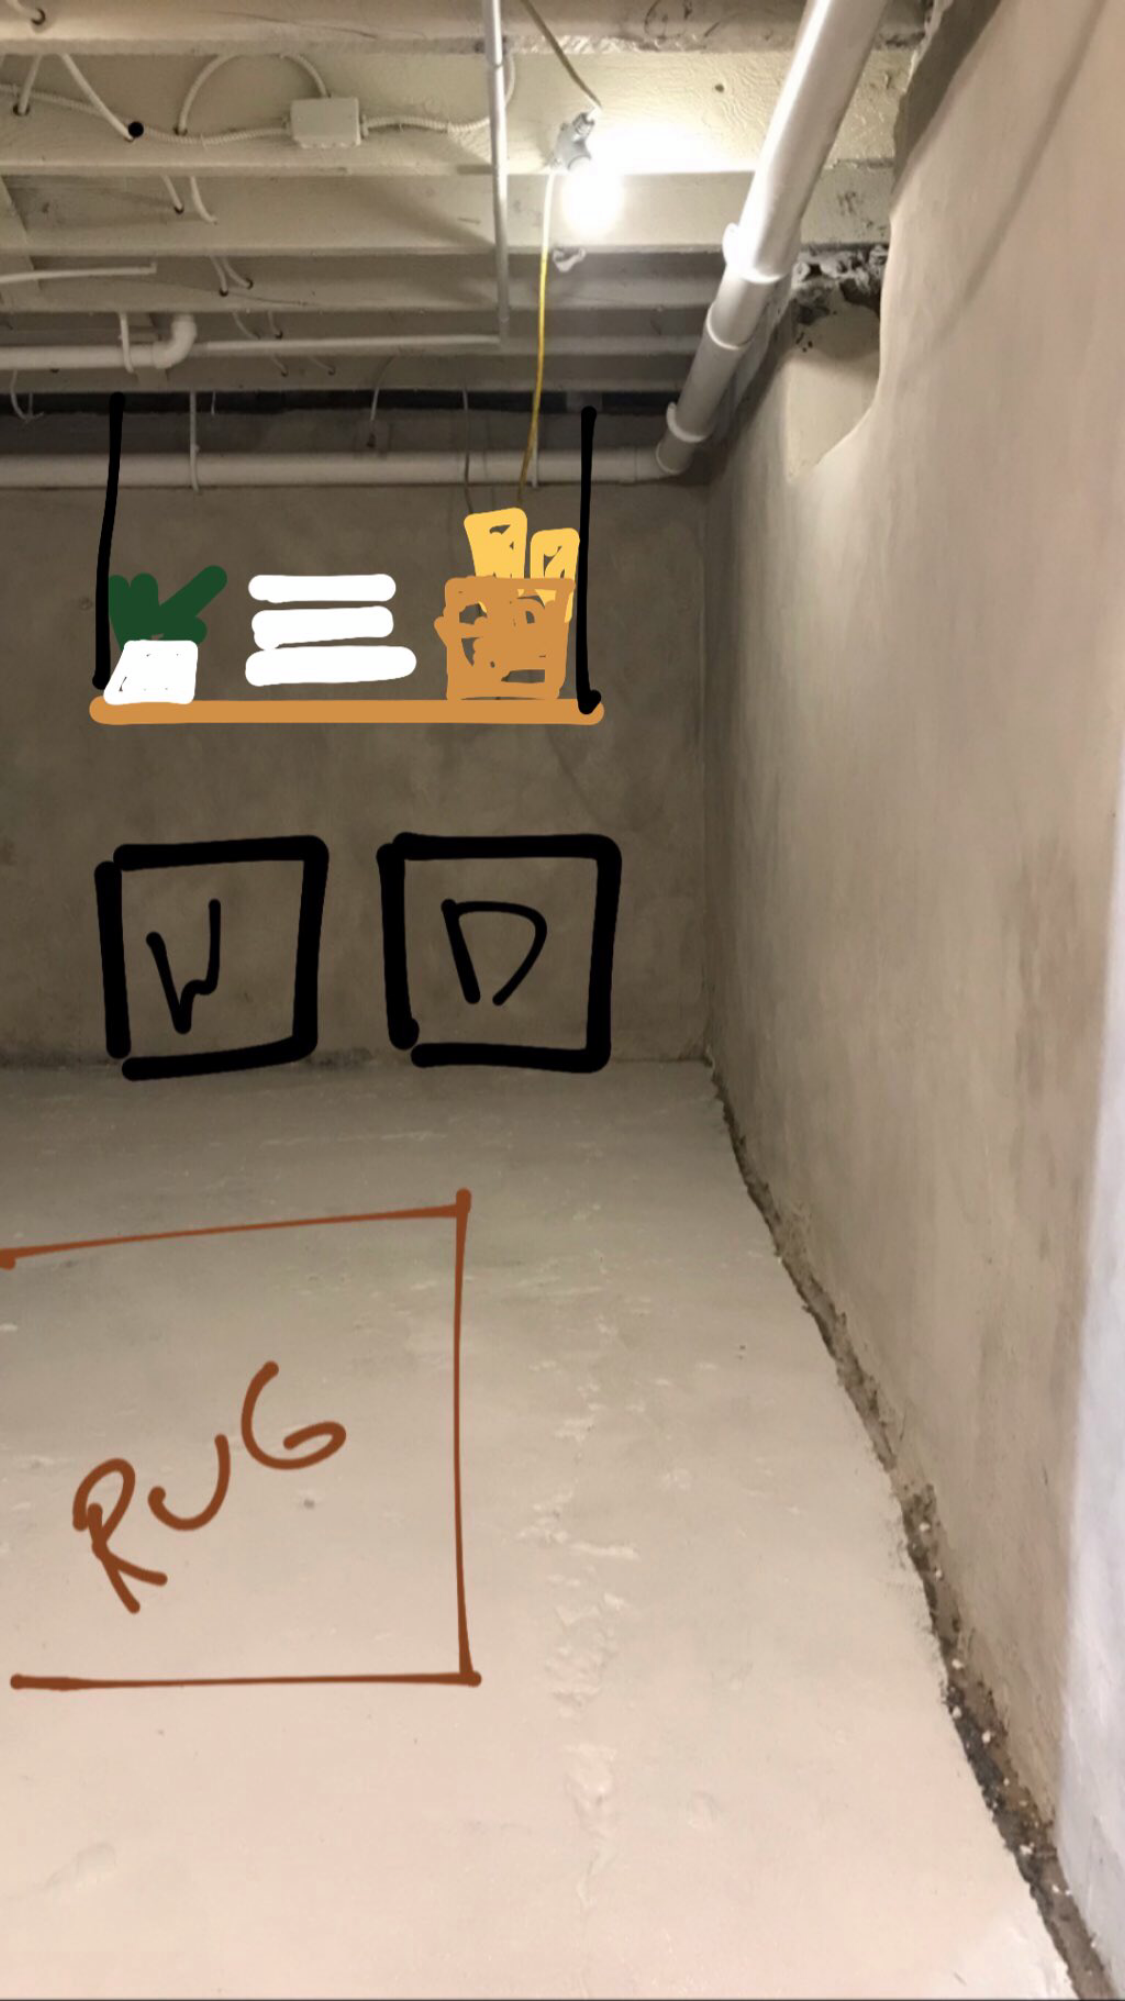
We’ll leave you with one more progress photo…
+ a sketch on how we’re planning to set up the space.


Looks great!! I need to get that paint sprayer to paint the shed !!
It’s the best!
[…] you missed posts #1 and #2 in our series, catch up here and here, and if you missed our IG Stories of our progress, you can view them […]
Super curious how you painted the basement ceiling with the sprayer and avoided overspray shooting between the floorboards on your first floor? Would love to paint my basement ceiling but this has been a worry.
Hi Kelly! We have flooring installed over the subfloor on our first floor, so there’s no gaps.
This post is sooo helpful, as we are trying to figure out how to do the basement in our 100 year old rental! Thank you for the inspiration!
You’re welcome! So glad it was helpful!