

For those of you who haven’t seen our “original” backyard, this is what it looked like when we moved in:
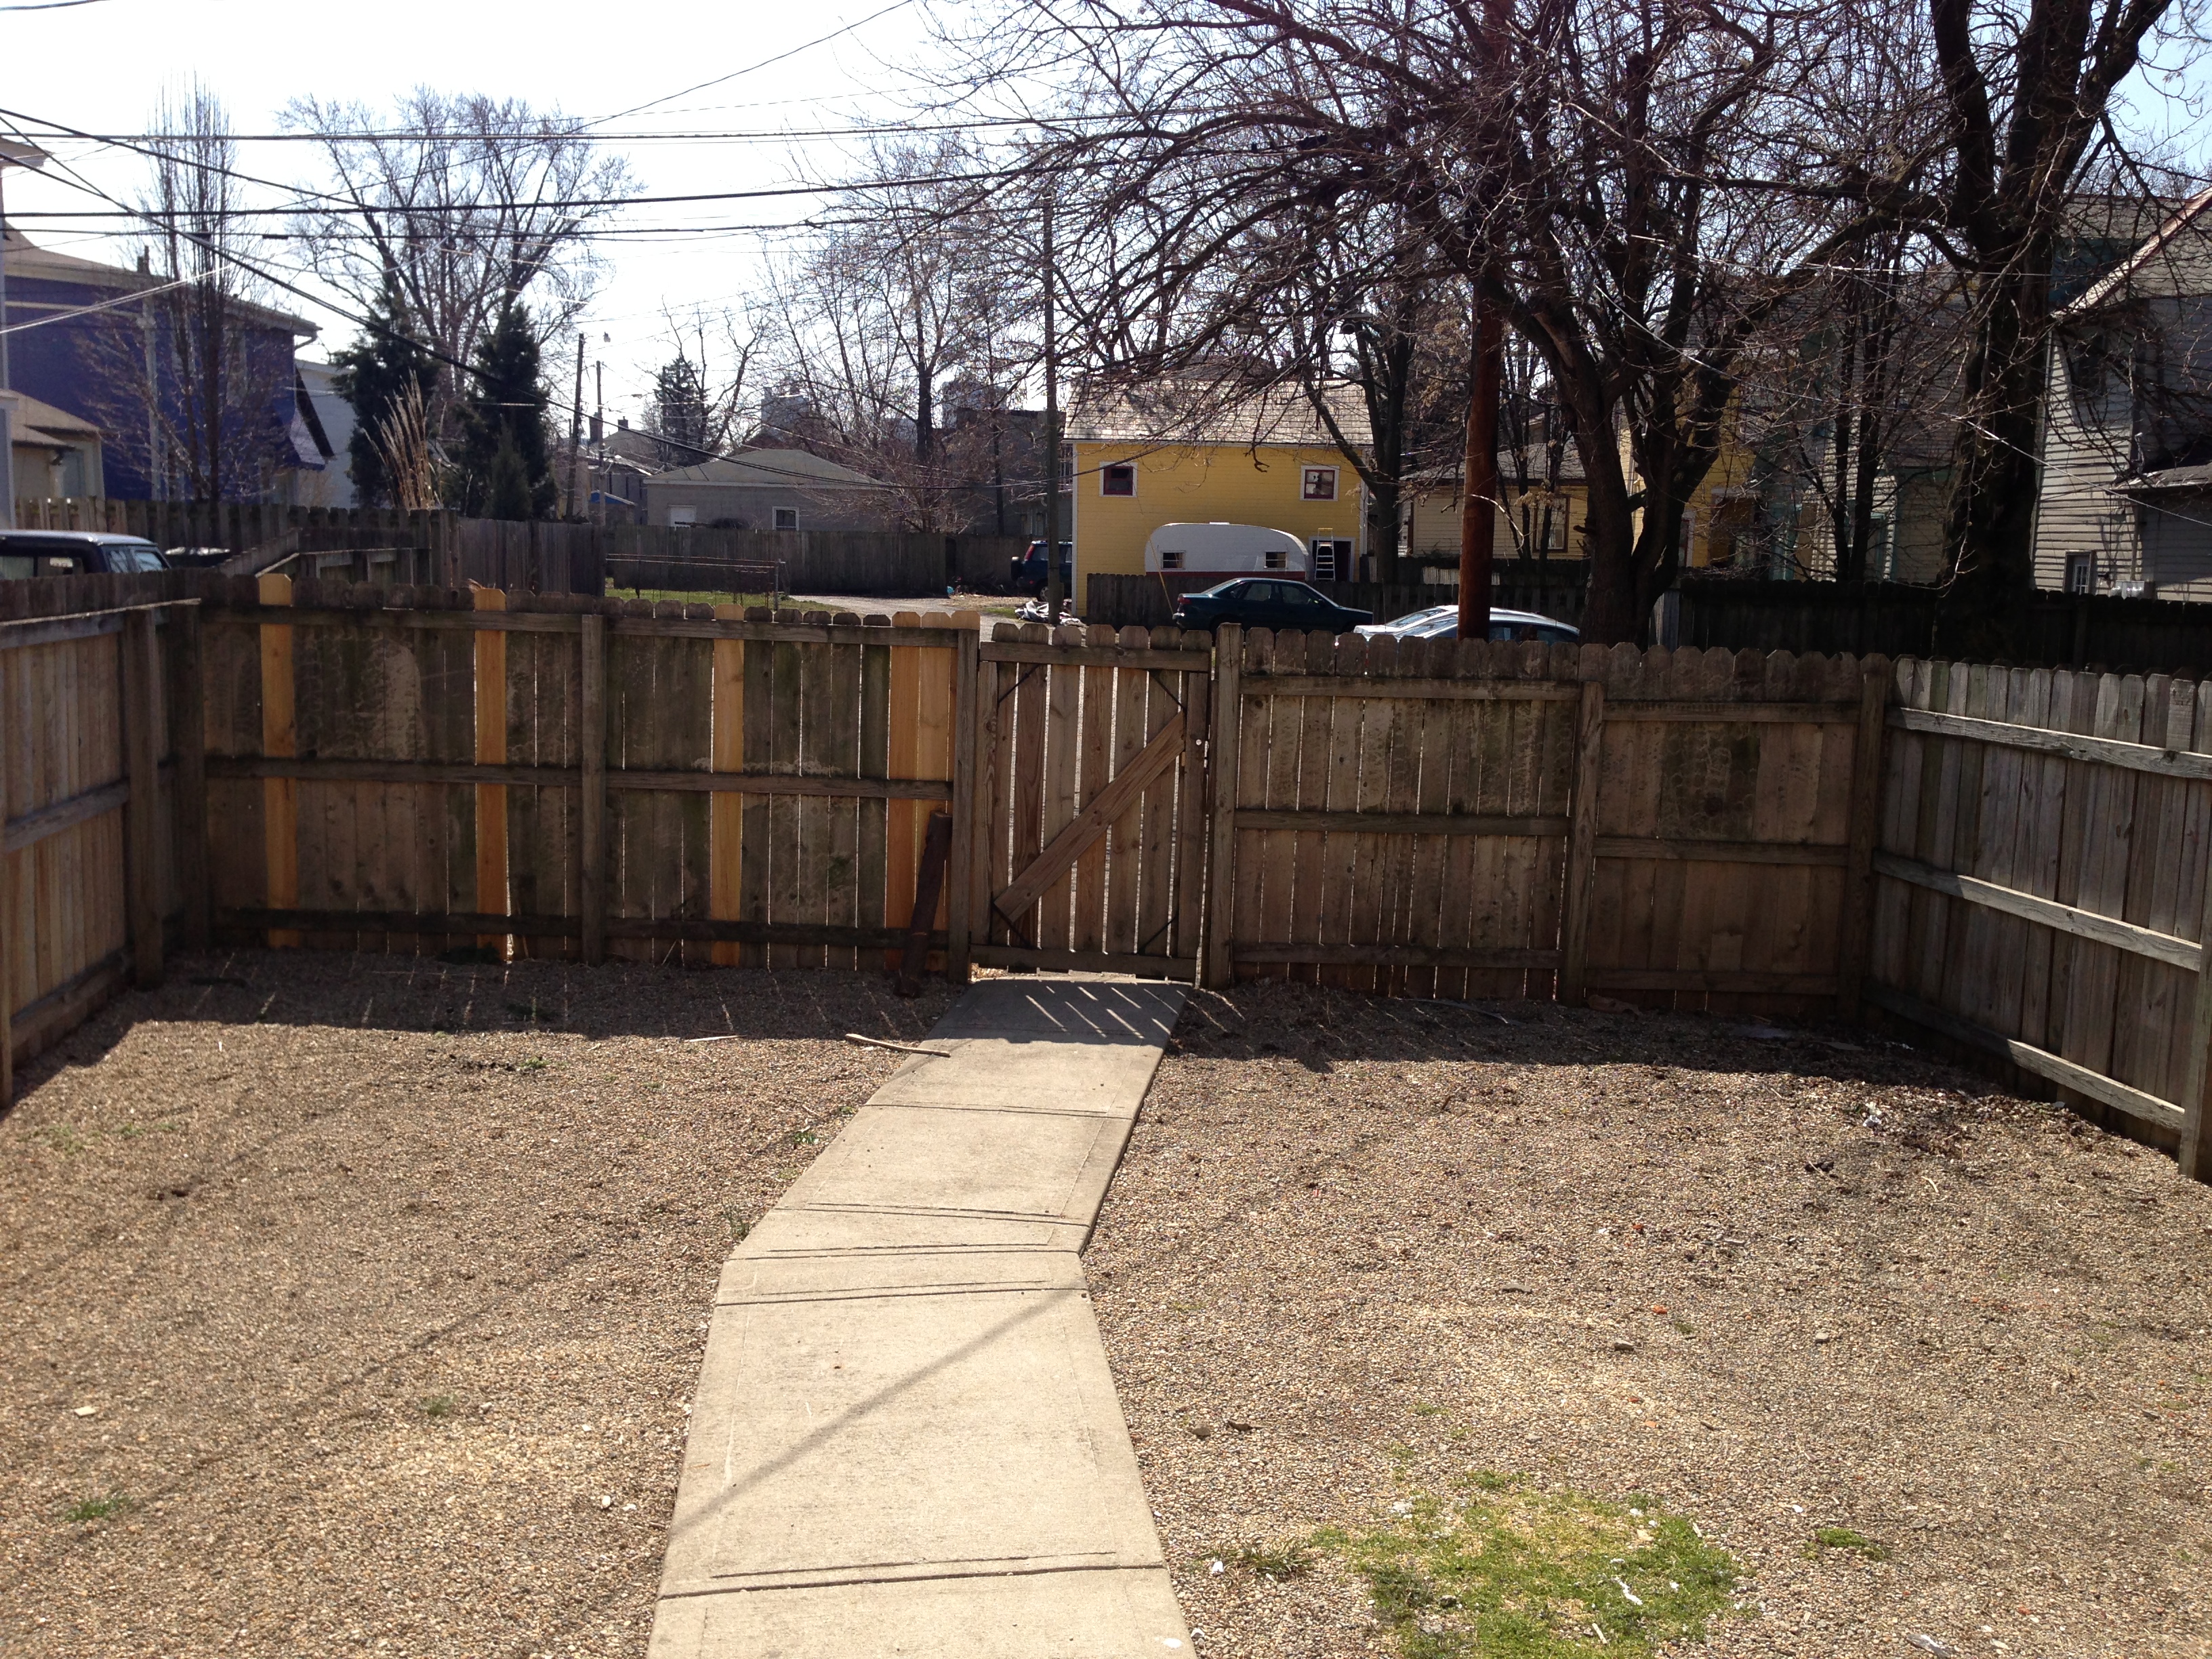 Lots of brown and lots of gravel. As lovely as it may have been, we knew it had to go. So we pondered lots of different layout options, like this…
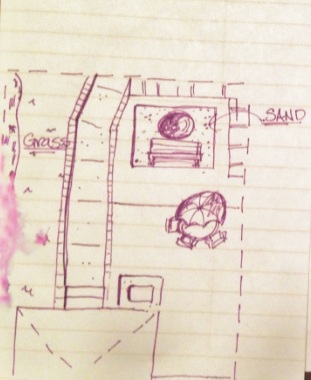
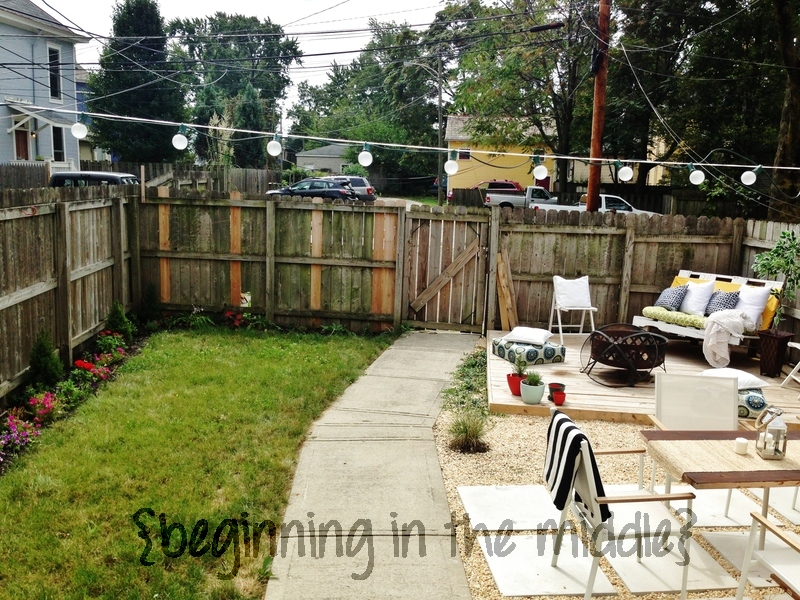
And after spending enough happy hours and dinners talking about whose idea was best, we decided to break up the space into a patio/dining area on the right closest to the house, a deck/lounge area in the back right corner, and a grassy area with a garden on the left.
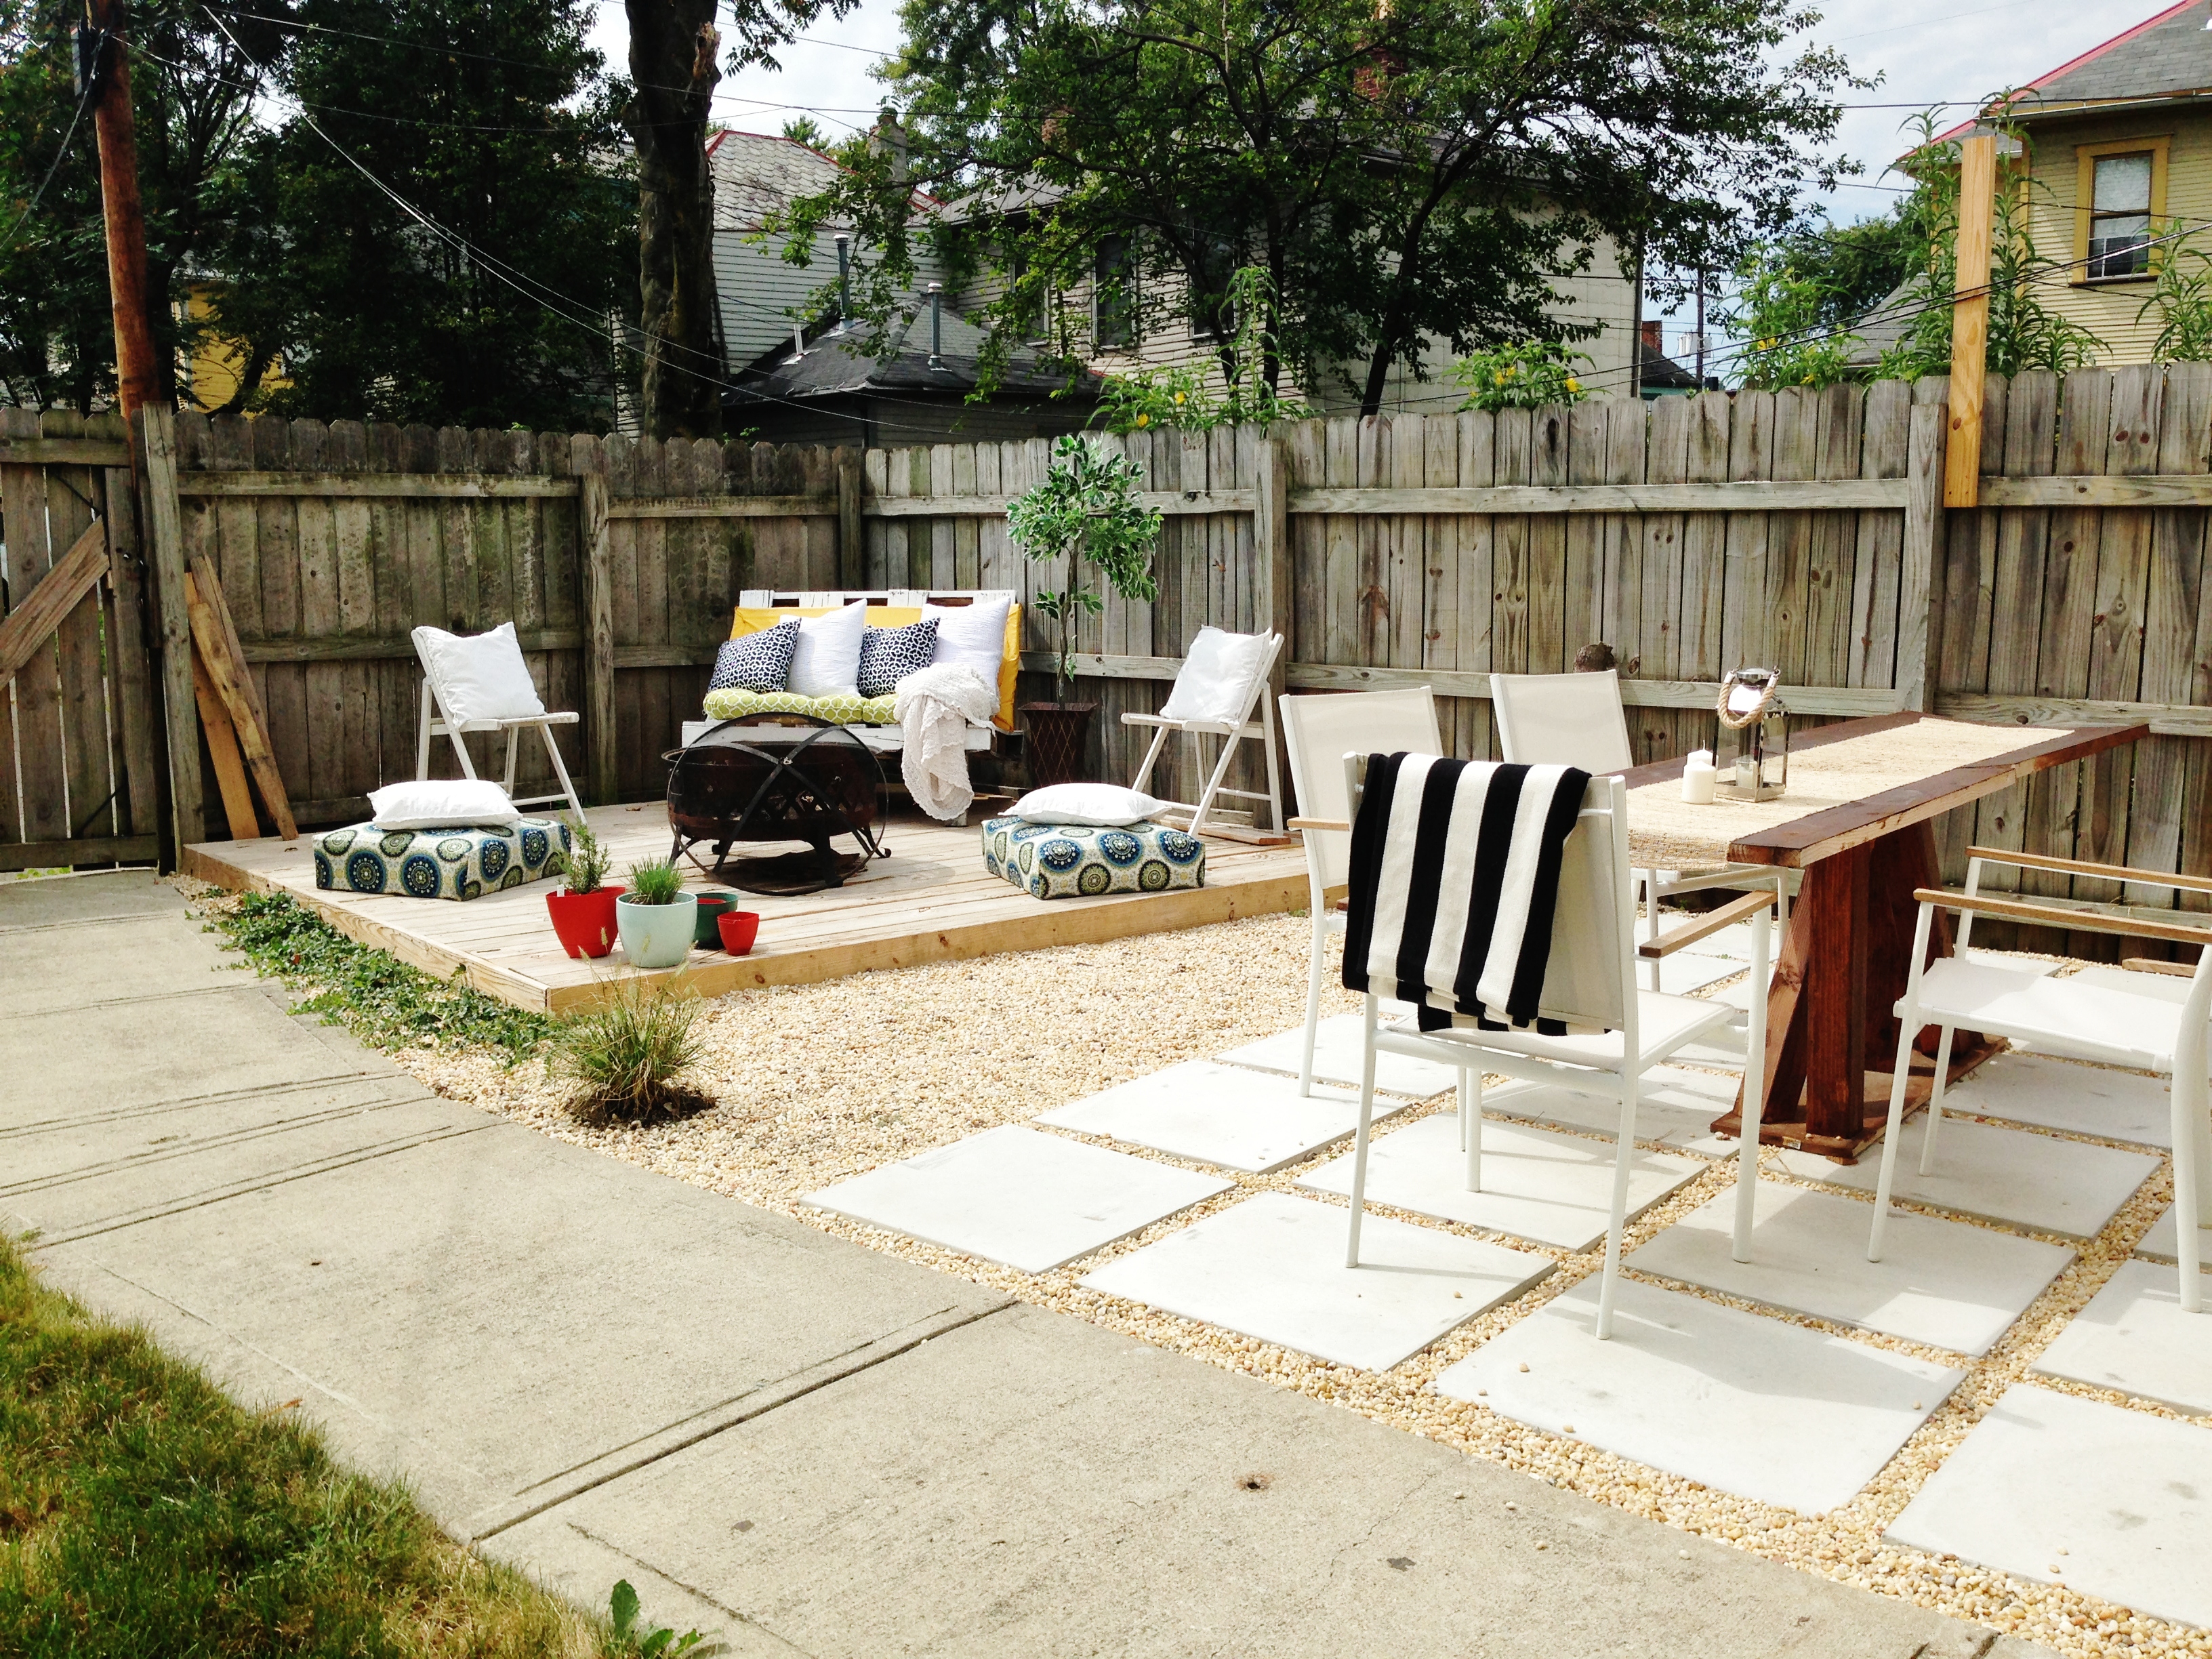
The Patio
Lowe’s was having a sale on patio pavers, so we went with a paver/pebble combo for our eating area. After smoothing out the gravel, we layed down one paver at a time, using a makeshift spacer to ensure they were equally distant from each other. It only took us an hour or two to do, and was really easy (aside from the pavers being insanely heavy!) I love that it didn’t require the prep work that other patios do, and we can remove it down the line if we want to.
Cost Breakdown:
Pavers: Lowe’s Fulton 24×24 Concrete Square Patio Stone – $175
Filler Pebbles: Sand Pebbles – $15
Truck Rental to transport pavers – $20
Total Patio Cost: $210
Table: Handmade by Bryan! – $60 for materials, stain, etc.
Chairs: Ikea Hasselon Armchairs – $180
Total Patio Furniture Cost: $240
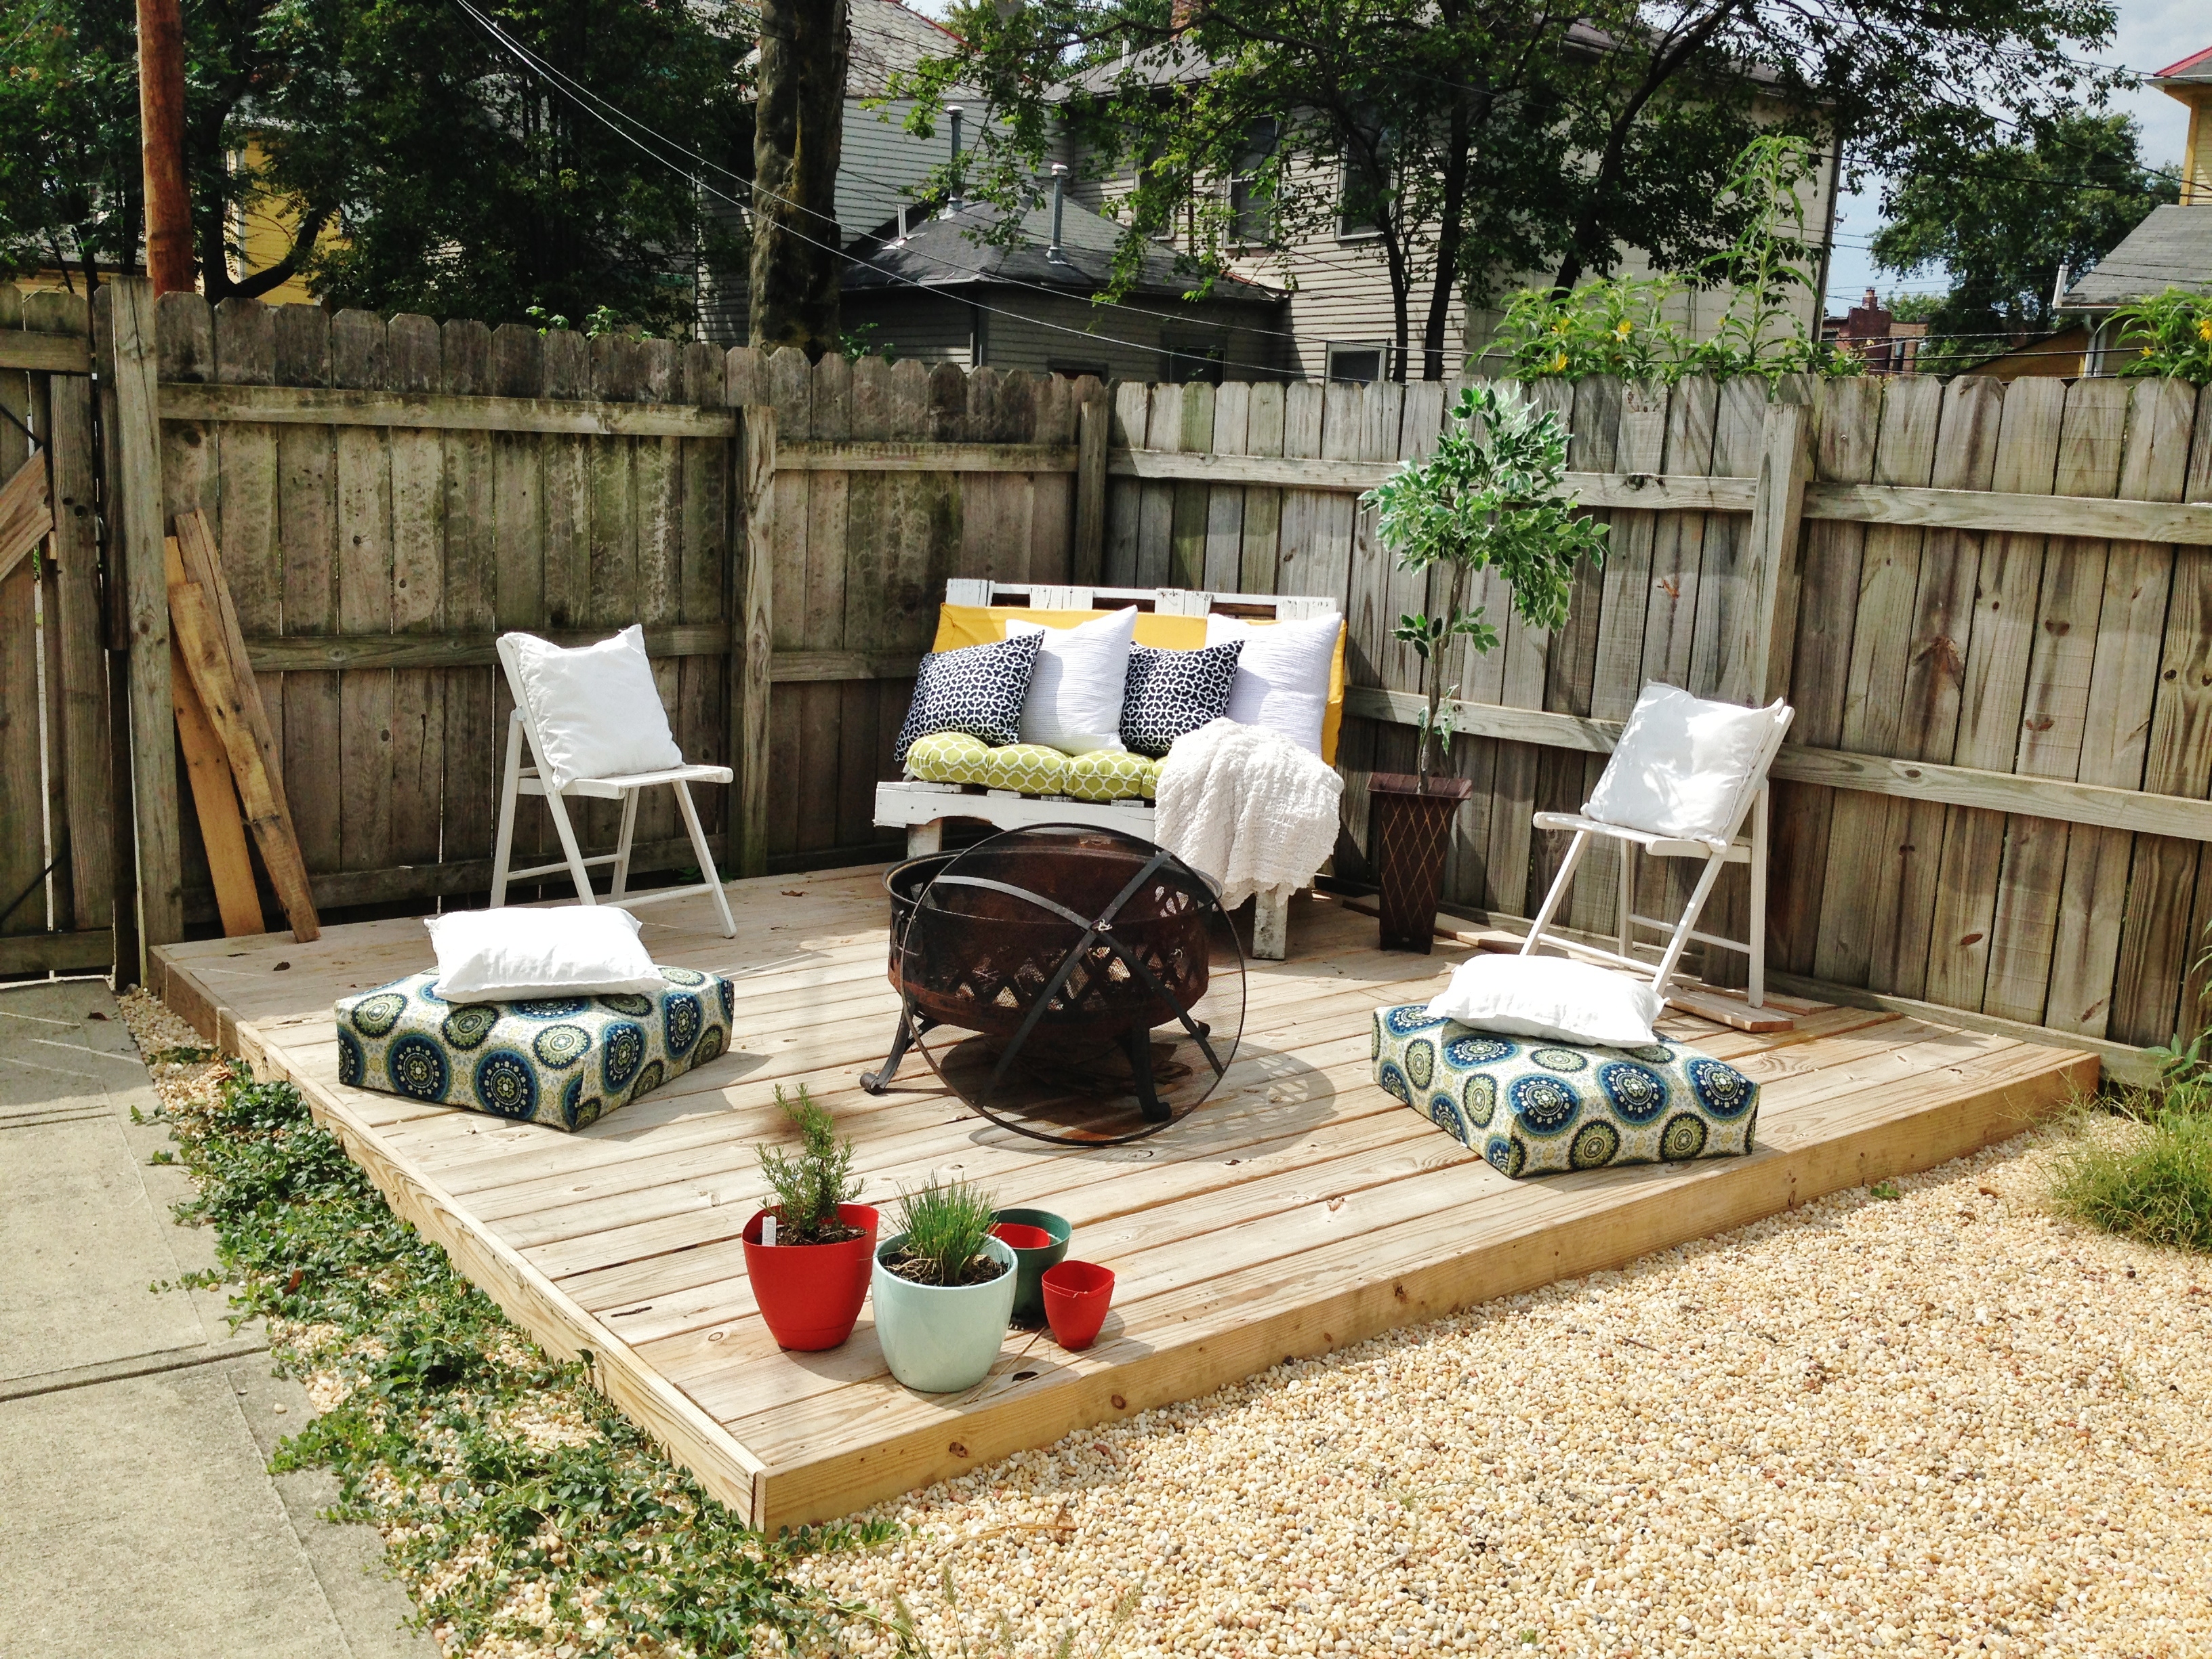
The Deck
Want to know a secret? We used free pallets for the base of our deck to save on lumber cost! After doing lots of Google/Youtube research, we found out people actually do that and it was totally doable. We toyed with the idea of doing the entire thing with pallets, but figured paying the extra money for treated decking wood would be worth it down the line.
The deck took us about a day to build. We haven’t stained it yet, but will probably opt for a medium brown.
Not bad for a first timers’ deck, right? Down the line, we plan on building an “L” shaped deck bench lining the fence for extra seating, similar to this one. We’ll keep you posted on that when it happens!


Cost Breakdown:
Treated Decking Wood – Top Choice 5/4x6x10 – $175
Deck Screws – $10
Deck Blocks – $35
Pallets – Free
Total Deck Cost: $220
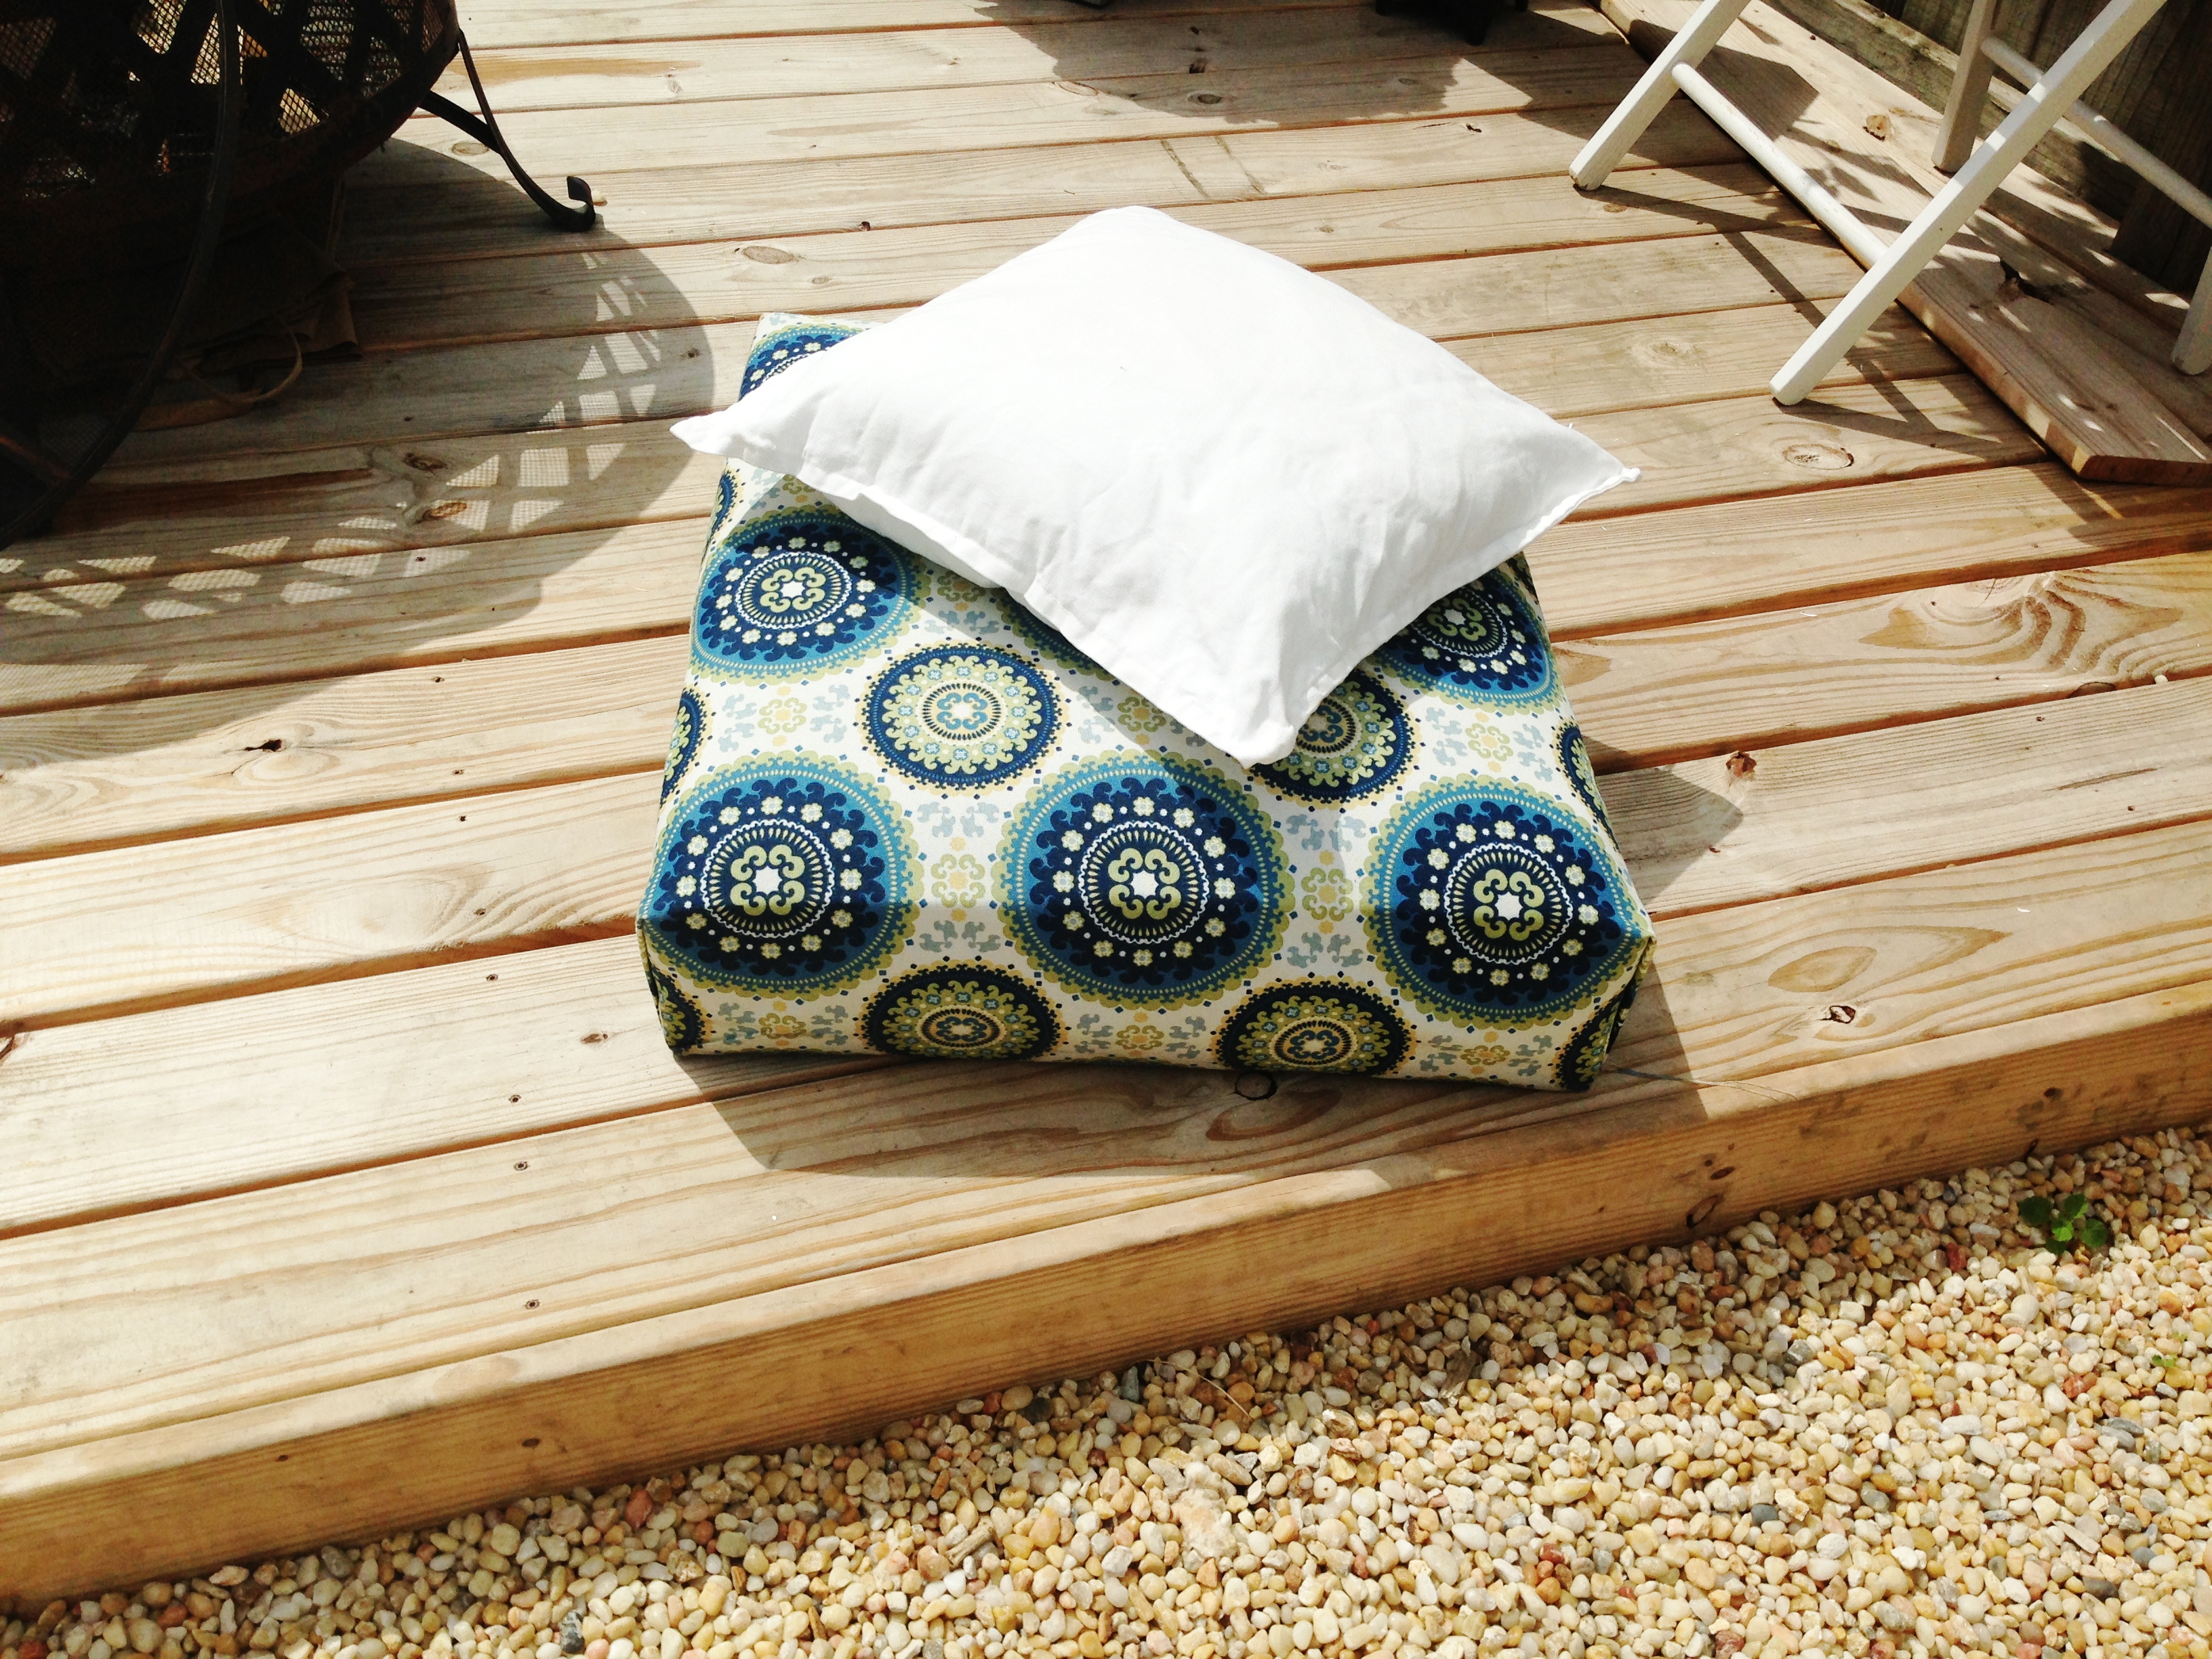
Floor Cushions – Free from our neighbor! Reupholstered using outdoor fabric from Joann – $15
Wooden Folding Chairs – Ikea Askholmen – $40
Fire Pit (sale) – Lowe’s – $60
Pallet Love Seat: Handmade by Bryan, loosely based on this picture – Free!
Pillows – Made using clearance outdoor fabric from Joann, and Stitch Witchery (love this stuff!) – $10
Green bench cushion: Home Goods – $20
Total Deck Furniture Cost: $145
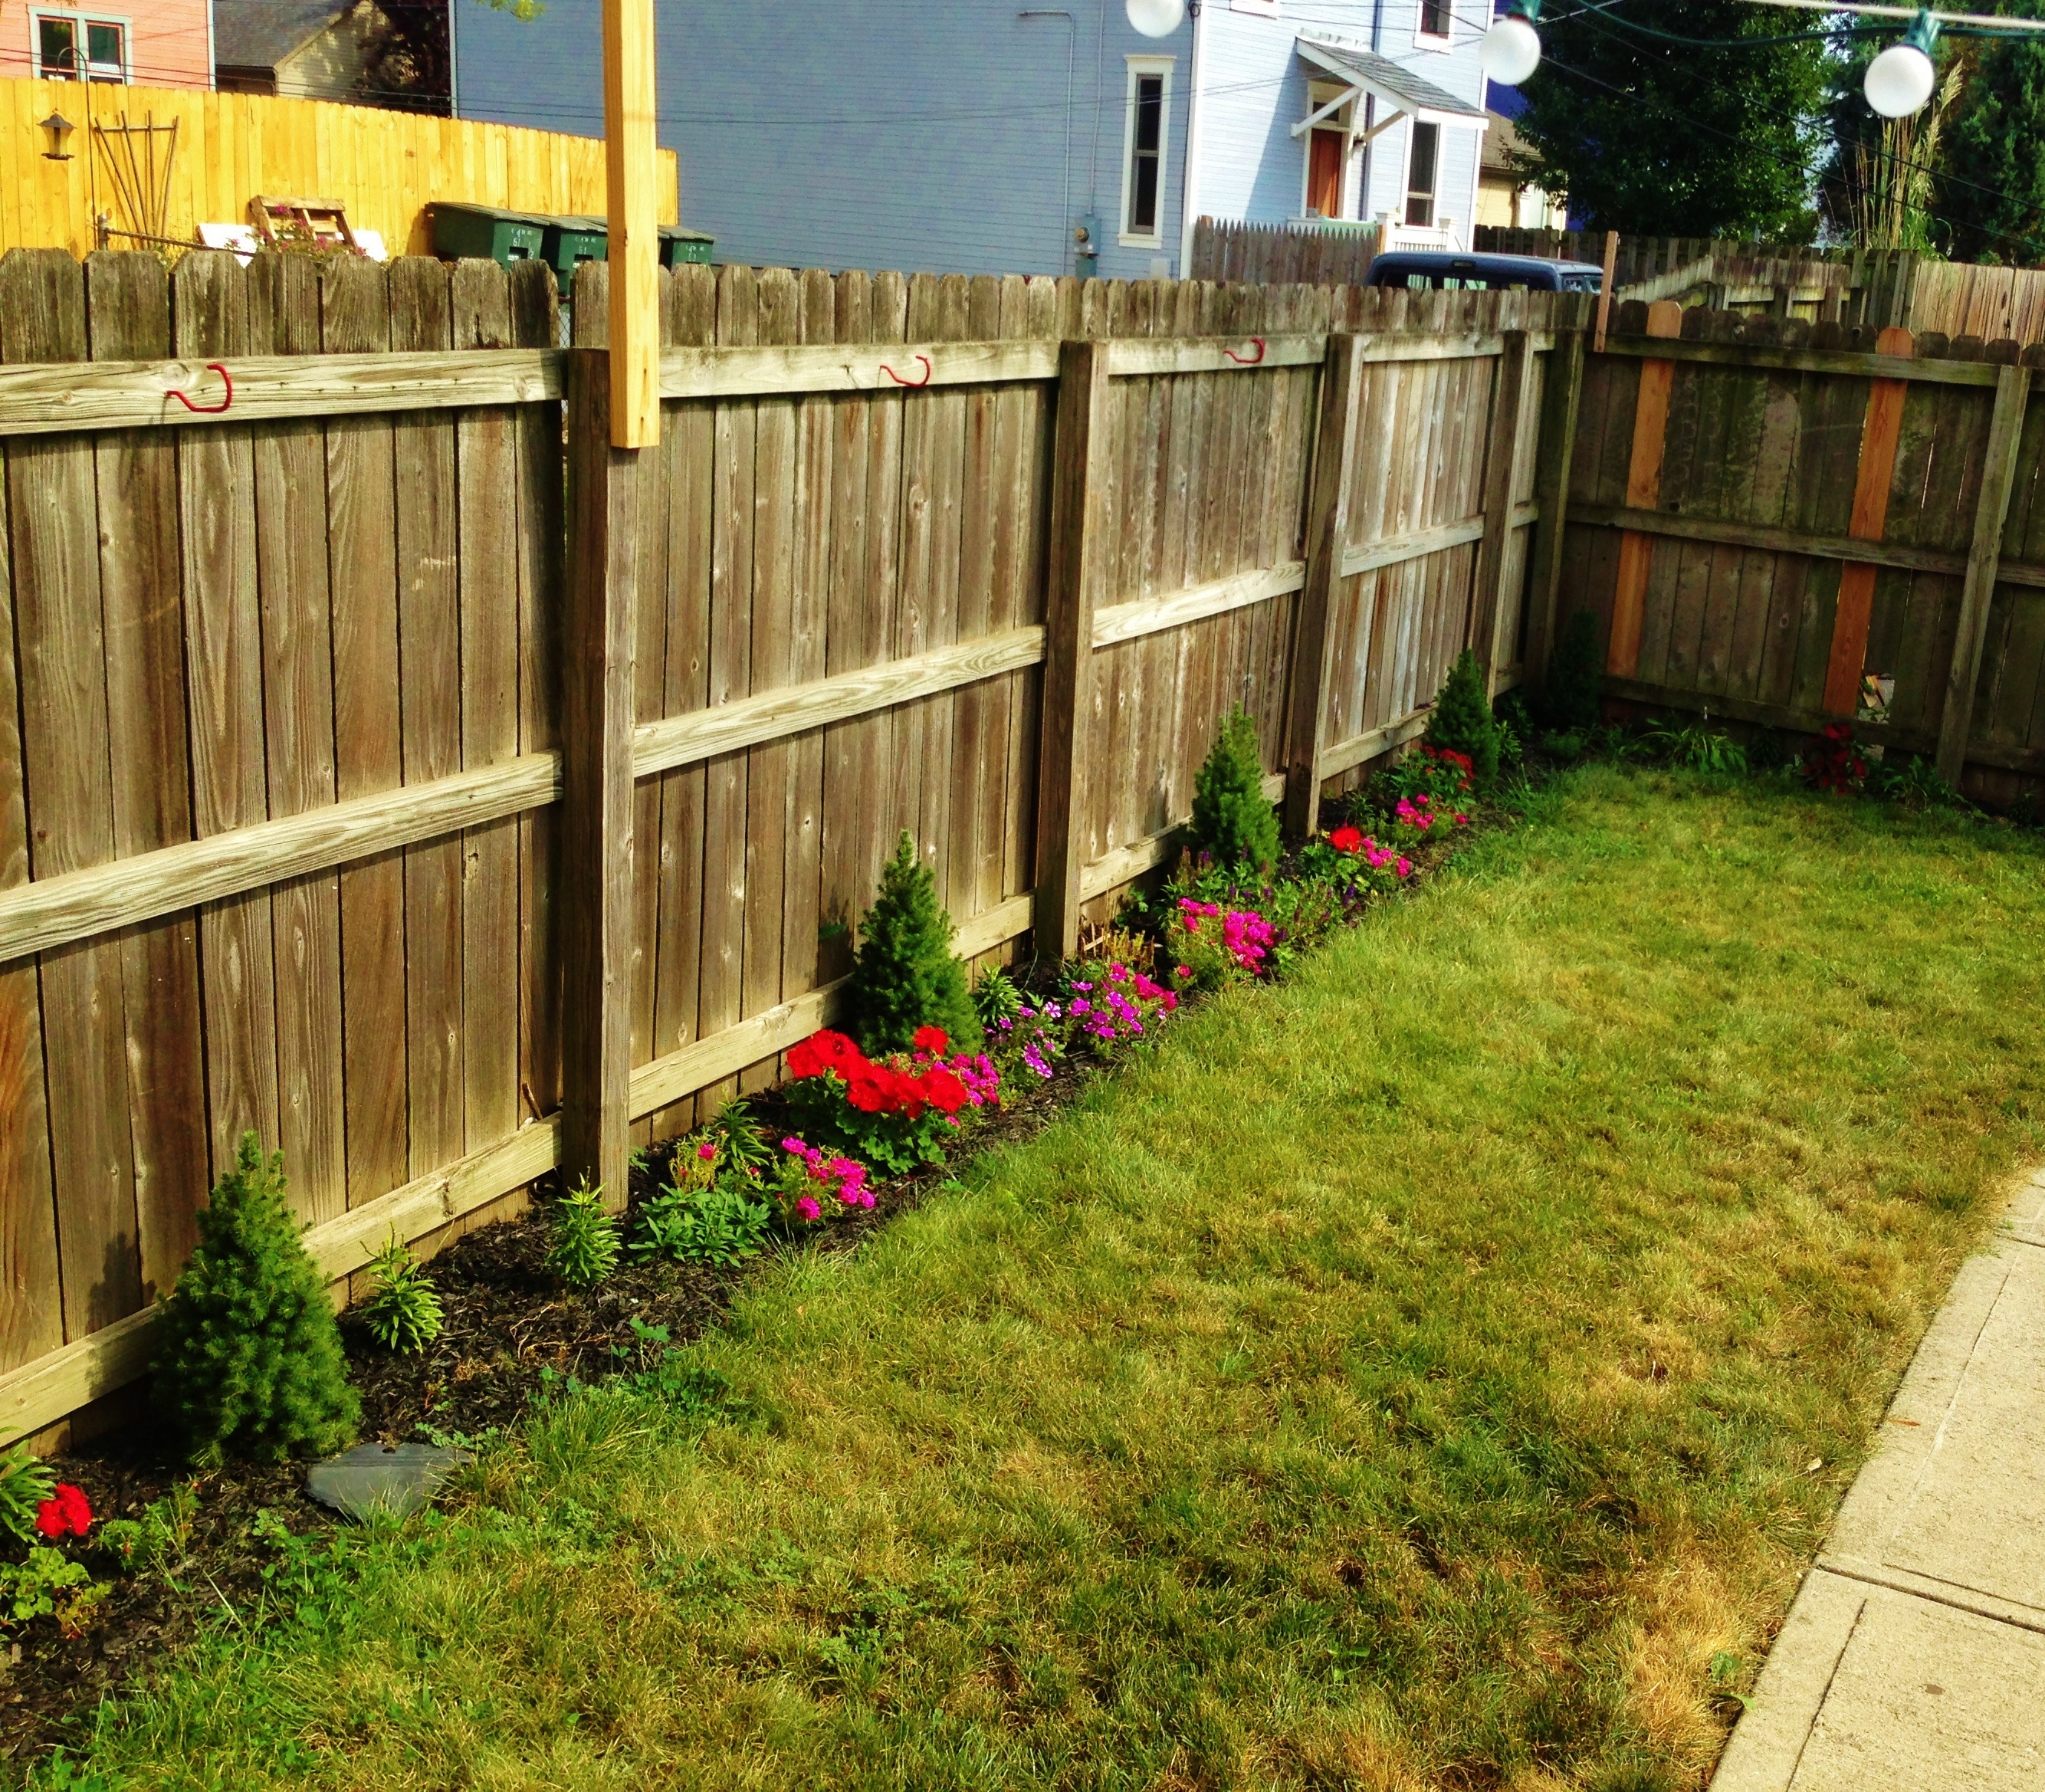
Grass & Garden
To sod or not to sod? That was the question.
We decided against it, mainly because it was a heck of a lot cheaper to just grow it ourselves. We just needed to be patient. We spread about 3″ of top soil over our lovely gravel, sprinkled grass seed, and did lots and lots of watering. We lucked out because we got a ton of rain in Columbus this summer! The grass grew in a few weeks and is so green and soft (well, it WAS soft before Baci started peeing on it).
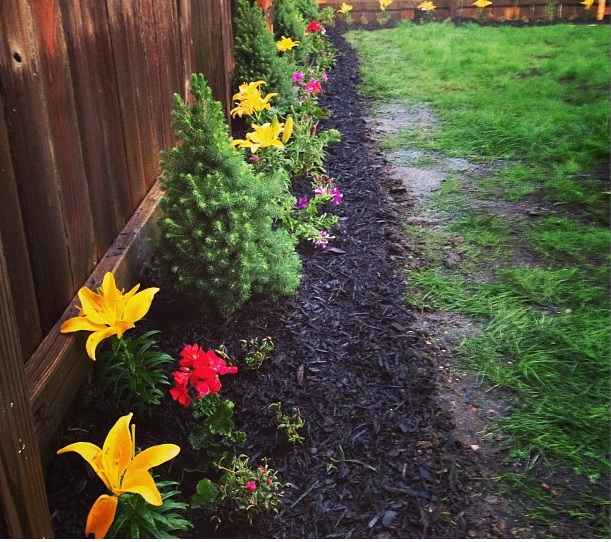
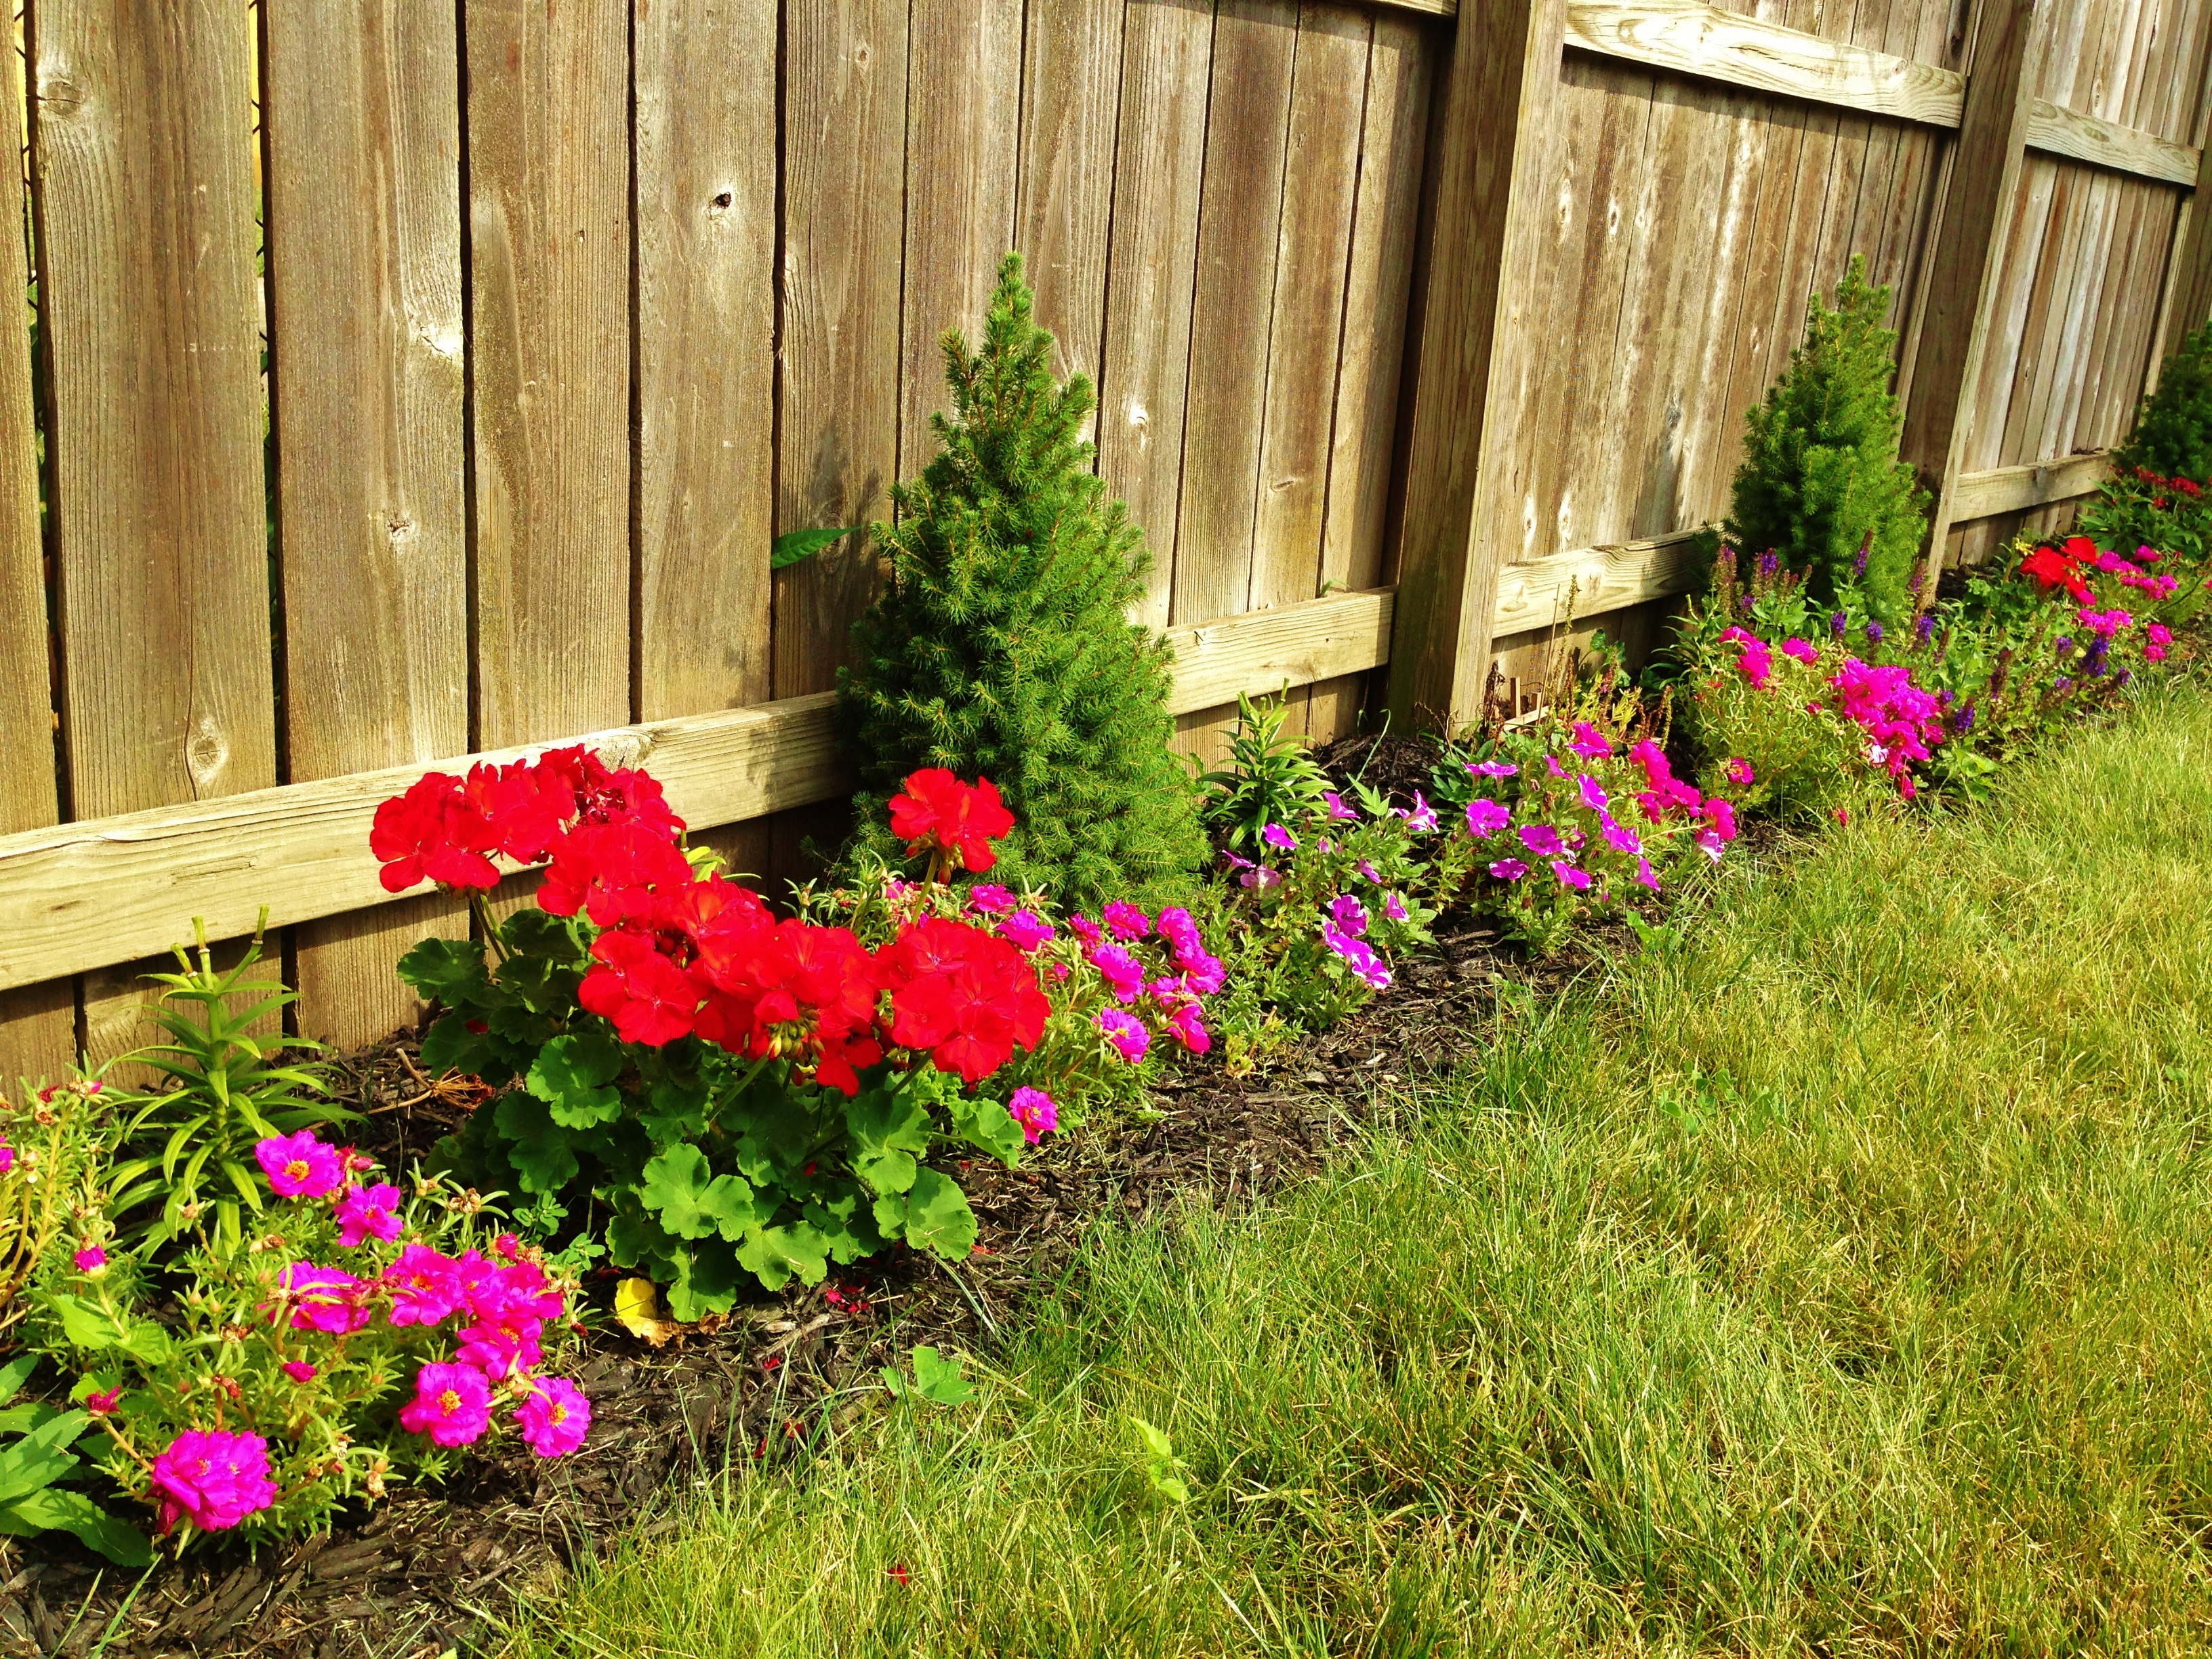
As for the little garden around the edges, we waited until mid-summer and bought all of our flowers on sale. In fact, most of our flowers were only $1 each! The trade off of doing this was that some of the perennials only lasted for a few weeks (especially the yellow lilies), but they’ll come back in full force next year. We got a mixture of annuals and perennials in hopes that the garden would stay colorful throughout the summer.
Cost Breakdown:
Top Soil (30 bags): $45
Grass Seed: $15
Mulch (3 bags): $12
Flowers: $25
Dwarf Evergreen Trees (5): $50
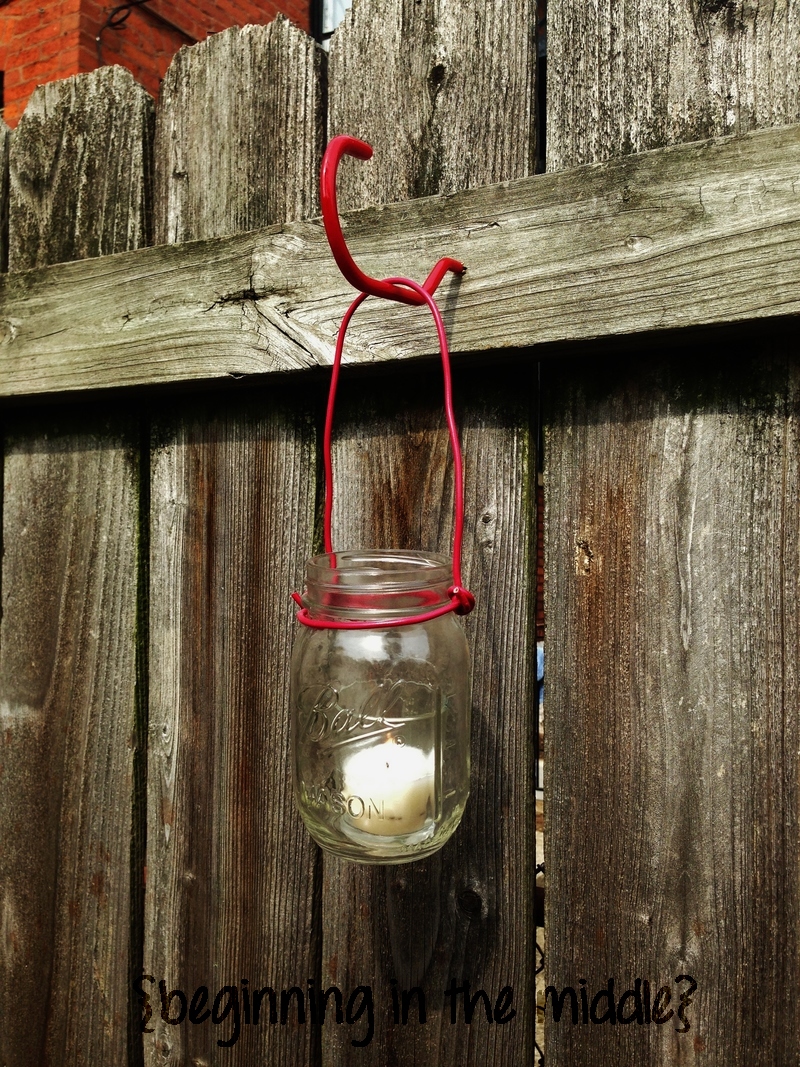
DIY Mason Jar Lanterns (10): $5
Total Landscaping Cost: $152
Well, there you have it: Before & After. What do you think?
Psst – We just finished another round of improvements- see more here!


Love the home made party lights…..so Italian. You guys are adorable. <3
Thanks Lisa!
Ok seriously AMAZING Cathypoo! All the pics I see are amazing! Come do my house? Lol
Very cool!
Wonderful use of your space! Even Baci has a spot! Nicely done. 😉
We live in morgantown wv . We need a back yard make over . We cook out a lot but we have know place to eat out side when the weather is nice .It would be nice to have a place to have our family friend over to eat.
We’re almost neighbors, Stephanie 🙂 You should totally do it! There’s a lot of inexpensive options out there that have a big impact. Pinterest is always great for brainstorming.
[…] Since the weather’s been so nice, we’ve been working on upgrading our back yard. Last year, we brought it to life by adding a deck and patio, planting grass and a garden, and building some […]
Your goal should be to build the largest porch you can afford based on how you will use it through the years. If your children are small consider how much space will be needed as they grow. If they are about to leave home a smaller porch might be ideal.
[…] budget (the grand total for the patio, deck, landscaping and furniture came to $967). You can take a peak at the post here — let’s just say we’ve come a long way […]