I hope everyone is enjoying the holiday season. I capped off my vacation yesterday with a little Rehab Addict on Netflix. I love Nicole Curtis, and every time I hear her say “I just want BRICK!” in her intro, it makes me smile. Now that we are in the middle of rehabbing a brick duplex, I can relate! We exposed lots of it on our side of the duplex, including both of our fireplaces.
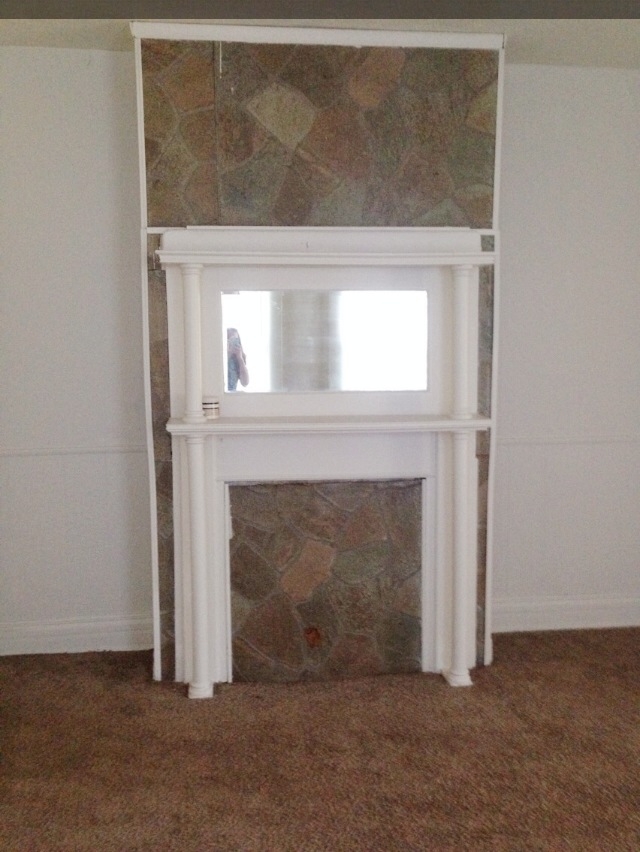
This is what our dining room fireplace looked like when we bought the house (check out our post here for more details and photos).
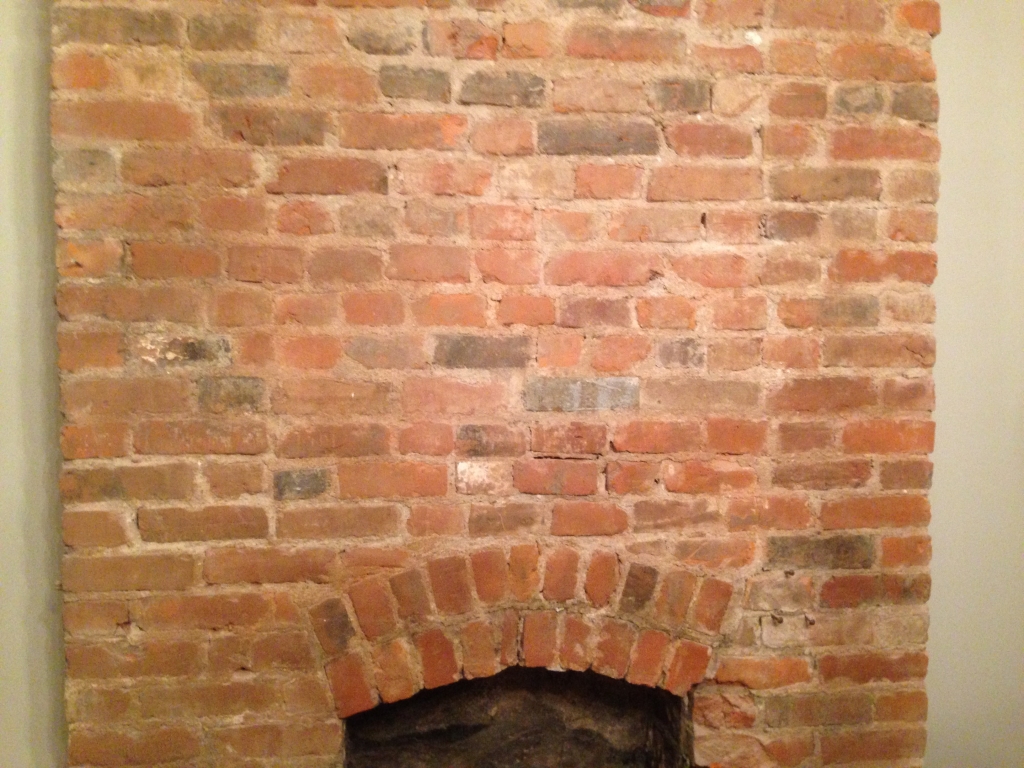
Over the past few months, we’ve been going back and forth about whether to leave the arch exposed, or cover it back up with the existing mantle. Well, we finally decided we loved it too much to cover it up, which meant we needed to come up with a plan for a replacement mantle. (Before anyone gets worried, I’m saving both the living room and dining room mantles and have big plans for them in other areas of the house!)
We wanted to highlight the arch as much as possible, so we chose to do a basic, chunky floating mantle. Our shopping list looked something like this:
3 – 1x6s (make sure they are long enough to fit your fireplace)
1 – 2×4 (also long enough to fit your fireplace)
3-4 wedge anchors (ours were 3/8″), nuts and washers
A masonry drill bit (the same size as your wedge anchors – we used 3/8″)
A drill (had it)
Some wood glue (had it)
Finished nails (and a nail gun, if you have it)
Hammer (had it)
Wrench (had it)
Miter saw for wood cuts (had it), or ask your home improvement store to cut your wood if you don’t have one
Here’s how we did it:
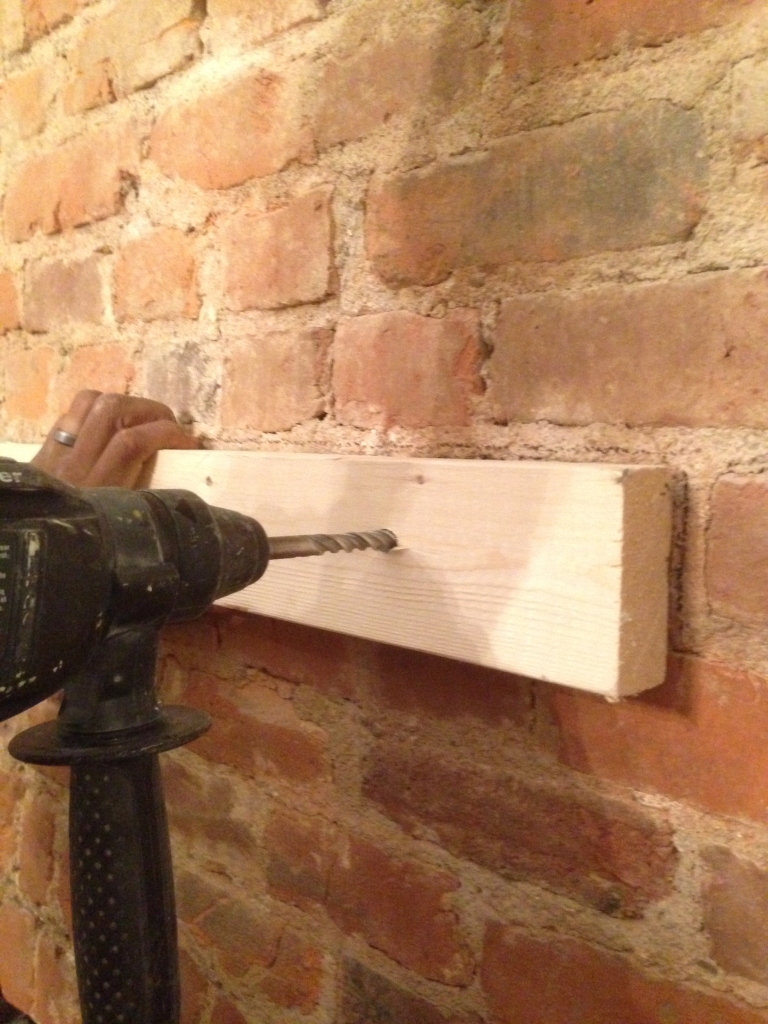
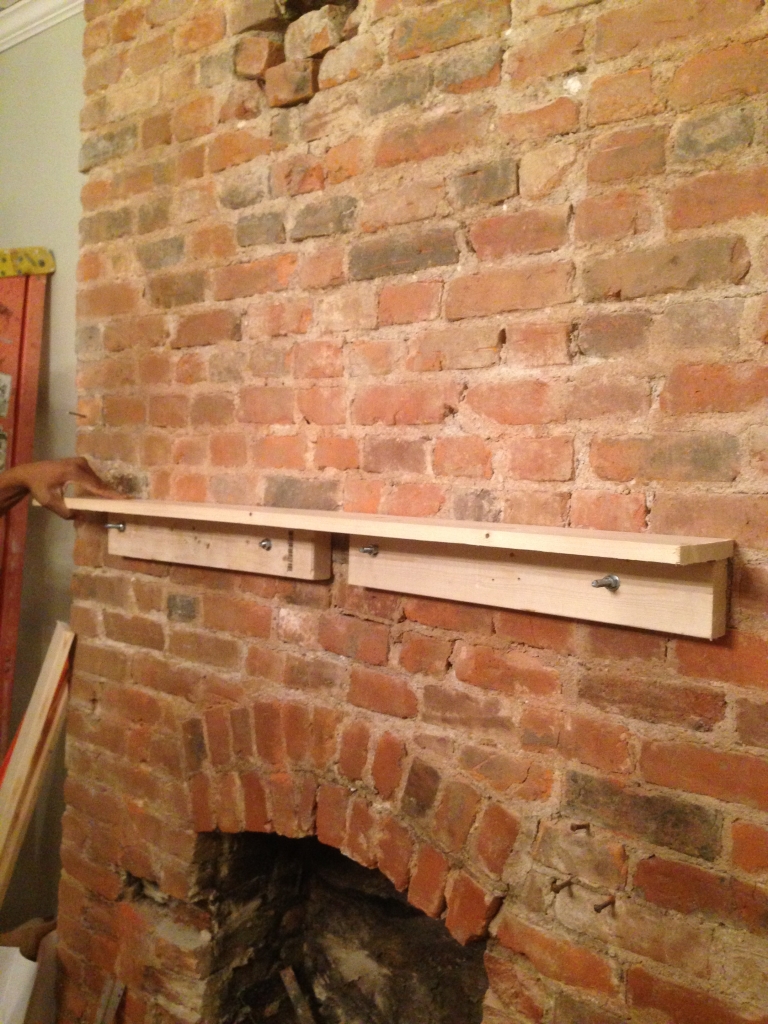
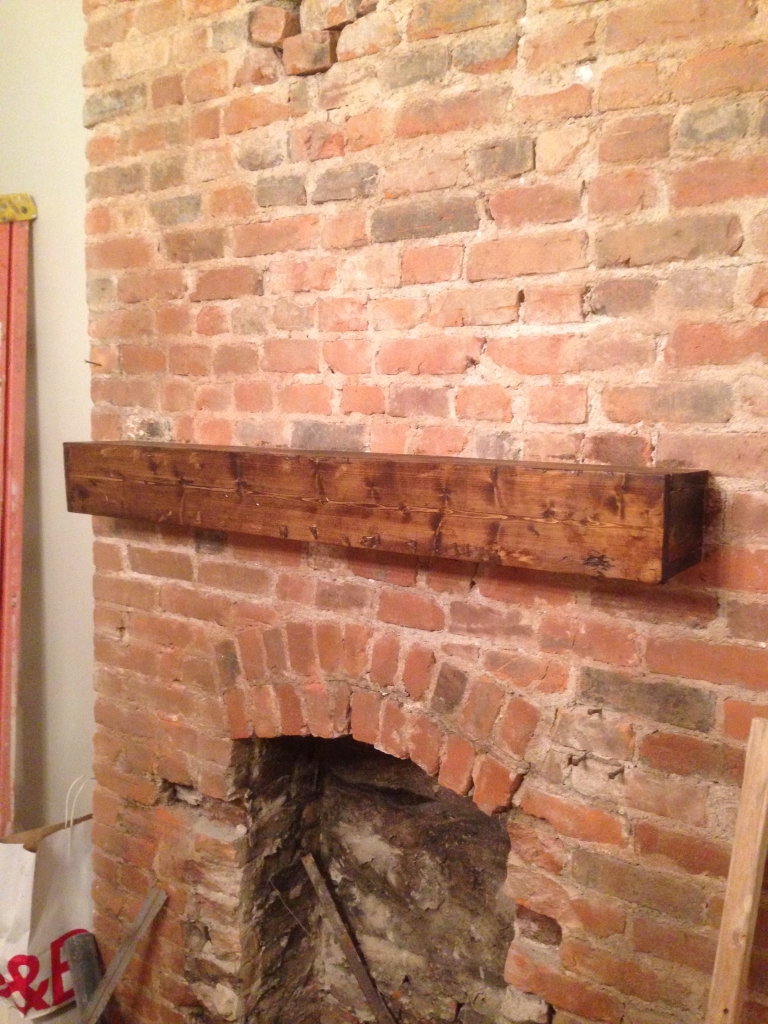
After measuring and cutting our wood, we pre-drilled holes in the fireplace and 2×4 with the masonry bit.
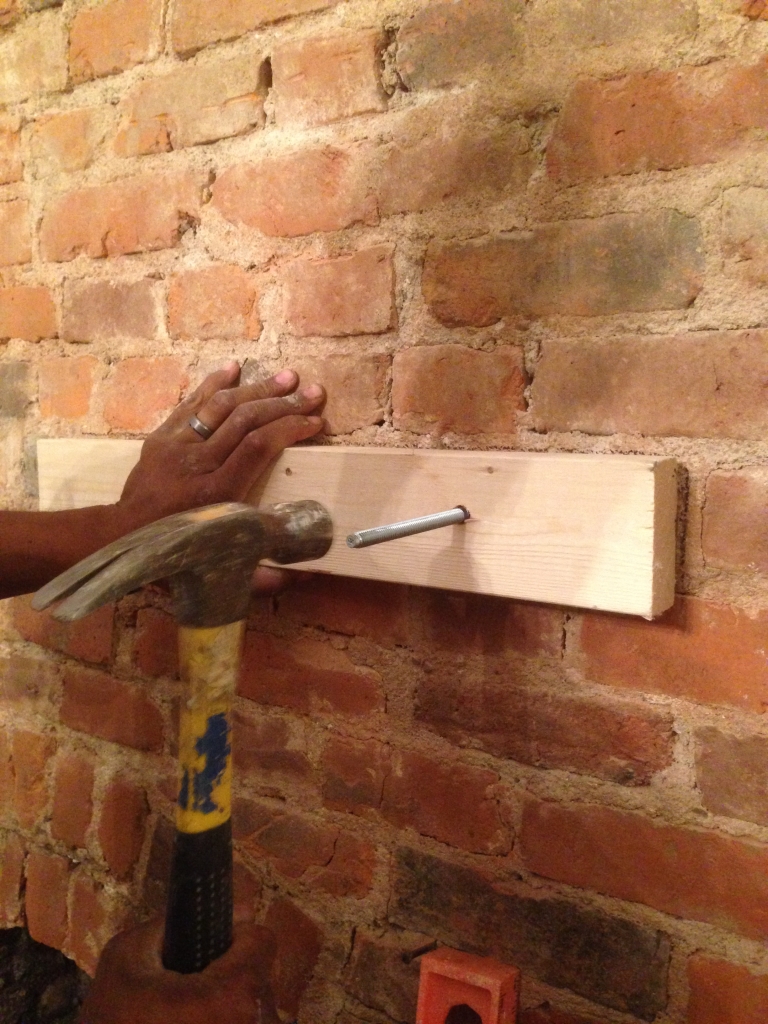
Then we hammered our wedge anchors into the pre-drilled holes and tightened the nuts/washers.
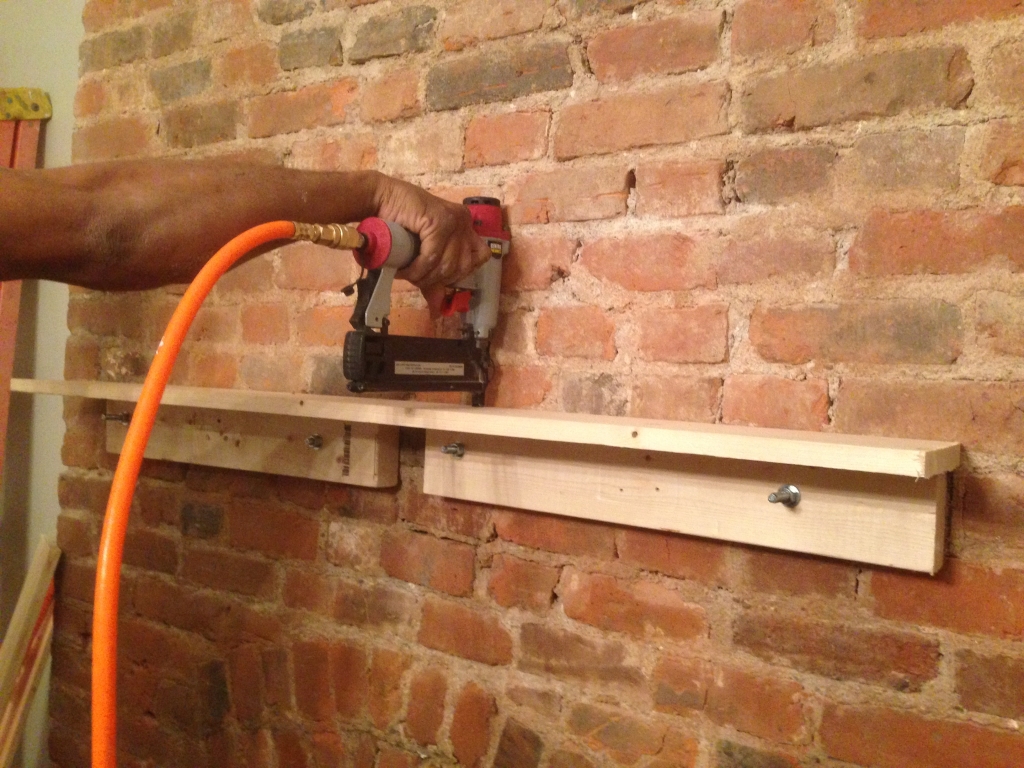
After the 2x4s were on tight, we attached the first 1×6 to the top of the 2×4 with wood glue and a nail gun. (Note – you see two small 2x4s on our fireplace instead of 1 big one because they were scrap from another one of our projects and we didn’t want to waste them!)
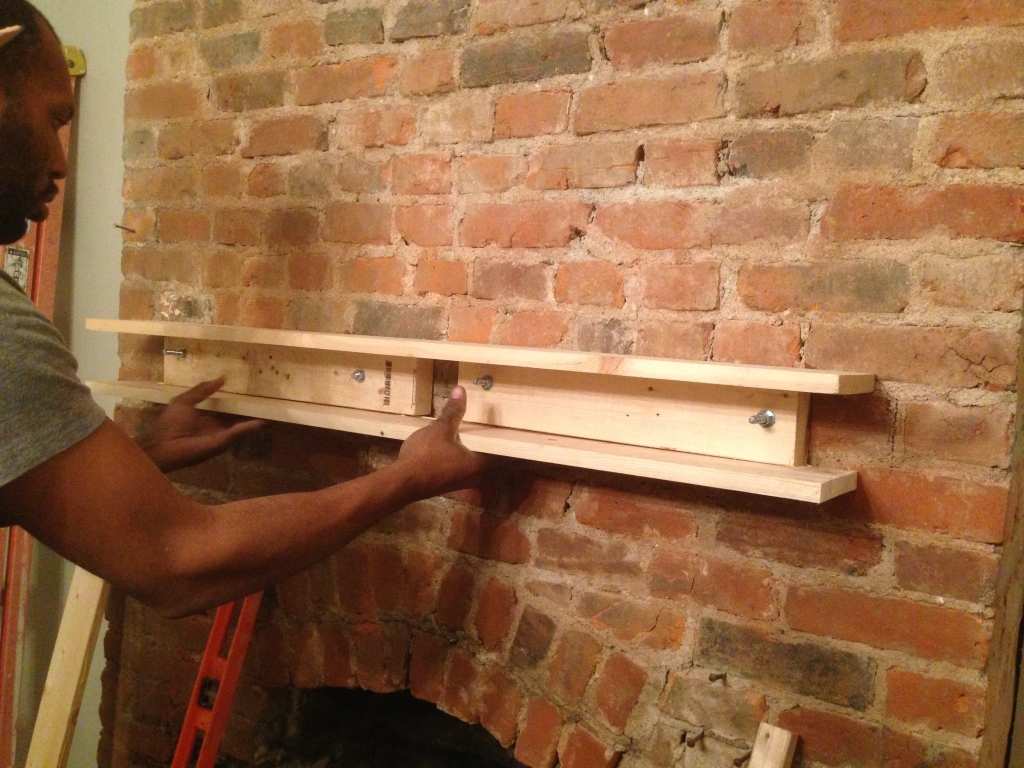
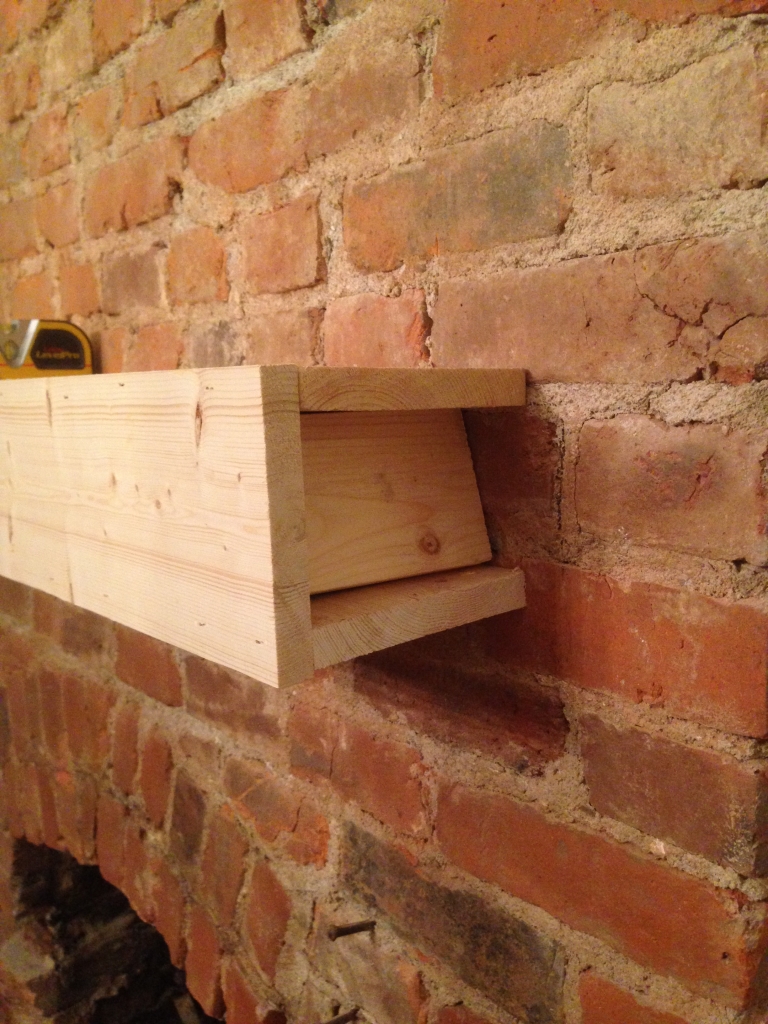
We pushed down on it to make sure it was strong enough, and it was, so we moved on and attached the bottom 1×6.
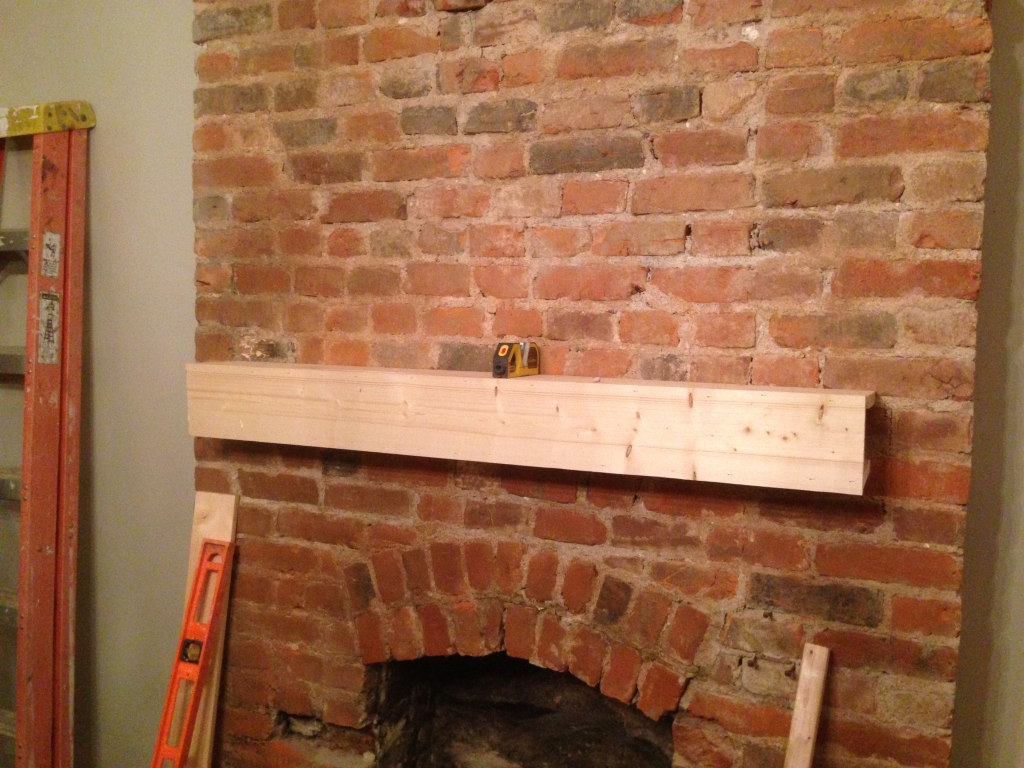
And then the front.
For the sides, we cut two squares to fill in the gaps, but stuck them too far in at first…
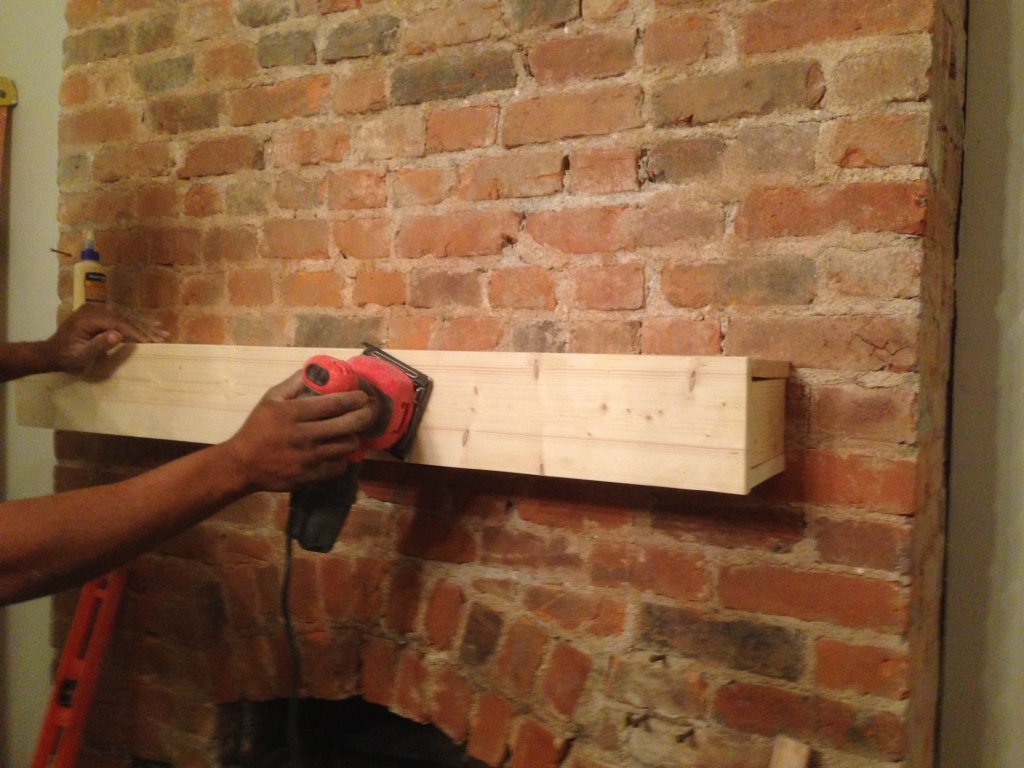
The second try was much better. We secured it with the nail gun from the top and bottom. Once that was done, we whipped out the palm sander and went over everything with a fine grit sandpaper.
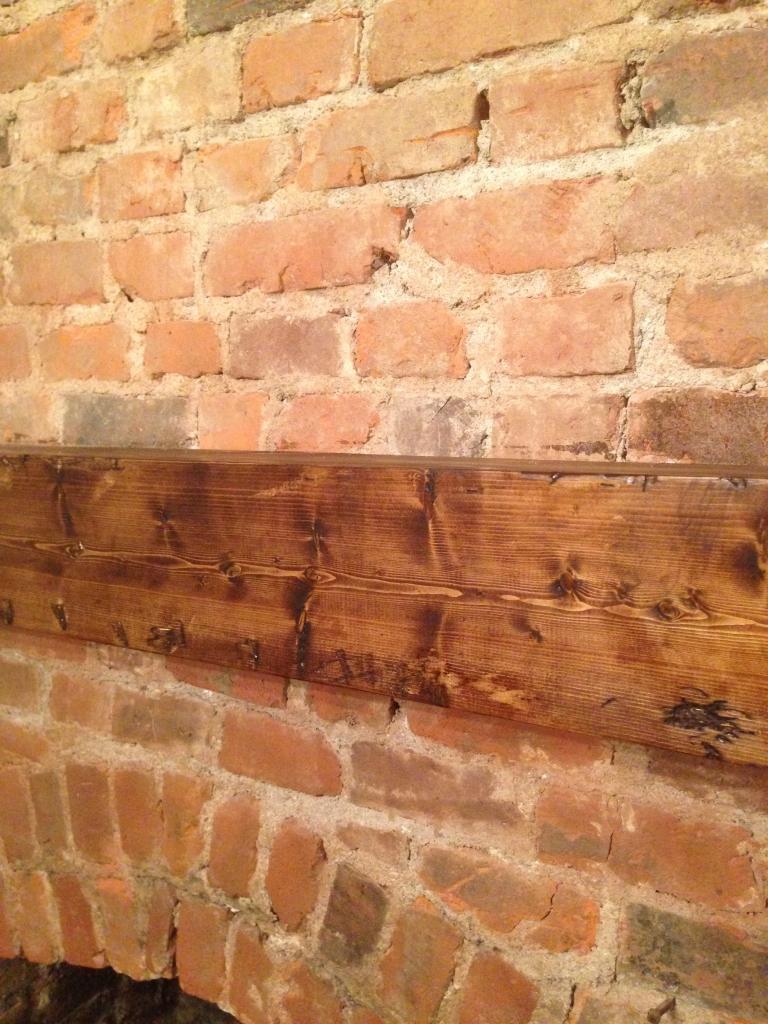
We applied the first layer of stain, after which we realized we didn’t sand well enough! There were some white patches of wood glue that the stain wouldn’t stick to.
So we improvised. We scraped around the white areas with a chisel, hammered around a little, and tried to beat it up a bit. Then we stained again.
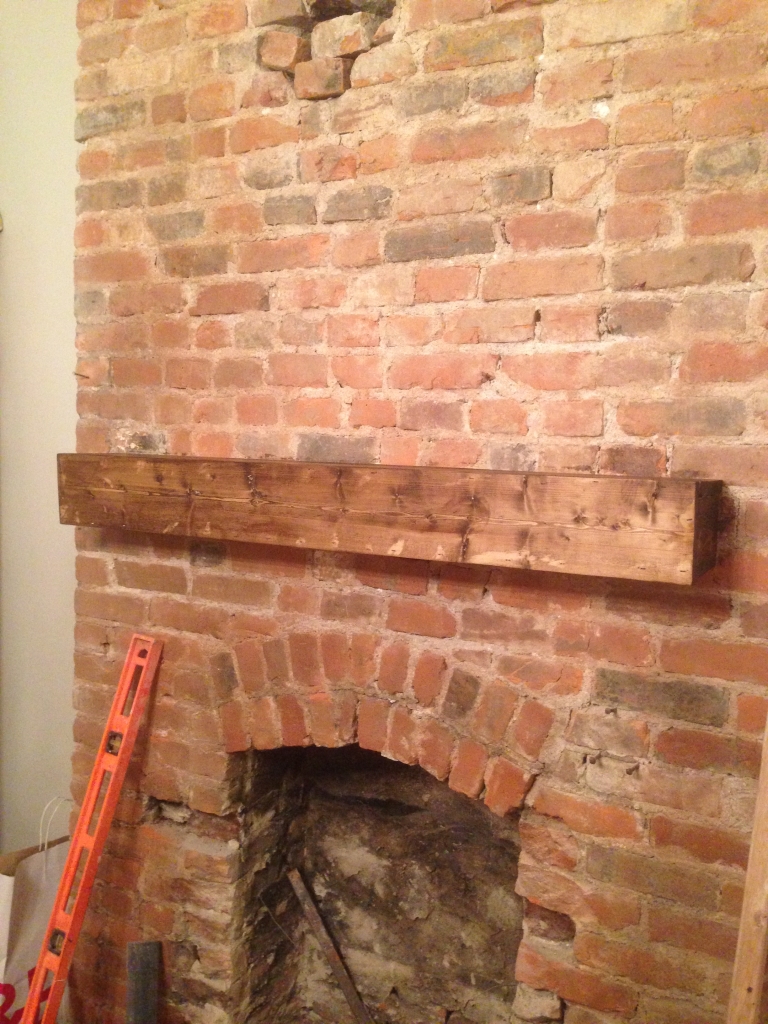
Much better! We stained it a few more times.
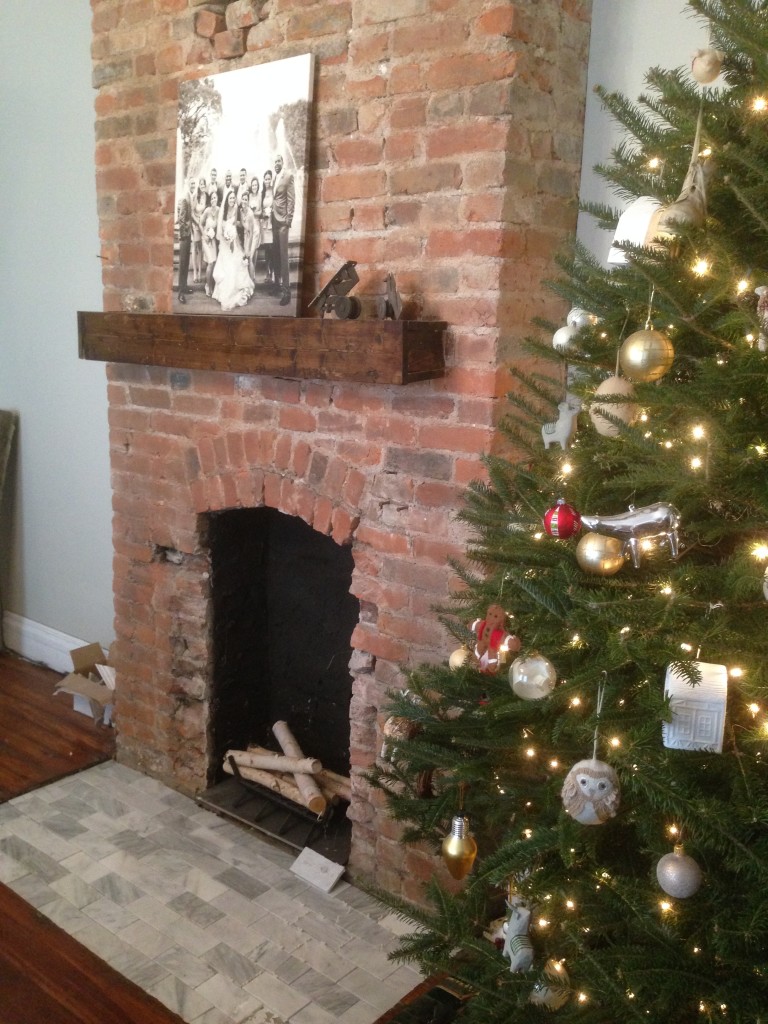
To finish off the fireplace, we spray painted the inside of the firebox black (we got the high heat kind), and added some birch logs and a log holder. We may get gas logs down the line, but it won’t be happening anytime soon so this will tide us over. We also finished tiling the previously cracked dining room hearth with marble subway tiles. Such a difference, right?
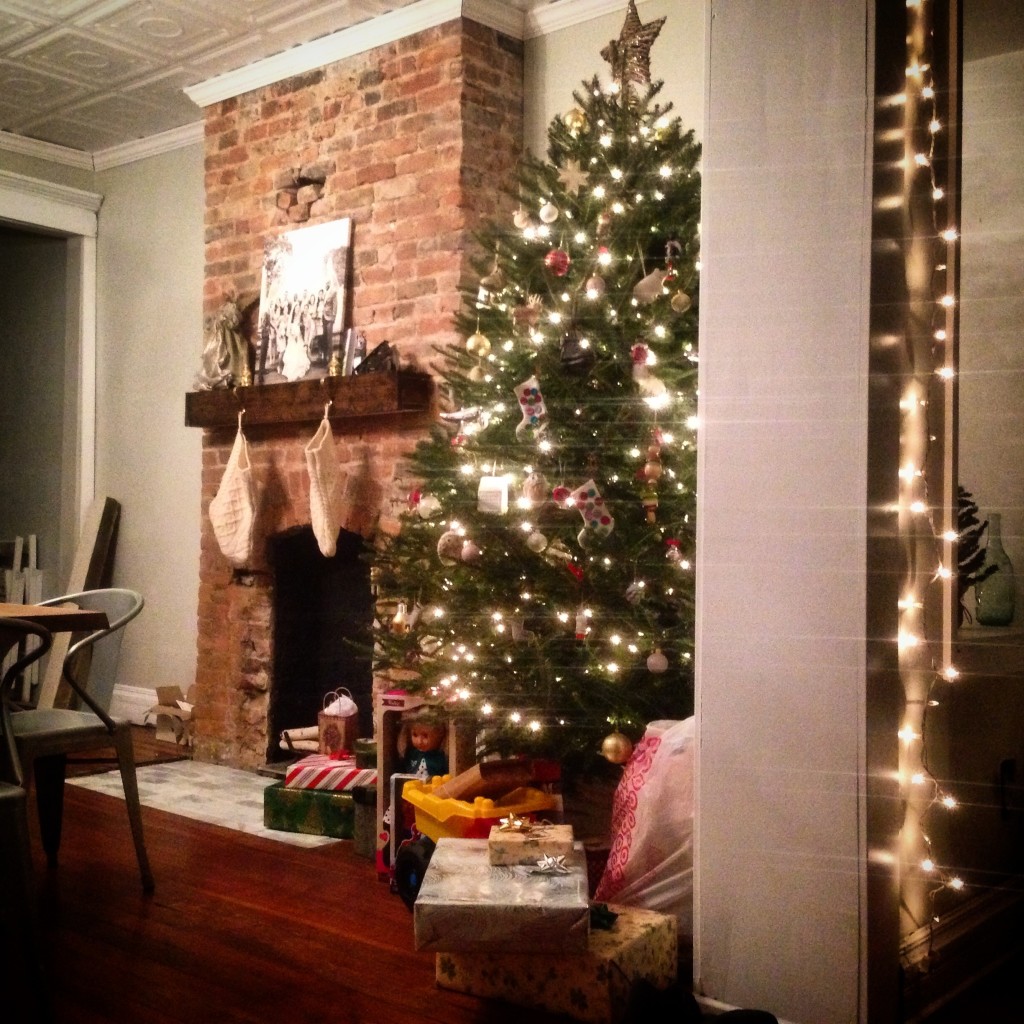
Here’s what it looked like on Christmas.
The whole thing cost us under $40, and we love how it turned out. We still need to figure out what we want to put on the mantle, and what we want to hang above it, and fix those broken bricks around the edge of the firebox, but all of that will come once things settle down.
We’re working on finishing up our living room mantle now, and will check in when it’s finished (it’s similar but not the same). In the meantime, follow our daily progress on Instagram.
Happy New Year, All!
[…] « “I just want BRICK!” […]
What type of wood did you use for the front 1×6?
LOL! I can’t believe someone had covered that up! I can’t imagine in one time period that would have looked good!
What you have now is fantastic!
By the way, I came here for the “I just want brick” comment… was trying to remember the name of the show, and that was the only thing I remembered from it! haha…