This post is sponsored by Lowe’s.
White Cape Cottage Kitchen Kickoff… say that five times fast 😉
Bryan and I are so thankful we’re able to continue renovation progress at my parents’ house in Columbus. The house is 5 minutes away and vacant (they’re still in NJ & haven’t moved yet), so social distancing while we work is not a problem. We’ve been converting a lot of our normal in-store Lowe’s purchases to online orders, and DIYing most of the work ourselves to avoid having multiple subs in the house. A few of our orders have been delayed due to stay at home orders and understandable supply chain issues, but we’ve been able to bounce around between projects within the house to keep things moving. With all of the uncertainty in the world, having this project to share with my parents and give them something to look forward to makes the process extra special.
Pre-COVID, we finished the living room and almost finished the first floor bathroom (we’ve been tracking progress in Instagram Stories — here’s the link if you want to catch up!) Today, we’re introducing you to the next project we’re kicking off at the house: THE KITCHEN.
Let’s get into it!
before
Ta da! Here she is. This is the view looking in from the dining room door.
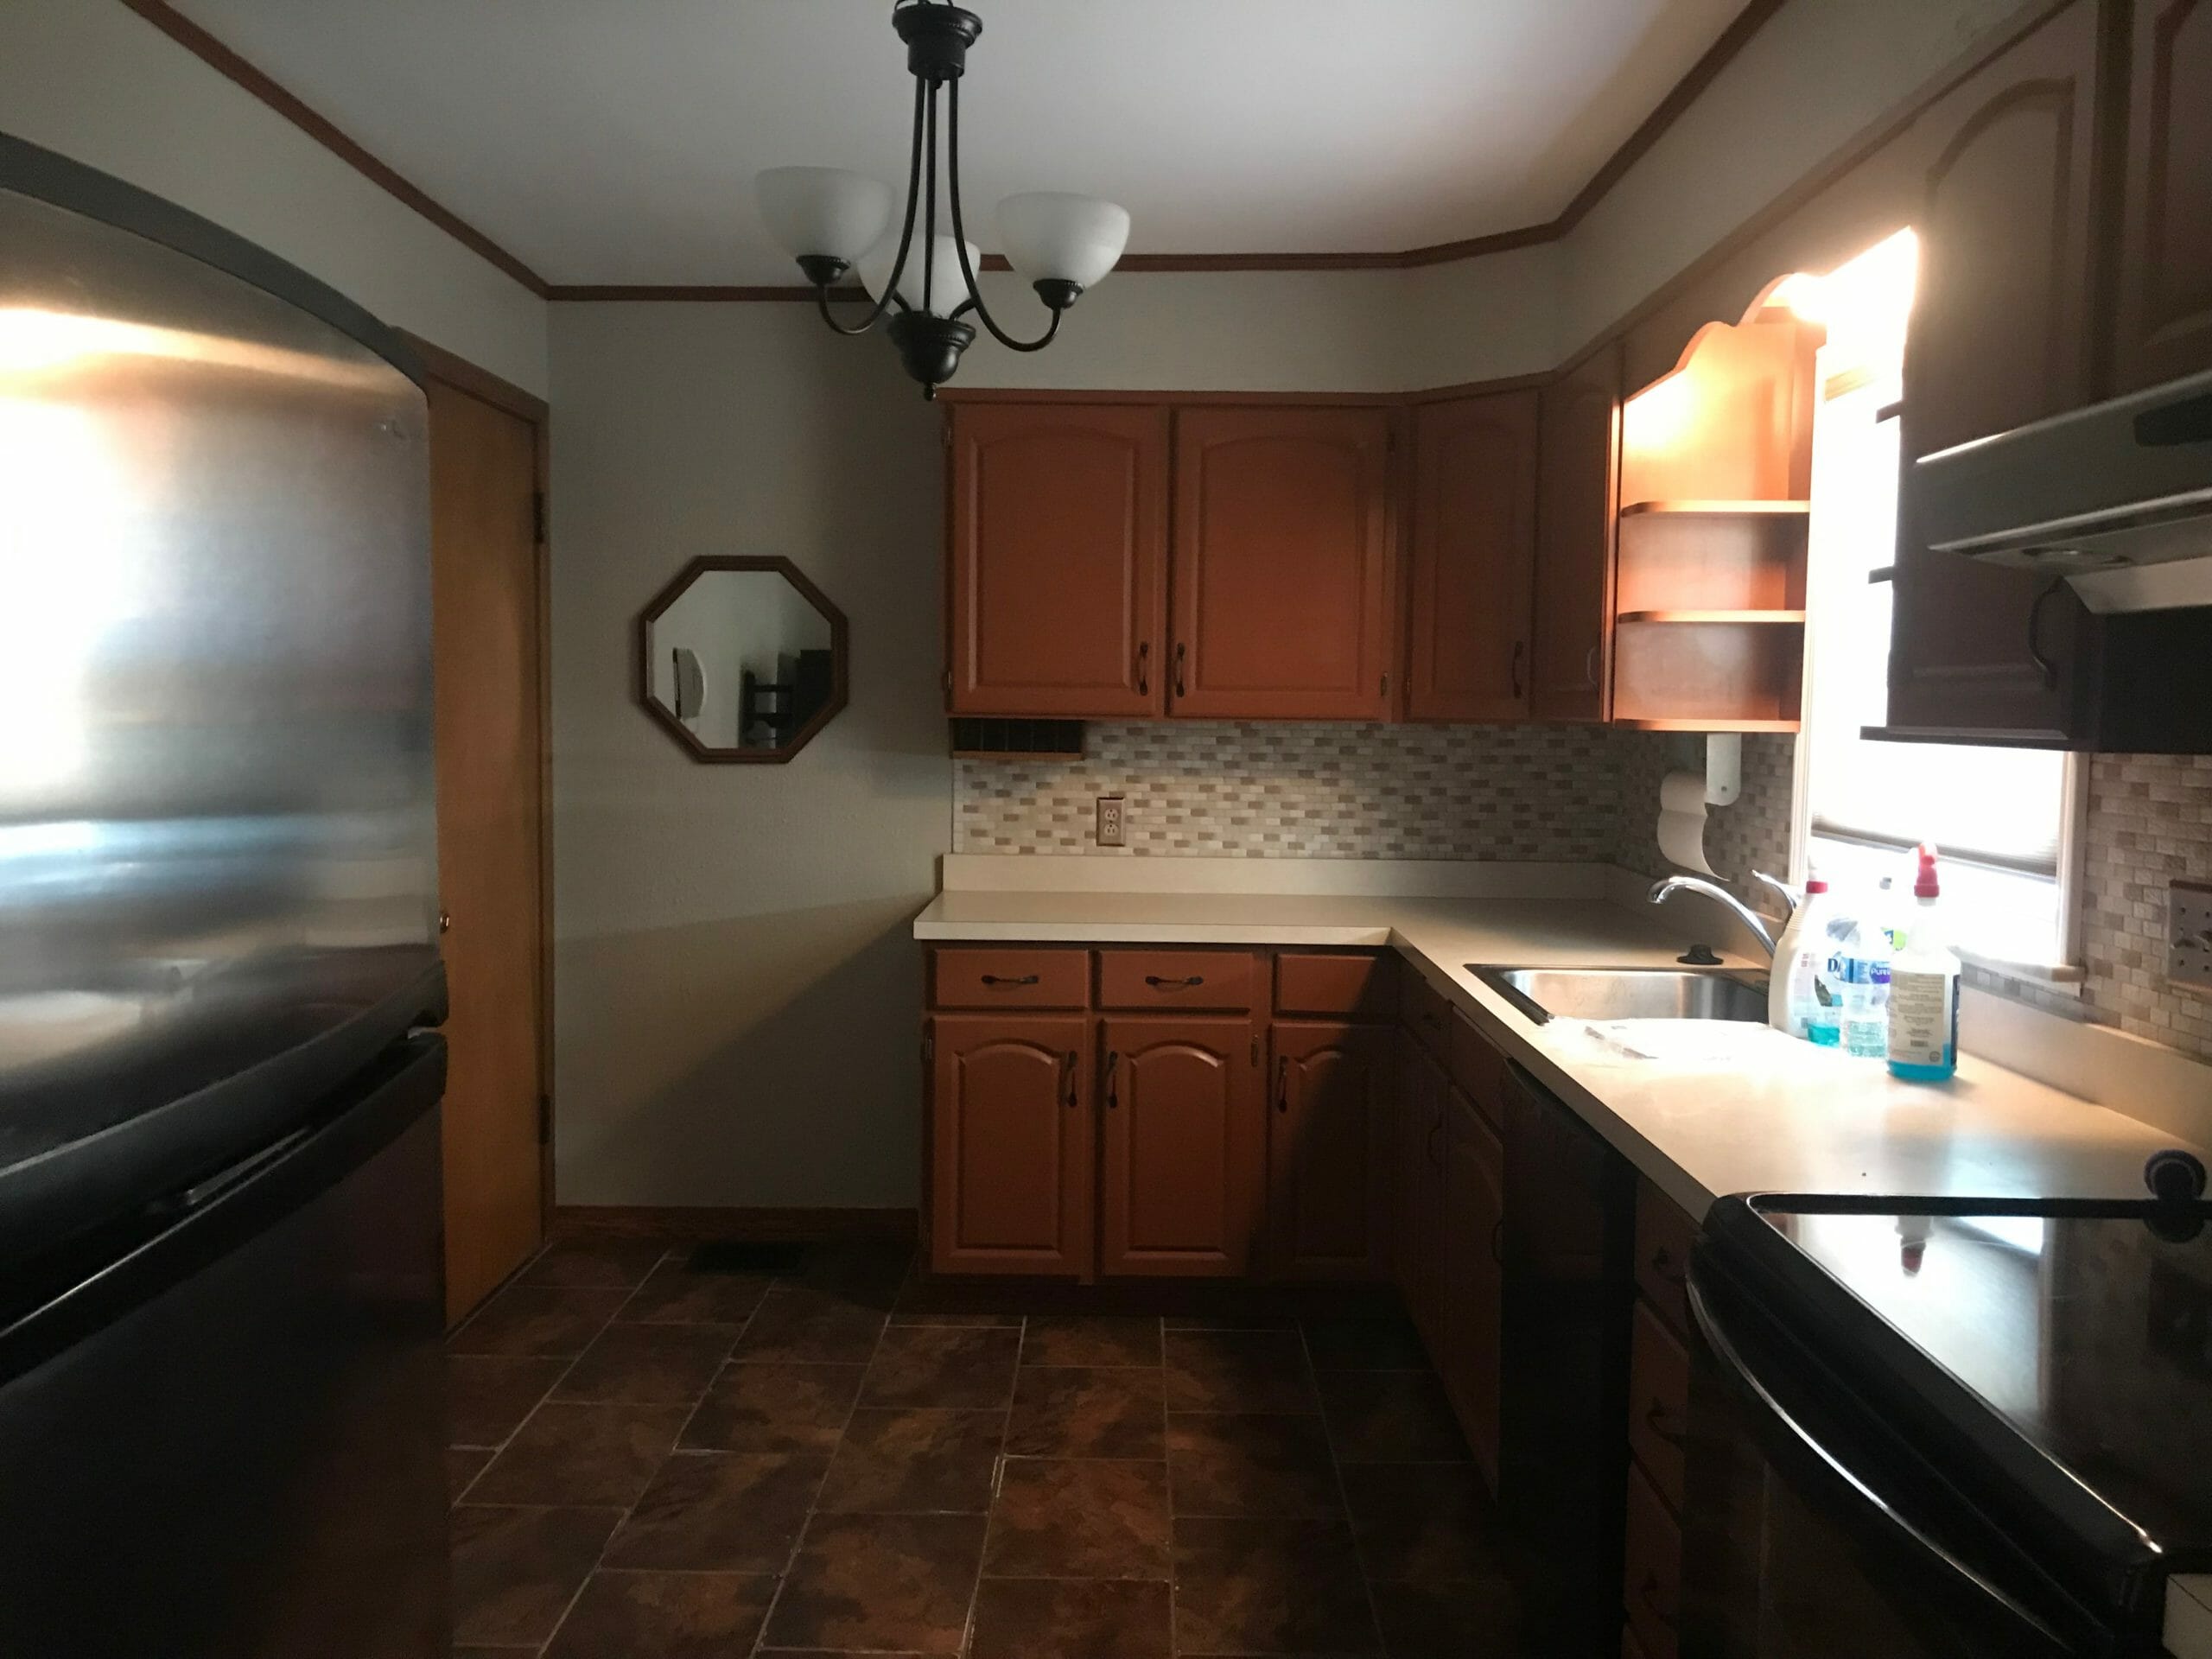
The range and sink were on the right wall, and the fridge was freestanding on the left.
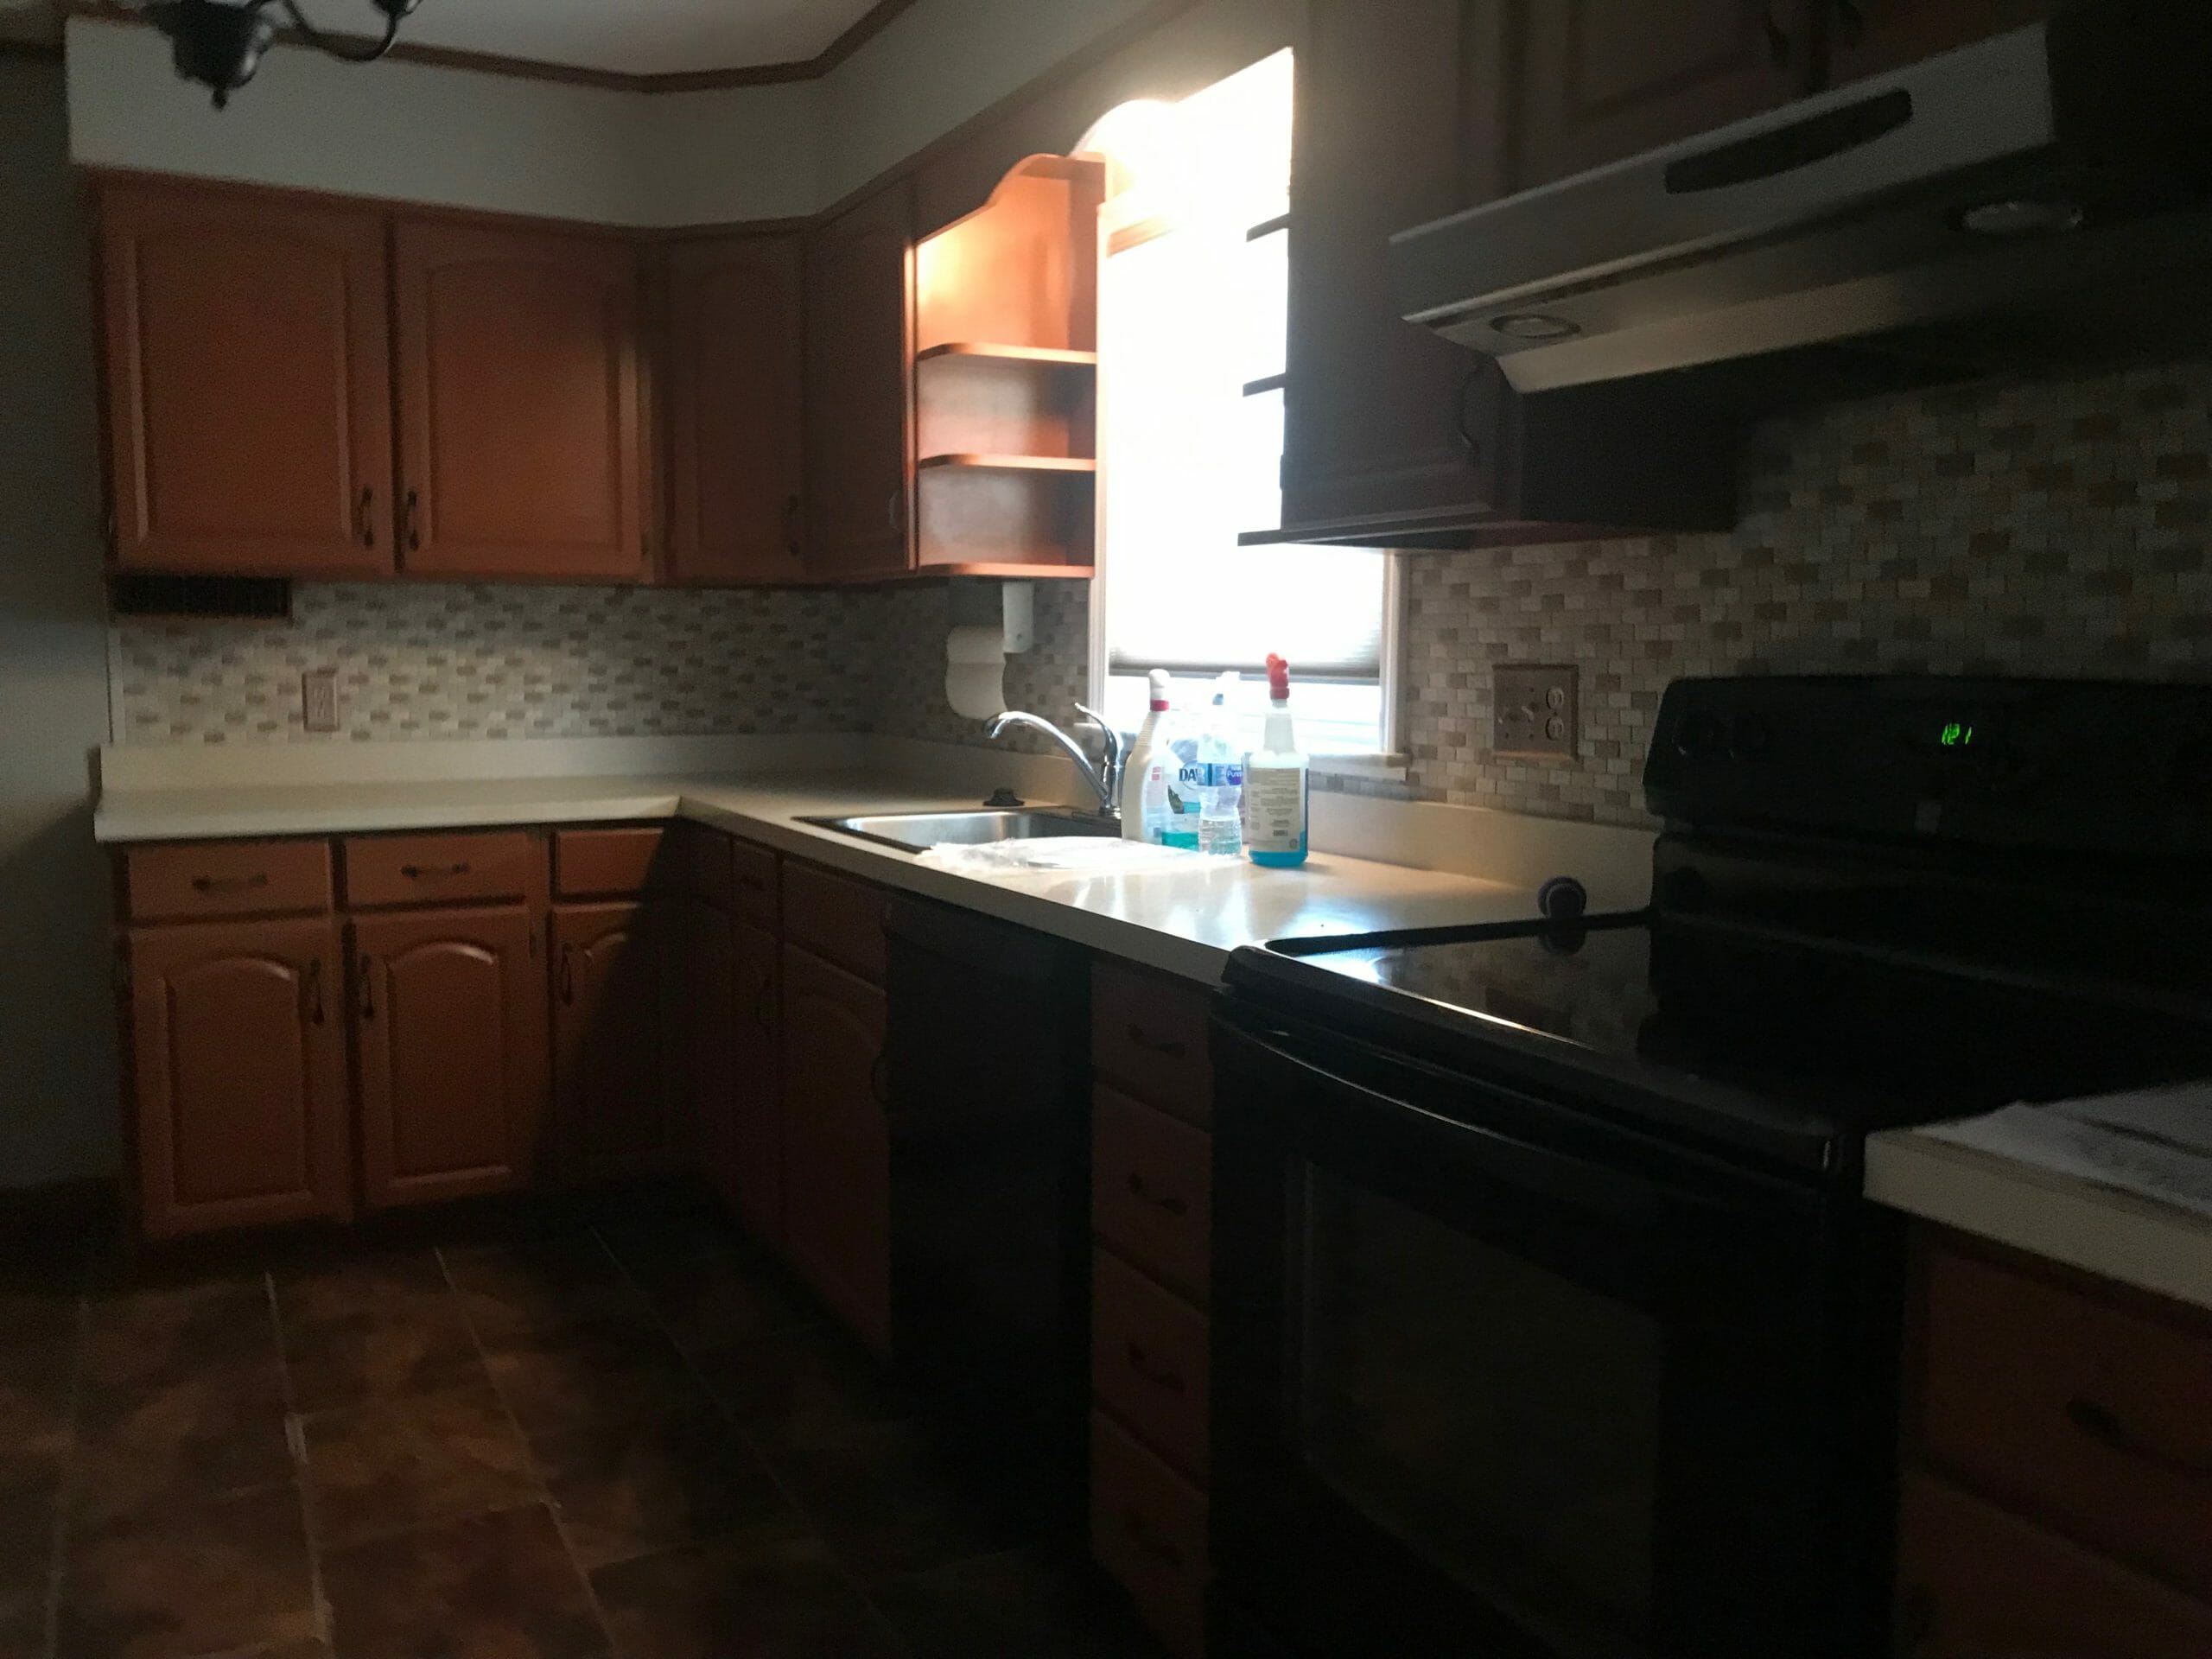
The door to the garage is at the end.
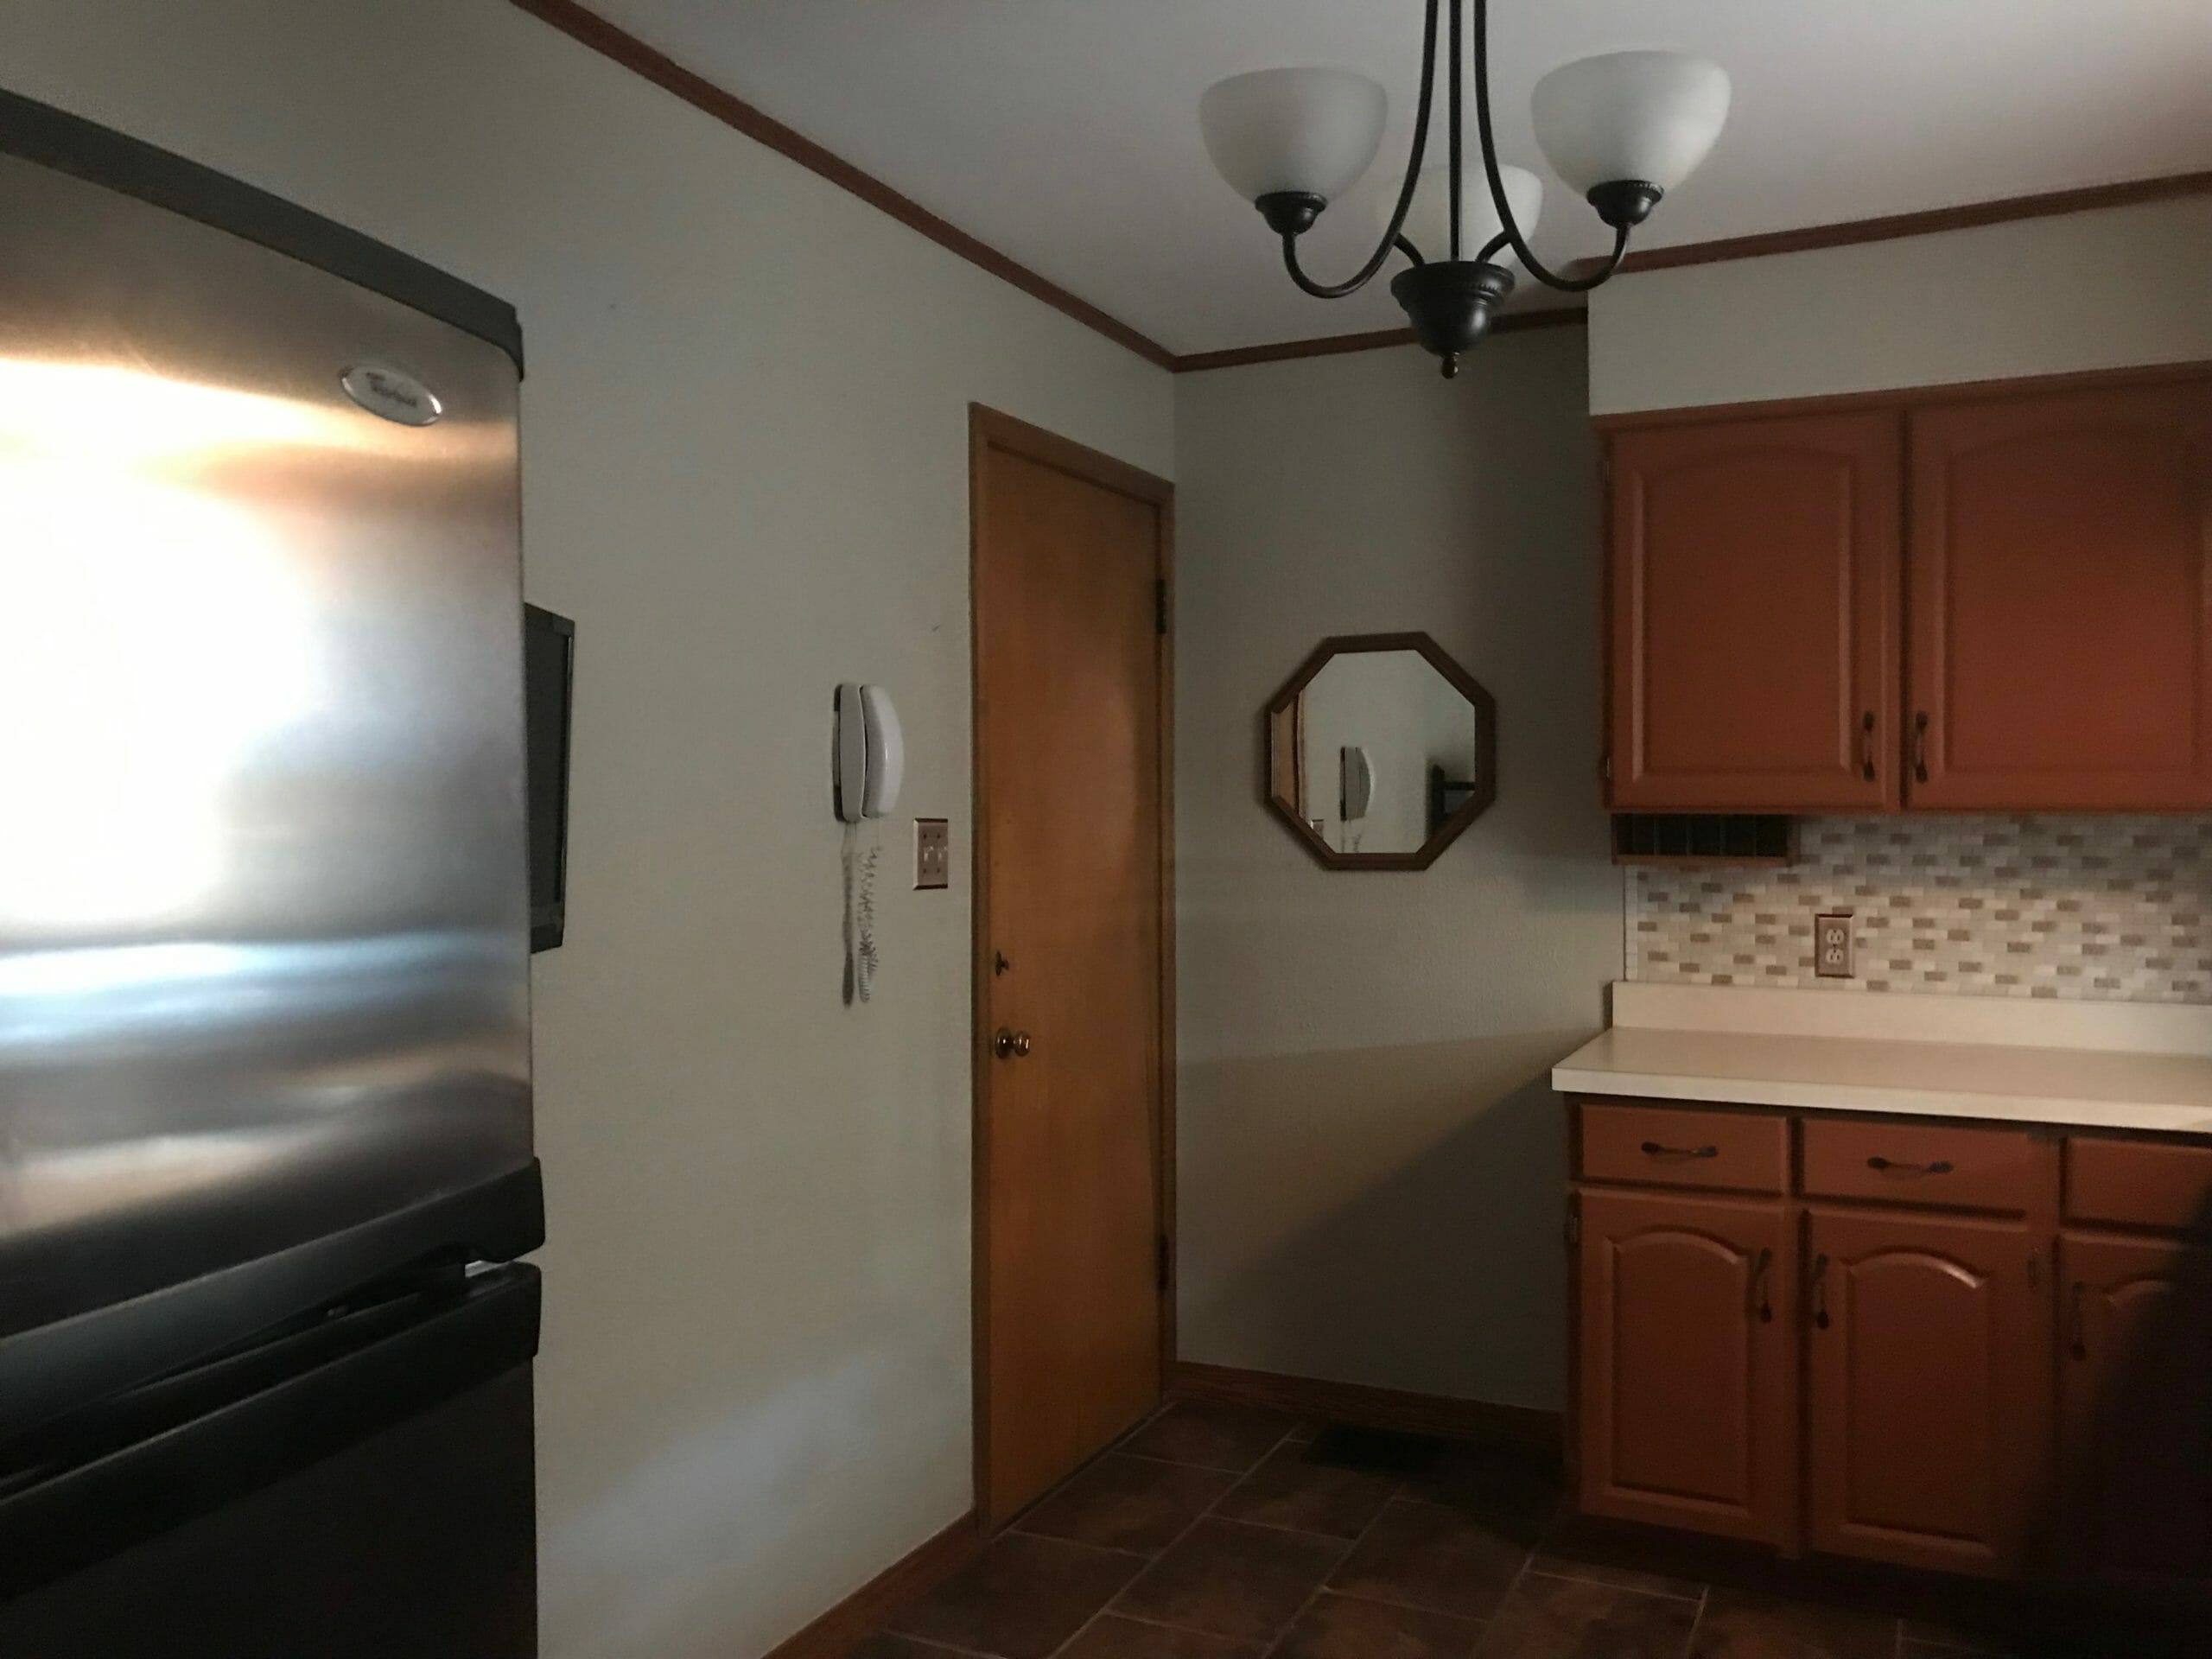
This is the view coming in from the garage door.
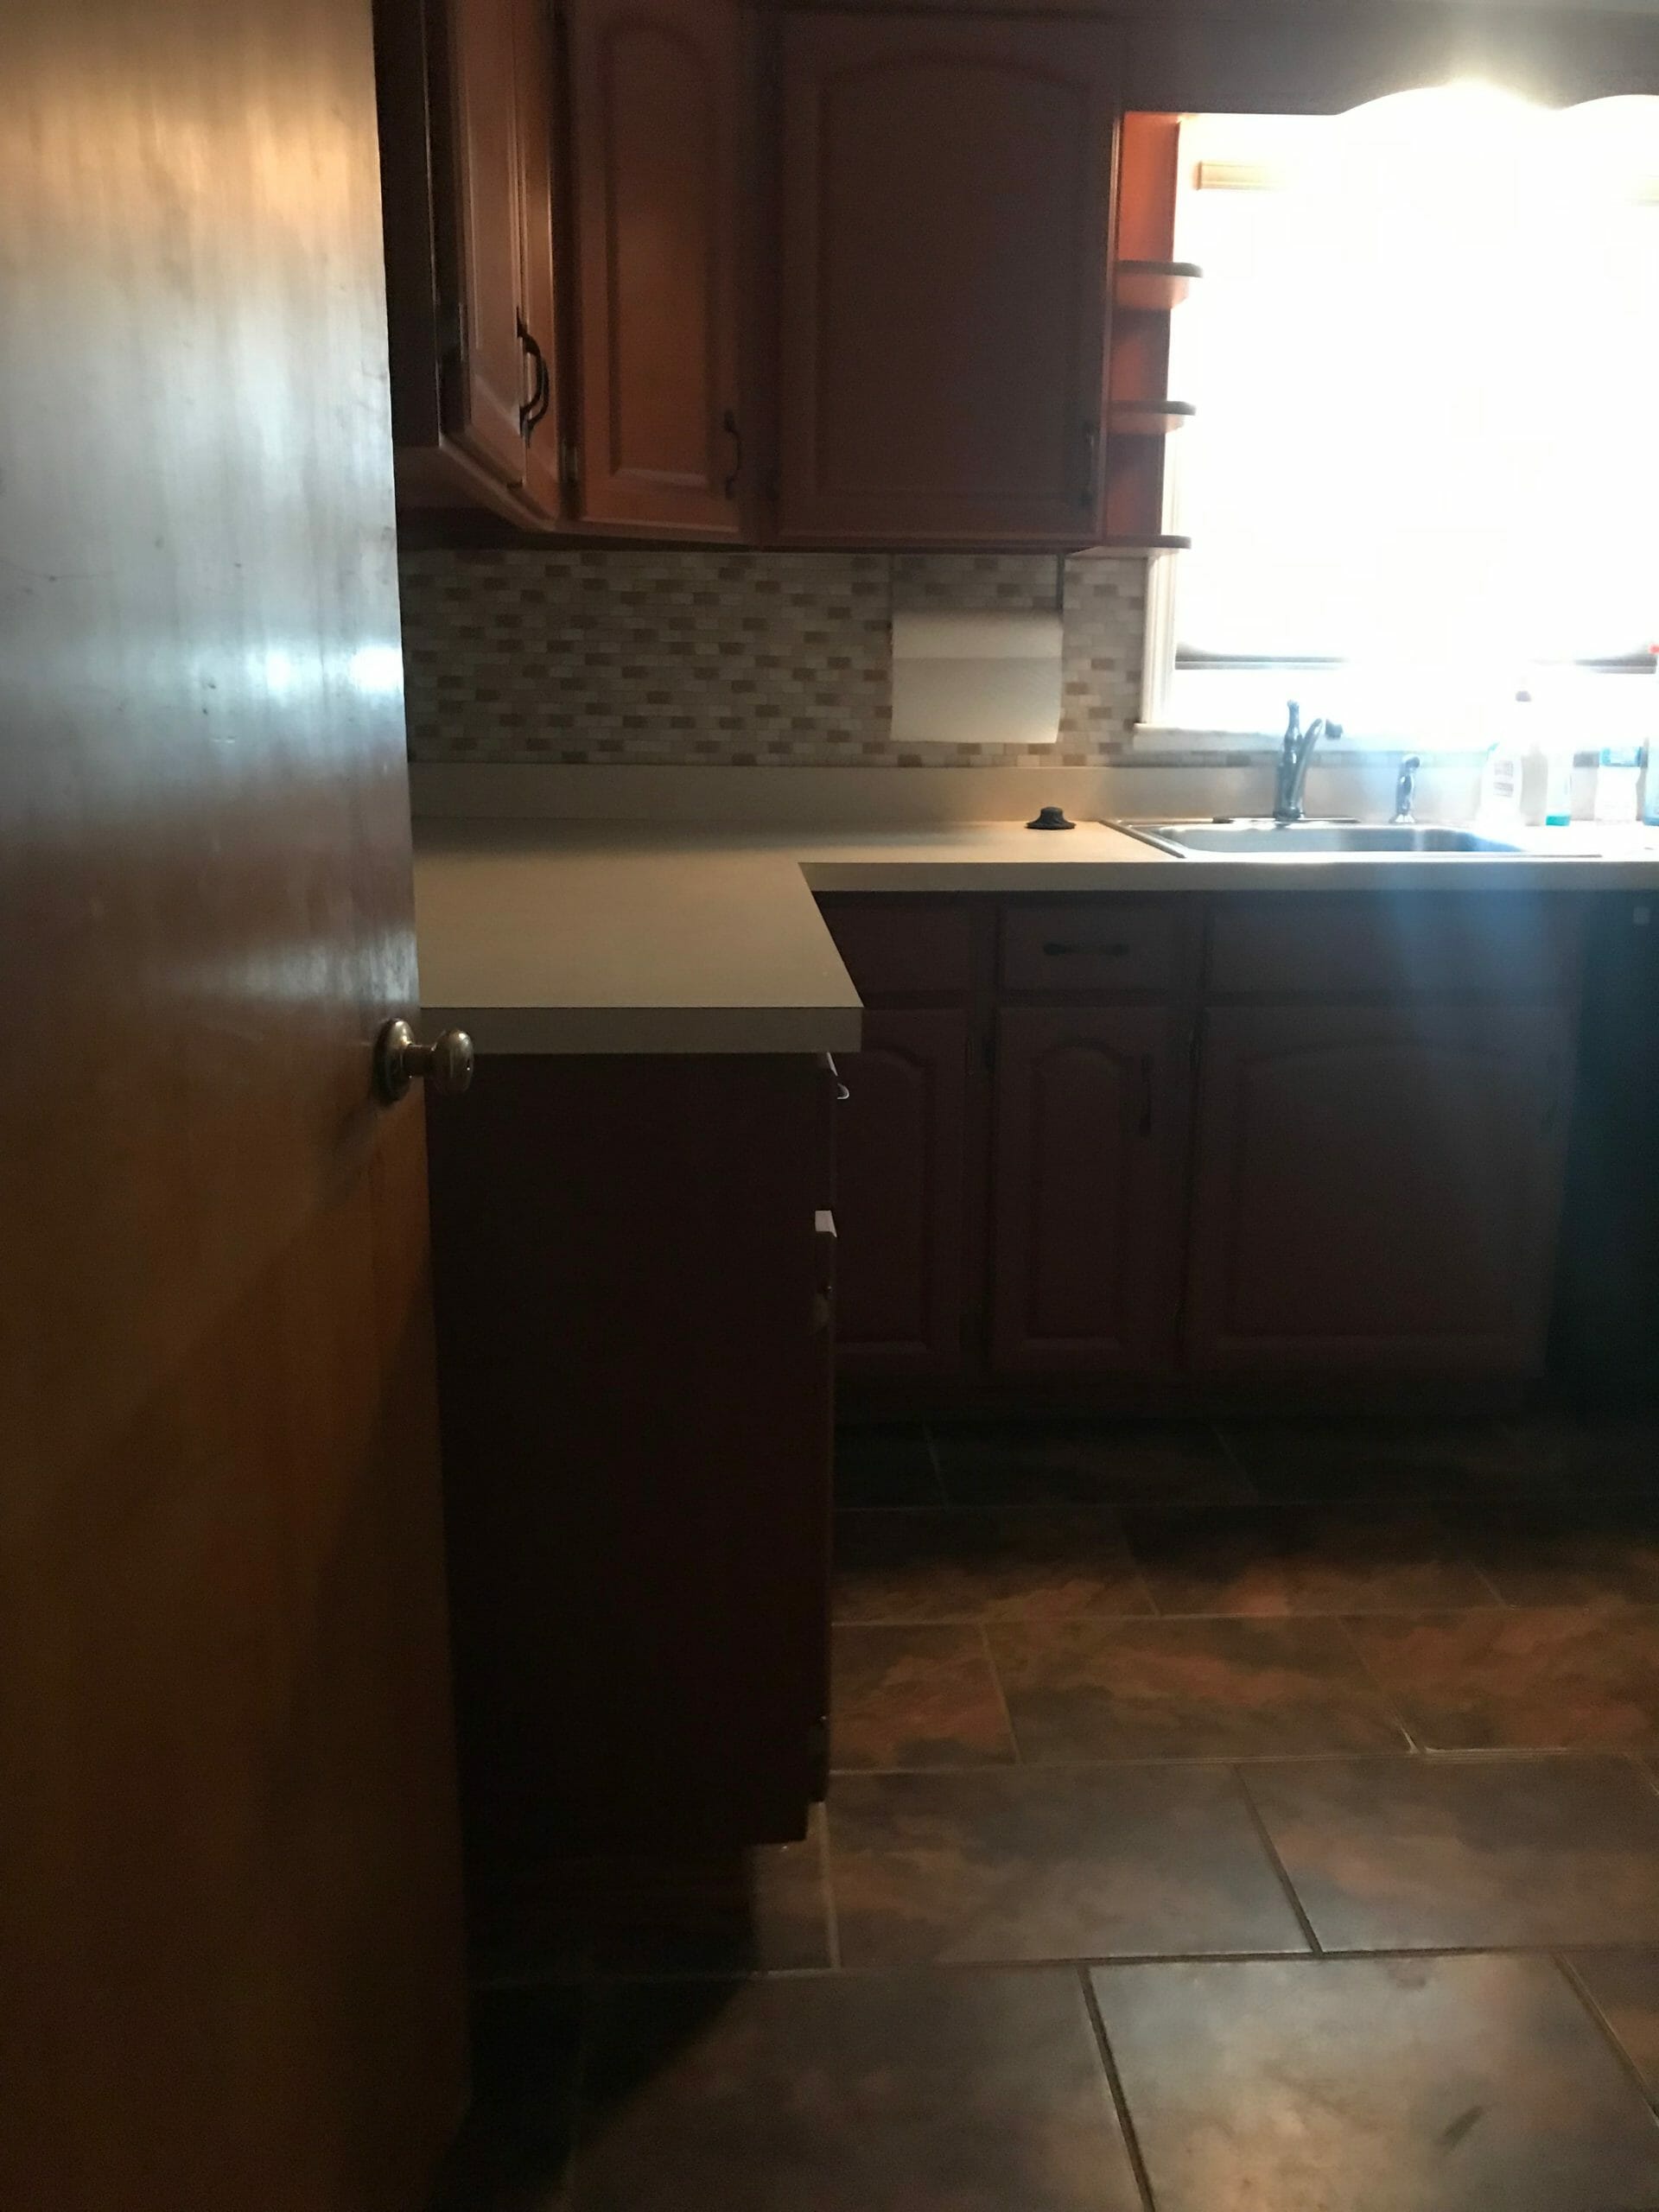
Lotssss of room for improvement.
kitchen design: PROJECT GOALS
We always start our design process by reviewing challenges and goals of each project. In this kitchen, our main goals are:
- Maximize storage and functionality within the existing kitchen space.
- Make the space feel larger and flow better with the adjacent dining room.
- Stick to a 20k materials budget.
A few things we have in mind to achieve these:
- Bring new cabinetry up to the ceiling. It draws the eye up and makes the room feel larger.
- Create more natural light. Our go-to moves for addressing this are adding windows/glass doors, removing upper cabinetry, and taking out walls / enlarging cased openings. We don’t have the budget to add more windows and don’t have the space to get rid of upper cabinets, so opening up the wall between the kitchen and dining room is a must. It’ll allow light from the adjoining rooms to flow into the kitchen and make it feel larger.
- Add lots of artificial light into the kitchen. A well lit kitchen is so important! (You can read our blog post on creating a kitchen lighting plan here).
- Add architectural details to keep this kitchen from feeling cookie cutter. We’re planning on installing decorative ceiling lighting instead of recessed lighting and an interesting detail on the back wall (TBD on what exactly that will be). A small kitchen doesn’t have to be boring!
- Mix high and low finishes to stick to budget. We want this kitchen to feel like a million bucks without costing a lot.
kitchen design: LAYOUT
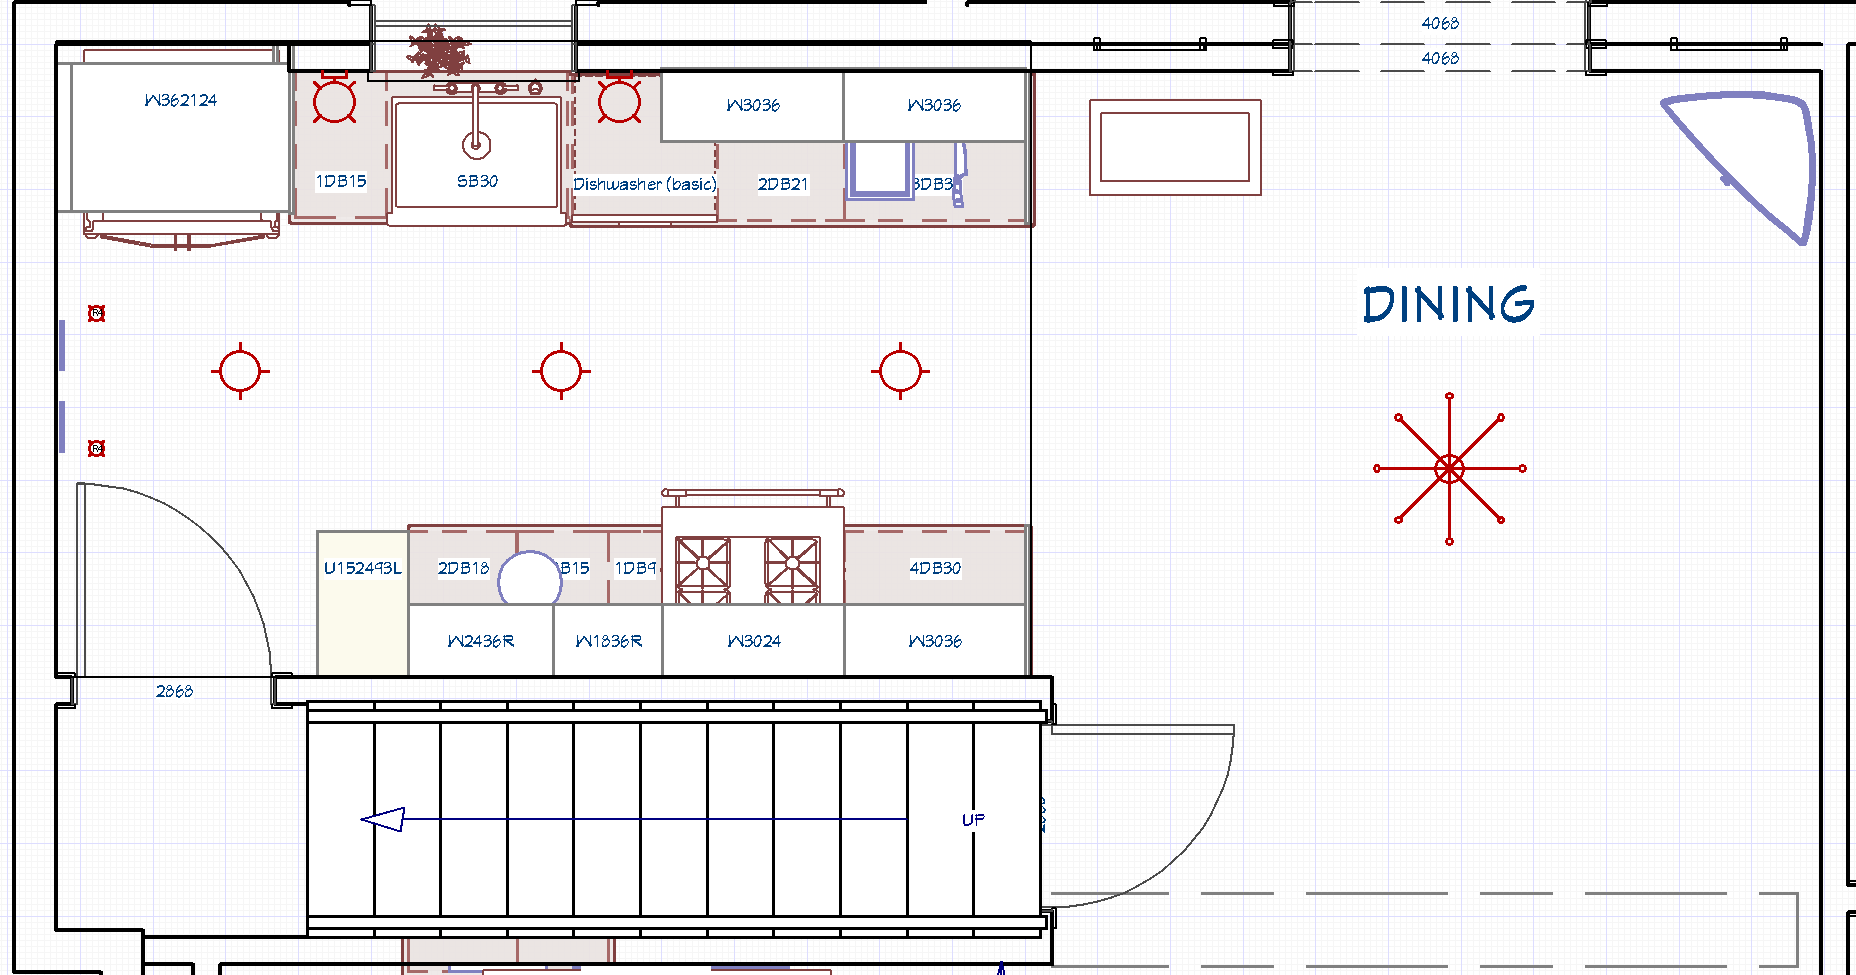
Here’s the layout we landed on. We’re shifting the range over onto the opposite wall and adding more cabinetry to create a galley layout. This allows us to use both walls and leave space at the end for entry from the garage. (You can read more about how we think through kitchen space planning in this post.)
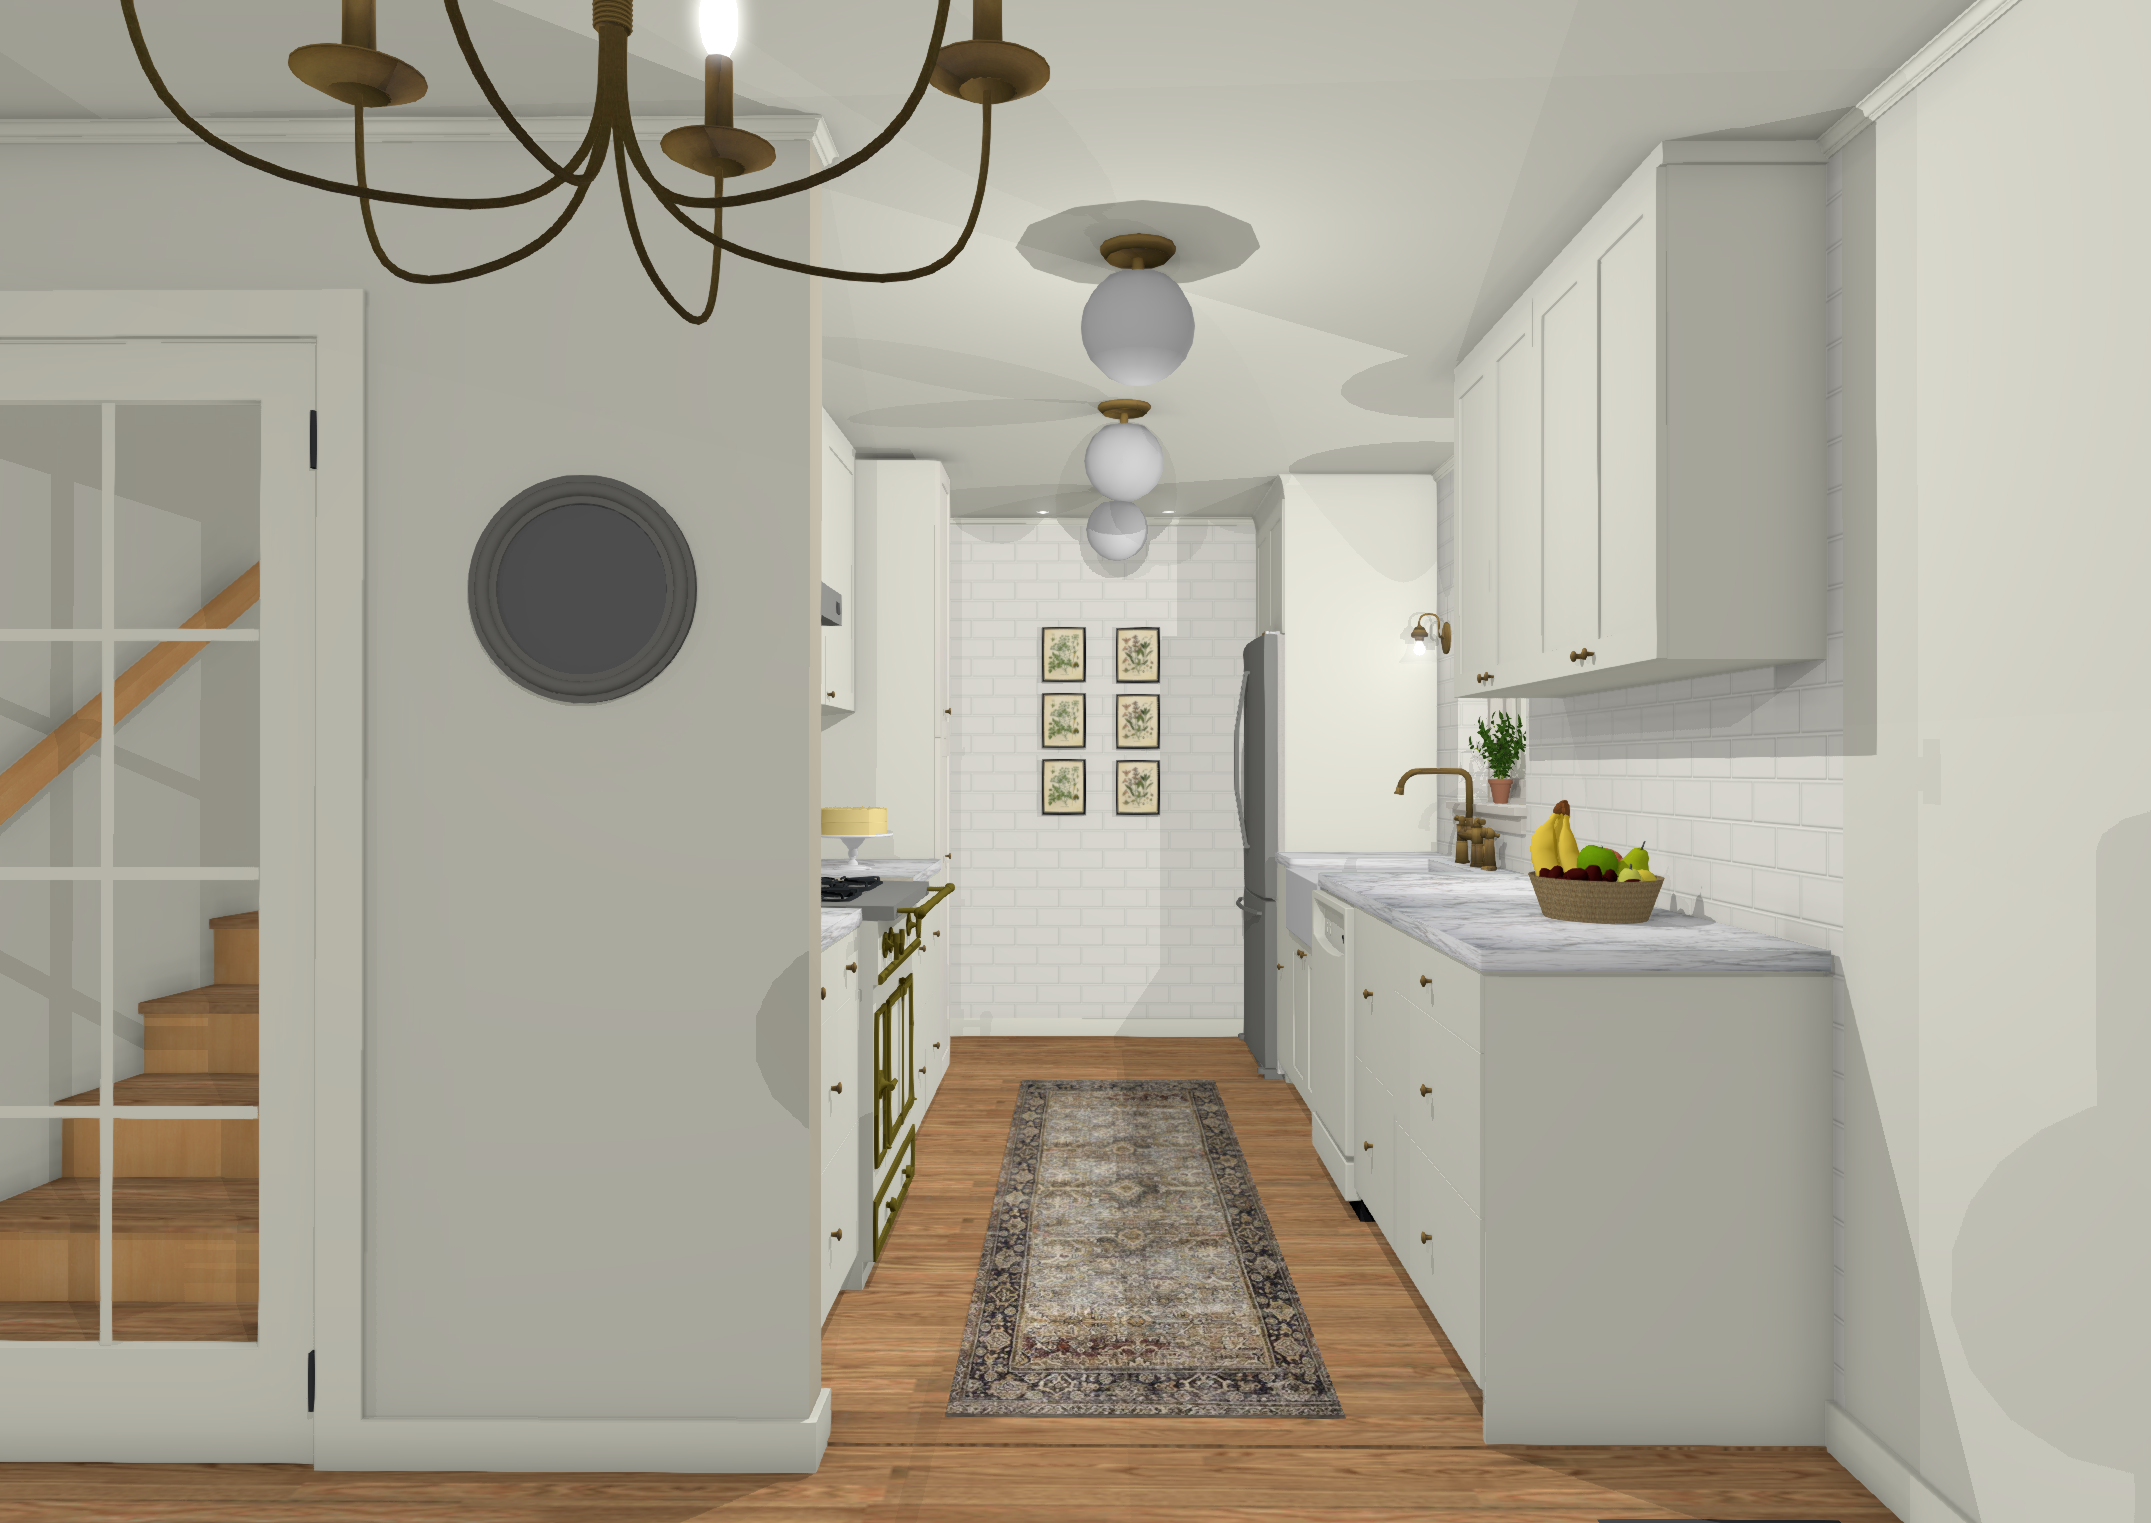
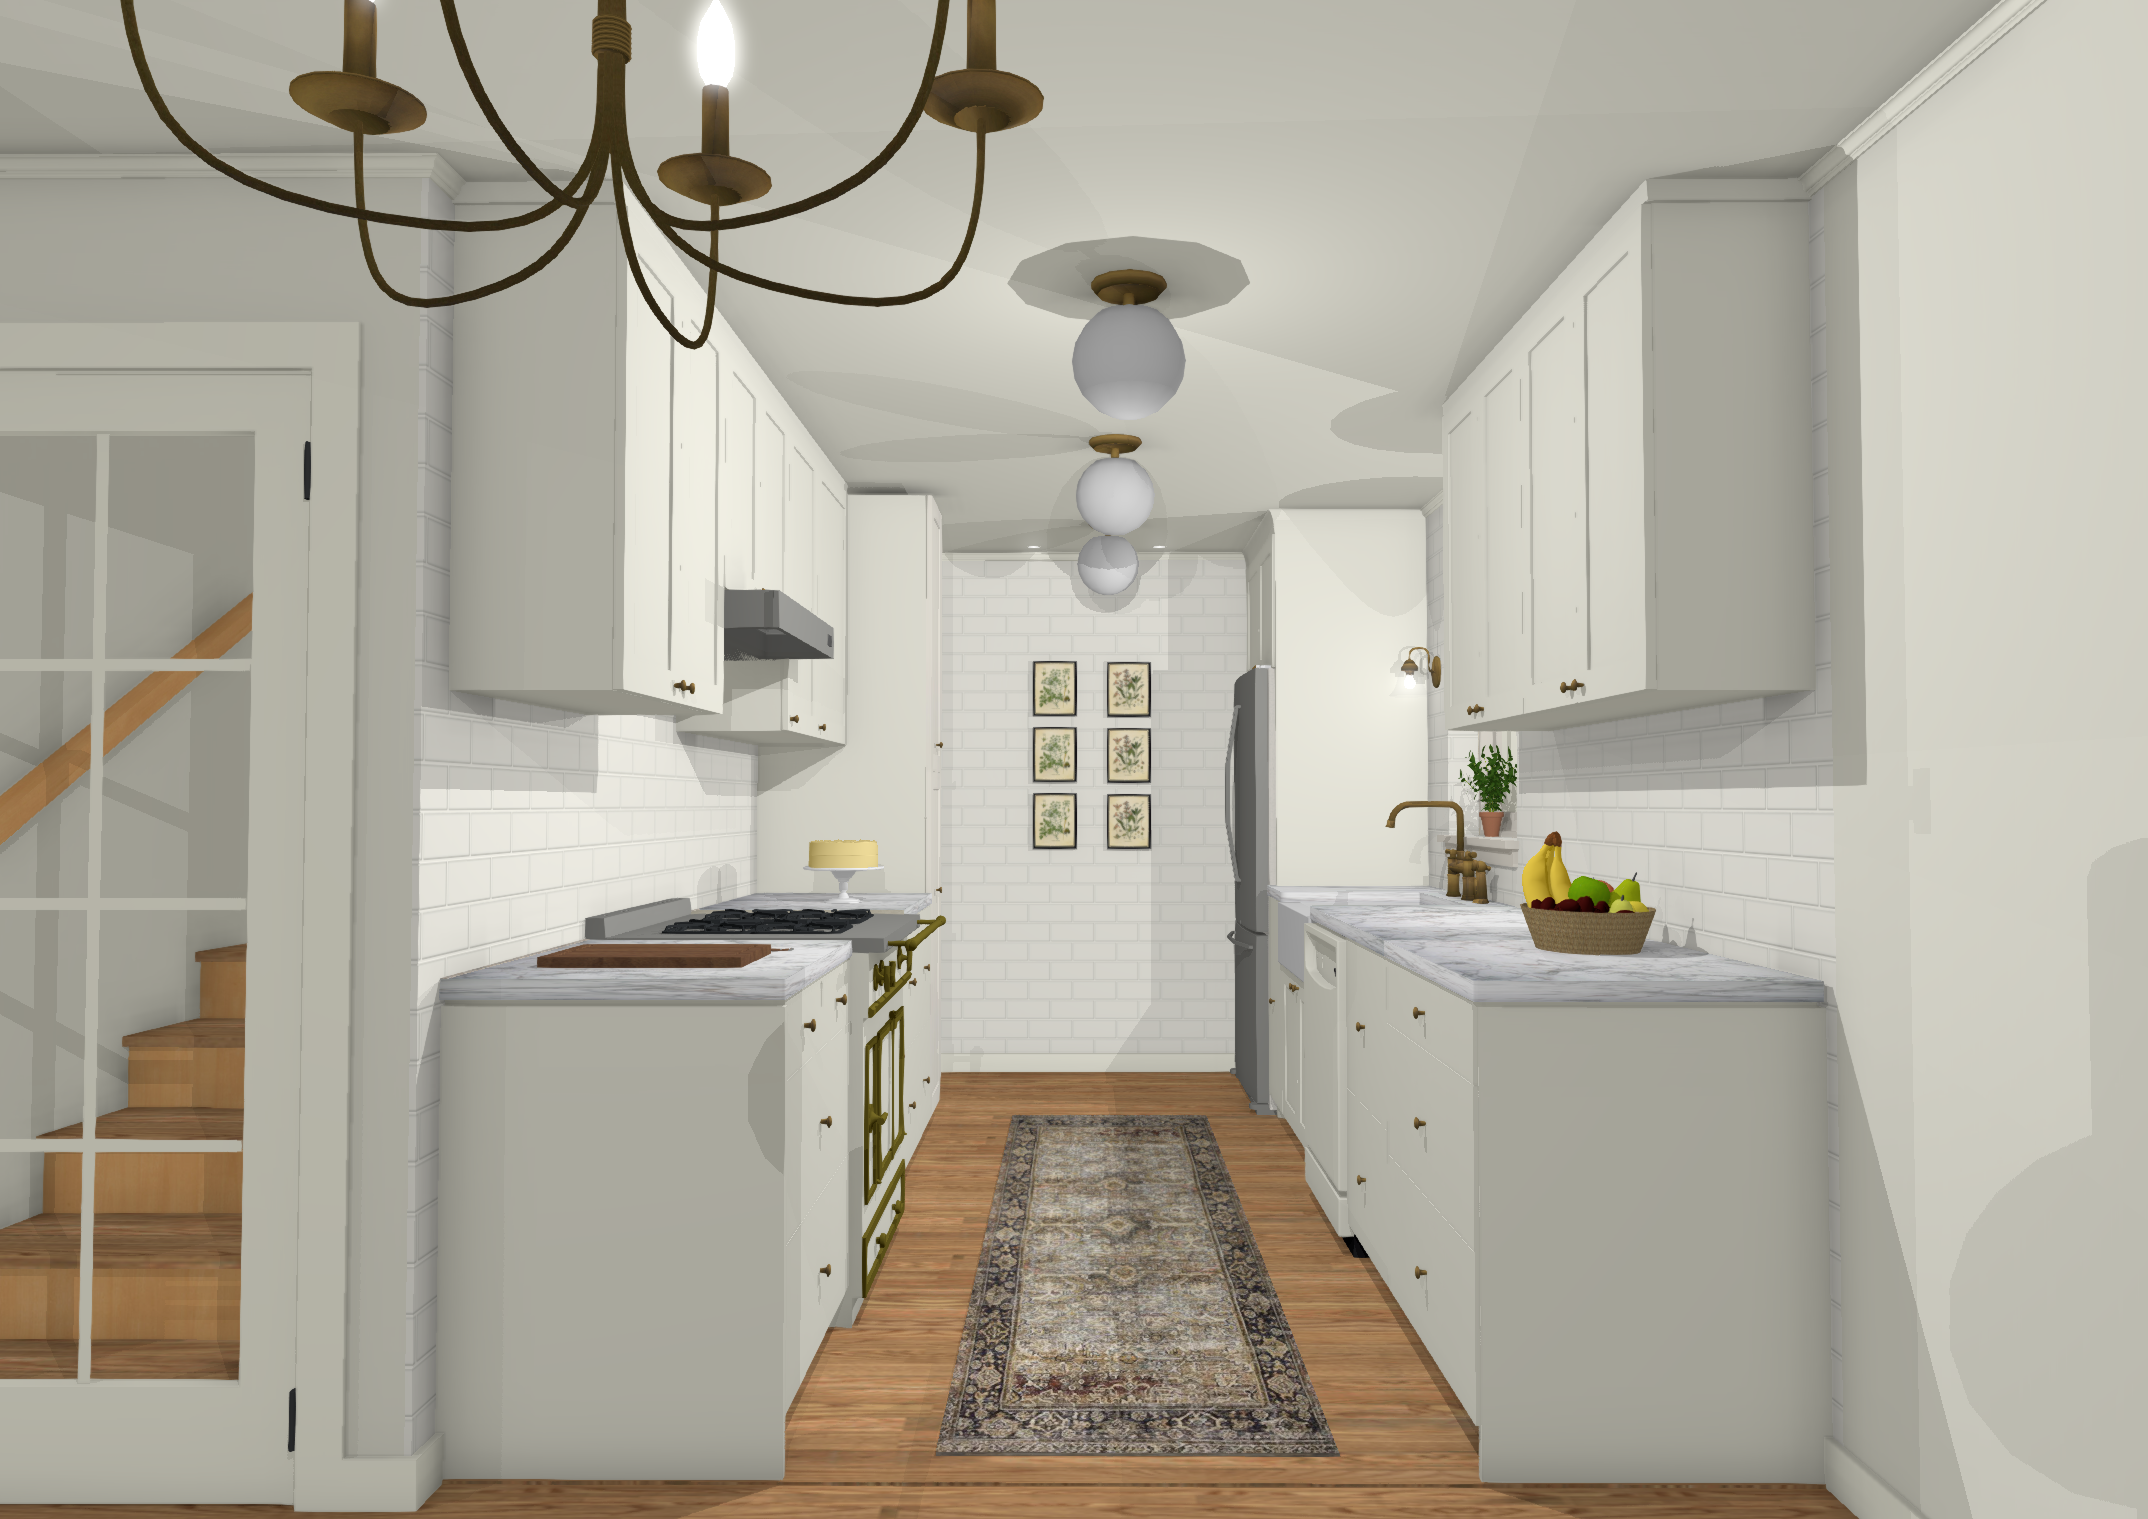
We also mocked up a few renderings to show how the space would feel with a partially enclosed kitchen and fully open kitchen. In these renderings, we’re mainly focused on space planning so we keep all finishes neutral. Here’s how the kitchen looks with an enlarged arched opening.
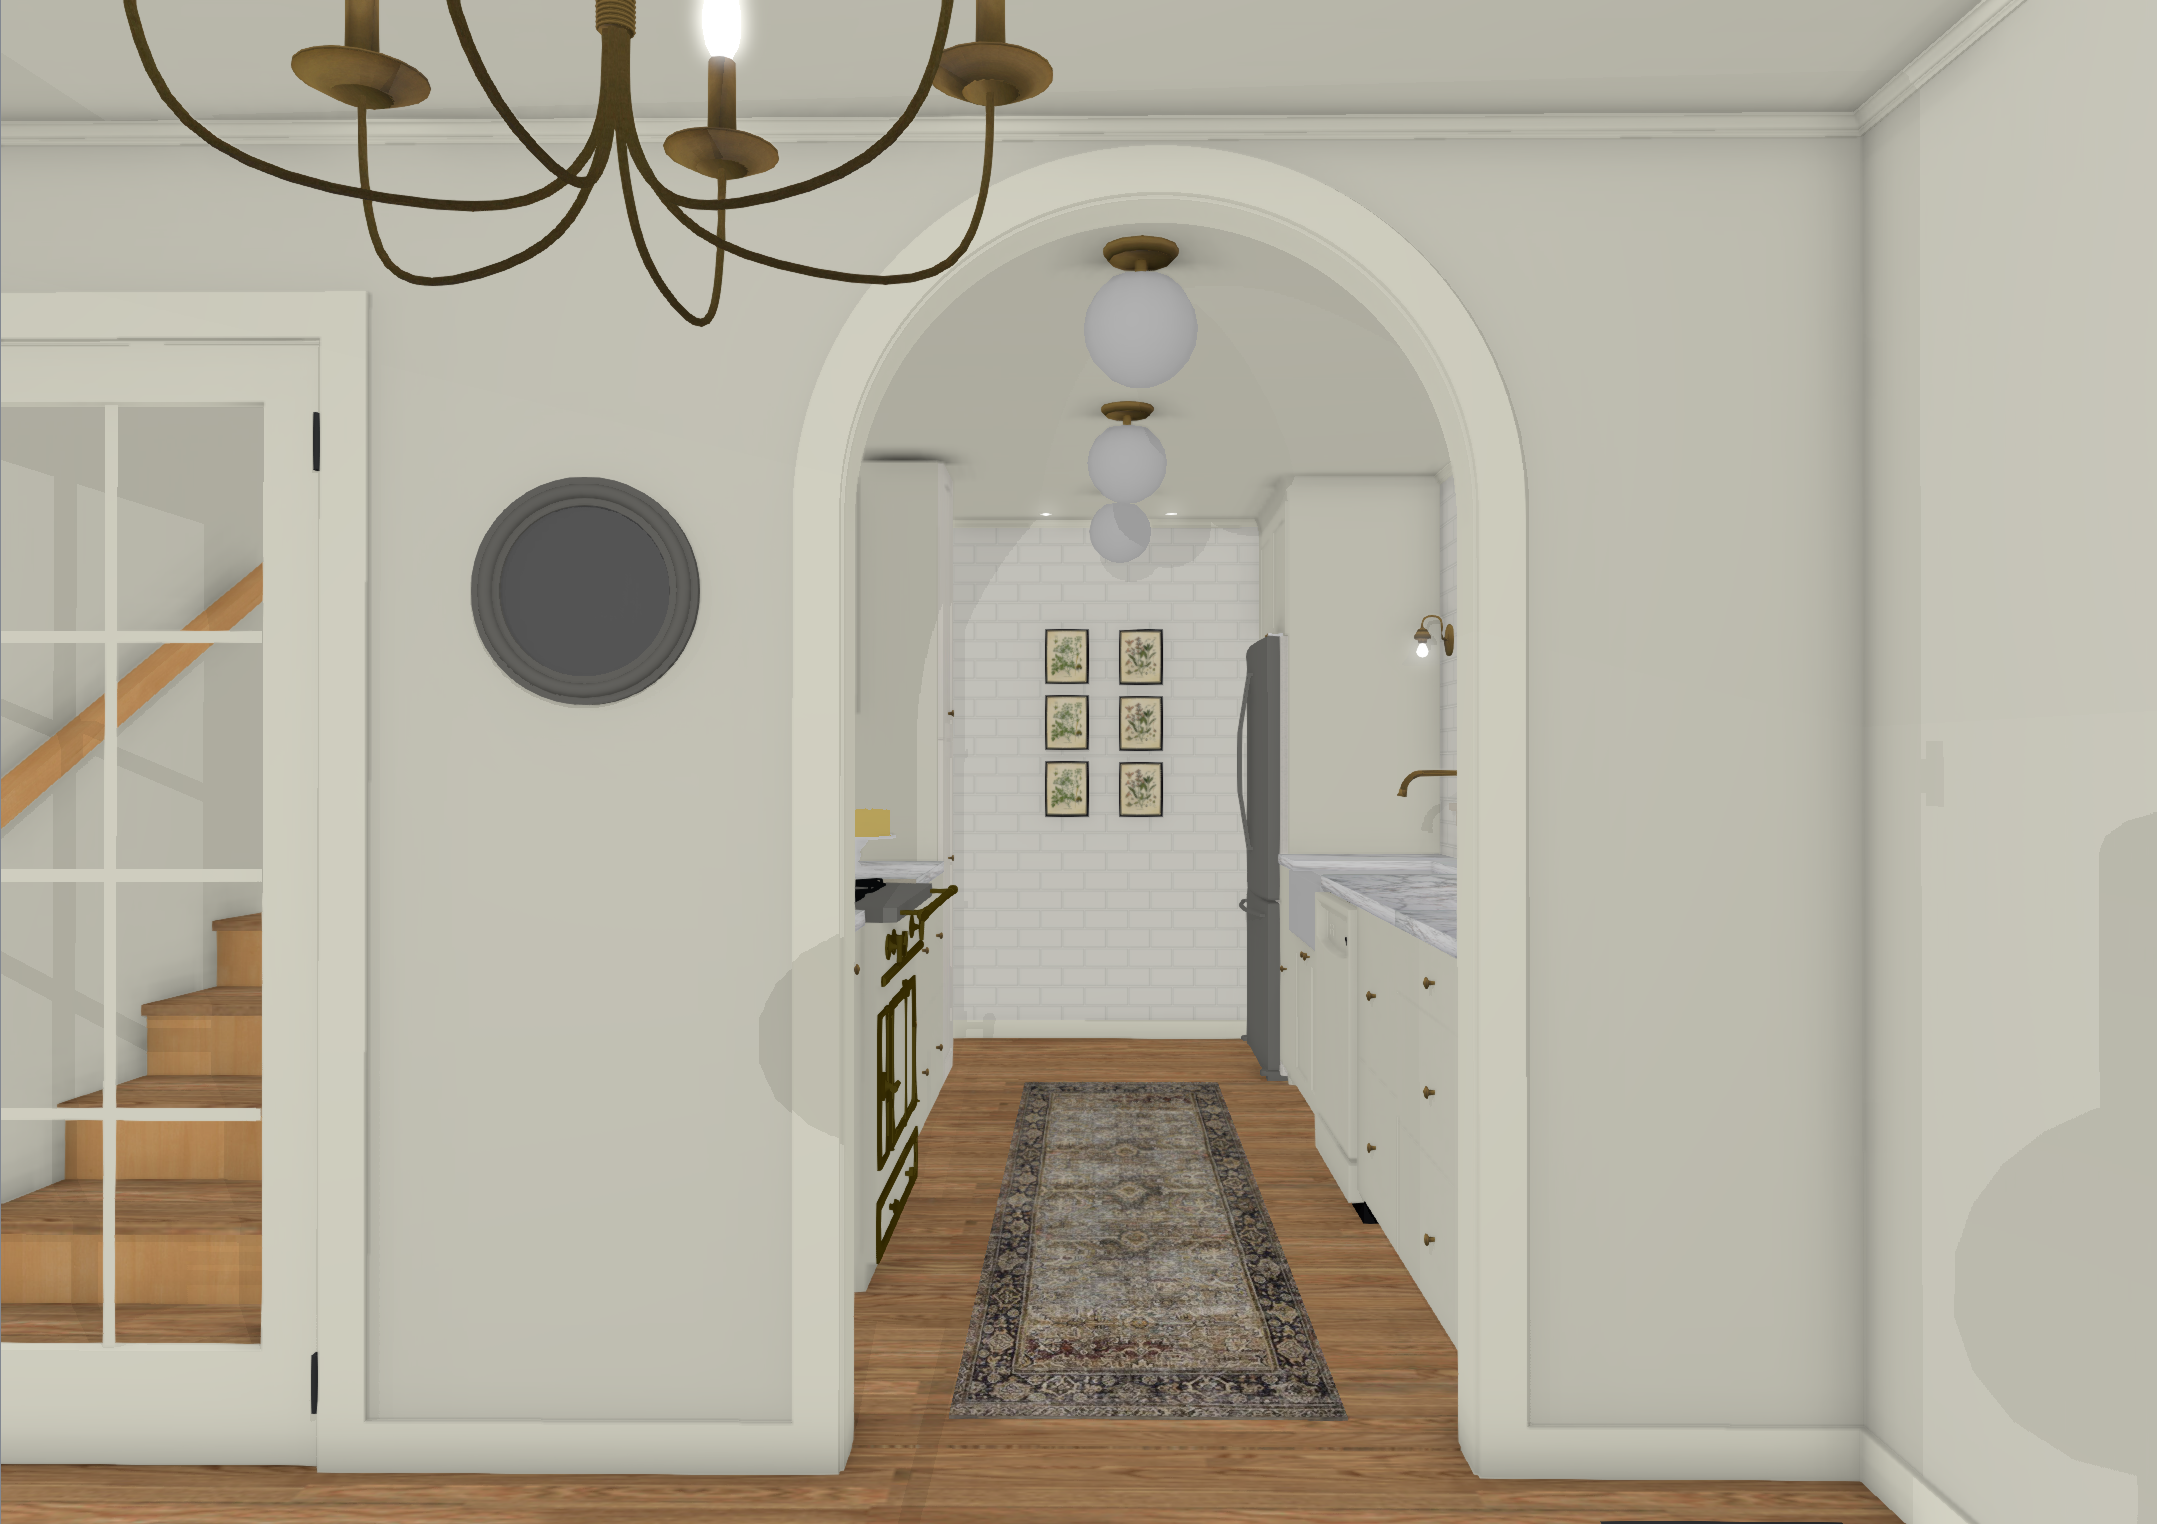
This is how it looks with one side open, one side closed.
And this is what it looks like all opened up. As much as I love archways, this option makes both the kitchen and the adjacent dining room feel the best.
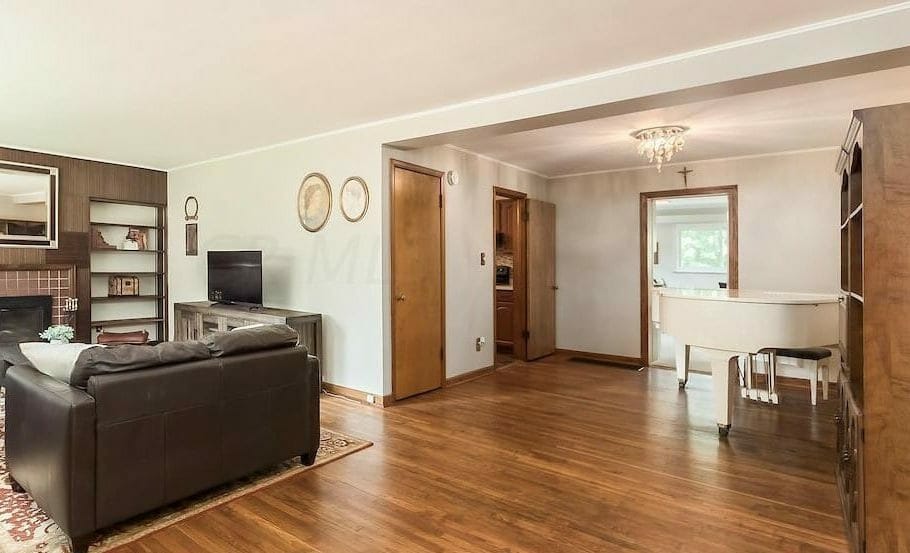
Here’s another look at what the dining room / kitchen situation used to look like before. The dining room felt a little like a hallway here (the big piano didn’t help!) and the kitchen was in its own room that lacked natural light.
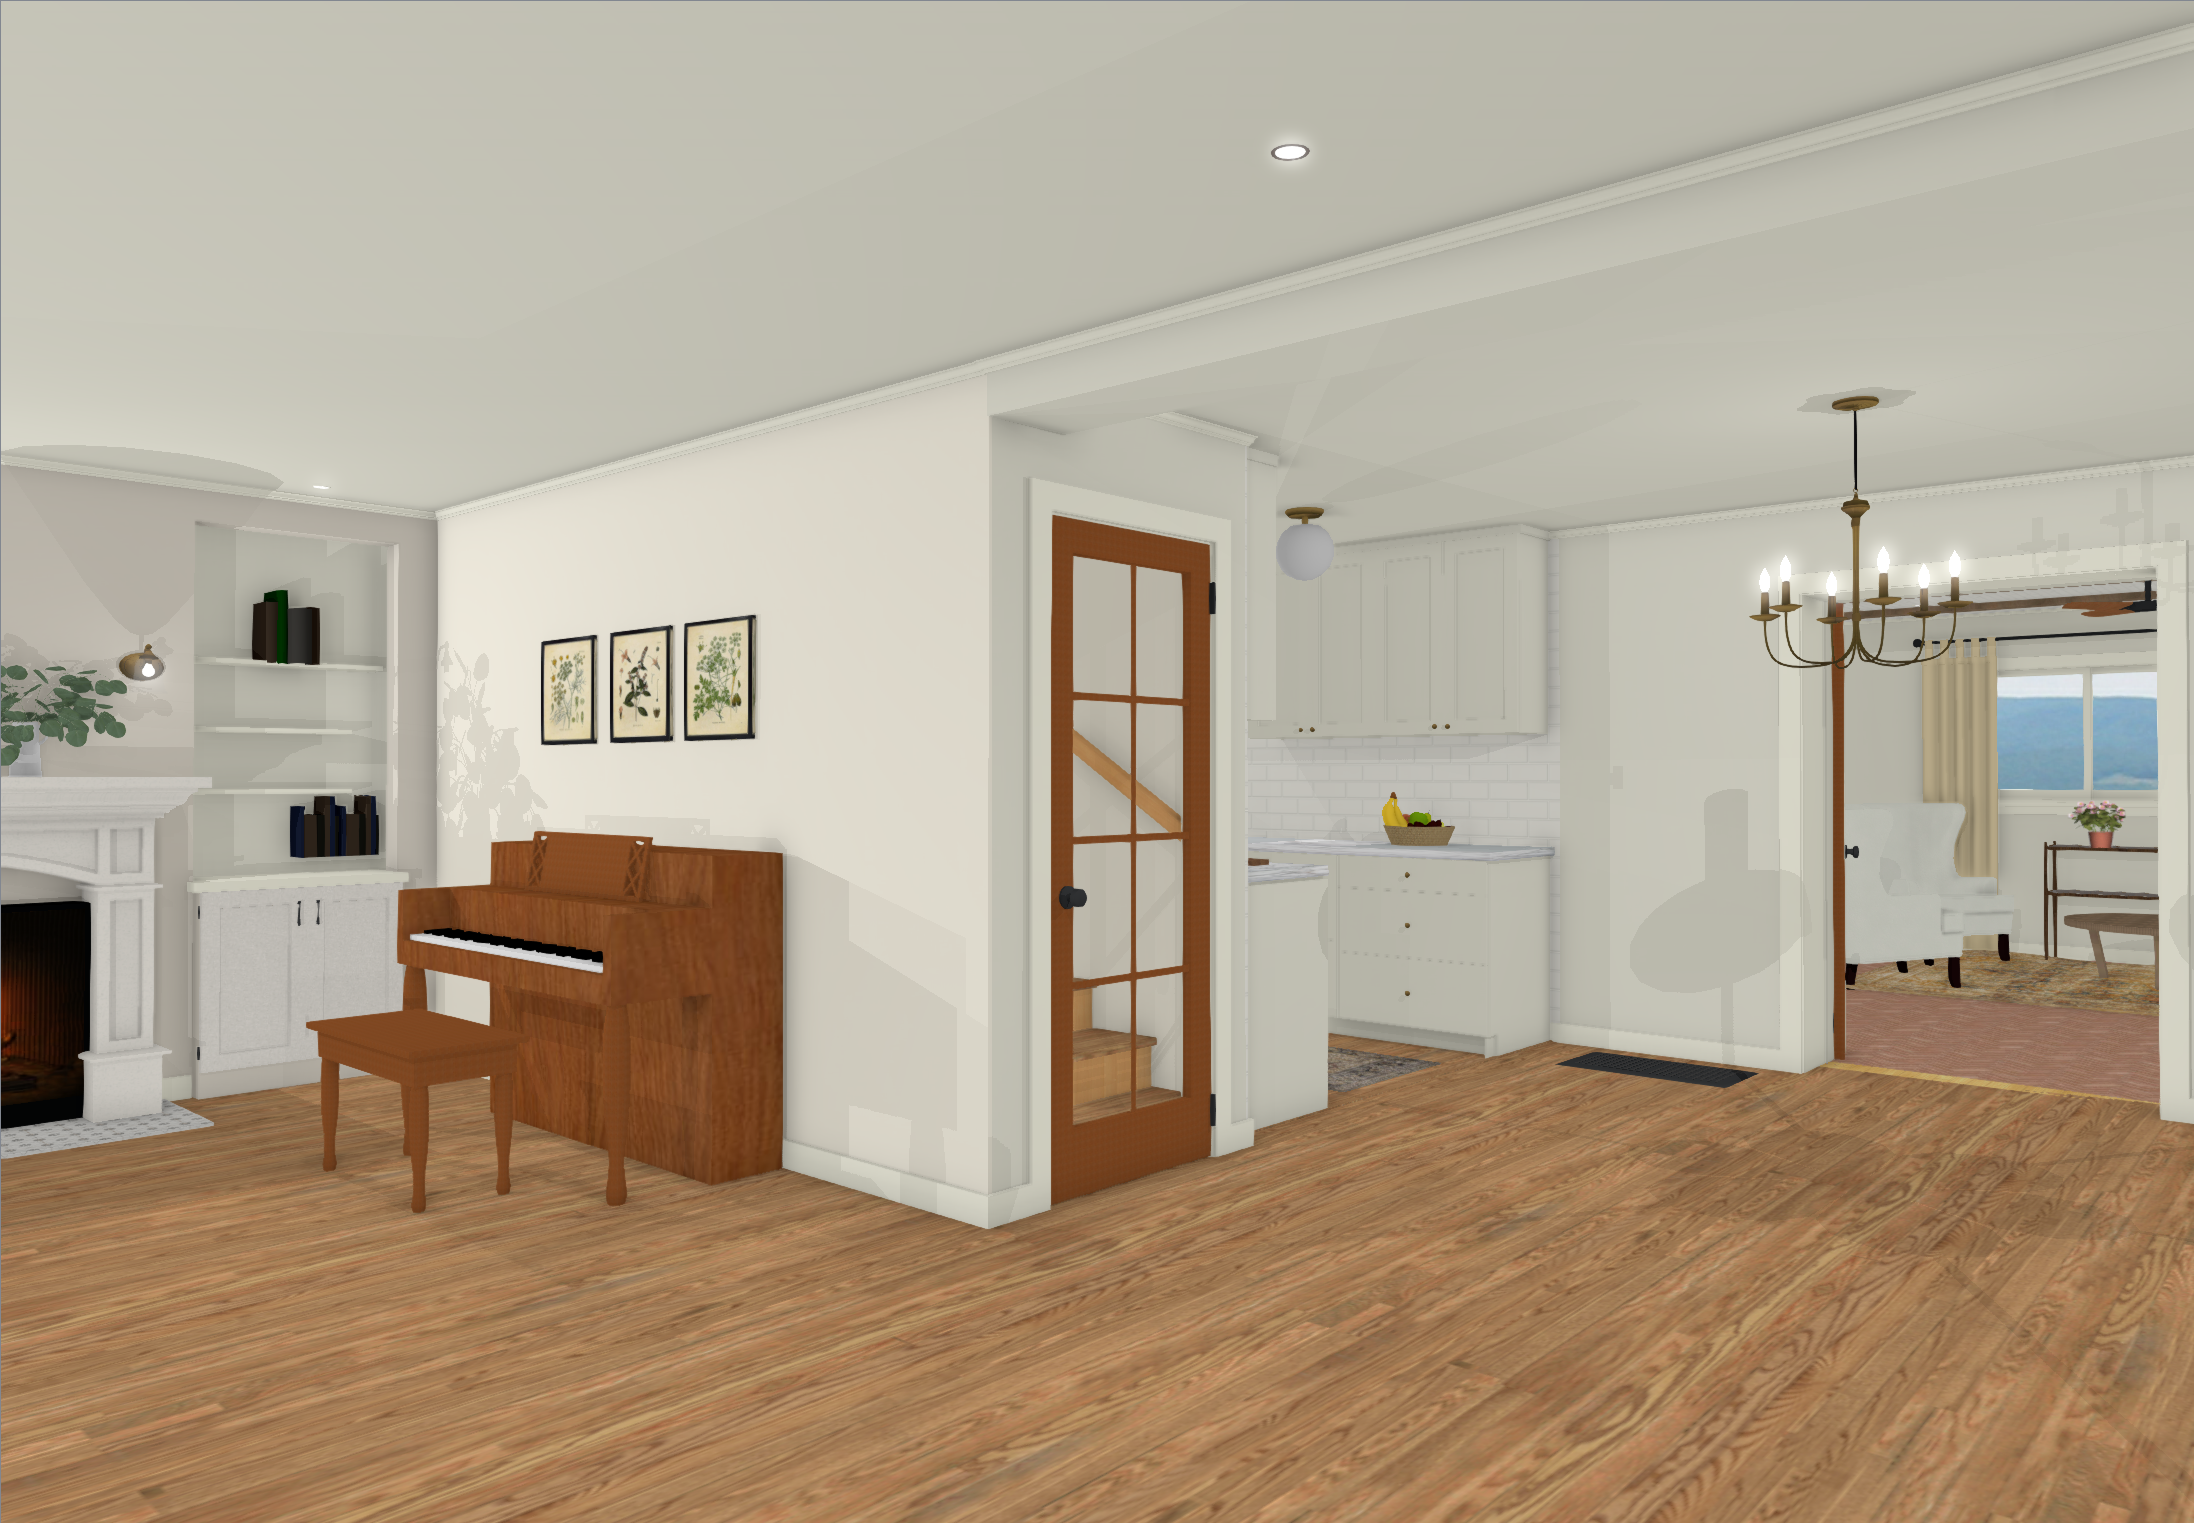
Here’s what it’ll look like with the wall opened up. It makes both rooms feel larger and brighter and less awkward.
DEMO
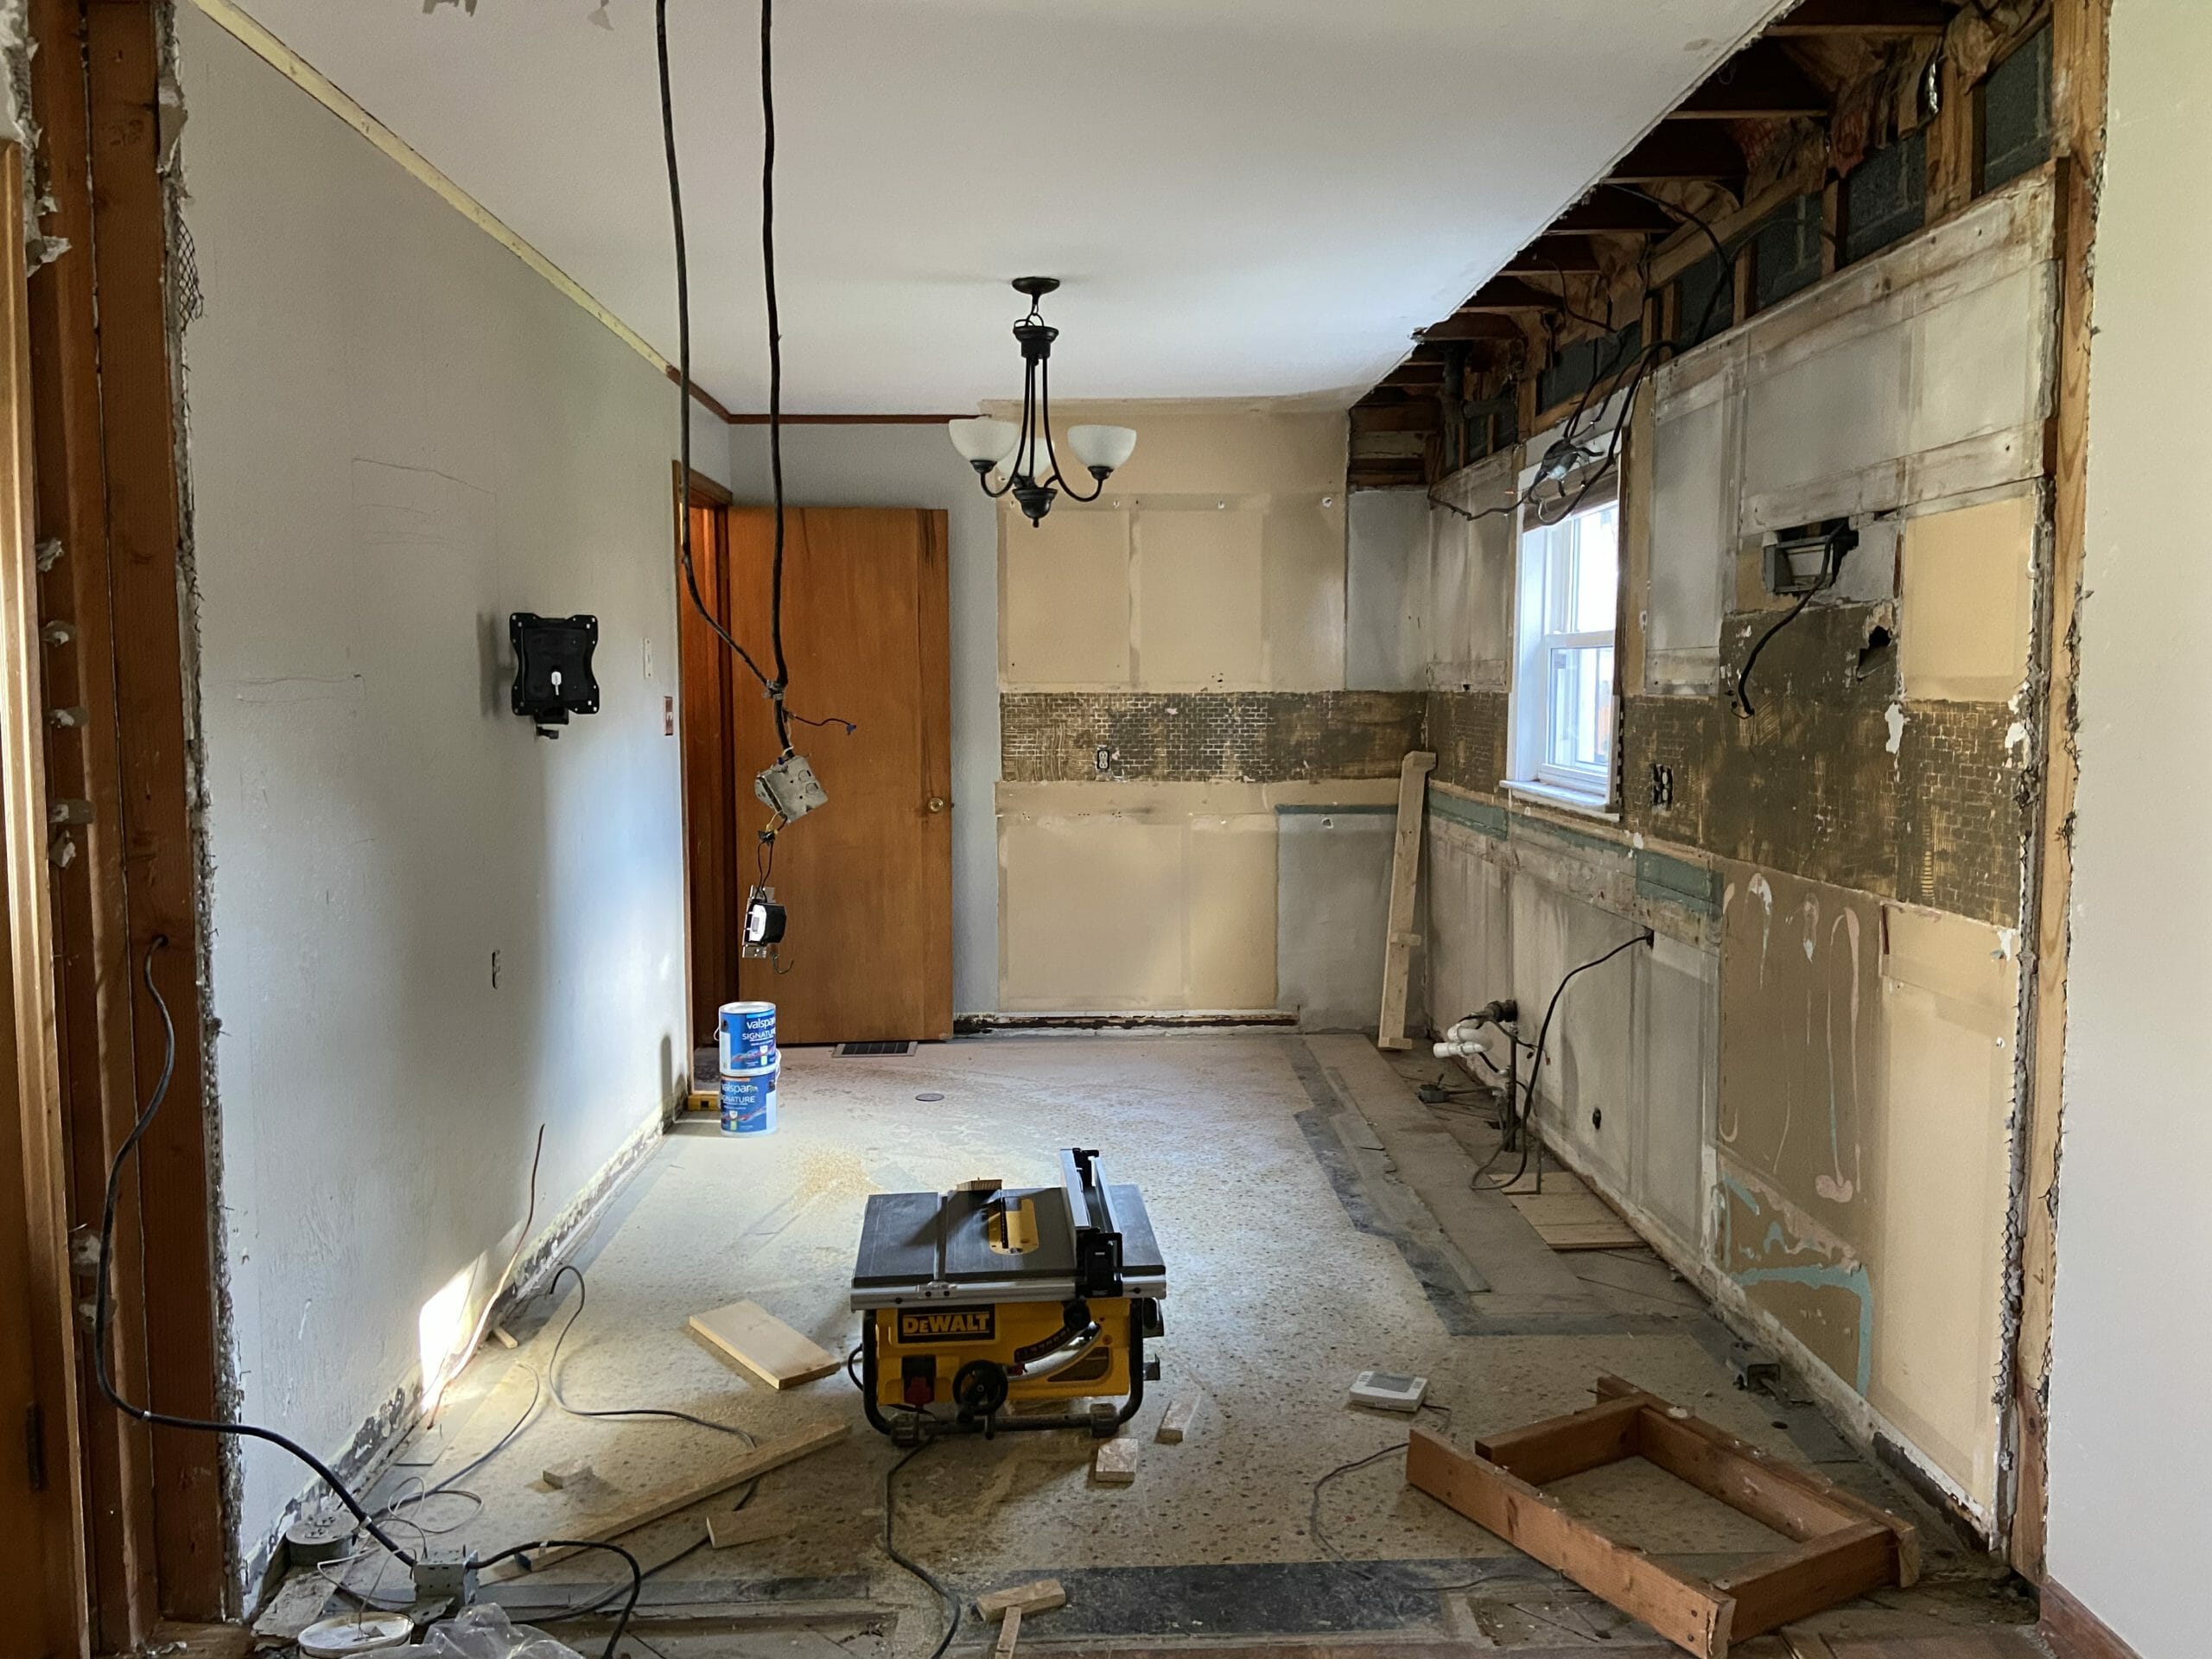
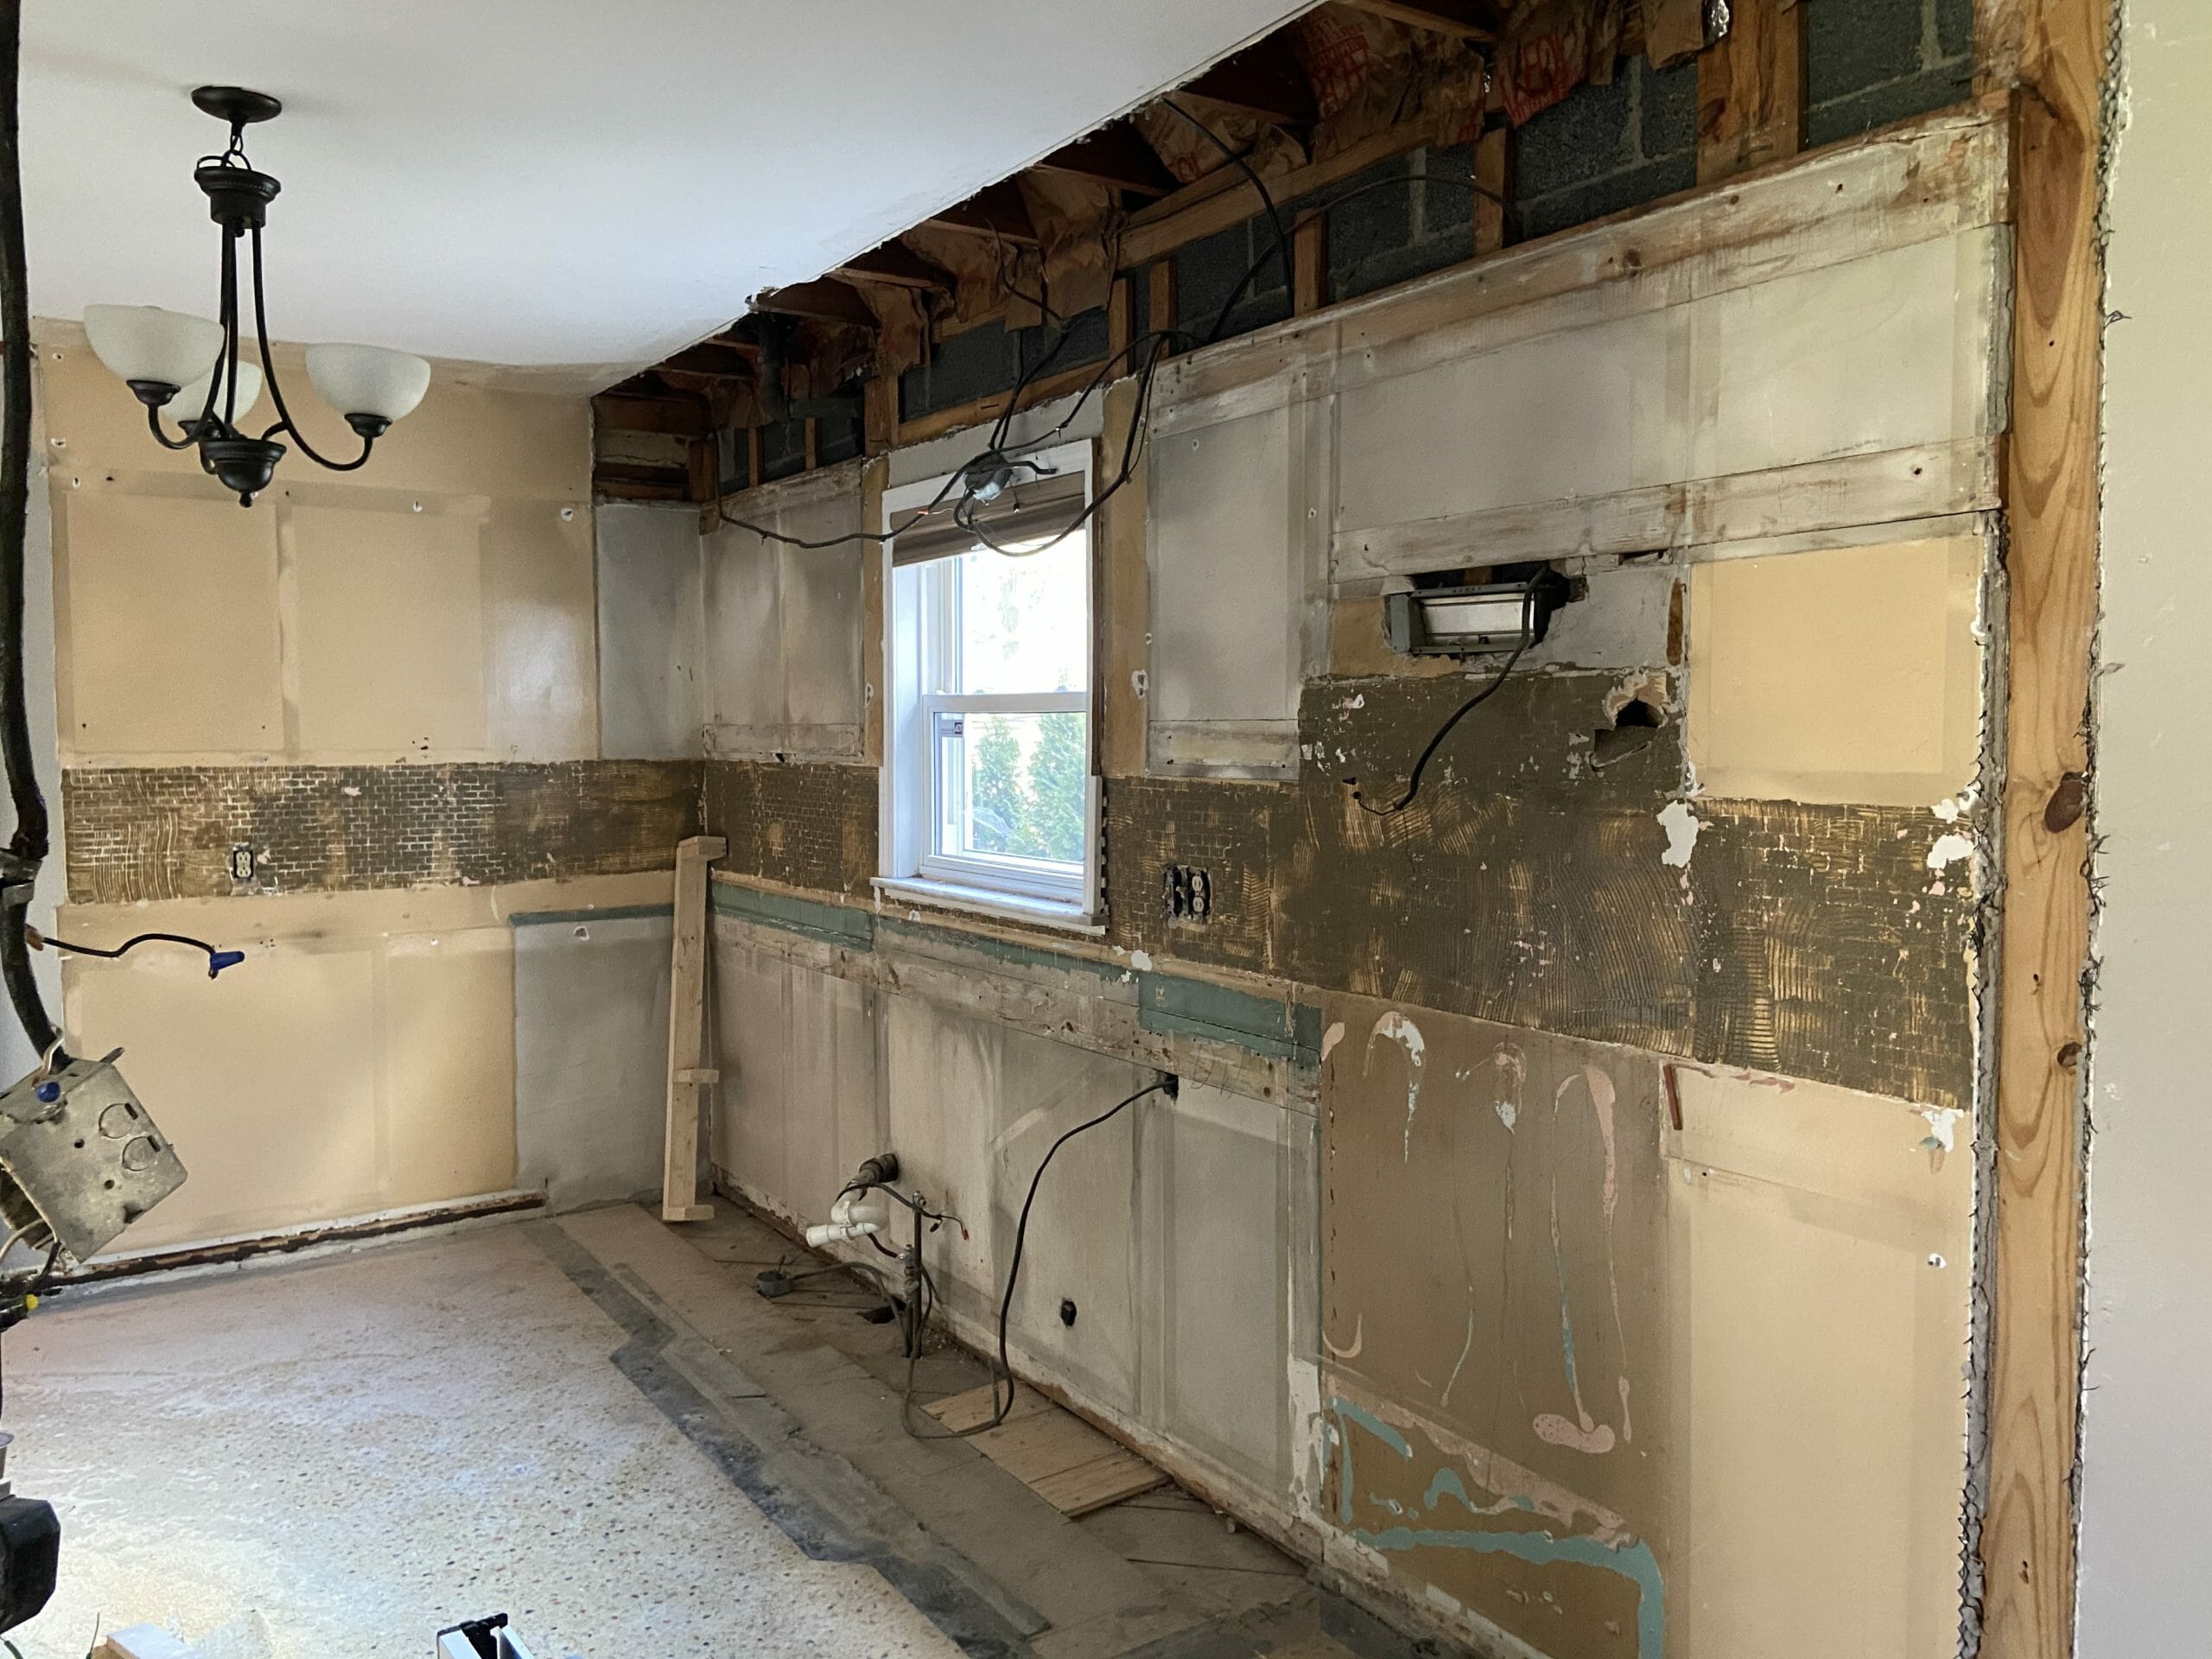
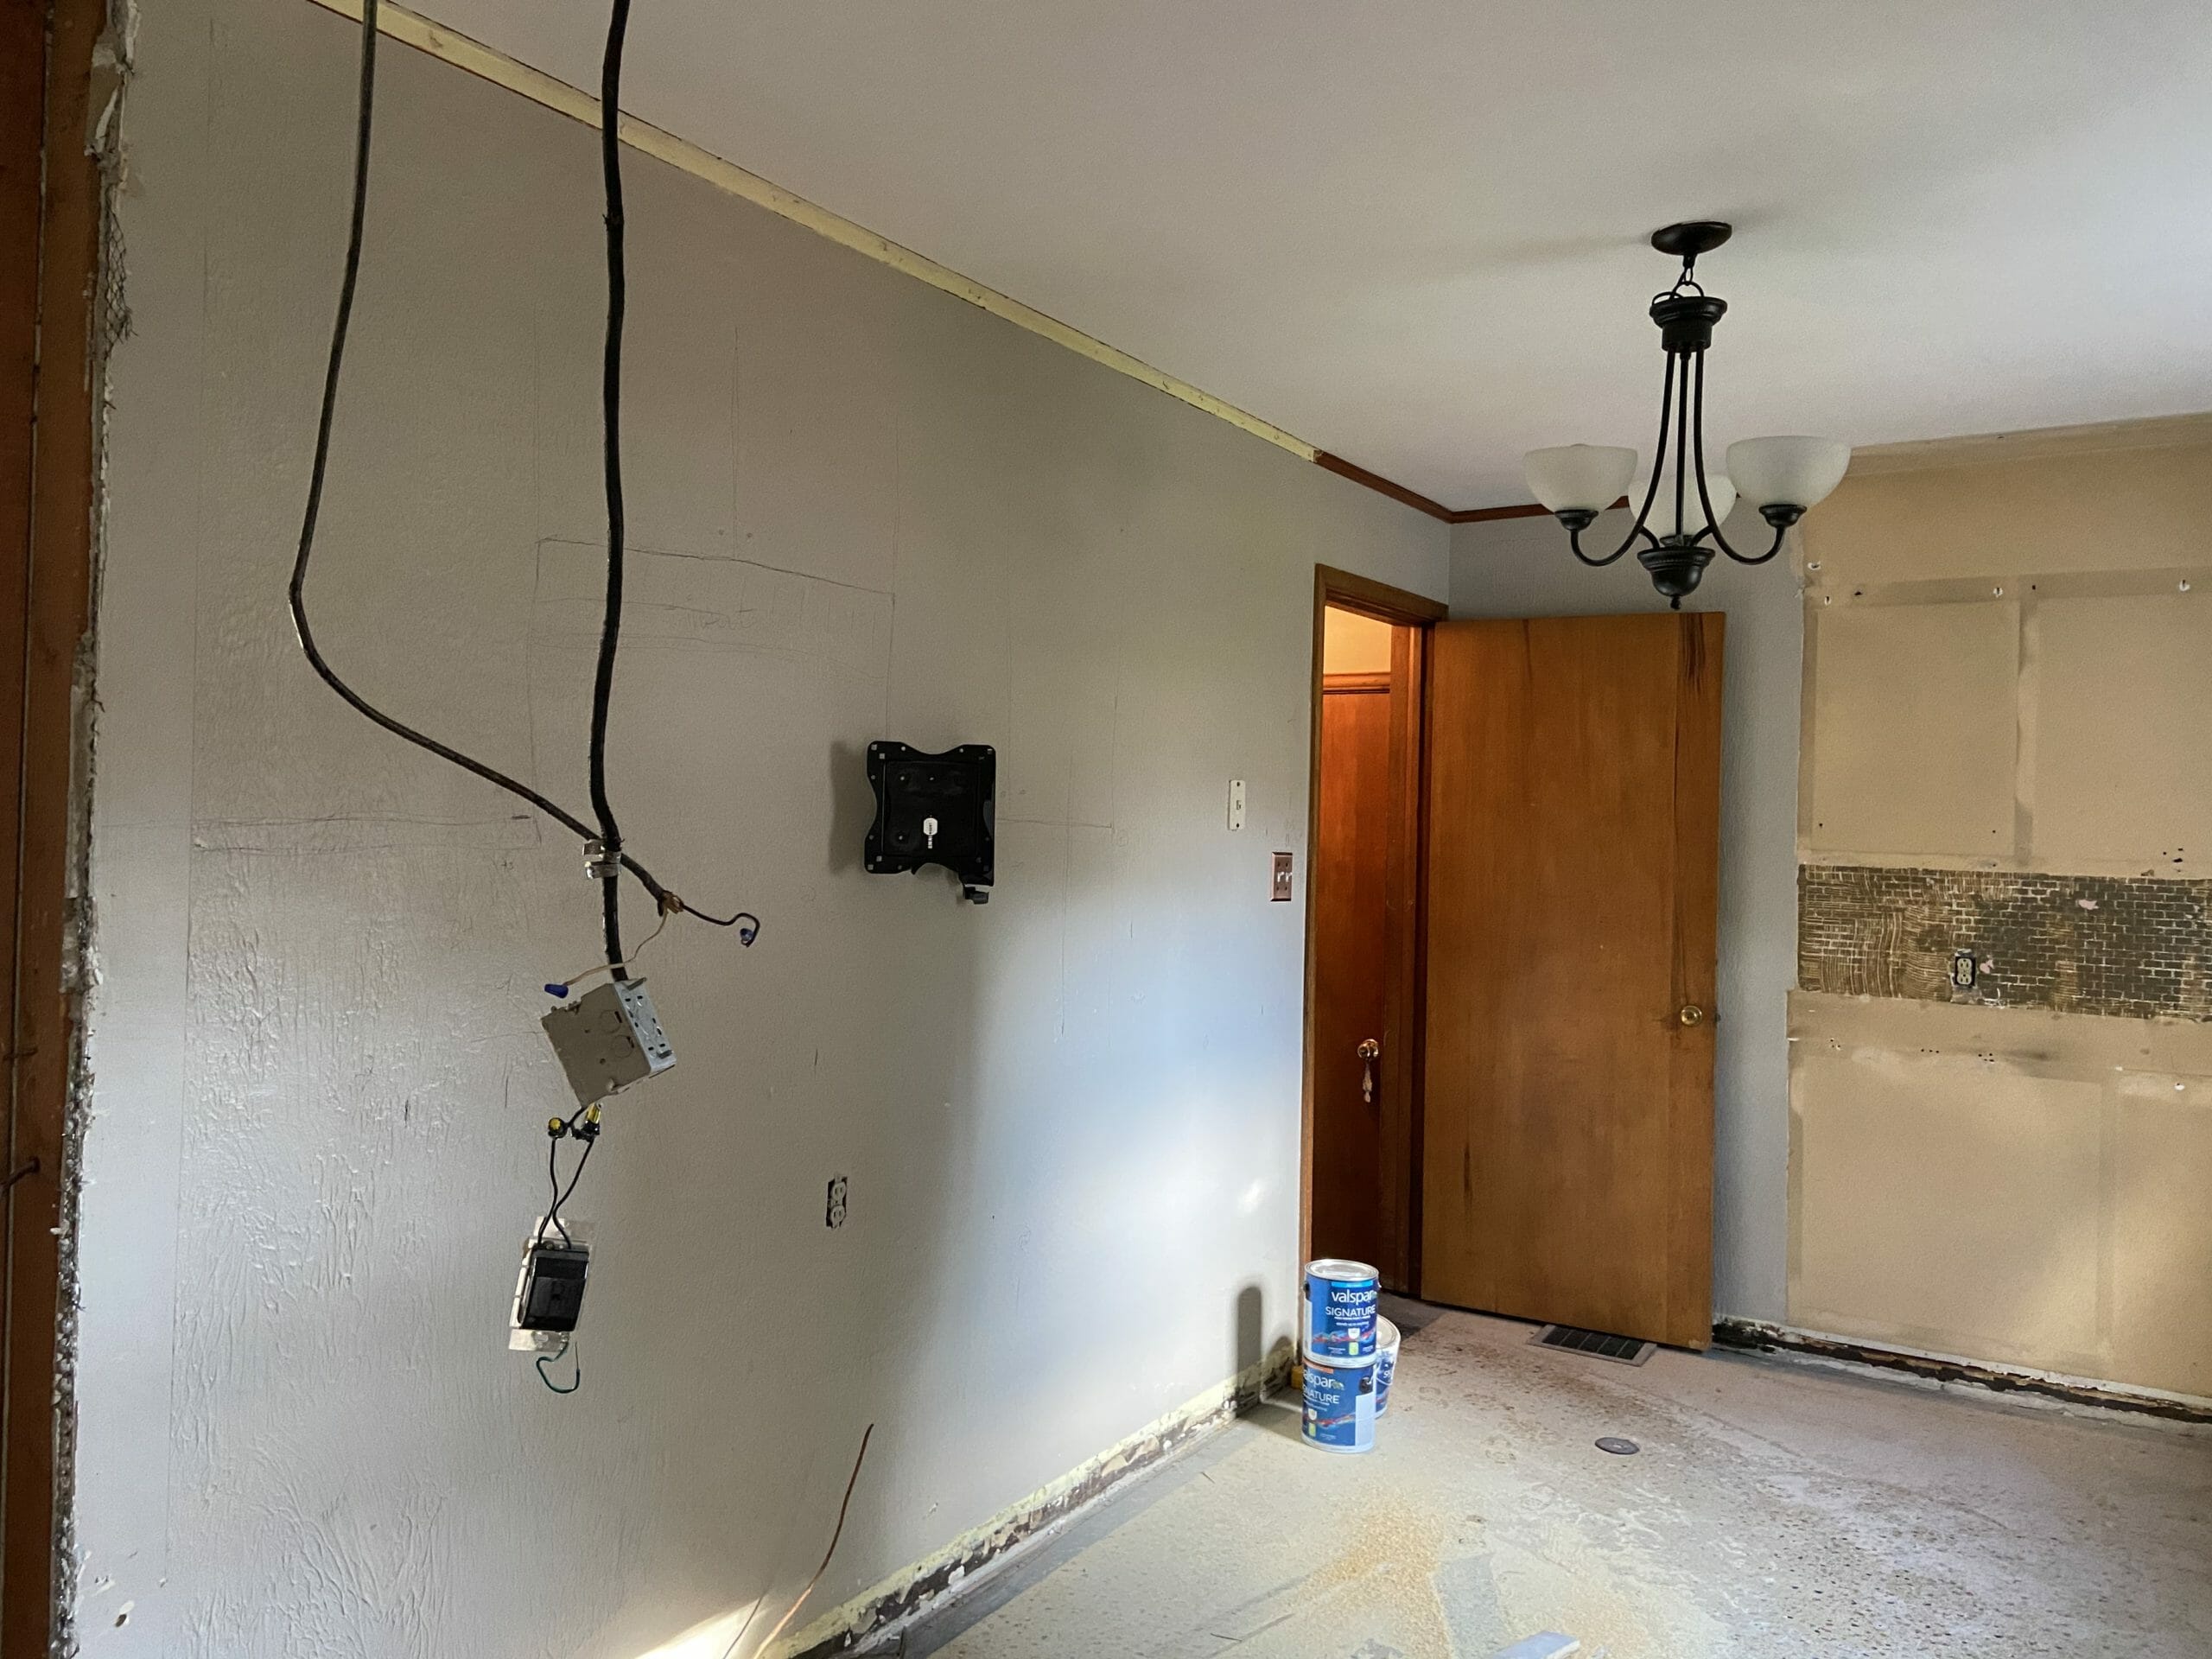
Looking better already, riiiiiight?
finish selection
We’re working on finalizing our mood board and a few other design details that we’ll share in next week’s post. So far, we’ve placed the cabinet order at Lowe’s and ordered flooring. Want a peek?
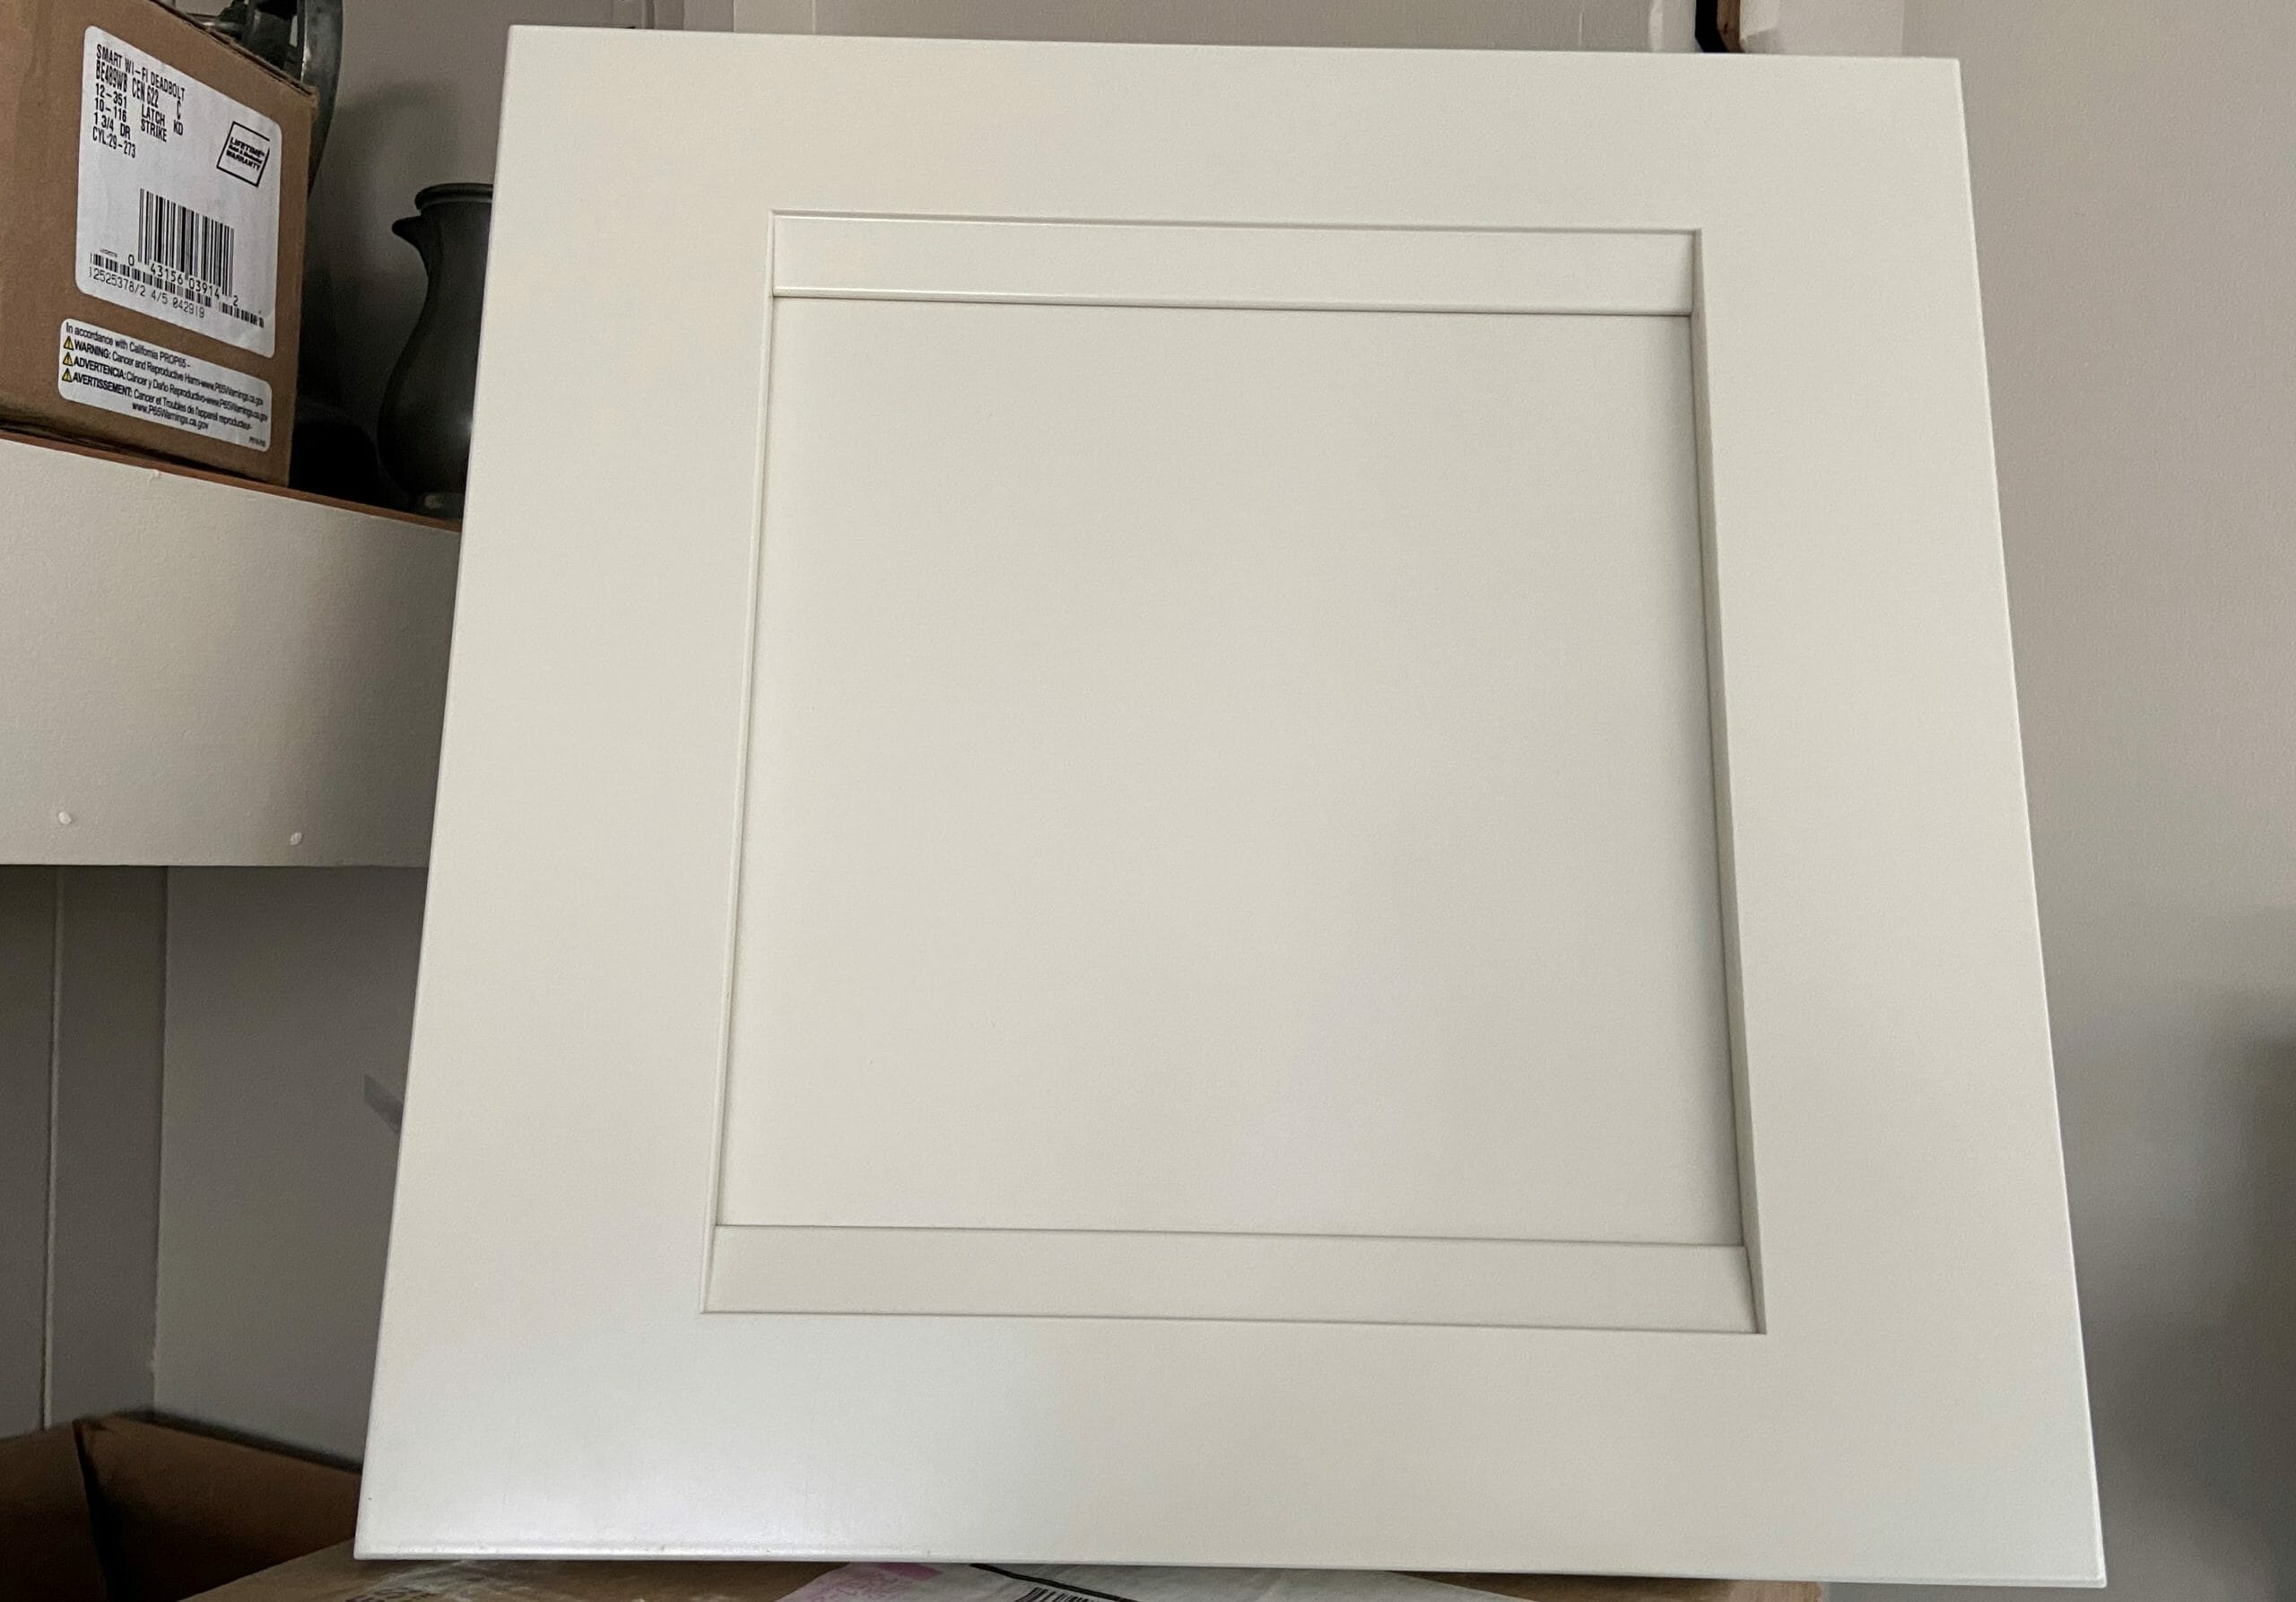
Lowe’s was having one of their 30% off cabinetry sales (they have it periodically on custom cabinetry) so we were able to save $5k on the cabinet order. Huge savings! We chose Kraftmaid and the color we landed on is called Canvas. It’s a beautiful creamy white that’s not too yellowy, and most importantly, my parents love it.
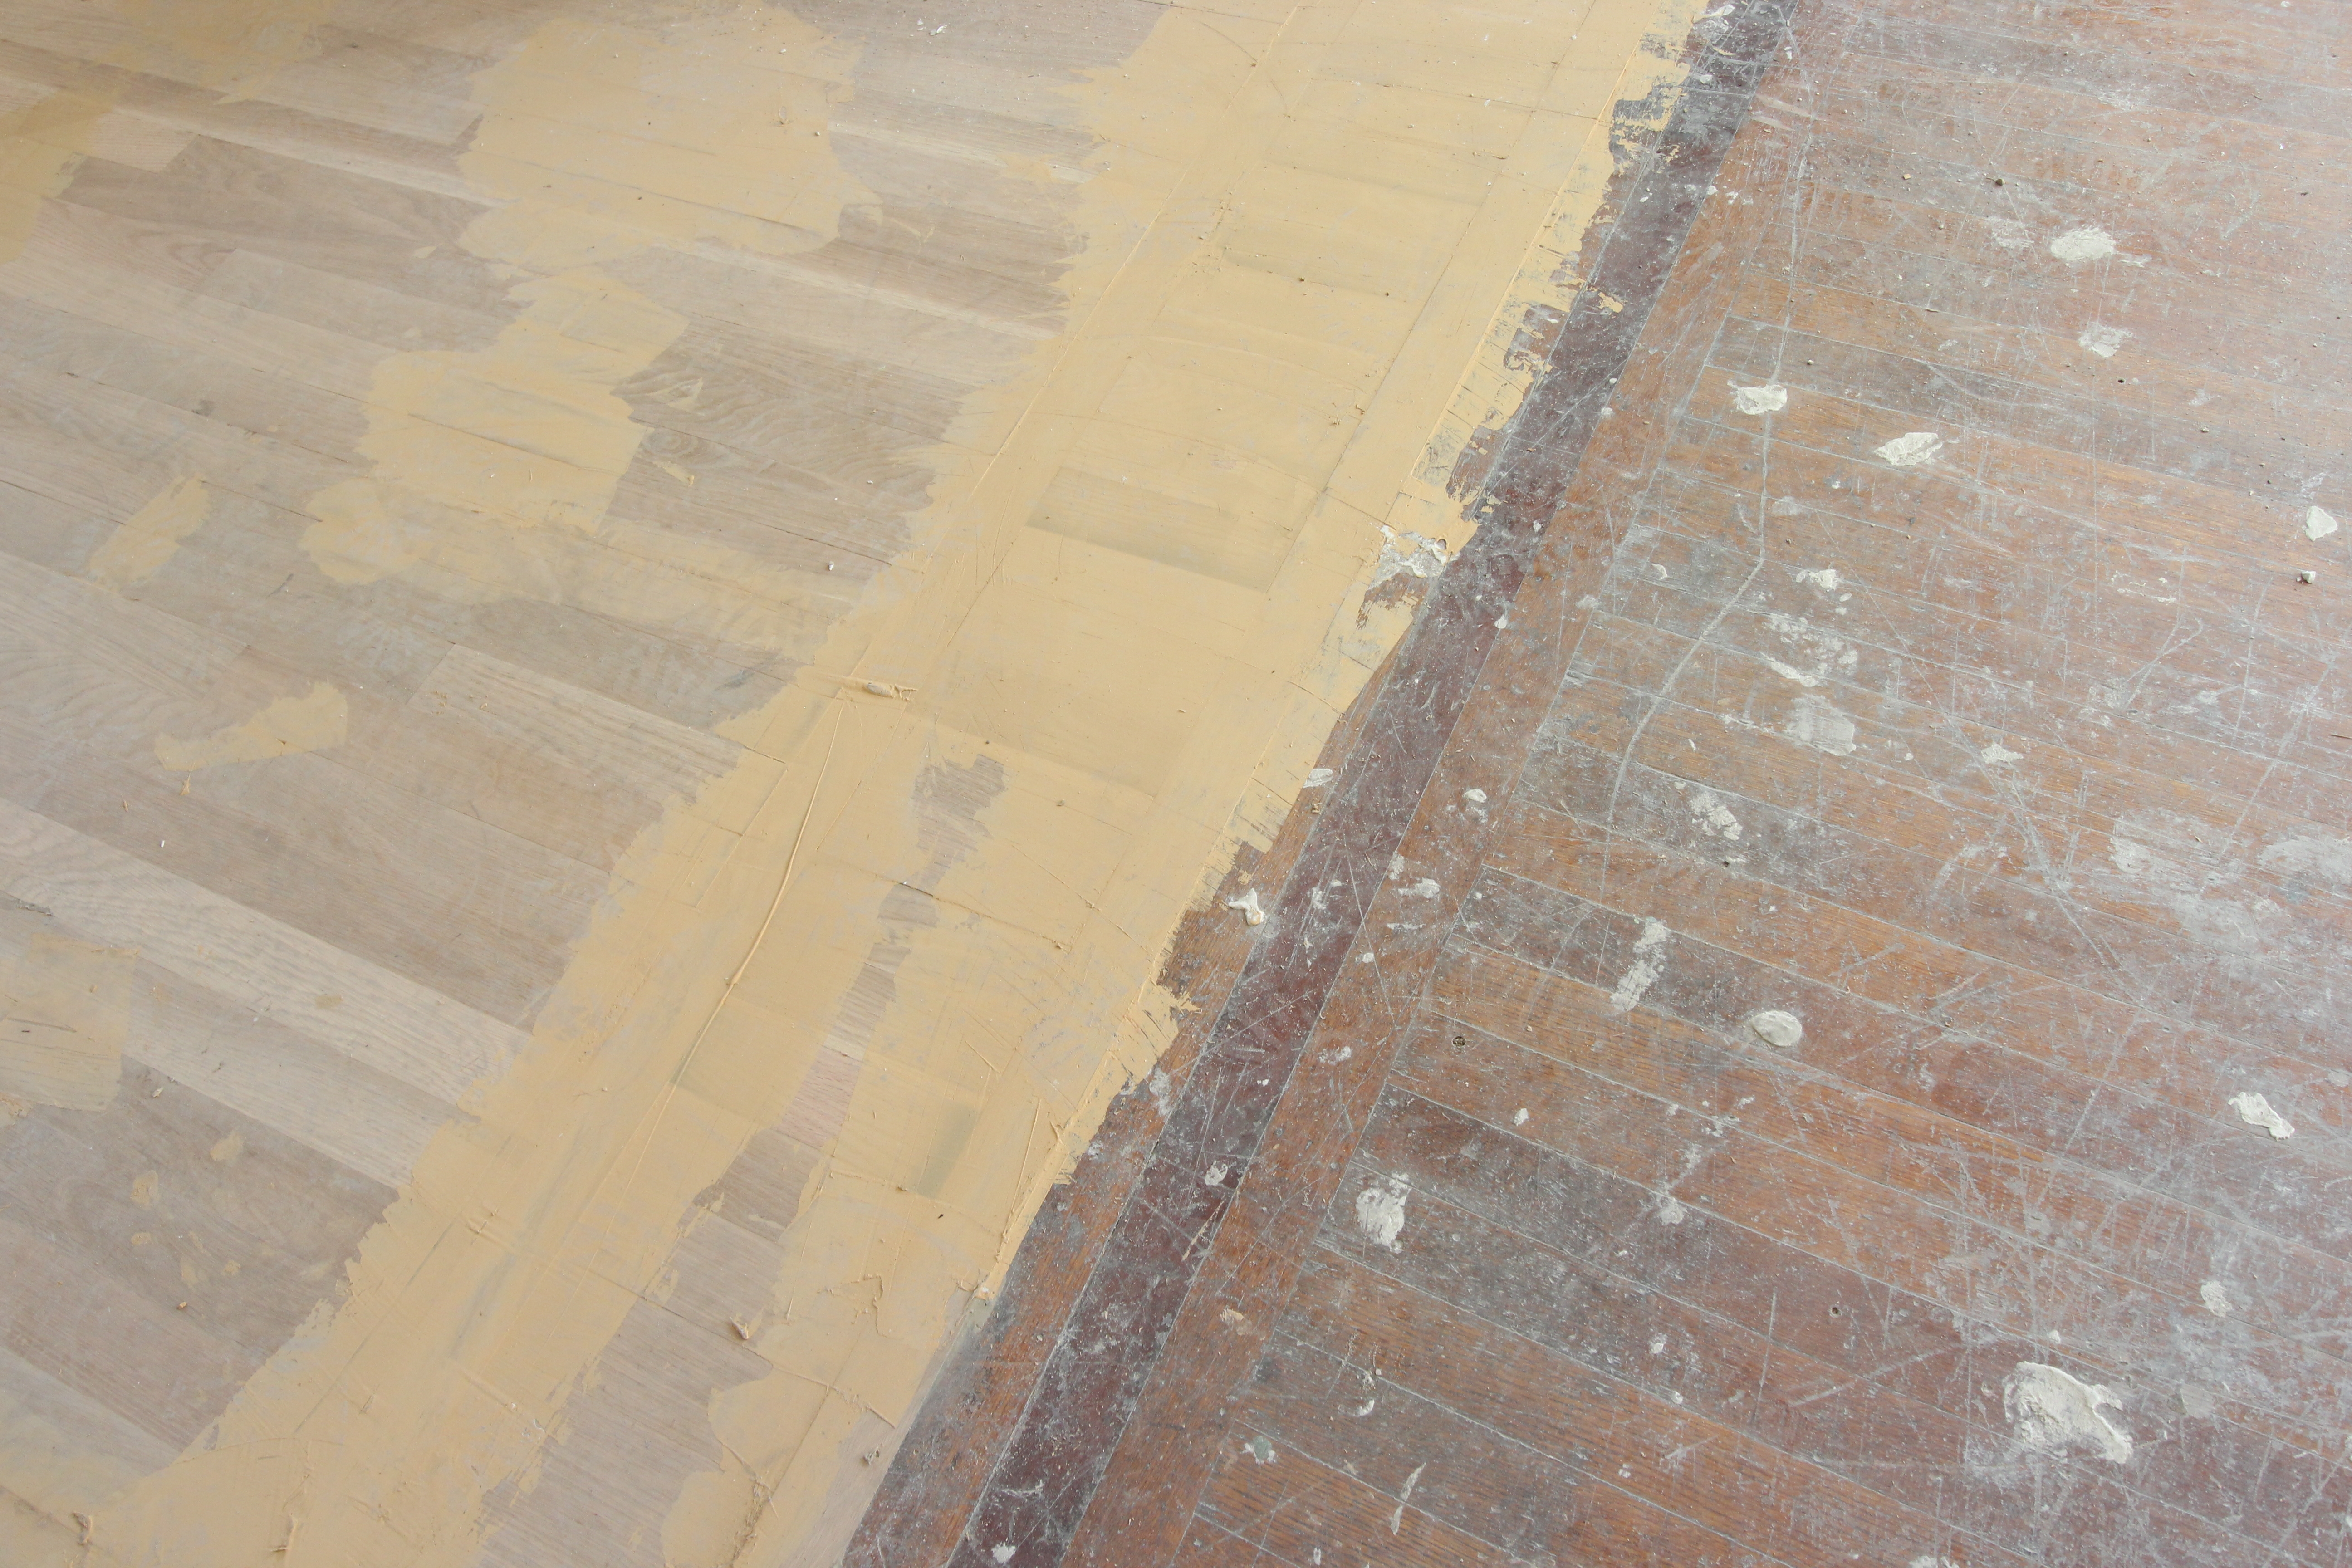
We also ordered unfinished red oak hardwood flooring for the kitchen, which is the same width as the original hardwood on the rest of the first floor. Our plan is to install the new unfinished hardwoods in the kitchen, and then refinish the entire first floor at the same time so both new and old have a uniform look. We did this at our home and no one can tell the difference!
What do you think of our plans? We’ll be back with more next week. Stay safe, everyone!
C&B
***
Want more info about planning a kitchen renovation? Check out our kitchen design blog series for more info:
I am sure whatever you do will be beautiful, but I strongly vote to add in the arch! Besides adding architectural interest like you mention wanting, it could also serve a practical purpose. It looks like with it totally opened up, you can see most everything from the front door. Adding the arch would allow a messy kitchen to keep the rest of the living spaces from feeling like a mess as well. The arch is too perfect to leave out! It looks like the other rooms being so open to each other allows for the light and openness you want!
Thank you so much for your comment, Danielle! The arch looks SO good in photos and I love your point about kitchen messes being contained. In this particular space, the size of the arch we’d be able to add wouldn’t be wide enough to let in enough light. My parents also loved the idea of being able to talk to each other while cooking/sitting in the dining room (my mom cooks every night). We don’t usually default to opening everything up, but in this case we all felt that doing so improves the feel & flow of both the kitchen and dining room the most. <3
Looks really good! Funny to me to see so many doors on the original kitchen and stairwell. Are you keeping a door at the other end of the kitchen? What was your thought process on having a door on the stairwell? Pet related?
Thanks Ann! The door at the other end of the kitchen leads to the garage, so we’re keeping that. We’re also planning on keeping the door on the stairwell — this is a cape cod and the 2nd floor is one big open space w/sloped ceilings.
If I read these photos properly you have nearly all drawers. I cannot say loudly enough how smart this is. Back in the day old Martha Stewart did this and I became a believer. As I age ( and I am probably older than your mom ) I find this to be even more important. Space design is great. Sink/oven/refrigerator relationship is great. Right hand dishwasher load. Lighting. I am assuming undercabinet lighting. Rheostats. Mostly tie mo miss as close to the action as possible. Dad might sit in the dining room and enjoy he action. Or cook?? The clean look. The Kraftmaid cabinets. It looks so fantastic and is classic. I hope to see your daughter standing on a step stool making cookies with your mom. Soon. Great job.
Thanks so much, Chris!
This kitchen will be lovely! In the design layout I didn’t see any lights on the stove side of the room. Perhaps I just missed them or perhaps they will be in the hood? As an older person I need good lighting over every work space to see properly.
Thank you! Yes, the hood will have lighting and there will be undercabinet lighting to illuminate the countertops on both sides.
I love your idea to turn it into a galley kitchen. For perspective, can you tell us the dimensions of the kitchen area?
Can’t wait to follow your progress thru the kitchen as well as the rest of the house. You guys are so creative when it comes to spaces that can be small or awkward.
Thanks Wendy! The kitchen space is about 8′ wide x 13.5′ long.
Thank you very much for providing the valuable information.
[…] Here’s a quick reminder of what the kitchen looked like when my parents bought White Cape Cottage. We wrote a separate post explaining all of our design plans, budget, and layout changes — if you missed it, click here to catch up. […]