

This post is sponsored by Valspar.
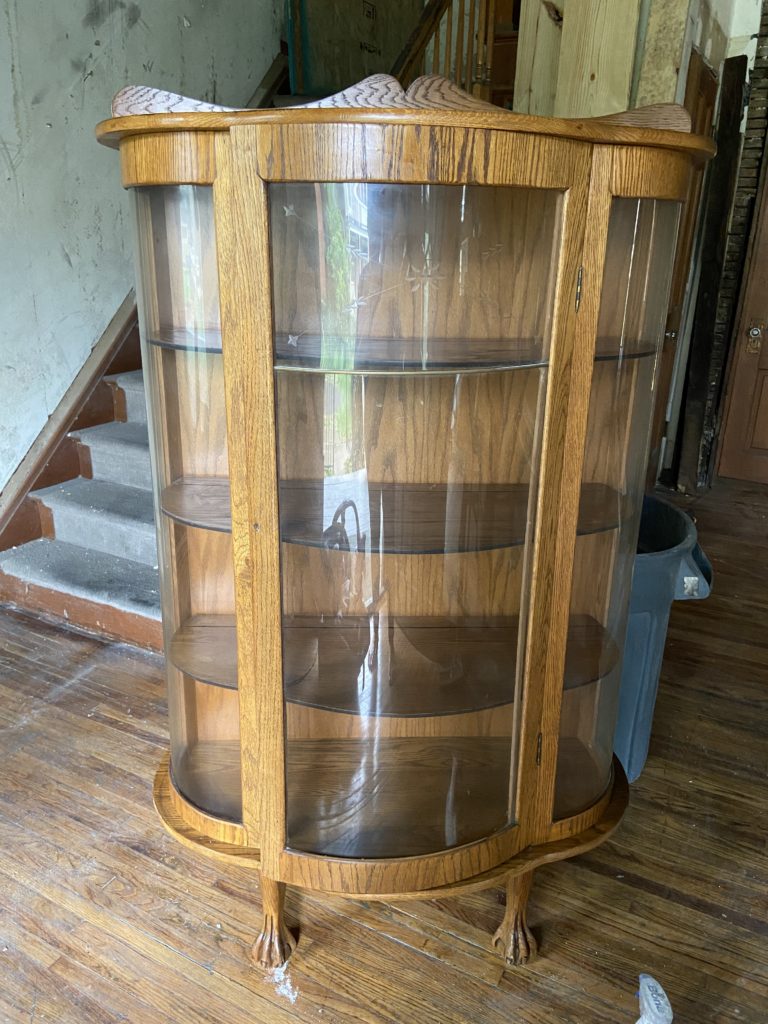
When we bought The Harrison House Bed & Breakfast earlier this year, it was filled with lots of old furniture and décor that needed a new home. We had an estate sale to help clear everything out, but tagged a few pieces we didn’t want to sell. The wood Demilune cabinet in the hallway was one of them (hi, Bryan!).
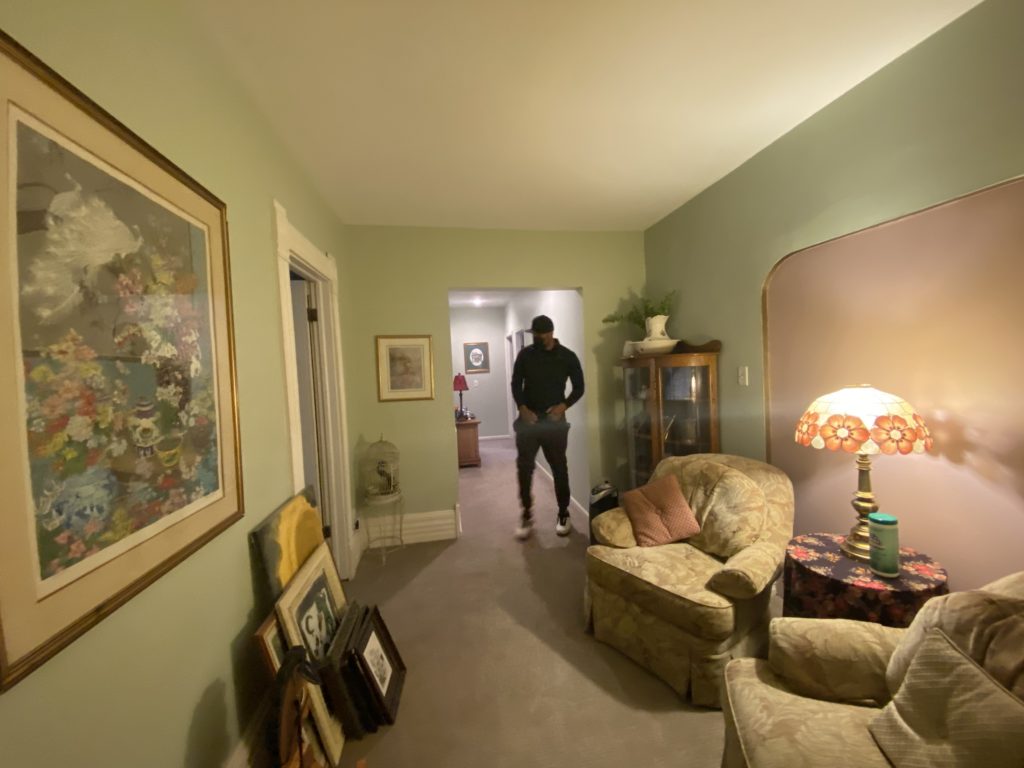
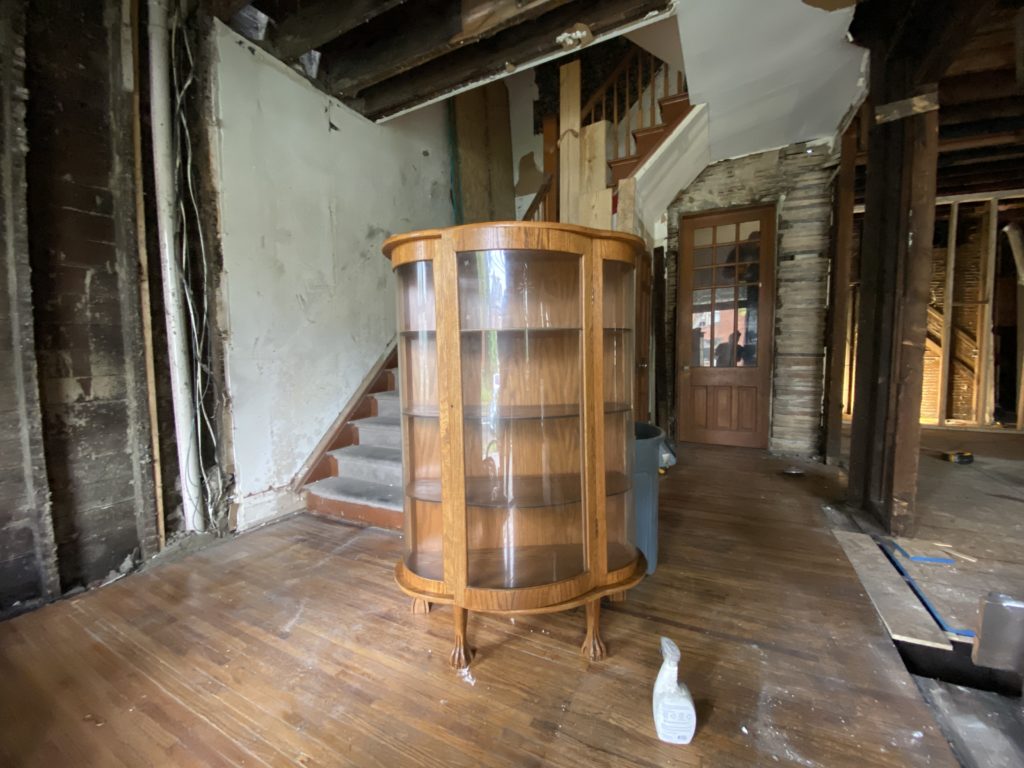
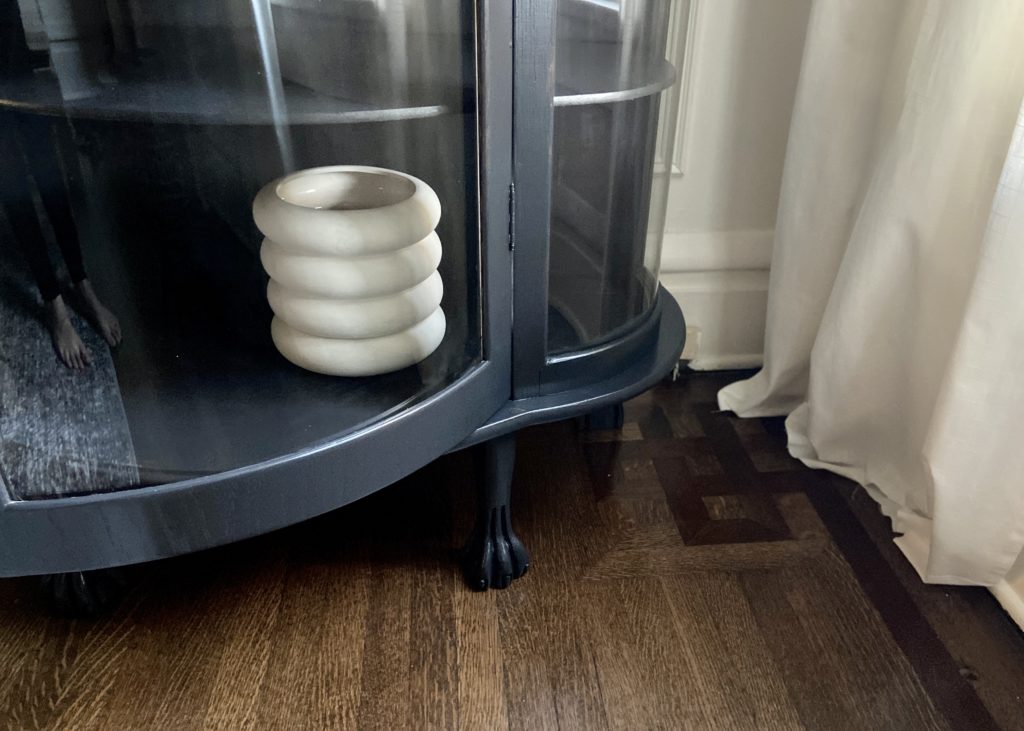
Although I didn’t like the wood tone of the cabinet, I liked the form and knew it could be a great candidate for a good ol’ paint job. Painting old wood furniture is a sticky subject, I know — but this piece actually doesn’t appear to be that old. And after taking a closer look at it, the shelves and back were actually a laminate material, which sealed the deal for me. Paint was imminent!
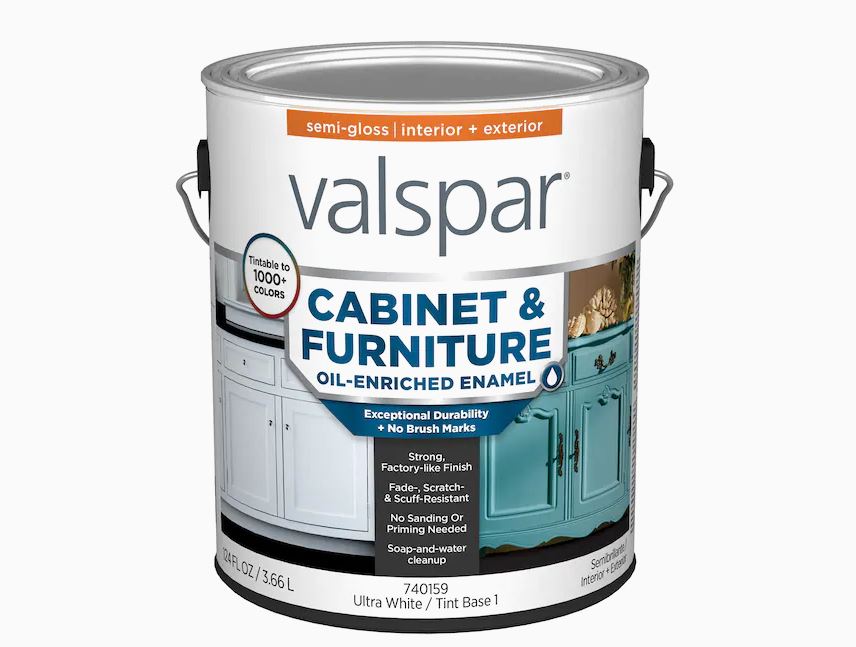
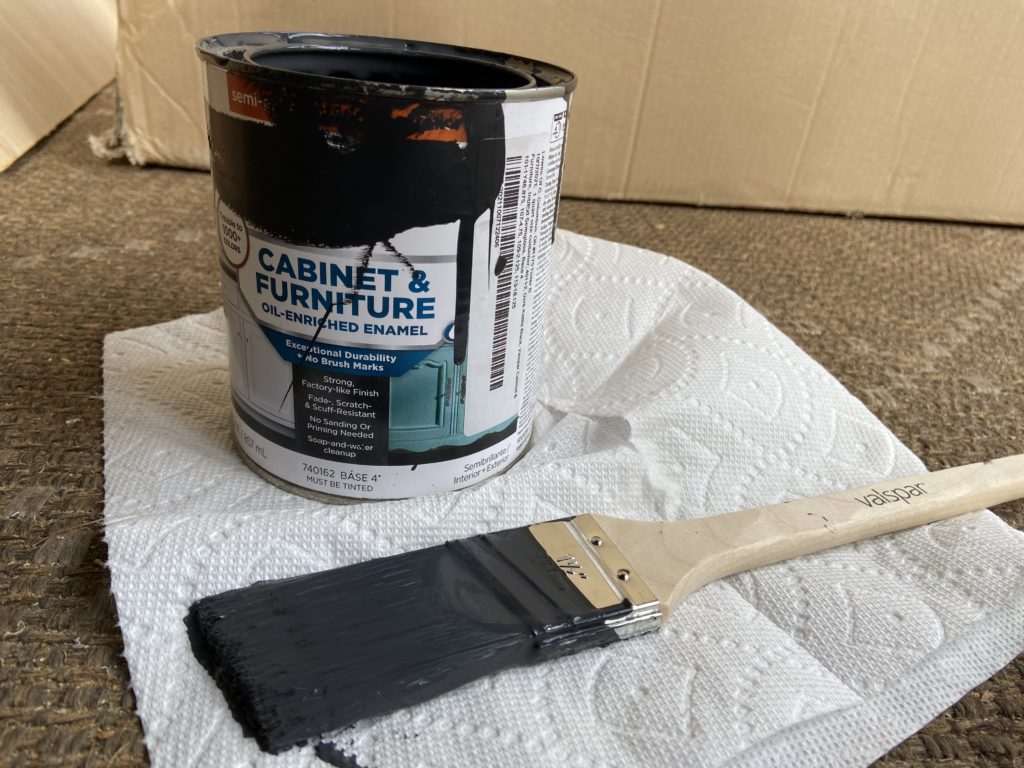
Valspar has a Cabinet & Furniture Paint product that’s meant for this exact type of project. The big benefit is that the paint hardens to a smooth, factory-like finish. The brush marks kind of fade away so it looks like it’s sprayed. It’s an oil-enriched enamel, so it does take longer to dry, but this was worth it to get the smooth finish I was looking for.
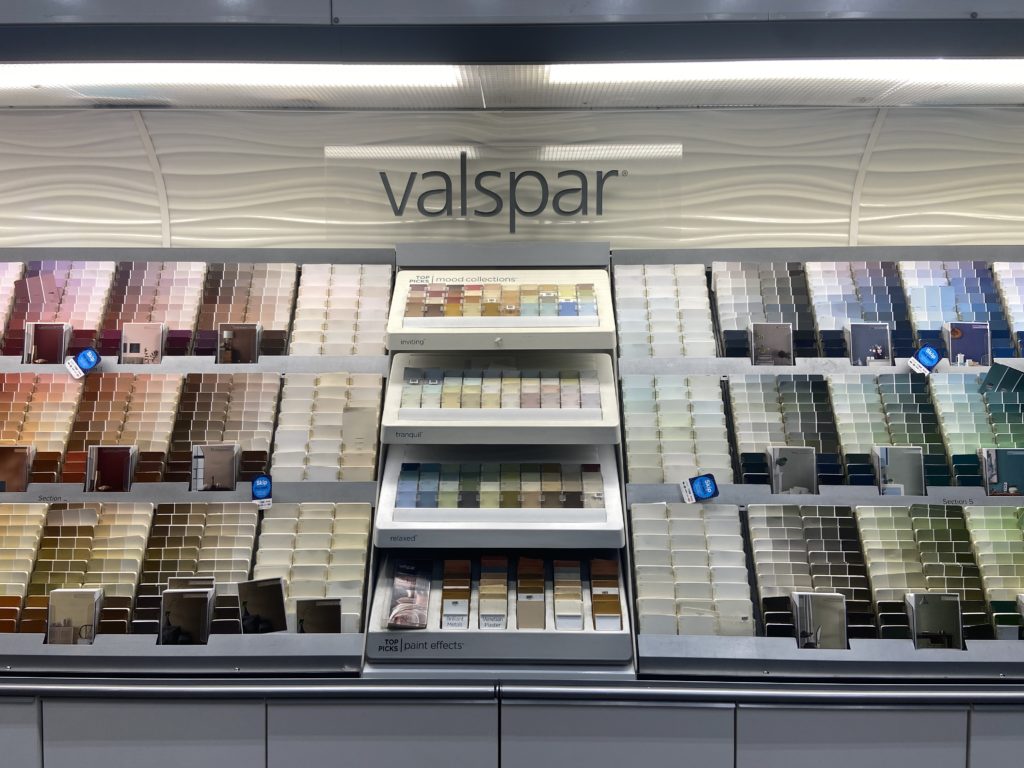
I knew I wanted to go dark — there’s just something about a coat of black paint that instantly modernizes and freshens and adds a little edge. Valspar New Black (4011-1) was the winner!
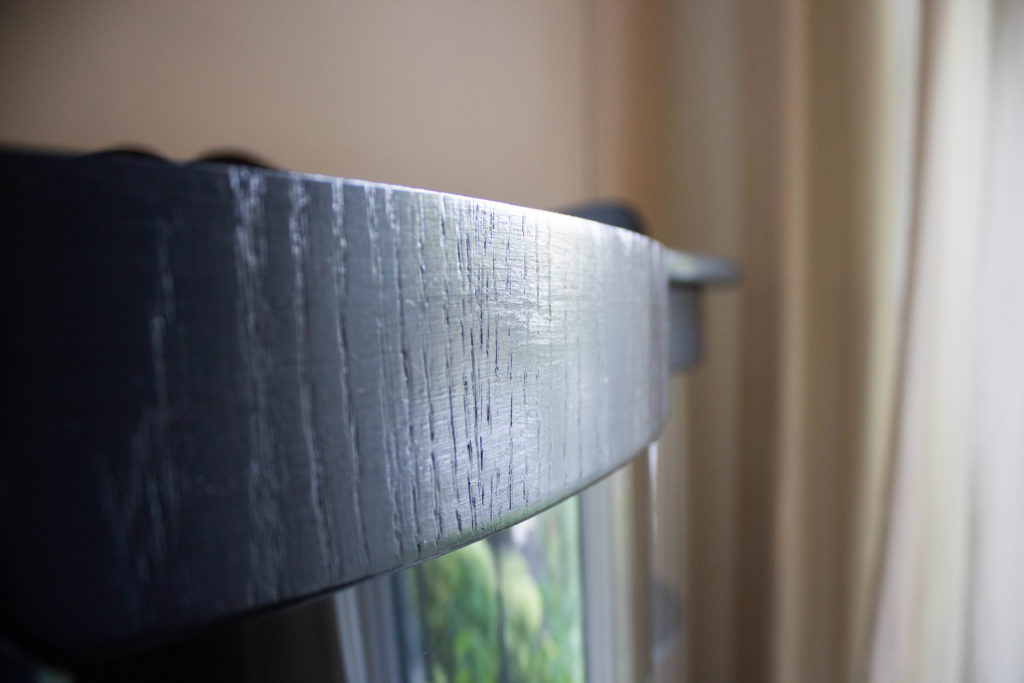
Before getting started, I followed the prep instructions on the can and cleaned the piece with soap & water. This is what the shelves looked like after 1 heavy coat of paint.
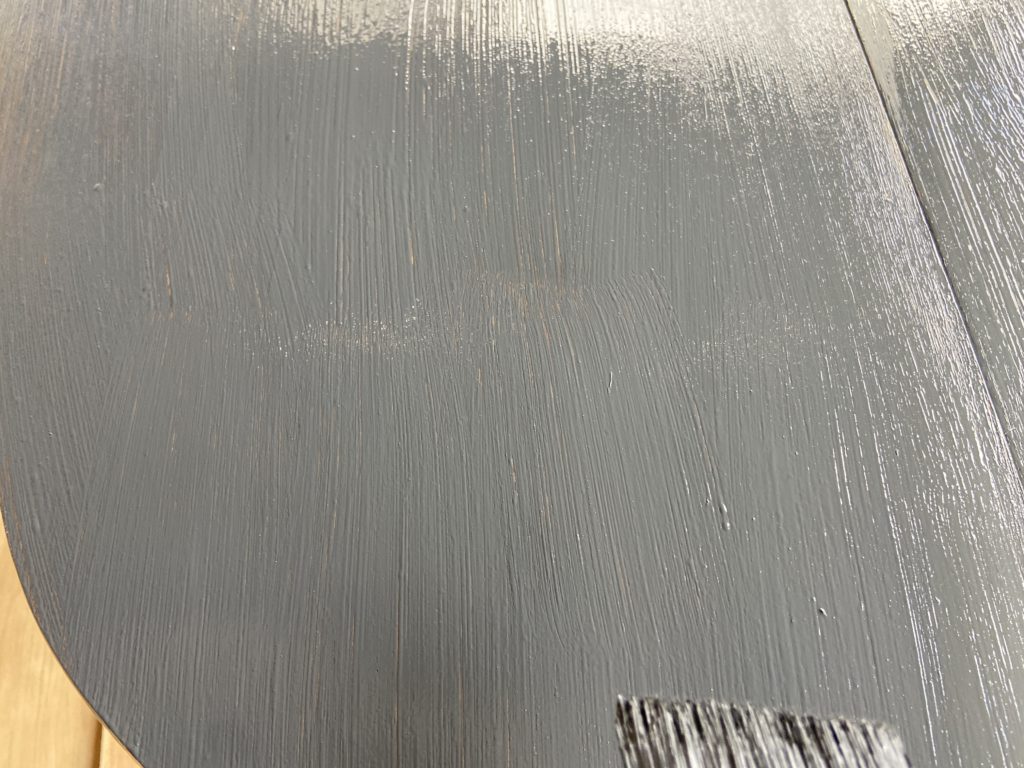
And here’s how it looks as it’s starting to dry.
This is what the shelves looked like right when I finished painting them…
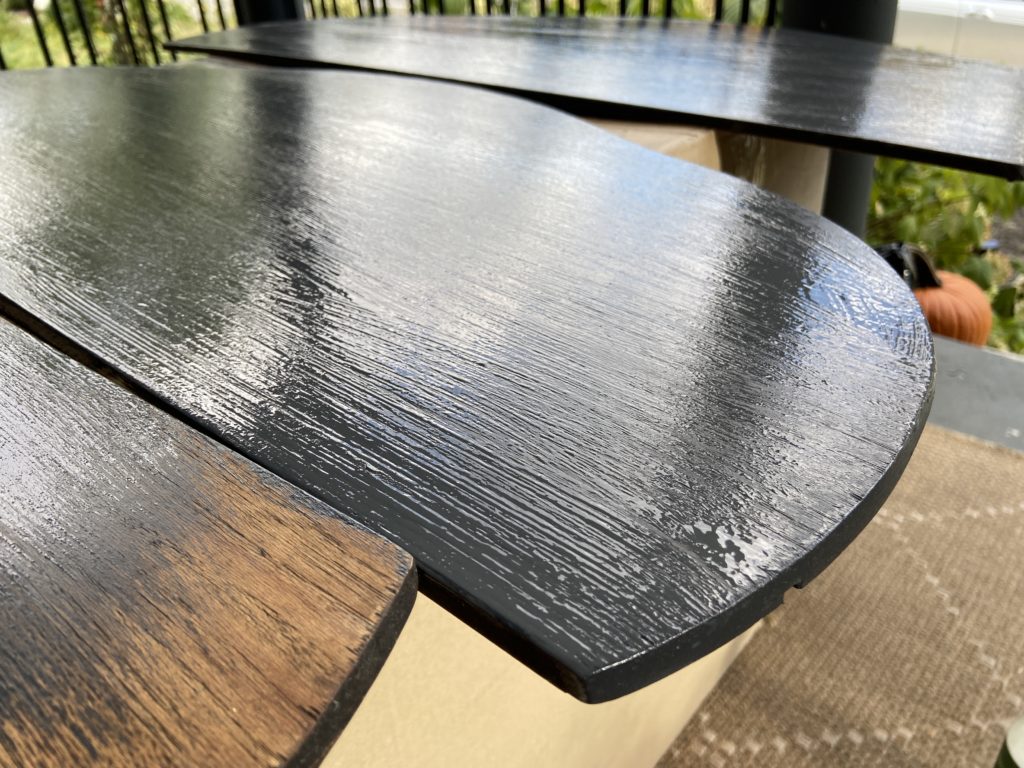
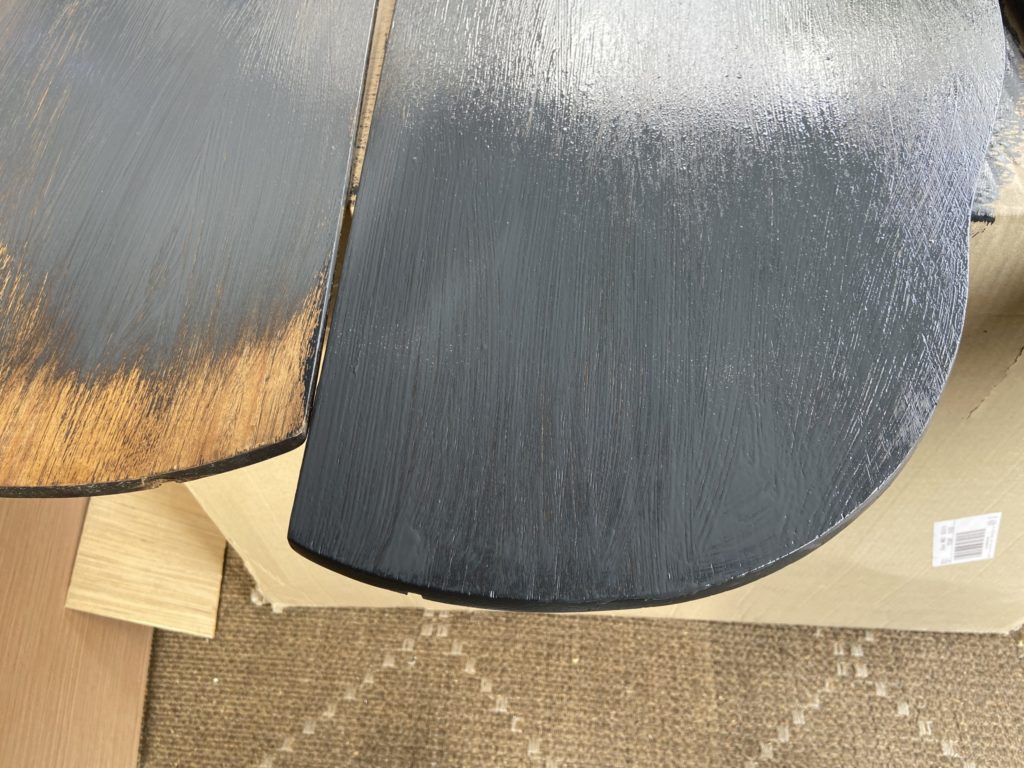
And this is what they looked like about an hour later (full dry time is 4 hours to the touch, 8-12 hours before recoating. No brush marks in sight!! Pretty awesome.

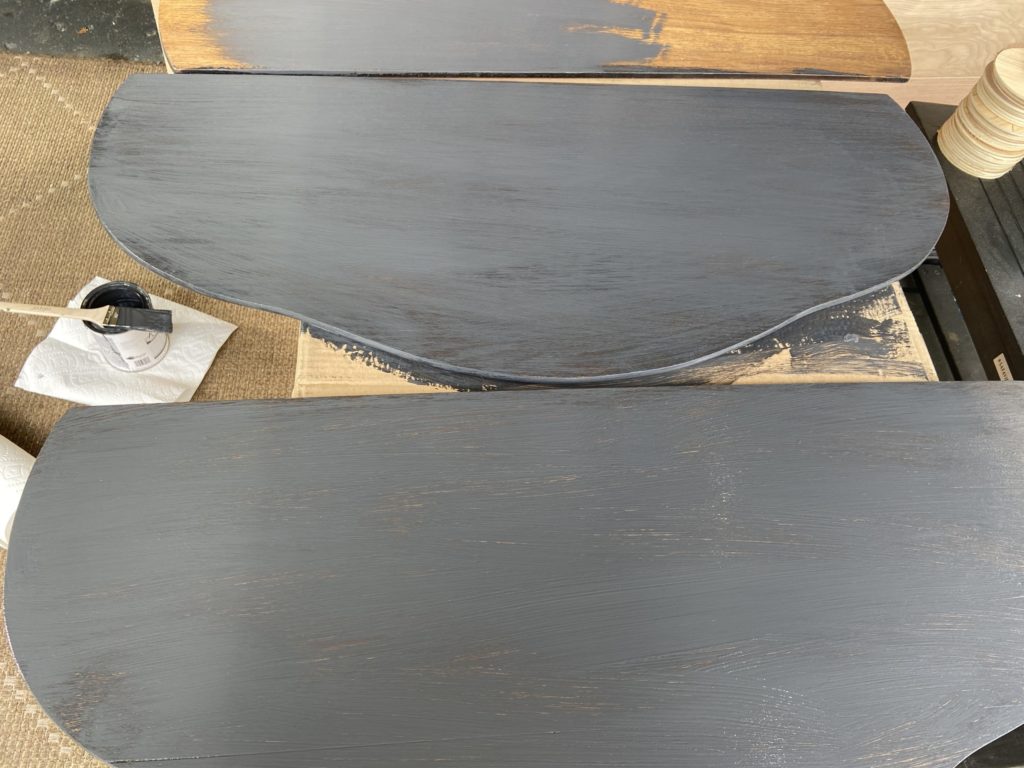
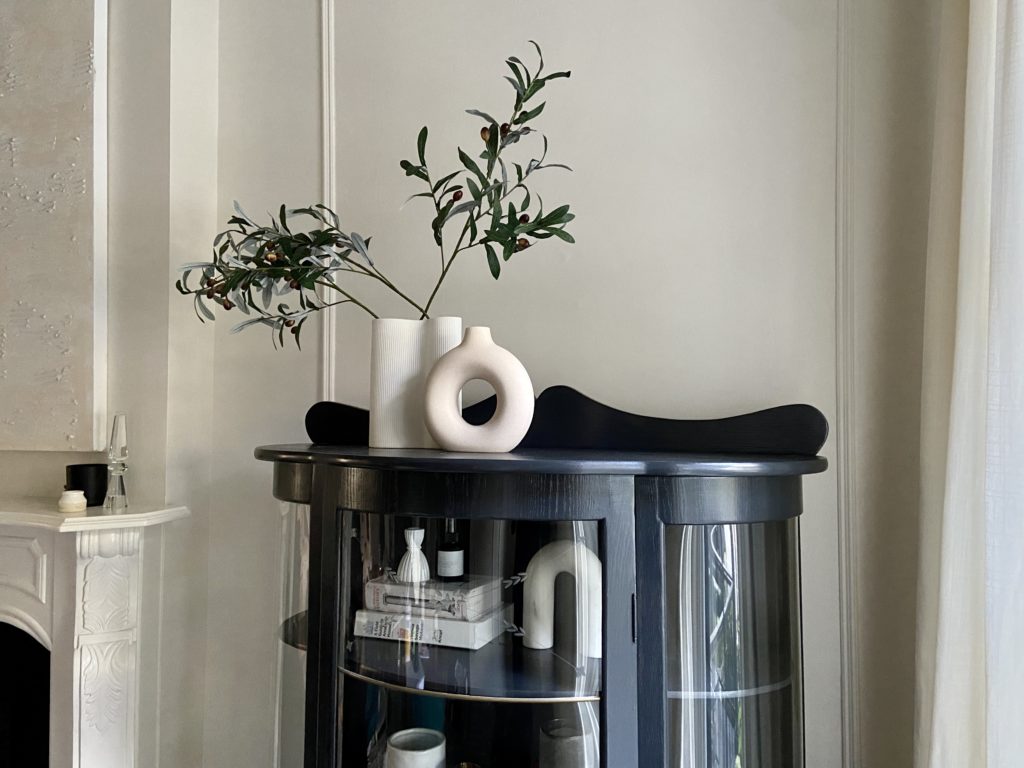
The piece needed a healthy 2 coats for full coverage. Look how it turned out!

Here’s one more look at the before…
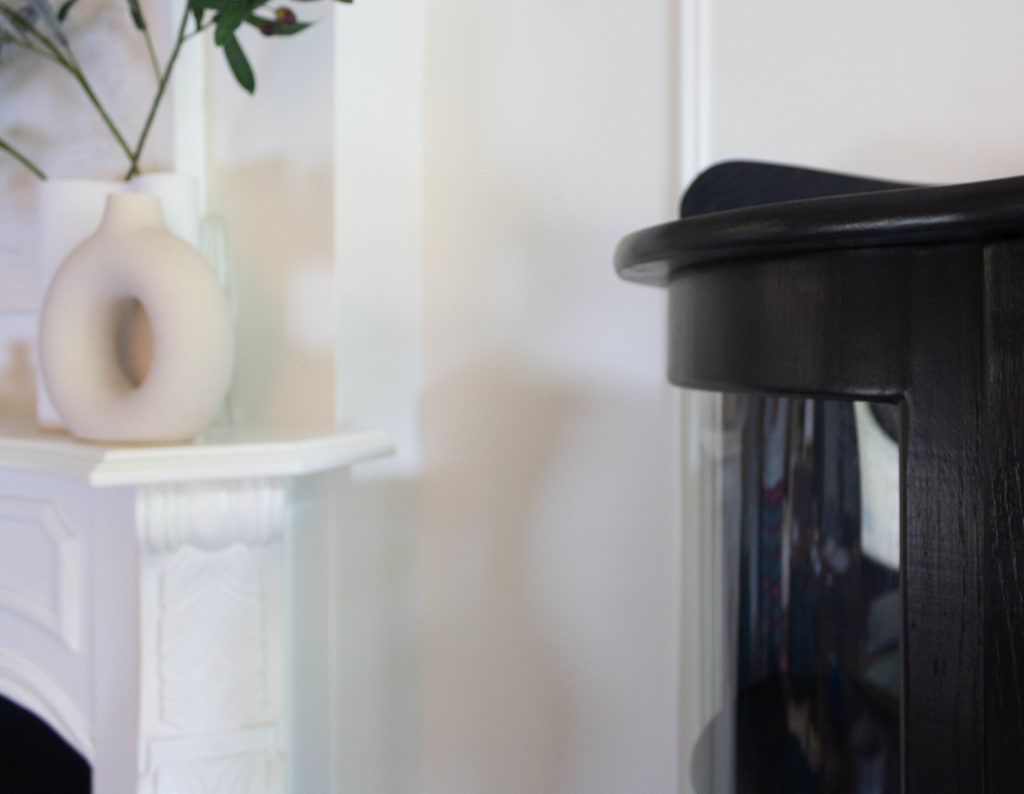
And now, after paint. Doesn’t it look like a totally different piece?!
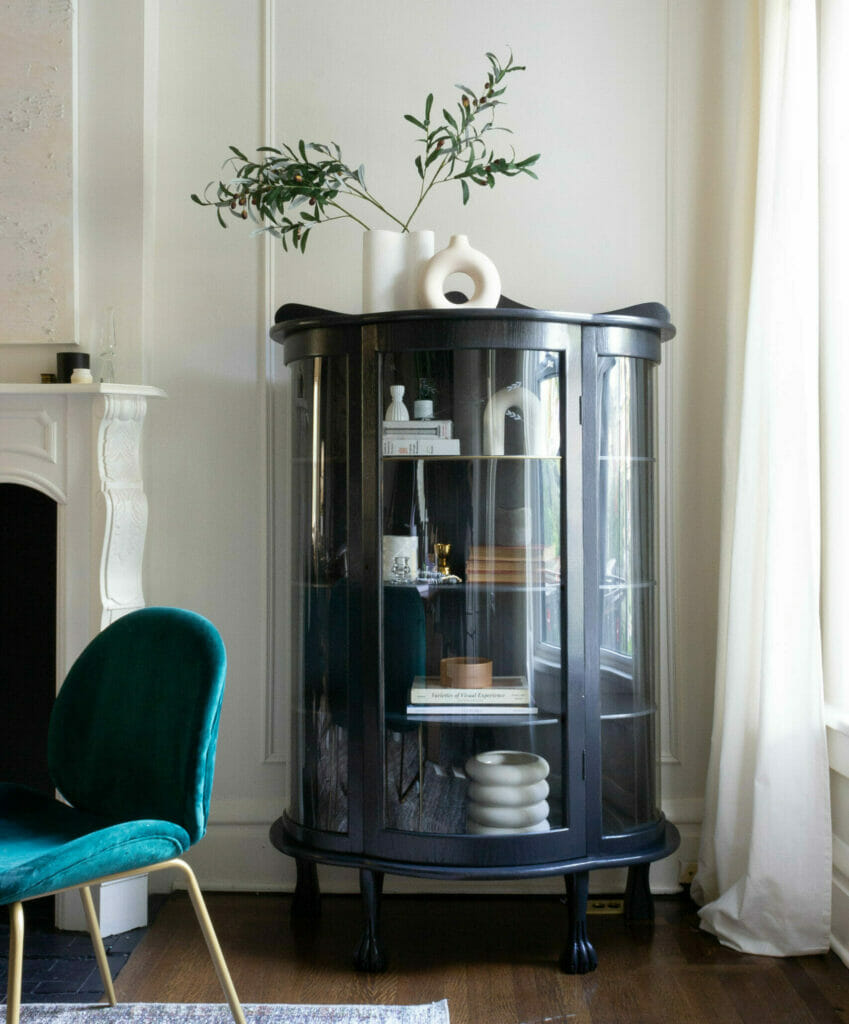


Stunning!
Thank you!
[…] Love a good furniture before and after. […]