Psst! Our front door makeover was featured on Oprah.com! Check it out here.
Revamping our front doors was one of my favorite projects at our first home (yes, we have two front doors – we haven’t figured out why, but most of the old houses in the area have them!)
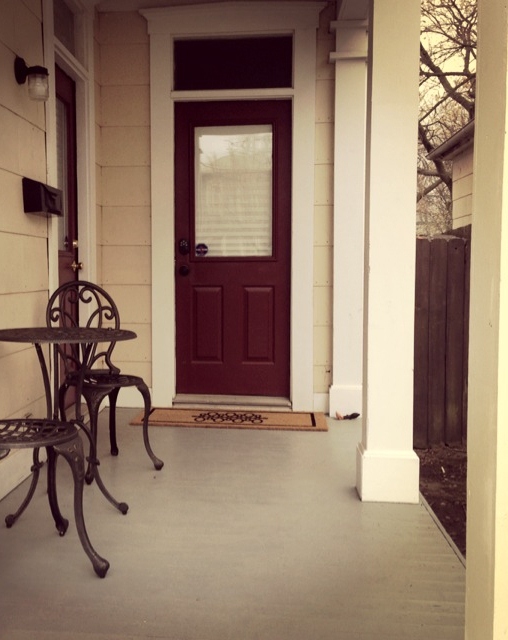
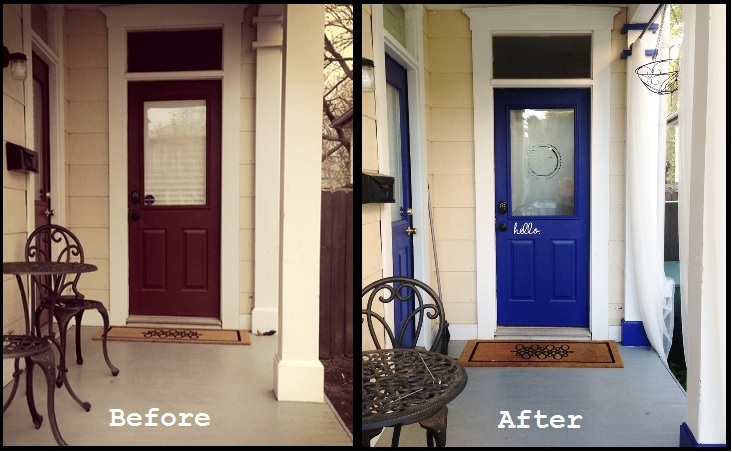
Here’s what we were working with when we moved in:
As you can see, there wasn’t anything particularly wrong with them. We just thought they could be pepped up a bit, especially since a lot of the other homes in our ‘hood are colorful. There’s a few others that have red doors, so we figured we’d be bold and try something different. Here’s what we did.
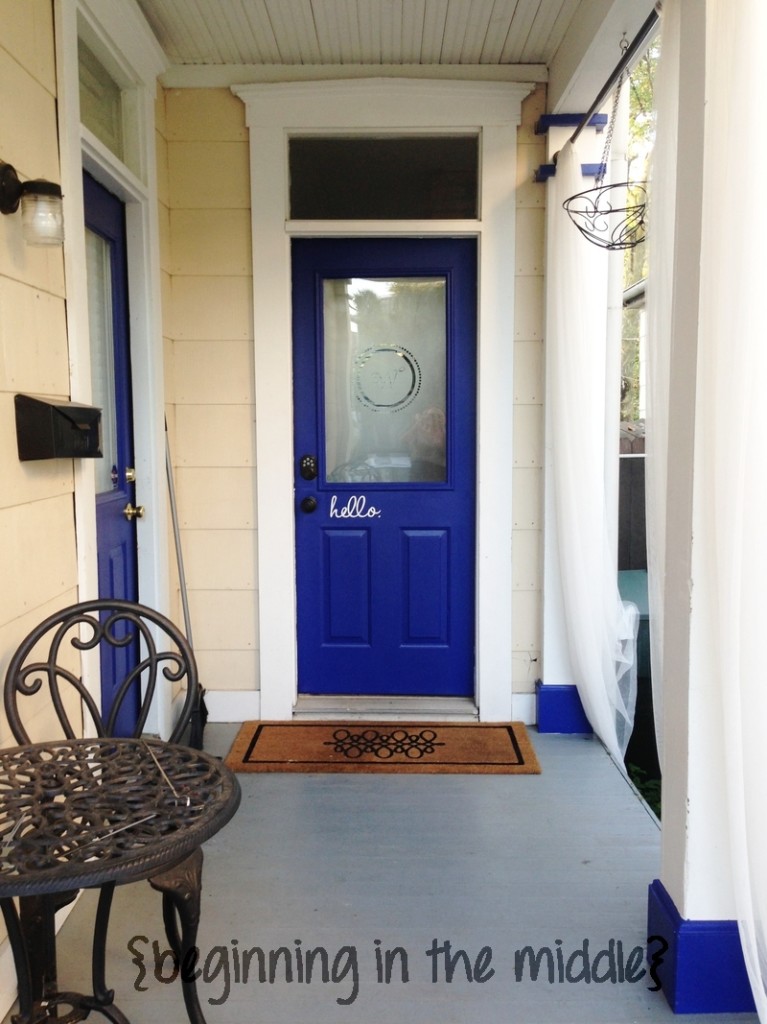
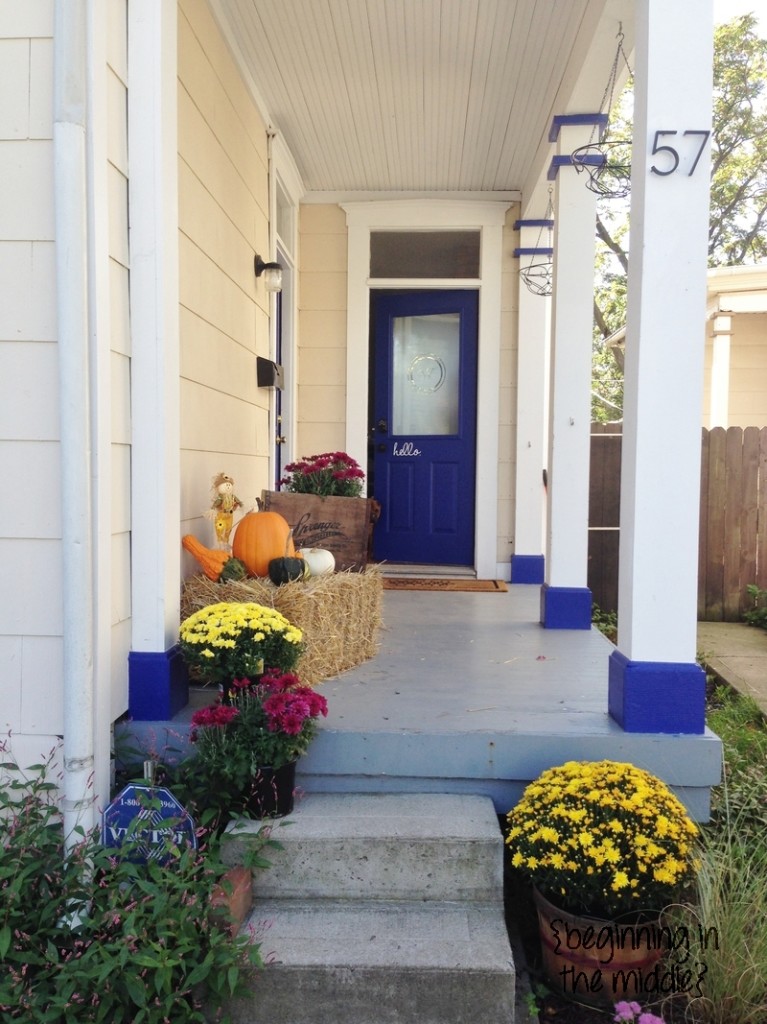
1 – Painted the outside doors and details of the porch posts “Classic Royal Blue” (4009-8) by Valspar.
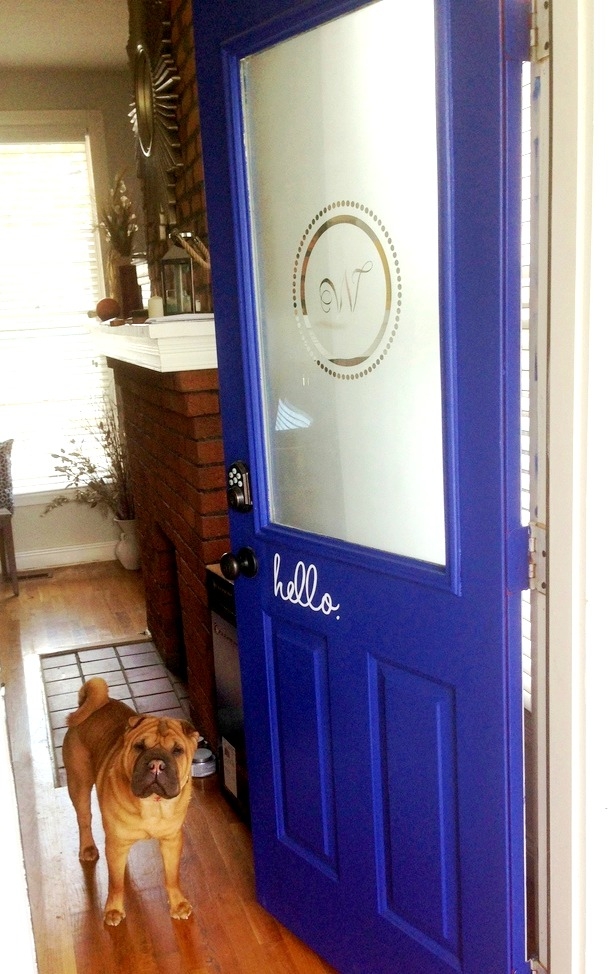
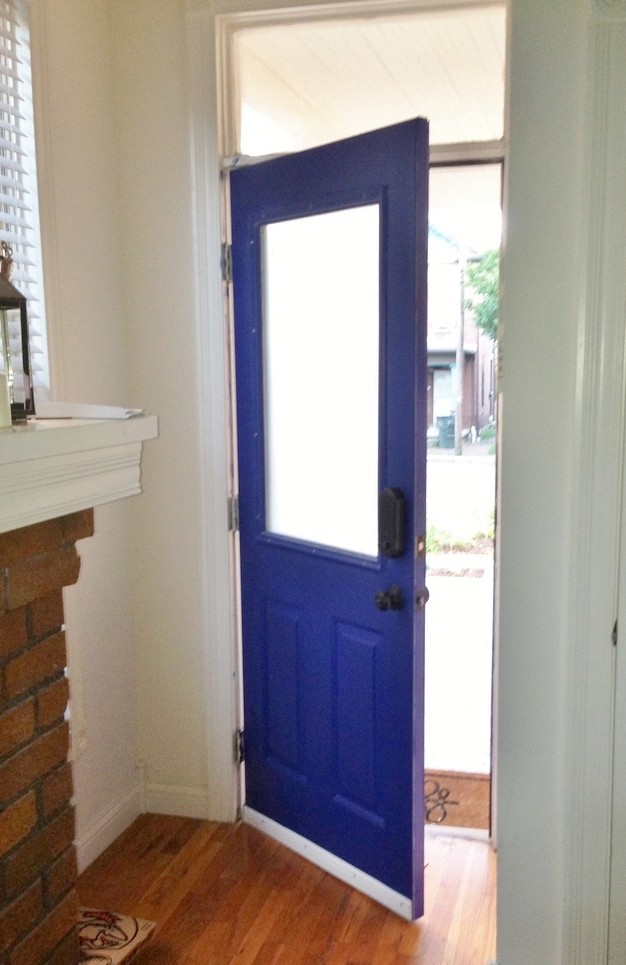
2 – Painted the inside of one of the doors for an added pop of color inside.
3 – Purchased a “hello” decal from this Etsy shop.
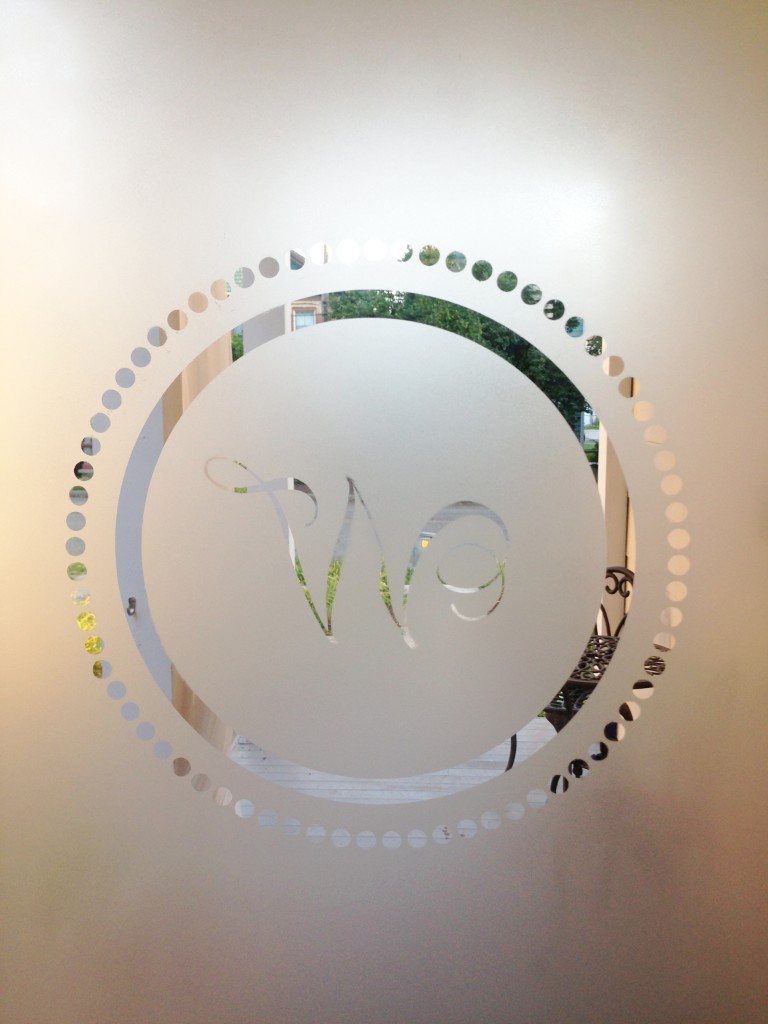
4 – Purchased a “W” Monogram from Dali Decals (we customized it to be reversed, so it would show correctly through the window from the inside, and 12″ diameter instead of the standard 22″ so it would fit)
5 – After applying the decal to the inside, we used Rust-Oleum Glass Frosting Spray to frost over the decal and rest of the window.
6 – That didn’t work. The spray came out blotchy on the window and we had to scrape it all off (Let me just tell you, removing this stuff was NOT fun!)
7 – Repeated #5 & #6 three times (I was hopeful it would get better, okay?)
8 – Purchased Valspar Glass Frosting Spray and tried one last time. BIG SUCCESS!
9 – Applied 3-4 “wet coats” (5-10 min between each coat) until the glass was fully frosted and evenly covered. Then we let the whole thing dry for about an hour.
10 – Carefully peeled off the W decal, including all of those tiny little circles around the edge (it was worth it!)
Here’s how it turned out… drum roll please…
Inside looking out:
Originally I was a little nervous about how it would look in all of the seasons. Because this color is so bold and bright, it makes me think spring/summer instead of fall/winter. But we quickly discovered it actually complemented the oranges and beiges and yellows and greens really well (see more on our fall décor post here).
We feel like we’ve given it new life, and the fun part is that it’s different from any other door we’ve seen. So yay for that.
Cost Breakdown:
1 qt. of Valspar Duramax Paint in “Classic Royal Blue” (covered 3-4 coats of paint on 3 doors, plus the trim on the posts of the porch) – $17
High Density Foam roller – Free (had it)
“Hello” Decal – $9
Valspar Glass Frosting Spray – $5
12″ W Decal + shipping – $18
Total Cost: $49
Update: Unfortunately our pup, Baci, passed away in August 2014. Wasn’t he just the cutest dog? We were so heartbroken, but are thankful for the times we had with him.
Want to see more? Follow us on Instagram @beginninginthemiddle!

amazingness….i’m obsessed now,
Thanks Jacq!!
I love your front door! Thank you for using my decal!! Do you mind if I use the pictures for my shop?
Candi
Welcoming Walls
Thanks Candi! It worked perfectly for our project. Feel free to use the photos for your shop 🙂
What a huge difference. I love the details.
Thanks Dominique!
Fun color! It’s so awesome to see people not afraid to use color.
It’s adorable now! Love all the details. And that’s a great tip about using Valspar instead of Rustoleum. How was it spray painting inside? We have a window we would like to frost, but I didn’t want to frost everything else in the room too. 🙂
Thanks so much Christina! Our door was in a corner near another large window so we were ok in terms of messiness and ventilation. I would definitely recommend bringing the window outside if possible (spray vertically or else the spray will drip on your surface and mess it up!). If not, open all of your windows and cover everything nearby with a drop cloth. The spray does tend to spread to unwanted places (it kind of looks like a layer of dust) and can get smelly.
I think there’s frosted glass films available that might work for your purposes, too. They might be a bit more than $5 but they would be less messy!
Wow!!! It looks Wonderful! Thanks for sharing.
Thank you Julie!
[…] room, which completed the rustic/natural look we were going for. I was scared that our new blue door might not look with fall décor, but I’m digging […]
[…] our powder room door, which we have big plans for. Hint: it’ll be something similar to our front door makeover at our first […]
Hello… I found your blog through an Oprah.com piece on front door ideas.
We have nearly identical fireplaces!
I’ll be poking around!
Awesome! Thanks for stopping by 🙂
Amazing idea!!! Thanks so much for sharing!!!