Welcome back, friends!
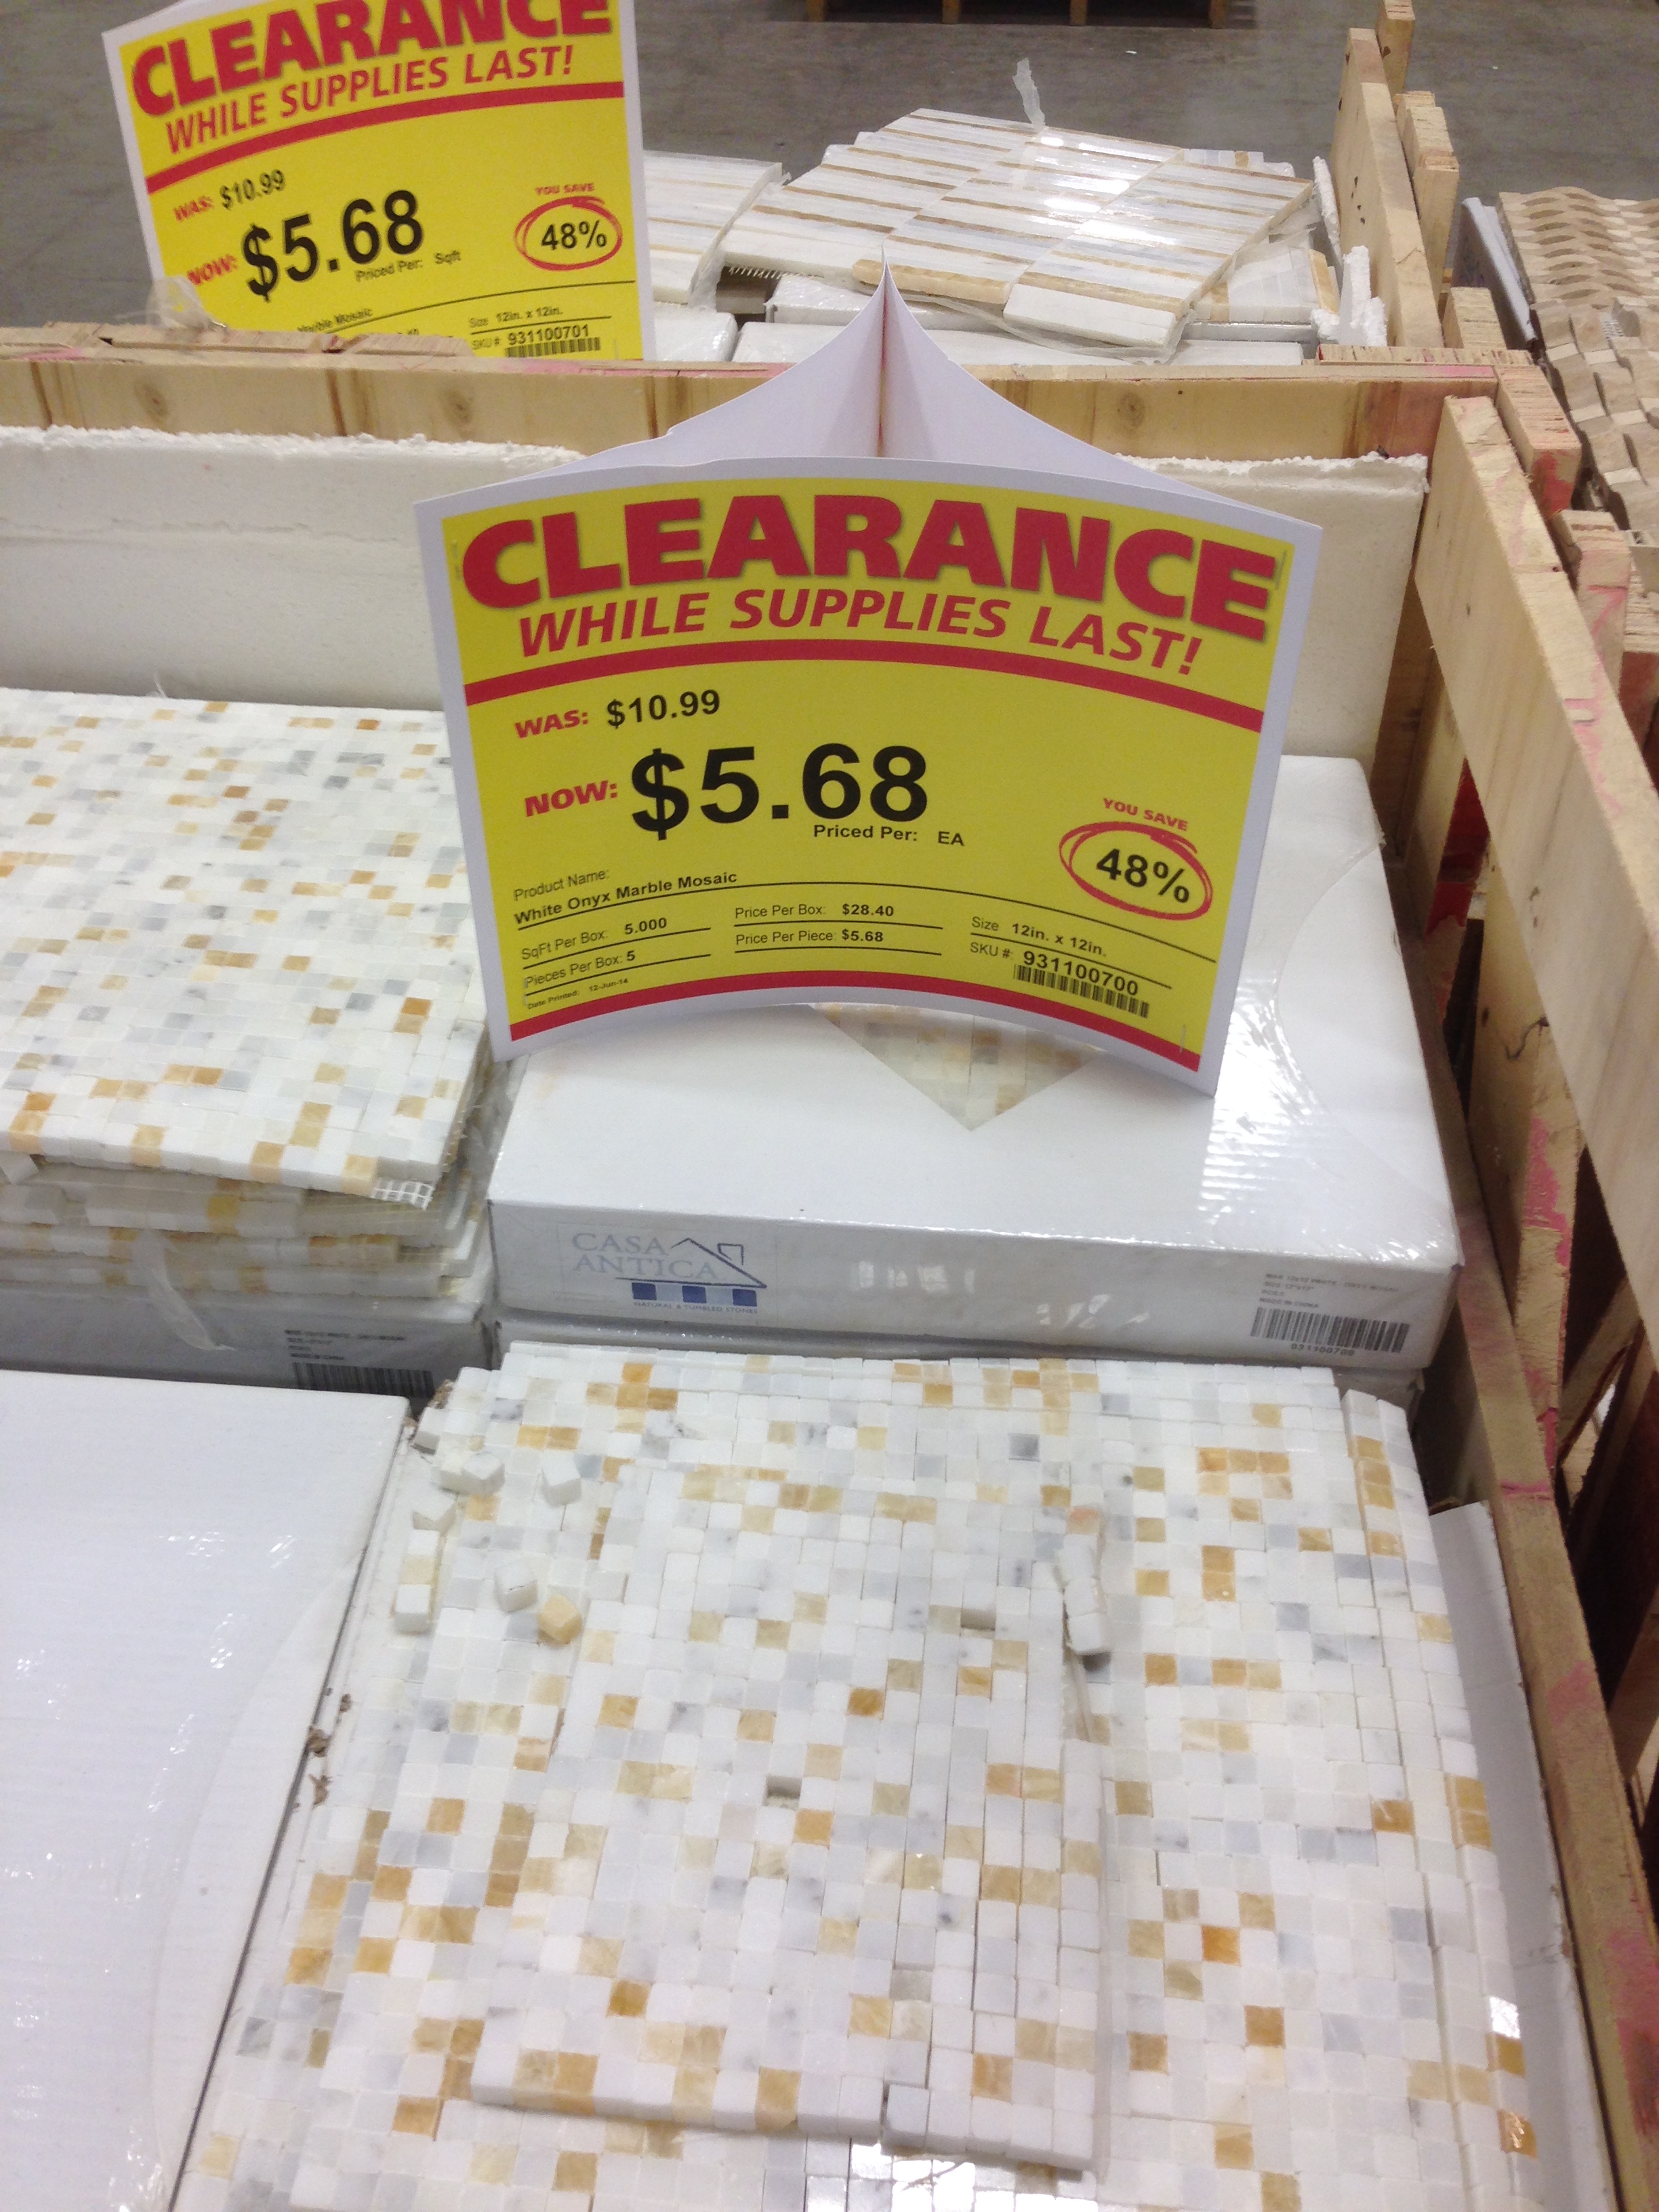
Last week, we started our kitchen update project by painting the cabinets white and adding hardware. Since then, we’ve finished the second phase of our project: the backsplash! We weren’t originally going to do one, but when we discovered that these pretty marble mosaic tiles were almost 50% off, we took it as a sign from the DIY gods to go for it.
I will admit, I was hesitant about getting this tile because of the pineapple/brown color in it. I really wanted carrera marble, but Bryan was in love with this one and was convinced that it would look fantastic. It didn’t help my case that the one I wanted cost twice as much. So I lost that battle, and we took a chance.
We’ve done tiling in our guest bathroom and our powder room (which we’re still working on, PS), so we knew what we were getting ourselves into. We also knew what tools and extra materials to get so we could budget accordingly.
Here’s what we purchased to get the job done:
36 sq. ft. of marble mosaic tile – $204.50
Tile adhesive – $13
1/4″ trowel to spread adhesive – $3
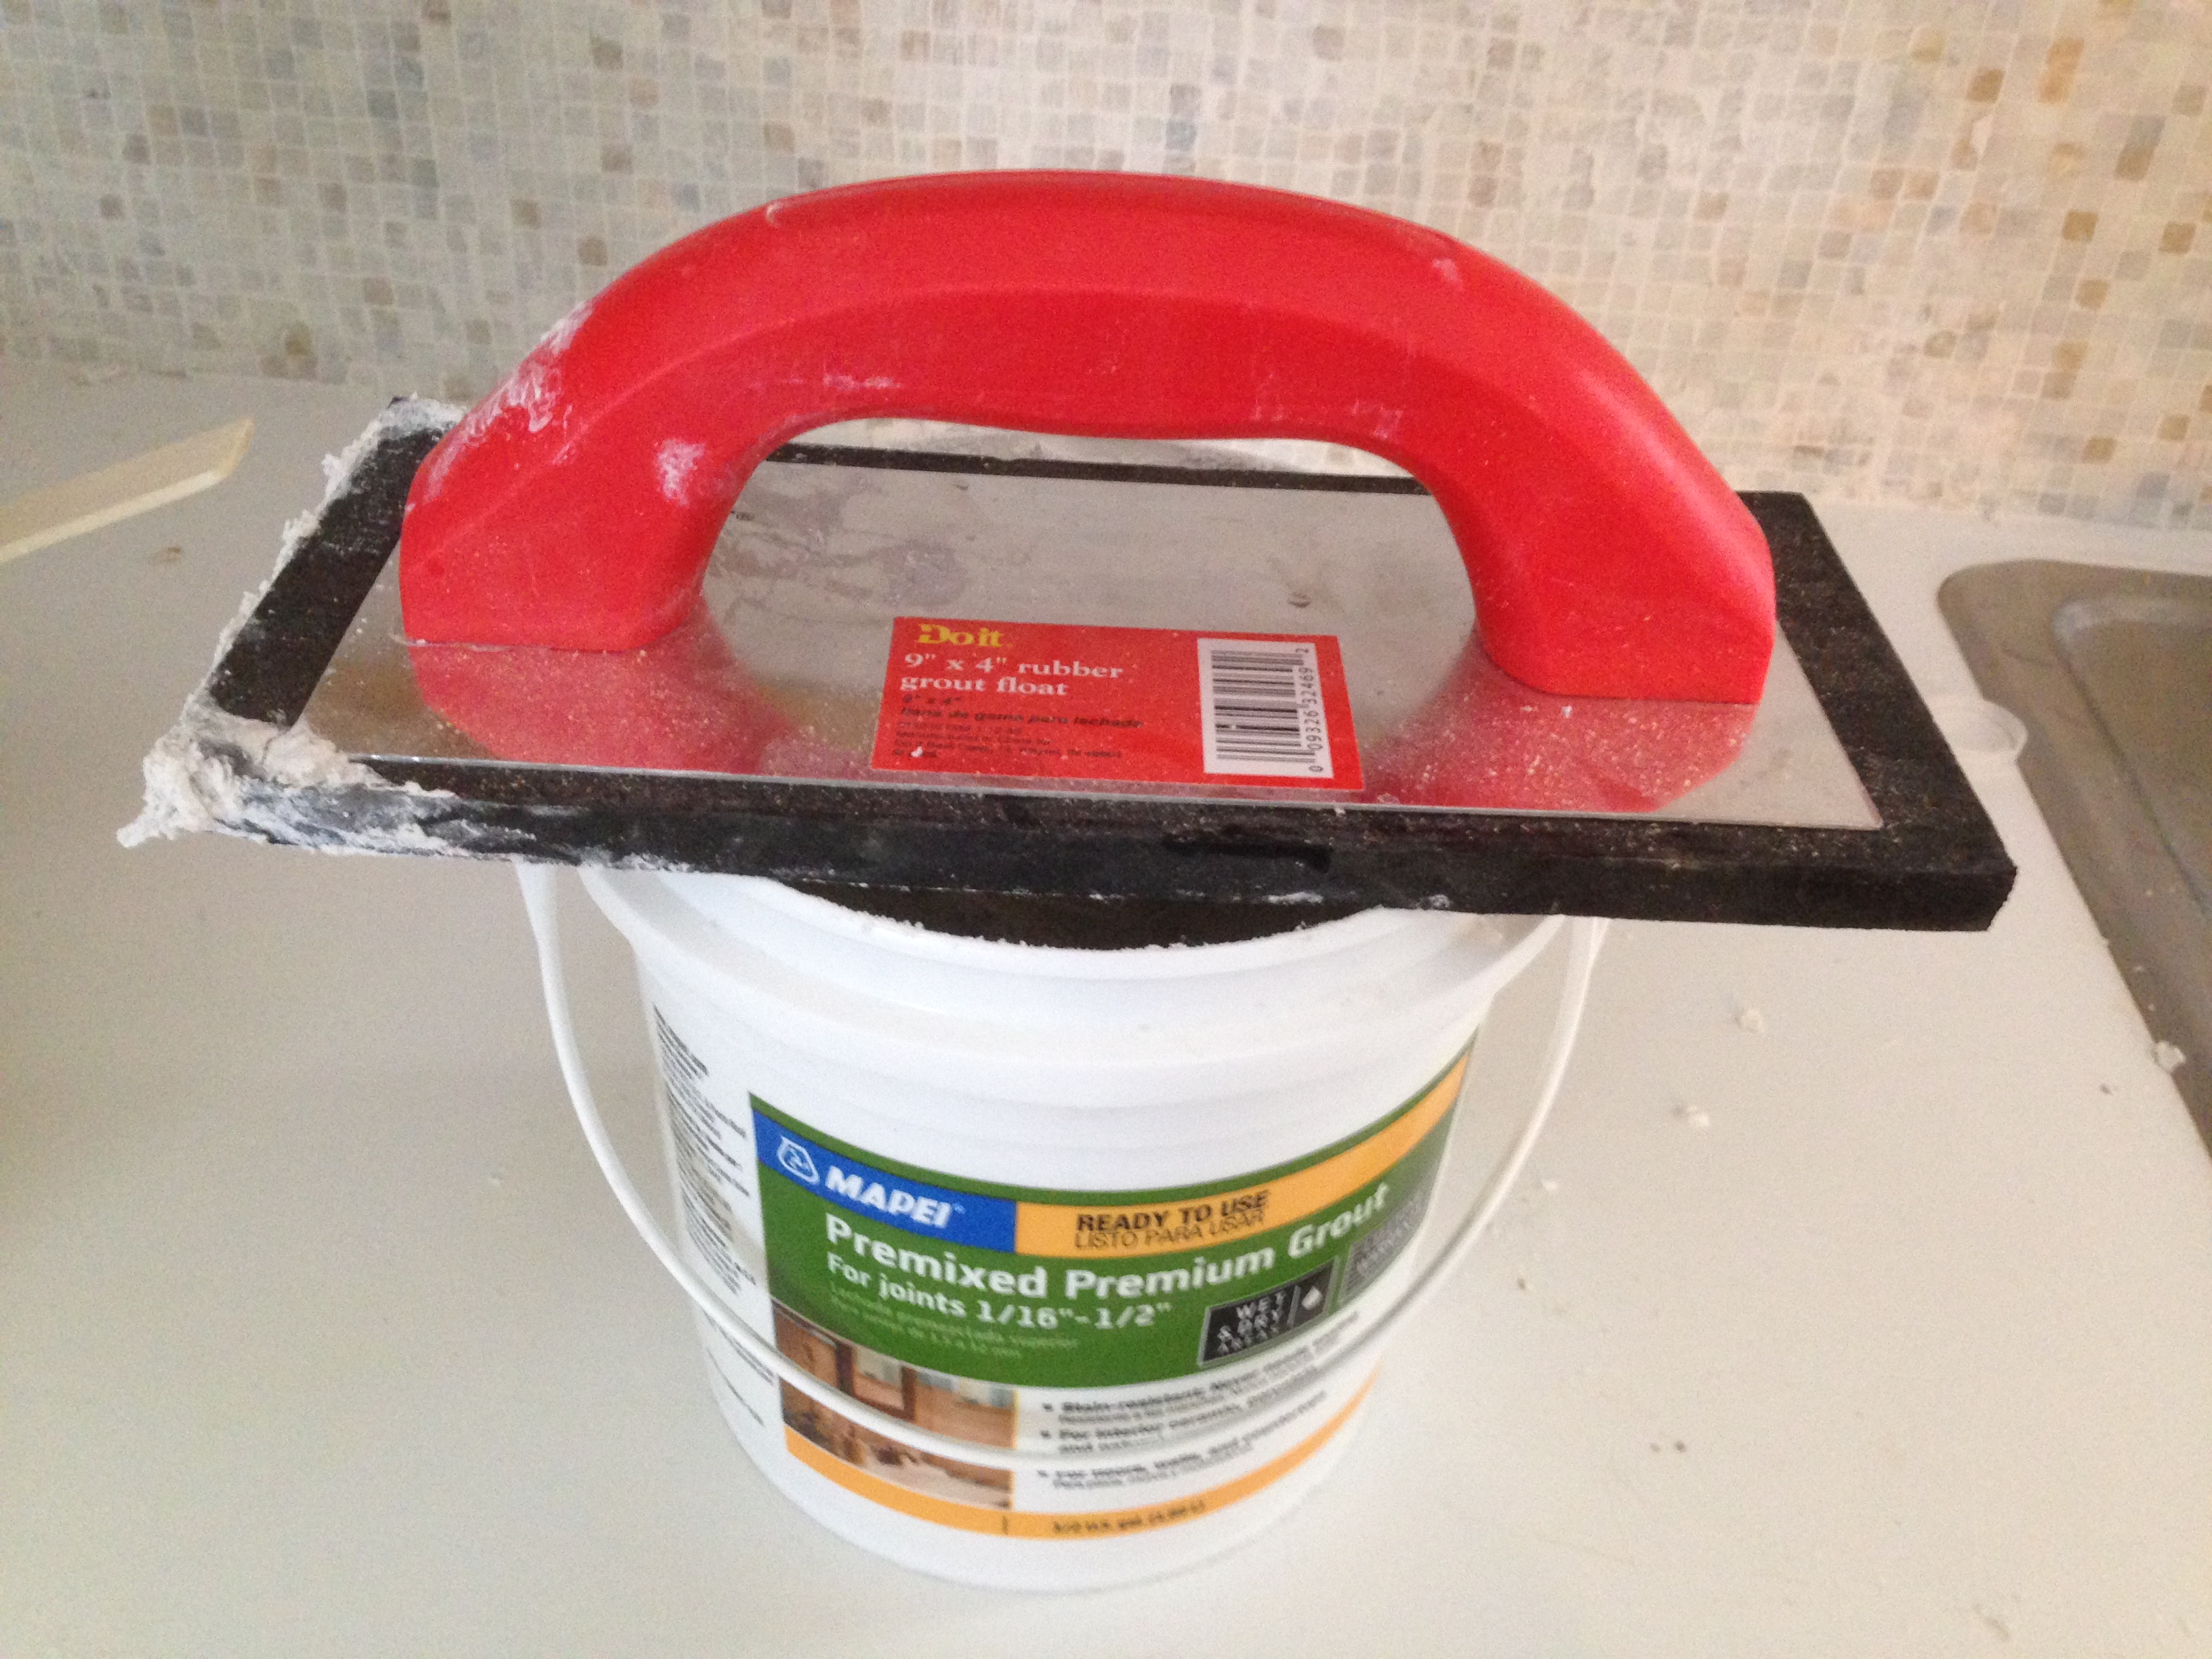
1/2 gallon of white premixed grout – $17
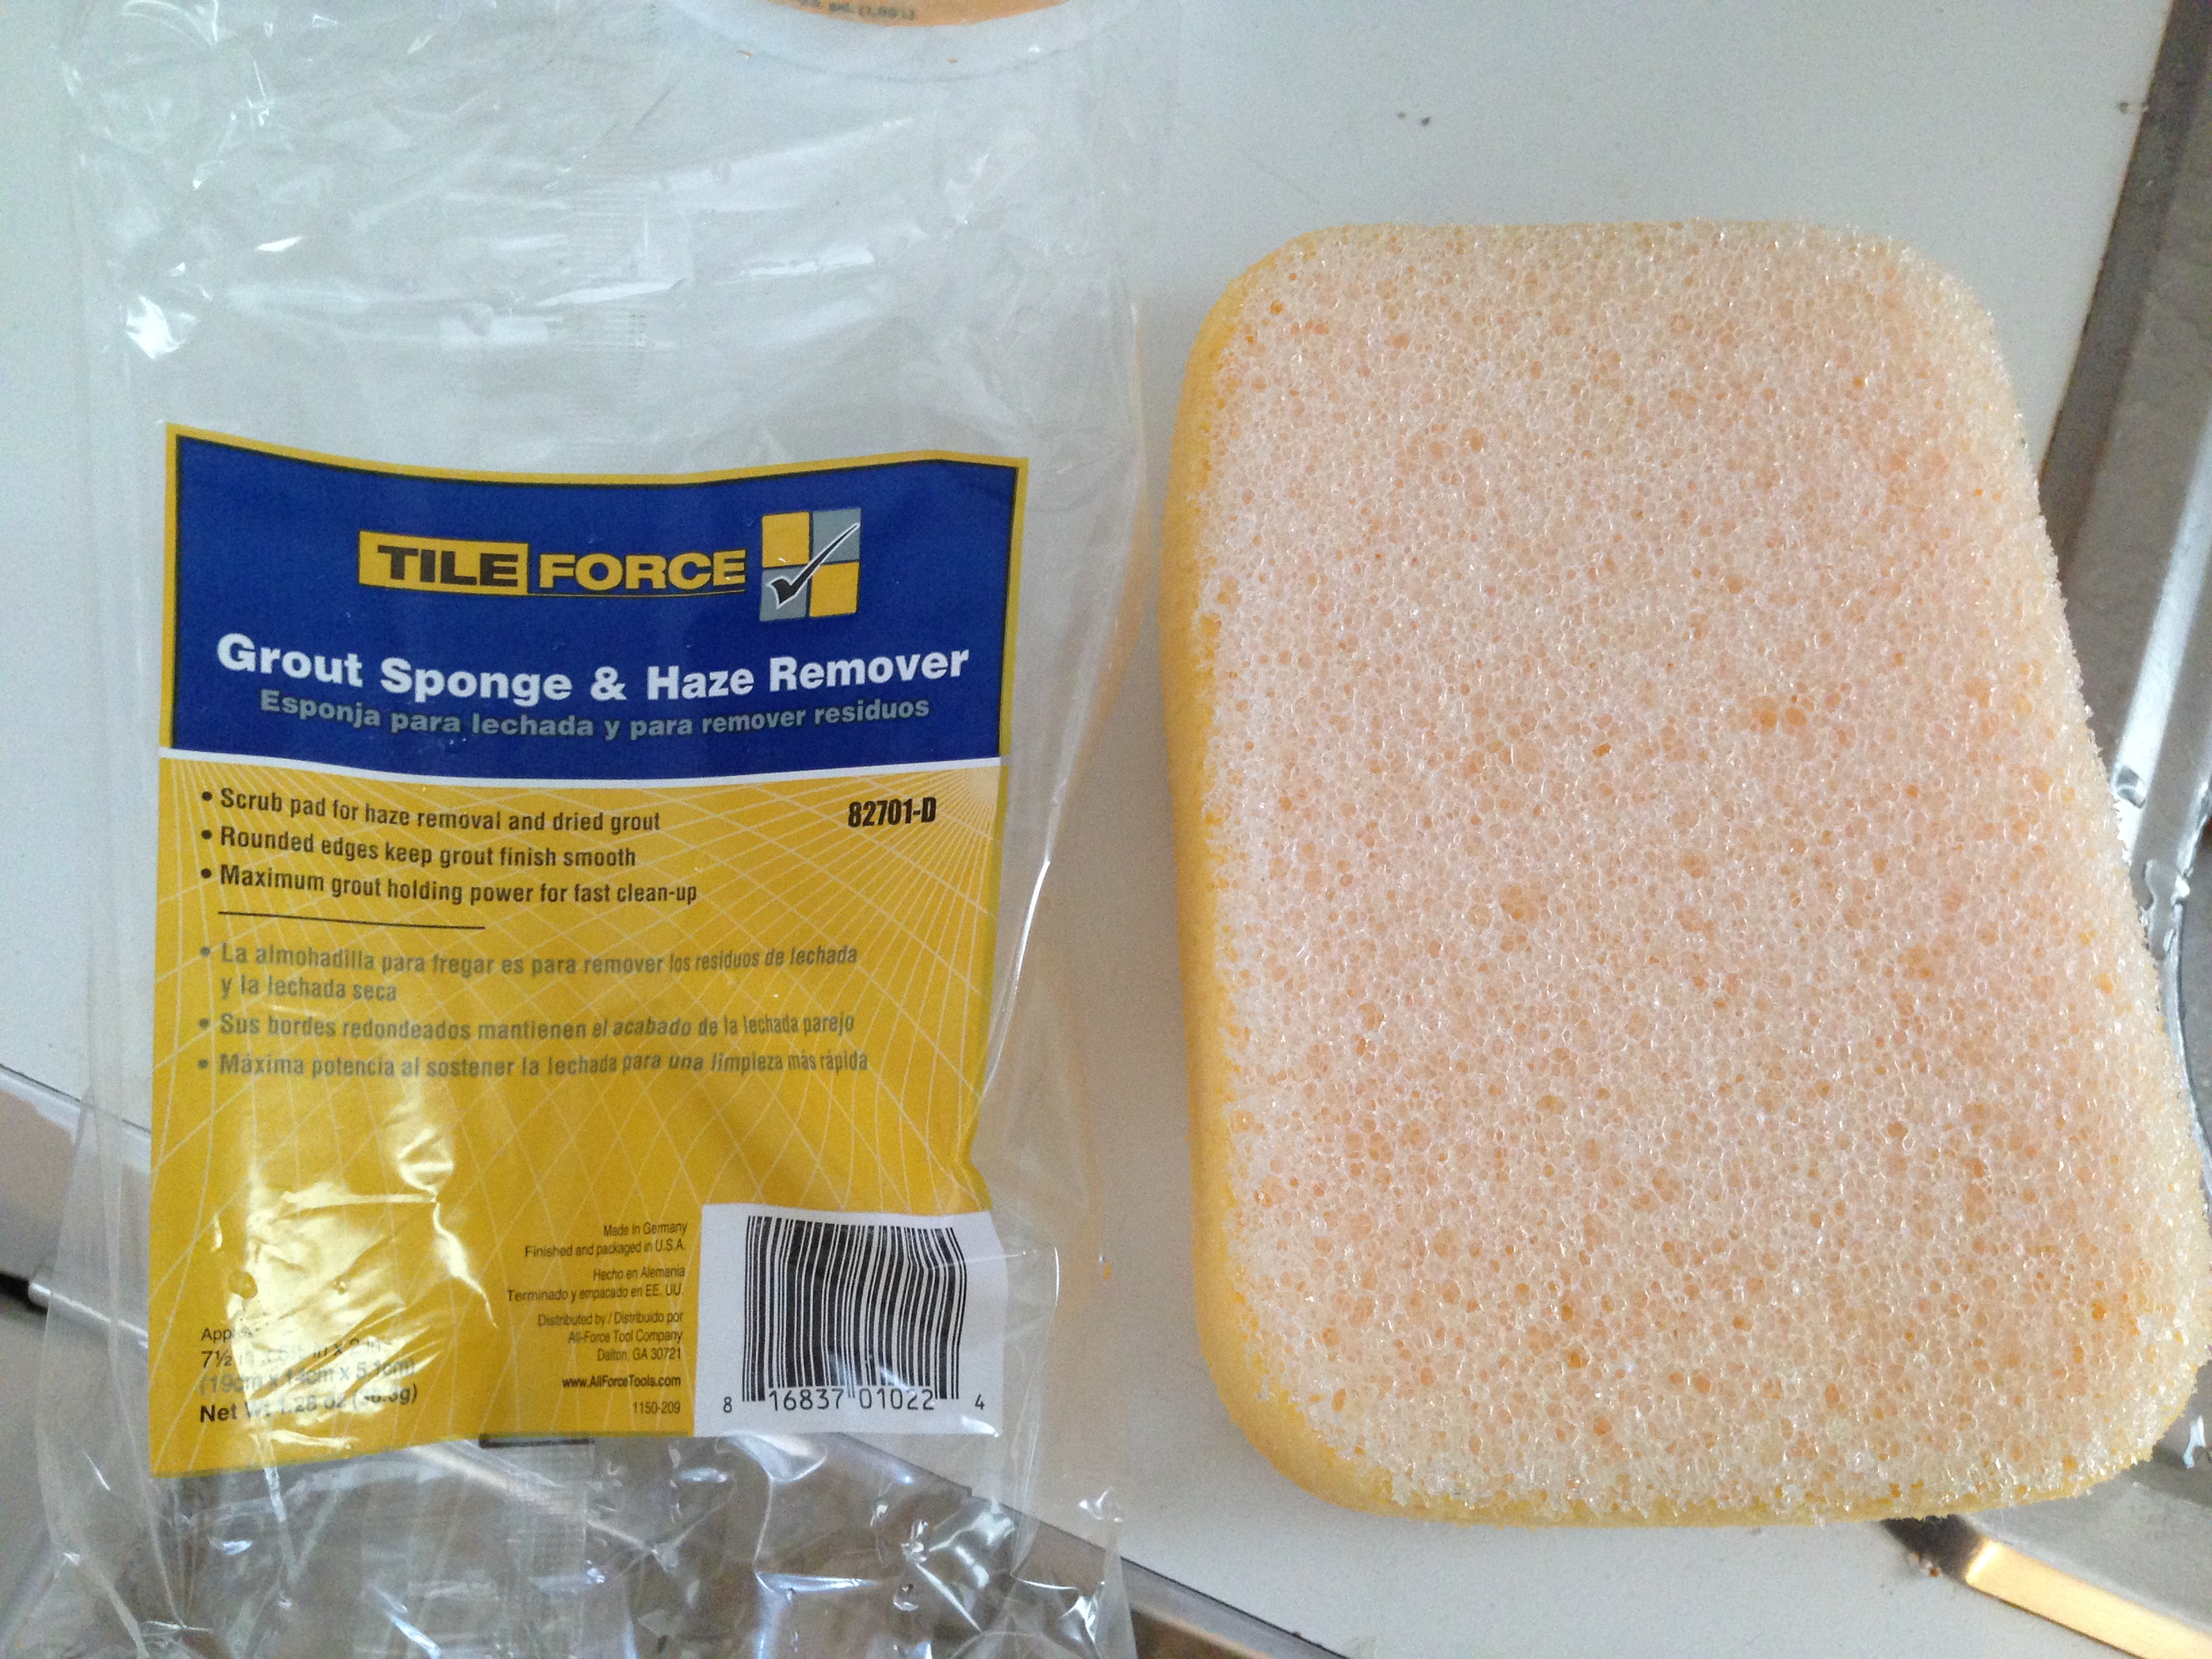
Grout sponge with haze remover – $2.50
9×4 rubber grout float – $4
Total cost: $244
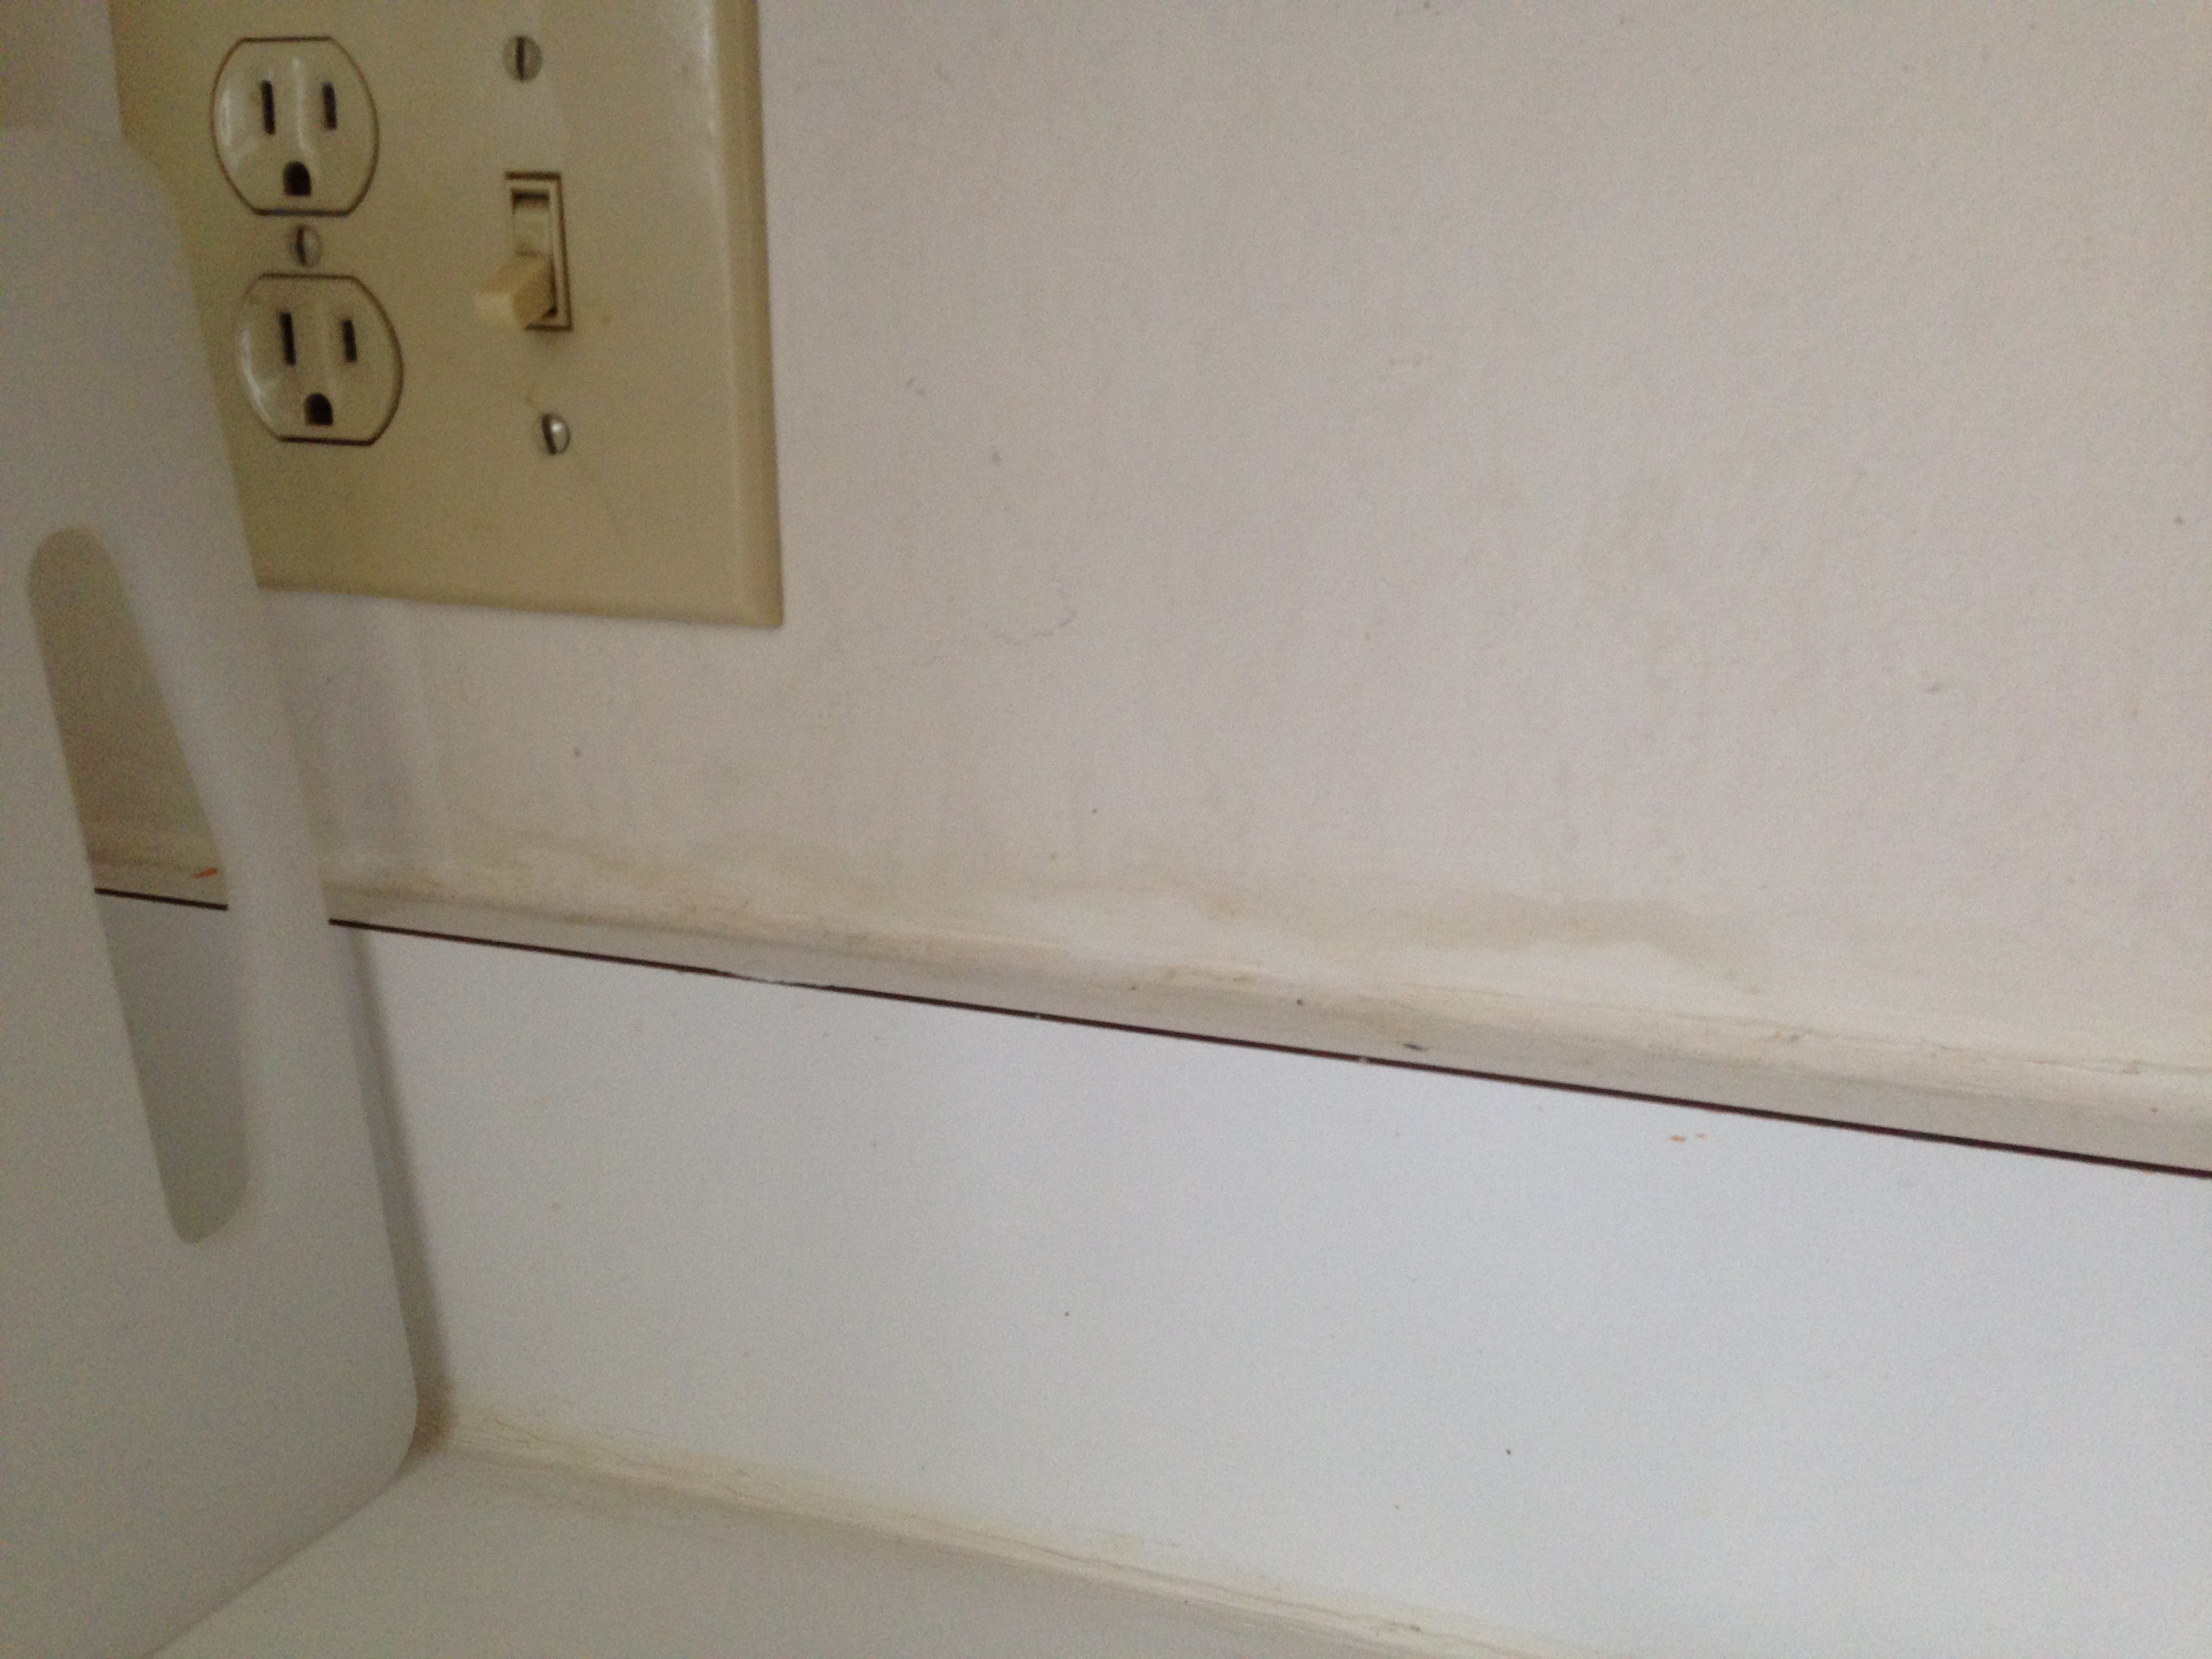
Before we started tiling, we decided to rip off the white Formica backsplash that was there so we could go all the way down to the counter with the new tiles. This is what it looked like before we took it off (so happy it’s gone!)
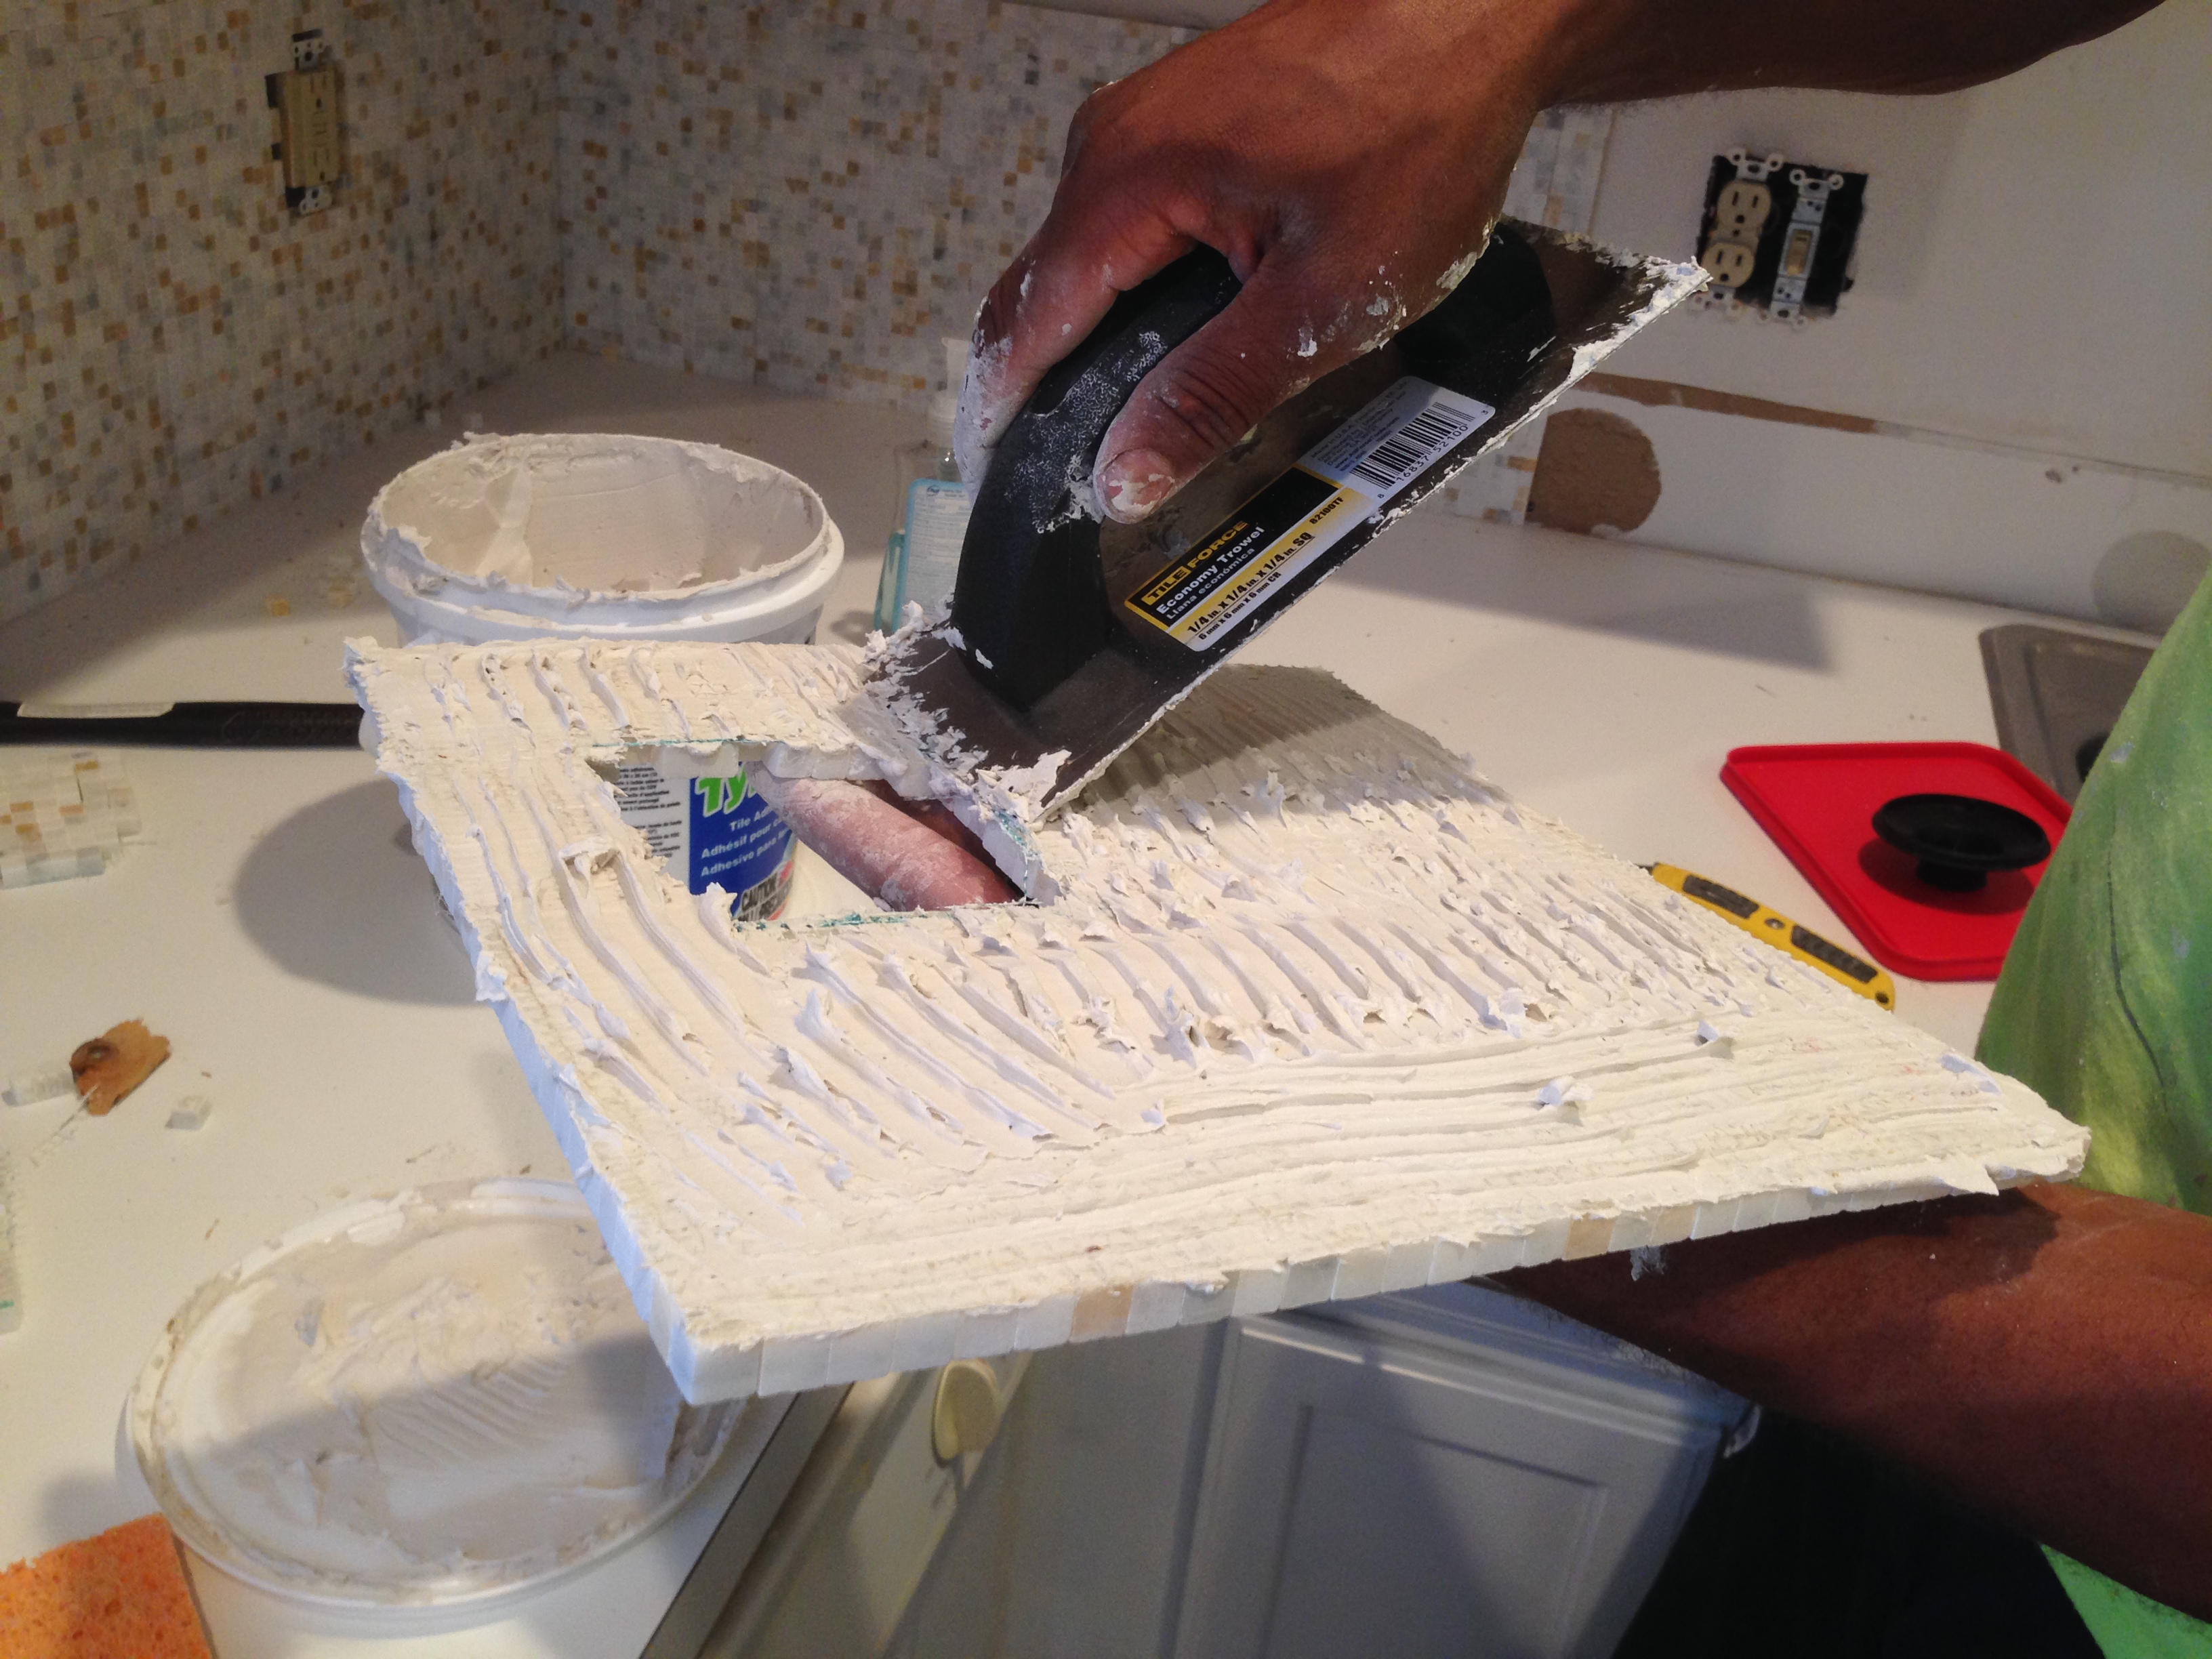
Once that was done, we started adhering the tiles to the wall. Bryan applied the adhesive directly to the back of each tile with the trough. The tiny little tiles made it easy to adjust them to fit between the cabinets and the counters.
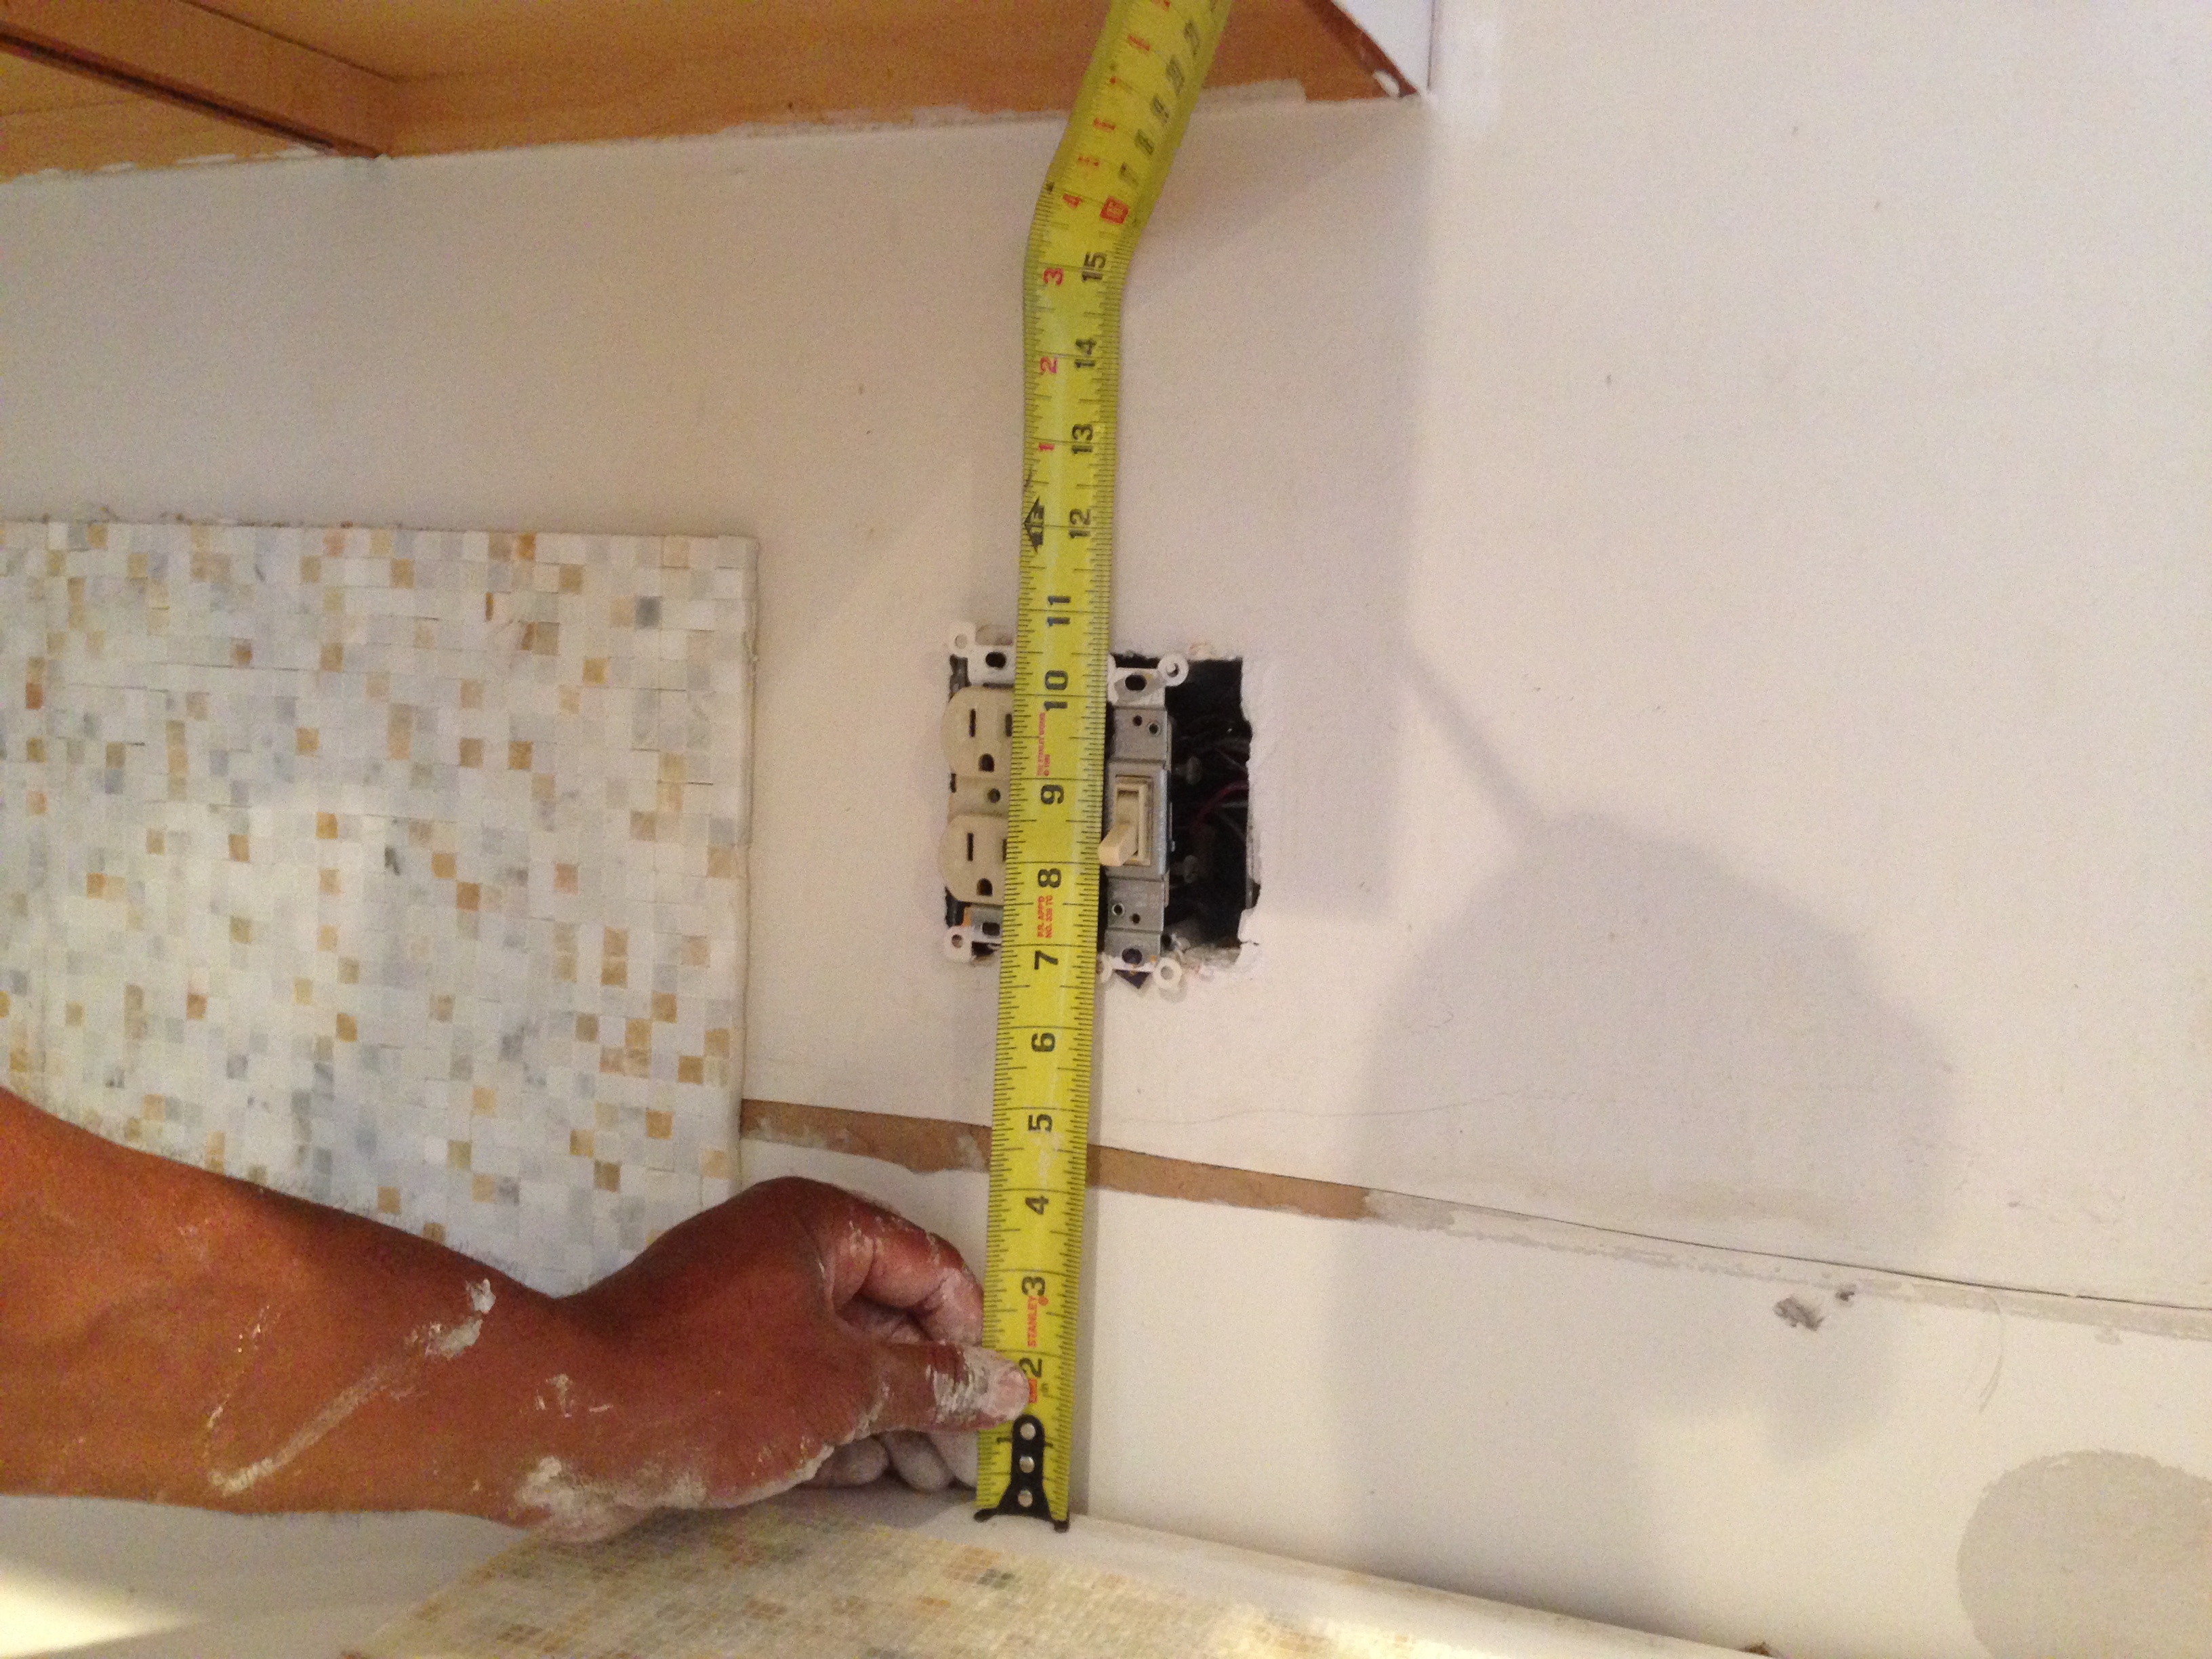
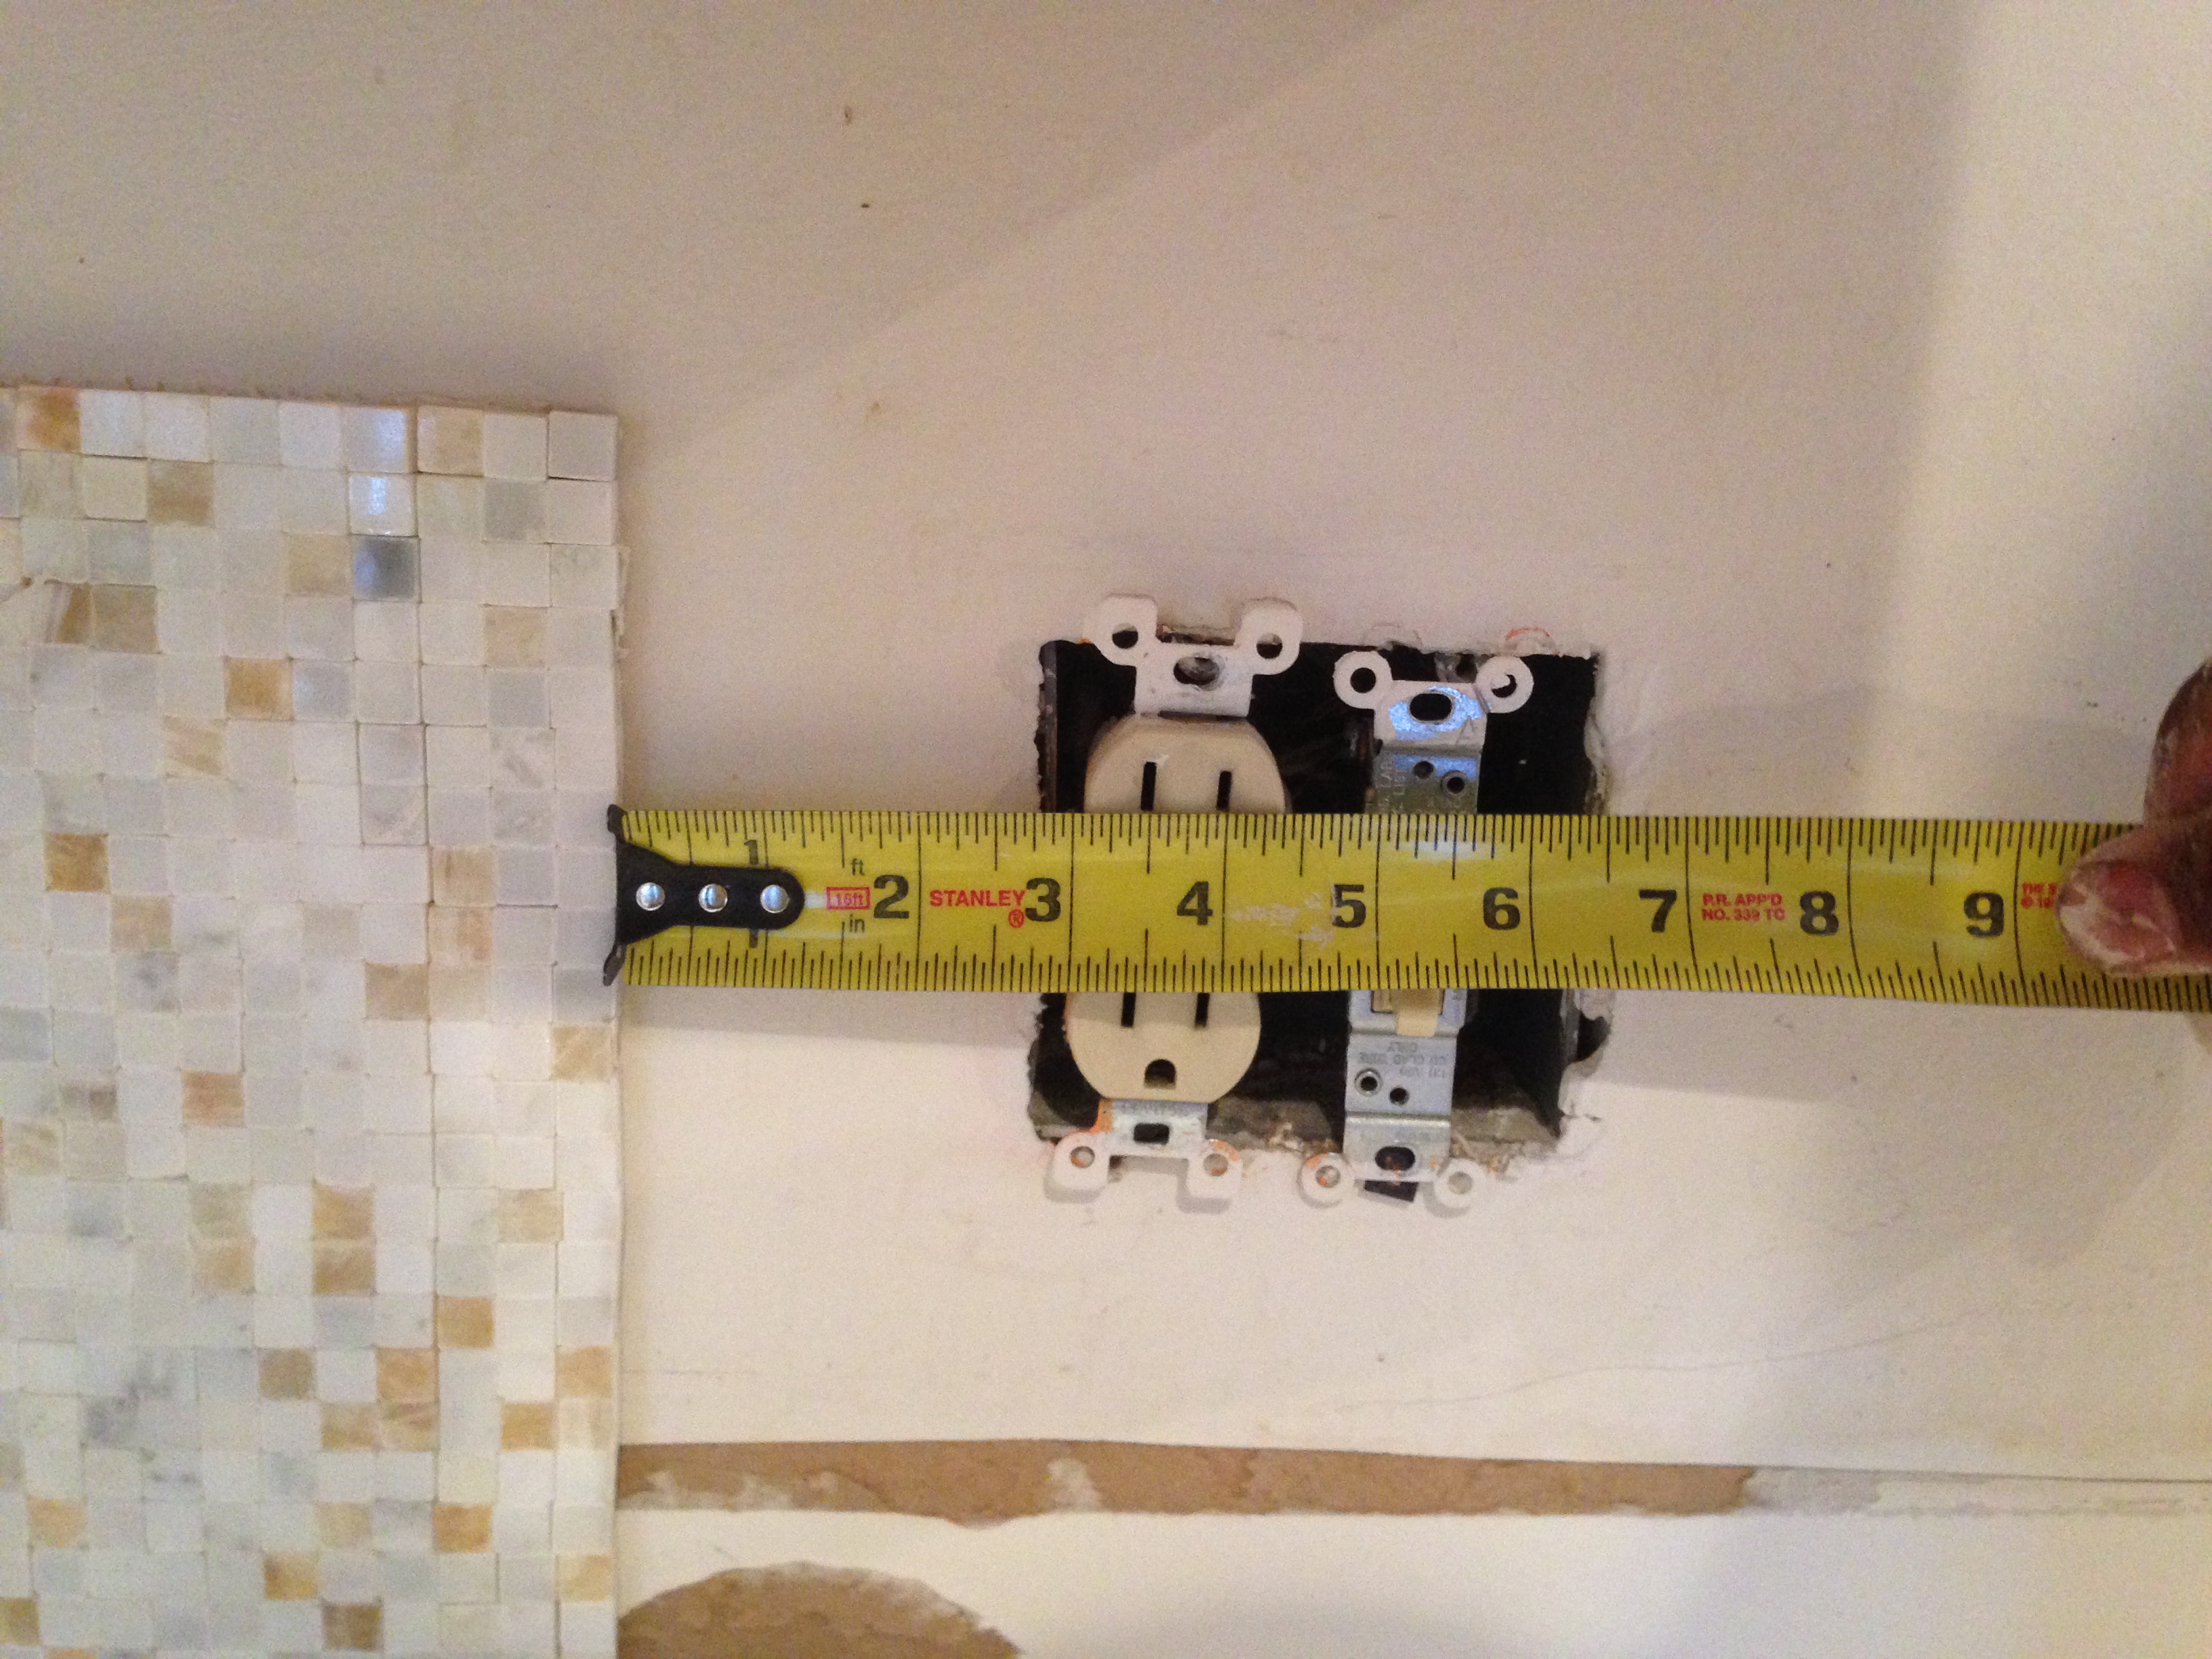
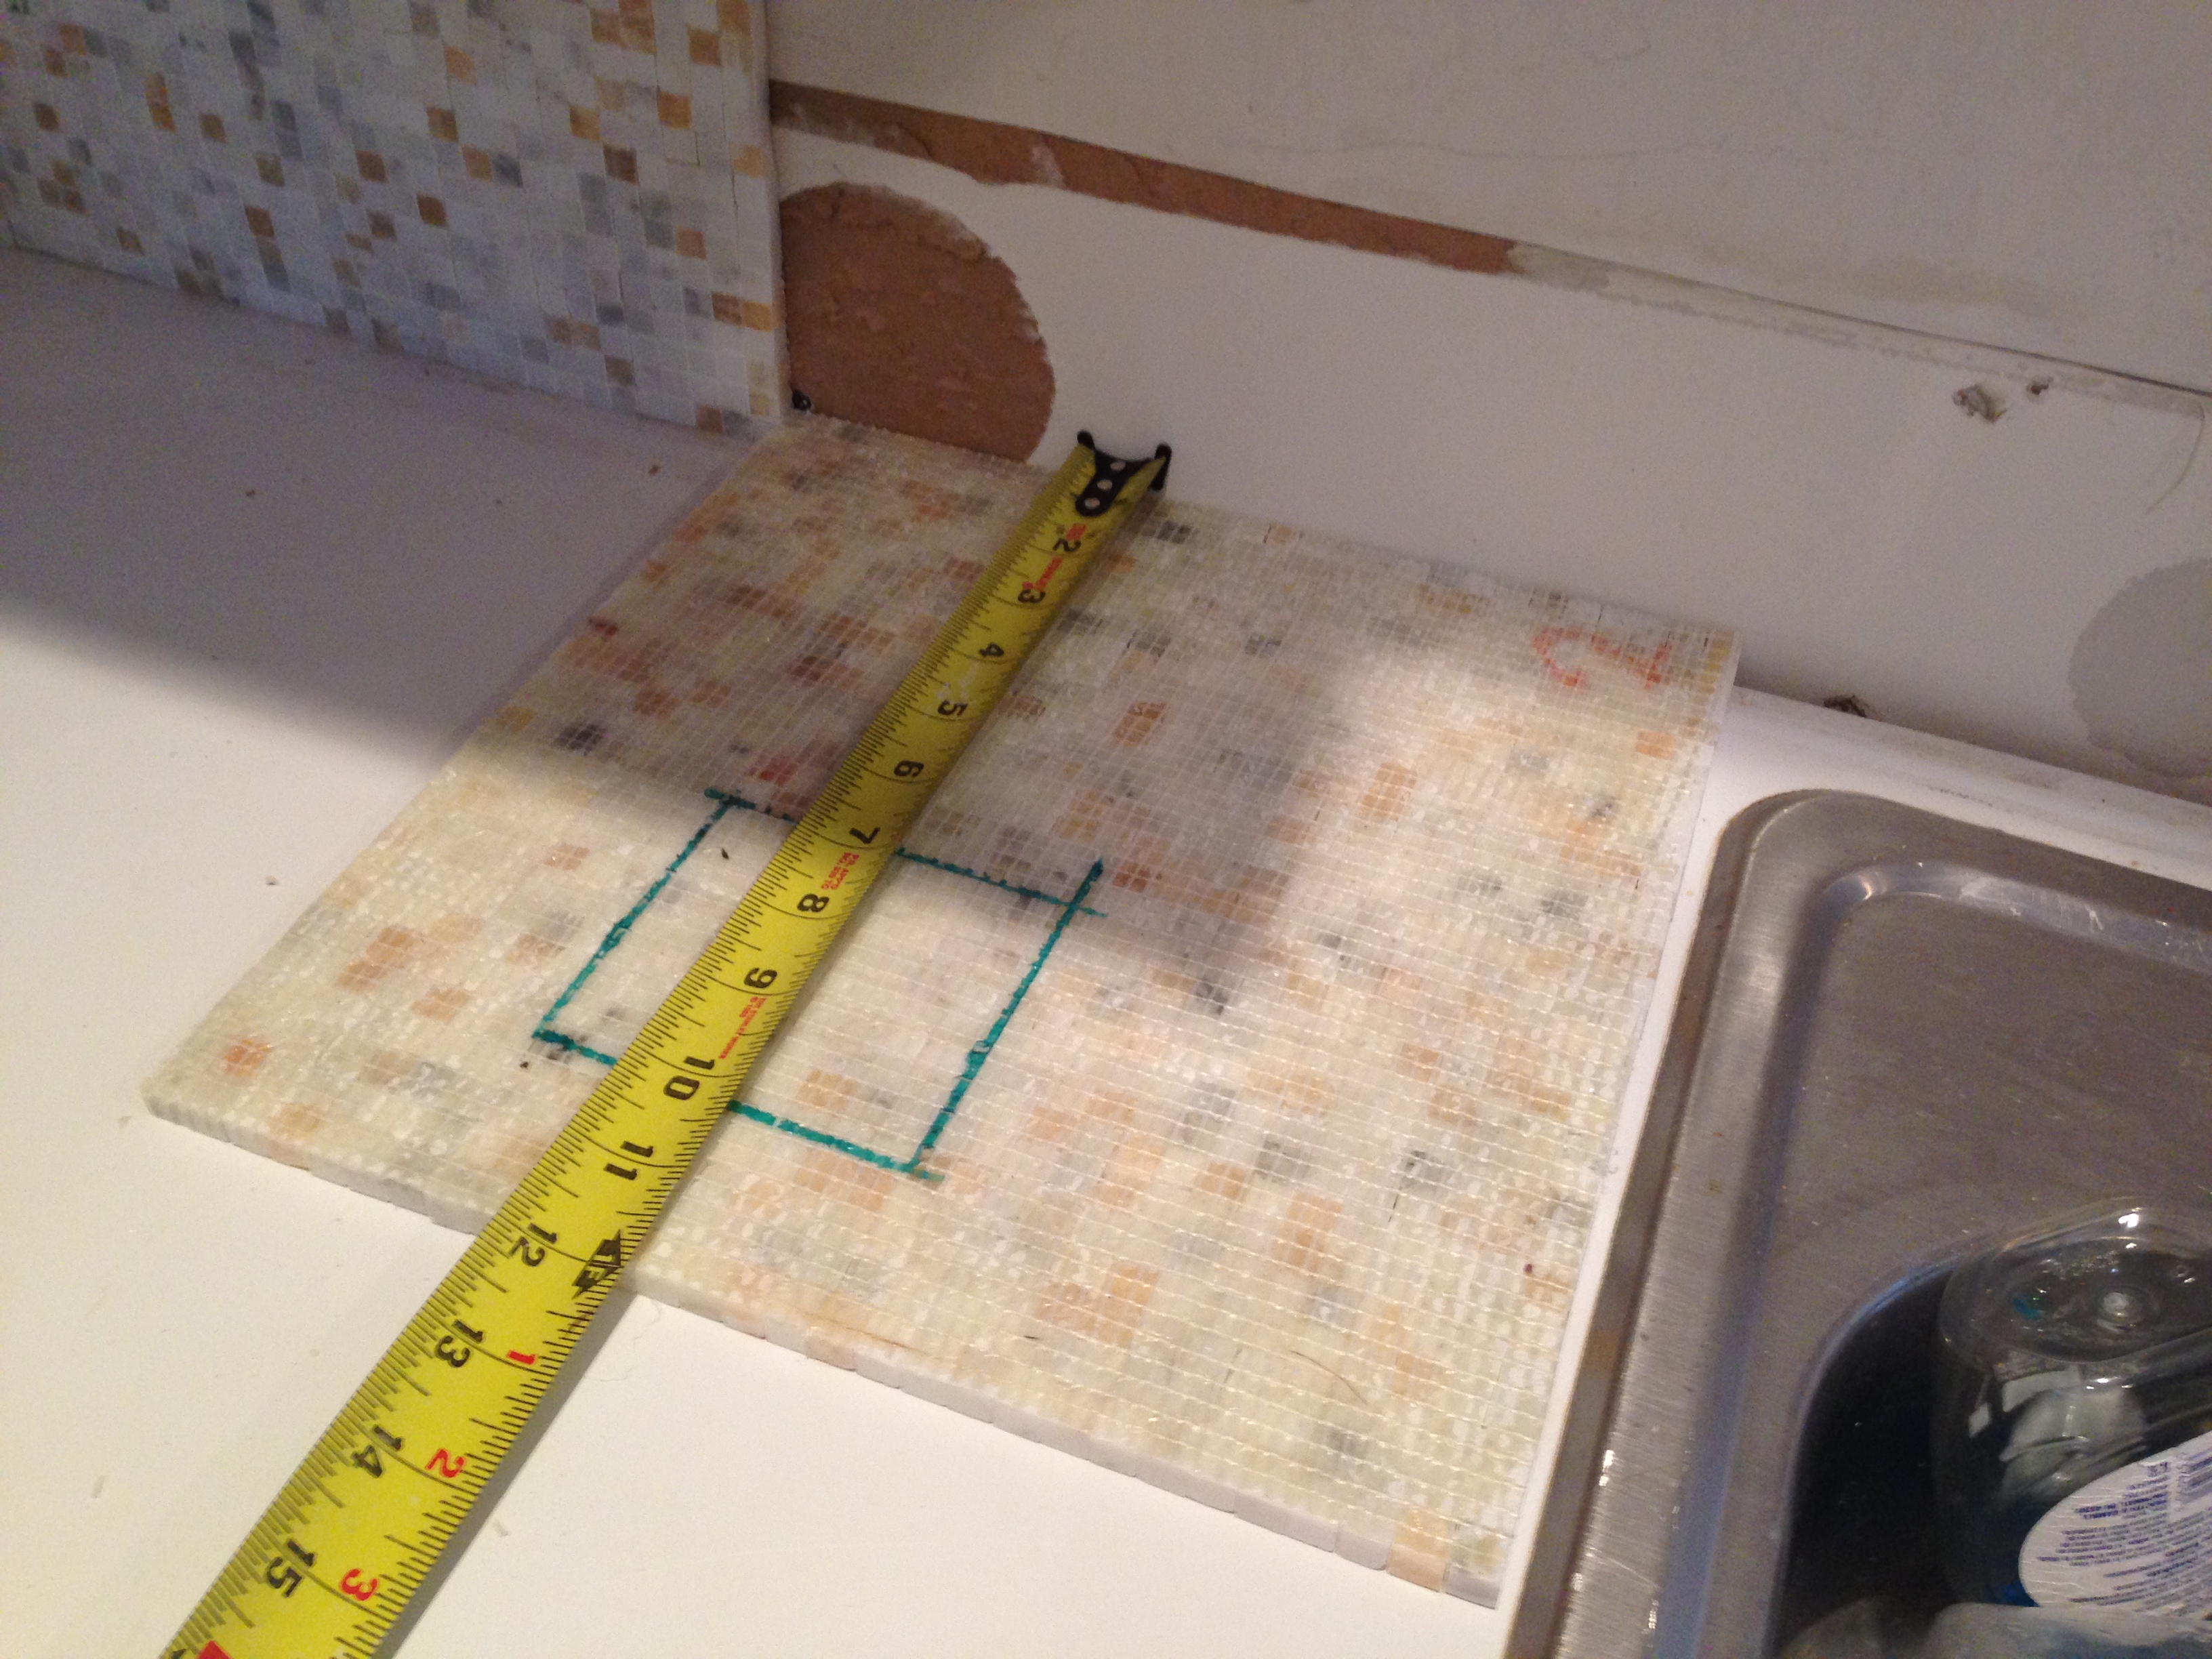
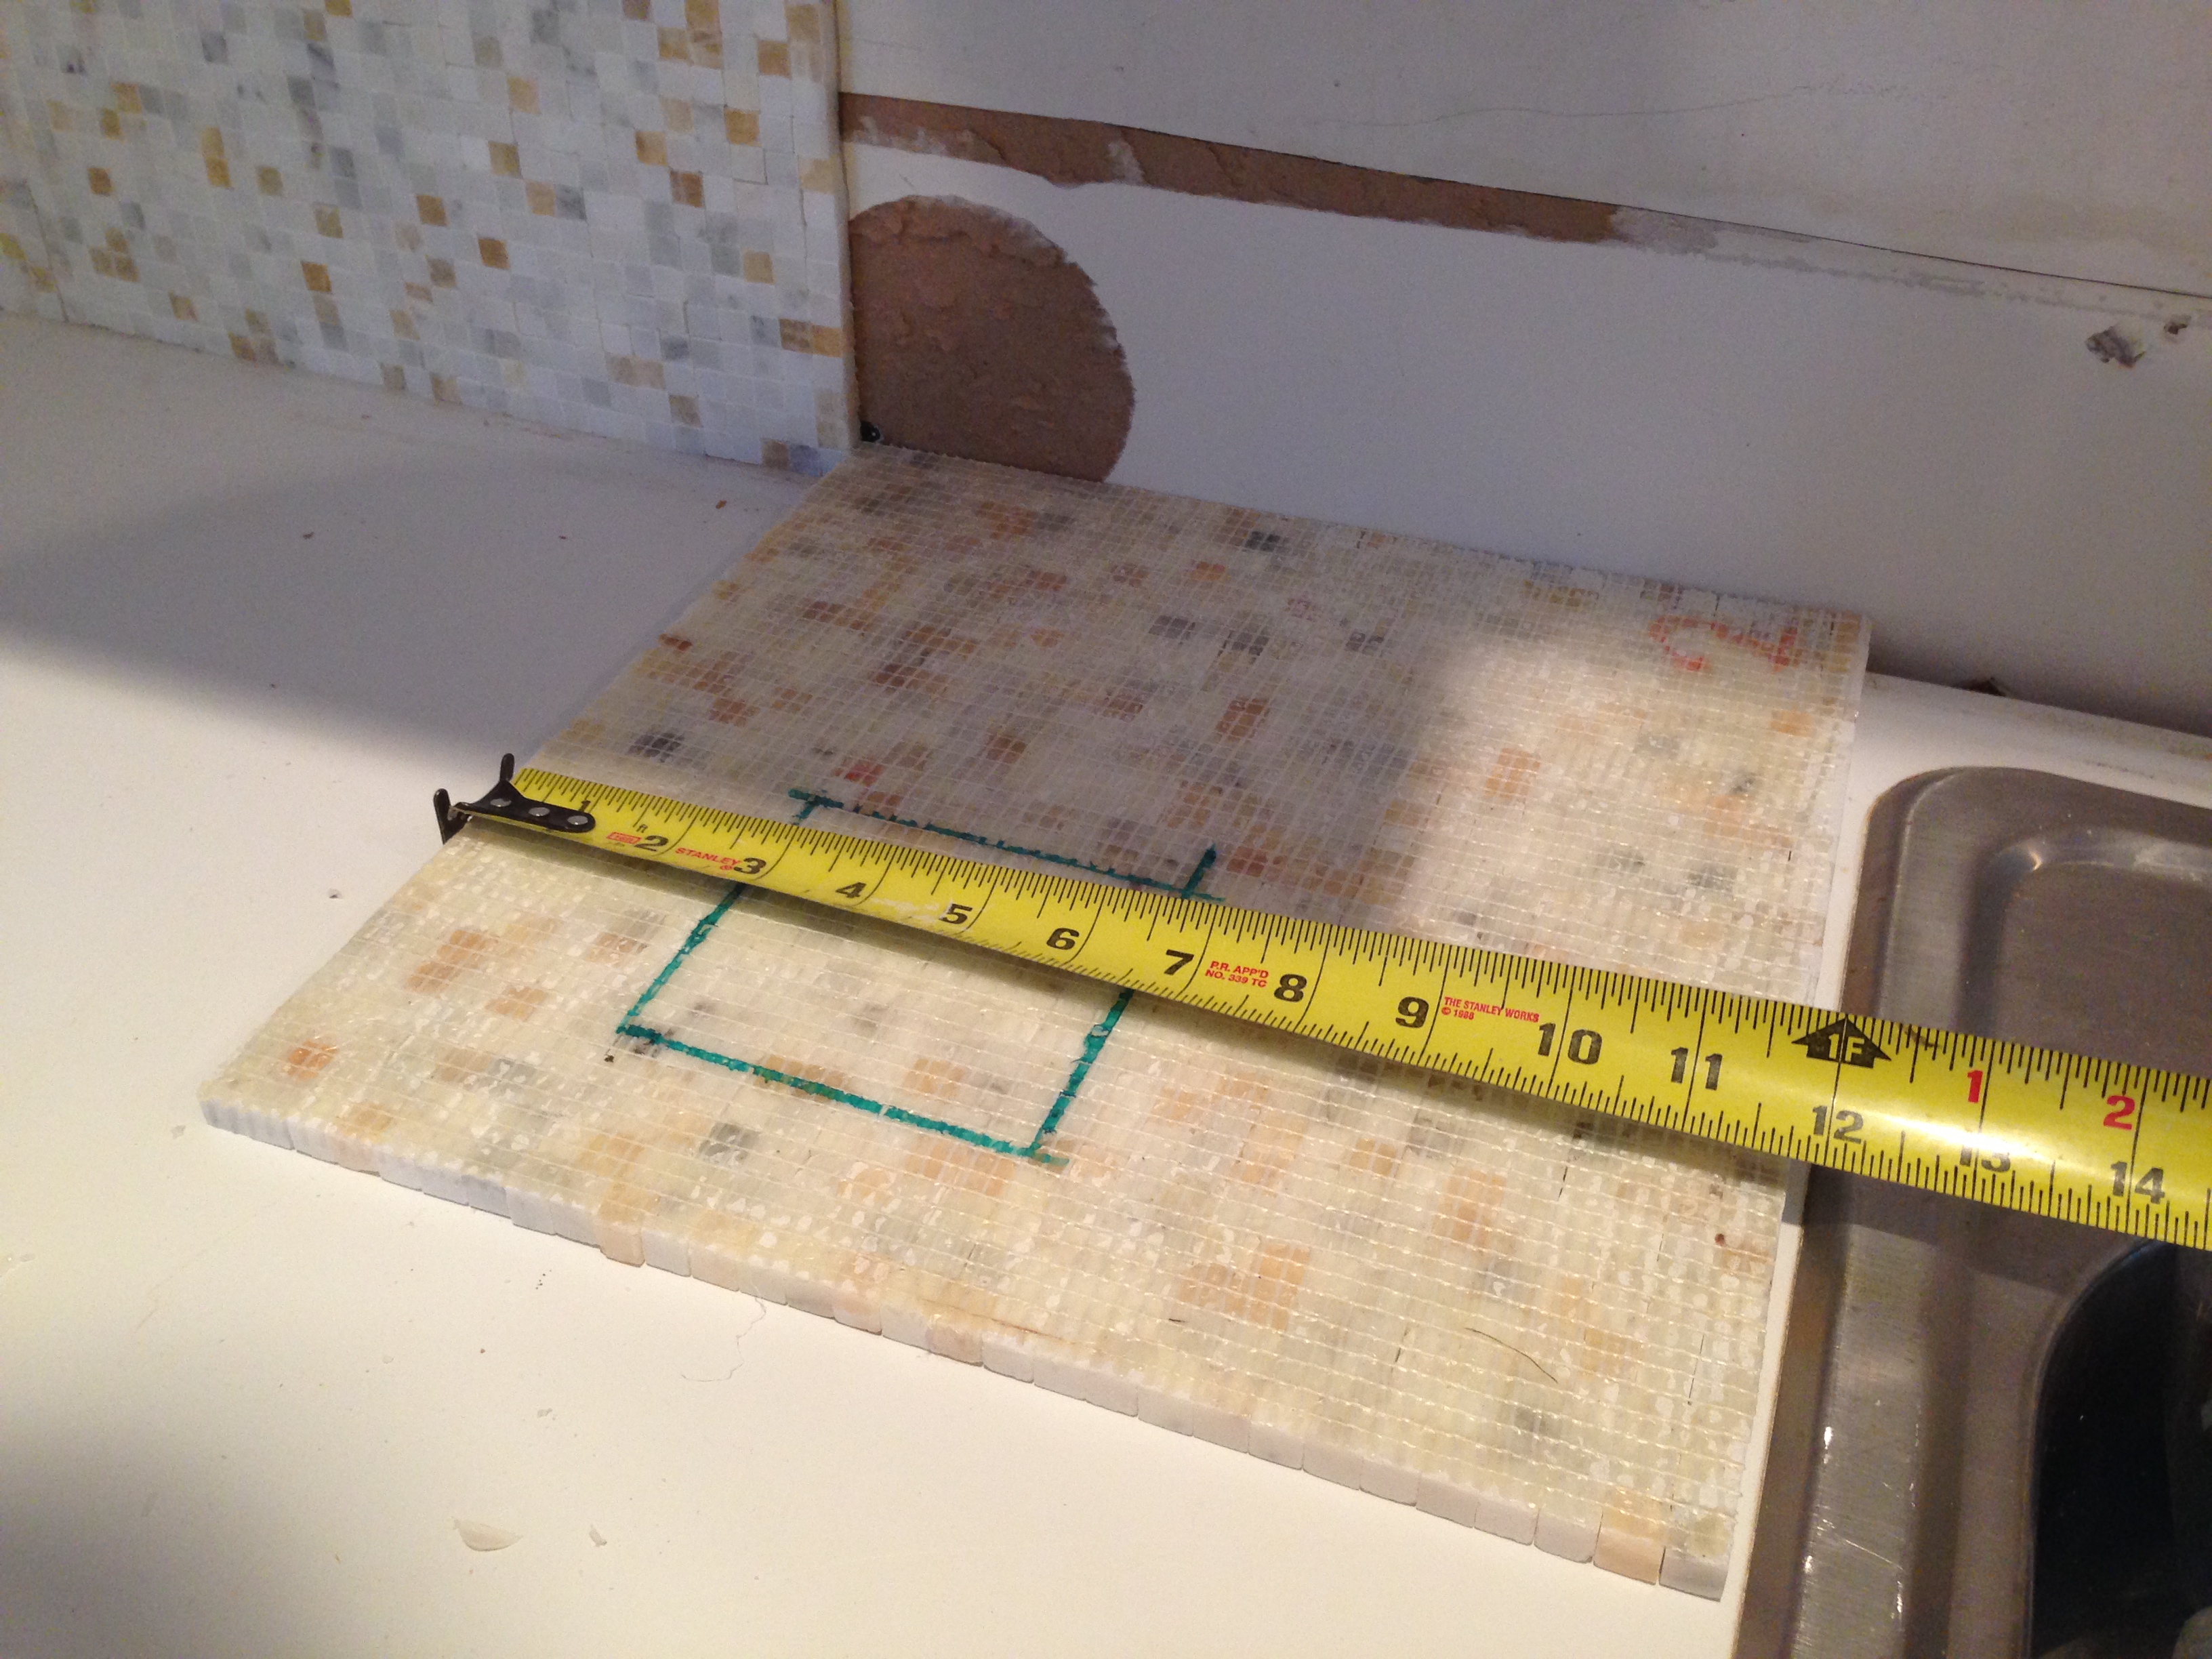
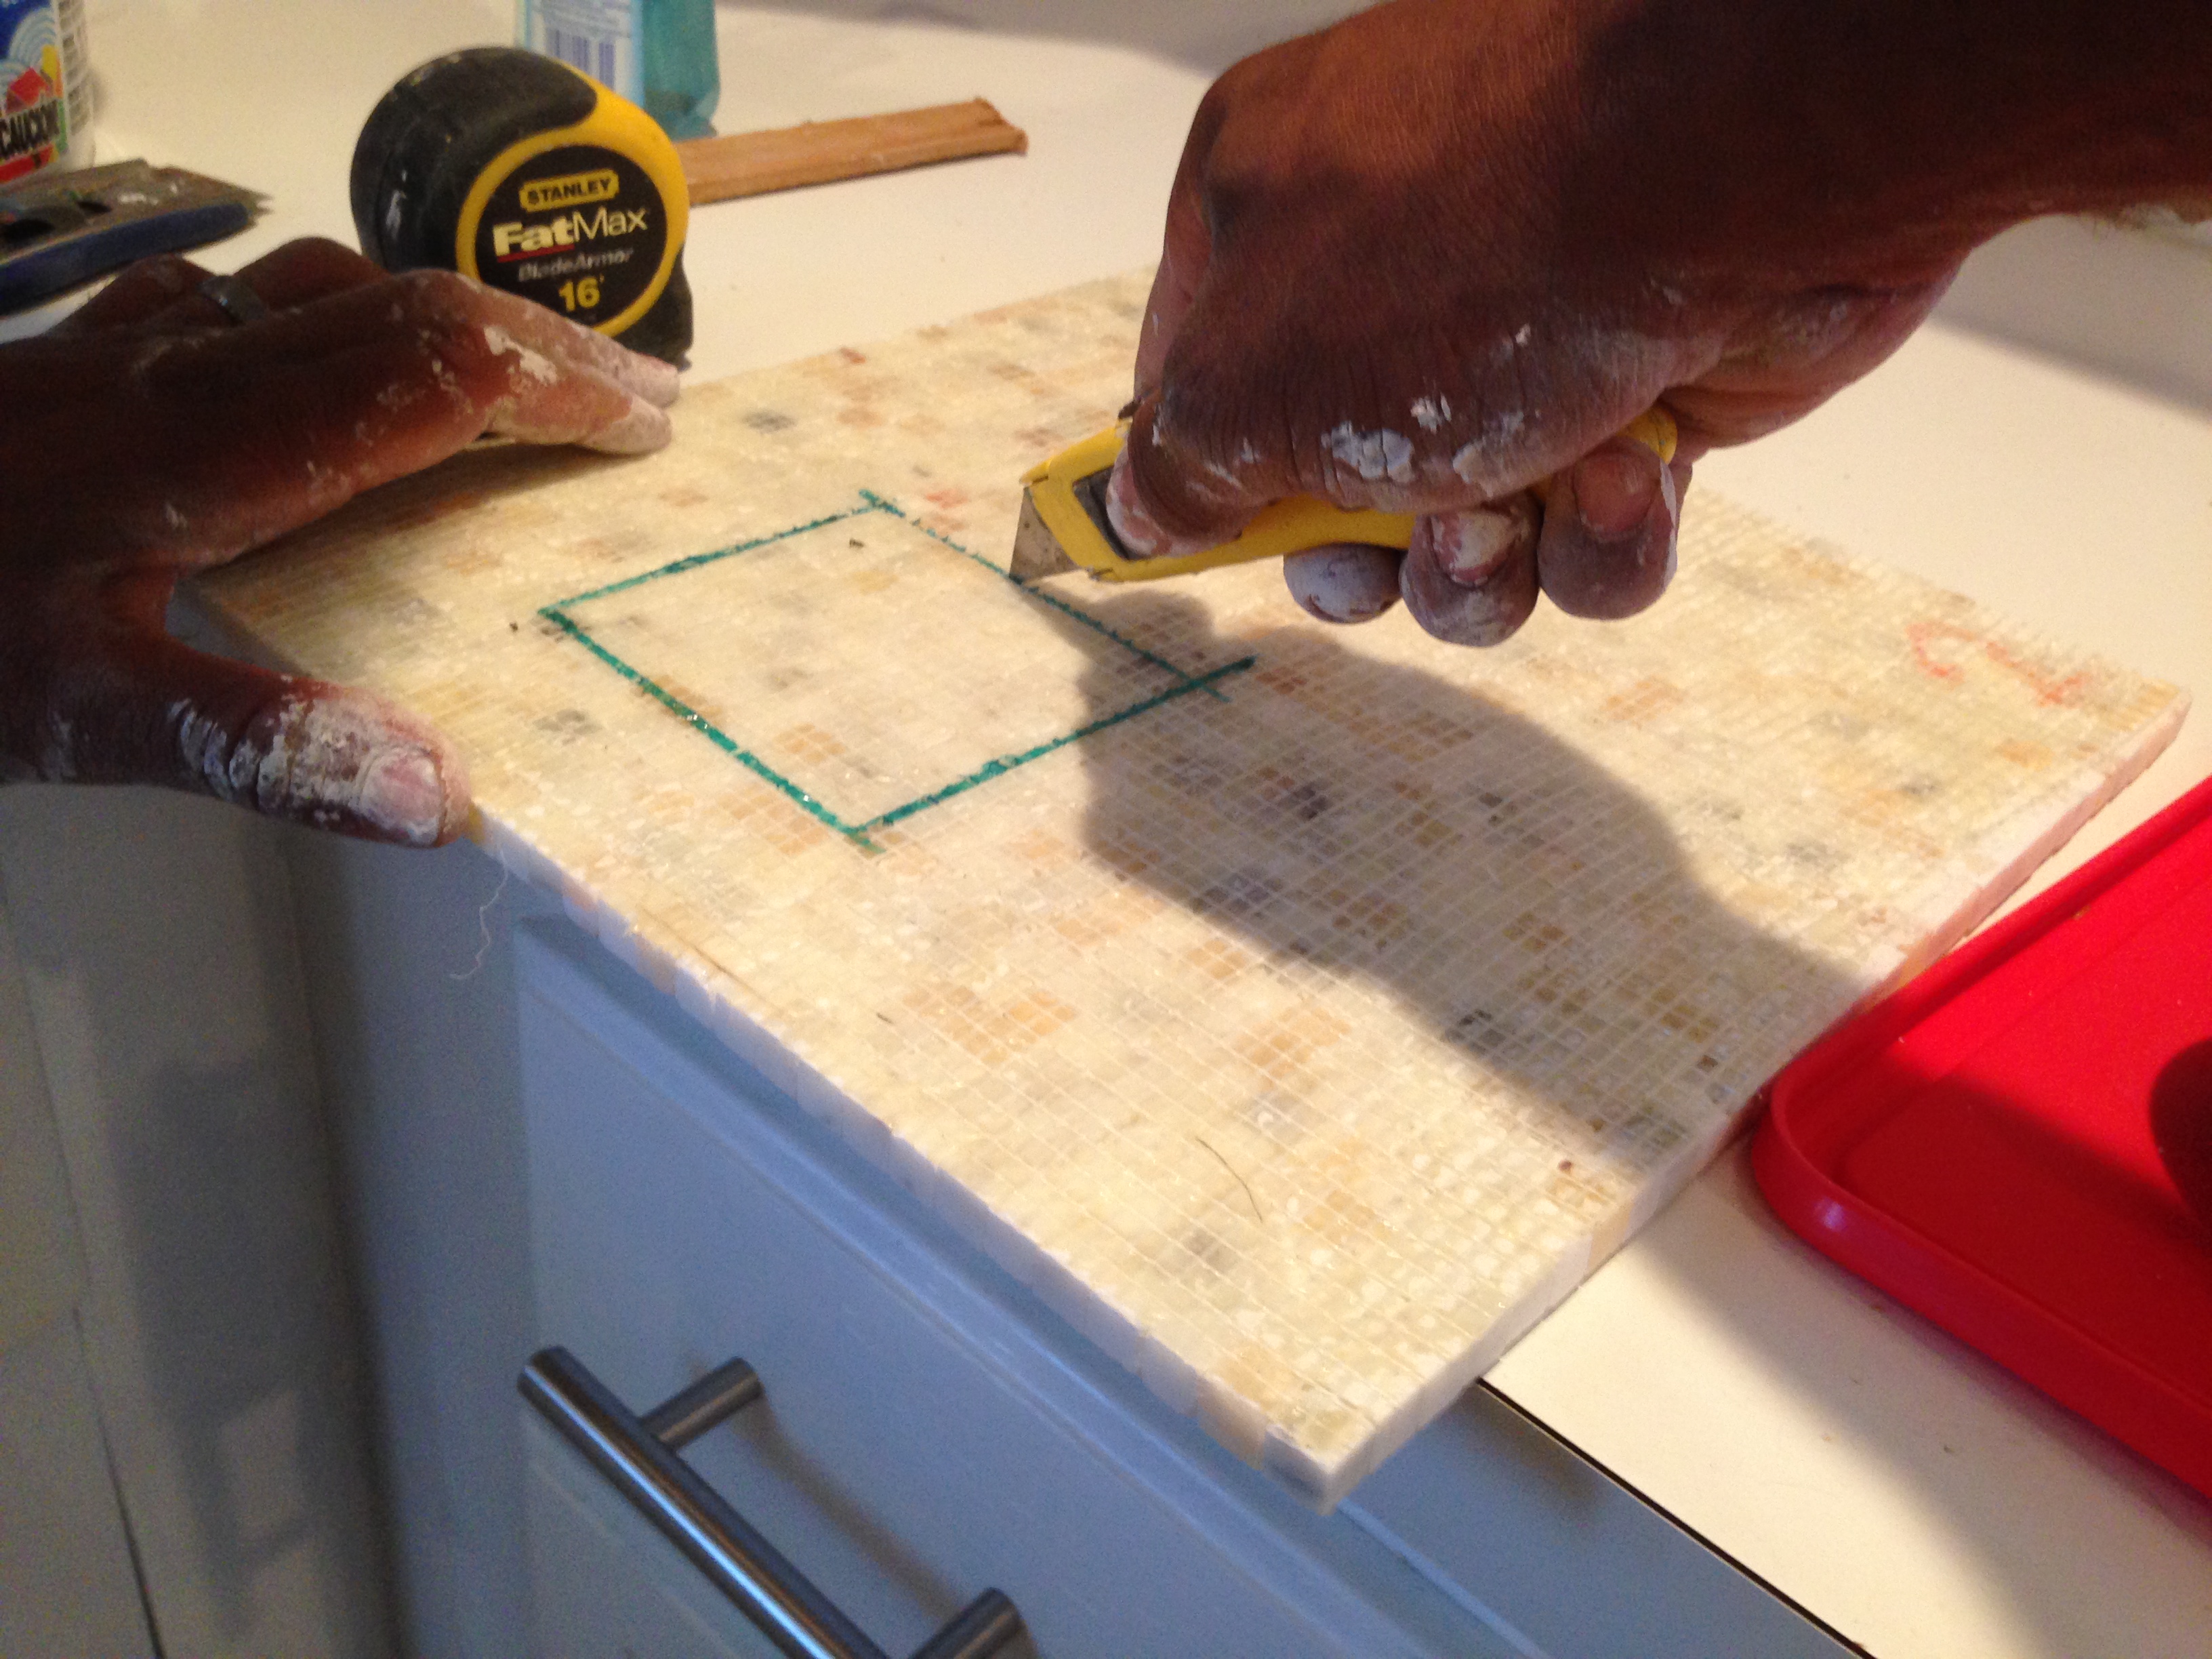
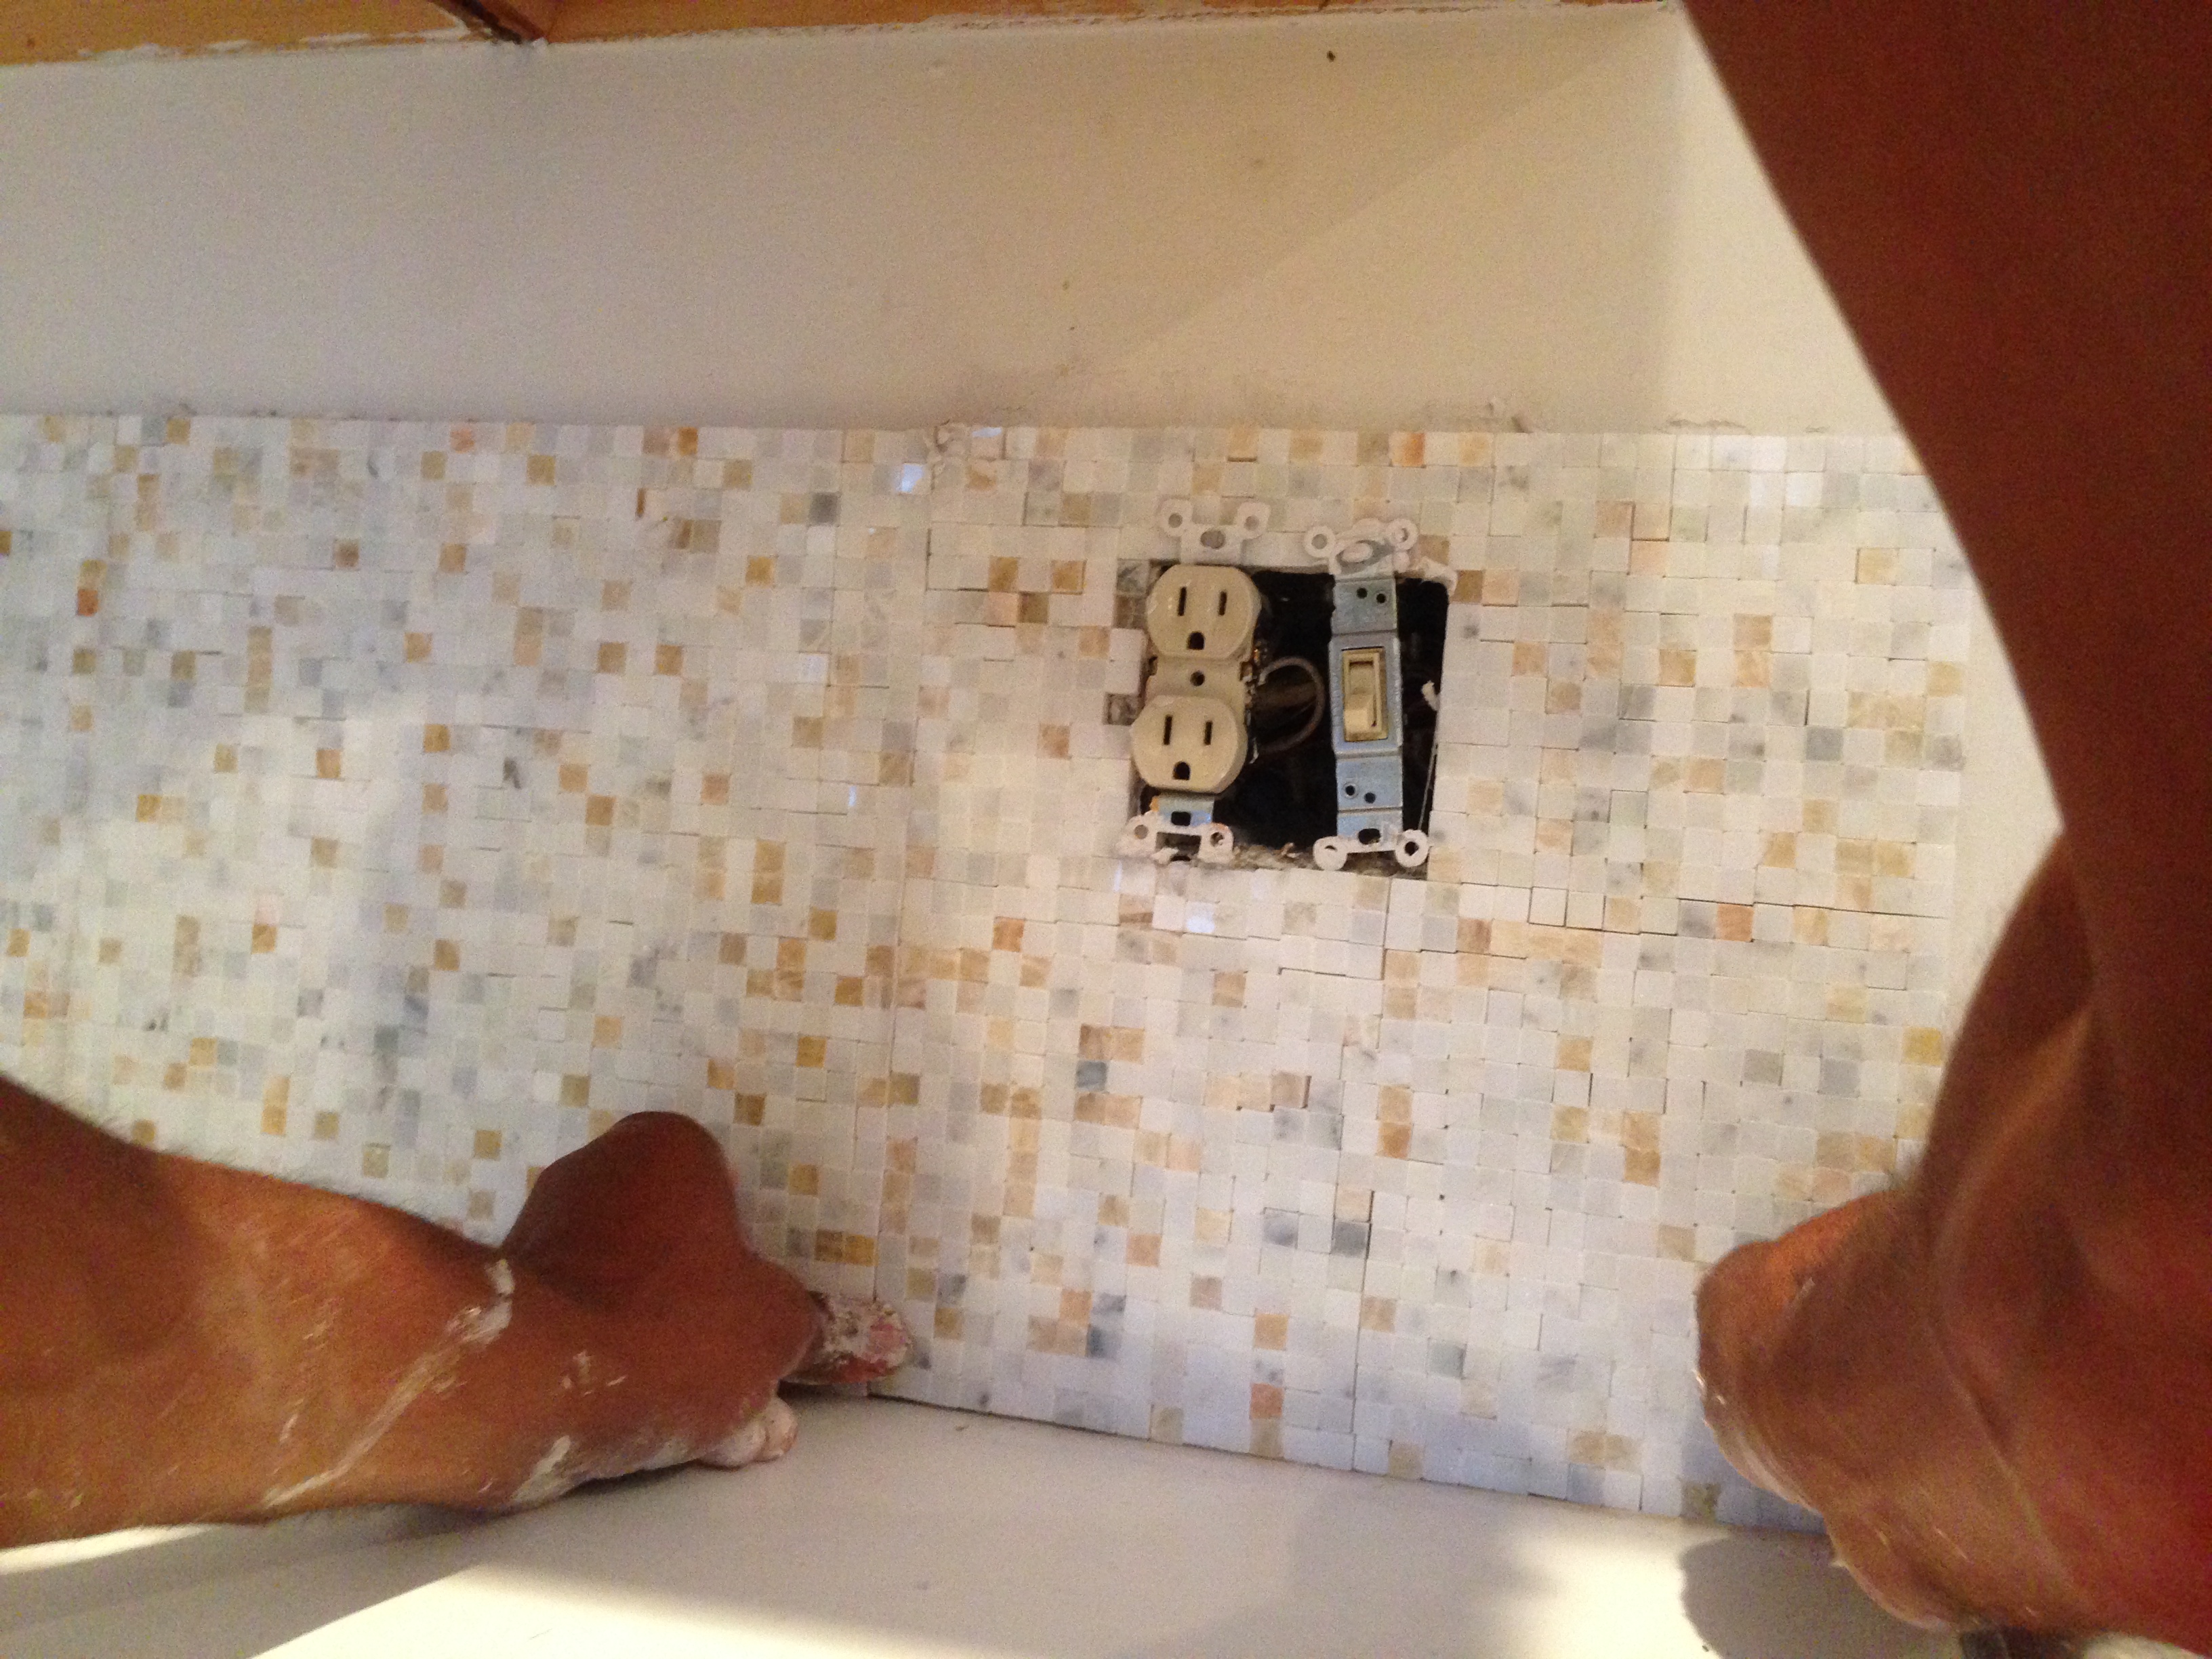
To get around the outlets, we measured the distance from the counter to the bottom and top sides of the outlet. Then we measured the distance from the end of the adjacent tile to the left and right sides of the outlet. We applied those exact same measurements to the tile itself, so we would know where to cut the hole.
After we got all of the tiles up on the wall, we let them dry for a few hours before grouting. Since the cracks were so tiny, we really didn’t need that much grout at all. We have over half of our 1/2 gallon container left!
After applying the grout, we let it dry for about 10 minutes before wiping it off with the haze sponge. The haze sponge got all of the grout off much quicker and easier than a regular sponge.
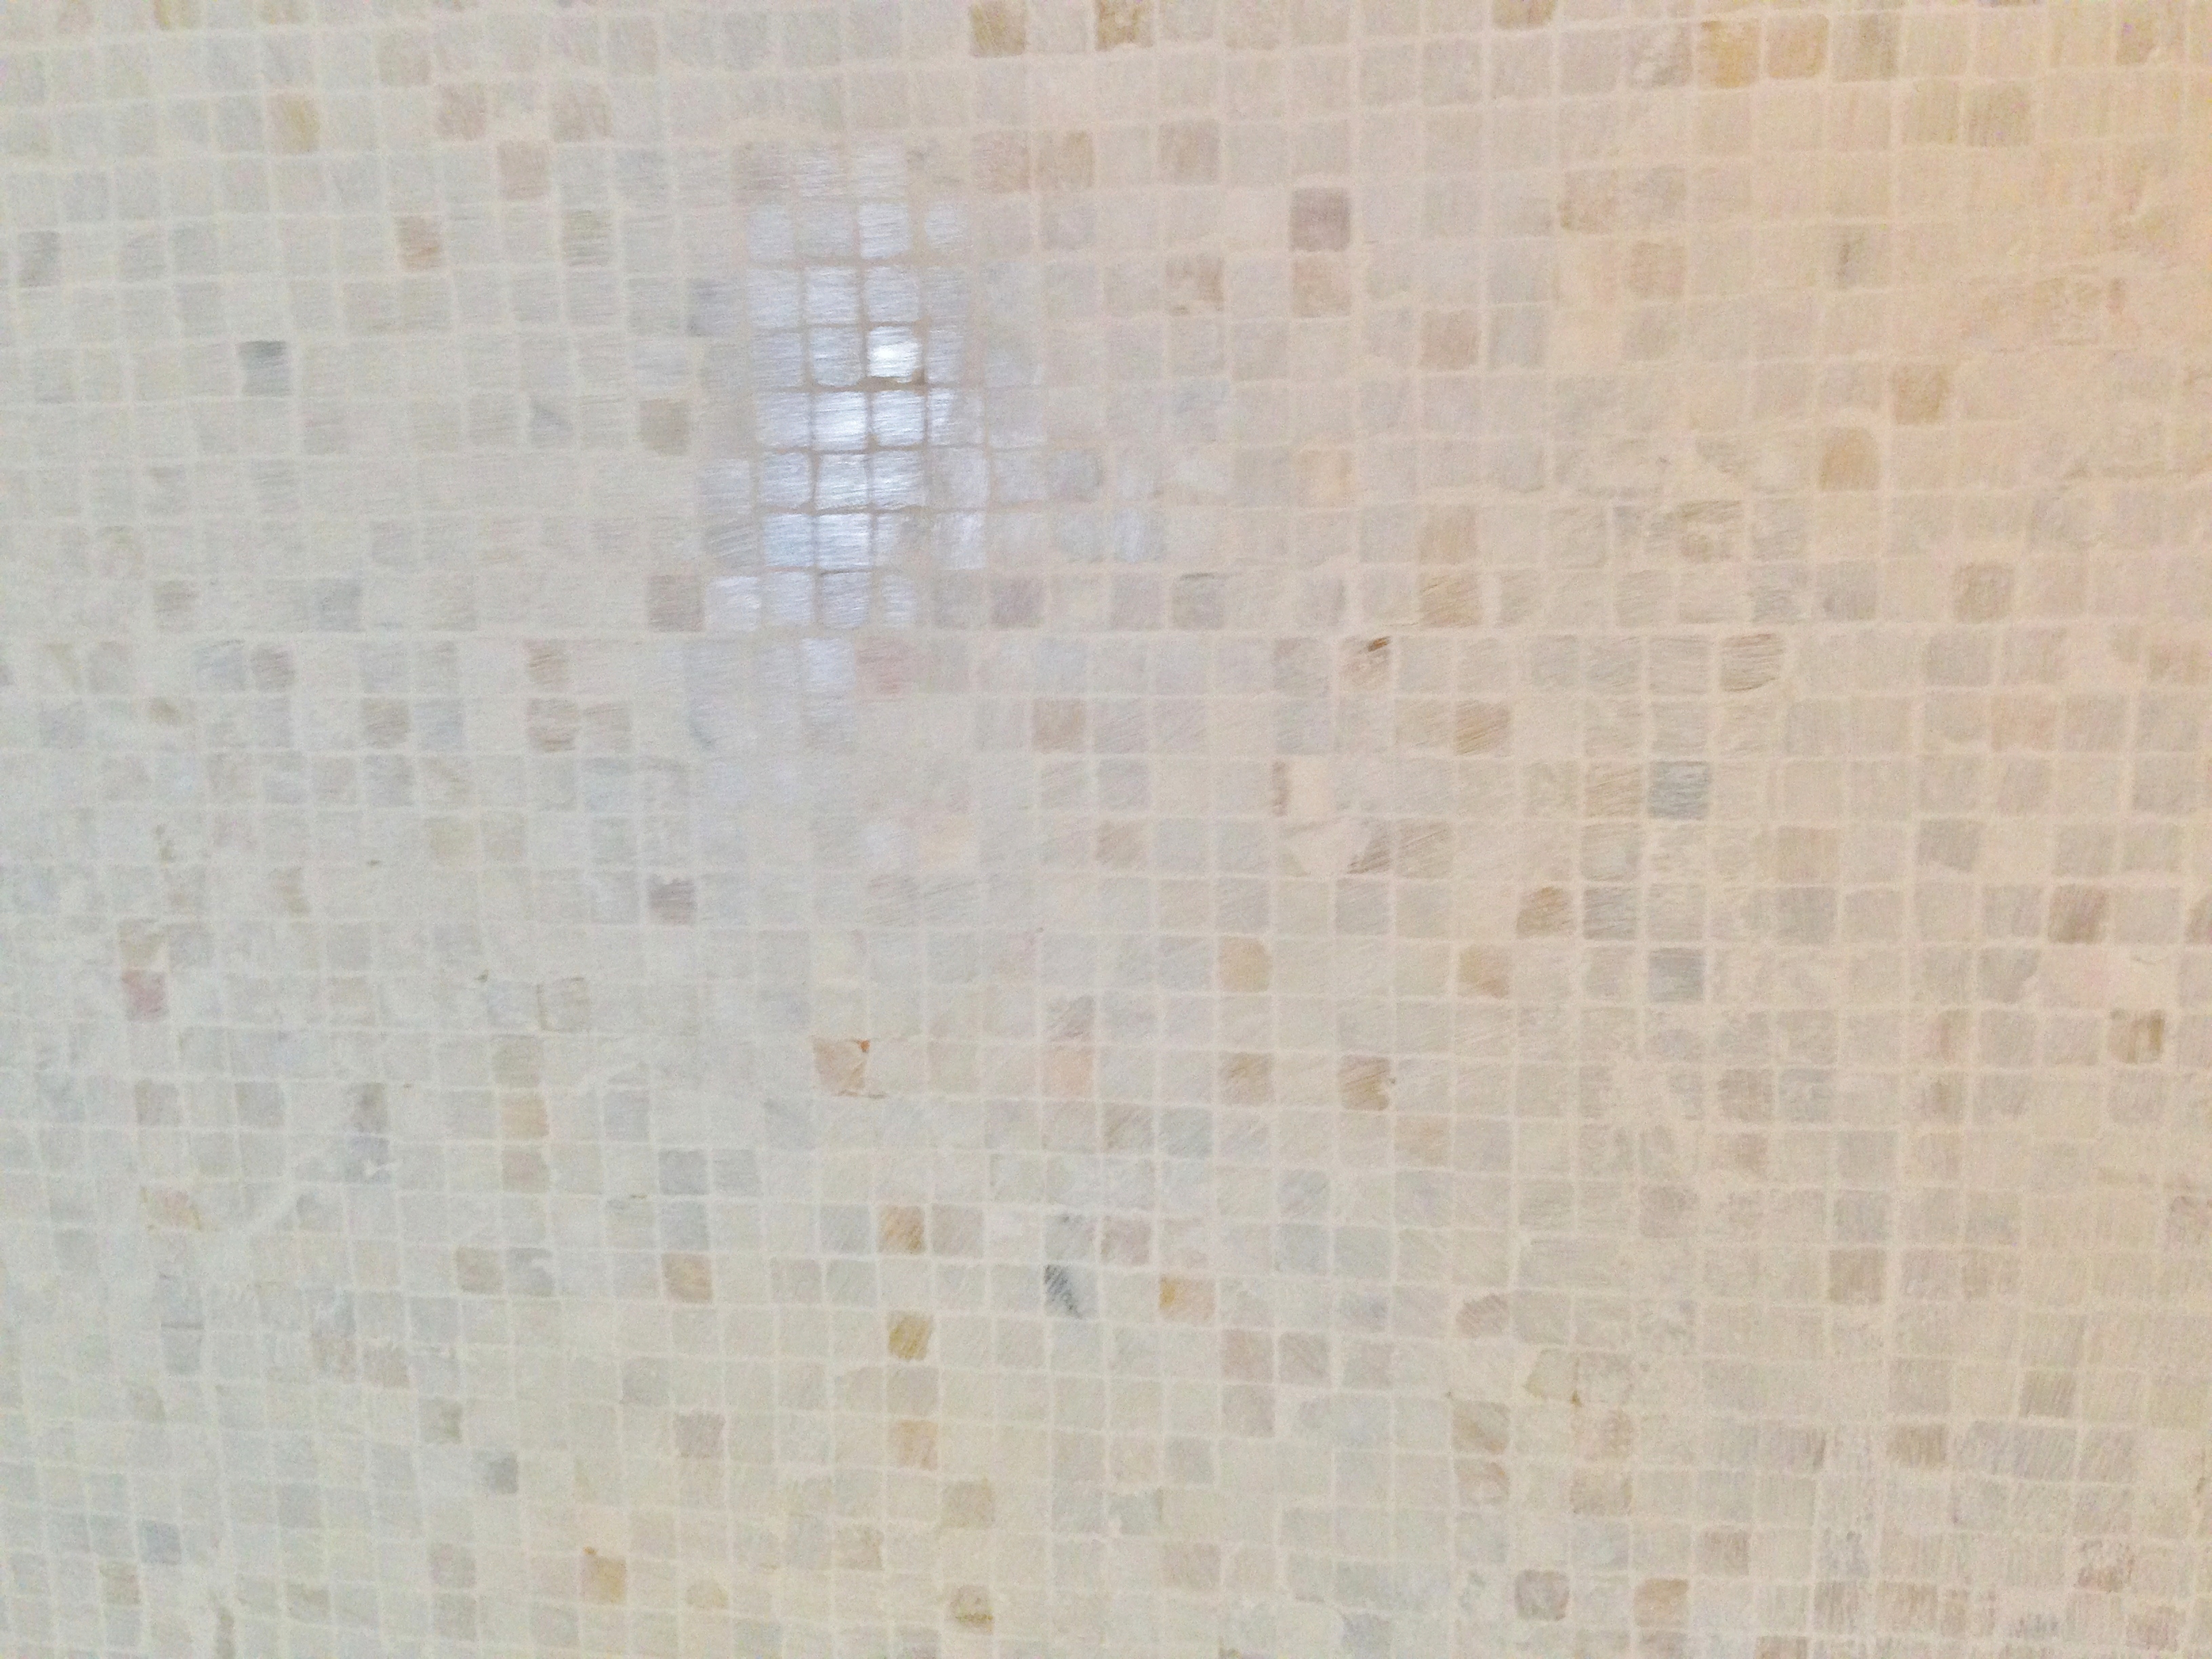
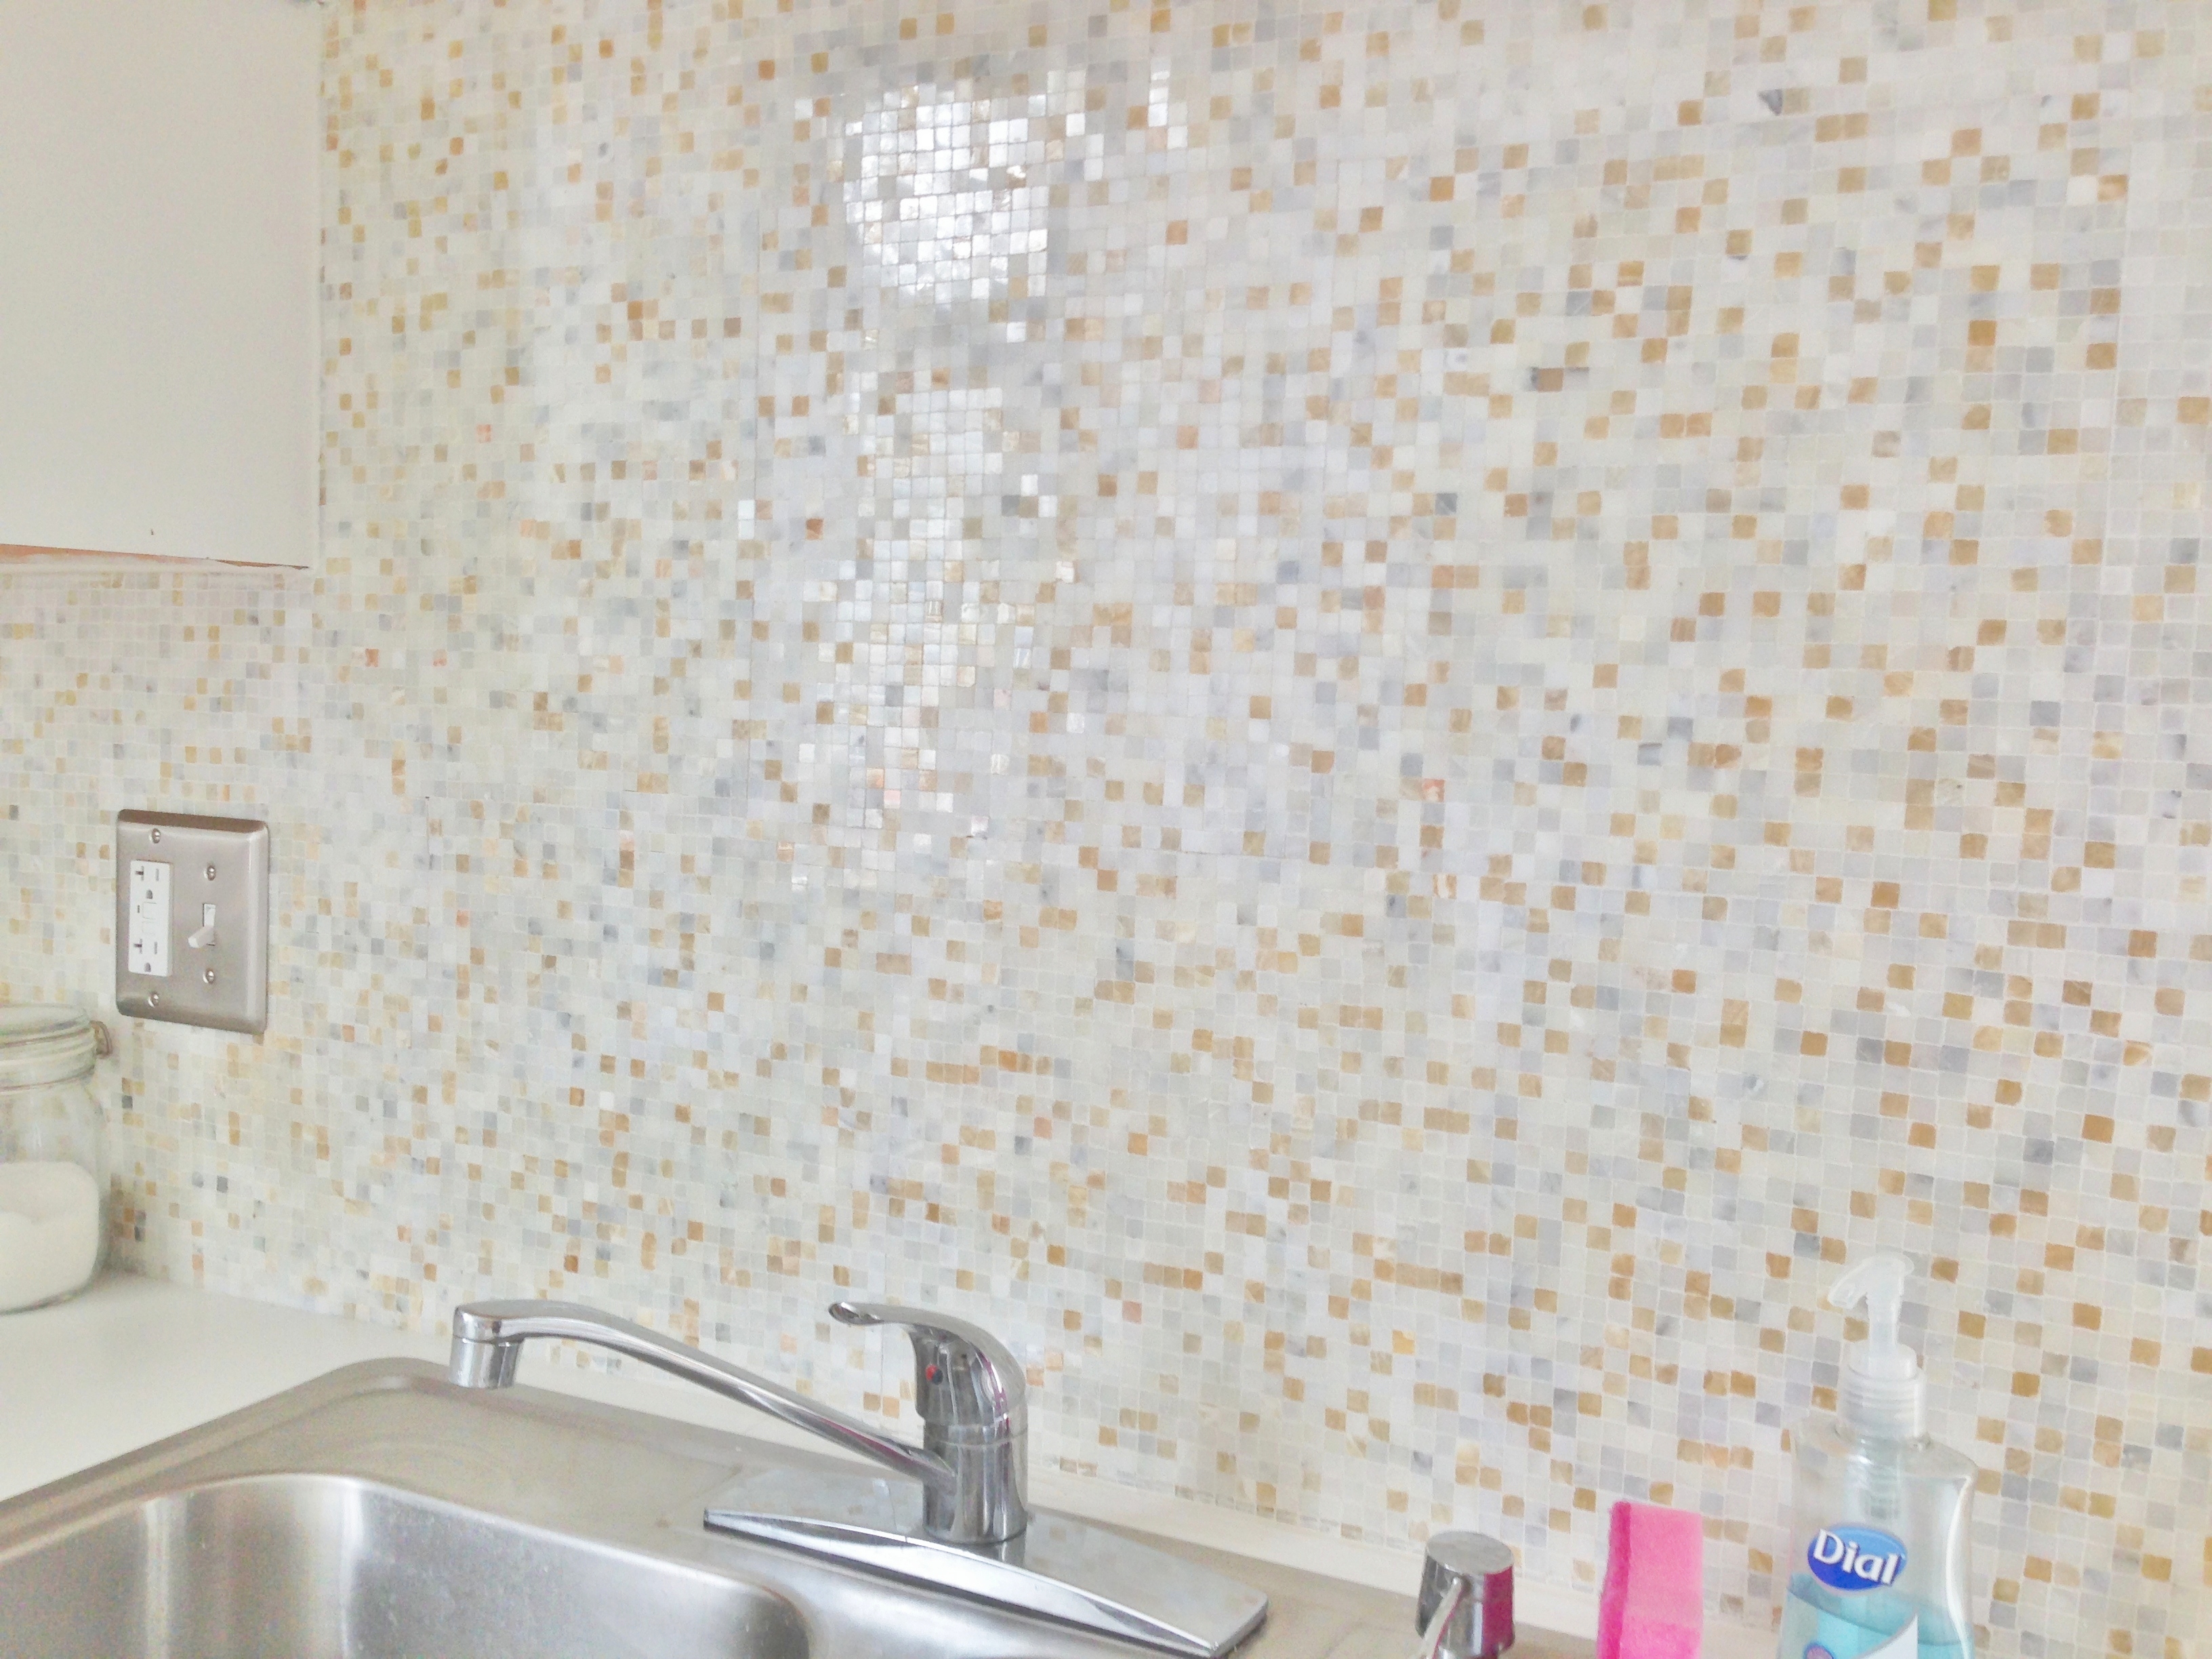
This is what the area above the sink looked like after we wiped off all of the excess grout. So shiny!
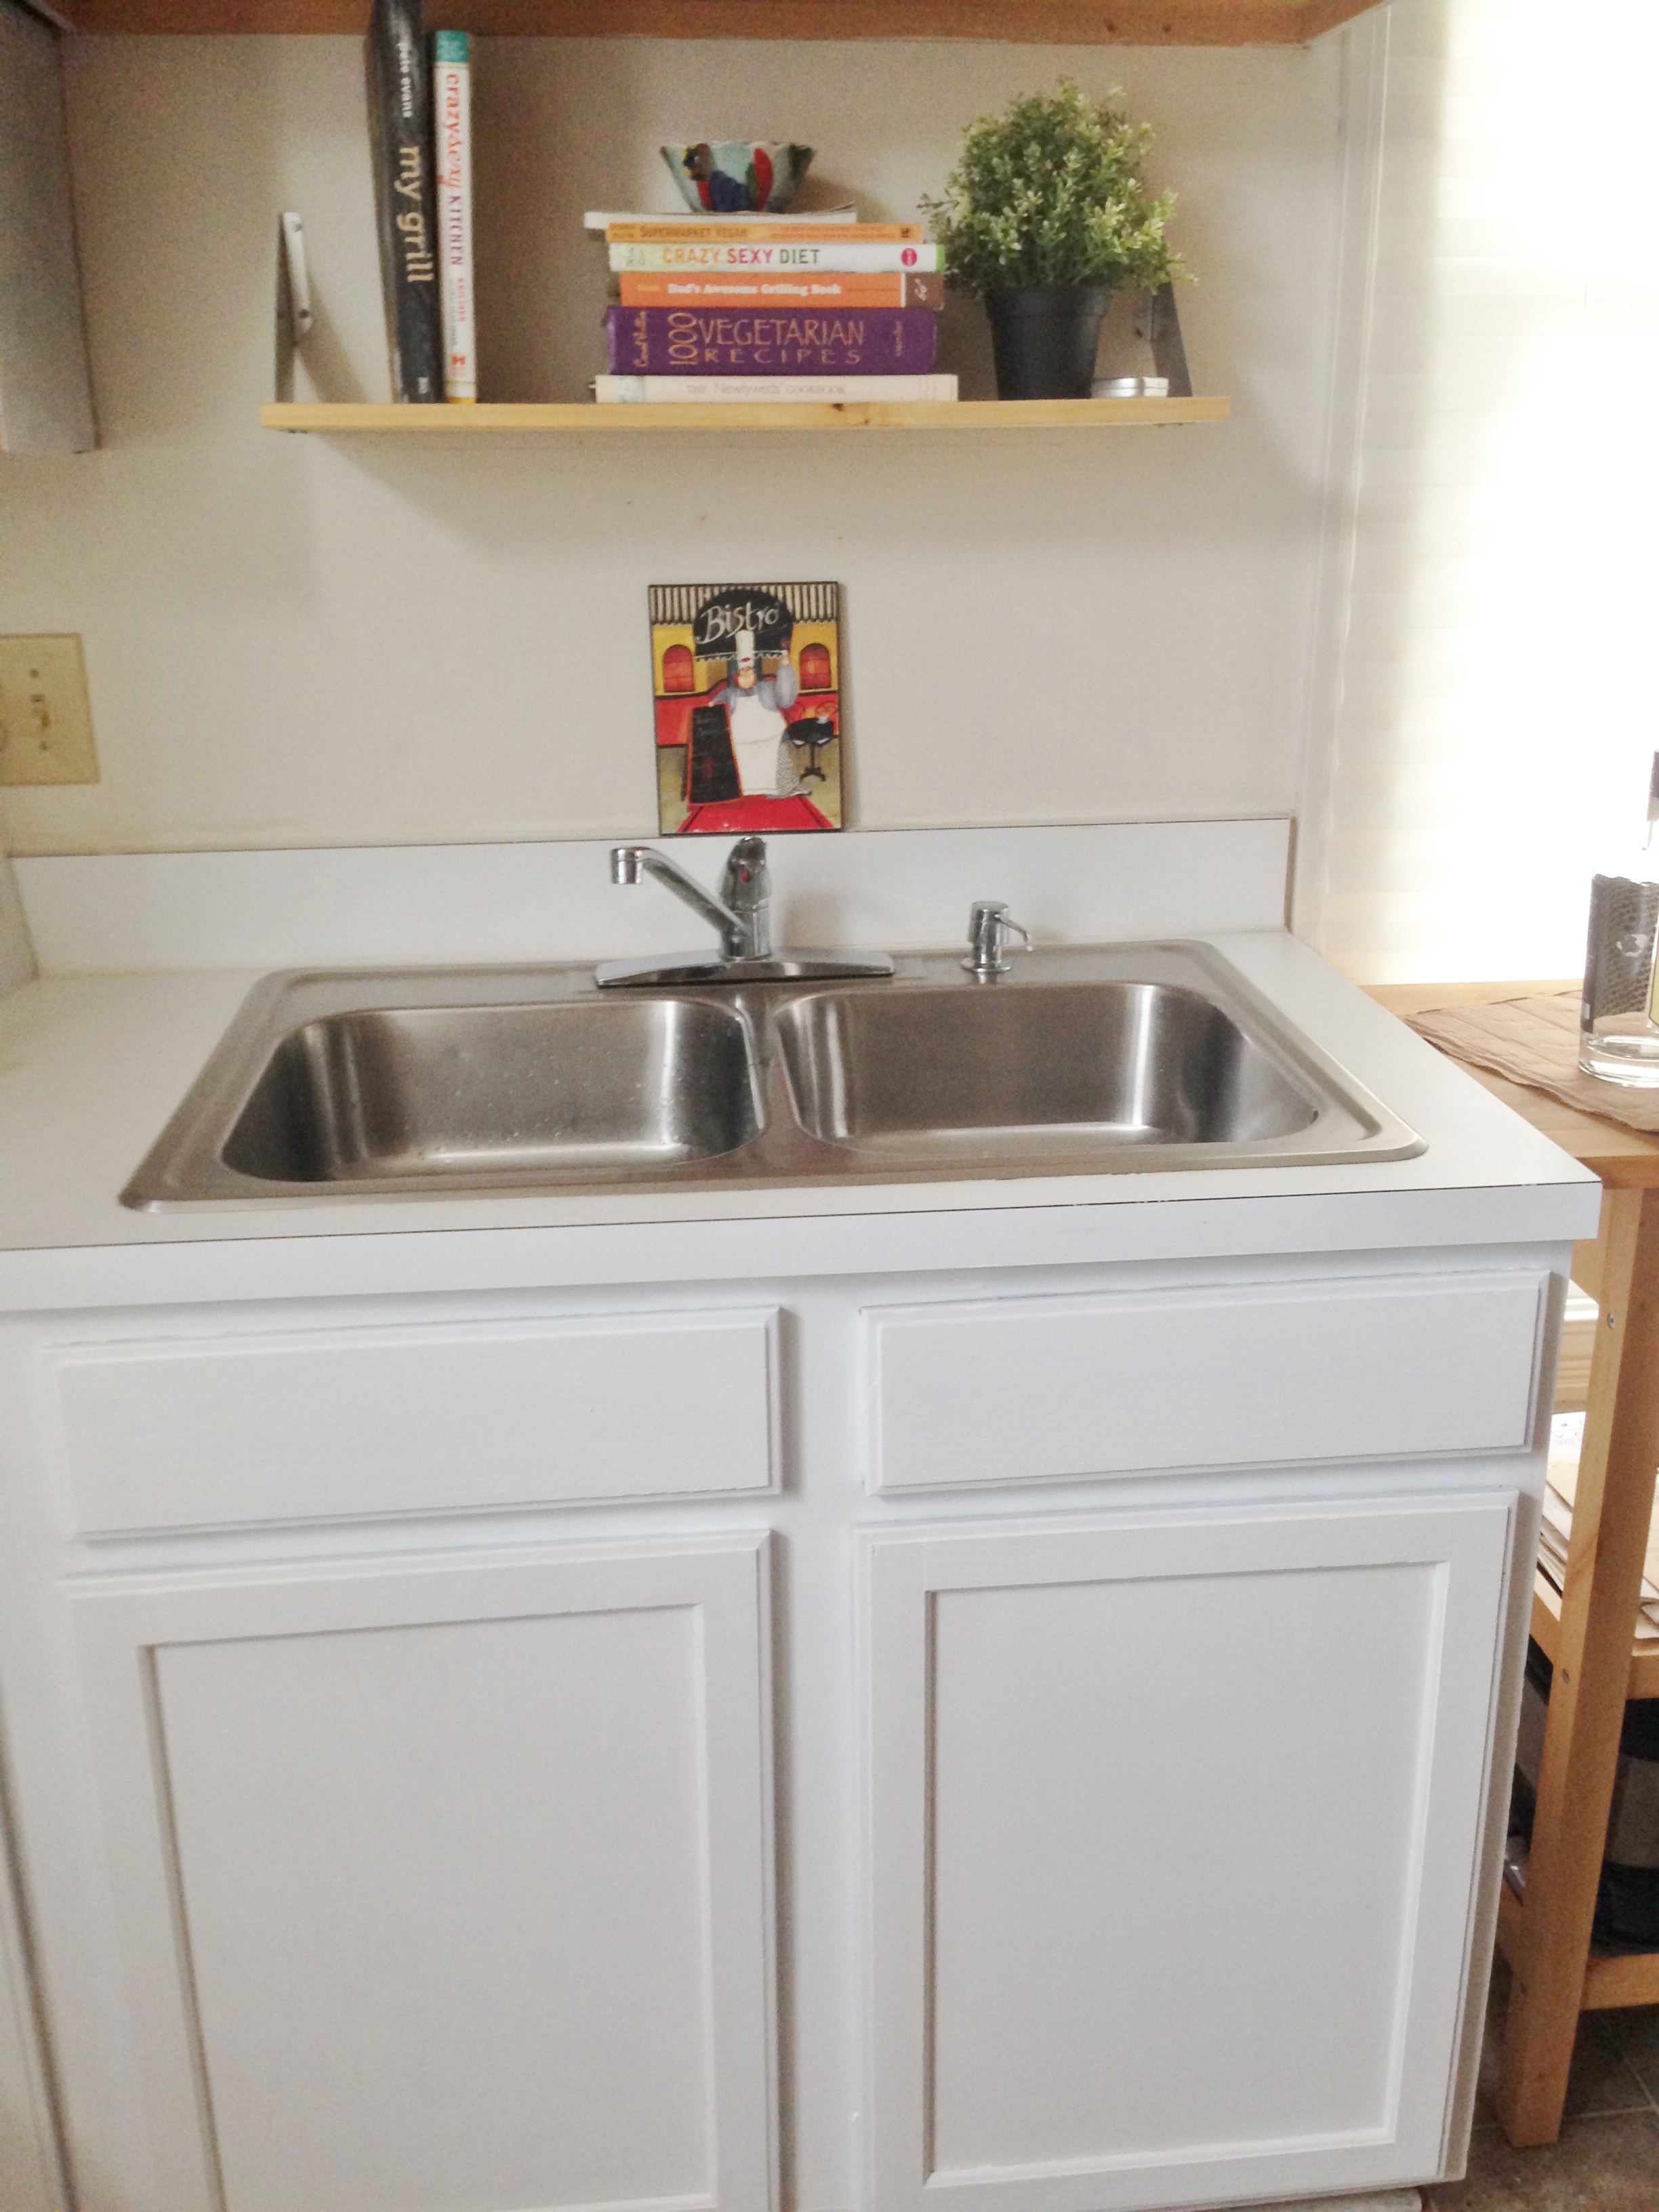
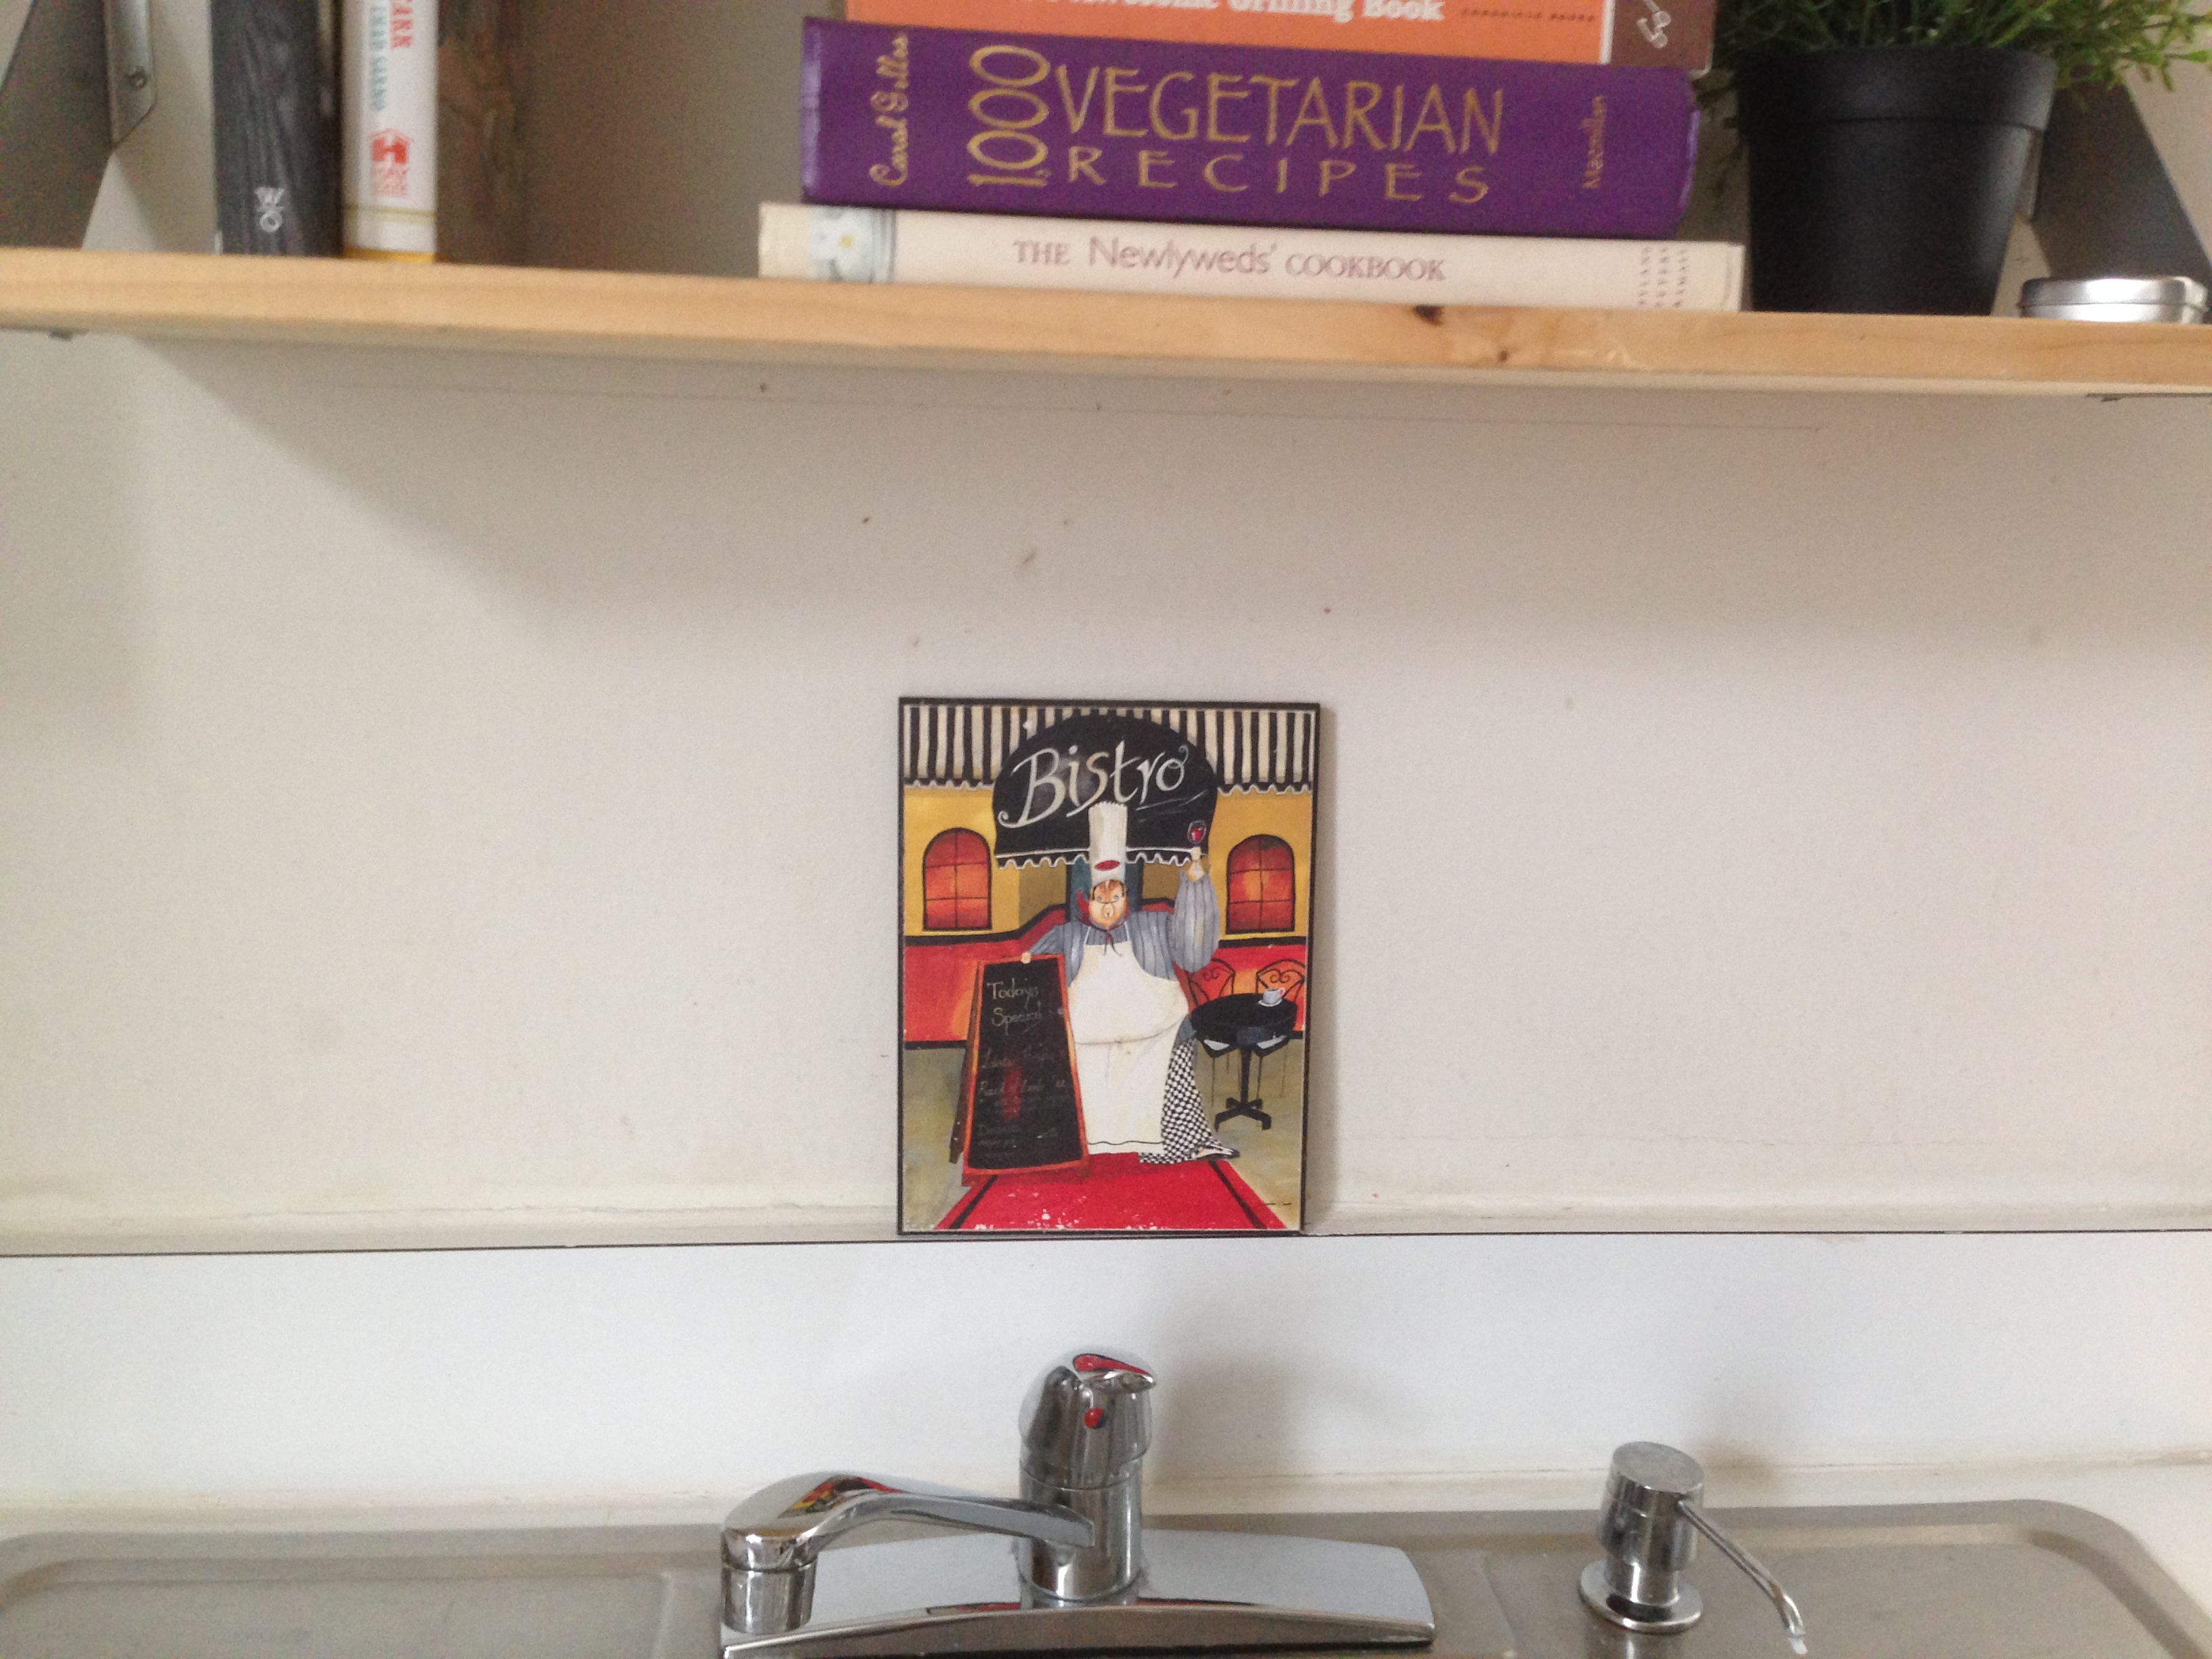
Remember what that same spot looked like before the new backsplash?
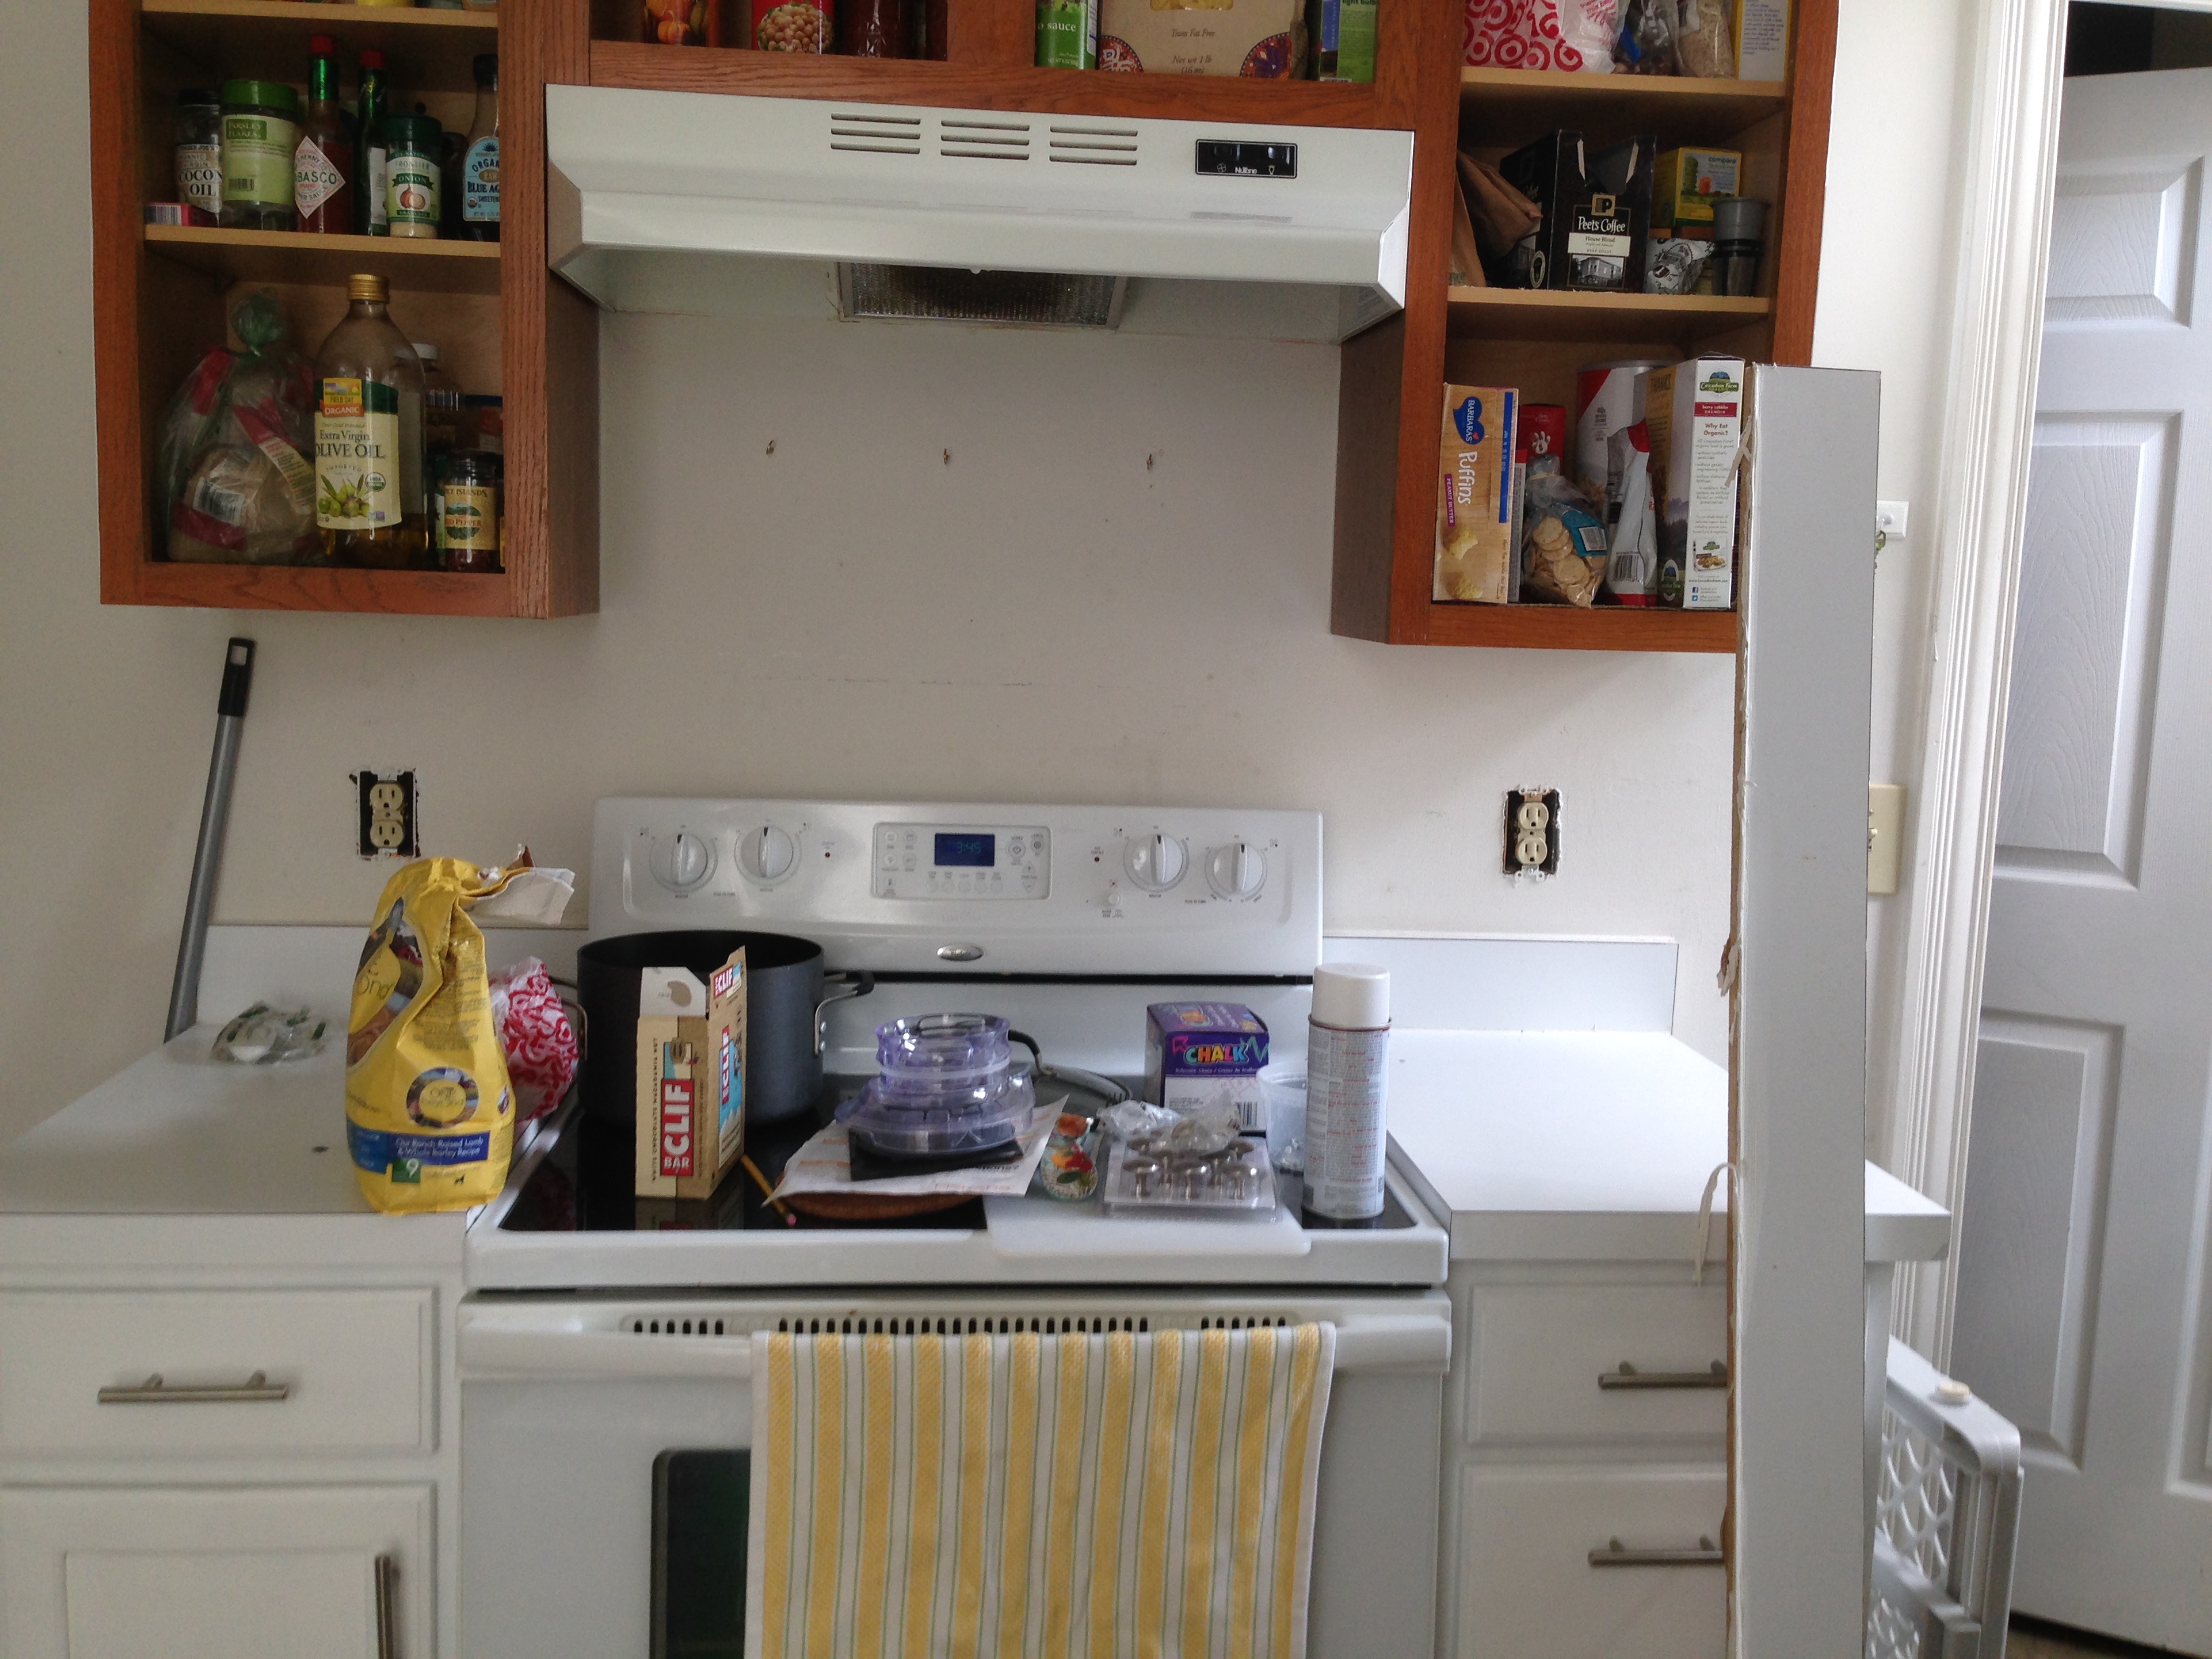
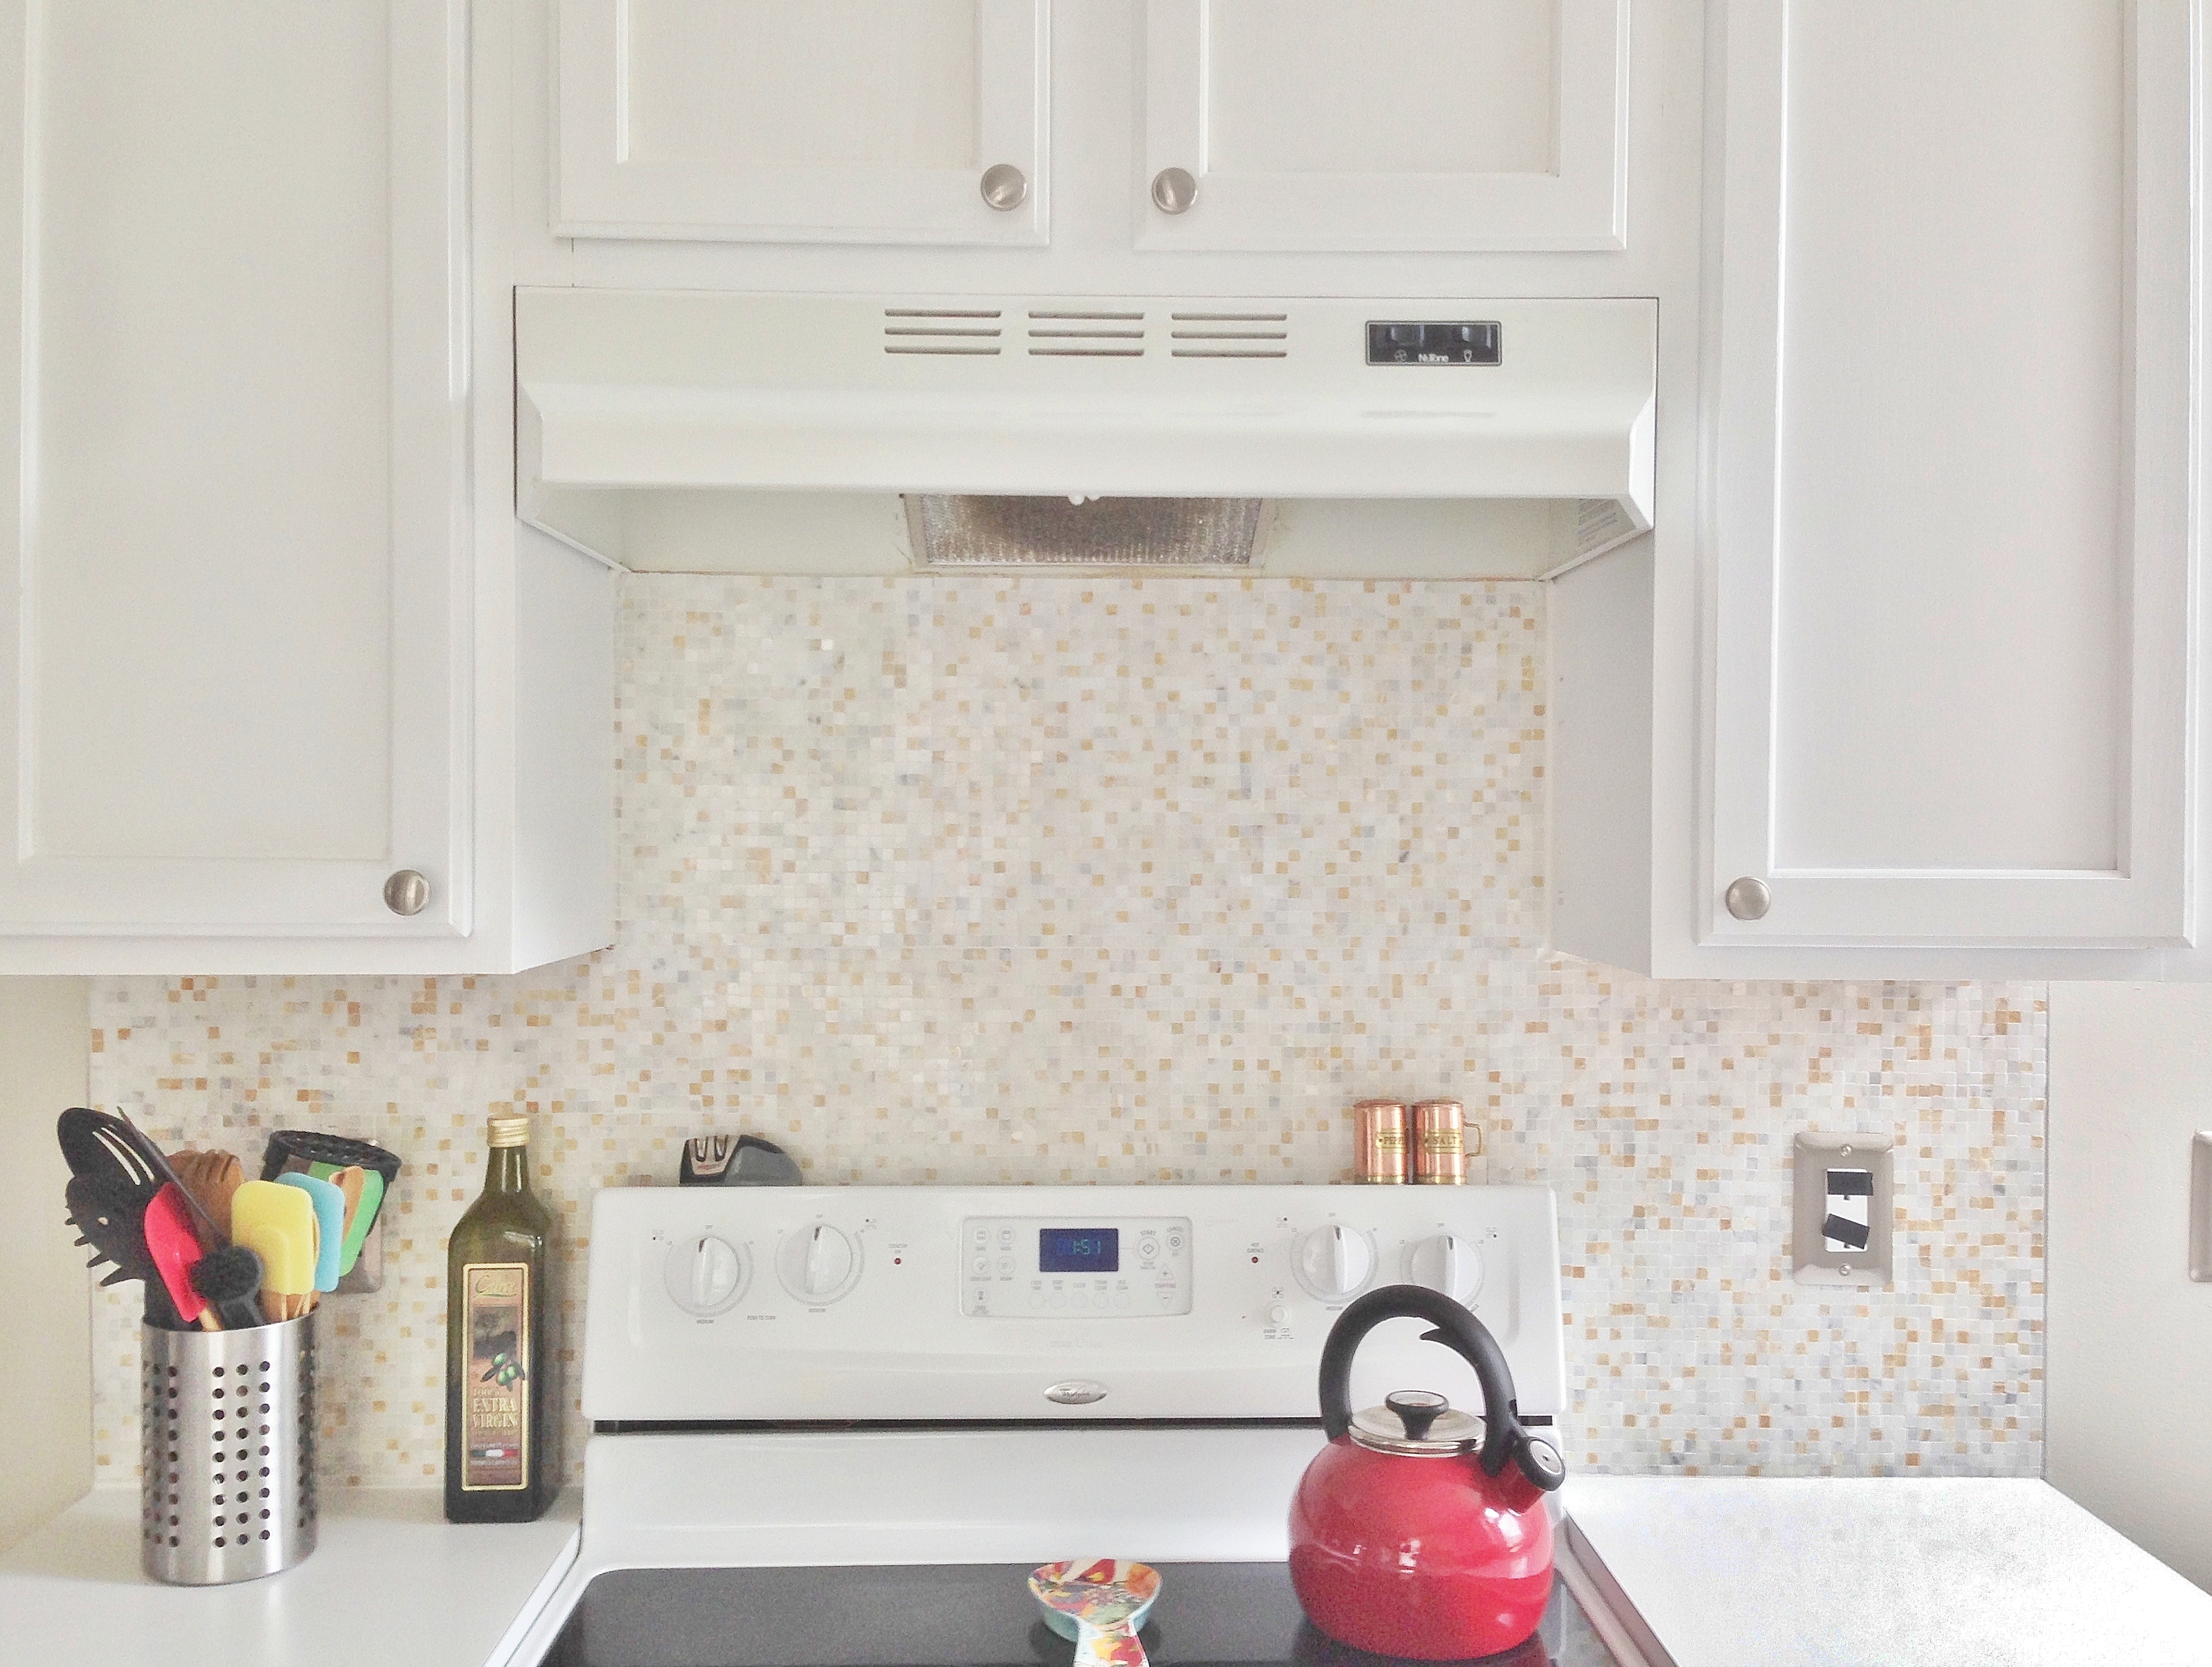
Here’s what the area above the stove looks like before & after the backsplash and updated cabinets.
So much better, don’t you think?
Full kitchen reveal is coming next – can’t wait to share!
Gorgeous!
[…] before & after photos! In our last two posts, we shared how we updated the cabinets and added a backsplash. We also swapped out the old ivory switch plates for new metal ones, which made a huge […]
Looks great! Where did you purchase your backsplash tiles? I need to finish my kitchen as well.
We got them at a store called Floor & Décor (they have a website, too!). If you’re not comfortable with shopping online and there’s not one around you, I would just browse discount floor/tile stores until you find one at the right price!
[…] not handled property. We never considered doing it ourselves until we were shopping for a tile backsplash for our Short North home a few months ago. We noticed some prefab granite and quartz slabs […]
How did you cut the tiles? Your picture shows a boxcutter. Was that just to score it? Did you need a tile cutter? I so want to redo my kitchen, paint cabinets and do a backsplash, so your answer will be very helpful. Thanks!
These tiles were on a mesh, so we actually didn’t need to cut the tiles, just the mesh. For other tile projects where the tiles aren’t too large or thick, we have used a tile cutter like this one: http://m.lowes.com/pd/Kobalt-24-in-Tile-Cutter/50273869
I hope this helps! Good luck with your project!
lovely project. How did you remove the formica backsplash?
Thank you.
Thank you! We just used a hammer and pry bar to remove it. The drywall underneath was a little messed up afterwards but not bad.