We have a working kitchen sink! And dishwasher! And we finally have countertops (granite, I may add). Aside from some painting, a subway tile backsplash, and open shelving we’re going to install above the sink, our kitchen is pretty much complete. Being that we moved in a few weeks ago (amidst the construction scene), this is FANTASTIC news. I’m so excited to start cooking again.
The most challenging part of our duplex rehab so far was these granite countertops. You normally don’t hear DIY + granite in one sentence because granite is so heavy and so expensive, and can break easily when it’s not handled property. We never considered doing it ourselves until we were shopping for a tile backsplash for our Short North home a few months ago. We noticed some prefab granite and quartz slabs sitting in the corner for super cheap, but the catch is that you either have to pay someone to deliver/cut/install it for you, or… do it all yourself. We kept it in mind, but explored other options before making a decision. We were quoted $11+/sq ft for laminate, $20-60 for solid surface, and $50-100+ for granite/quartz at the various stores we visited. On top of that, our order wouldn’t be ready for another few months. It just wasn’t going to work, especially knowing we could have our own granite within a few days and pay a lot less for it.
We went back to our favorite flooring & tile store and took a closer look at our options. After taking the price and appearance and maintenance of the various slabs into consideration, we landed on Bianco Taupe granite. We almost went with a quartz that we were in love with, but after finding out it was double the cost of the granite, we forced ourselves into a “this isn’t our forever home and we’re already over budget” moment and reluctantly moved on. The granite slab cost $9.99/sq. ft., $250 for the whole thing. Luckily, our whole kitchen could be done with just the one slab, so that really helped us keep costs extra low.
To be able to pull this off from start to finish, we needed to buy a bunch of stuff. Here’s what our tab looked like:
$250 prefab granite slab
$15 diamond tip blade
$5 countertop adhesive
$60 14′ truck rental + mileage
$10 2x4s for the A frame
$60 angle grinder (this is the one we used- DEWALT DWE4011 4-1/2-Inch Small Angle Grinder)
$10 angle grinder blade (similar to this one)
$15 ratchet straps
$25 Misc things I forgot/taxes
Circular saw (had it)
$450 Total Cost
All in all, after the cost of all of the extra stuff, we still spent under $20/sq foot on granite. And, now we have the tools and materials to do the same thing on the other side of the duplex, as well as other houses we may work on in the future.
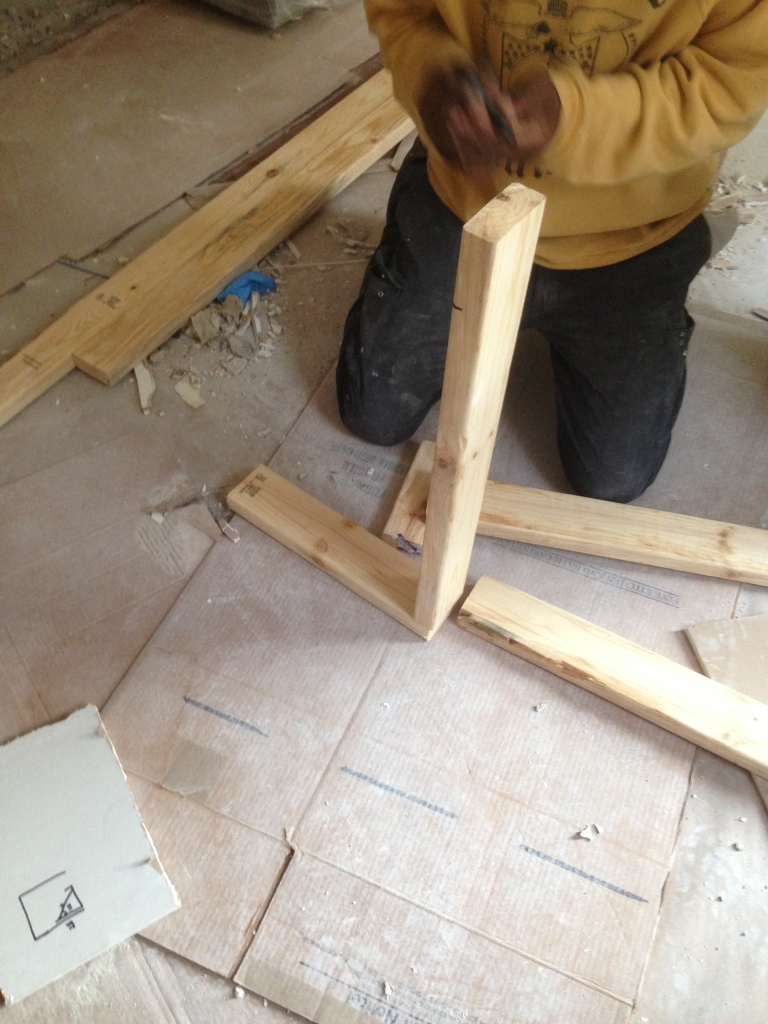
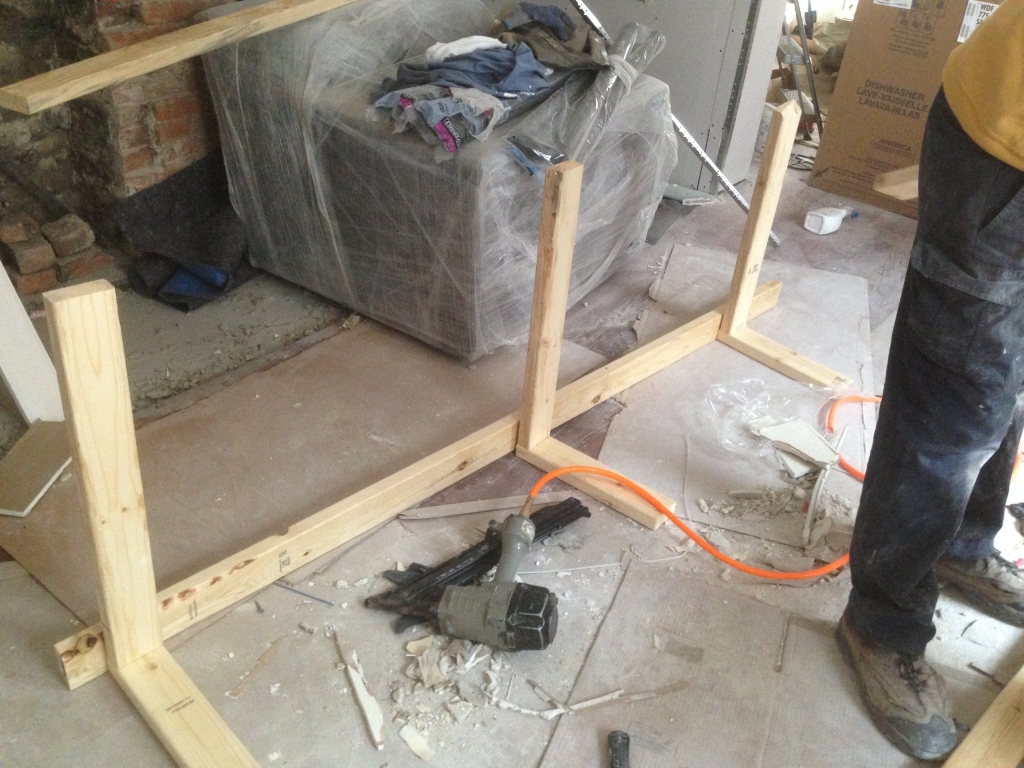
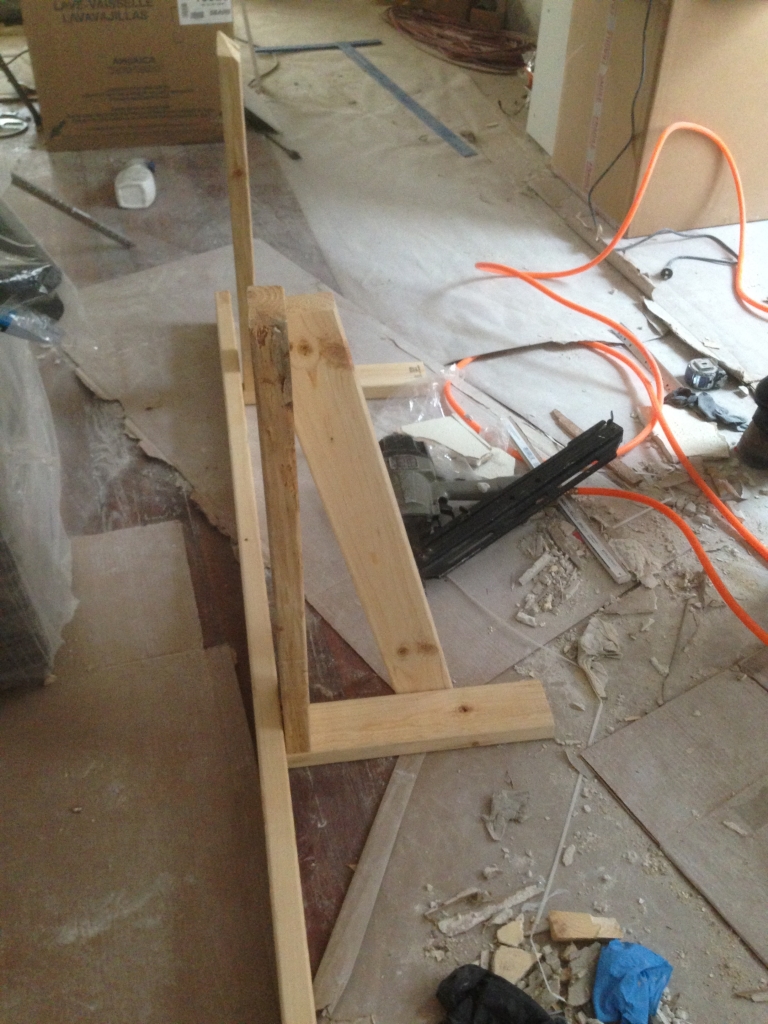
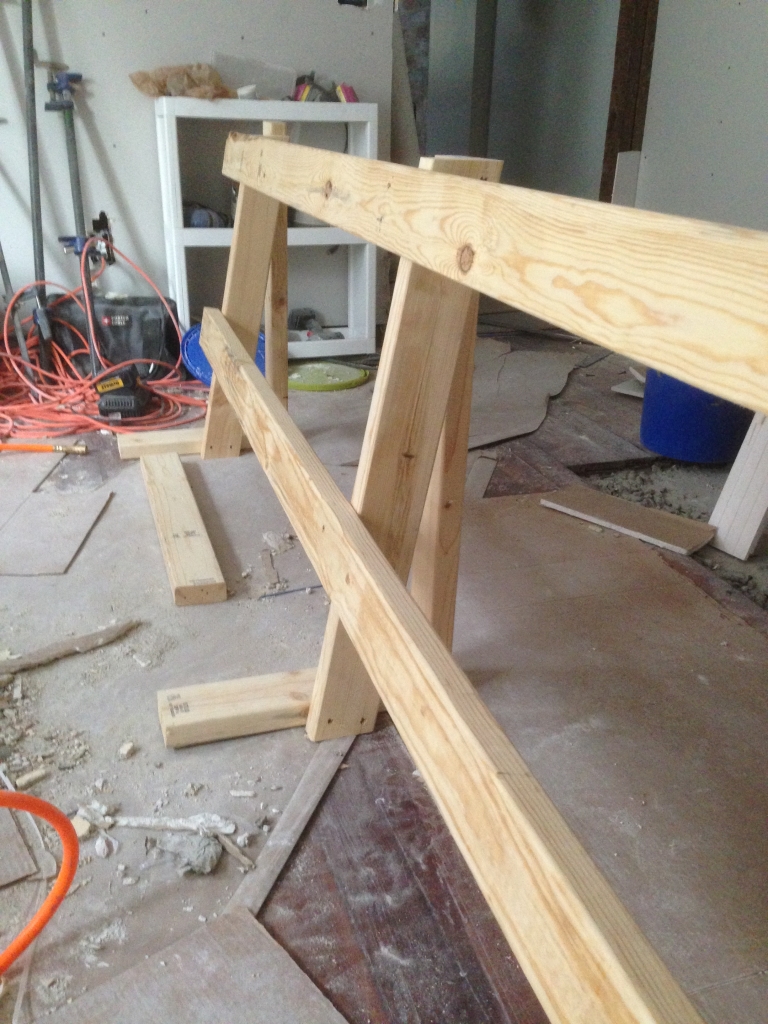
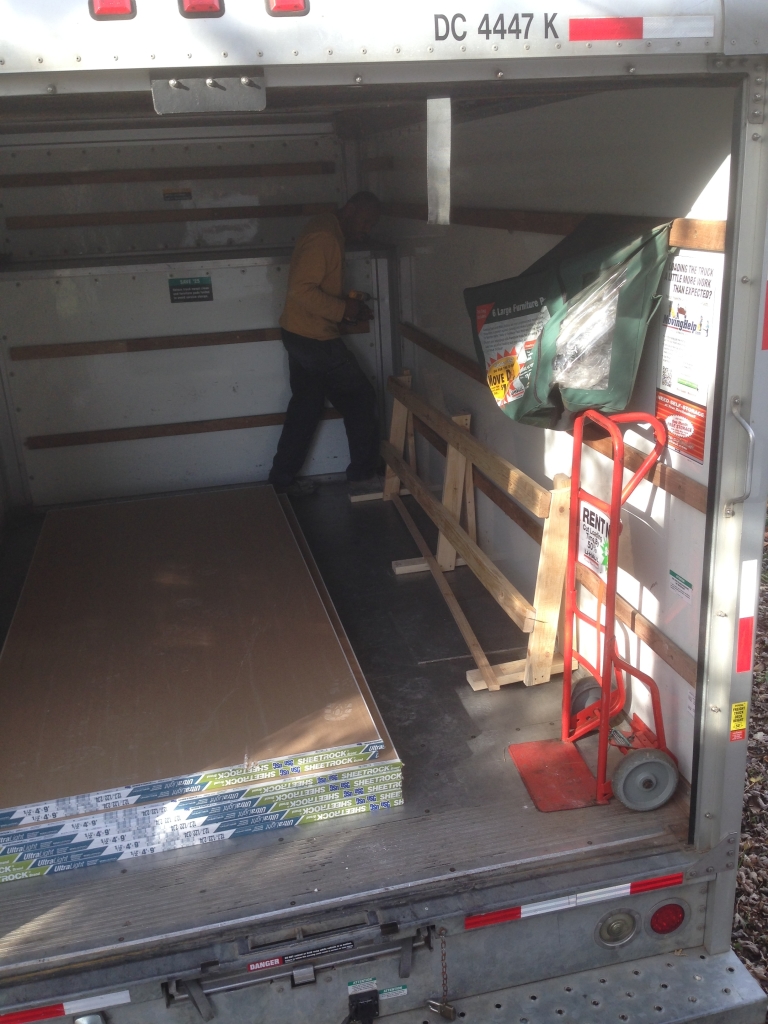
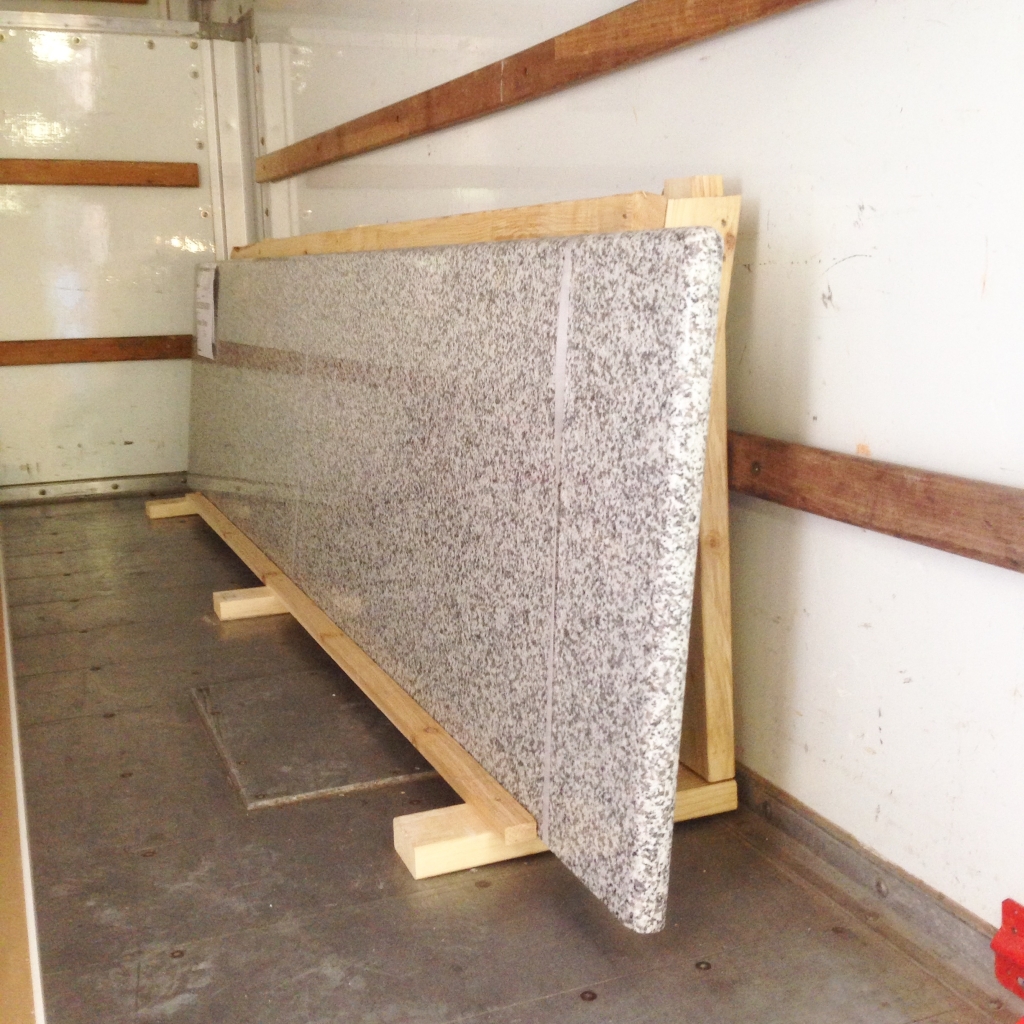
The first thing we did to get this process started was build an A frame to transport the granite on. We didn’t realize we needed one until the people at the store told us they wouldn’t allow us to pick up the slab without one. Since the slab was already cut to counter depth (26″), Bryan made the A frame about 30″ high, and constructed it so that it could be screwed into the wood on the inside of the truck.
You probably notice that the bottom lip of the frame is loose in this photo. We purposely left it like that because we weren’t sure exactly how much space we would need. So we just brought the drill and some screws with us and secured it after the granite was already on the frame.
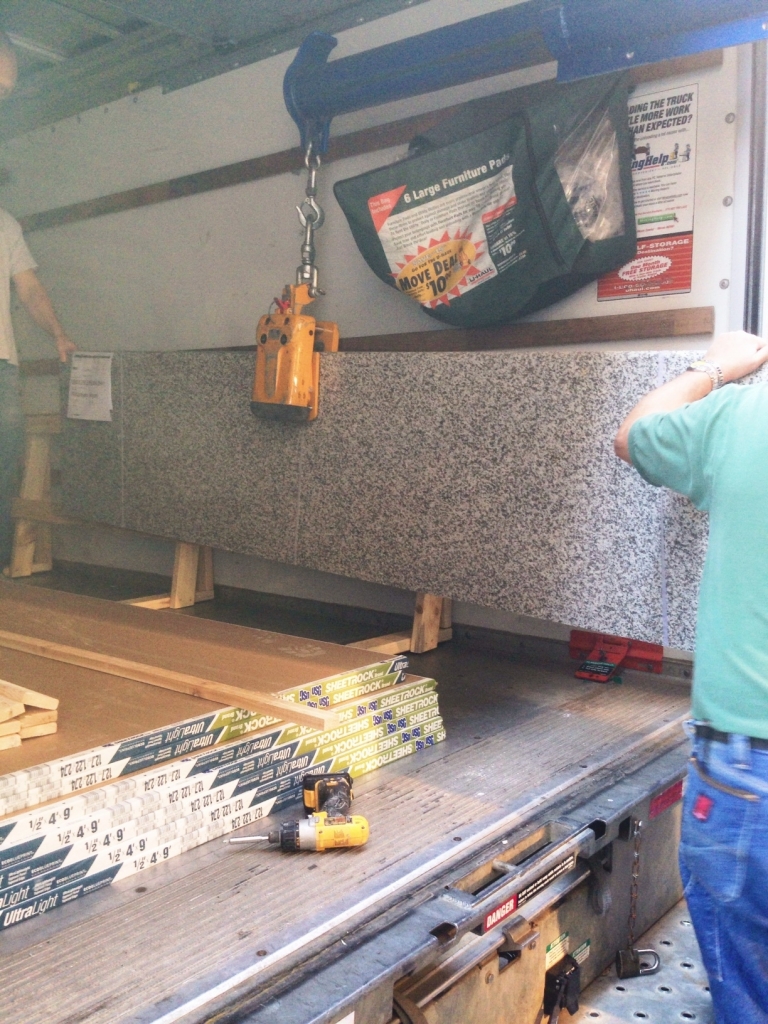
After we had everything set up, we drove to the store, which was about 10 minutes from the duplex. We backed our truck up to their warehouse entrance, and they brought out their fancy forklift machine. We inspected it to make sure it looked good, and after they got the green light, they lifted it into the truck.
We secured the slab onto the frame with three ratchet straps (not pictured) and headed home. Bryan drove about 25 MPH the whole way with his flashers on, even though the guys promised us that it would be fine on the A frame.
Well, it all paid off because we got it back in one piece!
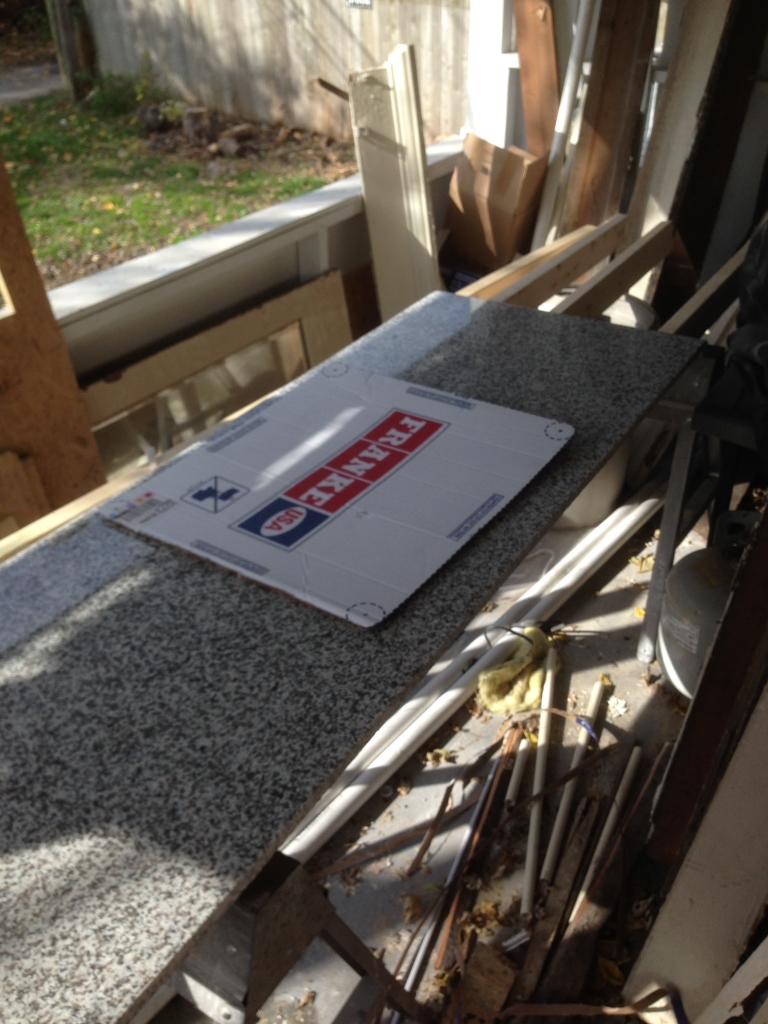
Bryan and three of the neighbors unloaded the granite onto our back porch, which included climbing a good 10 steps. We set up two saw horses and put down a few 2x4s on them so that the weight of the granite would be evenly supported. (Yes, we know, we need to clean the porch!)
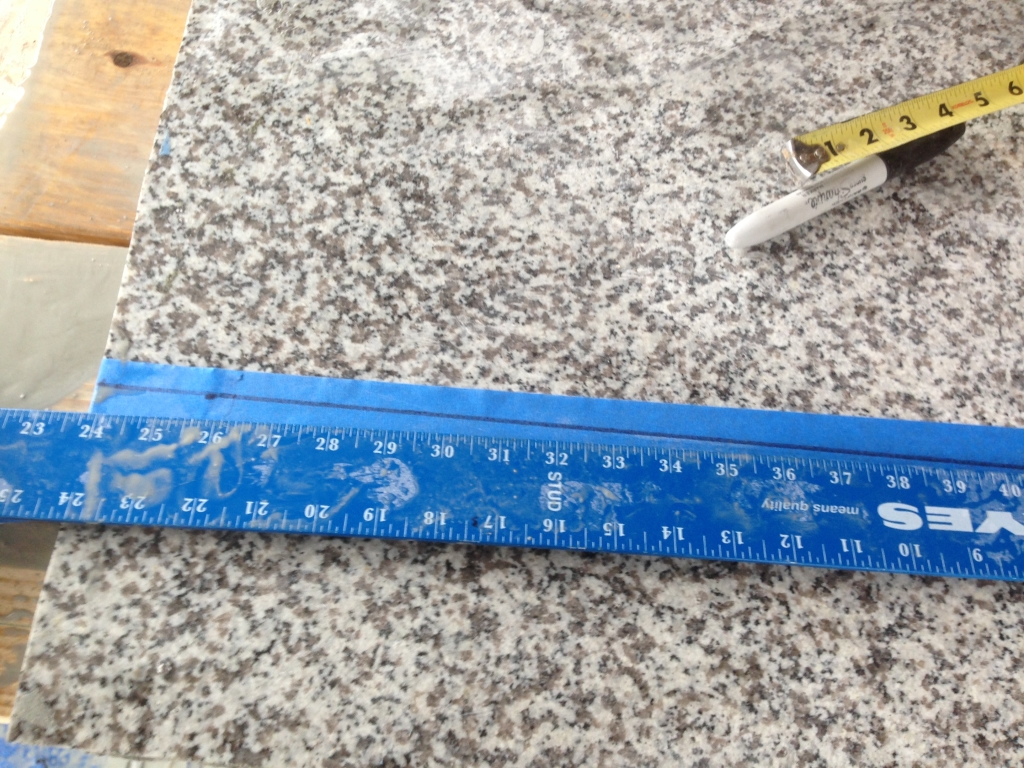
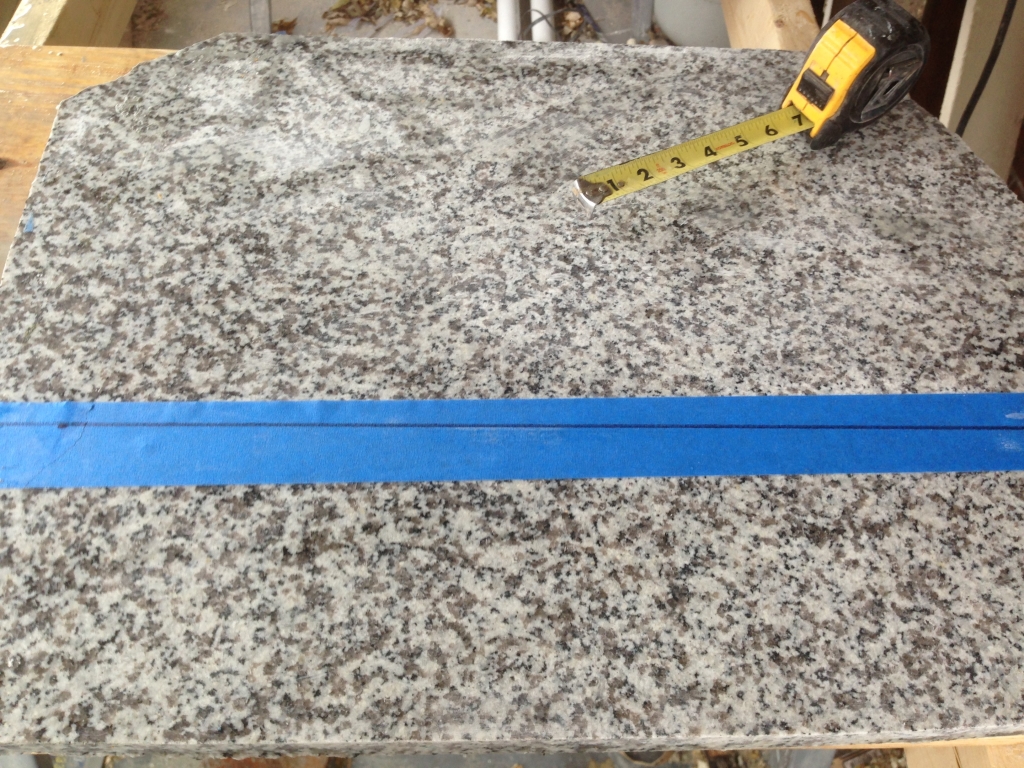
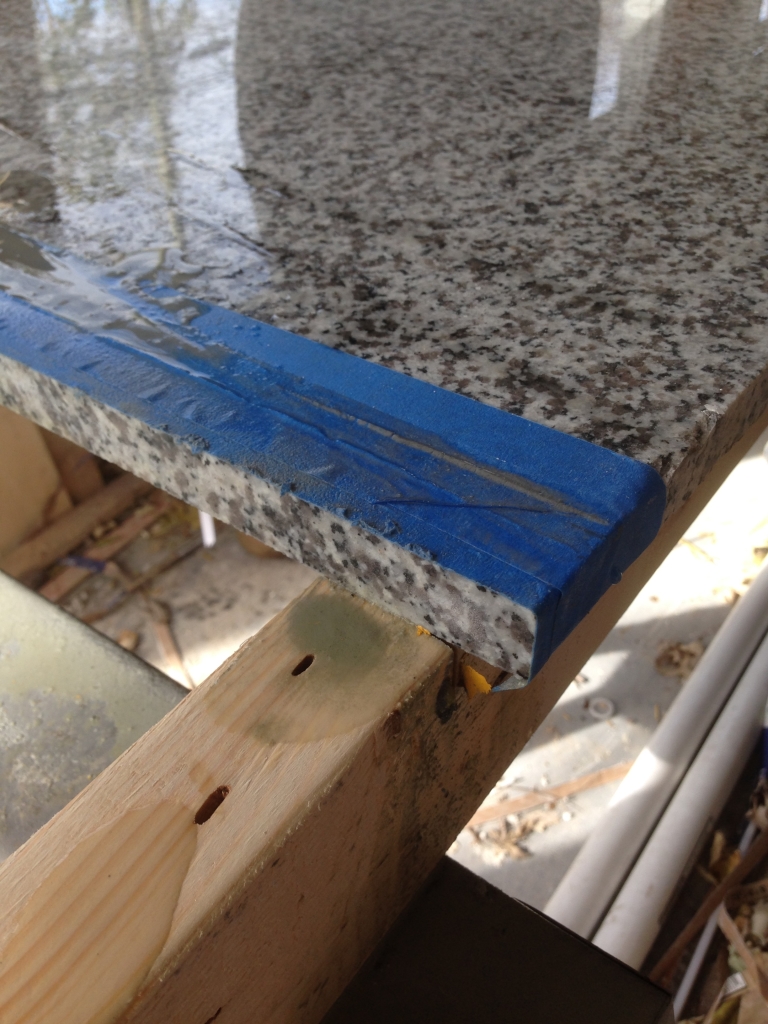
After taking measurements, we marked the slab for where we needed to cut. We covered the marks with painters tape and then drew full lines onto the painters tape (double checking measurements first, of course) using a T-square. We used tape because it helps prevent the granite from splintering.
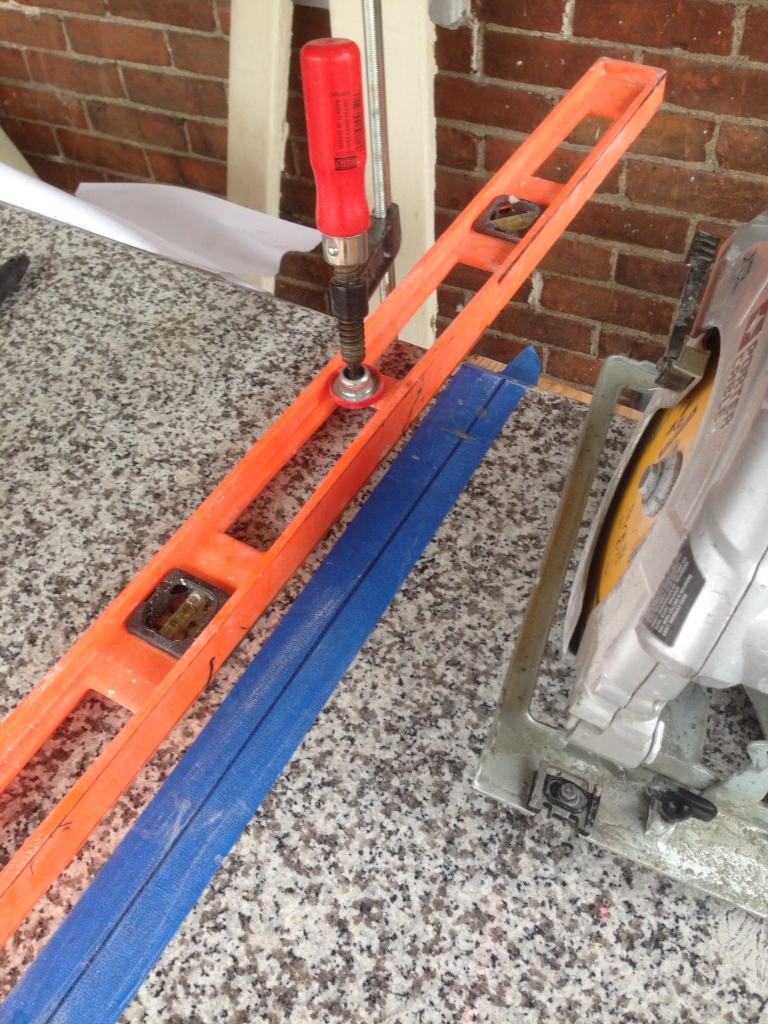
Then we added a level with clamps to double check that our line was straight.
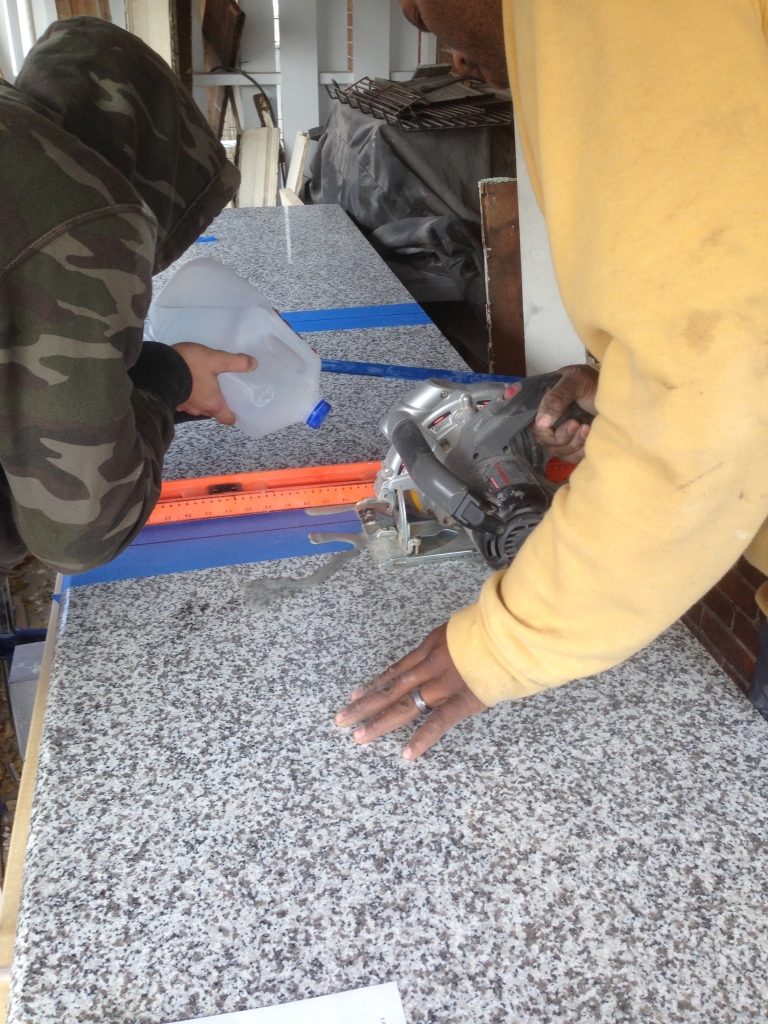
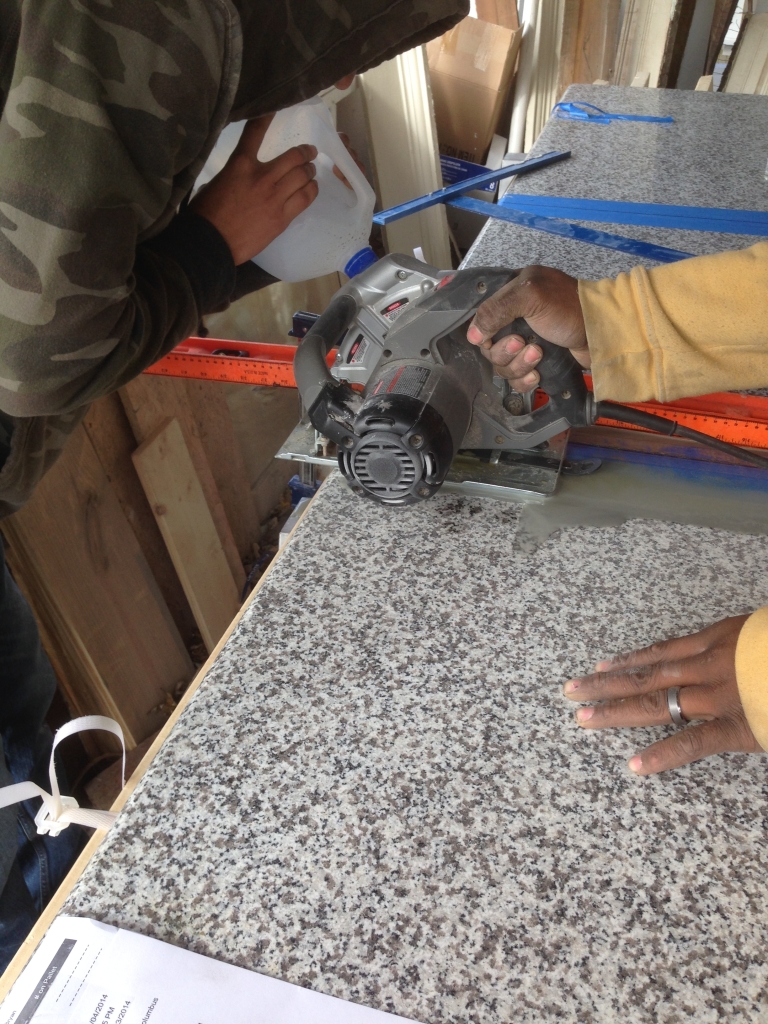
Once we were good to go, the cutting began. One of our neighbors poured a steady stream of water near Bryan’s saw as he cut. We didn’t have a hose, so we made a makeshift one by poking a hole into the top of a gallon of water. It got the job done!
The cut was surprisingly clean. The guys brought the first piece of granite inside and set it onto the cabinets before cutting out the sink hole. Based on my research, cutting granite inside is something that isn’t advised because of the mess it makes – water, dust, the whole nine – but we were scared that the granite might break if we tried to carry it with the large sink hole already cut out. So we figured this was the lesser of two evils and sucked it up.
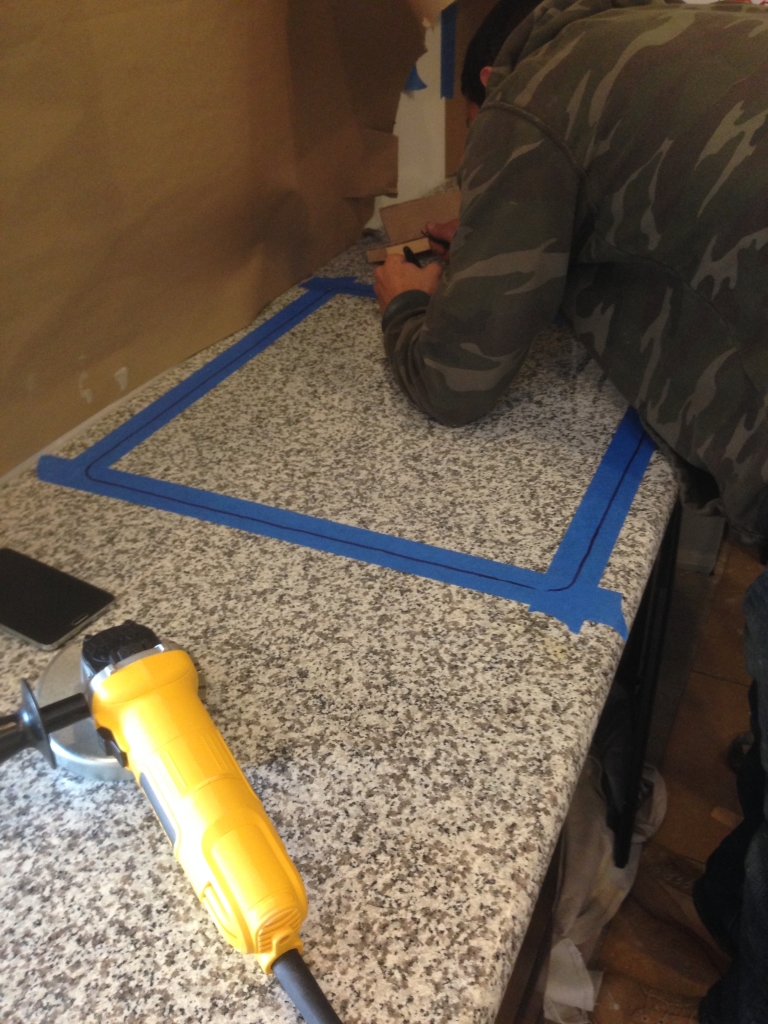
To get started, we followed the same prep process we used for the first cut. The sink came with a cardboard cutout that we used to trace the outline.
Bryan used his angle grinder to cut the hole along the taped line while I squirted the water. Our neighbor got under the sink and held up the slab so it wouldn’t fall through after it was cut.
We tested the sink to make sure it fit, and it did!
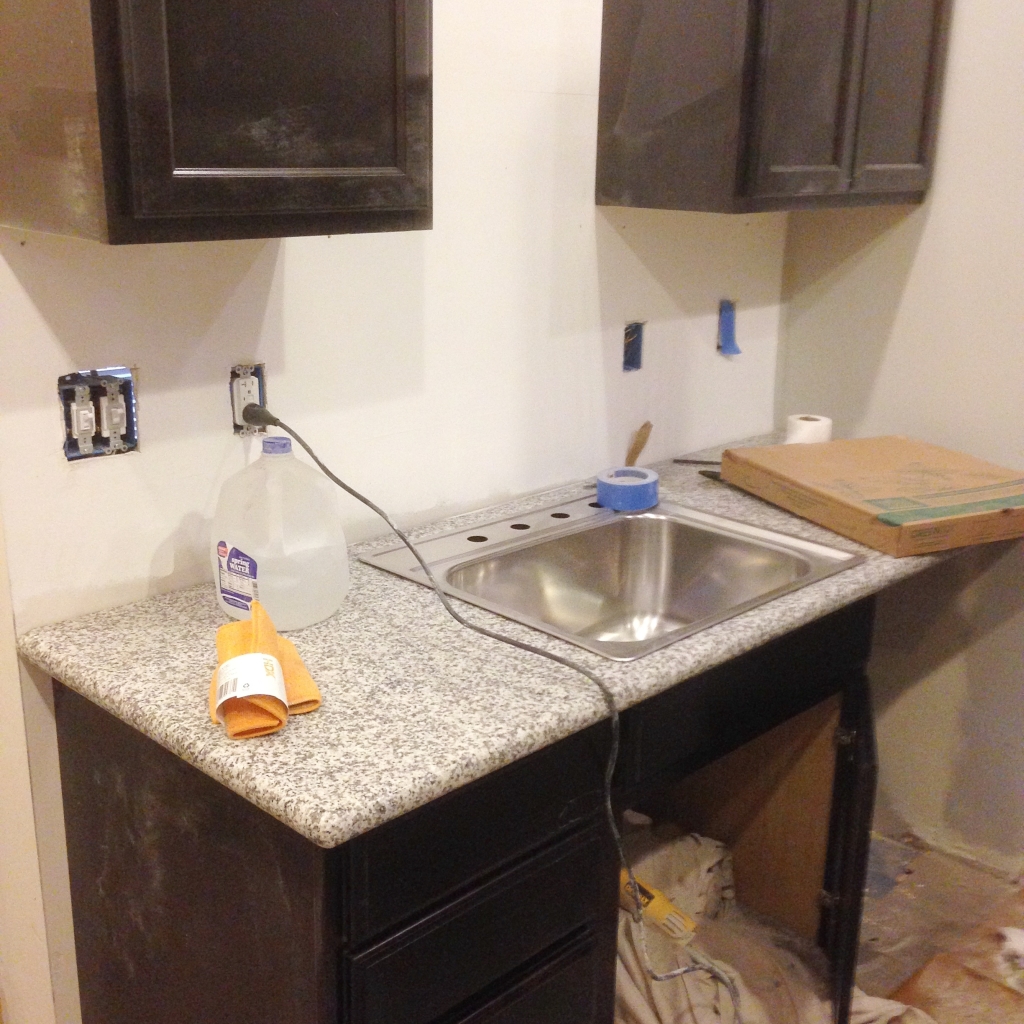
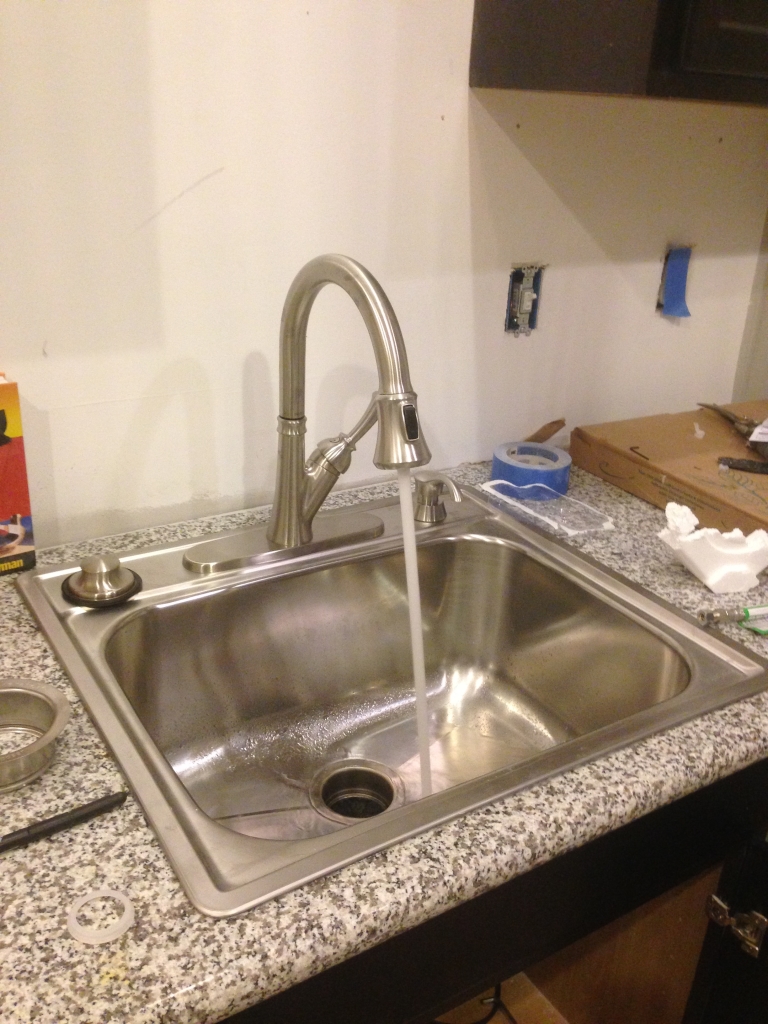
We purposely bought a drop-in sink so we didn’t have to worry about getting a perfectly smooth cut. Here’s what it looks like now that the faucet is installed and working. The sink is 10″ deep, which I love!
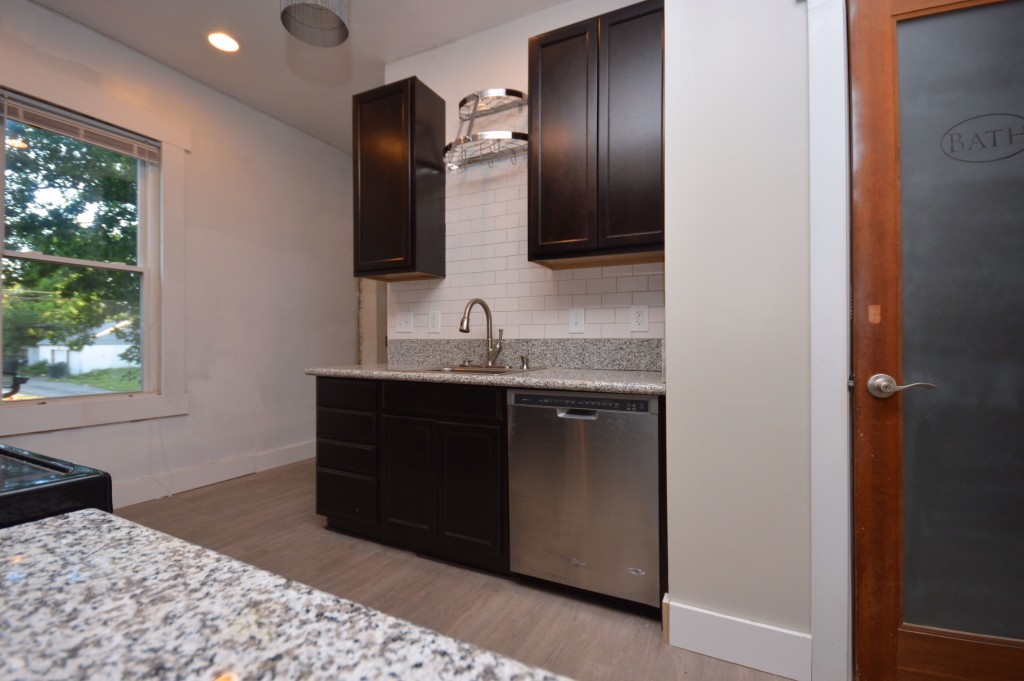
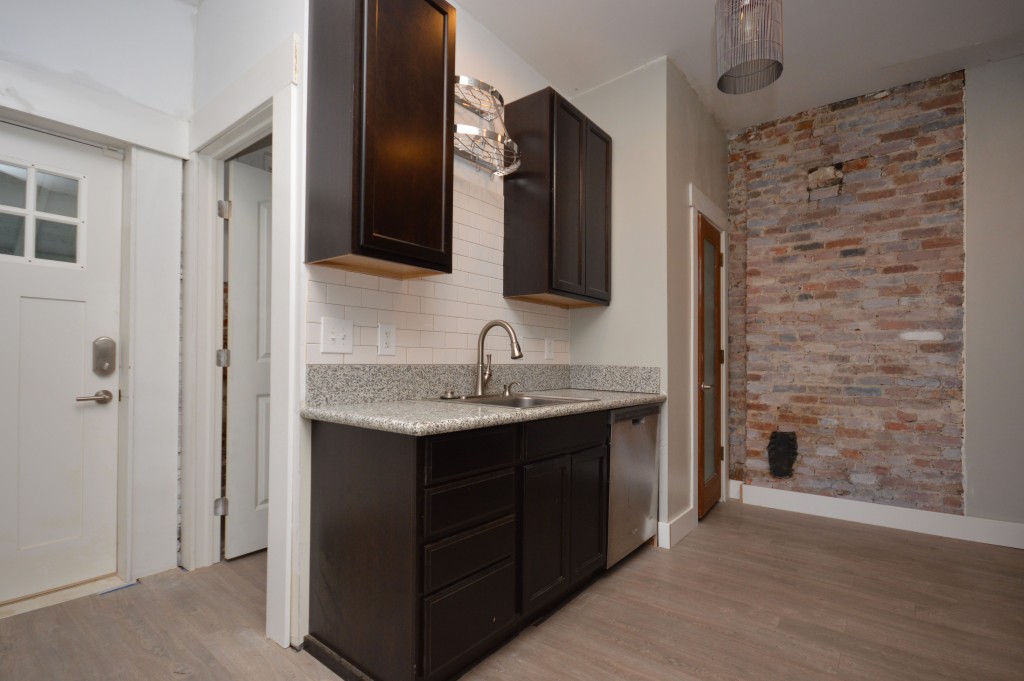
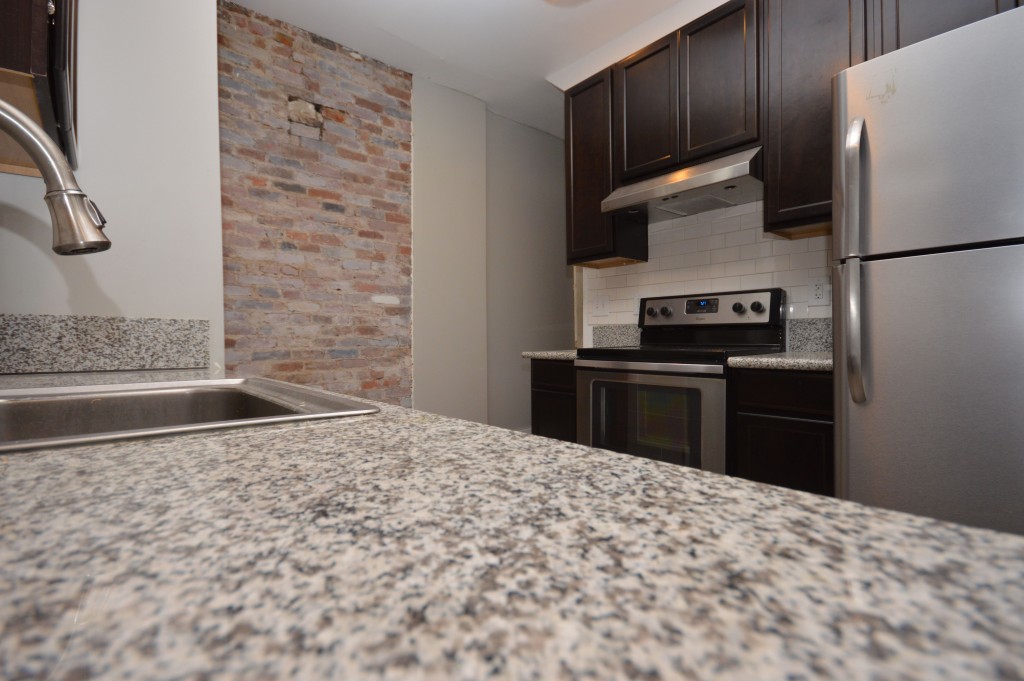
Here’s what it looks like now. Not to shabby for $450, right?
If you want to know more about our kitchen progress, click here, here and here. And, if you want to stay in the loop on our reno in between blog posts, follow us on Instagram @beginninginthemiddle.
More to come soon!
[…] finishing the first floor of the house, and it’s really, really exciting. After we got the kitchen in working order, our next focus was on the living room and dining room. That meant finishing the […]
[…] This week, we’re hoping to finish laying the floor into the powder room and laundry room, paint the rest of the walls, and do a DIY install of our countertops. (UPDATE: We got new granite countertops for under $500! See how we pulled it off here.) […]
Looks great! What a good way to save some money on such a nice material!!
Thanks so much! We figured if we can get it that cheap, why not go for it?
[…] How We DIY'd Our Way to Real Granite Countertops […]
It looks beautiful. Now I’ve seen it can be done, I might be brave and tackle the job with hubby. Thanks for posting.
I am really impressed with your article and i will share this as much as it will be possible for me.
You have written such an awesome blog. You shared great information with us. Thanks a lot!
Granite is beautiful. Congratulations.
Wow, this DIY granite countertop journey is truly inspiring! It’s amazing how you managed to achieve such a high-end look on a budget, and the step-by-step details are so helpful for anyone considering a similar project. Granite truly adds elegance and durability to any space.
For those looking to purchase premium-quality granite, quartz, or marble to elevate their kitchen or home projects, visit Naturistic Stones—your go-to destination for stunning stone options!