When we shared that we were covering our old concrete walkway with $1 pavers from Lowe’s, you guys had LOTS of questions. We’re excited to share a full tutorial with aaaall the deets. Let’s dive in!
This post is sponsored by Lowe’s.
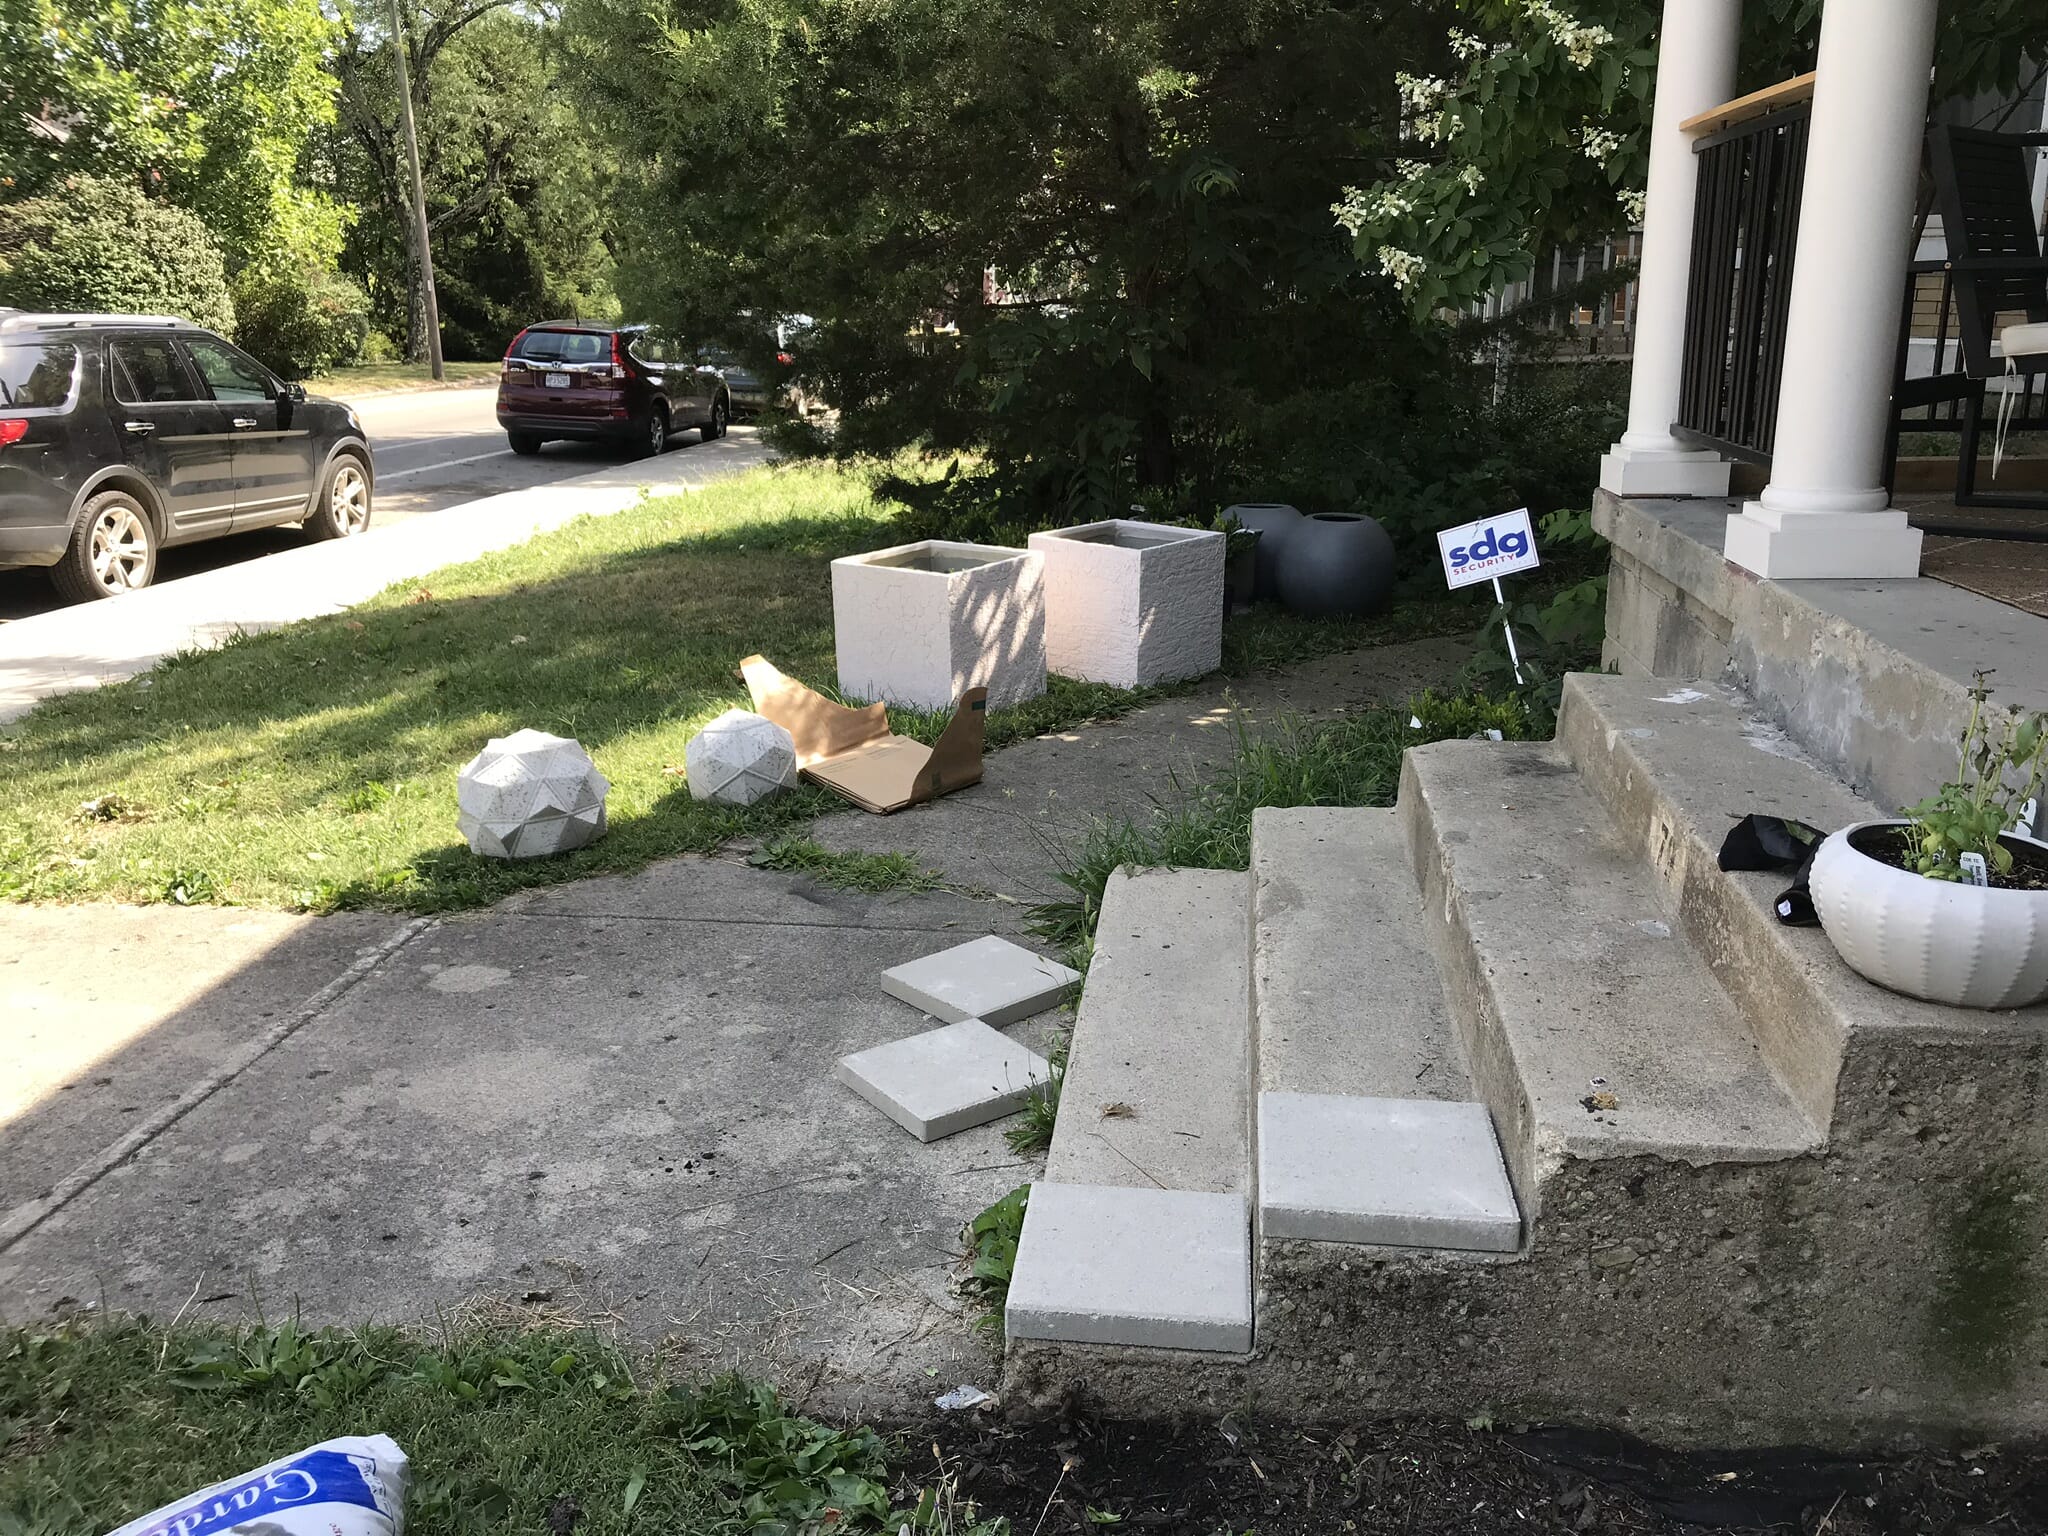
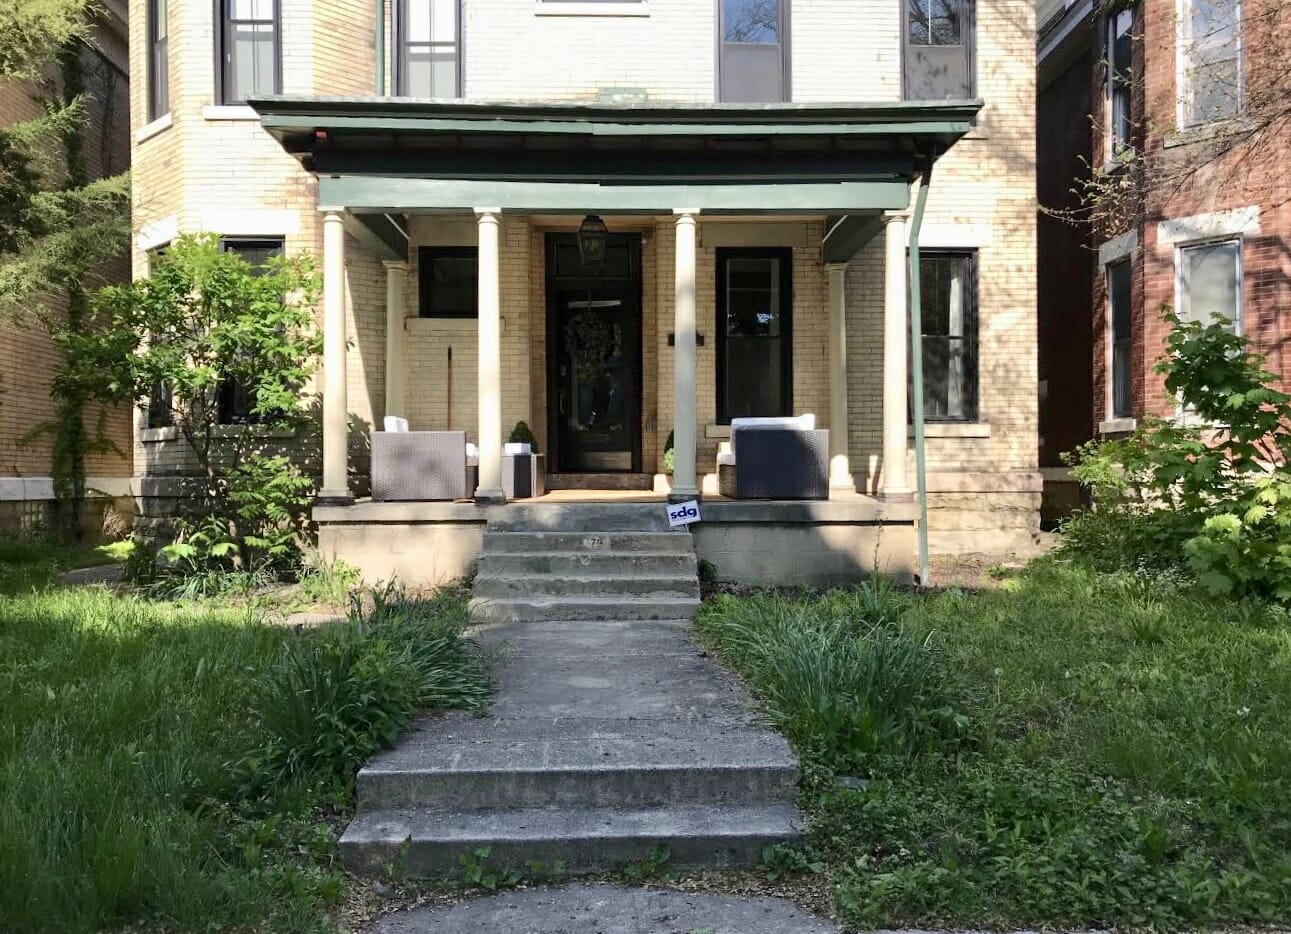
Our front walkway at The Vic left much to be desired…
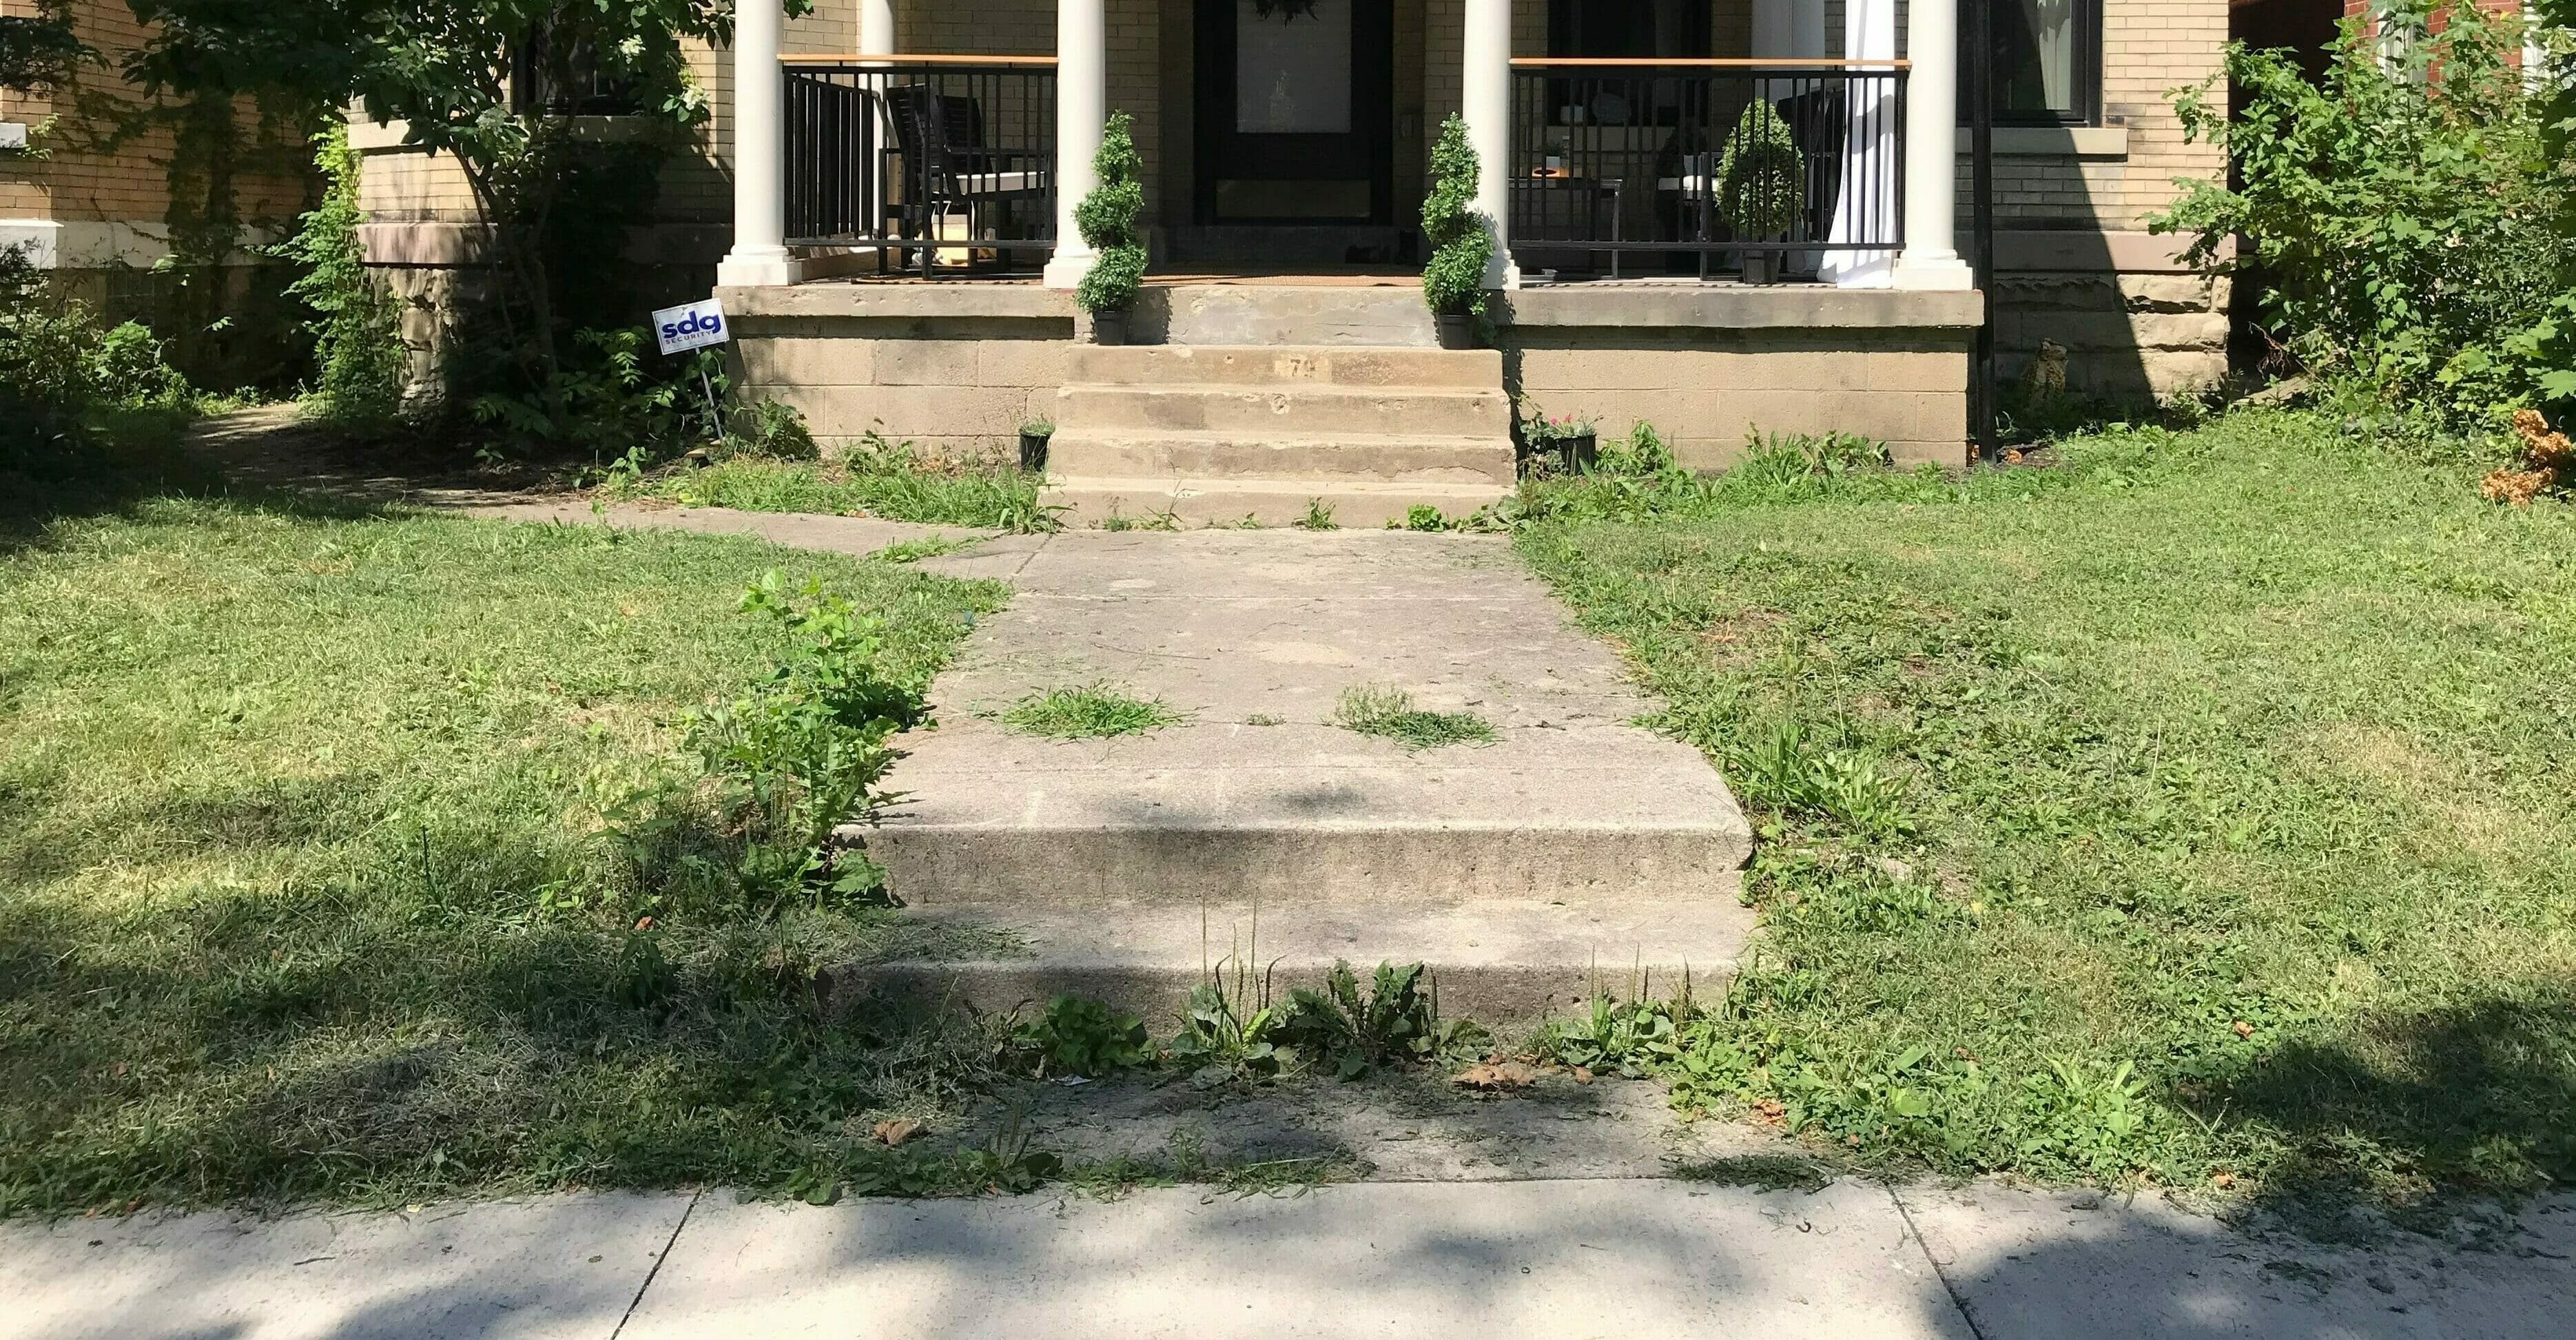
A big part of the problem was our concrete walkway and stairs.
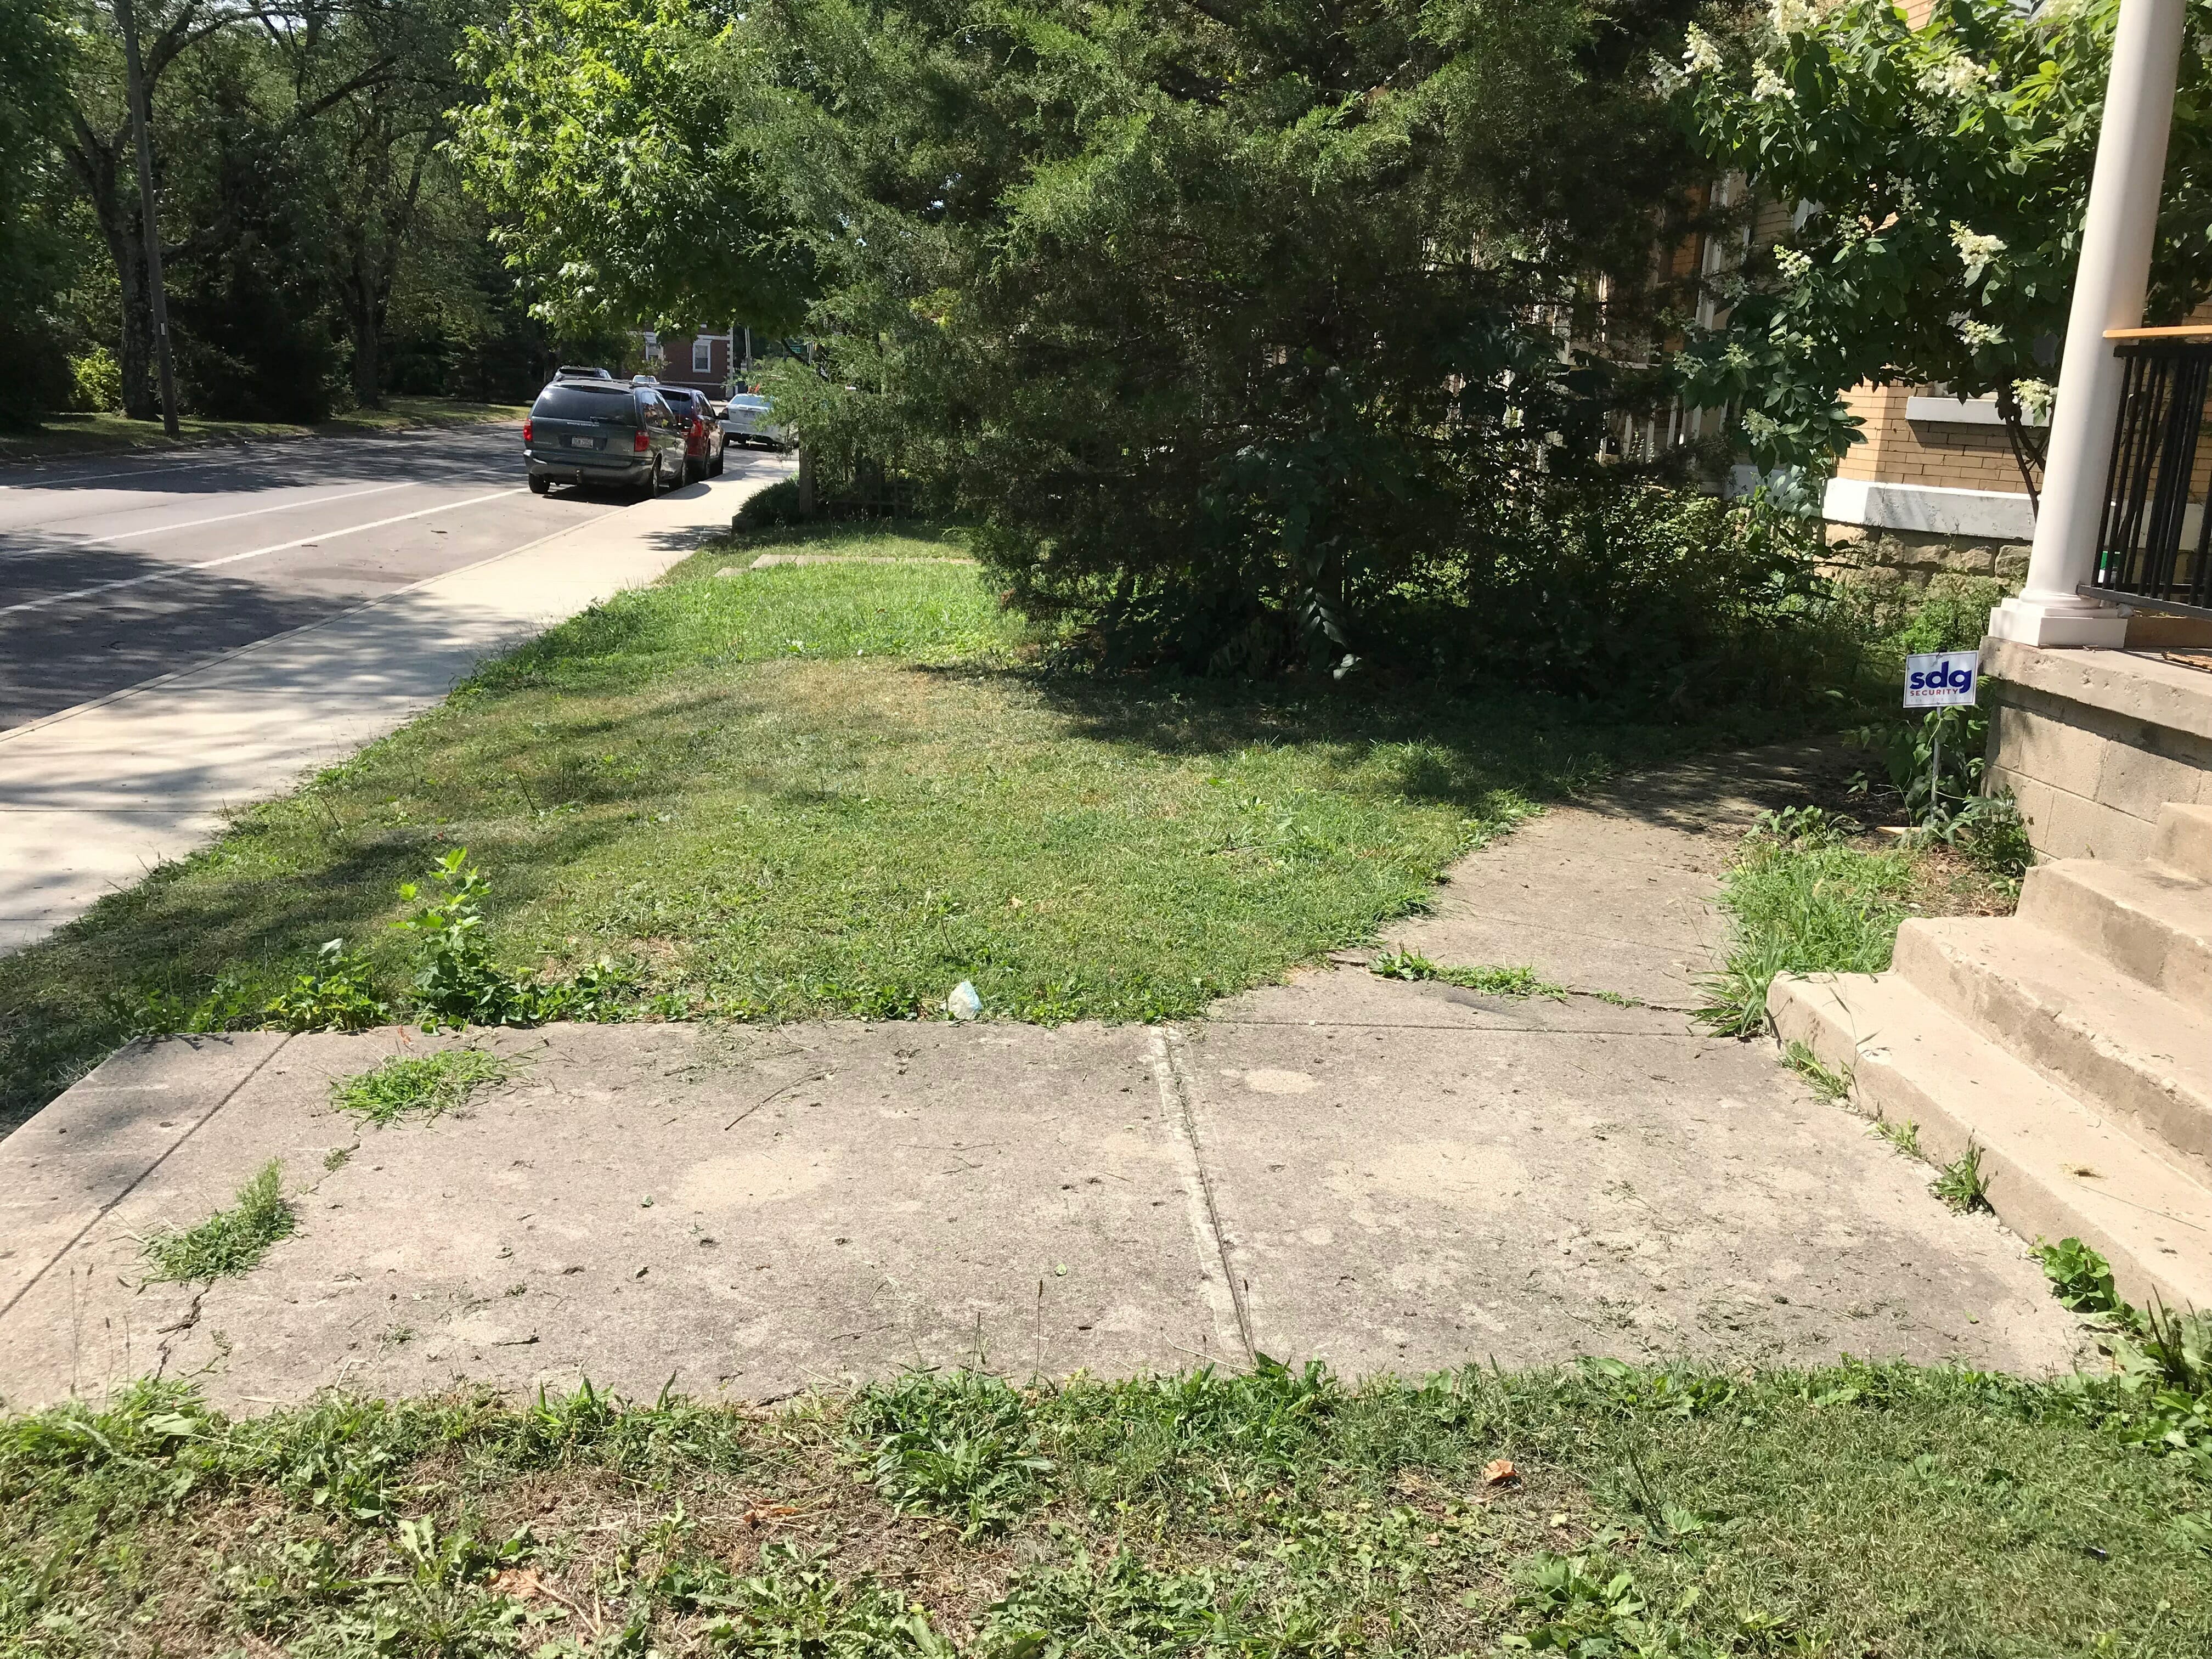
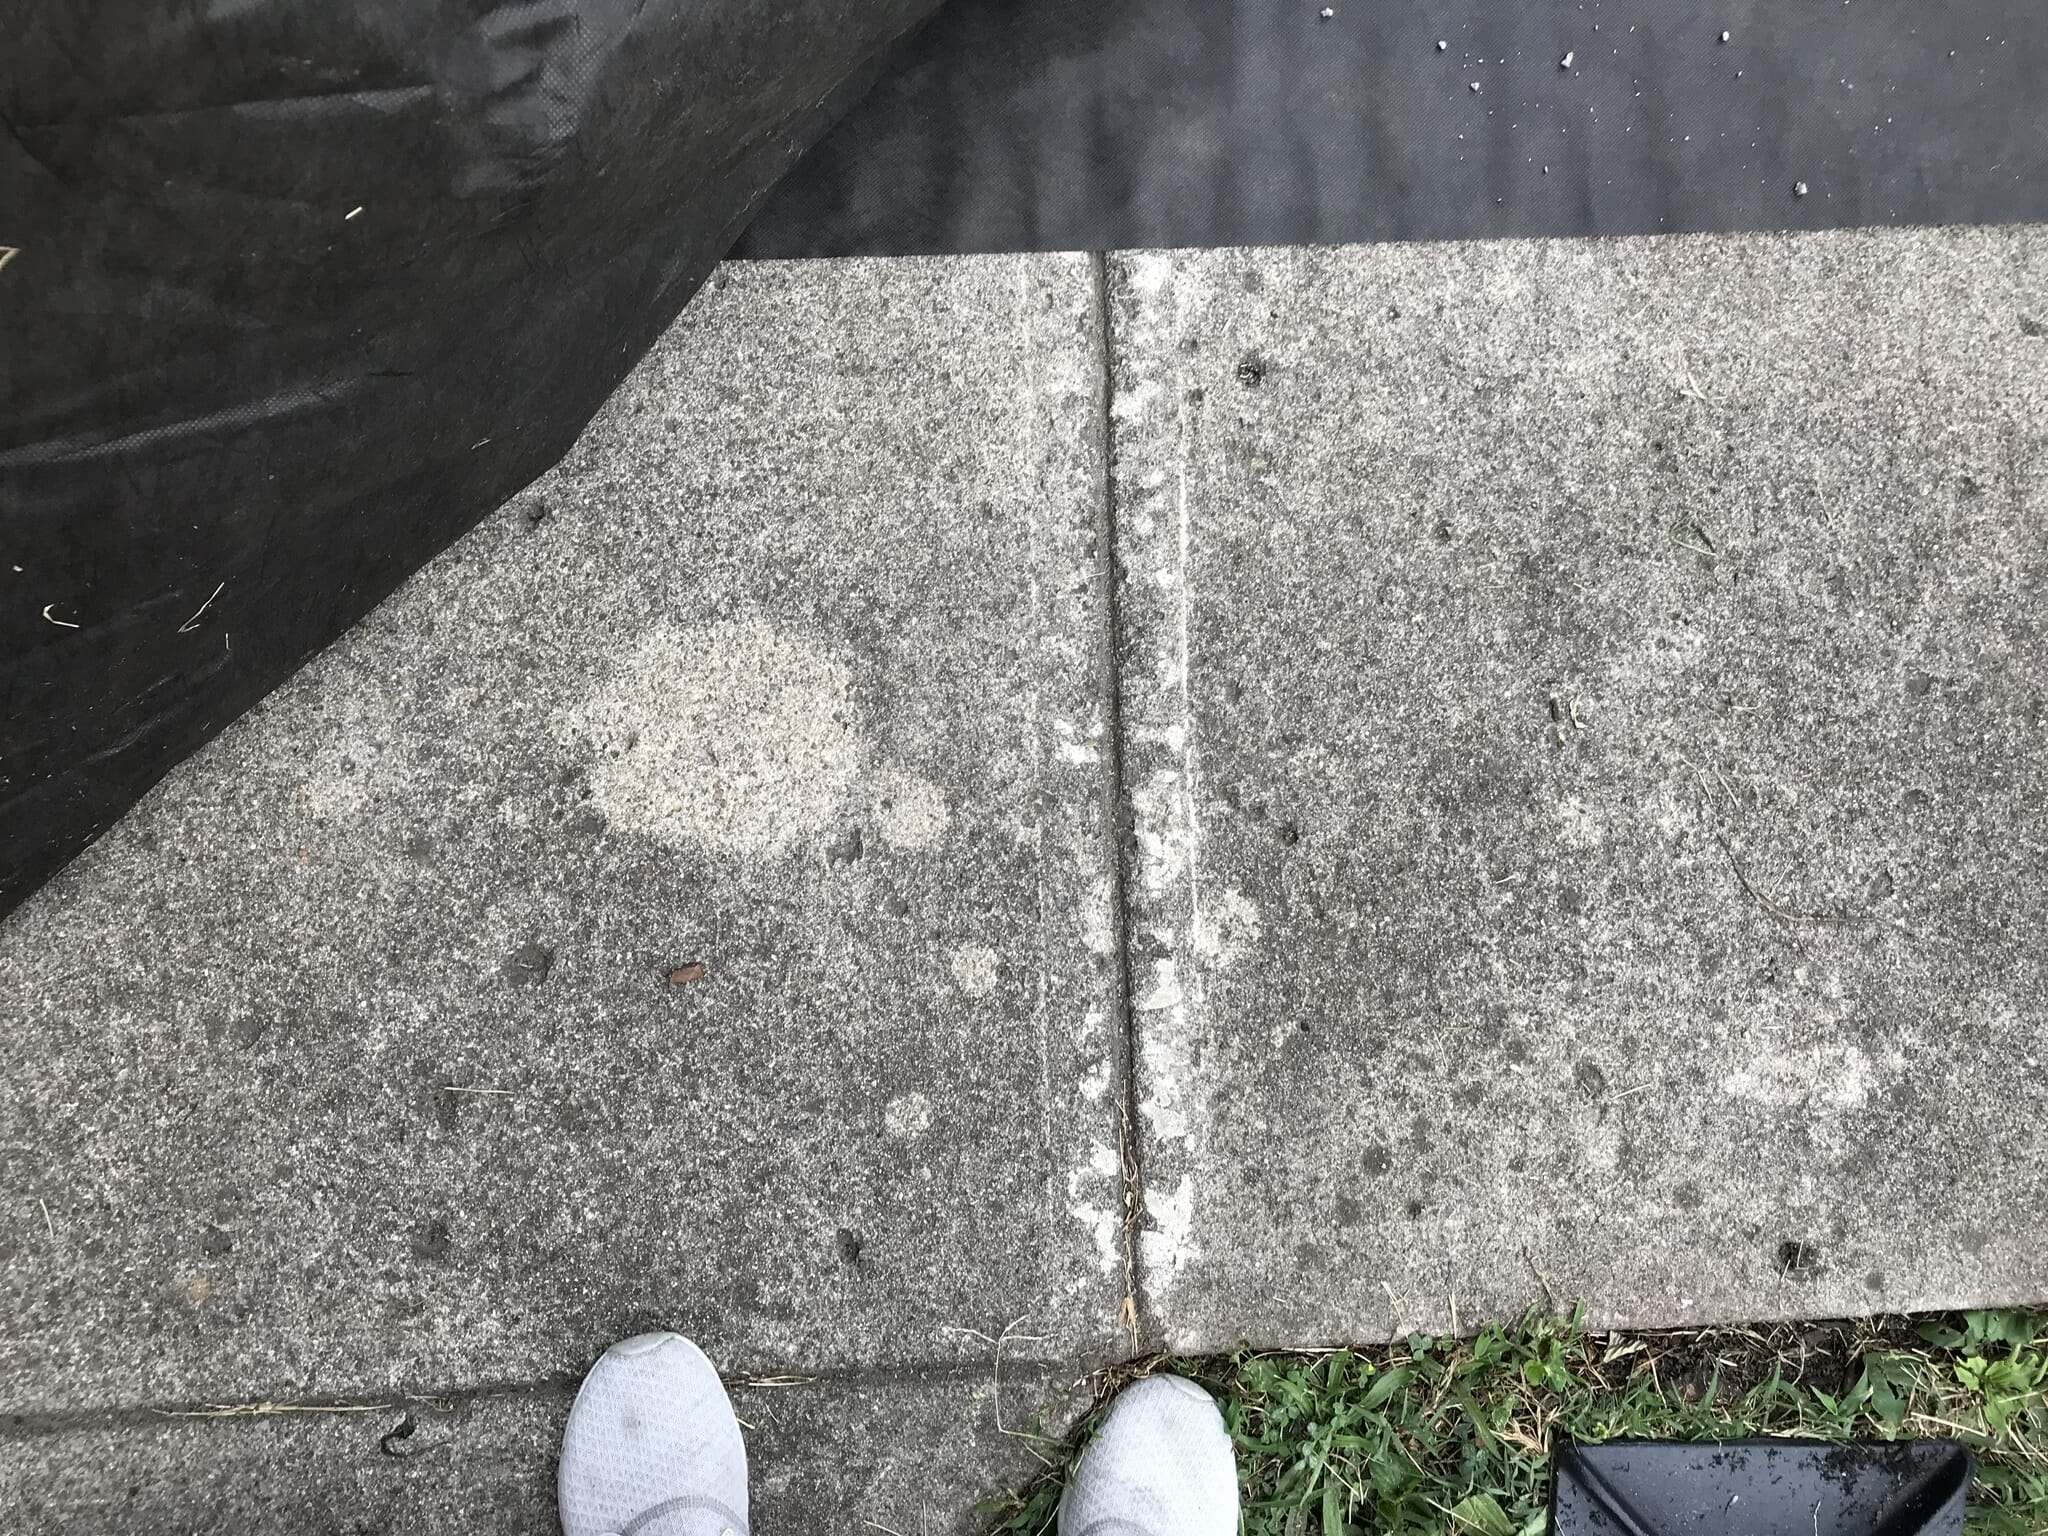
As a part of our curb appeal update this summer, we planned on jacking up all of the old concrete and replacing it with new concrete. The contractors we contacted were all booked and expensive, so we started thinking of other ideas. Would it be possible to just cover it with new pavers instead? After lots of research, the answer was yes! It’s possible, and totally doable, to cover old concrete with pavers. There’s just a few caveats:
#1: Your surface needs to be intact and solid. If you have a crumbling surface, this project won’t work without some extra prep work.
#2: Your surface needs to be relatively flat without any large cracks or bumps in it.
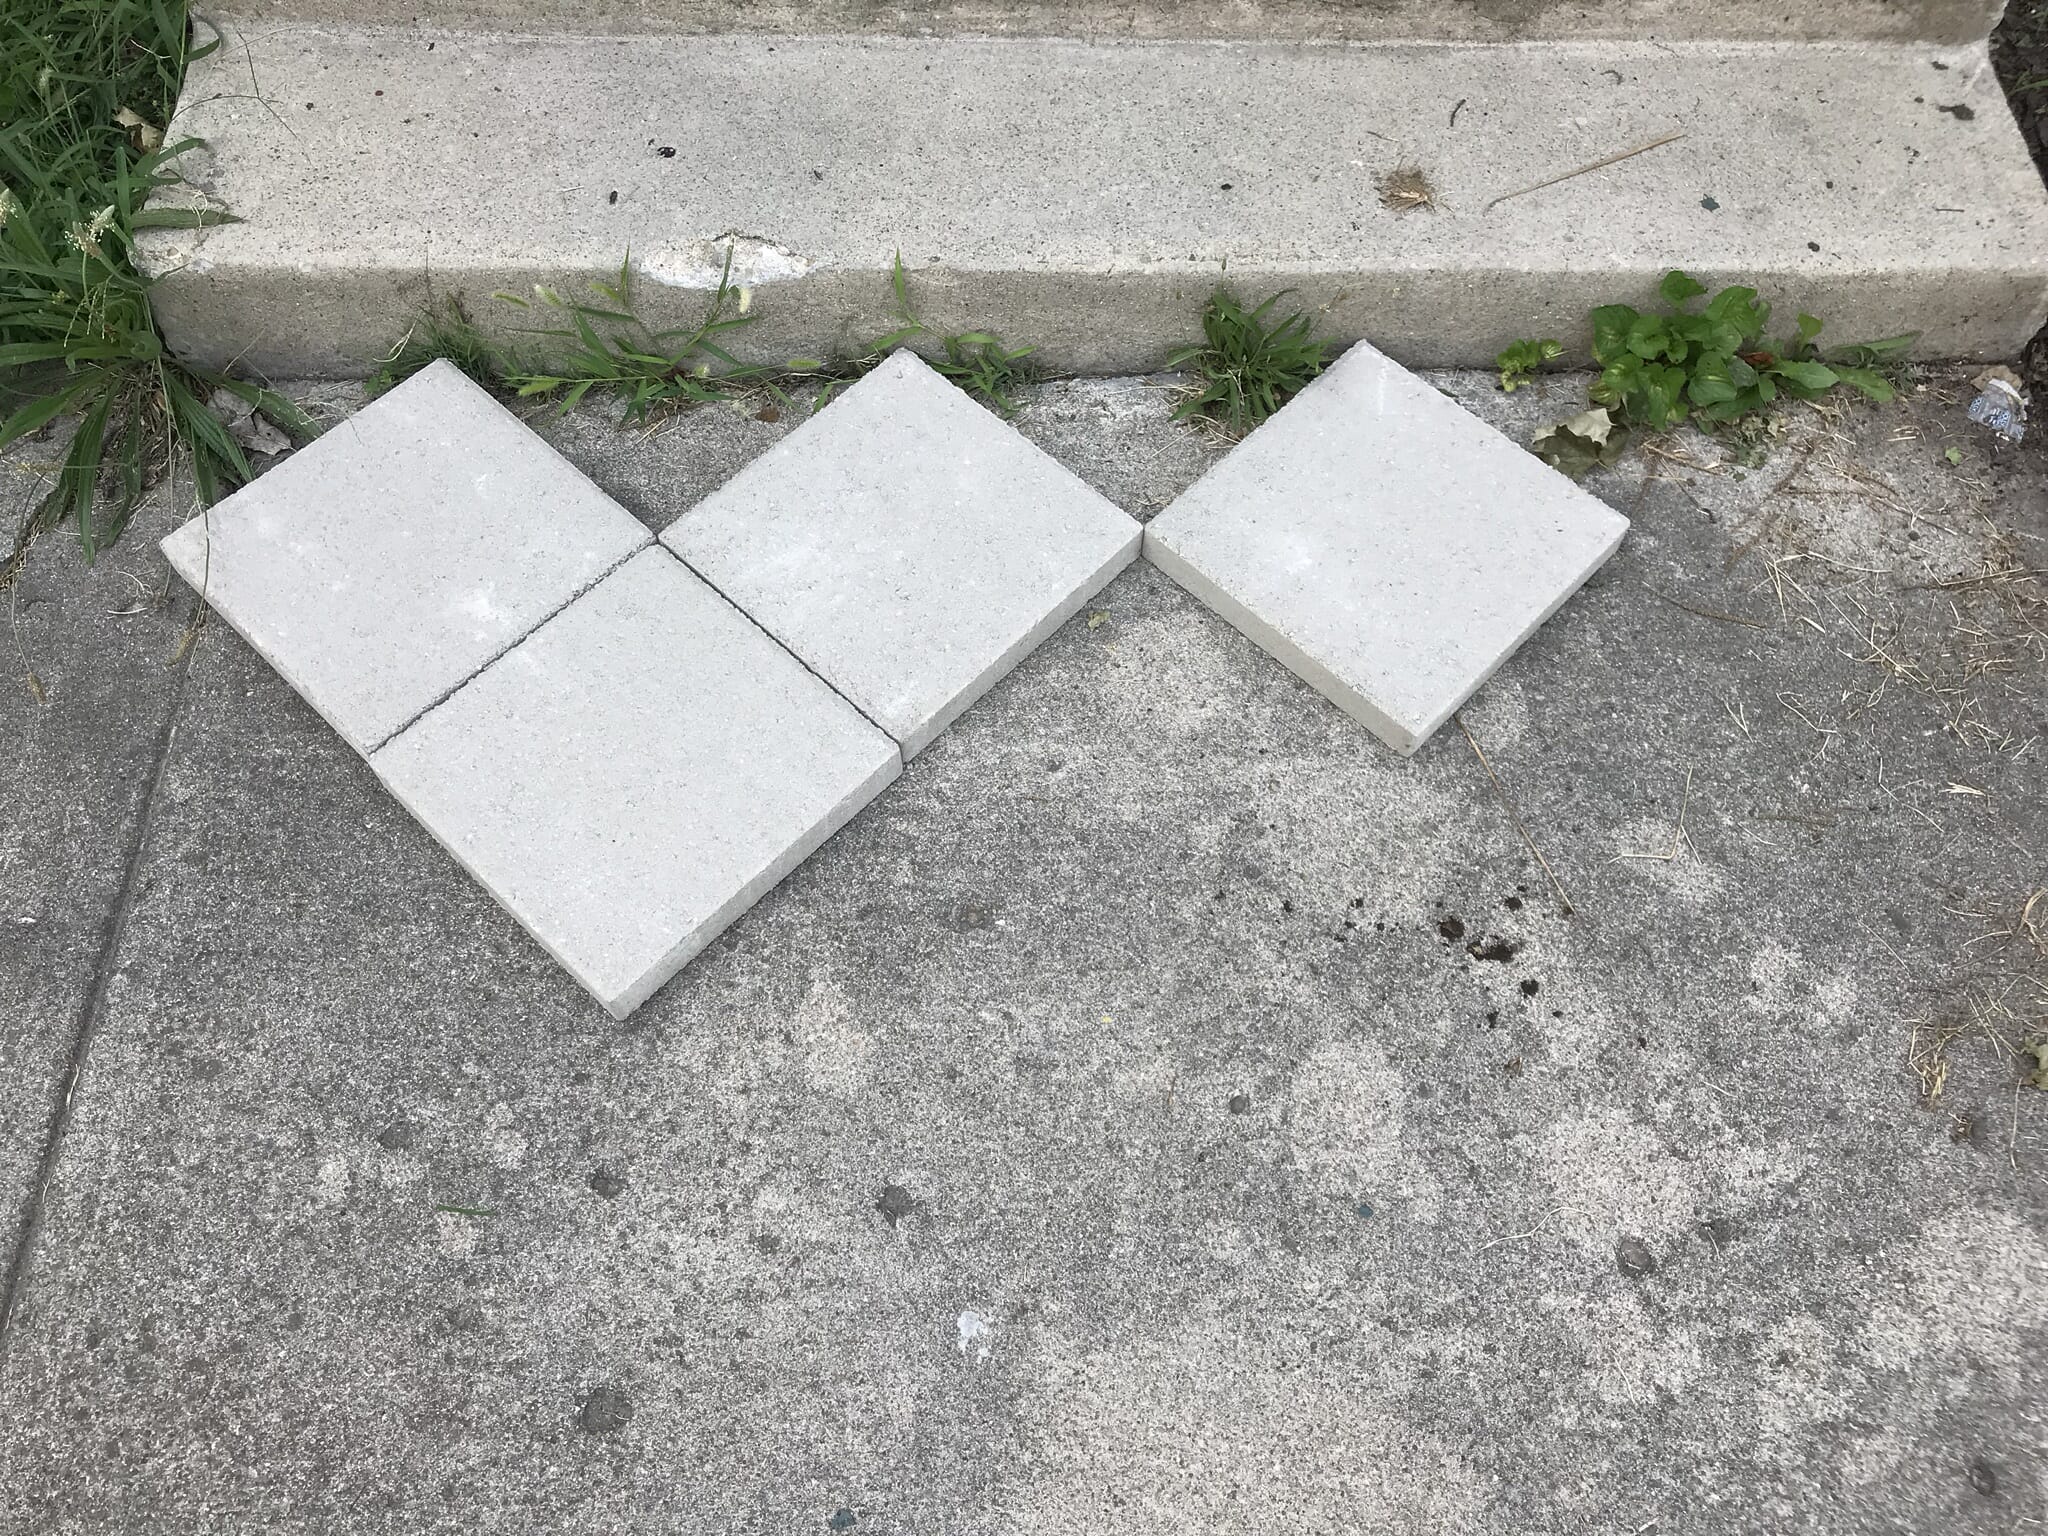
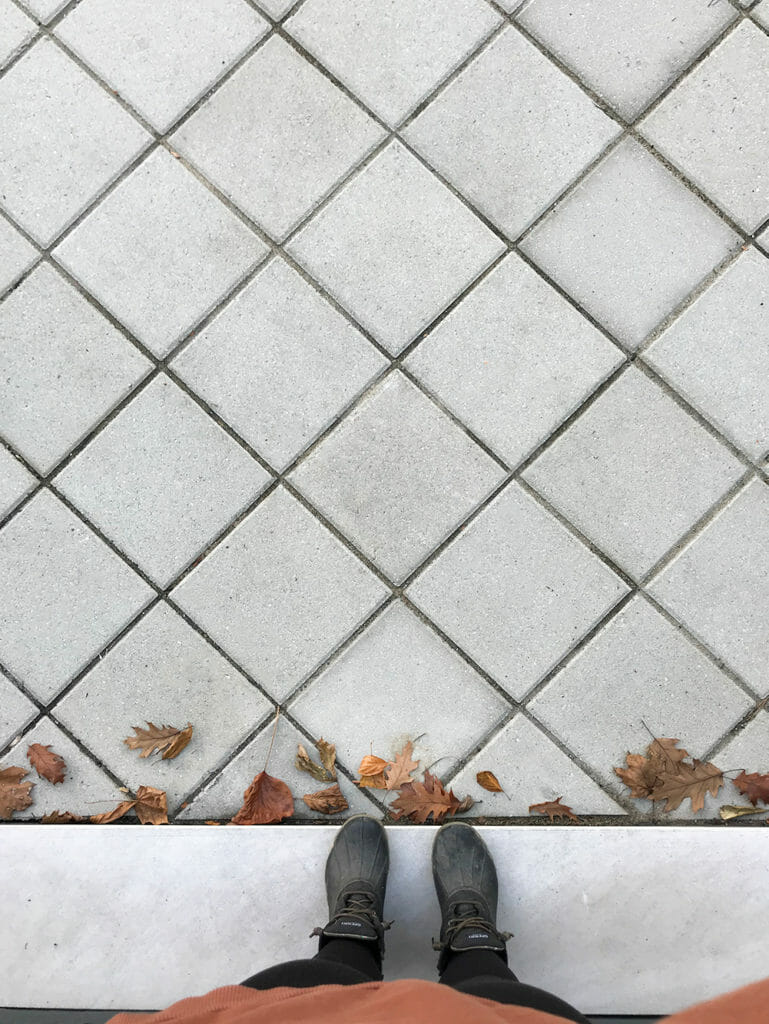
Our walkway was pretty solid with the exception of two cracks about 1/2″ high, which we knew we could fix with proper prep. We grabbed a few $1 concrete pavers from Lowe’s and placed them in a diamond pattern to see if we liked the way they looked.
We LOVED the impact the pattern had on our curb appeal and decided to give it a shot. Here’s what we did:
STEP 1: Gather all TOOLS AND MATERIALS needed
To get this project done, we used the following materials:

- Pavers – we used basic $1 concrete pavers from Lowe’s (ours were on sale, but they’re normally priced between $1-2)
- Spacers – we used plastic paver spikes as spacers, and then reused them for our paver edging when we were finished
- Paver edging – this holds pavers in place and prevents them from shifting
- Landscaping cloth (and weed killer, if you need it) – to prevent weeds from growing through cracks after pavers are installed
- Leveling paver sand – this helps level any surface unevenness under the pavers
- Polymeric sand – a special kind of sand that helps adheres sand in place
- A broom – to spread polymeric sand after pavers are in place
- A circular saw for making straight paver cuts (if you prefer corded, this one has great reviews too!)
- A grinder for making curved paver cuts (we used this cordless Kobalt one)
- Diamond tip saw blades
- Water
STEP 2: dry run
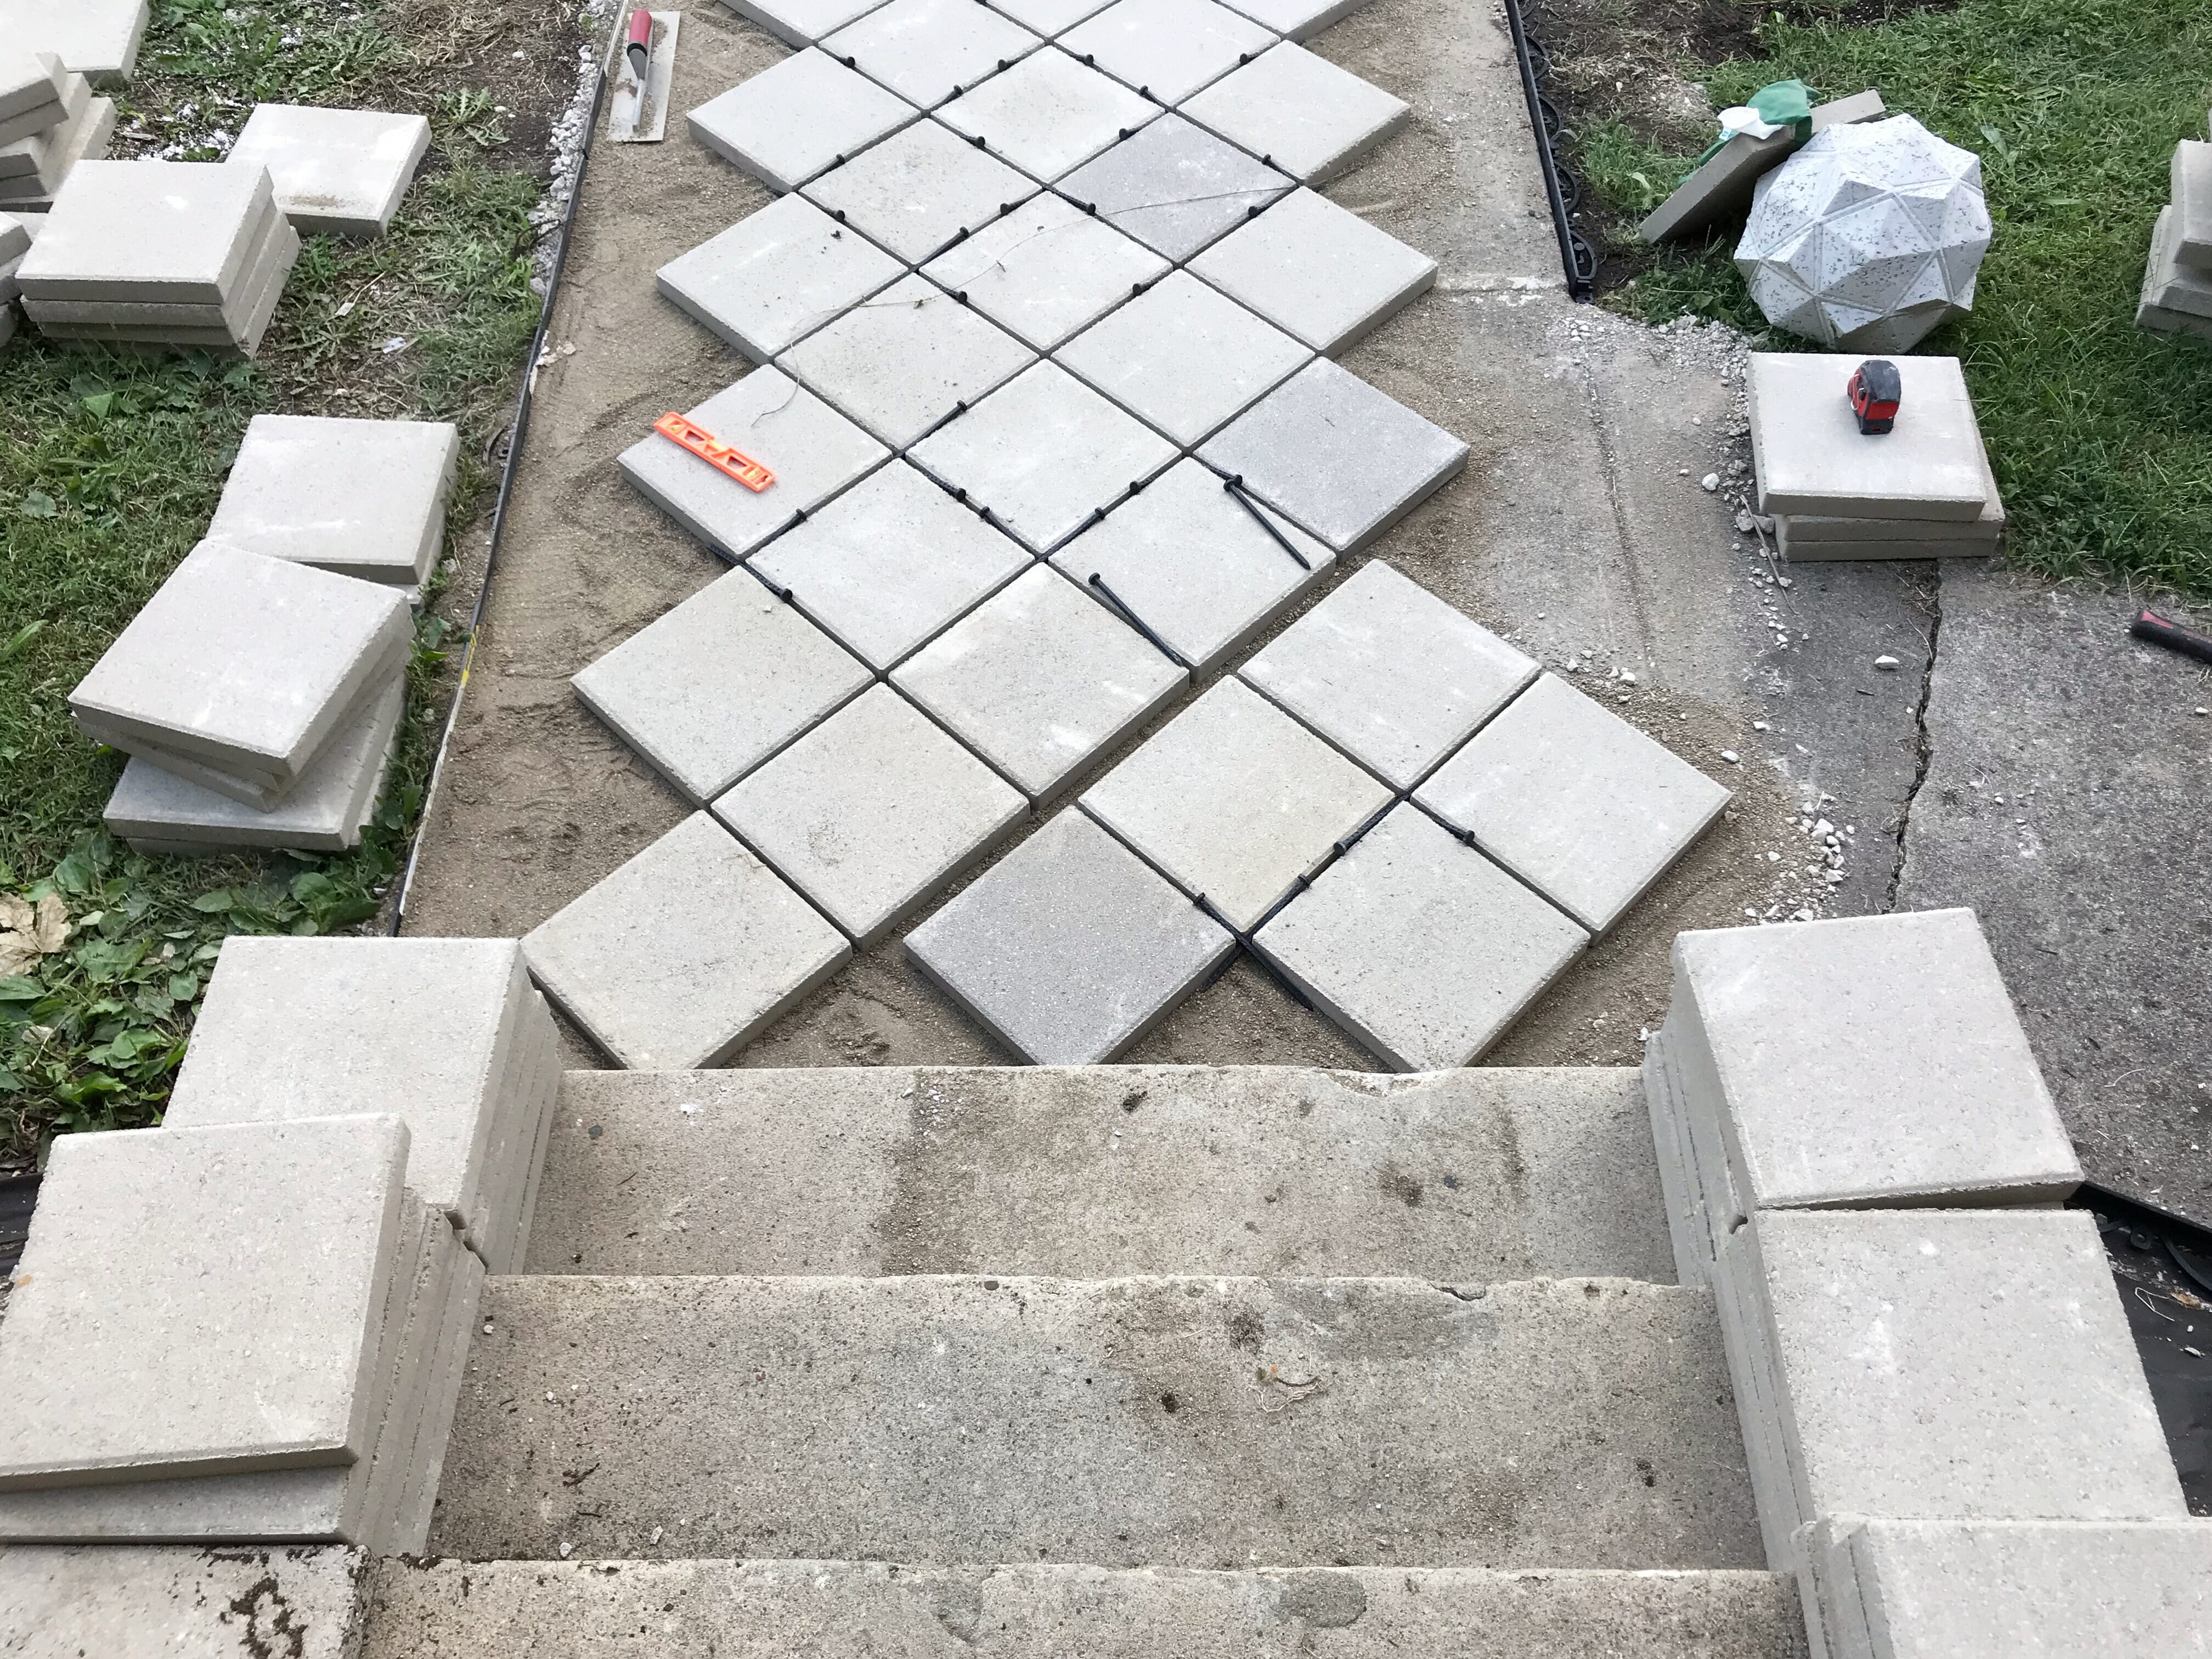
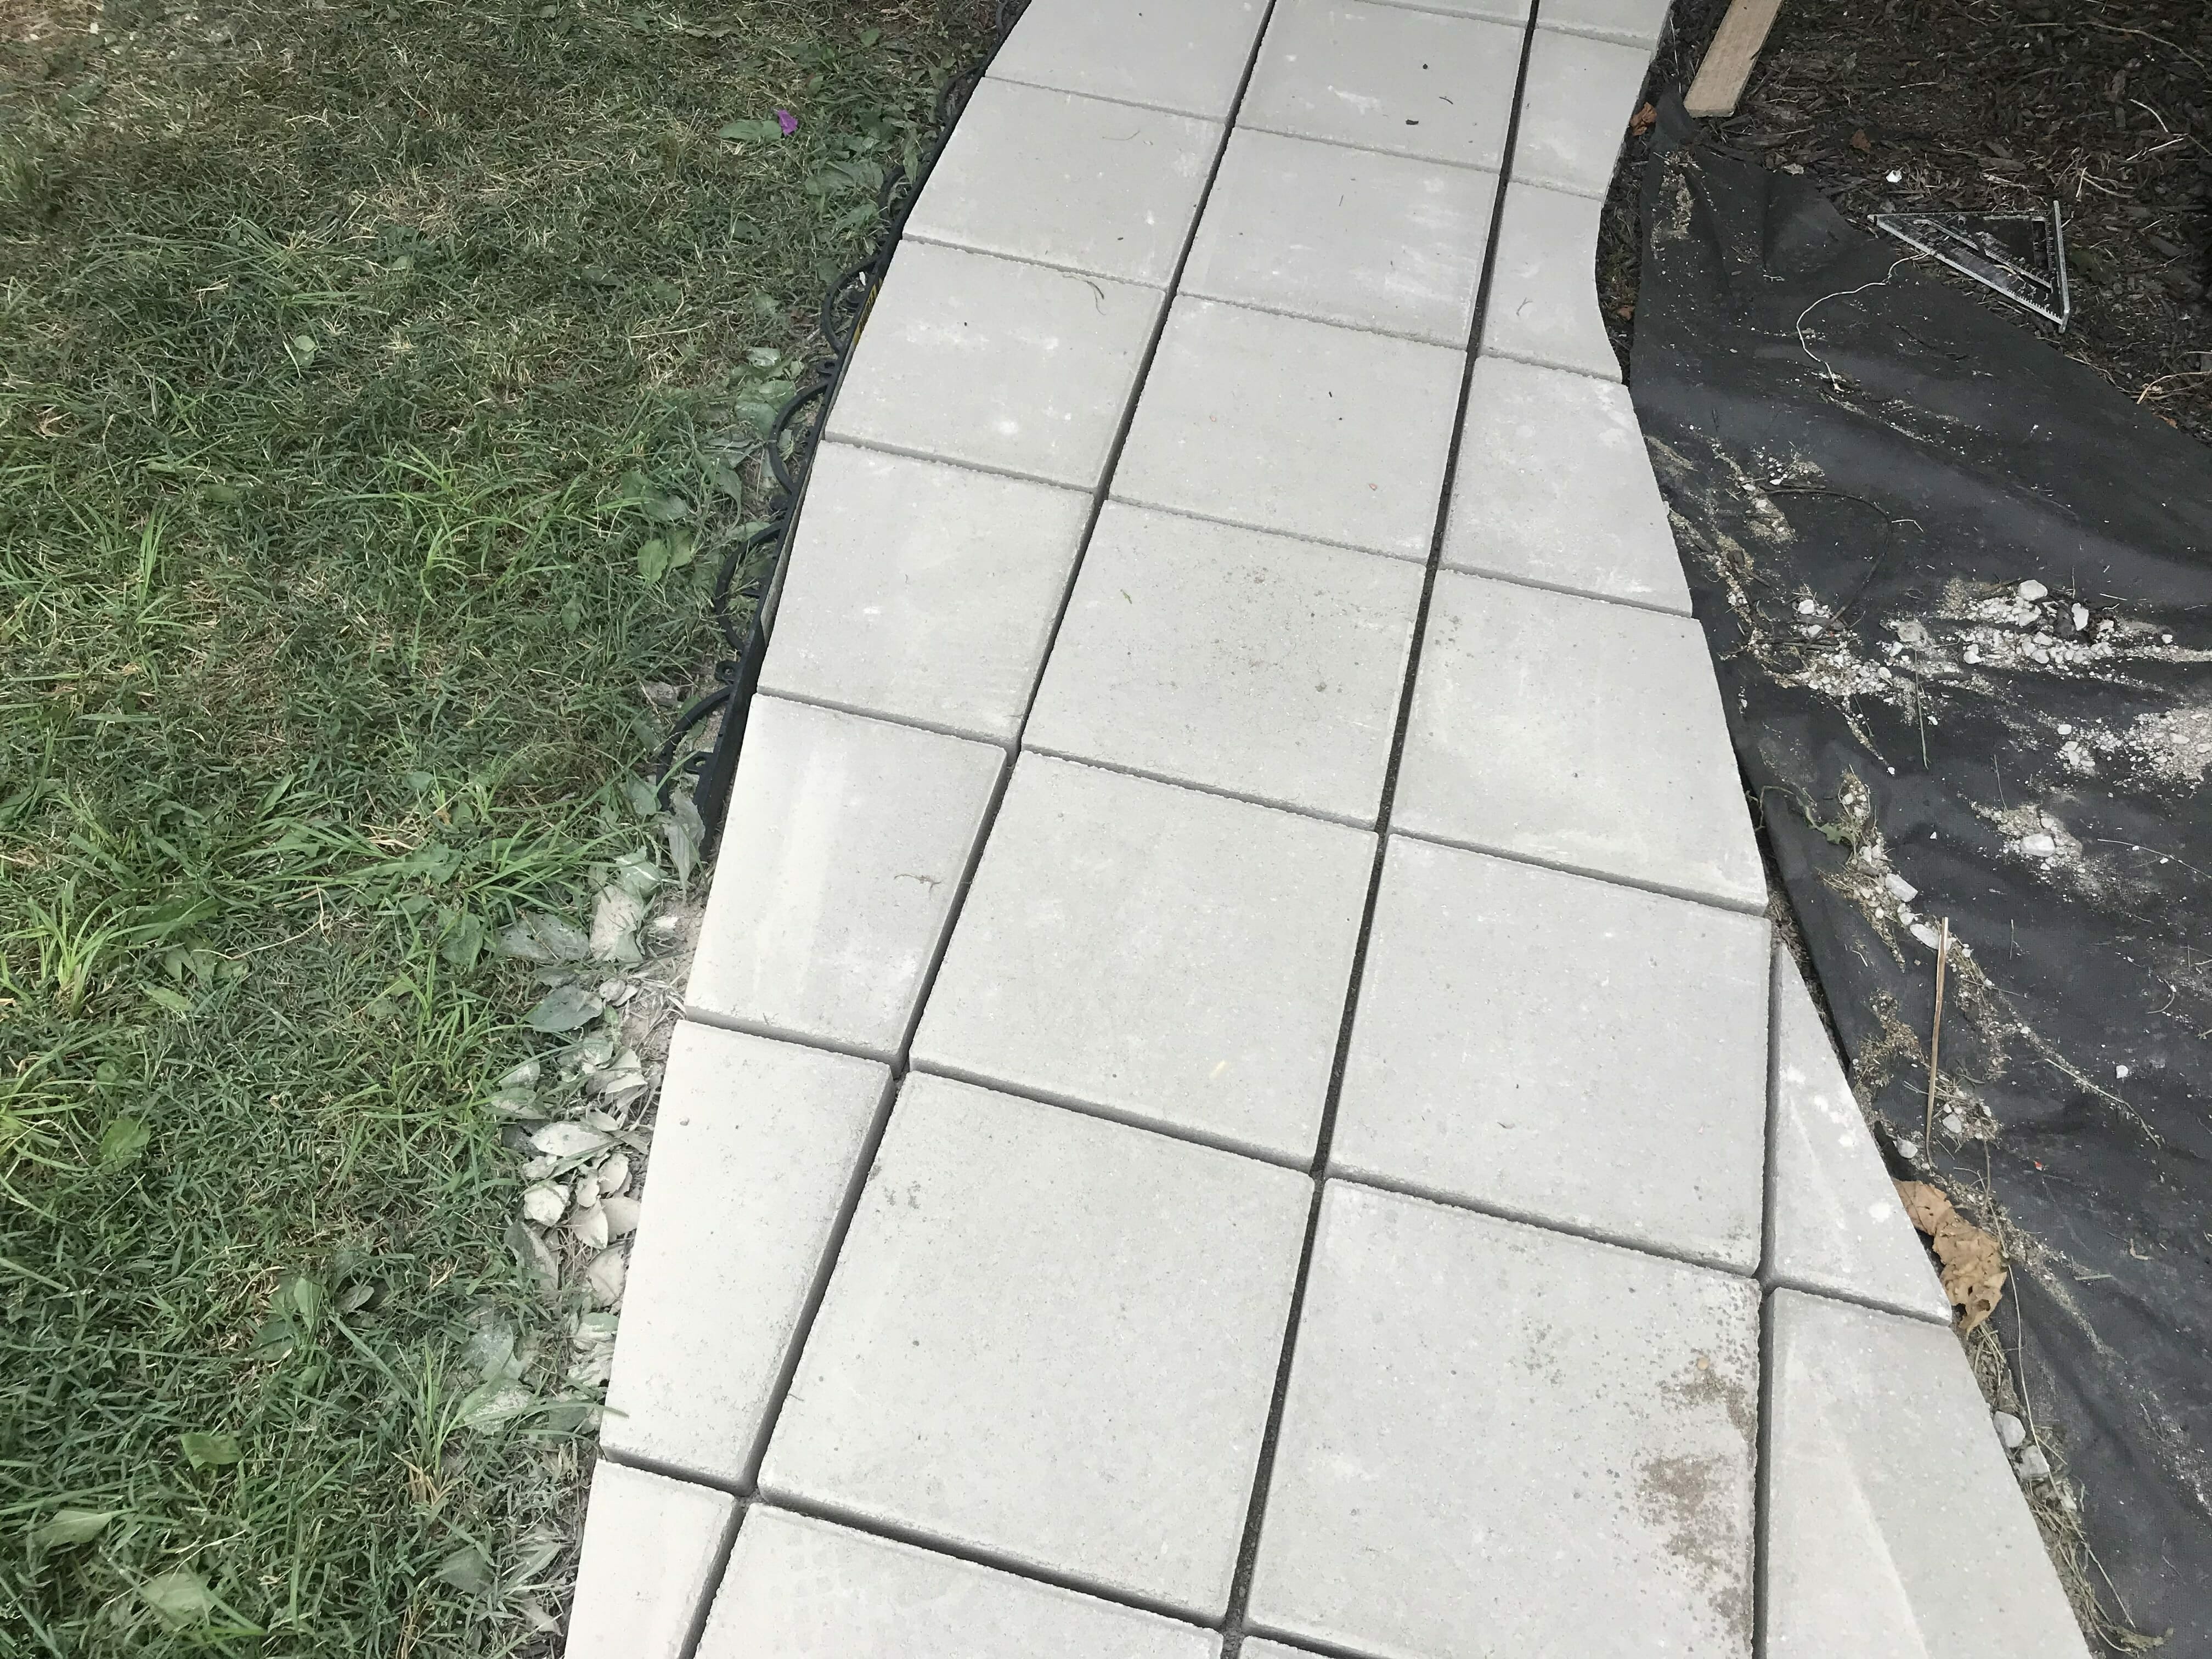
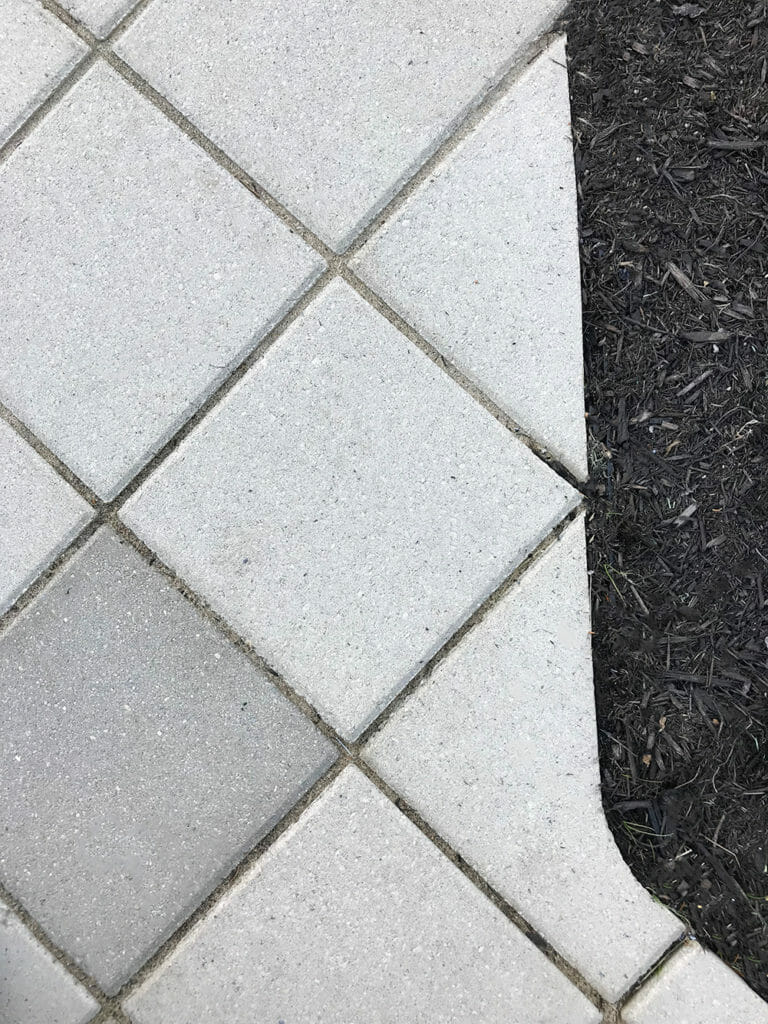
Before we started actually laying our pavers and making cuts, we did a dry run to figure out our center line, correct spacing, etc. This allowed us to shift pavers and make adjustments quickly and easily before committing. In our case, we wanted our diamond pattern to line up evenly on both sides of the walkway, and our edge cuts to be triangles with three even sides. It took us several hours of shifting them around to get it right.
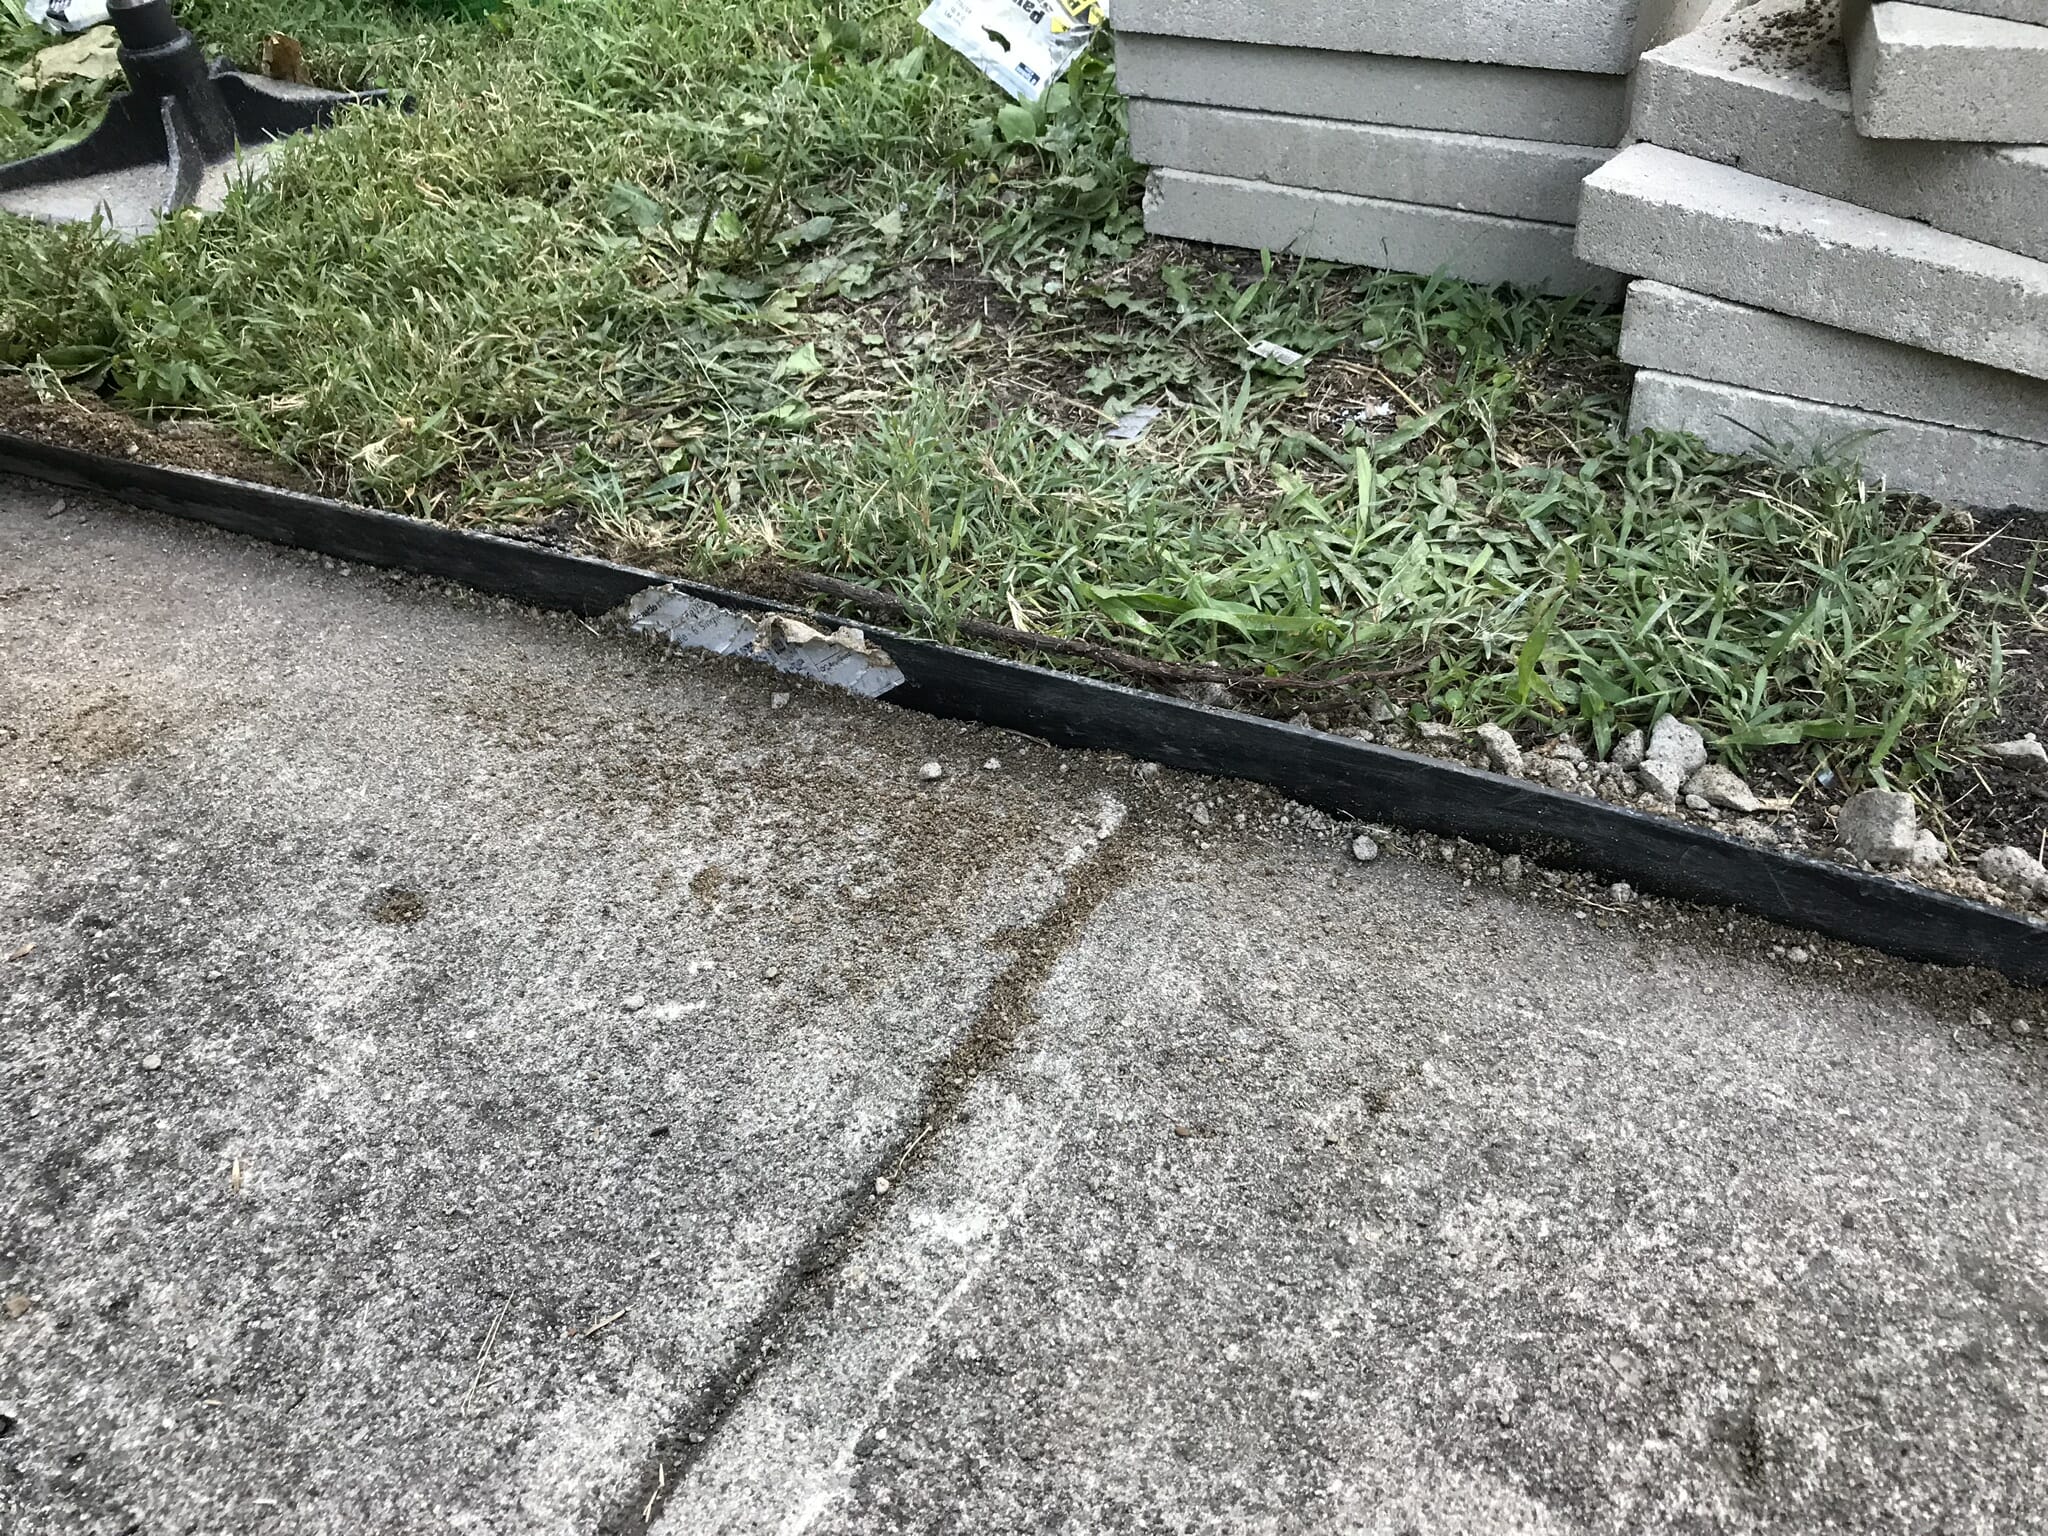
STEP 3: INSTALL EDGING
We lined our walkway with plastic paver edging. This prevents the pavers from shifting out of place. Once our grass fills in, we expect this to become less visible.
step 4: kill weeds + lay landscaping fabric
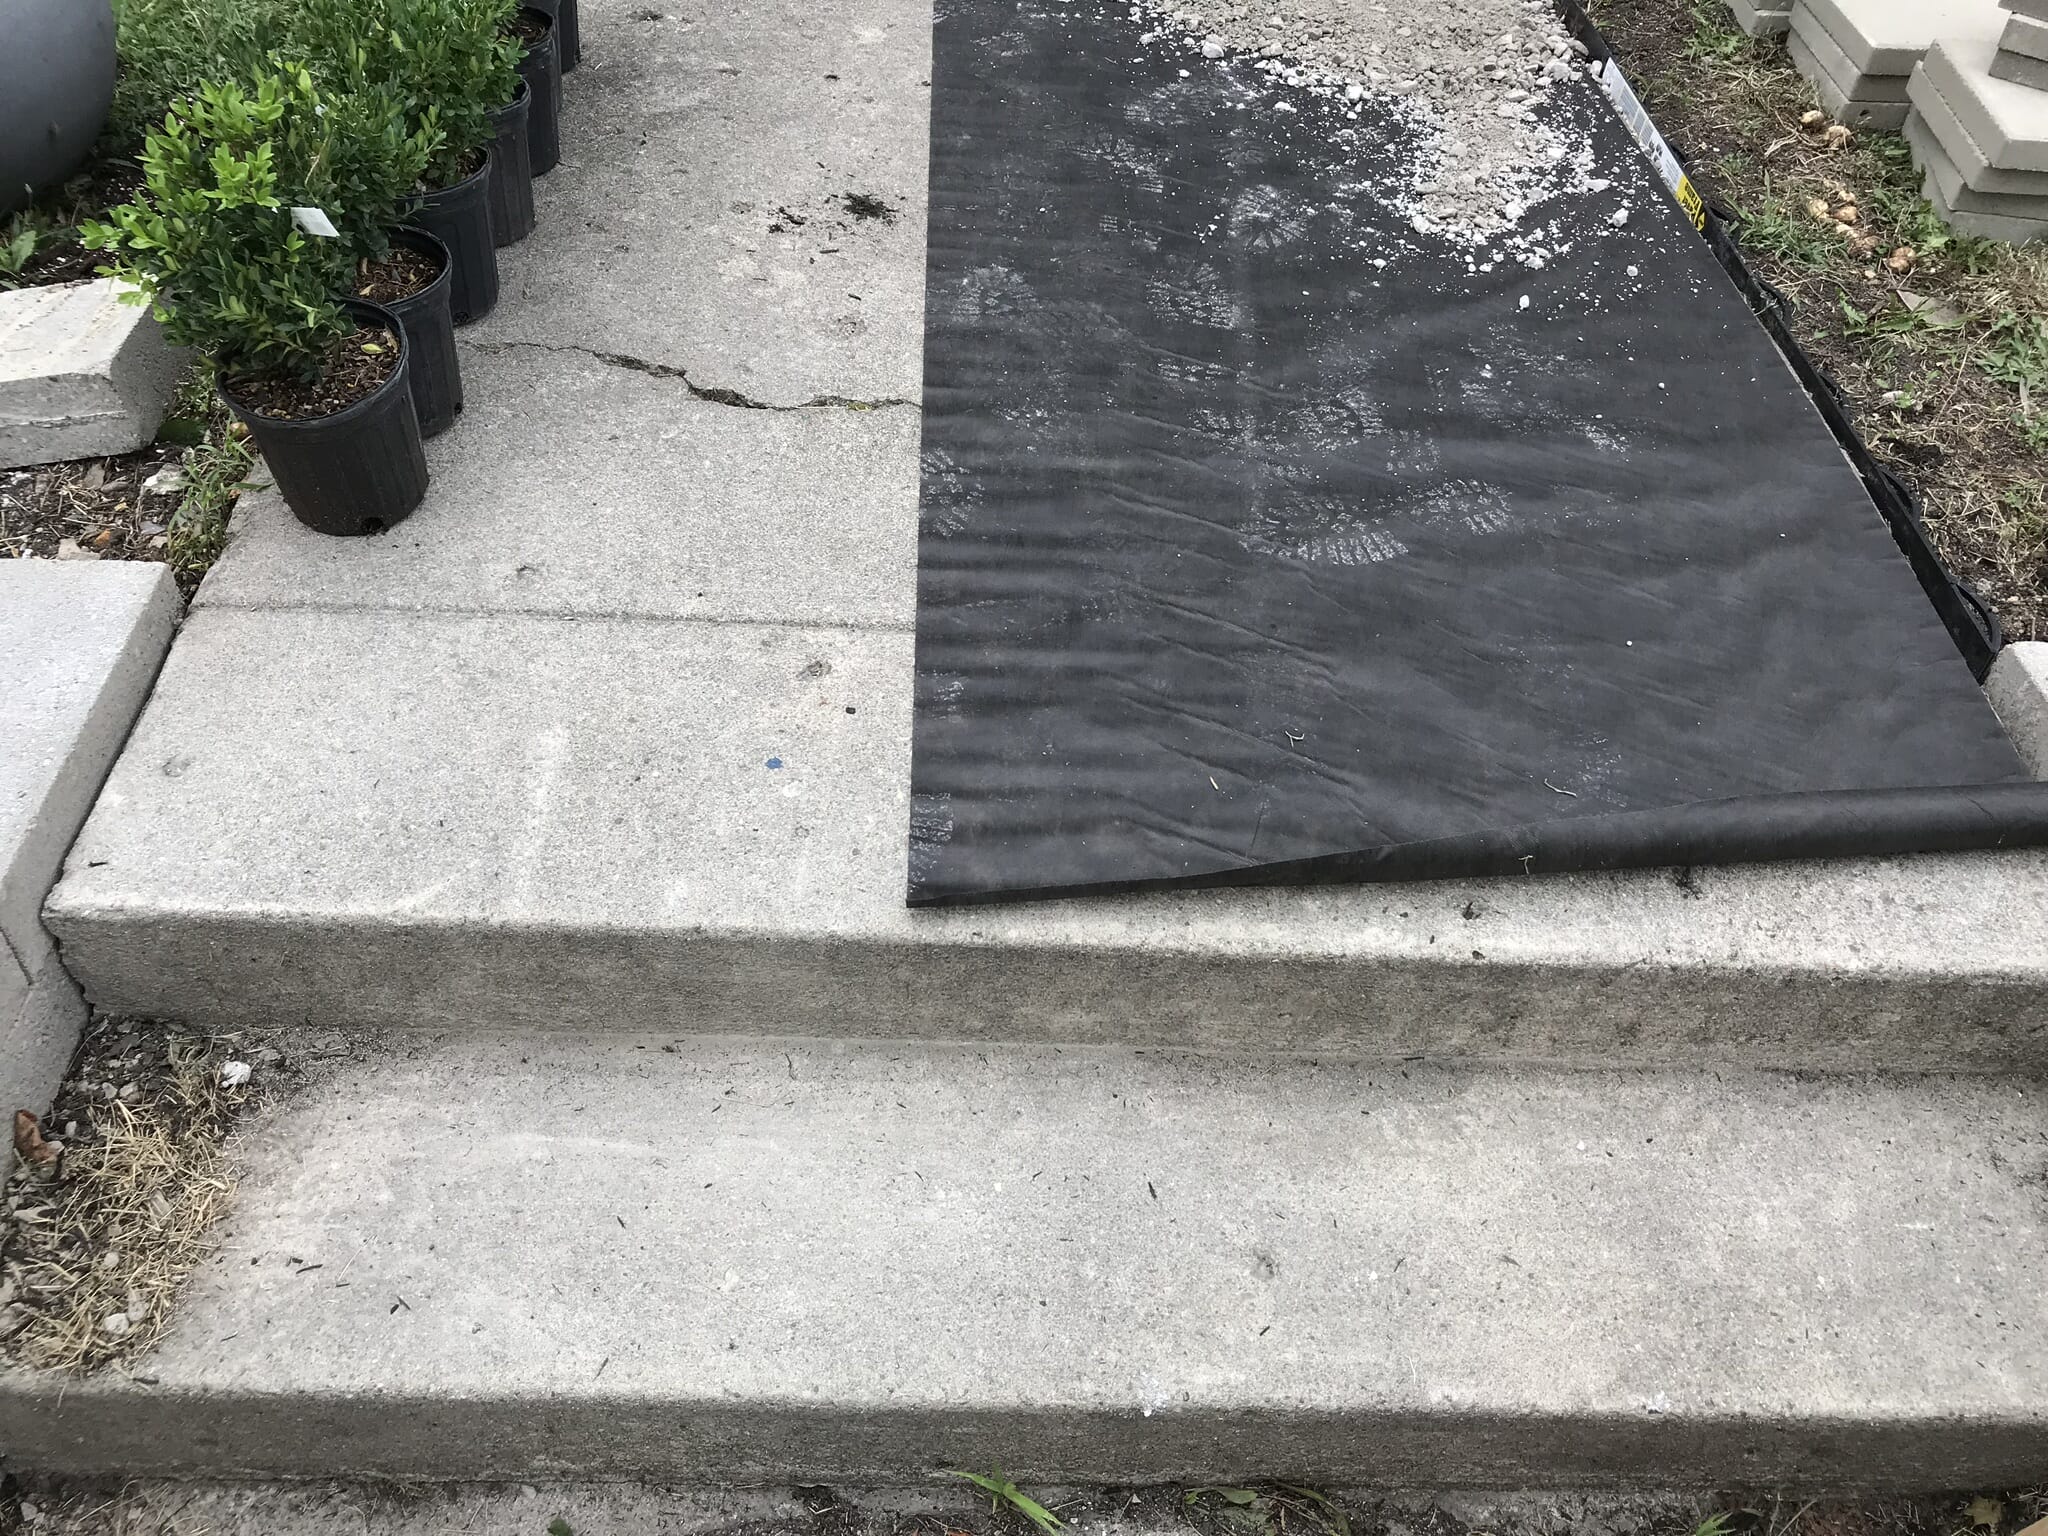
We pulled weeds from the two cracks in the walkway, and sprayed weed killer on for good measure. We laid landscaping fabric over the cracks, which will prevent weeds from growing and pushing pavers out of place.
STEP 5: Spread Paver sand over concrete
We had some trial & error in this step. We accidentally bought this paver base sand, which we assumed was what we should be using based on the description. We poured out a bunch of bags and stomped it down, attempting to create a solid base over our concrete.
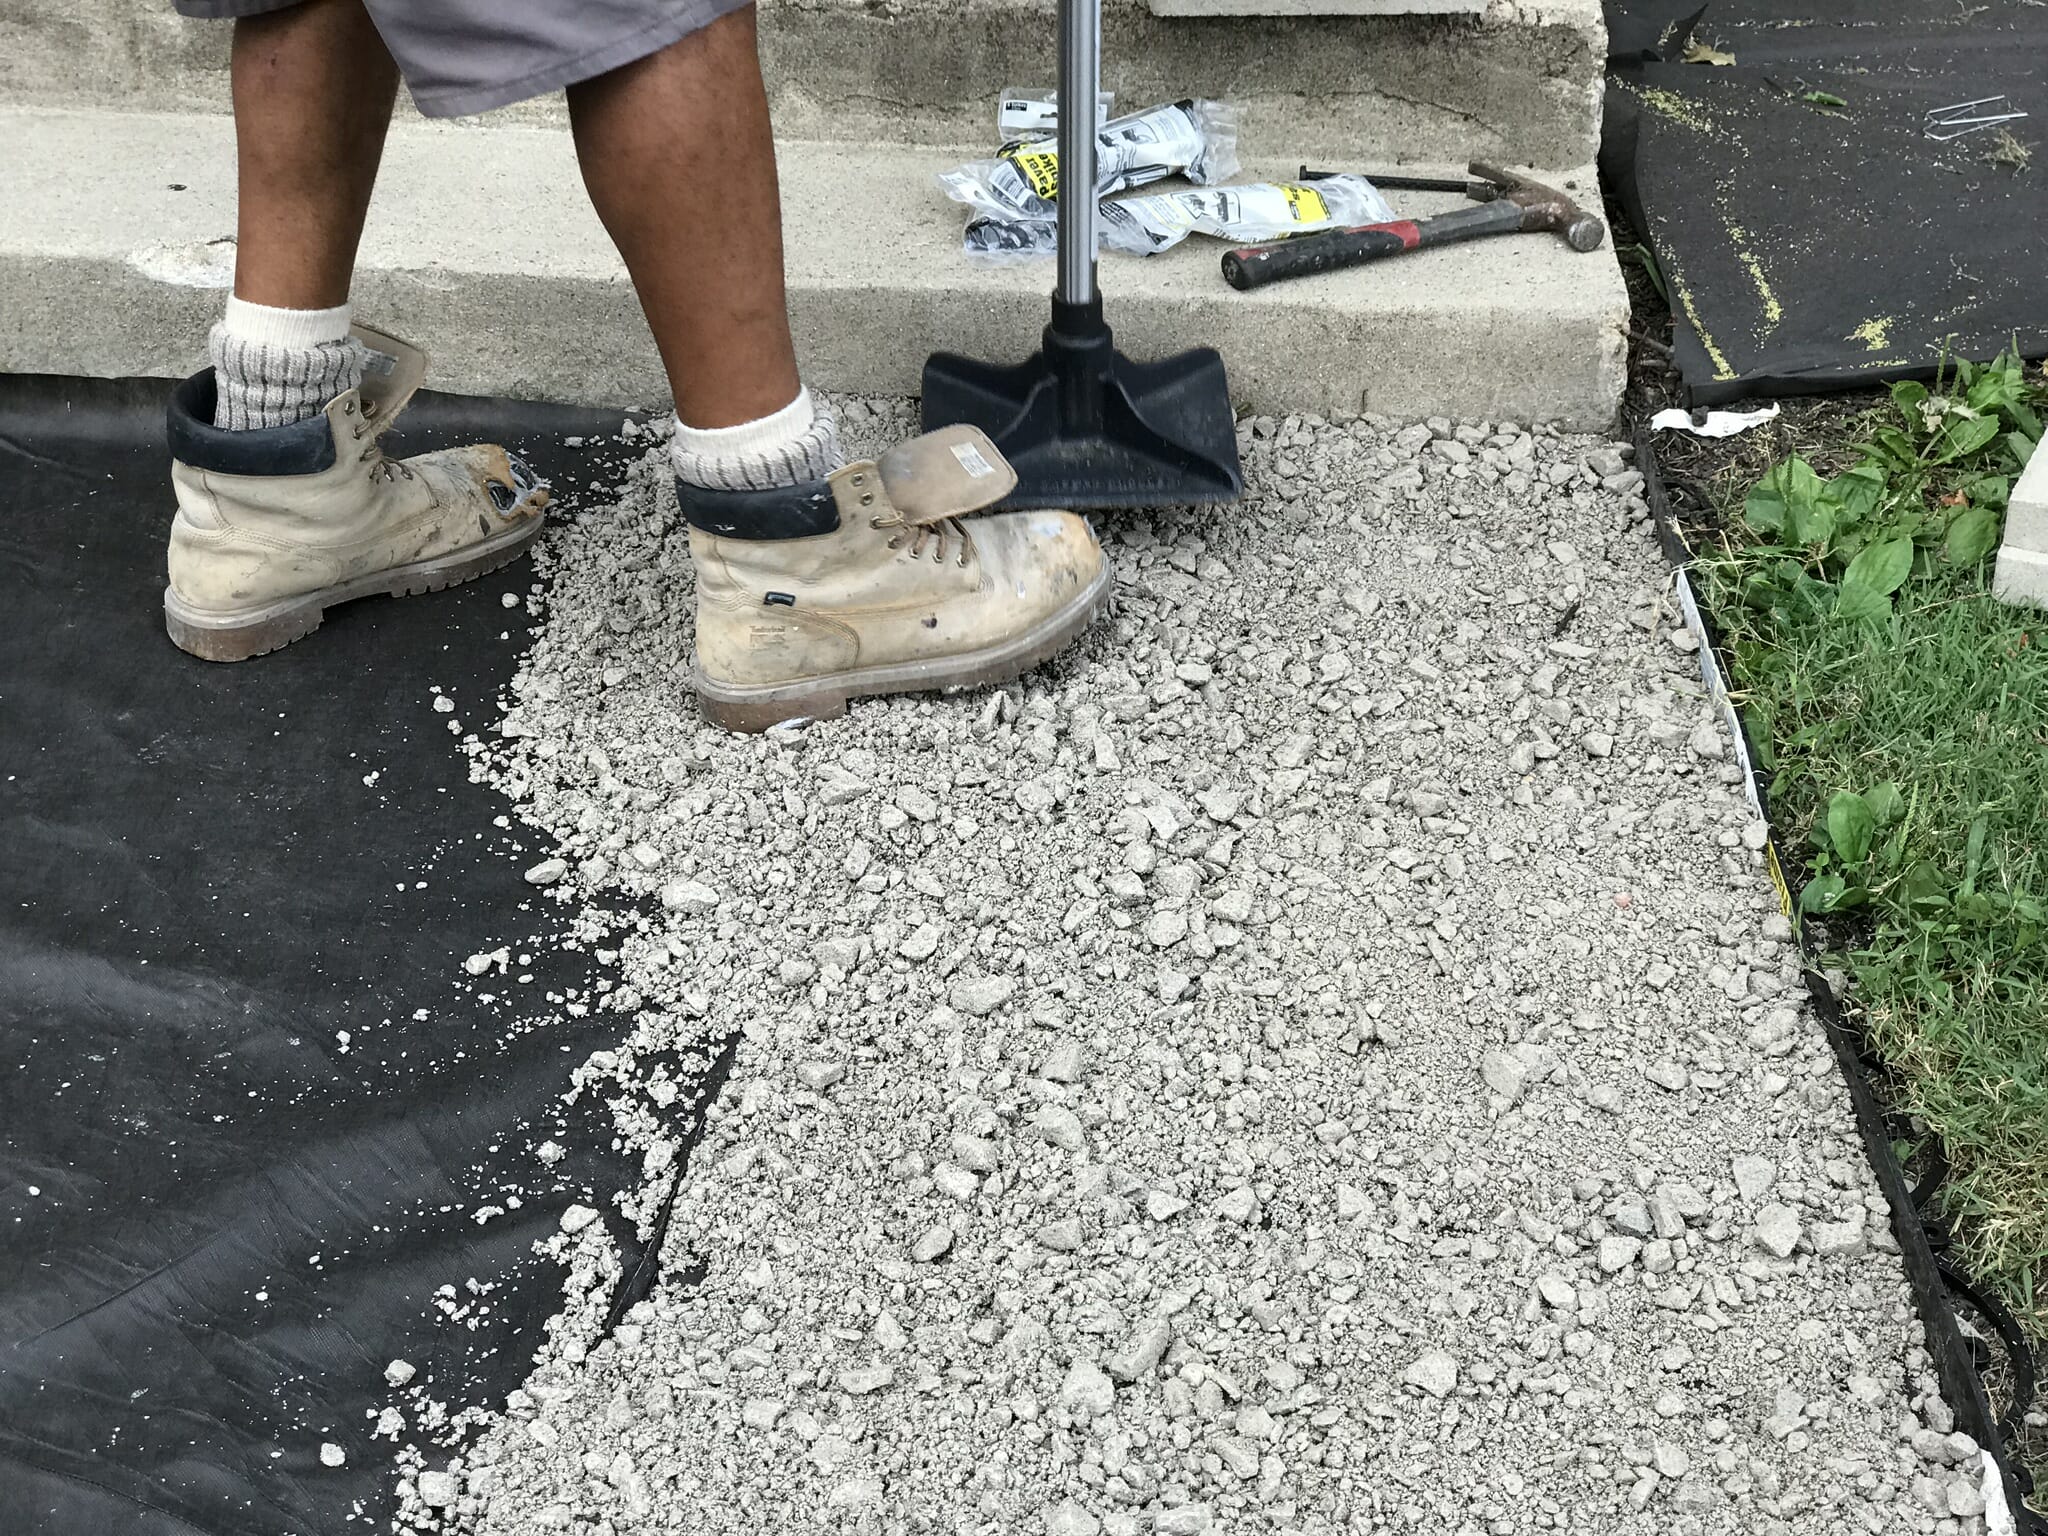
We spread the finer paver sand on top of it, and started laying pavers. After getting through many rows, we tested them and realized they were wobbly. The paver base was too rocky, so we removed all of it and started from scratch.
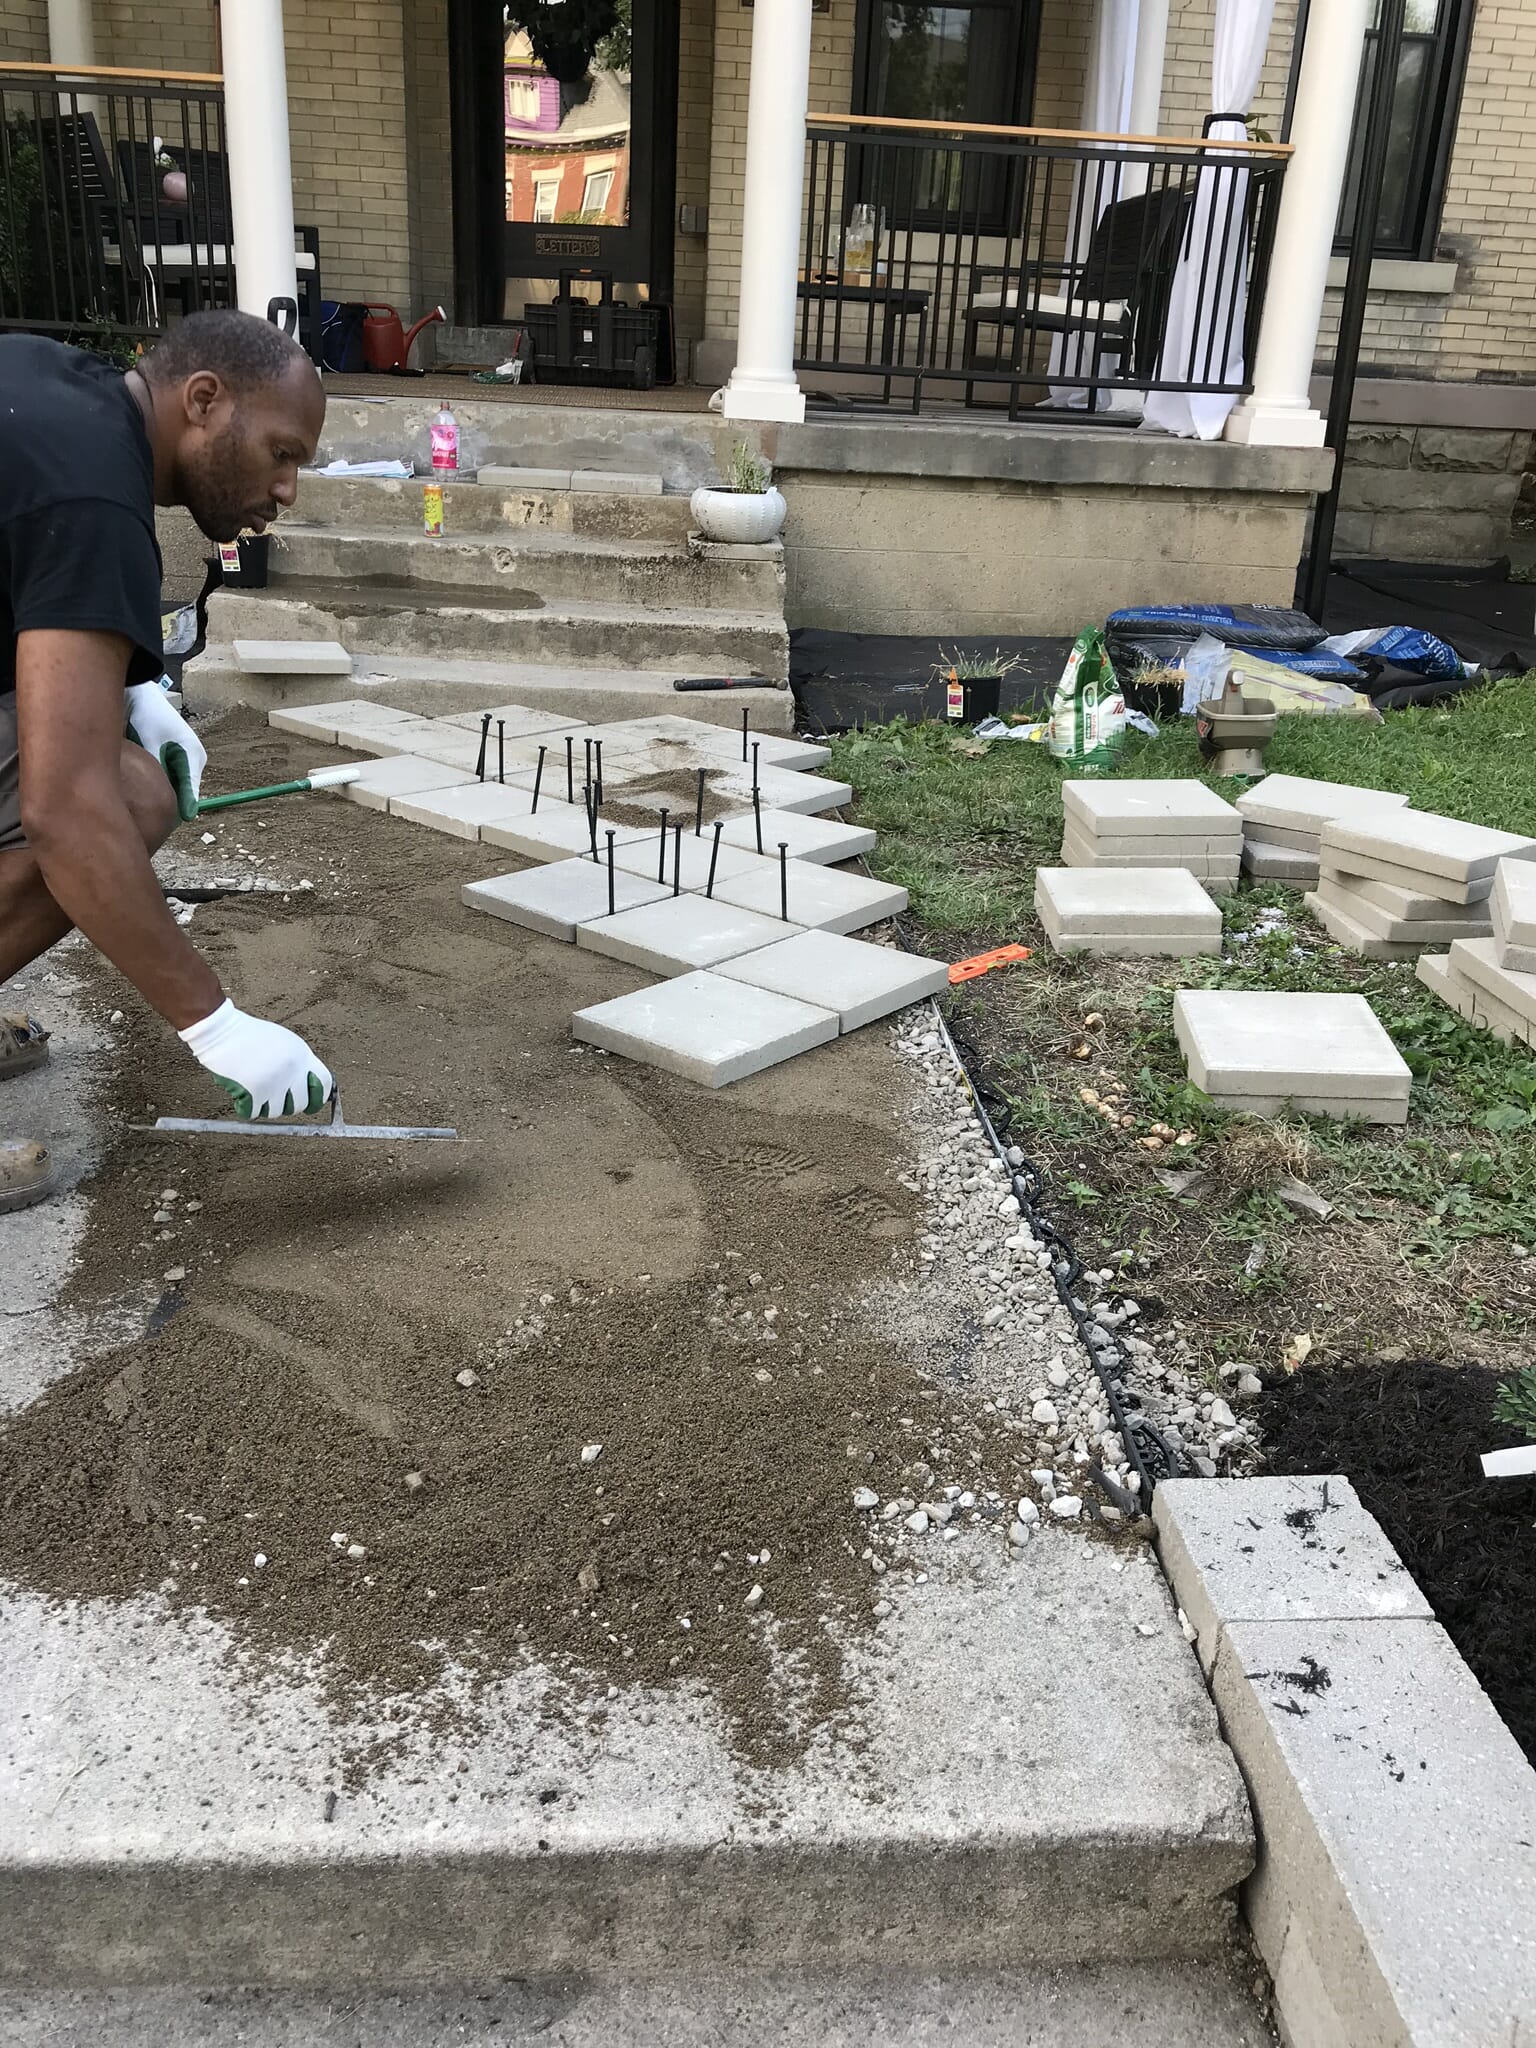
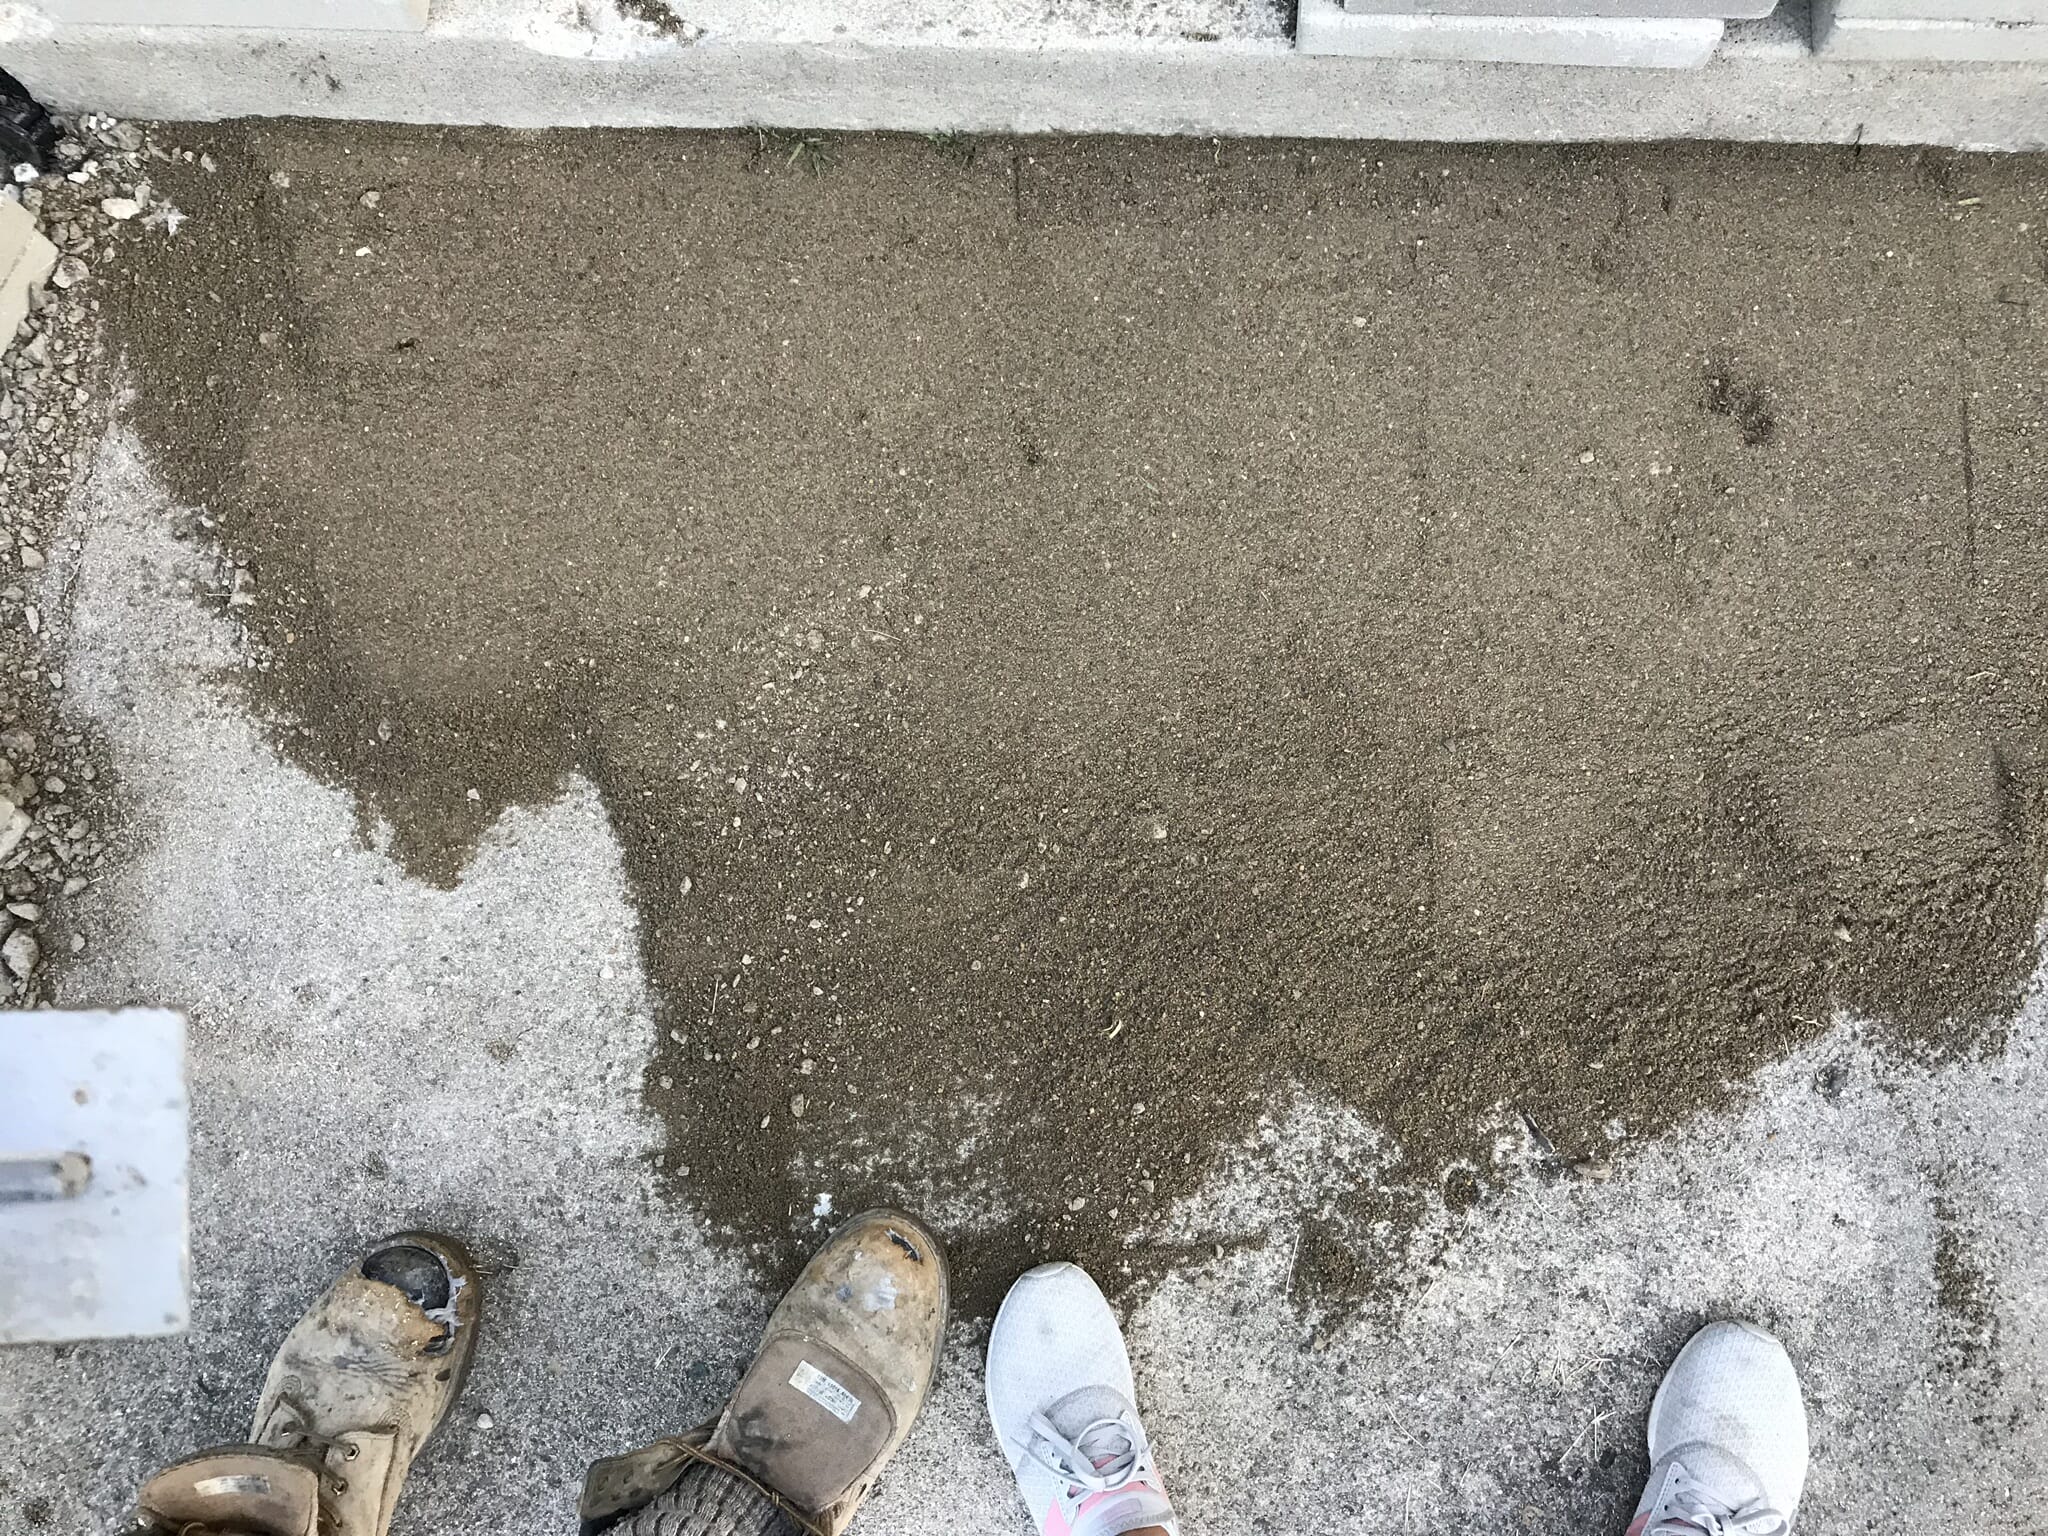
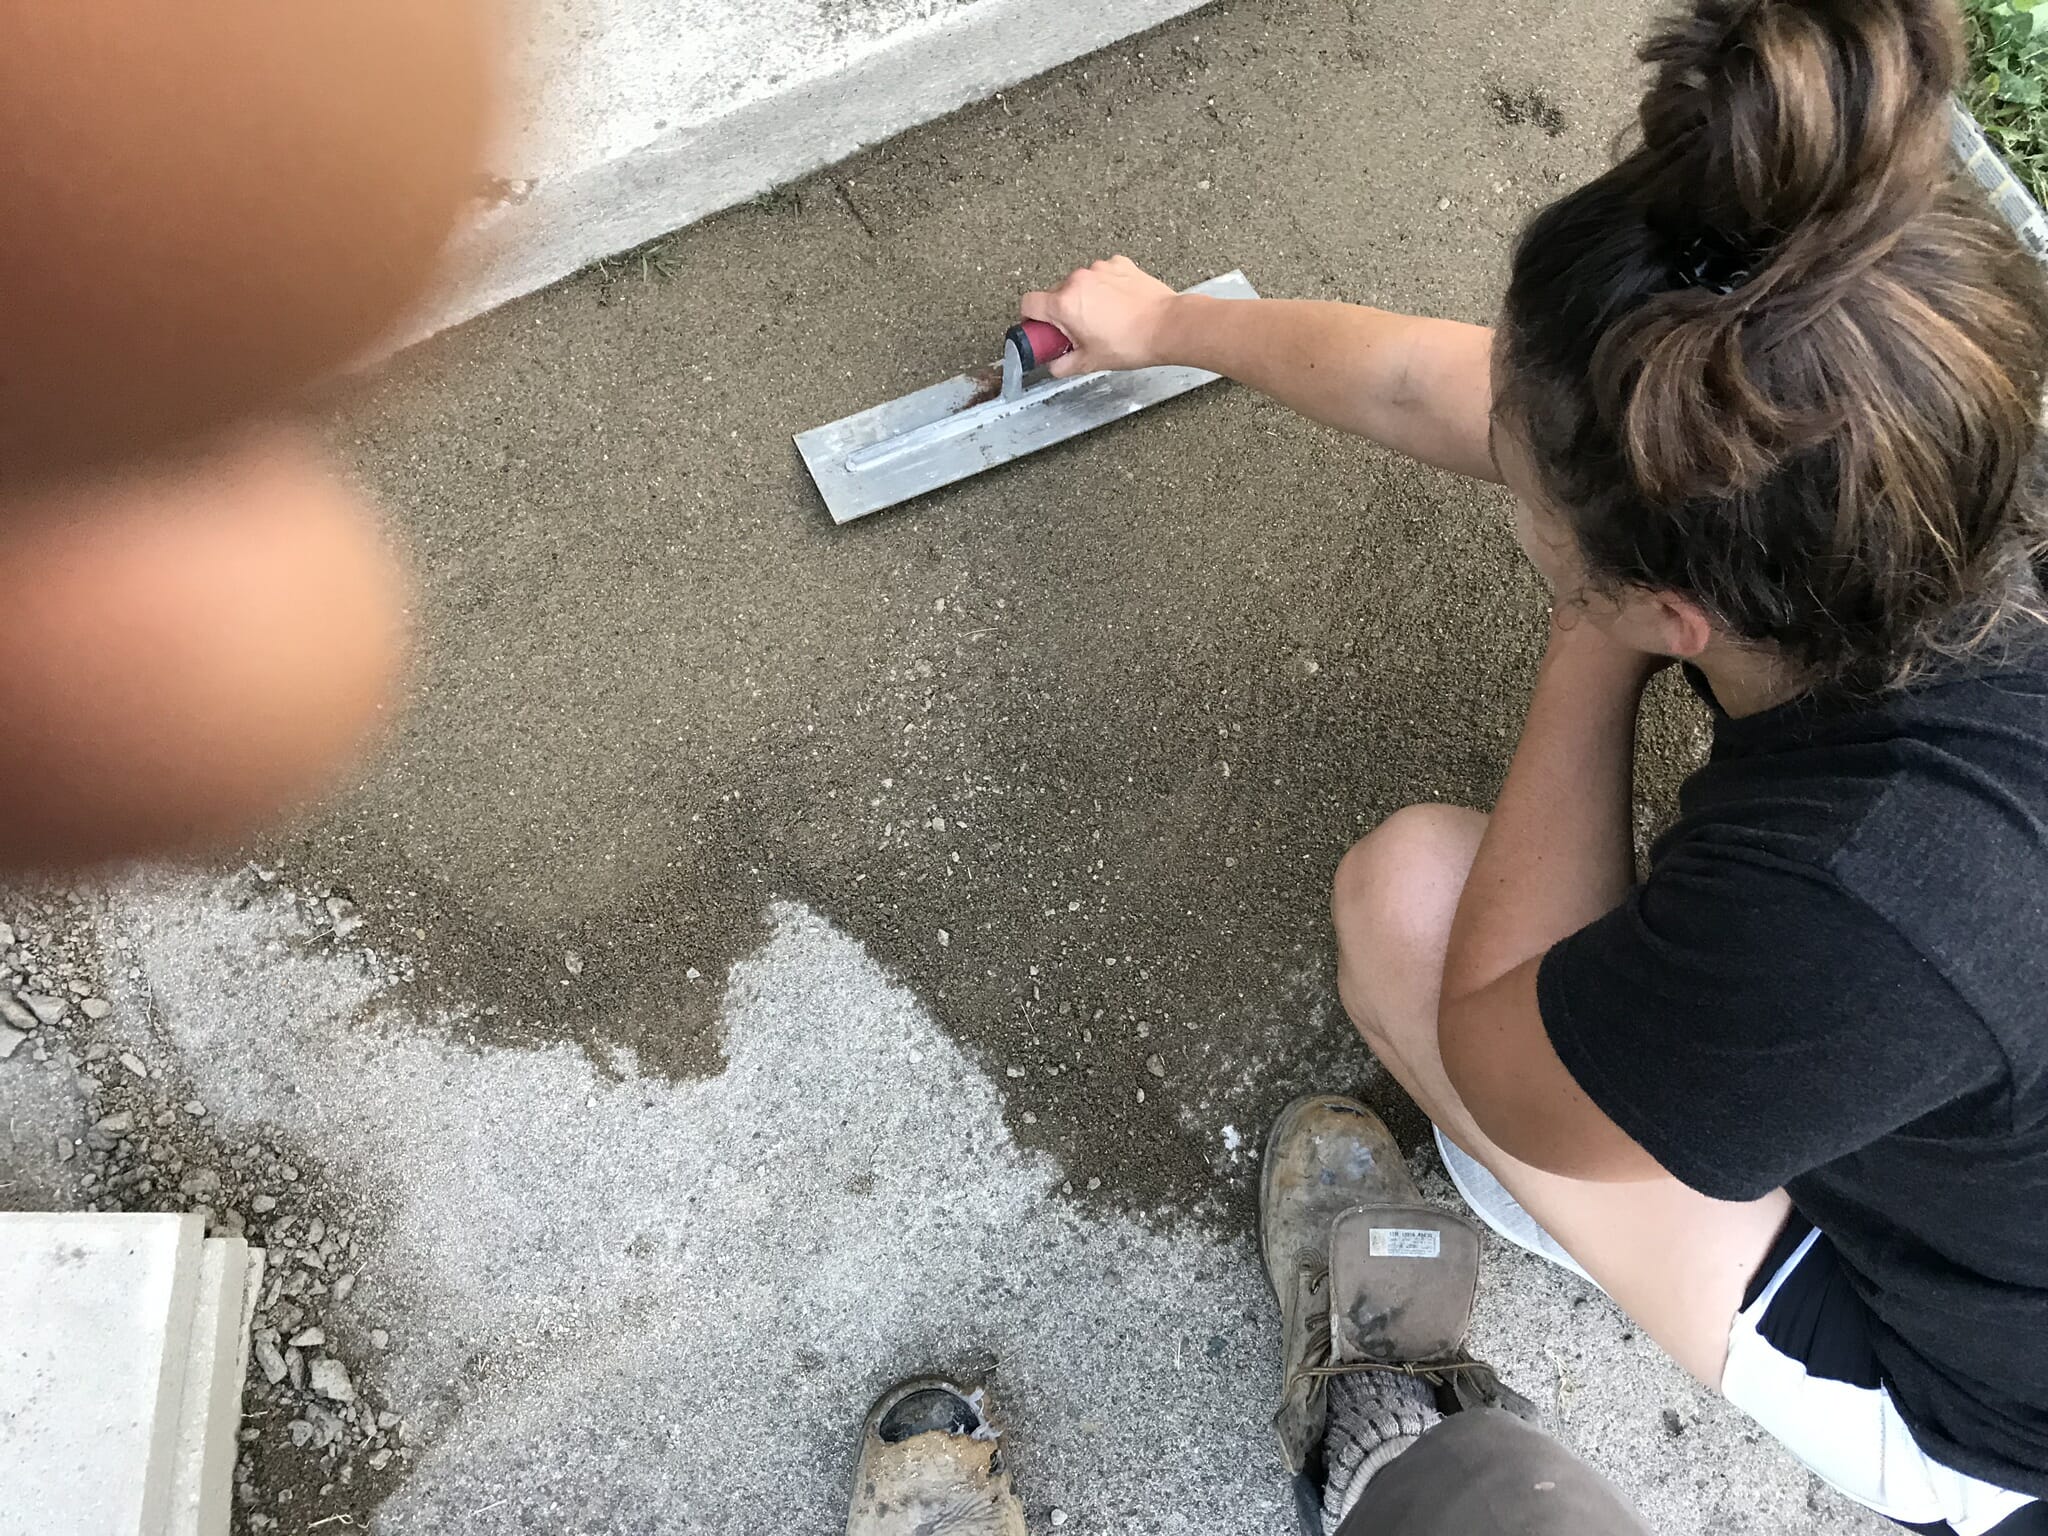
This time, we skipped the paver base and used JUST sand. The finer sand was so much easier to work with and gave the pavers a soft but firm surface to sit on. We poured about 3/4″ of leveling paver sand on top of the old concrete and spread it to level out any minor surface imperfections.
STEP 6: lay pavers
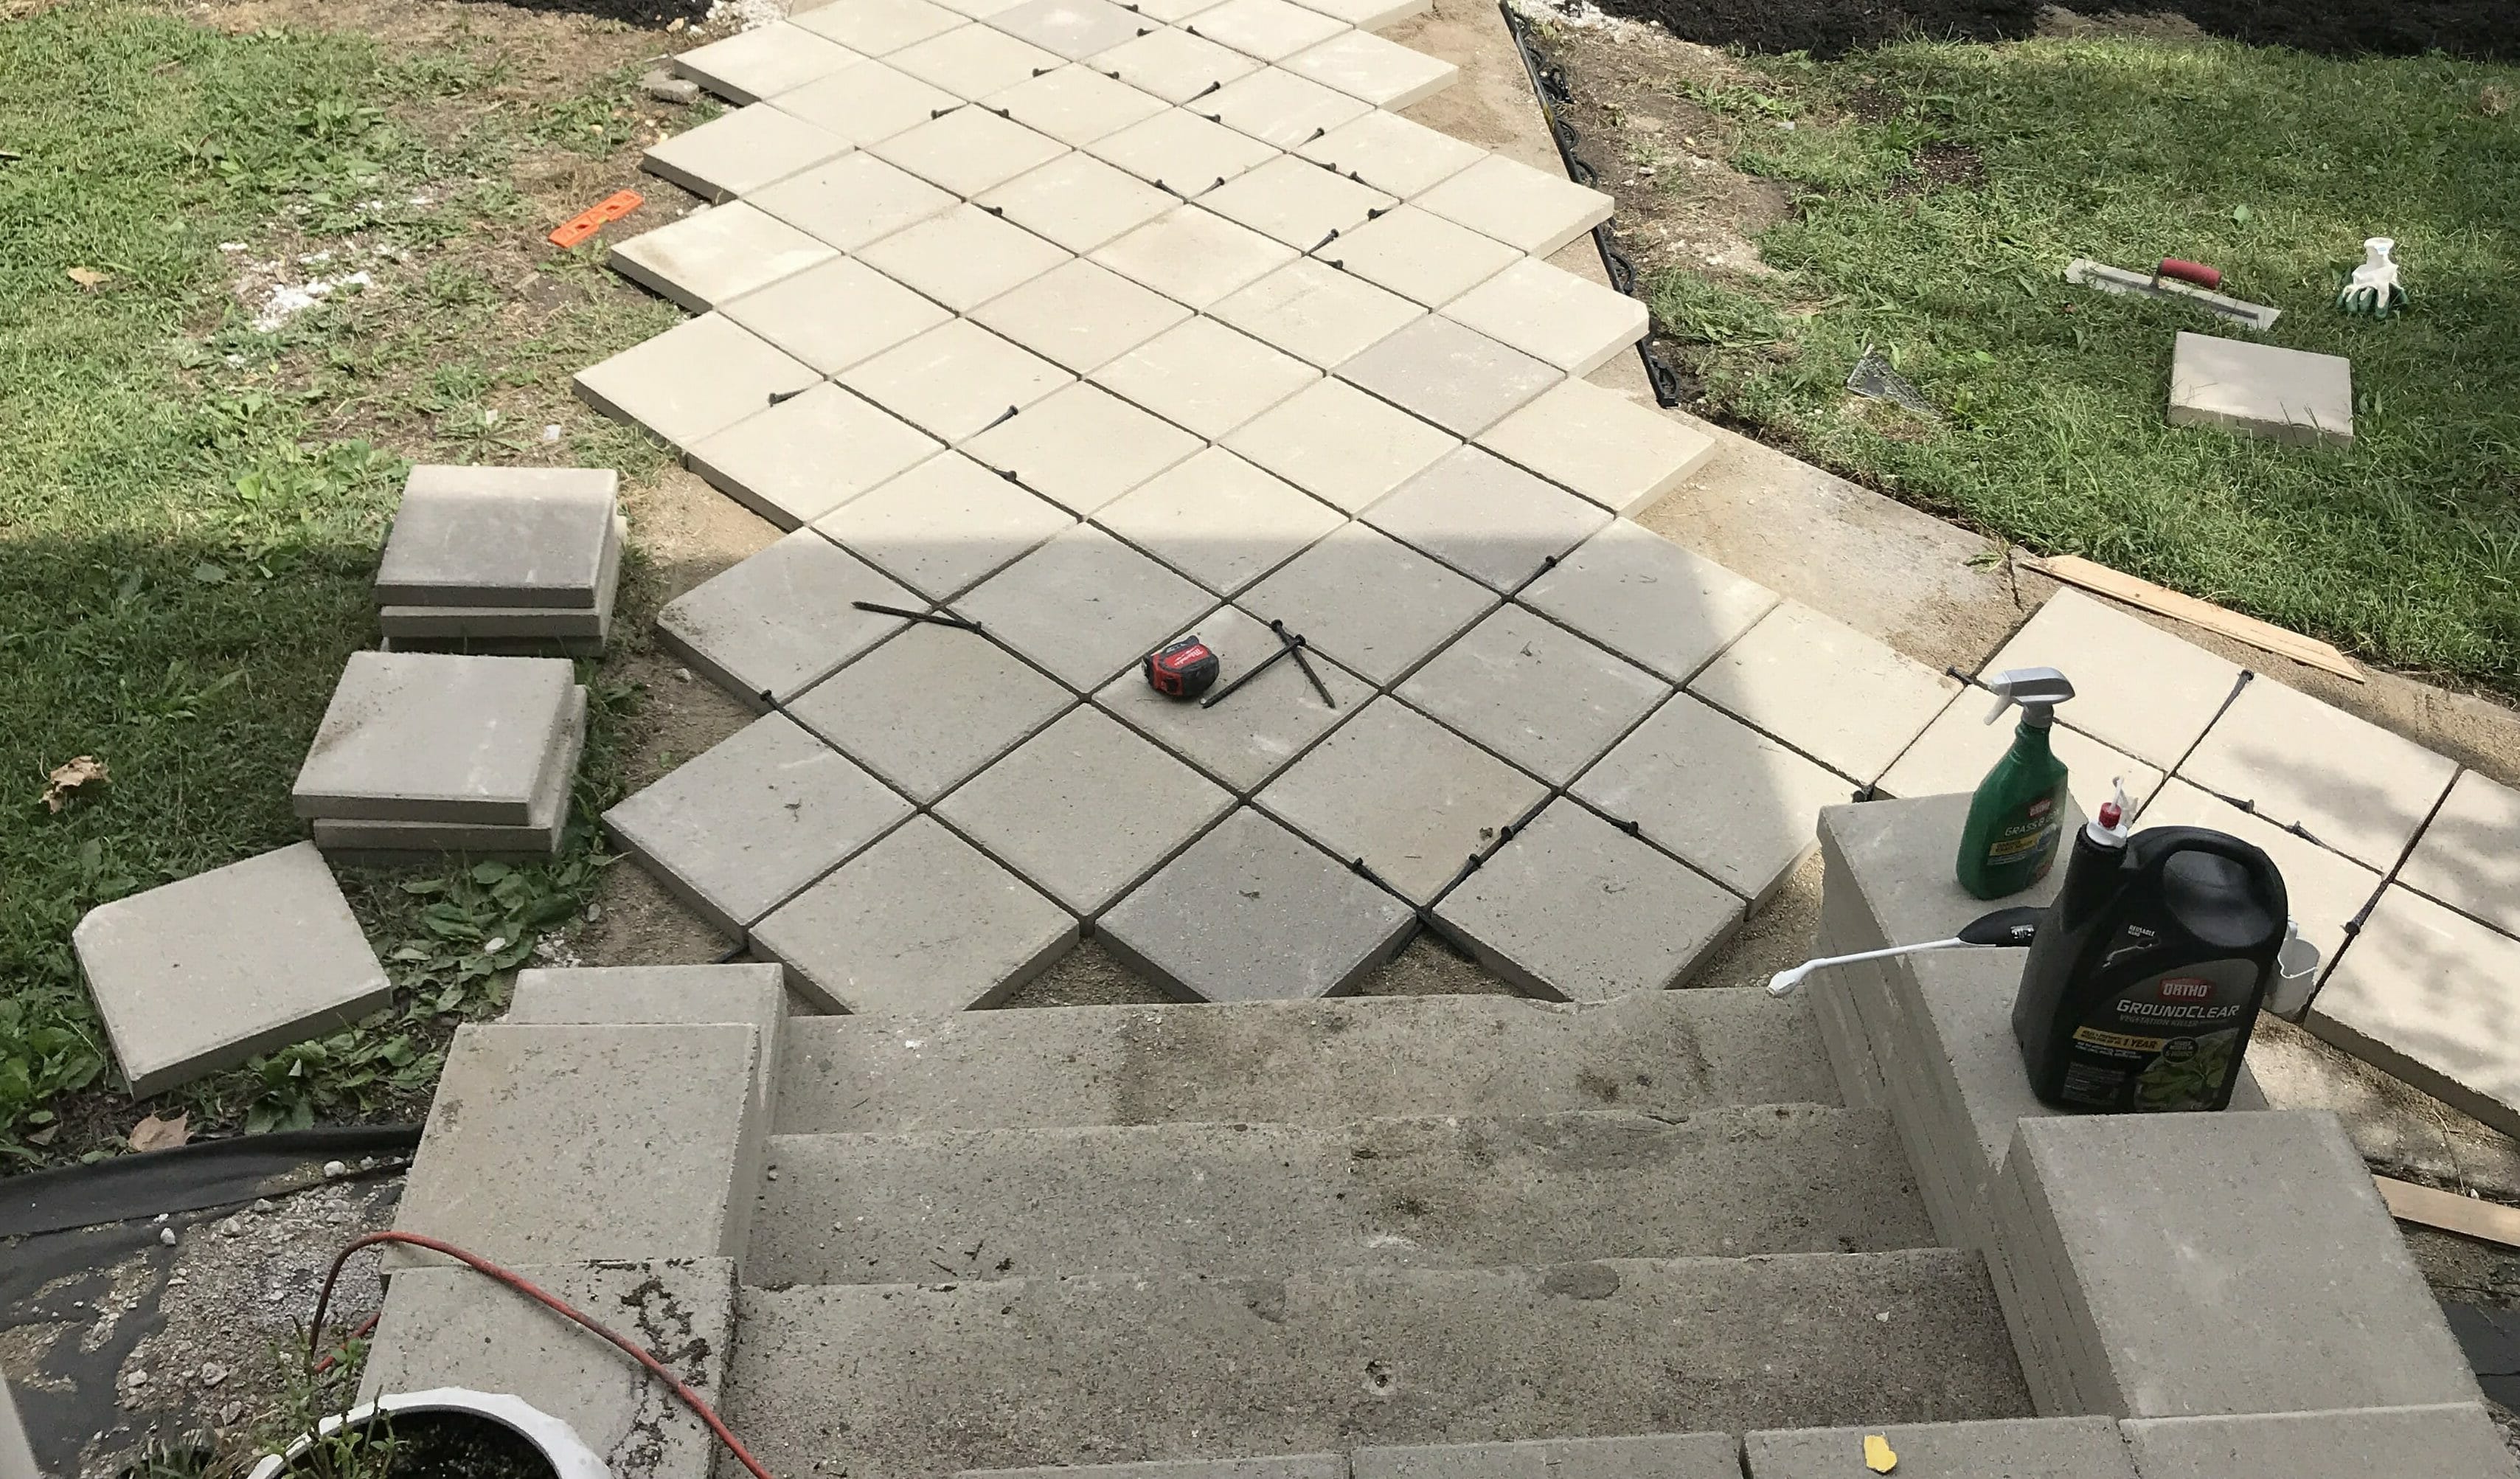
We laid our pavers one by one based on the measurements we marked during our dry run. We used plastic paver spikes as spacers, placing one in each joint. When we were finished, we reused them for additional edging we installed around the yard.
Step 6: MAKE ALL OF YOUR CUTS
Angle Grinder // Circular Saw // Battery
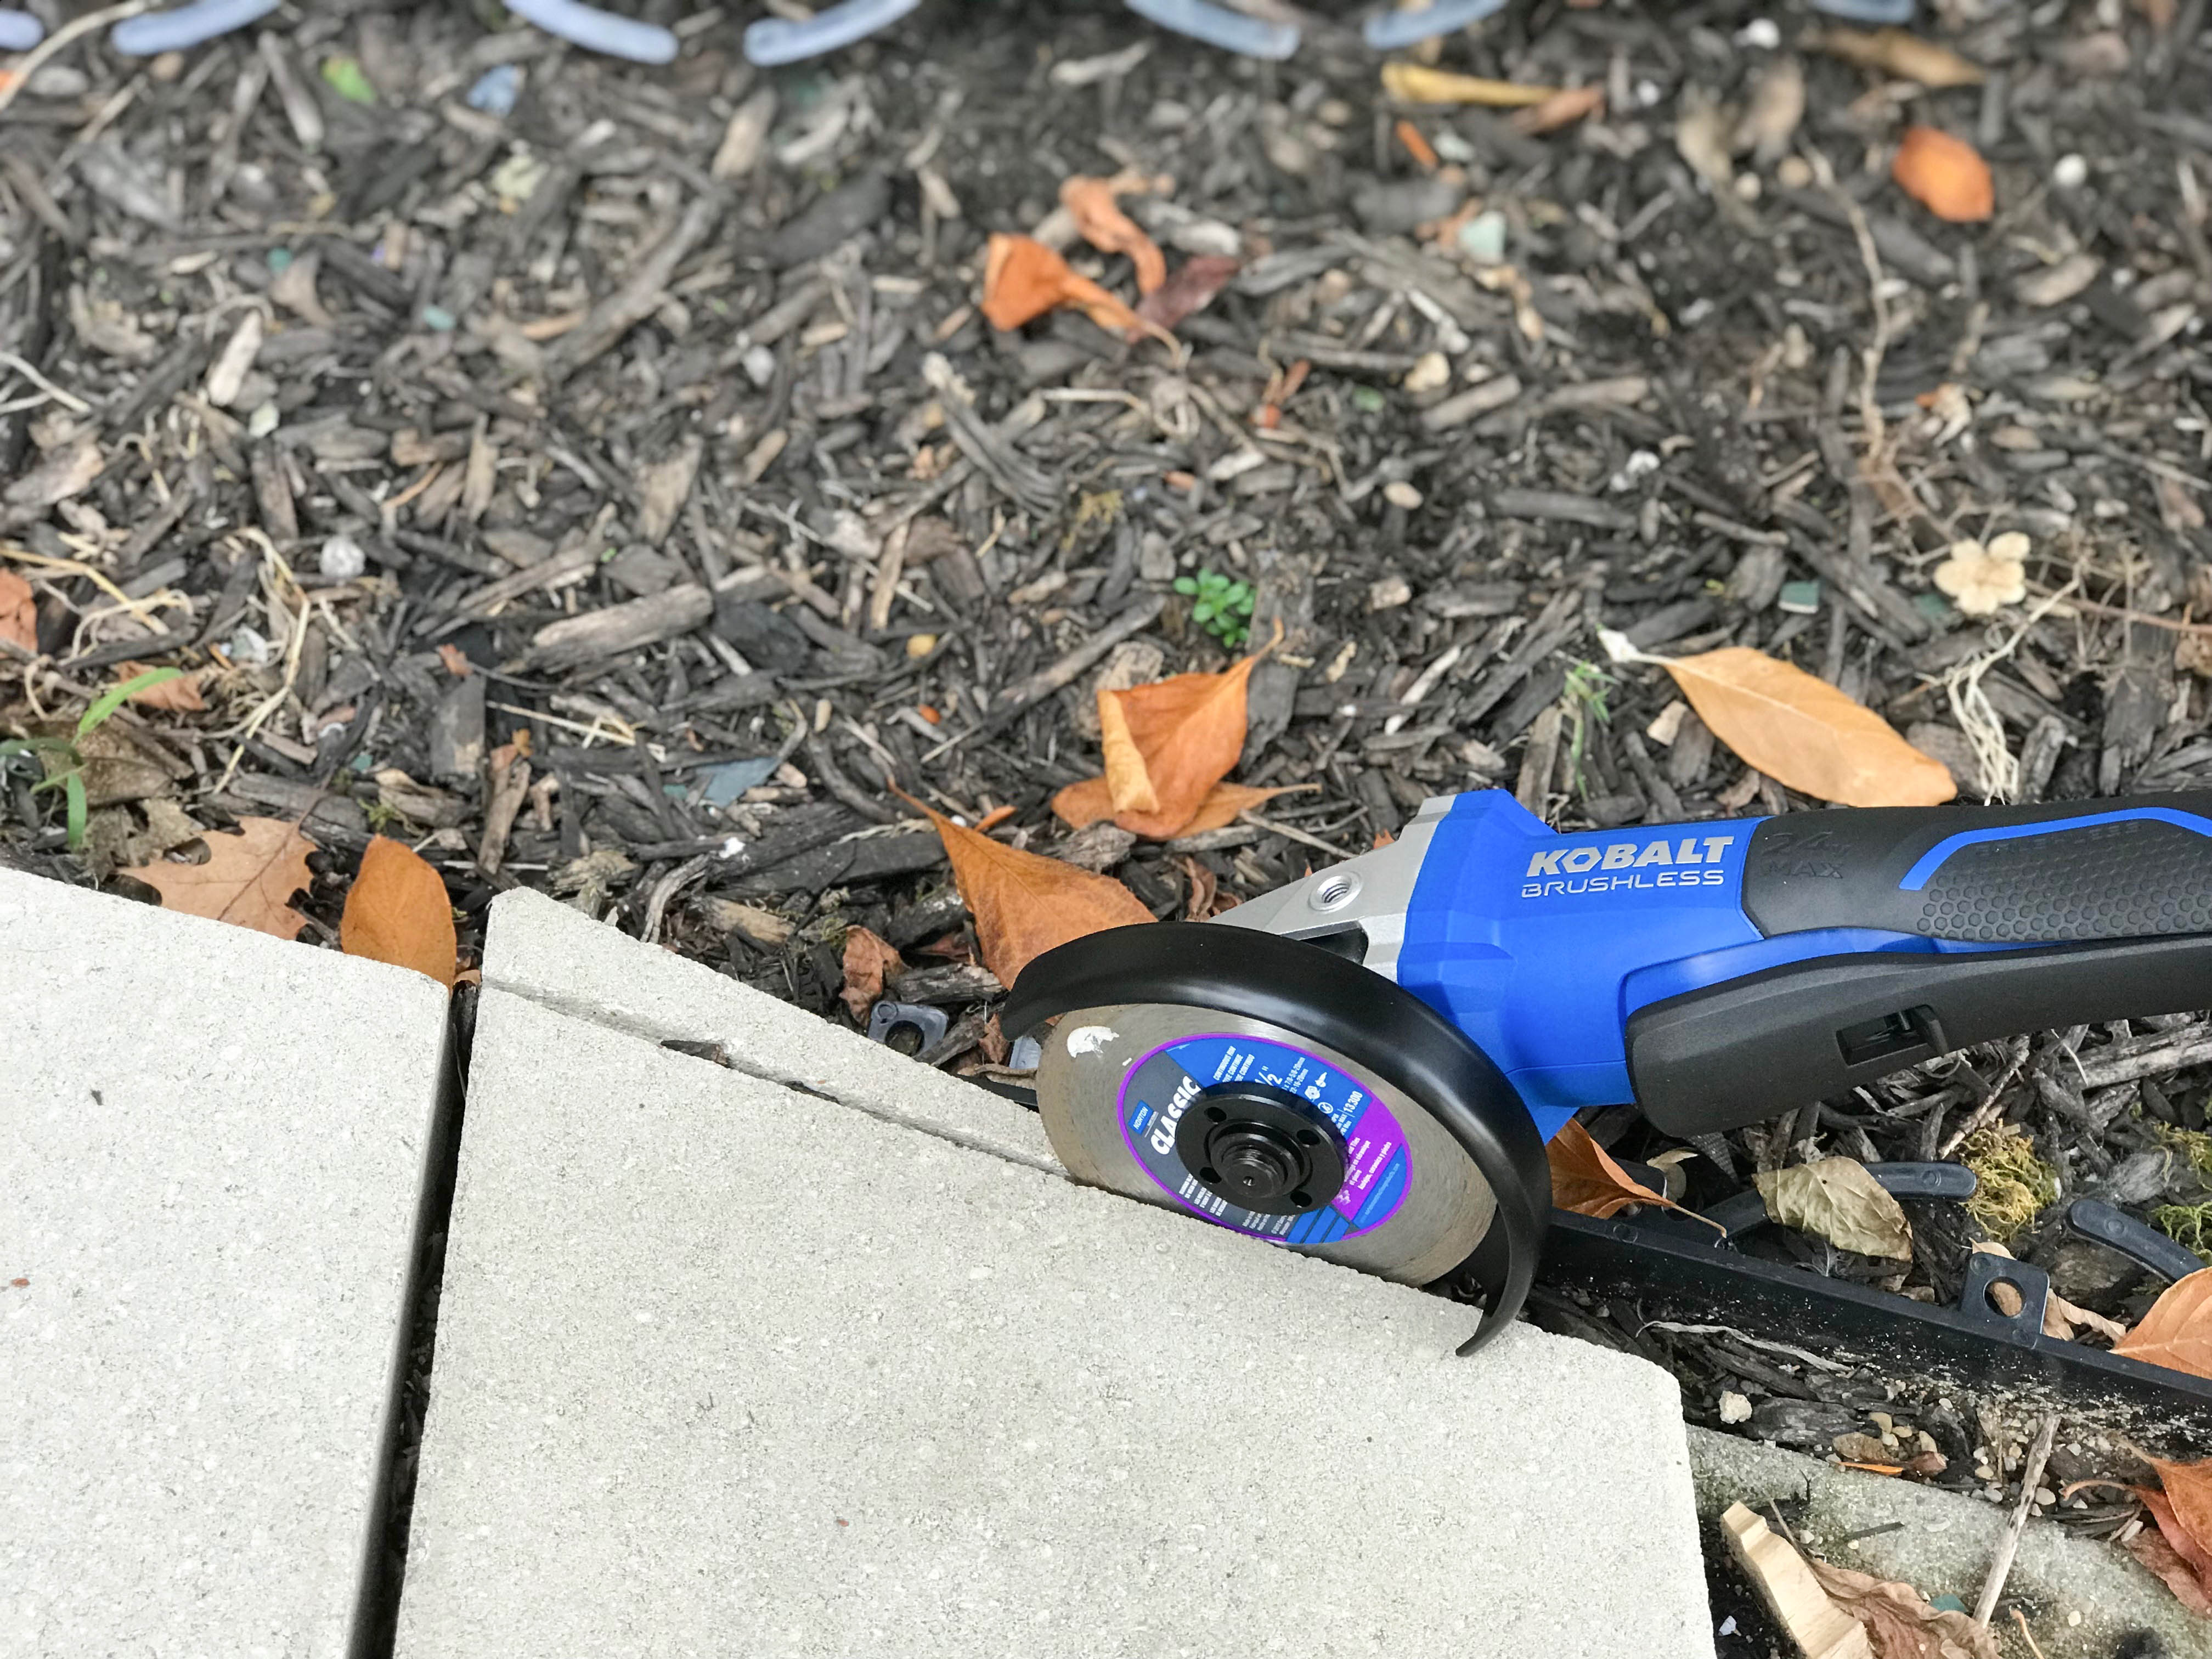
To make our cuts, we used a circular saw for straight cuts, and a grinder for our curved cuts. For both tools, we used diamond tip blades, which are needed for cutting through concrete and stone without chipping. Because we laid our pavers in a diamond pattern and had big curve in our pathway, we had to make a LOT of cuts. It took us Bryan many hours to get through all of them, but it was worth it!
step 7: spread polymeric sand
Once all of the pavers were in place and our cuts were finished, we cleaned them off, removed the spacers, and spread polymeric sand into the joints. Polymeric sand is different from regular sand – it has polymers in it that become like a glue and hold pavers together when it gets wet.
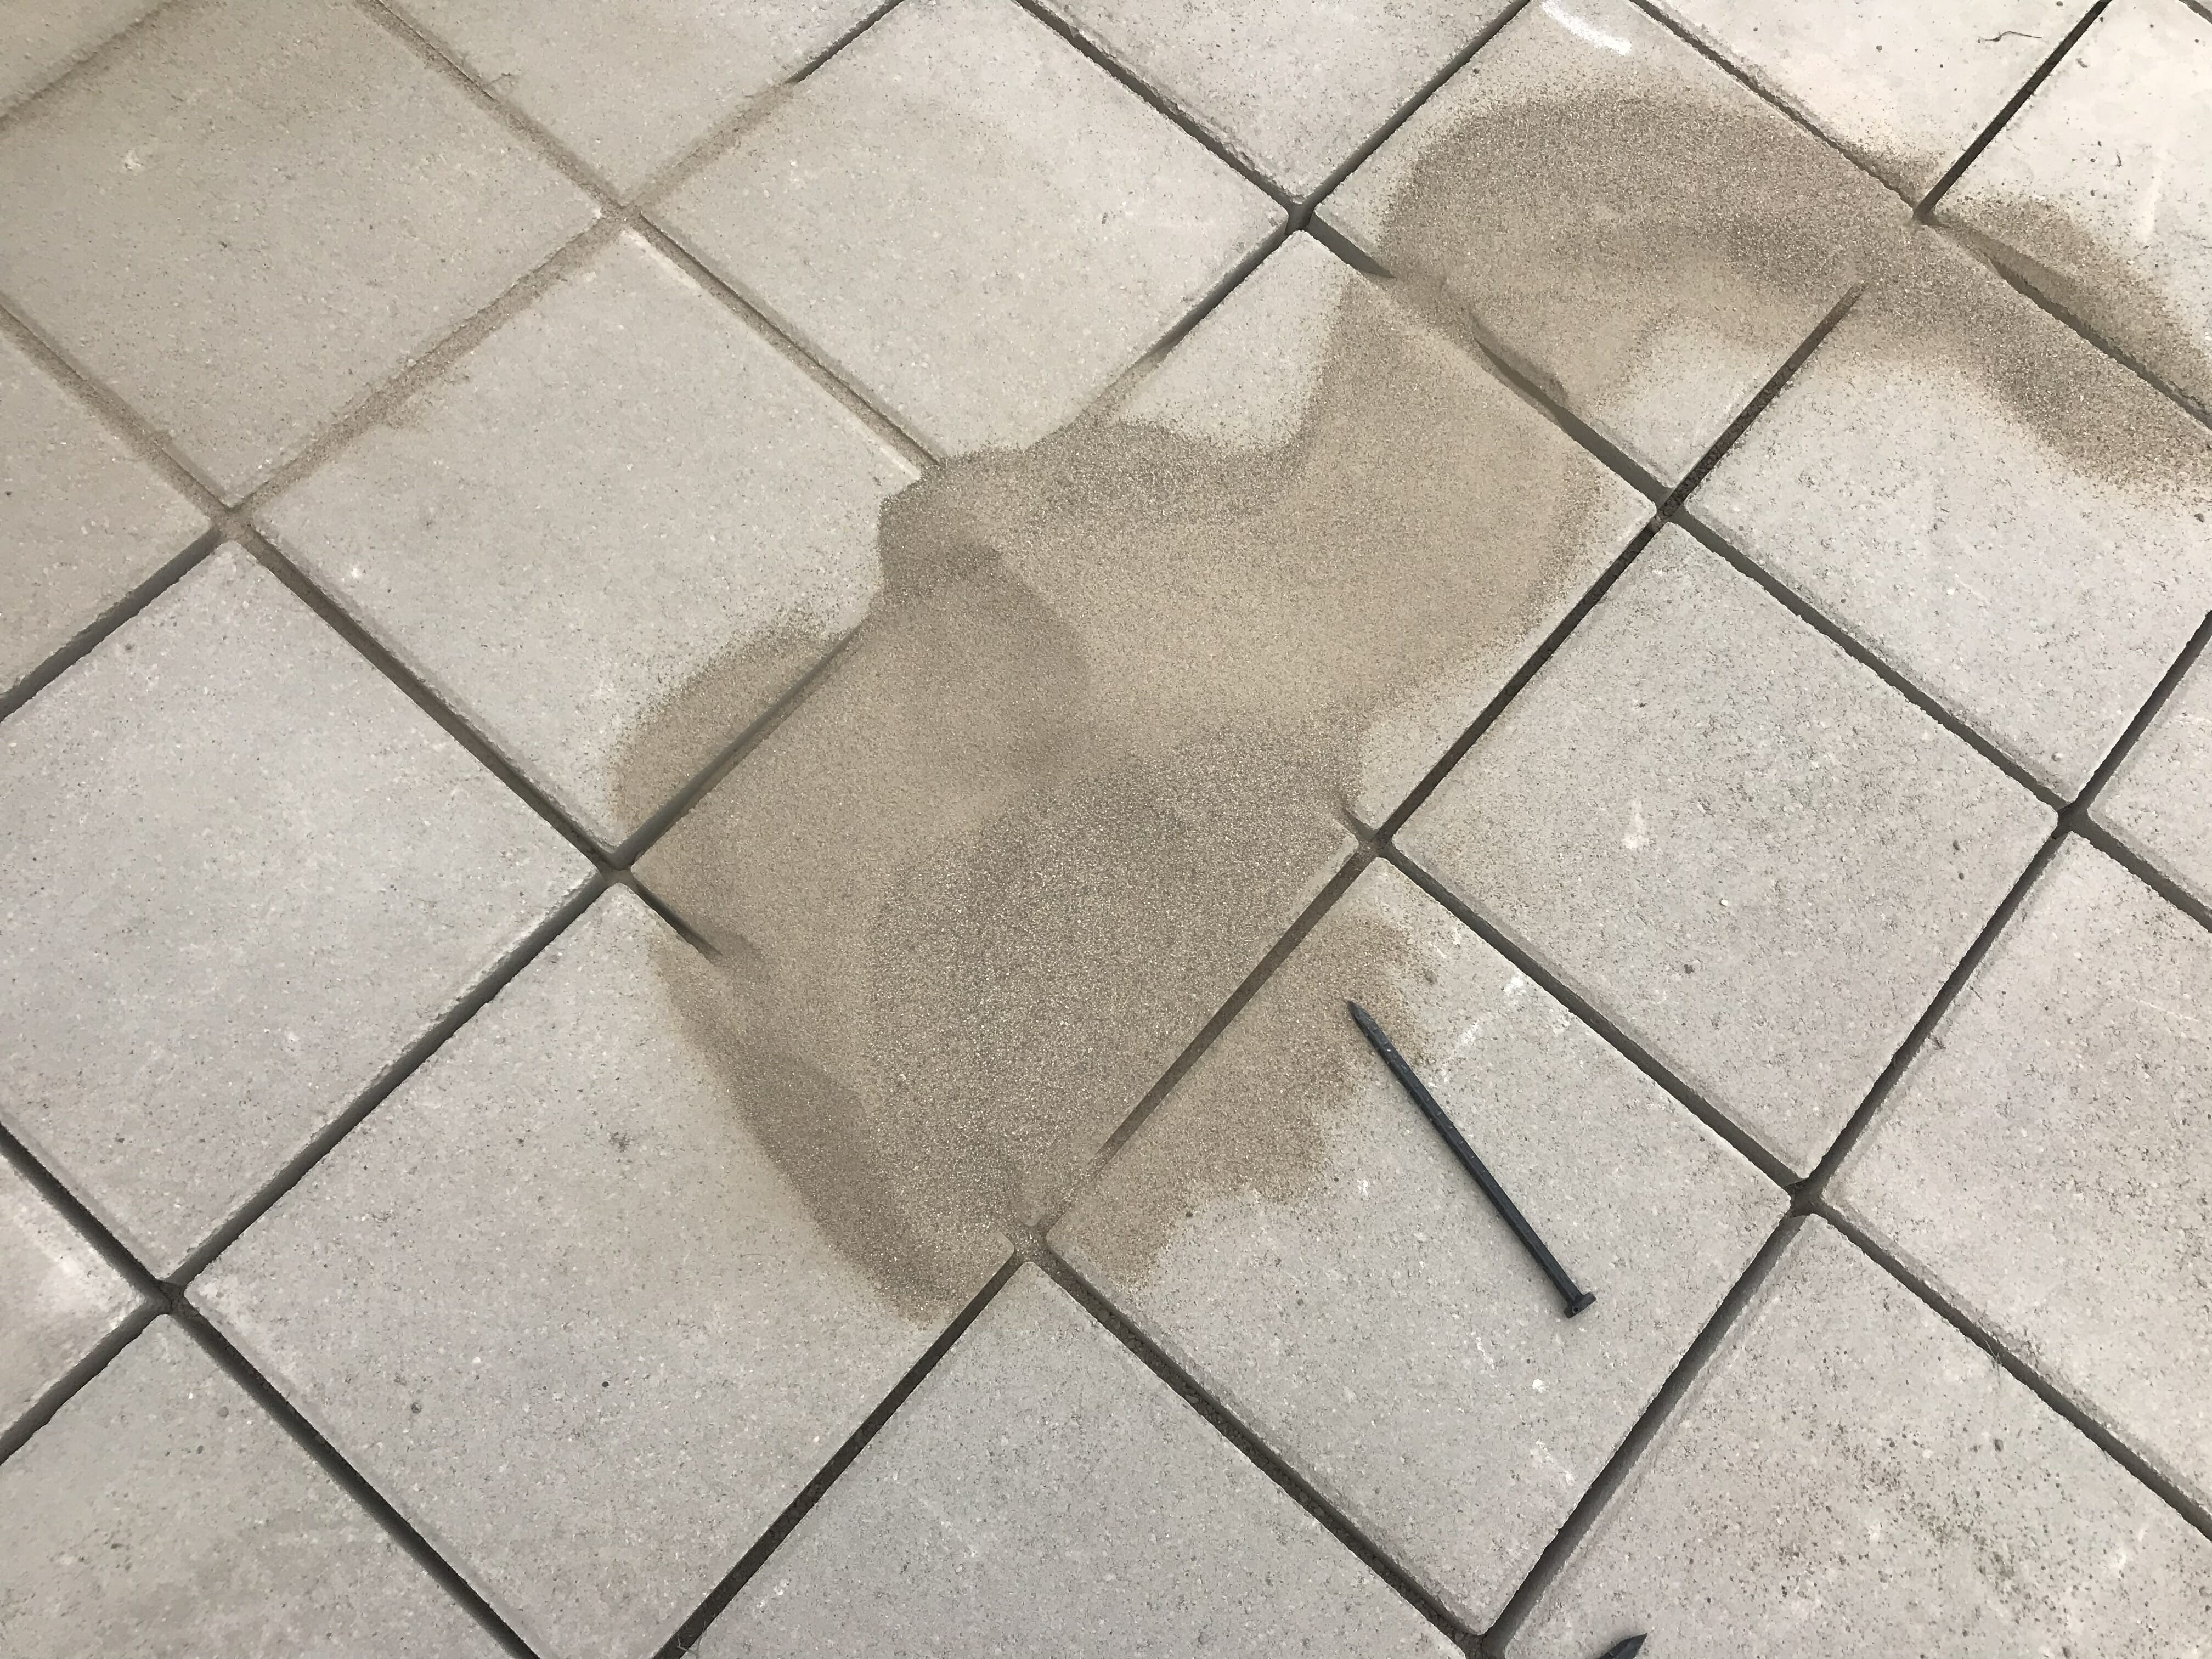
We used a broom to sweep the sand into all of the joints, and then wet the entire walkway with our hose when we were finished.
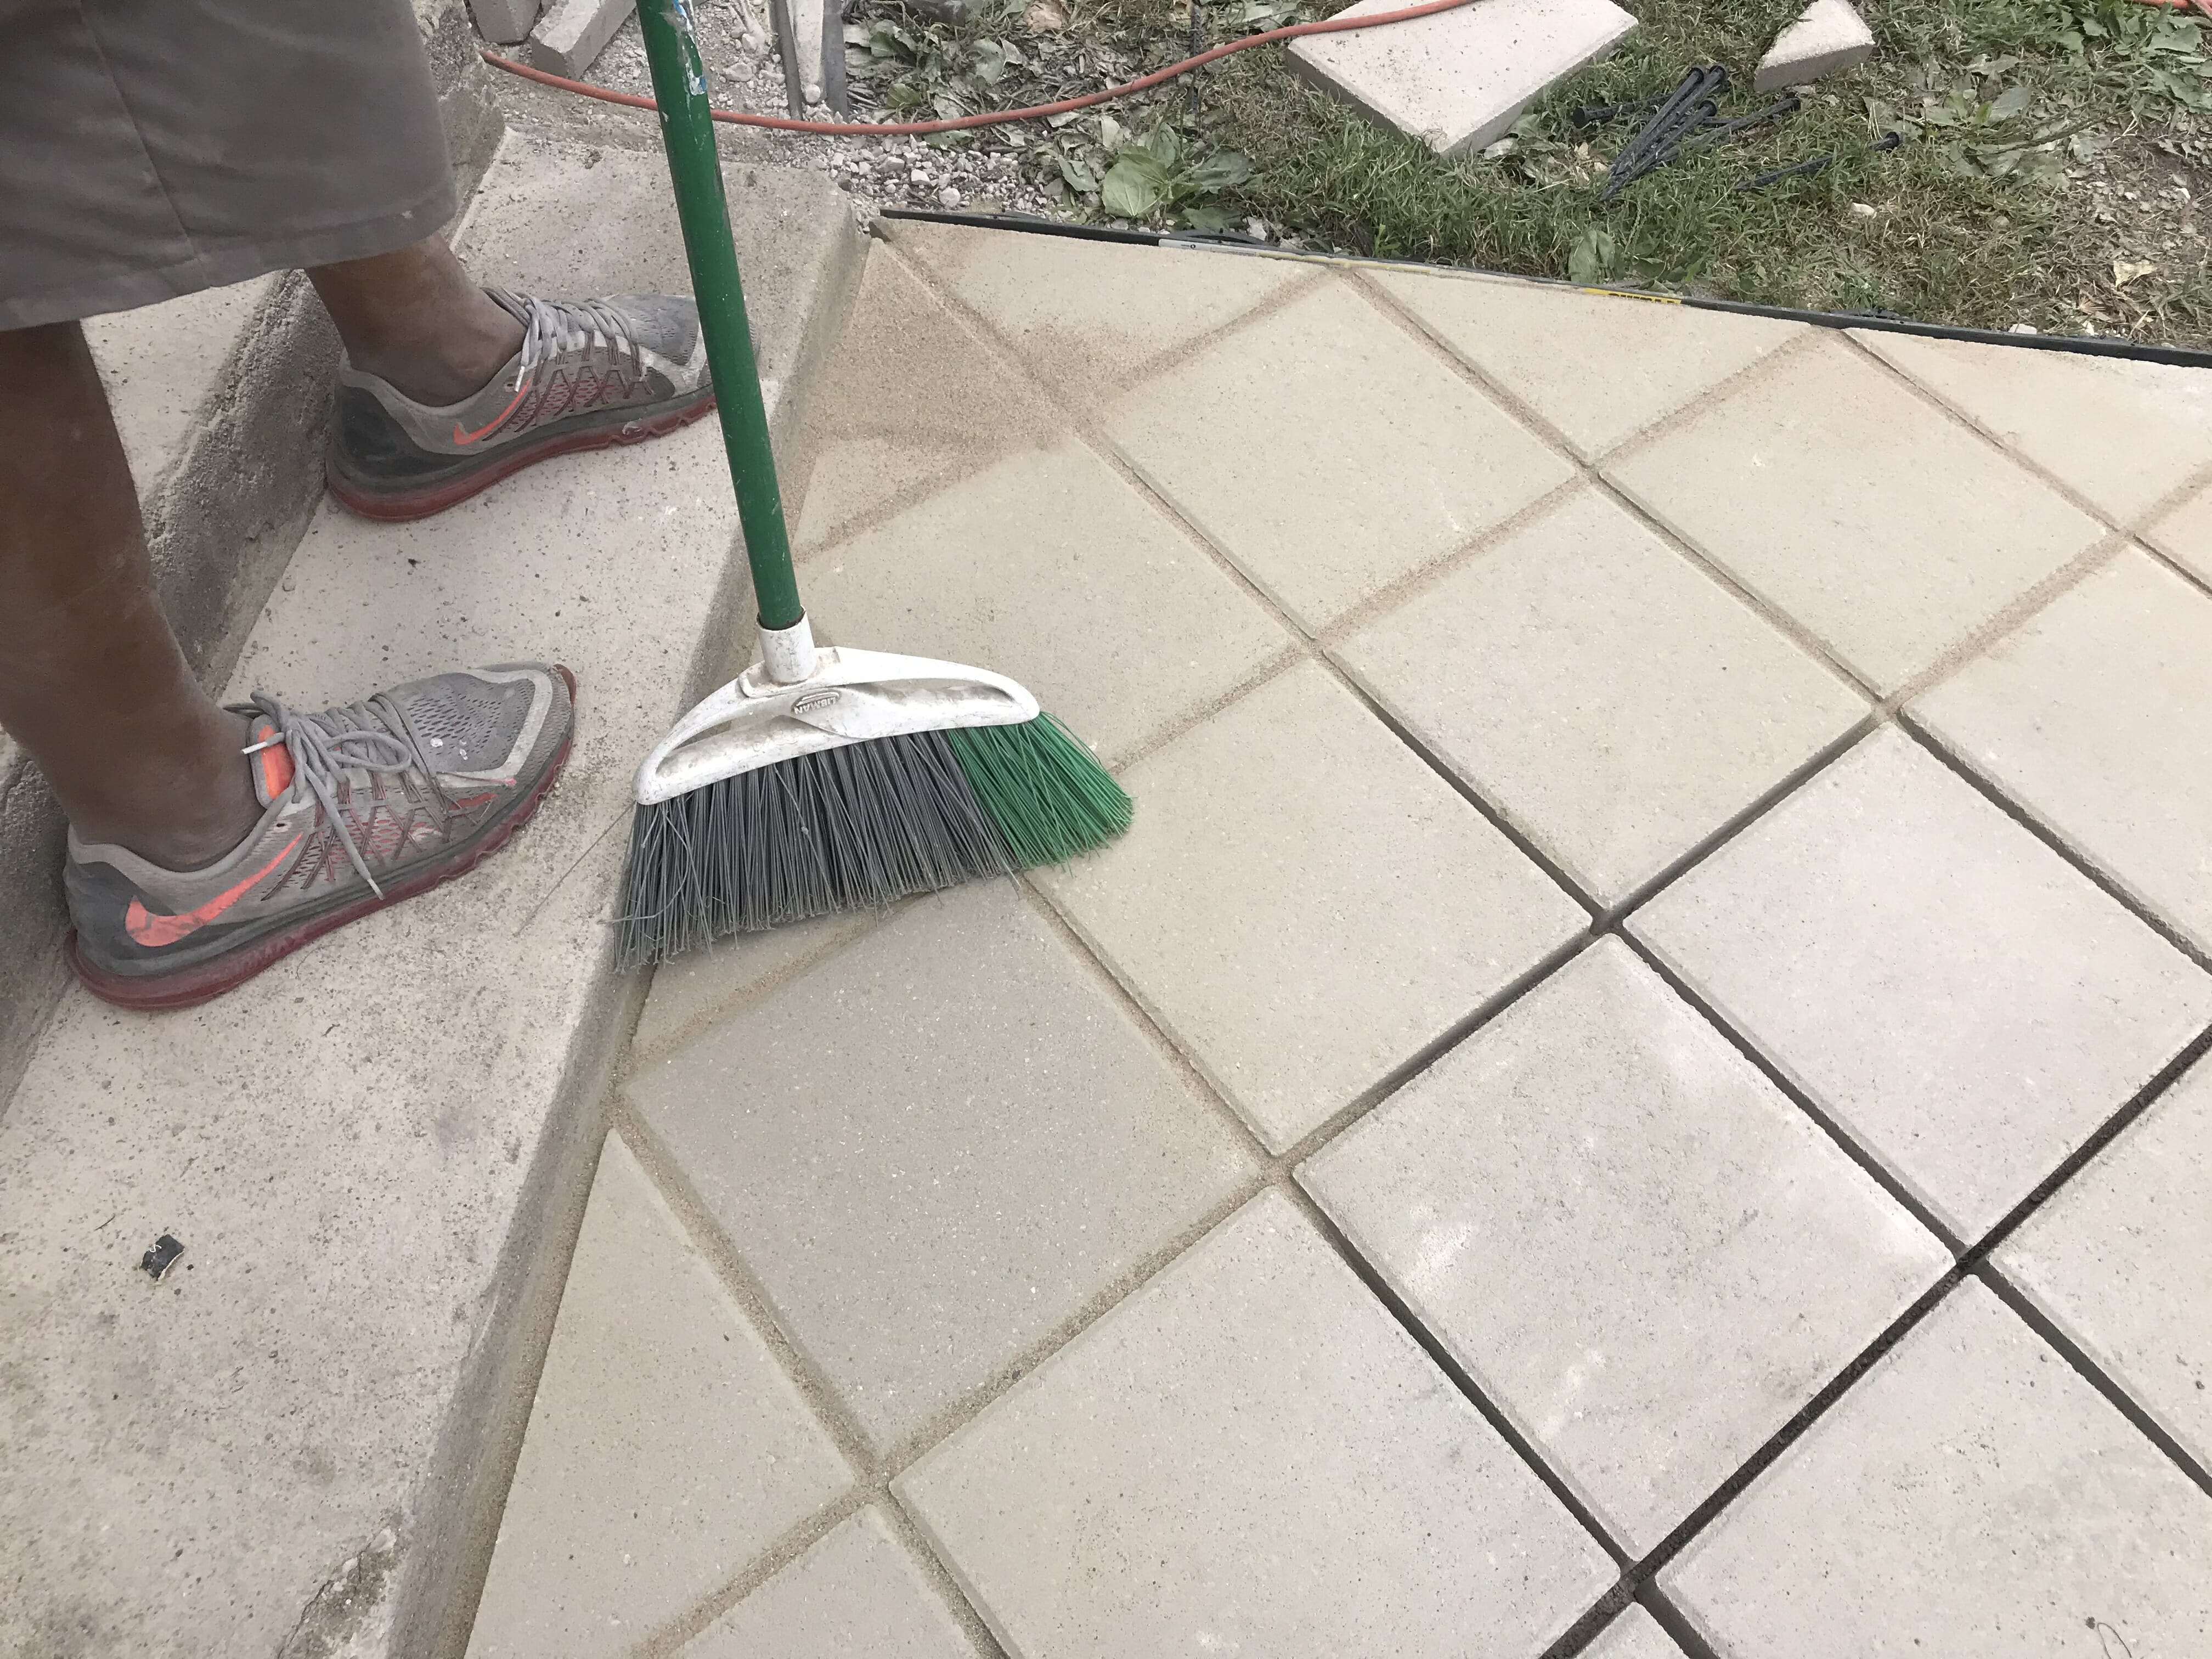
I wasn’t sure just how secure our pavers would be, being that we didn’t use mortar, but this for sure worked. They haven’t shifted one bit, even with furniture moved in and out, the stroller going over them every day, etc.
step 8: Adjust stair treads and risers
By installing the 1.5″ pavers over our walkway, we needed to add height to our stair treads to level everything out. You can see here how short our bottom porch step is, and the unfinished edge in the front.
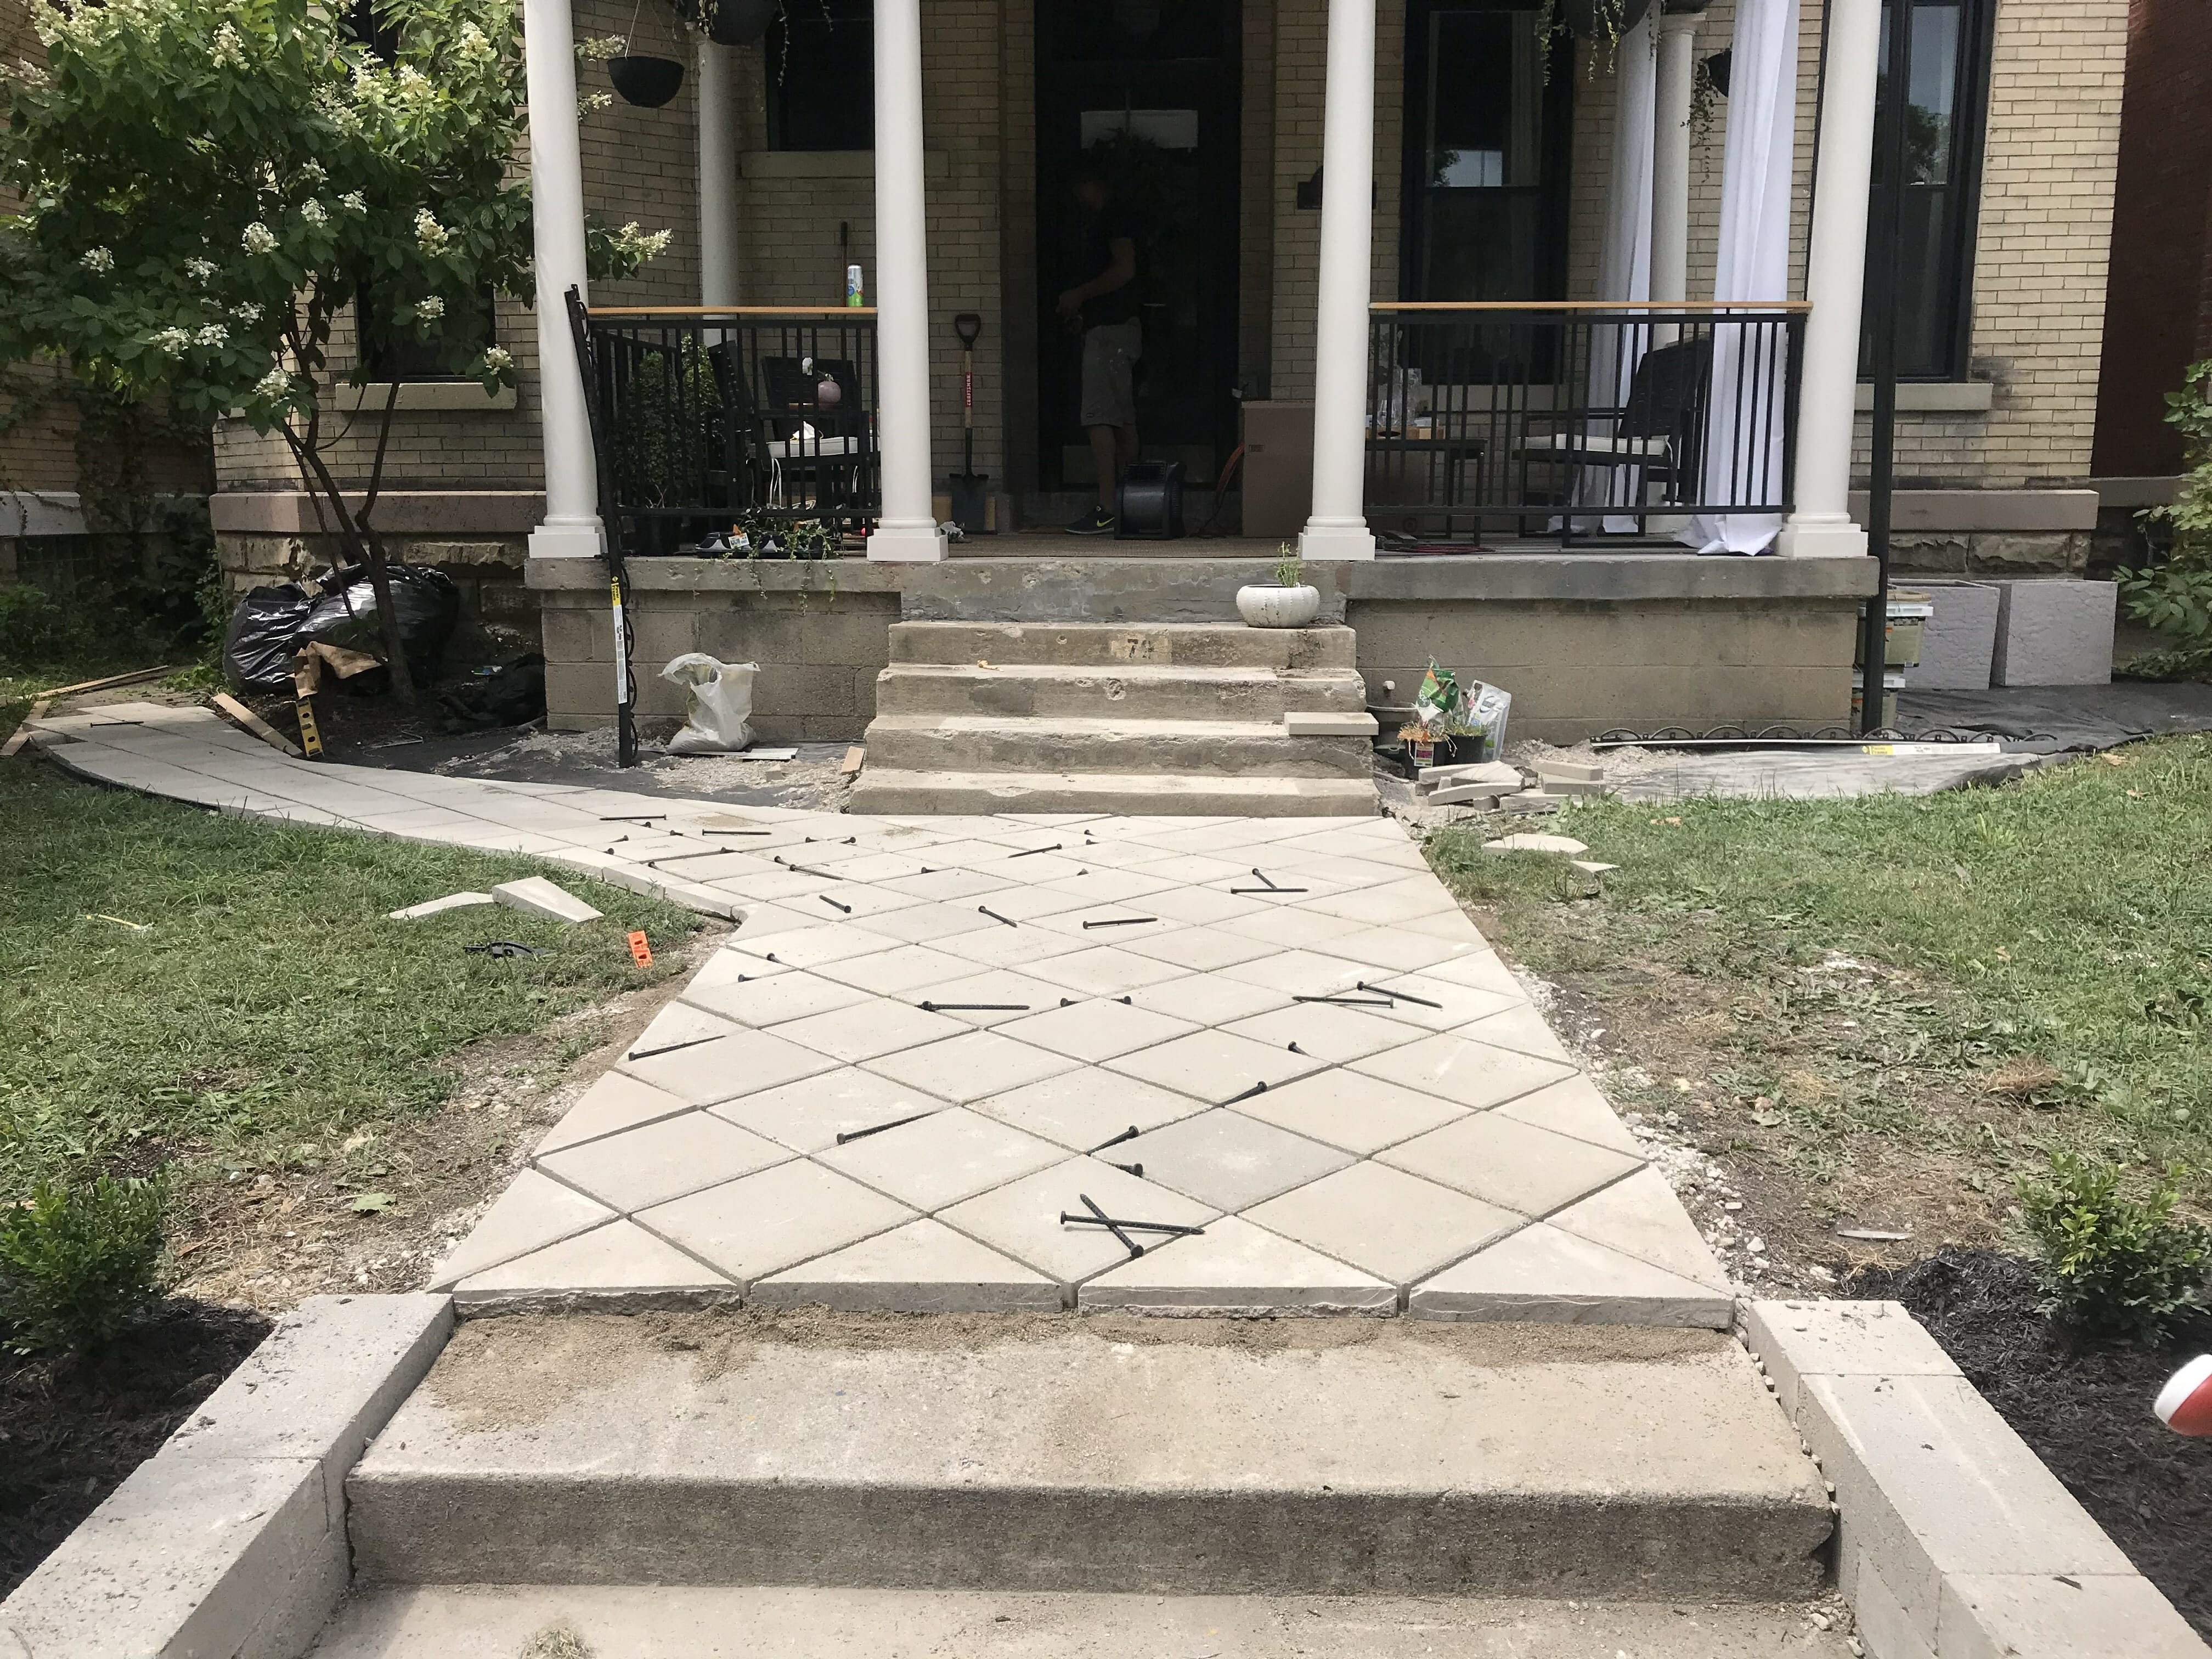
We bought limestone stair treads from a local stone yard to cap the front of the walkway and all of the stairs. It’s a little lighter than the concrete is, but over time it should even out. Next year, we’ll finish our stairs and add limestone risers, but for now, paint will get us through the winter!
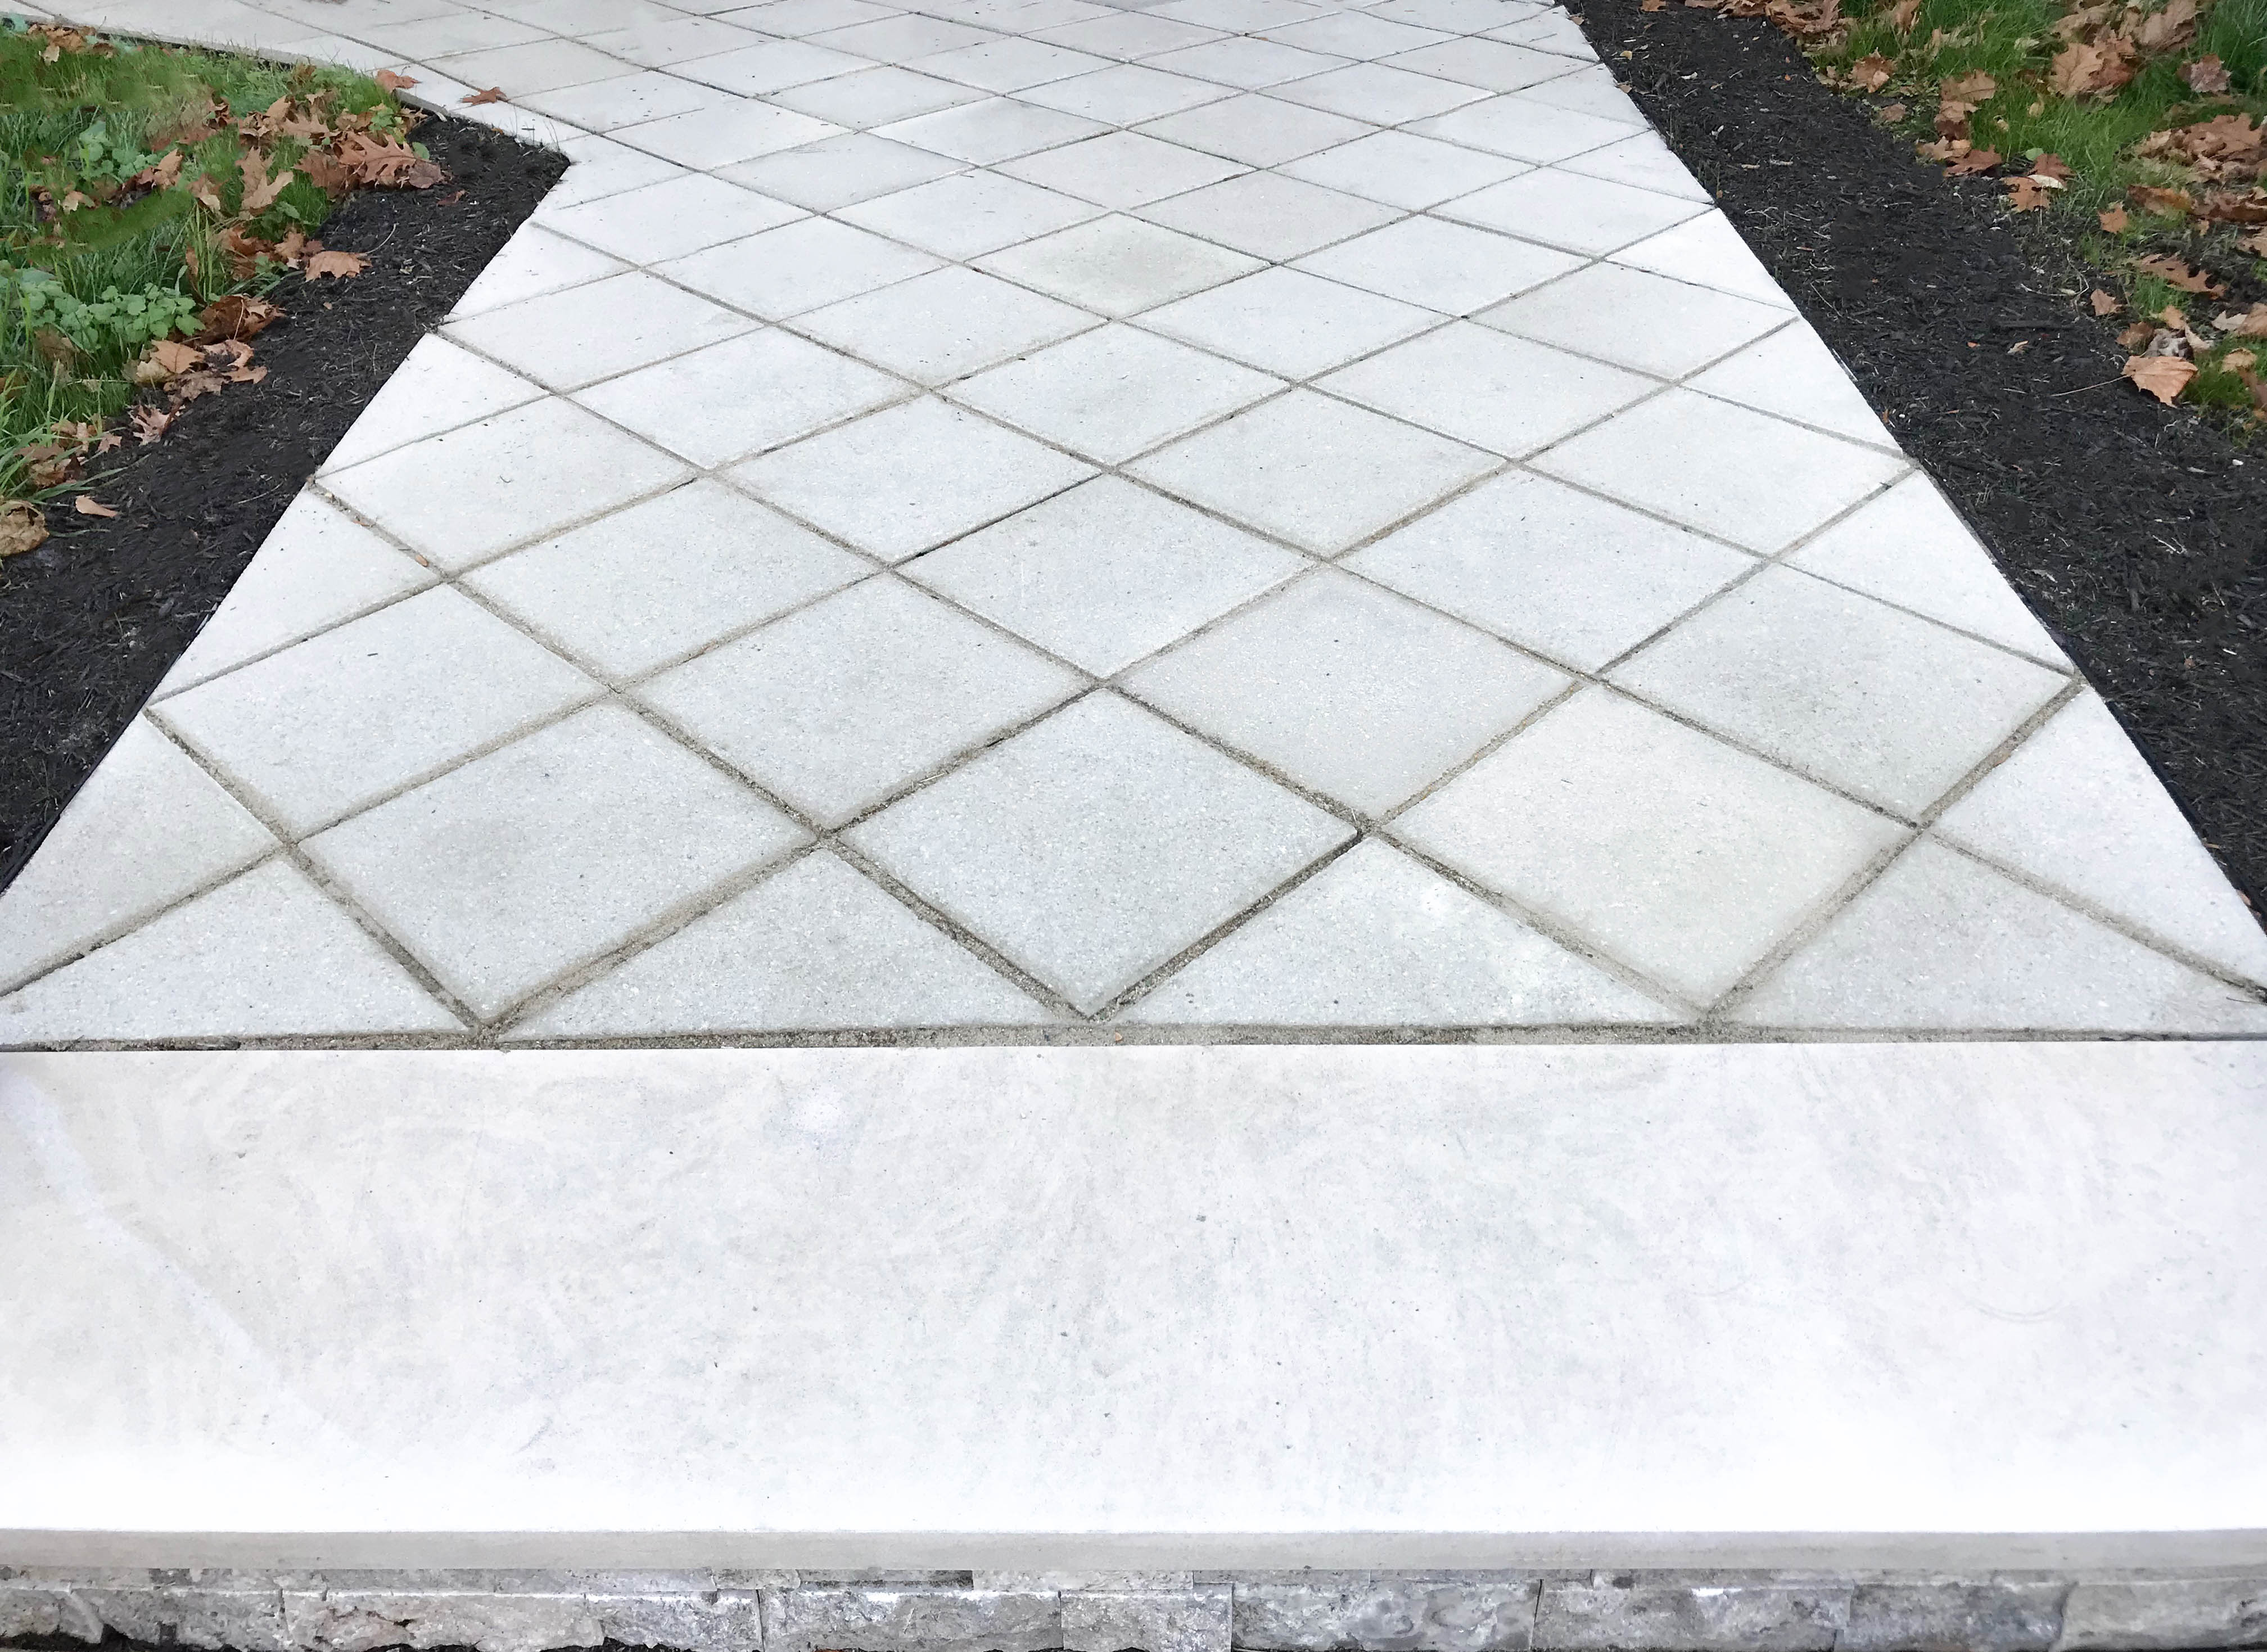
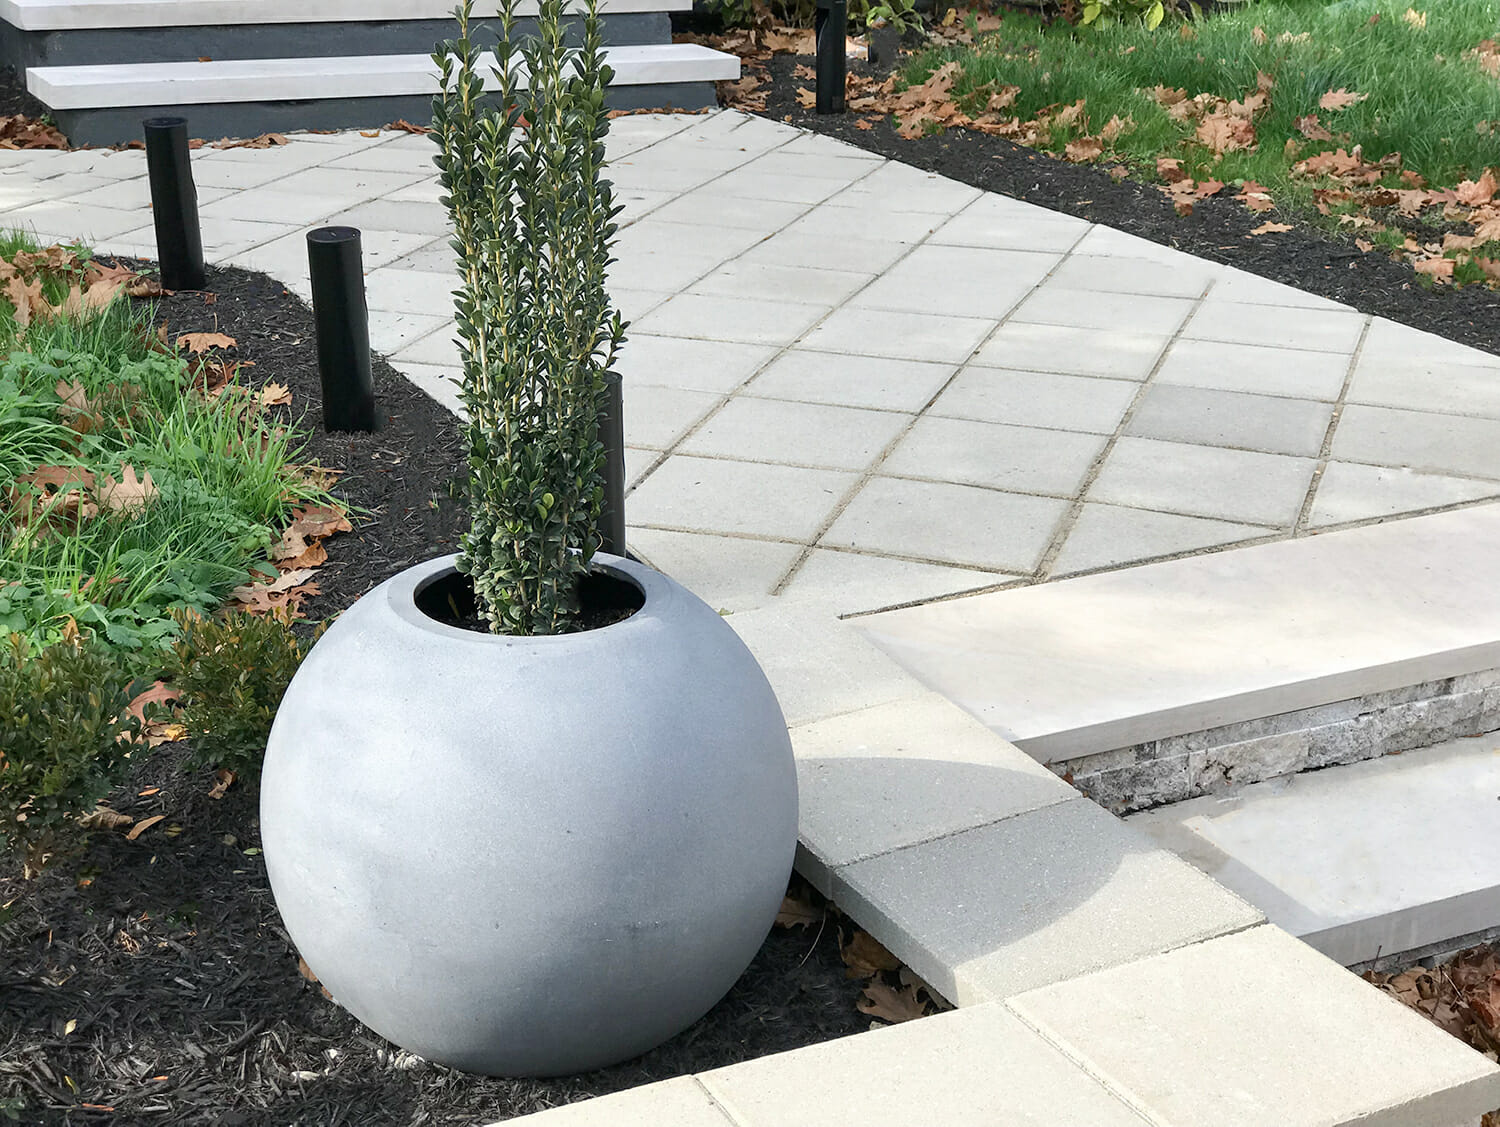
We’re really, reaaaaaally happy with how it came out! We saved hundreds, if not thousands, by using these $1 pavers and working with what we had.
OUR RETAINING WALL
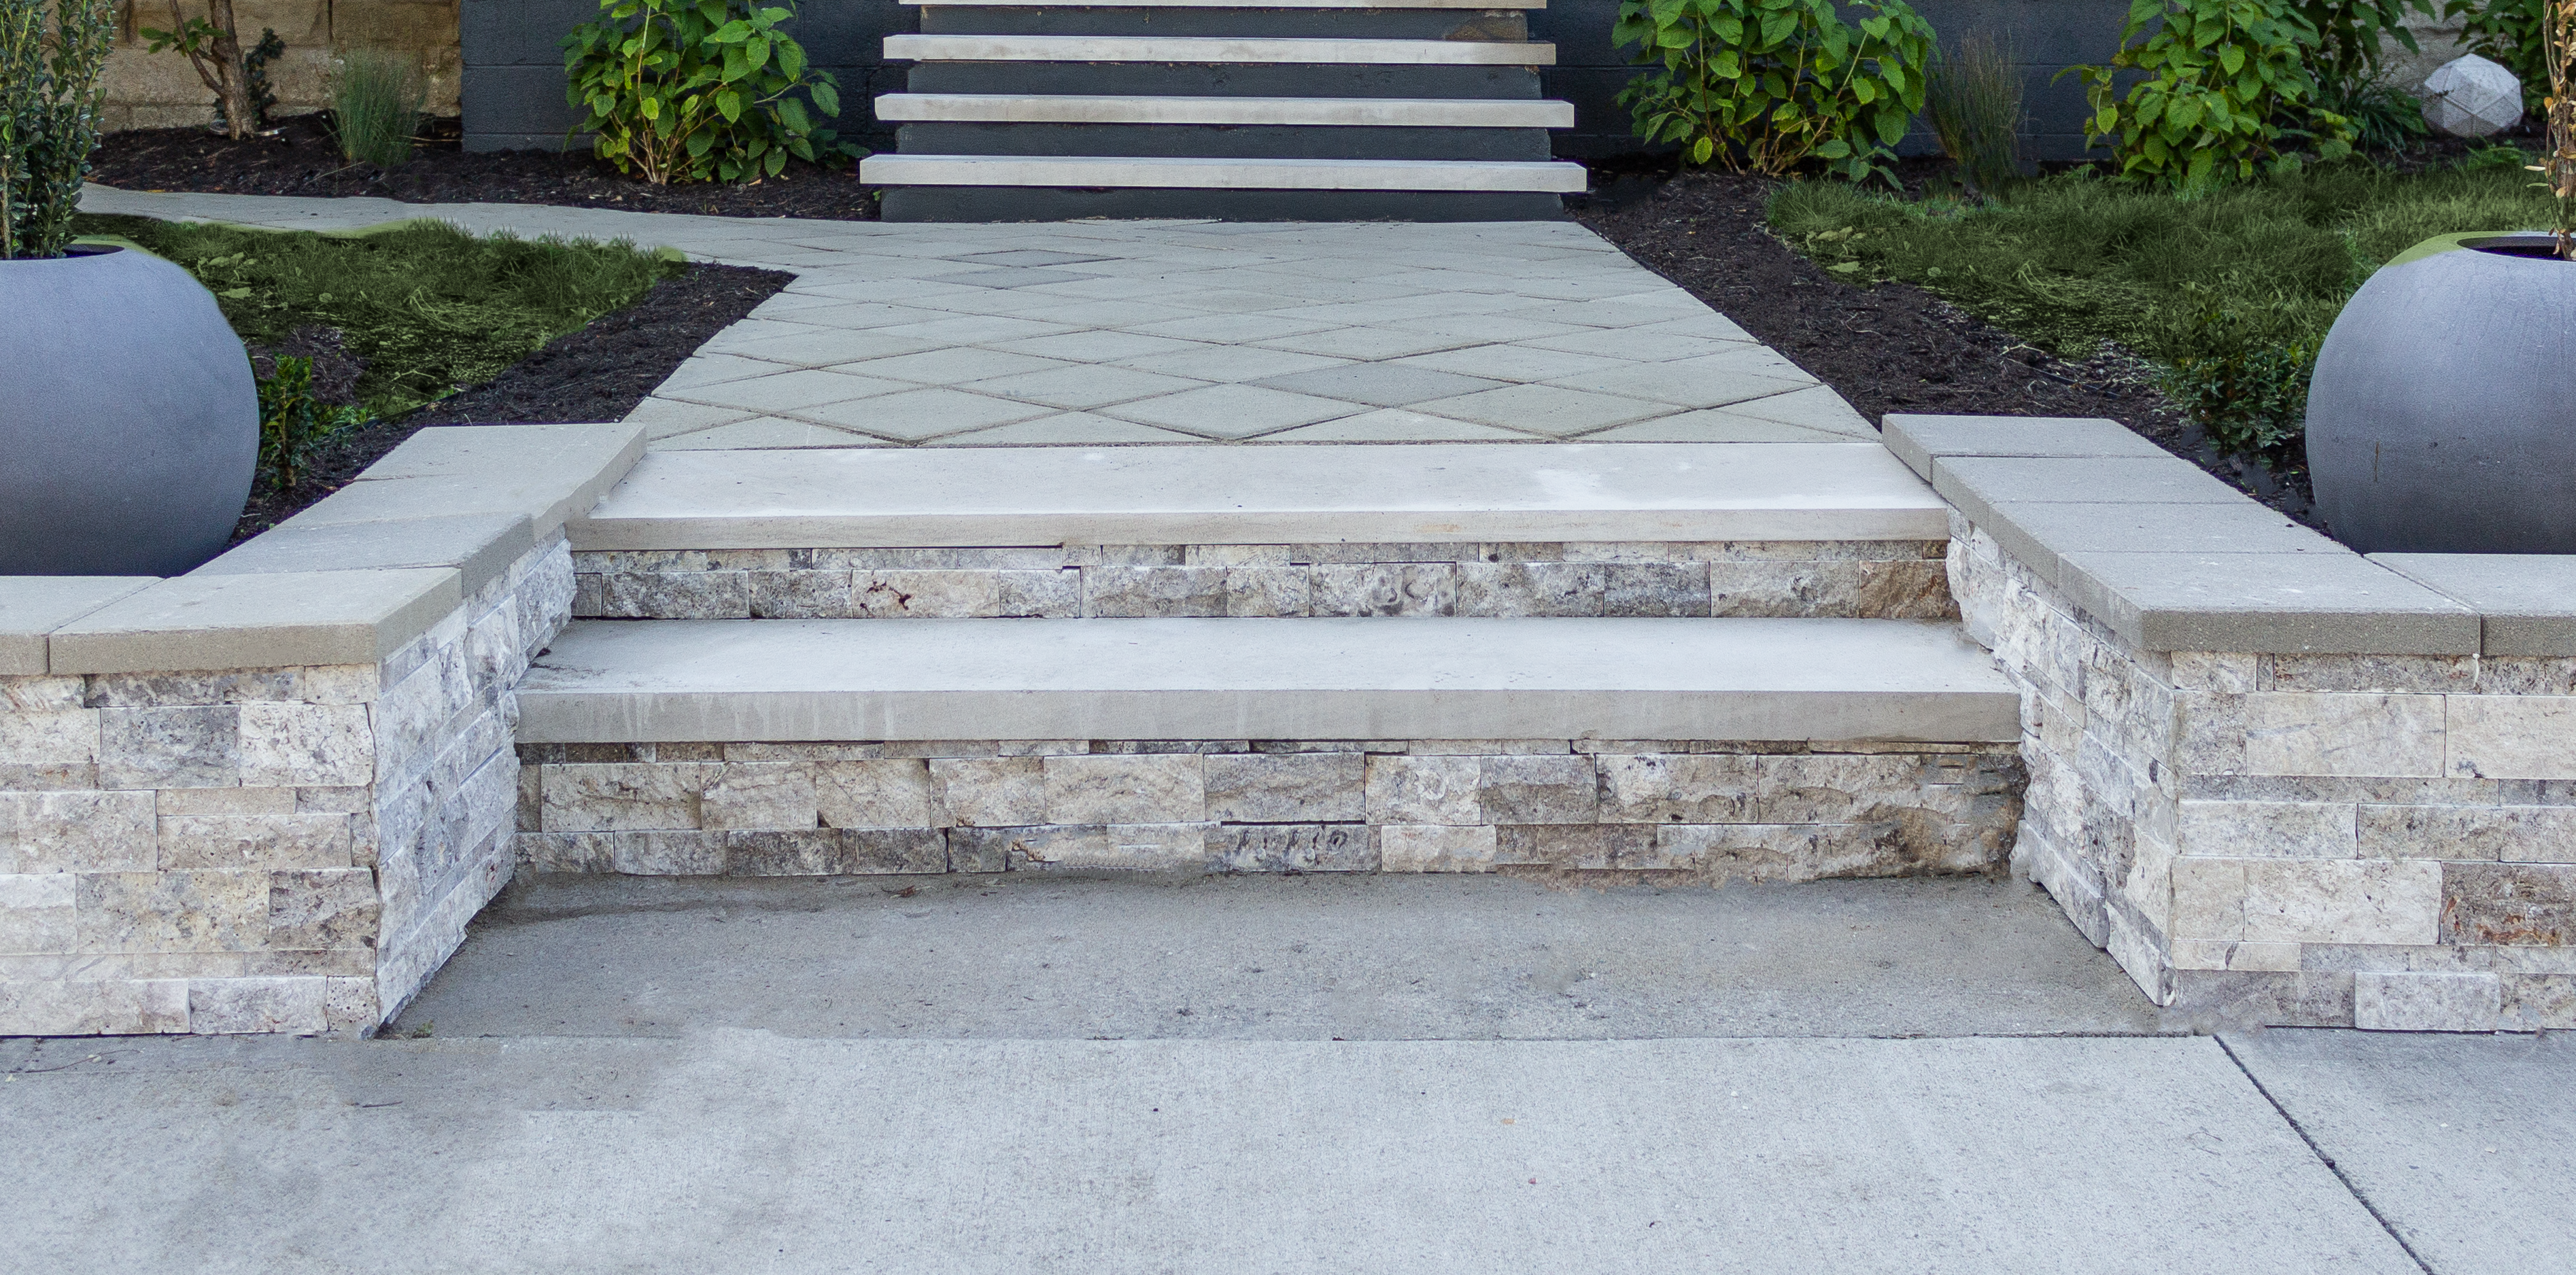
You may have also noticed that we installed a retaining wall! This was another budget friendly project that we tackled ourselves, and one that made a HUGE impact on our curb appeal. Remember when it looked like this?
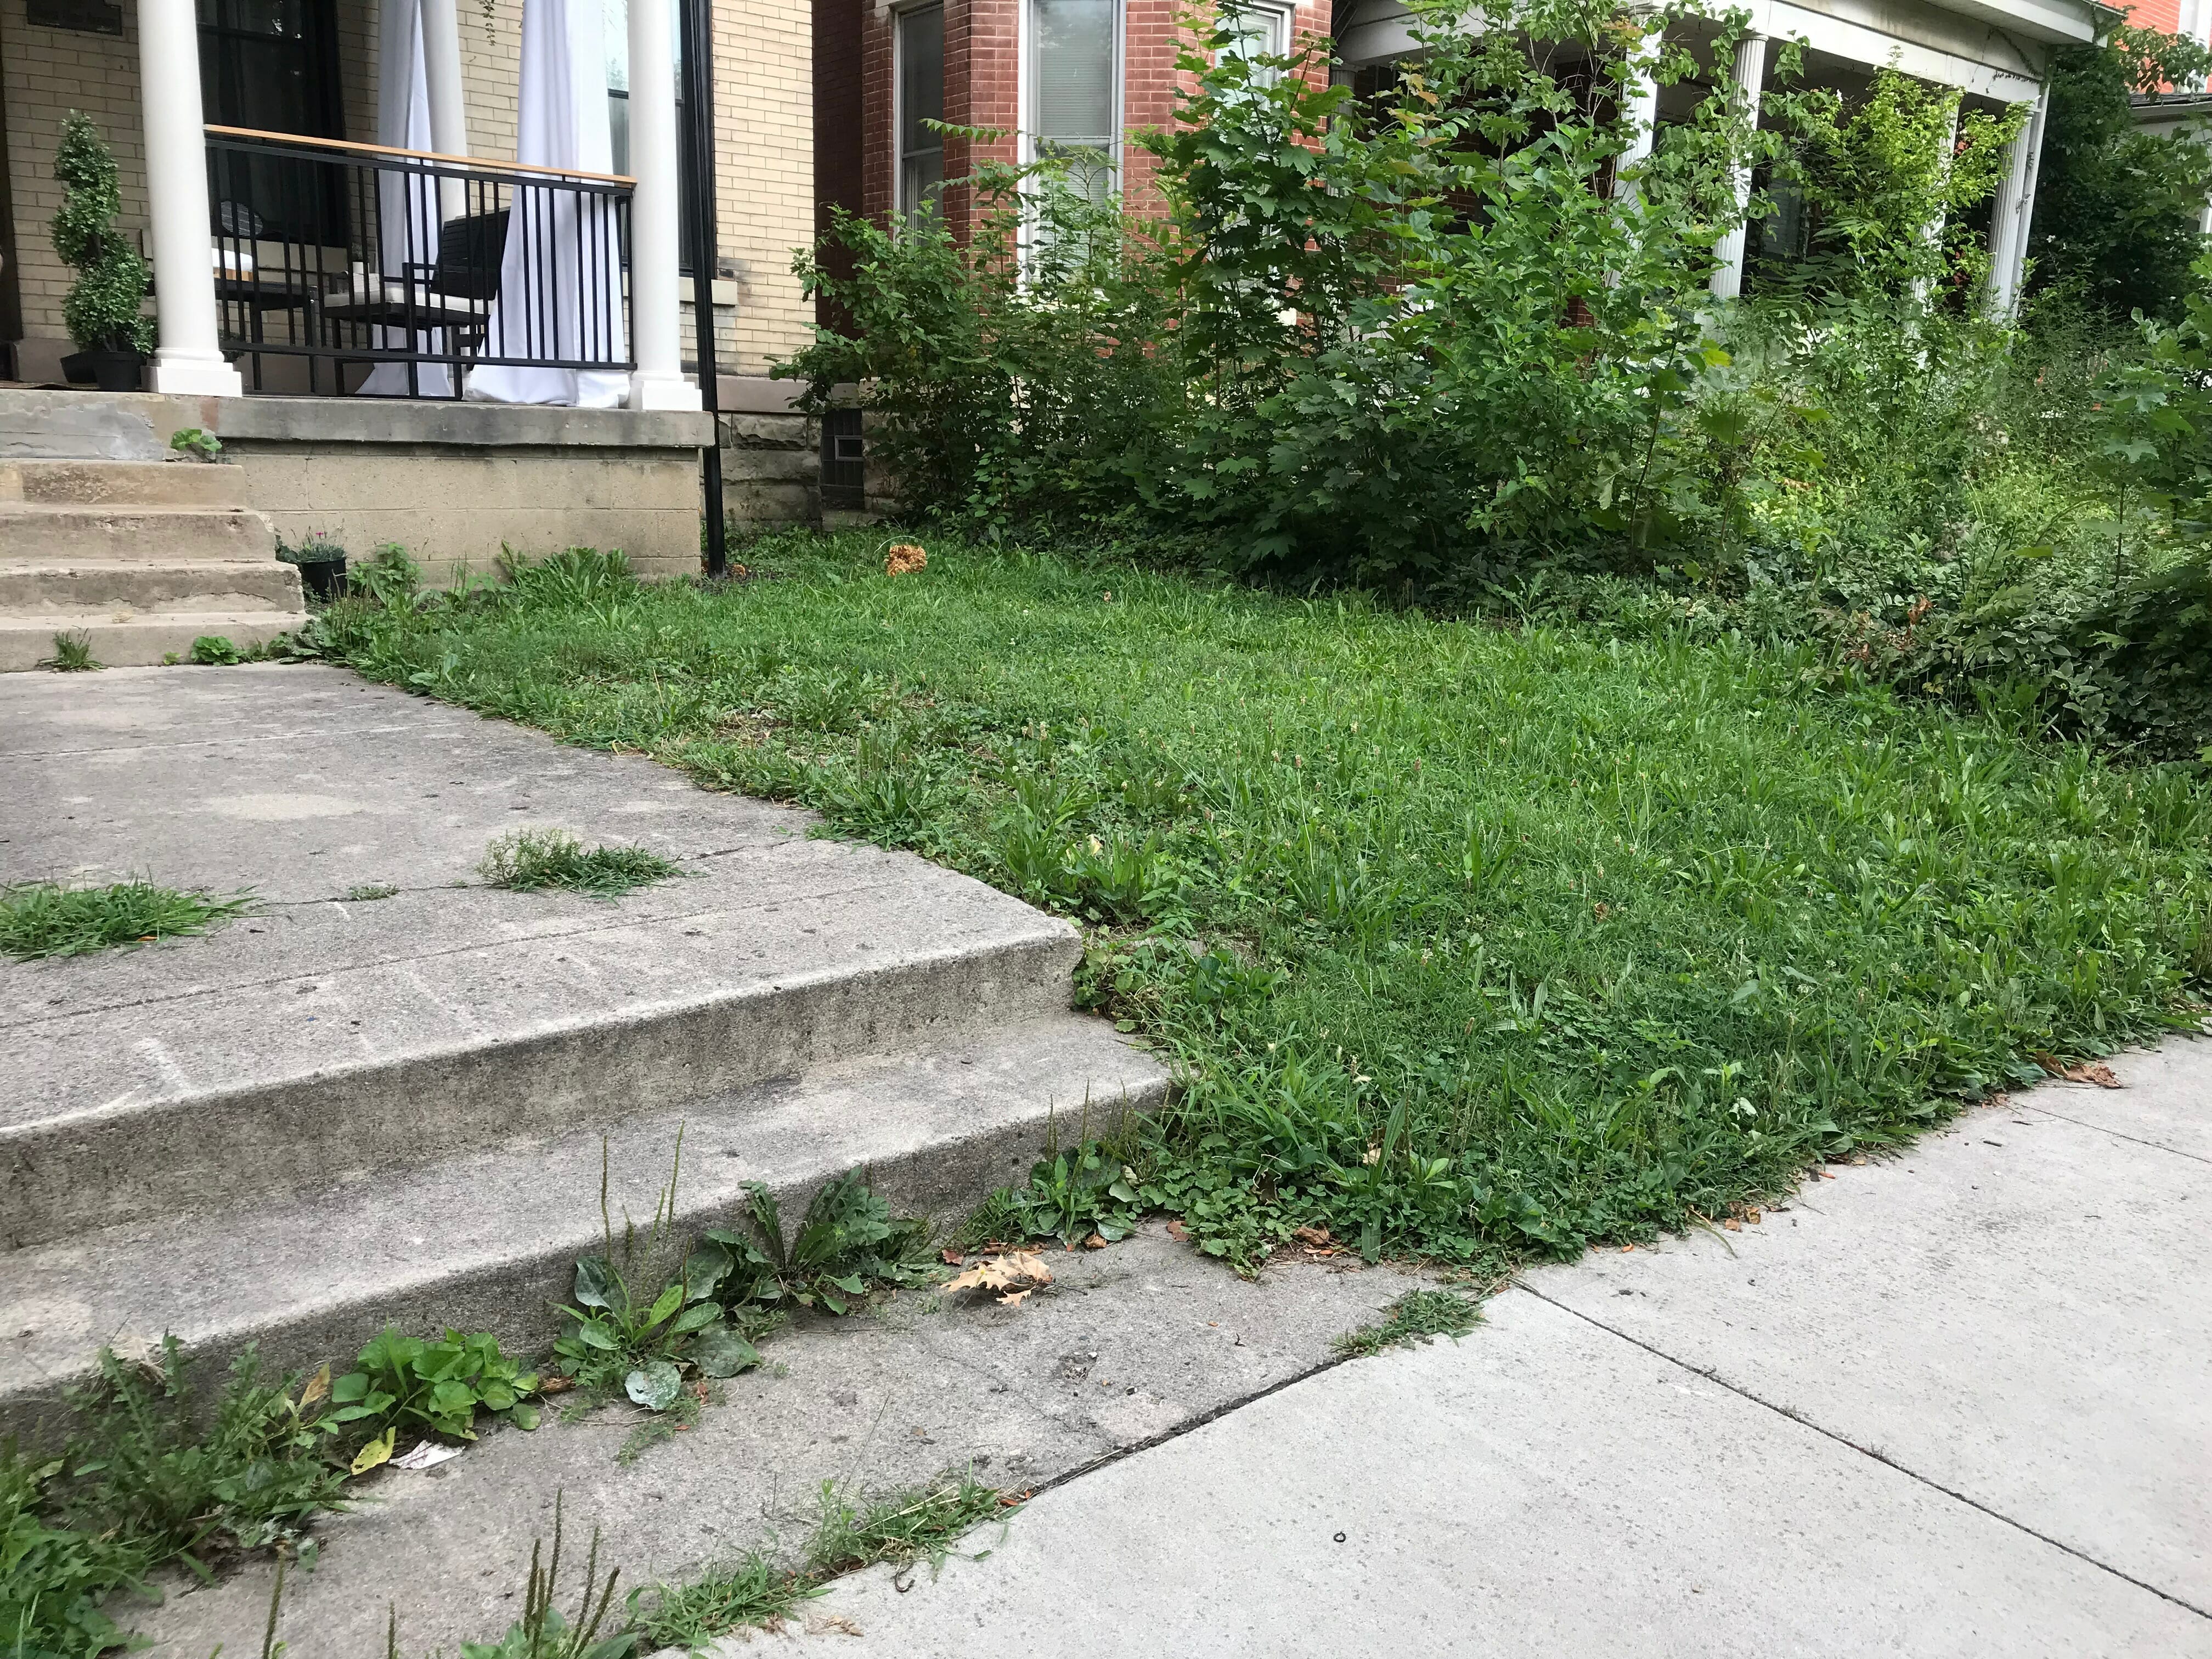
This view looks justtt a bit different now.
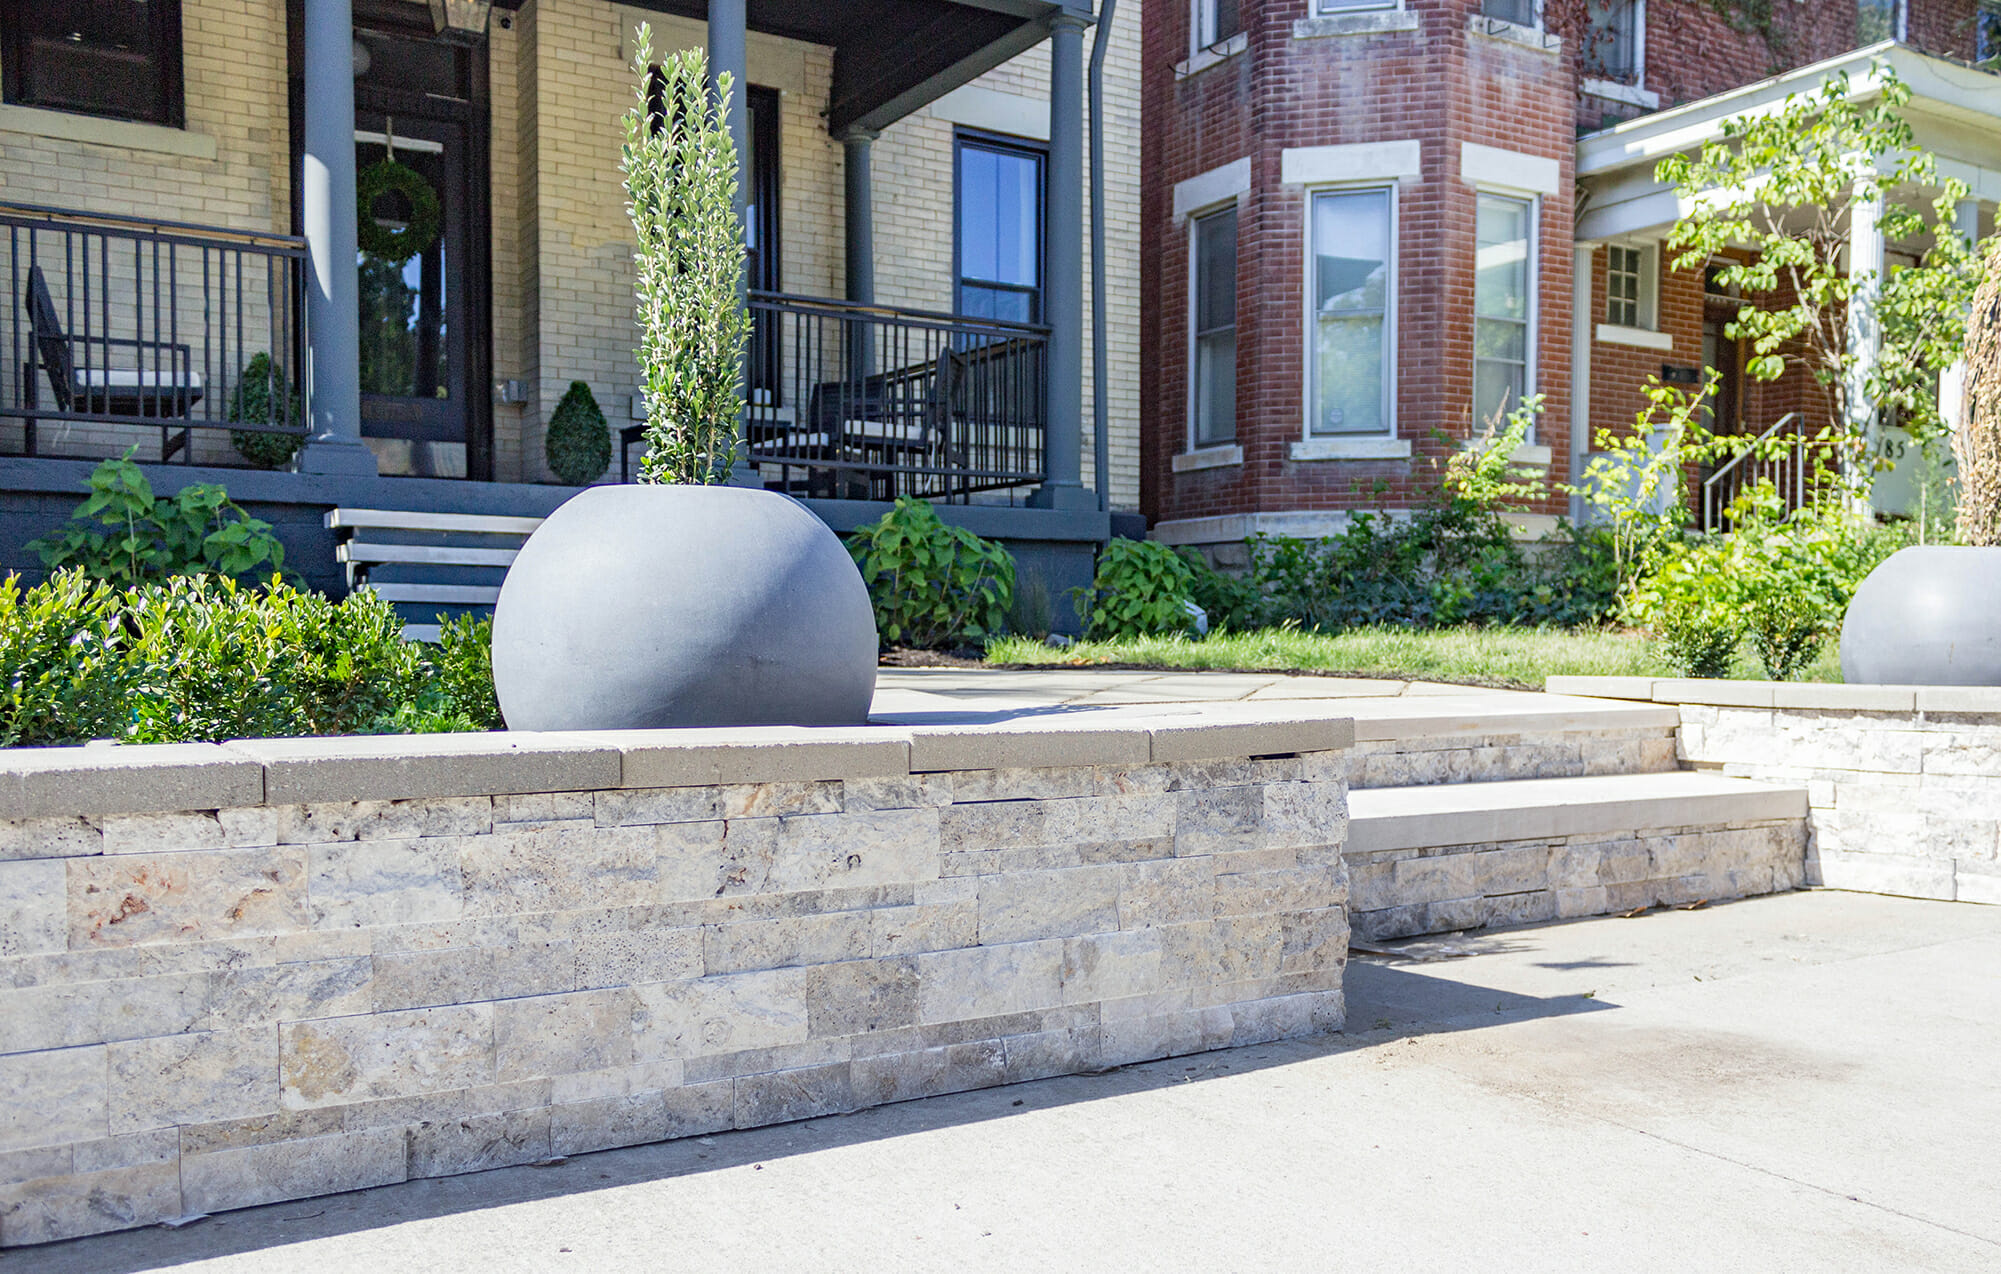
We used these materials to get the project done:
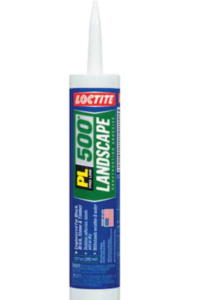
Tile saw // Travertine ledger stone // Landscape adhesive // Concrete blocks // Grinder
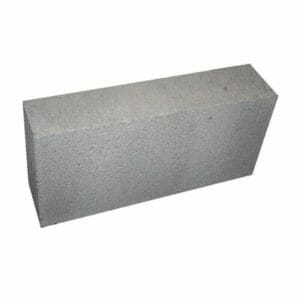
We started by installing a retaining wall using 8×16 concrete blocks (they’re between $1-2 each at Lowe’s) and adhered them together with landscape adhesive.
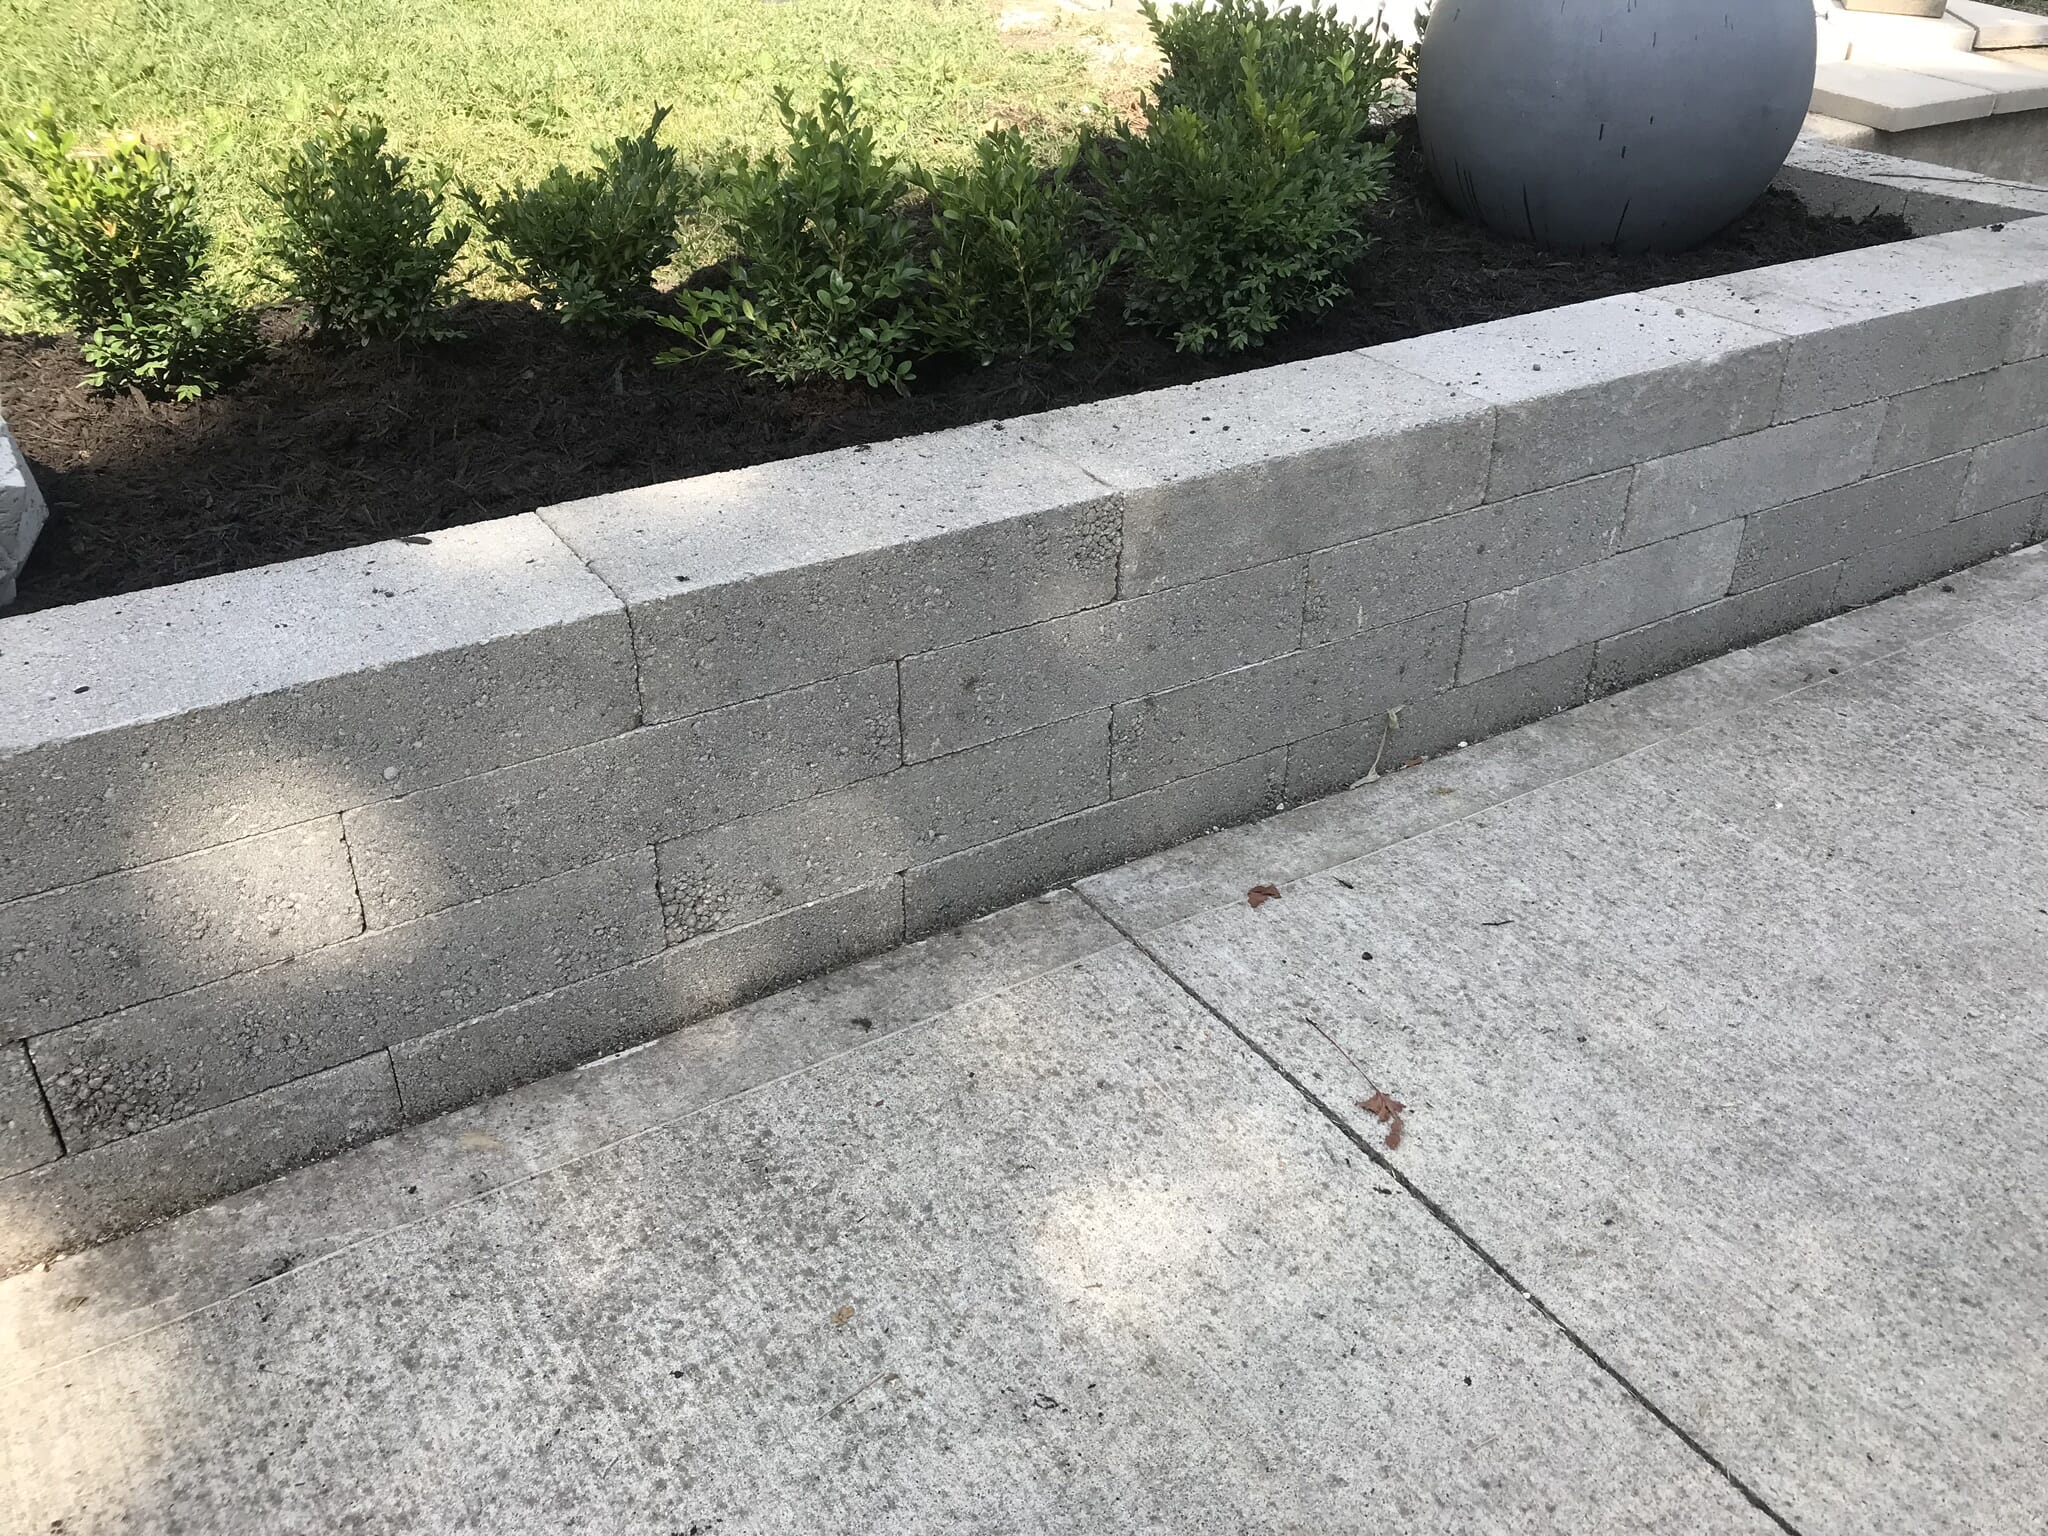
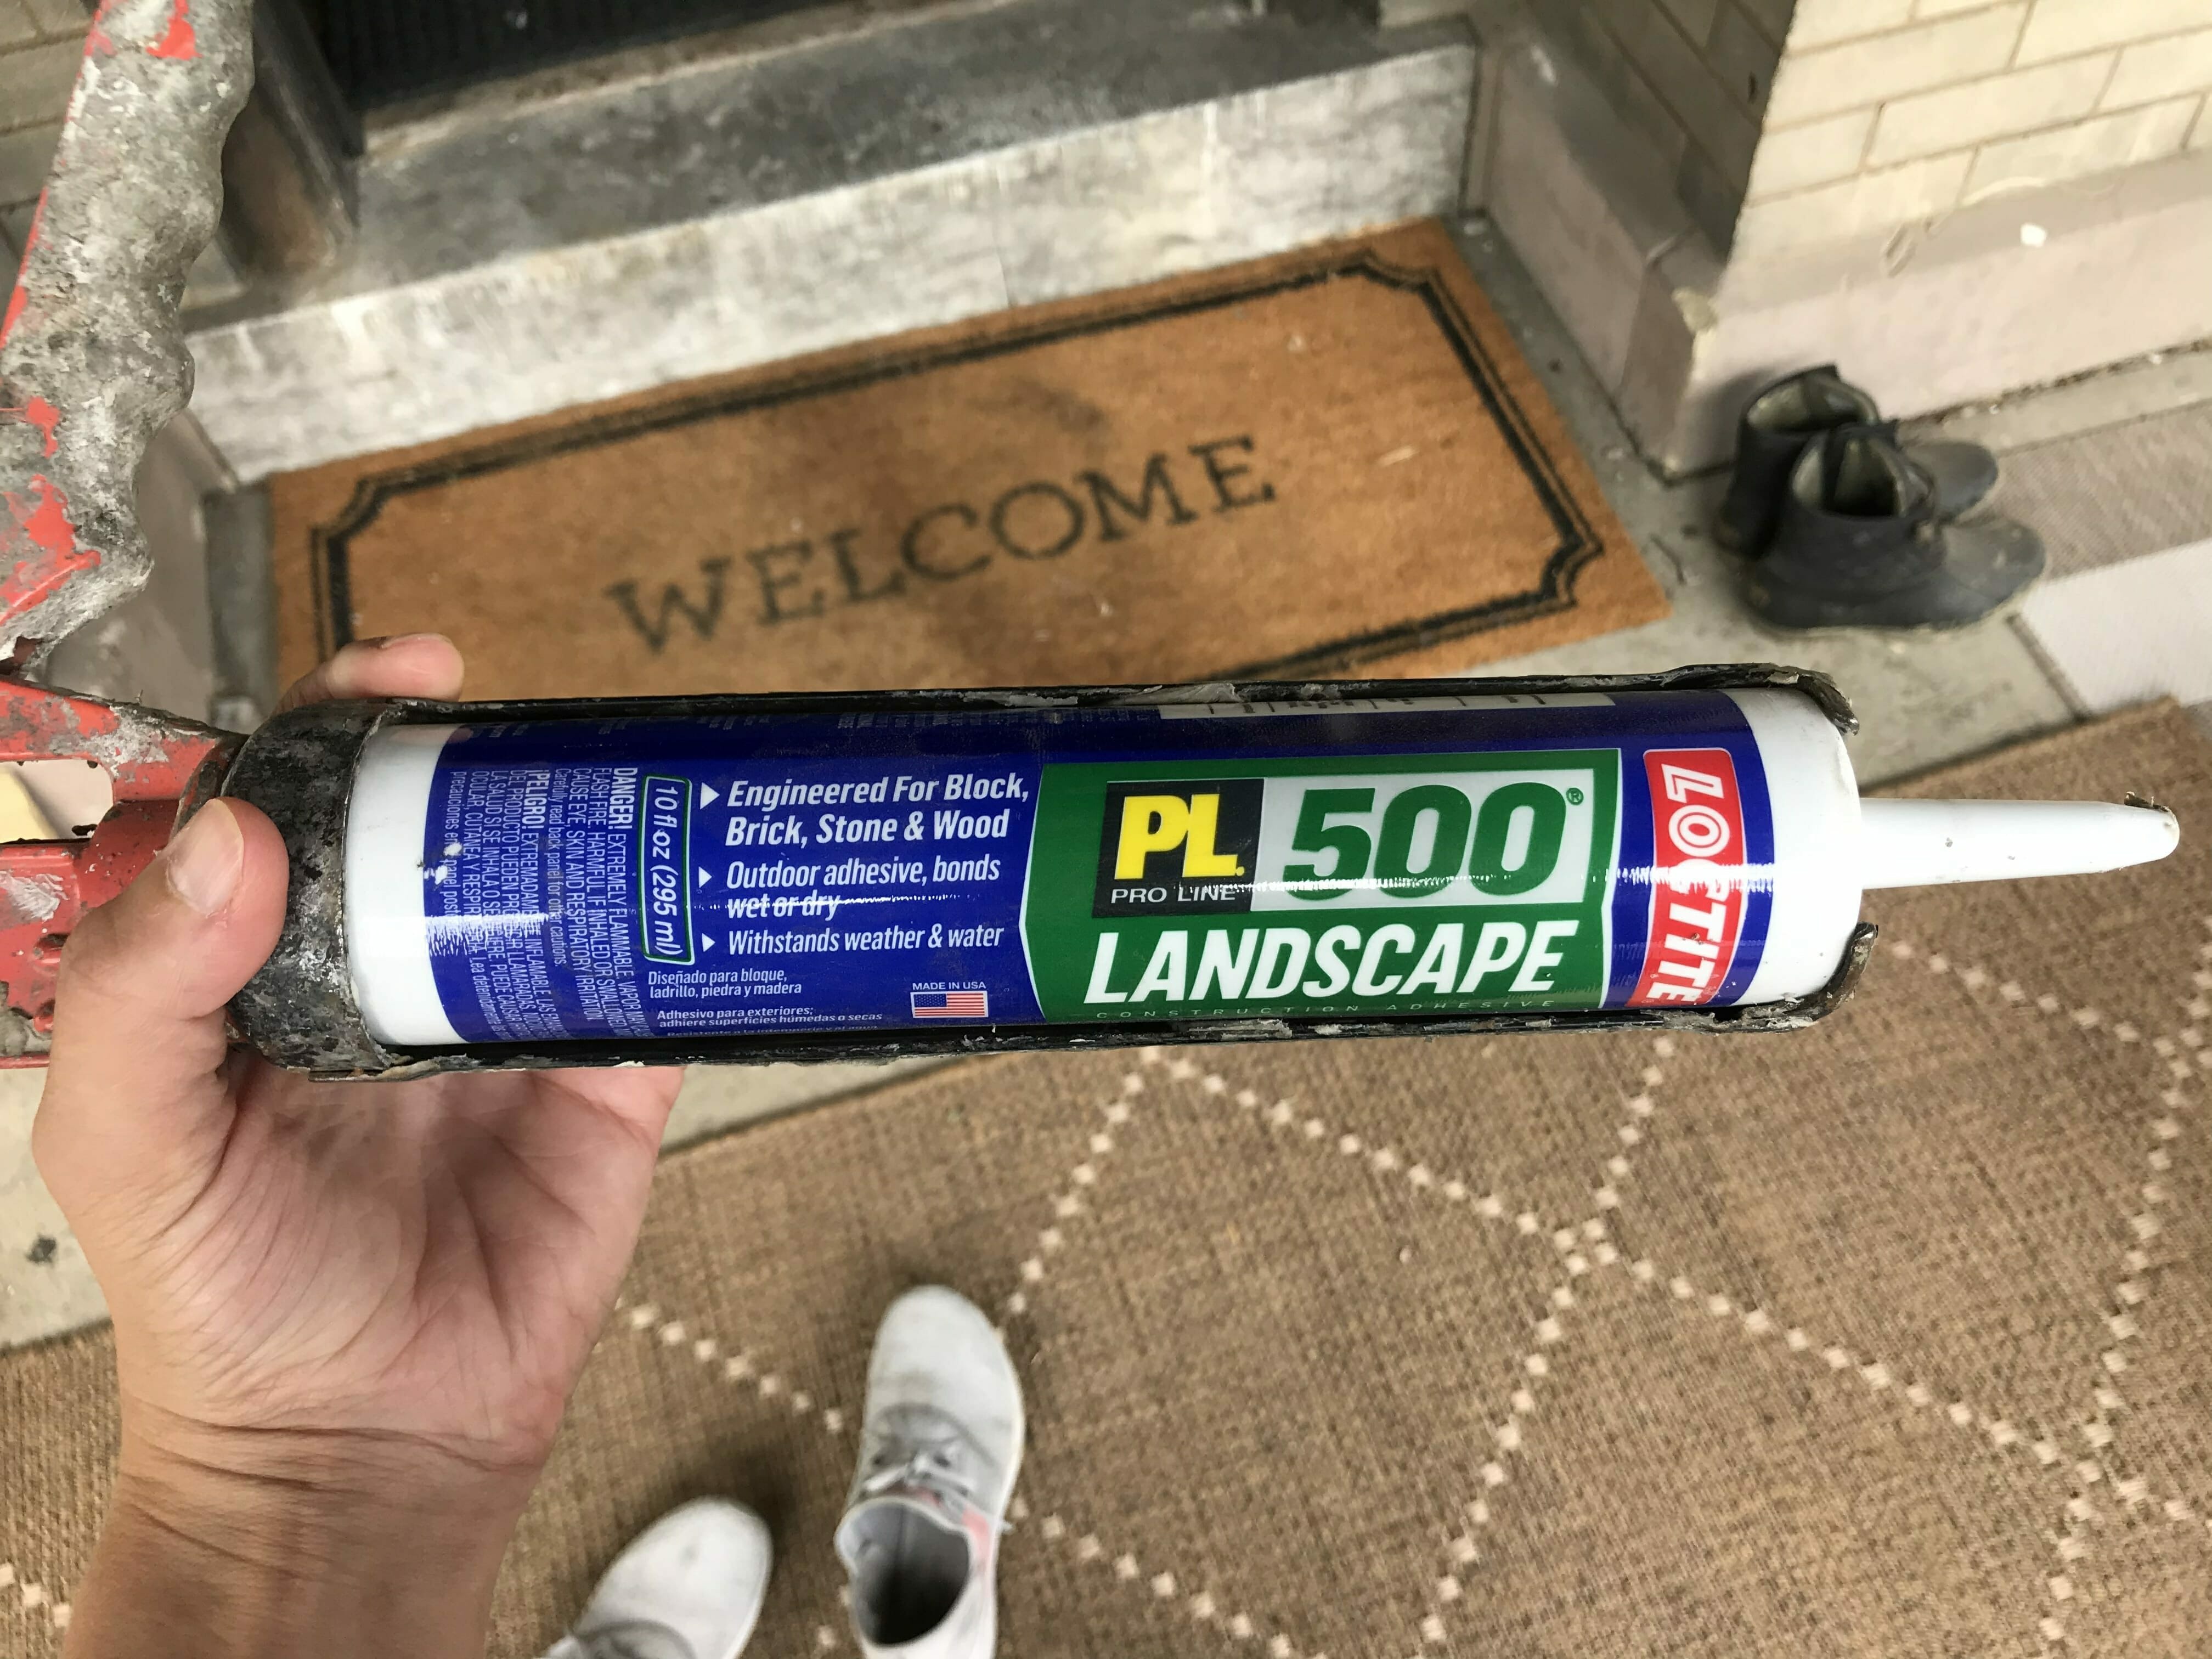
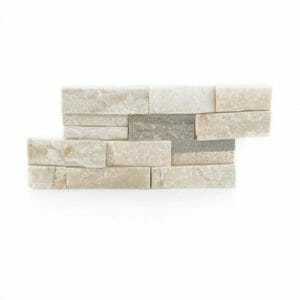
After everything was dry, we went over the concrete with this travertine ledger stone, and used the same landscape adhesive to adhere it to the wall.
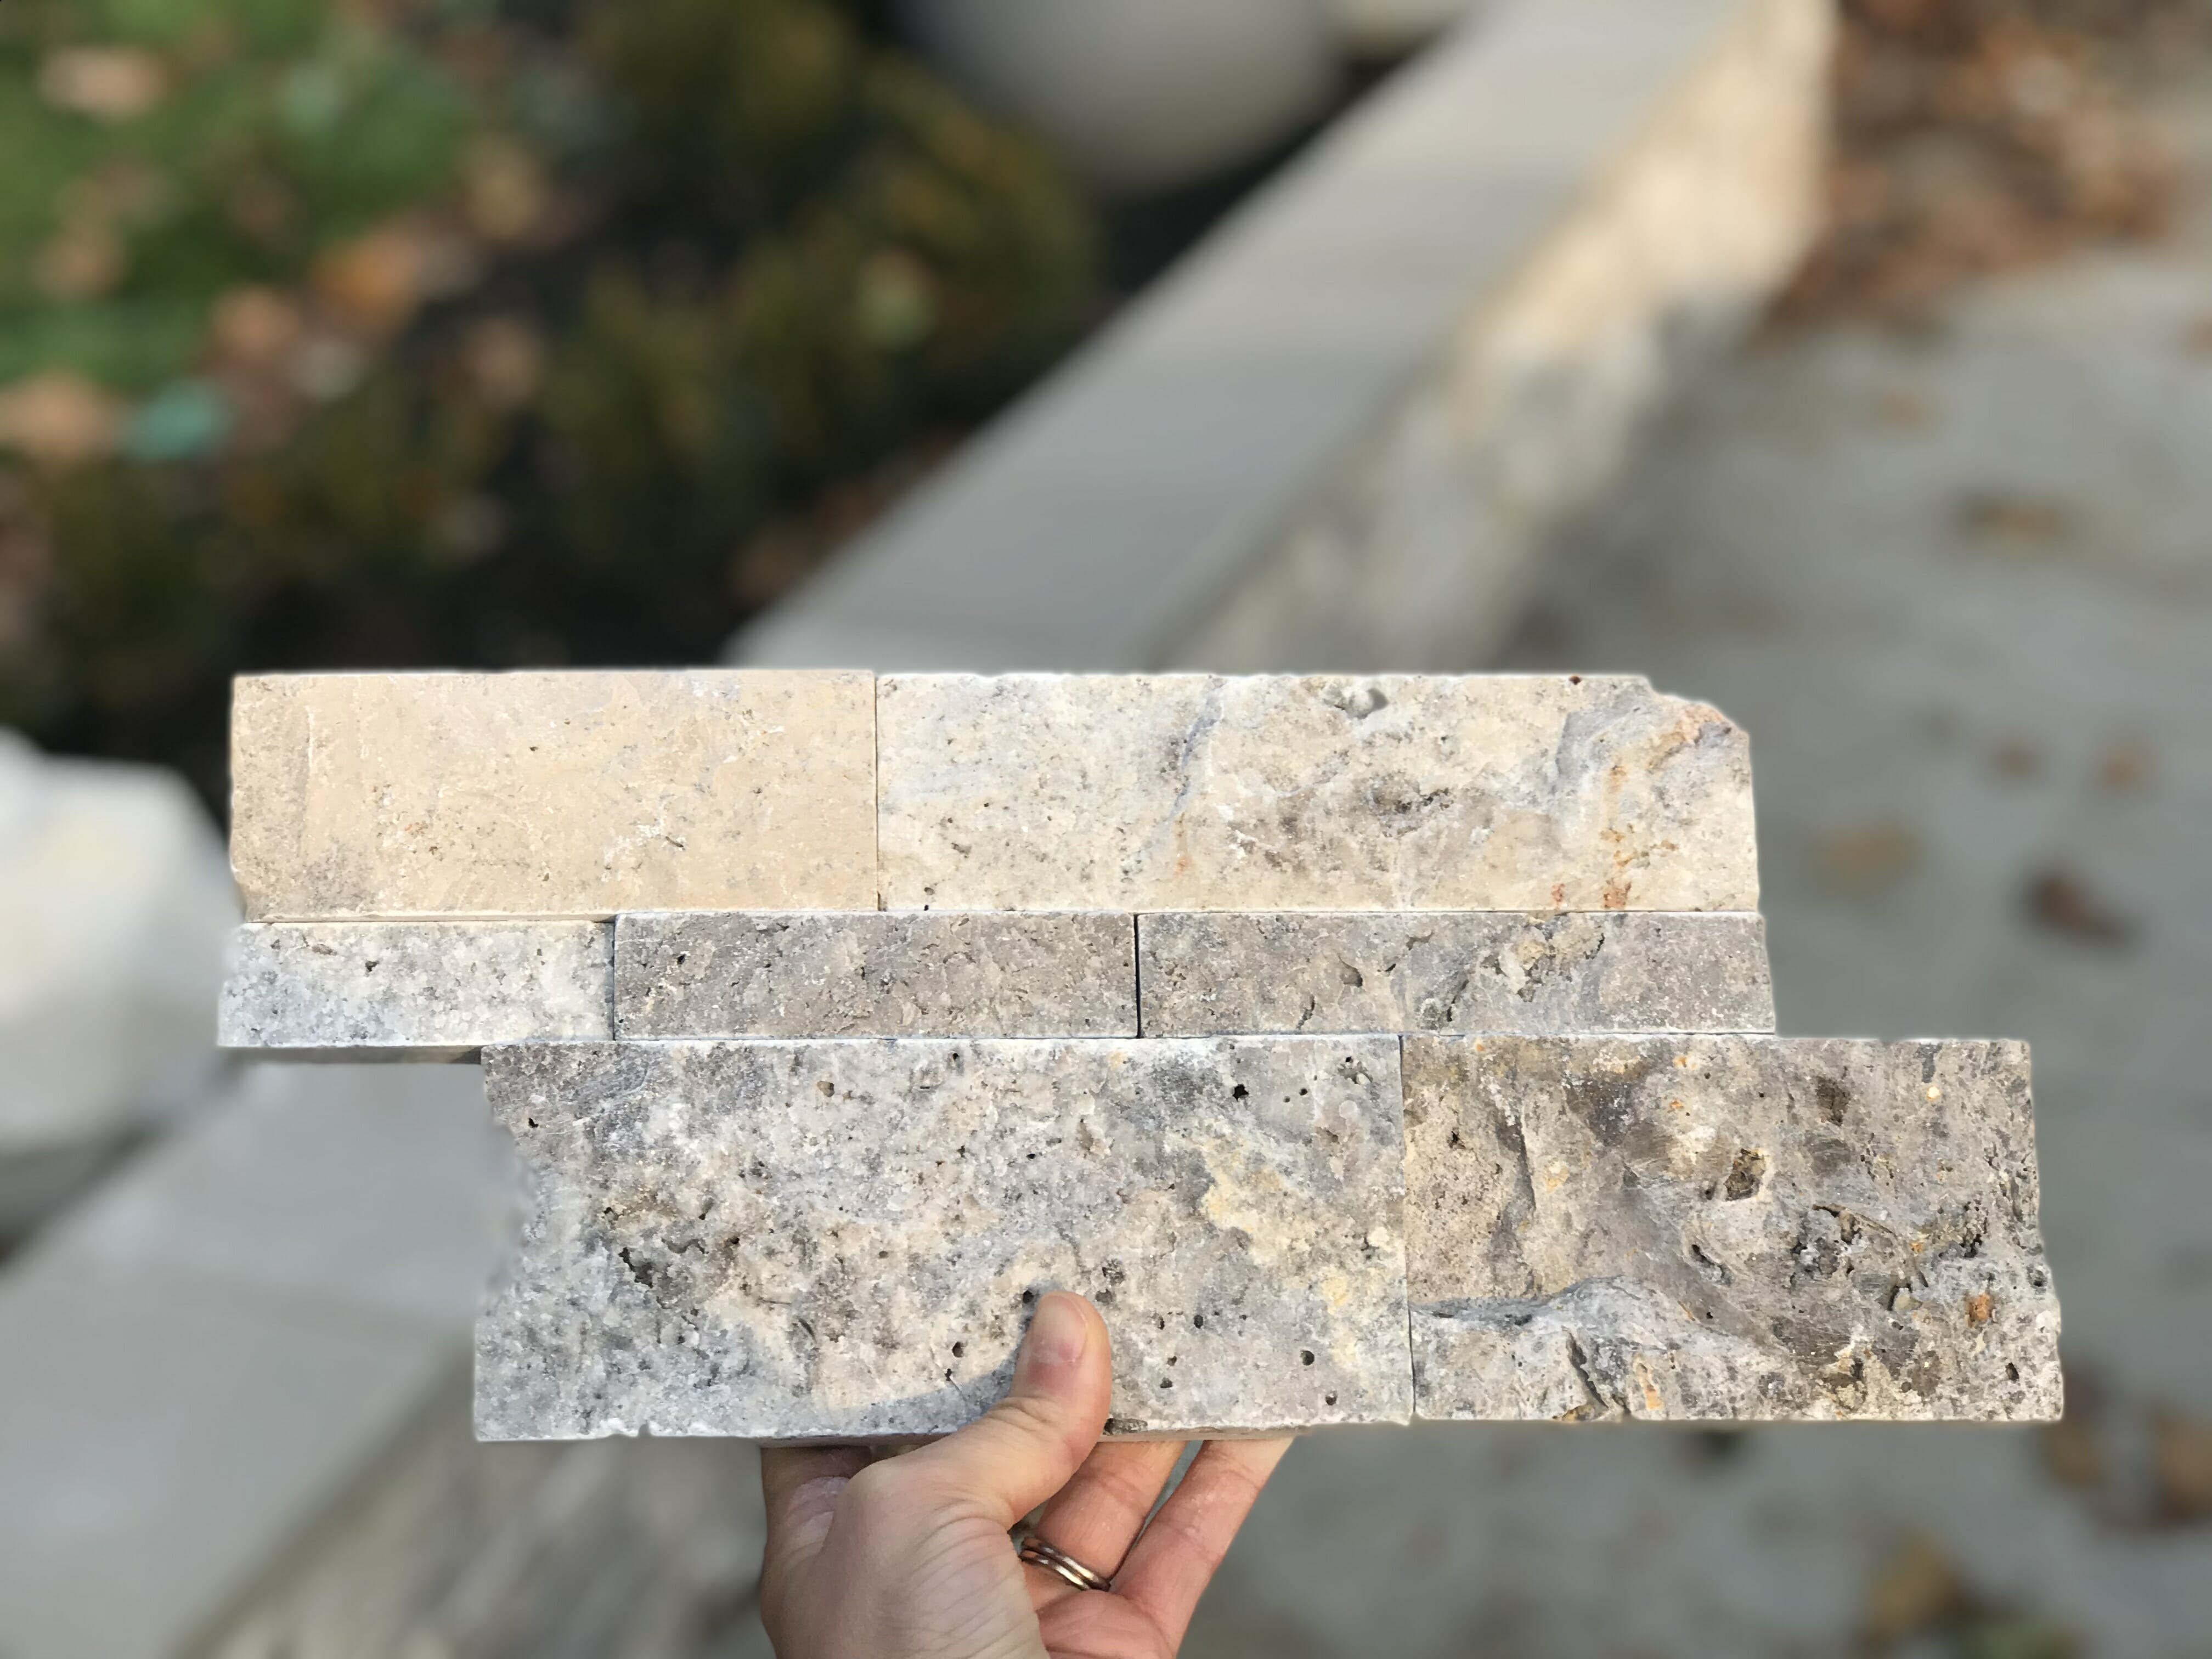
The nice thing about this ledger stone is that you don’t need grout, so it saved on time! We placed more $1 pavers on top to cap it off and tie it into the walkway.
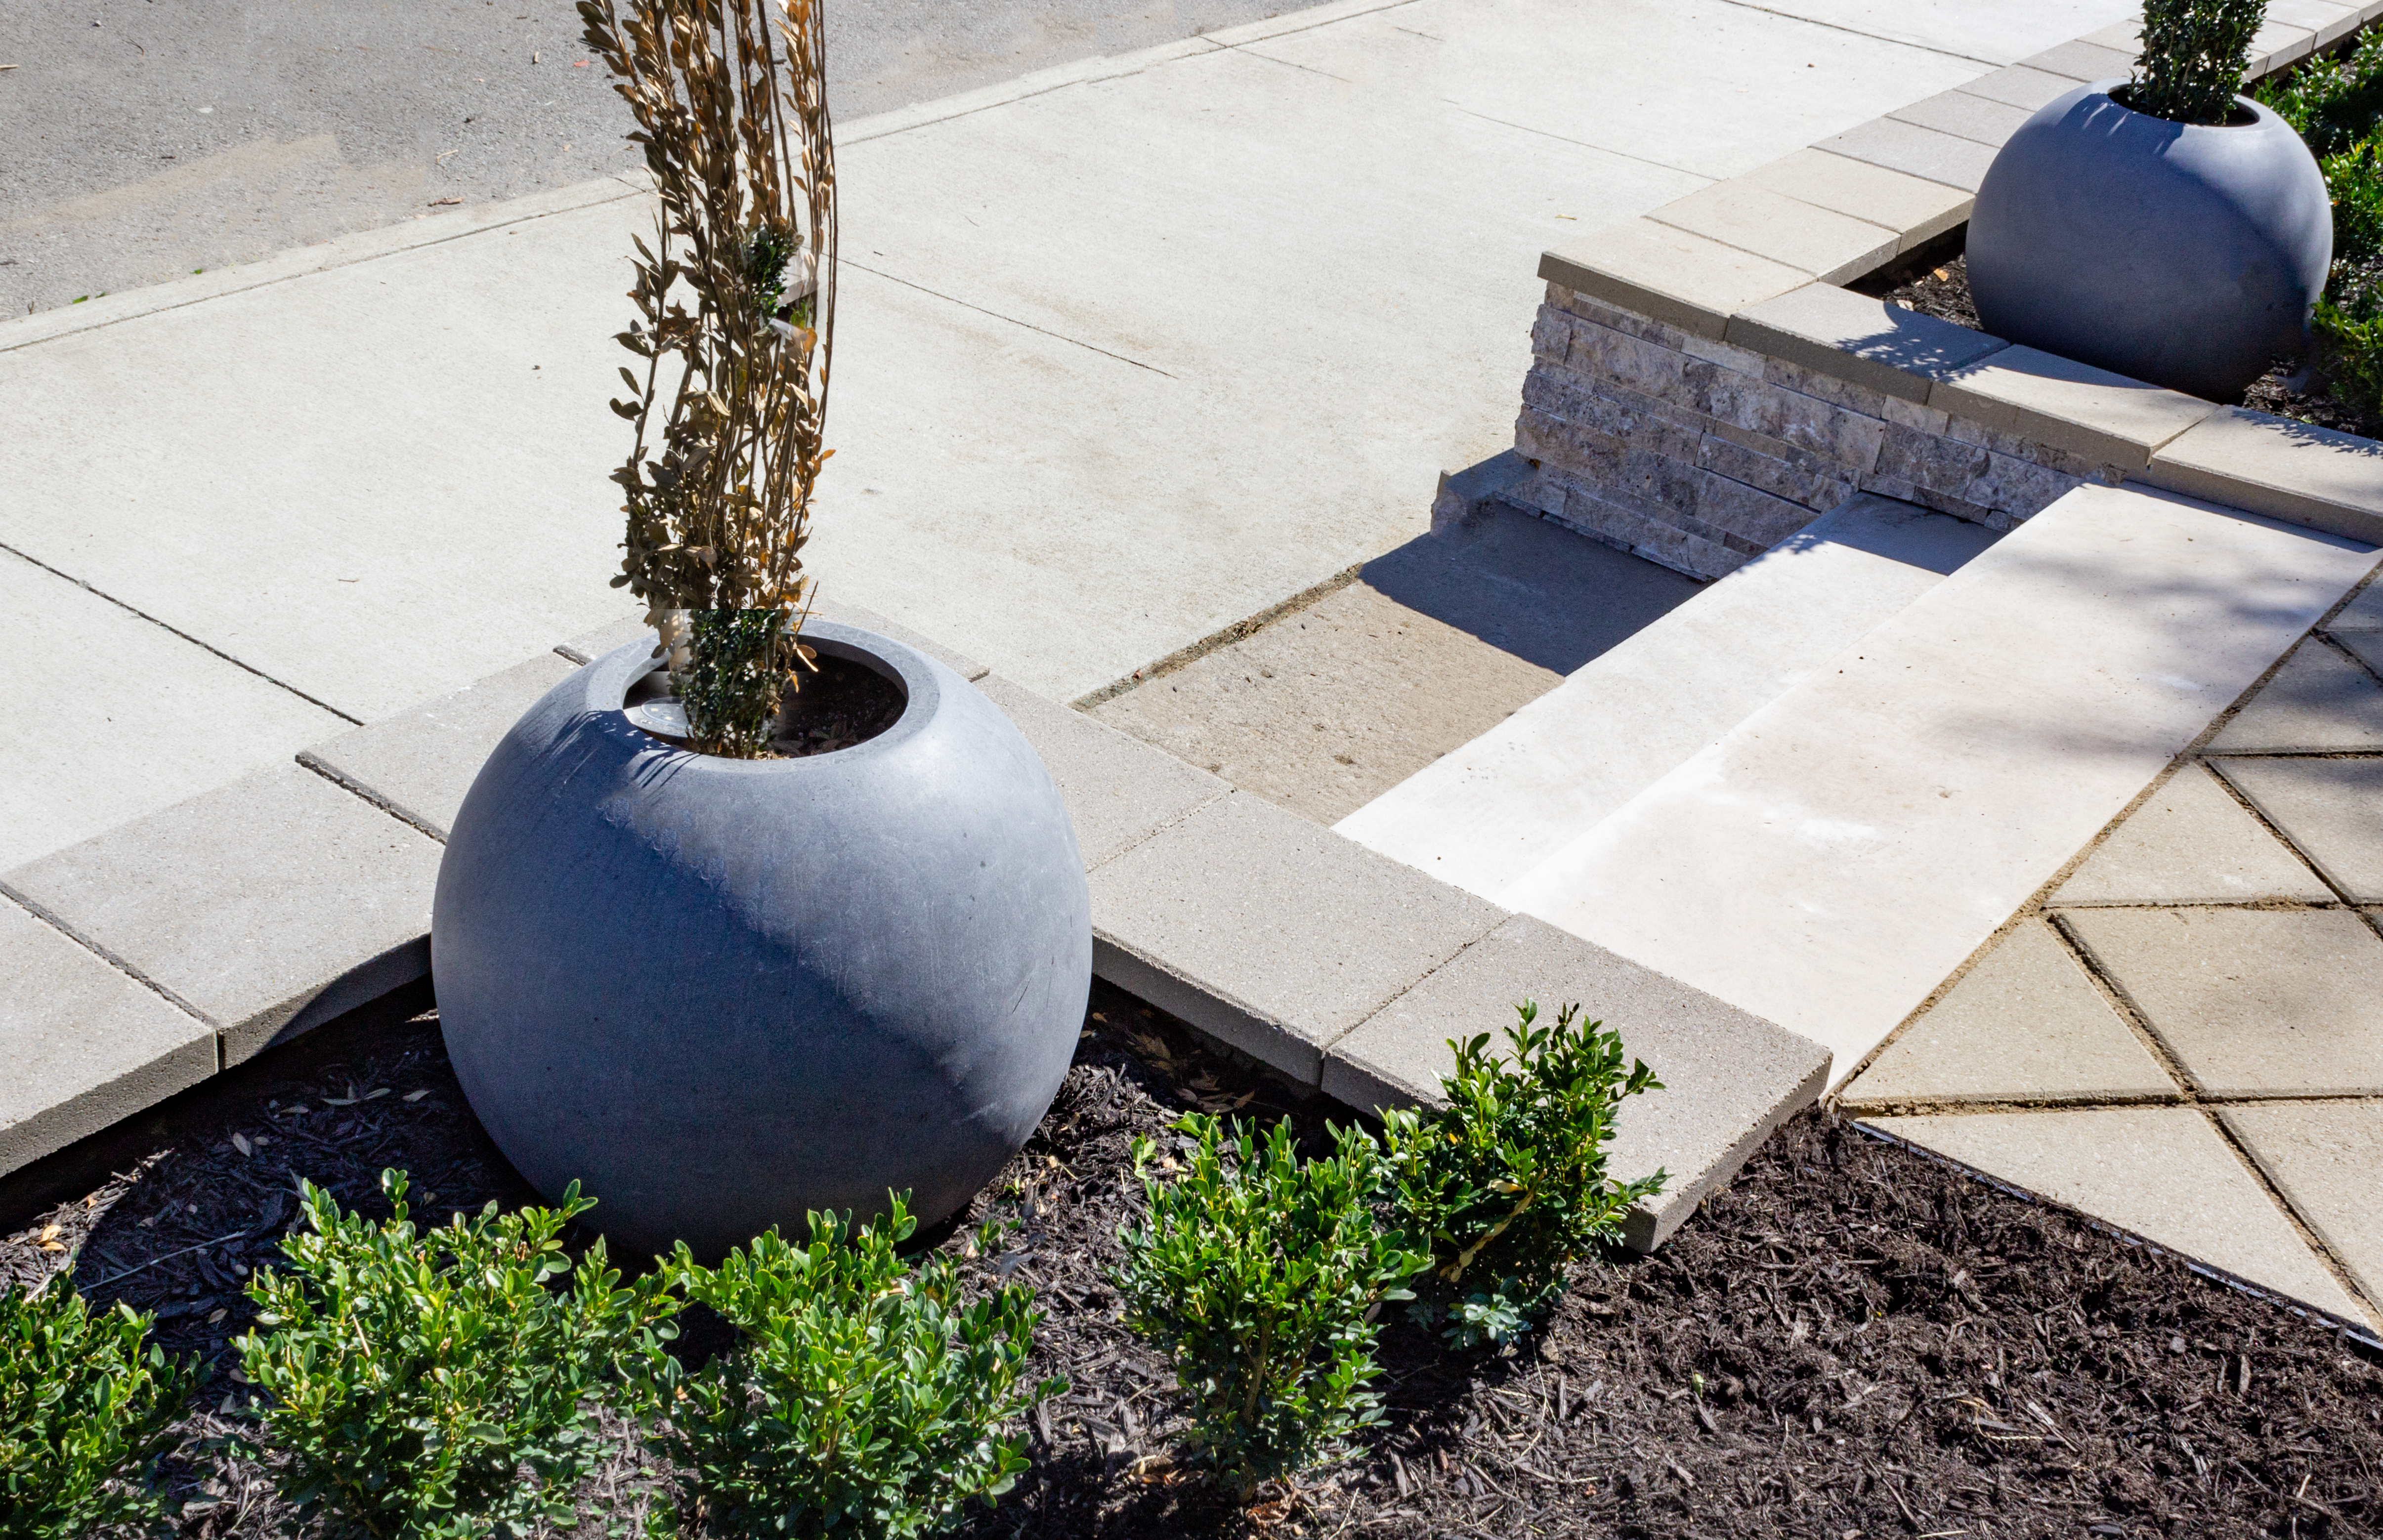
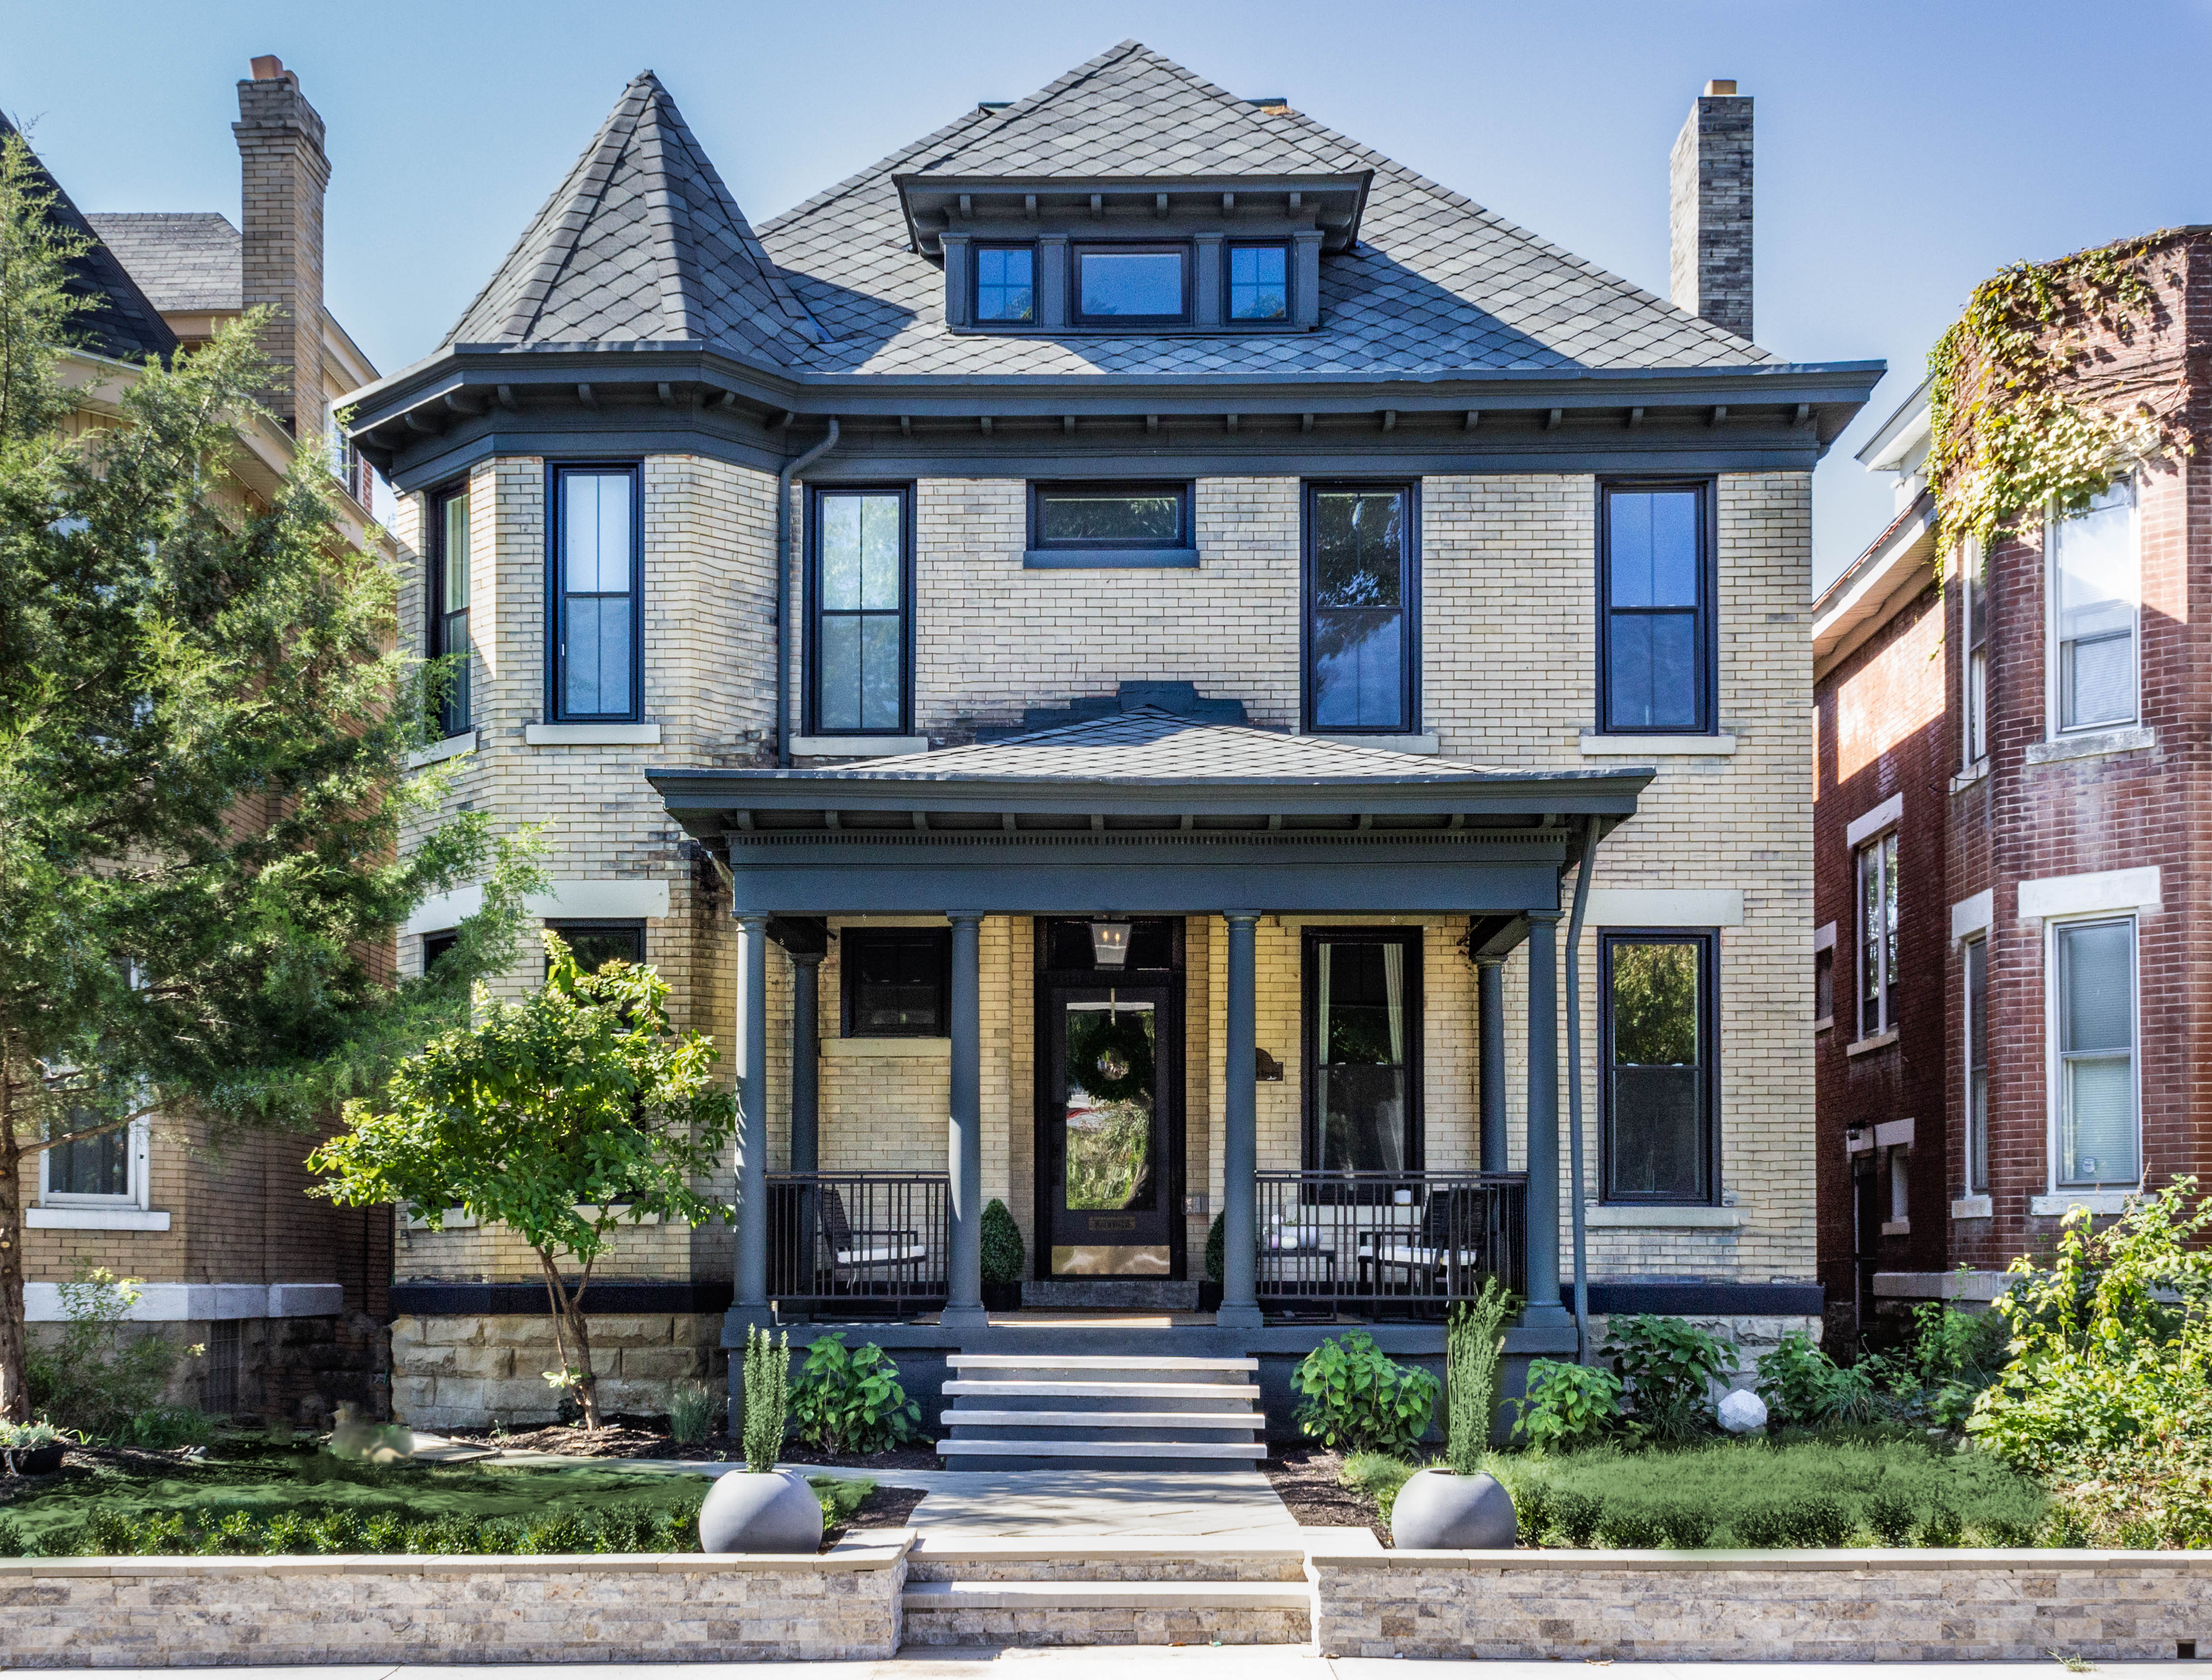
This is what our house looks like now…
And this is where we started – eeeek. So glad we got these hardscaping projects finished before the weather turned!
That’s it guys. What do you think? Would you tackle a project like this?




[…] the day, we love how our front yard looks (if you missed our walkway & retaining wall tutorial, click here to catch […]
That is an absolutely gorgeous transformation! You took it to a very textured, interesting, and clean-lined look, and it blends well with your house. Wow!
Thank you!
Stunning!!!
Thanks Cathie!
Extremely excellent! Looks beautiful. Can I hire you guys to do my 92 year old home.
I love the home you selected for renovation and for living. I have loved the Victorian era of building (I think it’s 1880 to 1925 or so). The ceilings are tall; the wood is extremely hard since it’s the original old growth timber. Don’t throw away anything cause there is always a chance to reuse or renew anything that comes out of these homes.
I liked your paver orientation on the diagonal. It’s amazing how quickly it captures the eyes interest without making you dwell long enough to decide its pavers from Lowe’s.
The two of you look handsome and strong together; I hope your union lasts forever. Take care and good luck with your new career direction. I will follow you from time to time. Happy Holidays!
Thank you so much, Marilyn!
What a spectacular transformation! It just goes to show how creativity can come up with a beautiful solution and still not break your budget. Amazing job on your house too!
Thank you!
Wow! What an amazing job you’ve done! We’ve been wanting to do something similar in our backyard.
Hugs, Jamie
This looks awesome! Such a great job! I’m going to give it try. Thanks so much for sharing and BTW, gorgeous family.
Good luck!!
Such a nice job I always like the before and after pictures
You have shared very useful piece of information. The knowledge that I have gathered through your blog is commendable. Keep sharing such blogs in the future too. Thanks
So impressive! Love how you really detailed how you accomplished this fabulous look.
Thank you! Hope it was helpful.
Great Blog! You have shared very useful information. Keep sharing such blogs in future too. Thanks
So beautiful, and what a difference that darker paint looks, too! Great job to you both.
Thanks Allison!
exactly what I’ve been looking for my front walkway!!! love! quick question….were did you get the stacking stone? and the top of the steps ledge slabs?
Beautiful! How did you end the retaining wall where it meets the neighbor?
Thanks! We just ended the cinderblocks and wrapped the corner with stone.
Did you seal the pavers so they don’t stain and discolor?
No we didn’t, but you definitely could. We actually want ours to wear and look older over time to match the age of the house (1900).
Thanks for posting this useful information over here; I really hope it will be helpful to many to know about the diy paver walk way. Appreciative content!! I loved reading this article.
GORGEOUS!!!! This is all so stunning!! I cannot believe the before and after! Thanks for the tutorial!!
What a gorgeous transformation! I found your post because I want to re-do/re-fresh my concrete stairs. Yours look different before and after — can you share what you did? Are the risers painted?
Thank you! I’ve been searching for years (previous owners “patched” the stairs with a different kind of cement — it’s horrible!) and your post is the first that has given me inspiration!
Thank you! Risers are painted, and we added limestone treads on top of the stairs.
hi!
love the work and want to tackle the same project !
do you know if in general this is something you need a permit for in a city ?
thanks in advance
In our neighborhood in Columbus (one without a historical commission), no. If you live in a historic neighborhood you may need to run it by the commission before starting.
[…] love the challenge of an outdoor makeover (plus time spent under the sun!). Try installing pavers over old concrete, building a slated pergola, installing solar lighting (hint: it’s easy!), or adding some […]
Thanks for the great tips on installing pavers! We’re in the process of doing the same thing and it’s been a lot of work.
We did a dry run to figure out our center line, correct spacing, etc. It took us several hours of shifting them around to get it right. But it was worth it in the end!
You guys did an AMAZING job! I love the before and after!
Thank you! We still love them!
Hi Catherine, Thanks for the great article it is very use full for me. Which shape paver block is best for my home?
Thank you for sharing this informative article. I hope a lot of contractors could read this and be guided accordingly.
You did a fablous job! You have very good taste. I plan on laying brick pavers on our front walk. Only concern is walk will be higher than sidewalk in front so am afraid people will trim when leaving the sidewalk. What do you think? I thought I could make cement really firm and set down a narrow strip of cement where the walk ends and sisewalk begins. I could mold it so there is 1 or 2 inch slope from between sidewalk and where walkway begins. I don’t think people would trip then. What do you think? Thanks if you see this!
Hi Greg – I’d suggest getting a pro out there to take a look in person. They’ll be able to give you the best advice!
I have a couple of walkways leading to the front of the house that have been “textured” with concrete. I love what you did and would love to do it too! If I use sand, won’t that even it out? Hmmm…
I love to see your projects. They’re wonderful!
wow very nice
[…] Quote from the source: … […]
[…] Quote from the source: … […]
Wow, looks incredible. And what a difference!!! Gives me inspiration to tackle a little walkway I have. So thanks for the video. Was curious, what size is your $1 concrete pavers?
Stunningly beautiful. This accomplishment is my inspiration. Thank you for sharing the details.
I am in Canada, Alberta. Bought an 85-year-old bungalow built by coal miners. Planning to update the original entrance, which was decommissioned years ago due to the old, sinking steps and walkway.
I’m going to follow your exact directions on taking pavers over top my old sidewalk. I’m EXTREMELY EXCITED to get started! I read every word, and you did a fantastic job guiding on how to. I may even tackle a small retaining wall.
You did great! It’s beautiful.
Wow, Catherine, this is an incredibly detailed and helpful guide! Your step-by-step breakdown makes the process seem much more manageable. I appreciate your honesty in sharing the challenges and learnings from your experience, like the issue with the paver base sand. The transformation of the walkway is remarkable, and it indeed enhances the curb appeal of the property. I’m inspired to try something similar, and your tips will undoubtedly save me from some potential hurdles. Thank you for sharing!
when you said you removed the bumpy paver base and replaced it with sand, did you also remove the weed cover or did you lay the sand over the weed cover. the photos looks like you removed the weed cover. what I am asking is about the layering of the foundation. should it be concrete, weed cover, sand, pavers? thanks.
I believe we put the weed cover over the concrete, then sand on top of that…
Hey there great result. I know Columbus well – we worked at nationwide childrens for a bit. Ironically we now live in the mountains of central jersey. How has the project faired? How much were the stone caps you bought for the stairs?
They’ve been great! No cracks and still very happy we did the project. For the cap, we just used the same pavers. Someday we’d like to replace them with limestone, but for now, these ones are doing the trick.
This DIY paver walkway tutorial is fantastic! The detailed instructions and step-by-step photos make it seem totally manageable. I love how they break down the process into easy-to-follow stages. Plus, the finished walkway looks professional and adds so much charm to the outdoor space. Definitely feeling inspired to tackle a project like this myself!
Hello,
May I ask how you secured the limestone stair treads? Did you use the same landscape adhesive?
Nice Article…Very interesting to read this article. I have learned some new information. Thanks for sharing.
This is a fantastic resource for anyone considering a DIY paver walkway project! The breakdown of the steps, from choosing the right pavers to cutting and setting them, is clear and easy to follow. The before-and-after pictures are also really inspiring.
I’m curious to know more about the edging process. The blog mentions using plastic or metal edging. Were there any specific reasons you chose the edging material you used in your project? Perhaps you could share some insights on the pros and cons of different edging options for paver walkways.
WOW!!
Absolutely amazing. Thank you for taking the time to post this!!!
It is very beautiful. You upgraded a lot to your home and yard. A lot of hard work but you did excellent on making your yard look very nice and raising the yard a bit to equal out to the retaining wall, and I like to stone on the side of the wall. The new upgrade boosts up the appearance 100 percent. I have a suggestion if you don’t mind. You can use that same stone on the side of the retainer wall for around the foundation of your home so both will match if you can do that. Something for a future project. Make sure all cracks on the foundation is sealed with hydraulic cement and check for any loose stones and all is even. Then apply the rock that you used on the retainer wall and apply it to the foundation, if it can work. Test it out first and see if it will work. Then everything blends in. It can build up the value of your home to a higher value. I like the use of earth tone colors of what you used on that wall.
BRAVO!!!
Thank you! Looks doable…
I stumbled upon your project because I have some front yard renovation coming up this summer and I keep looking at ways to improve what I have. Wow! What a transformation. It looks so fancy and expensive. I was a bit unsure at how the sand will hold up over time. Have you considered mixing up a bag of concrete and making a slur to sweep in the spaces to help hold it all together? Anyways… it turned out great you did a great job at improving your curb appeal.
Thank you! Still going strong several years later 🙂