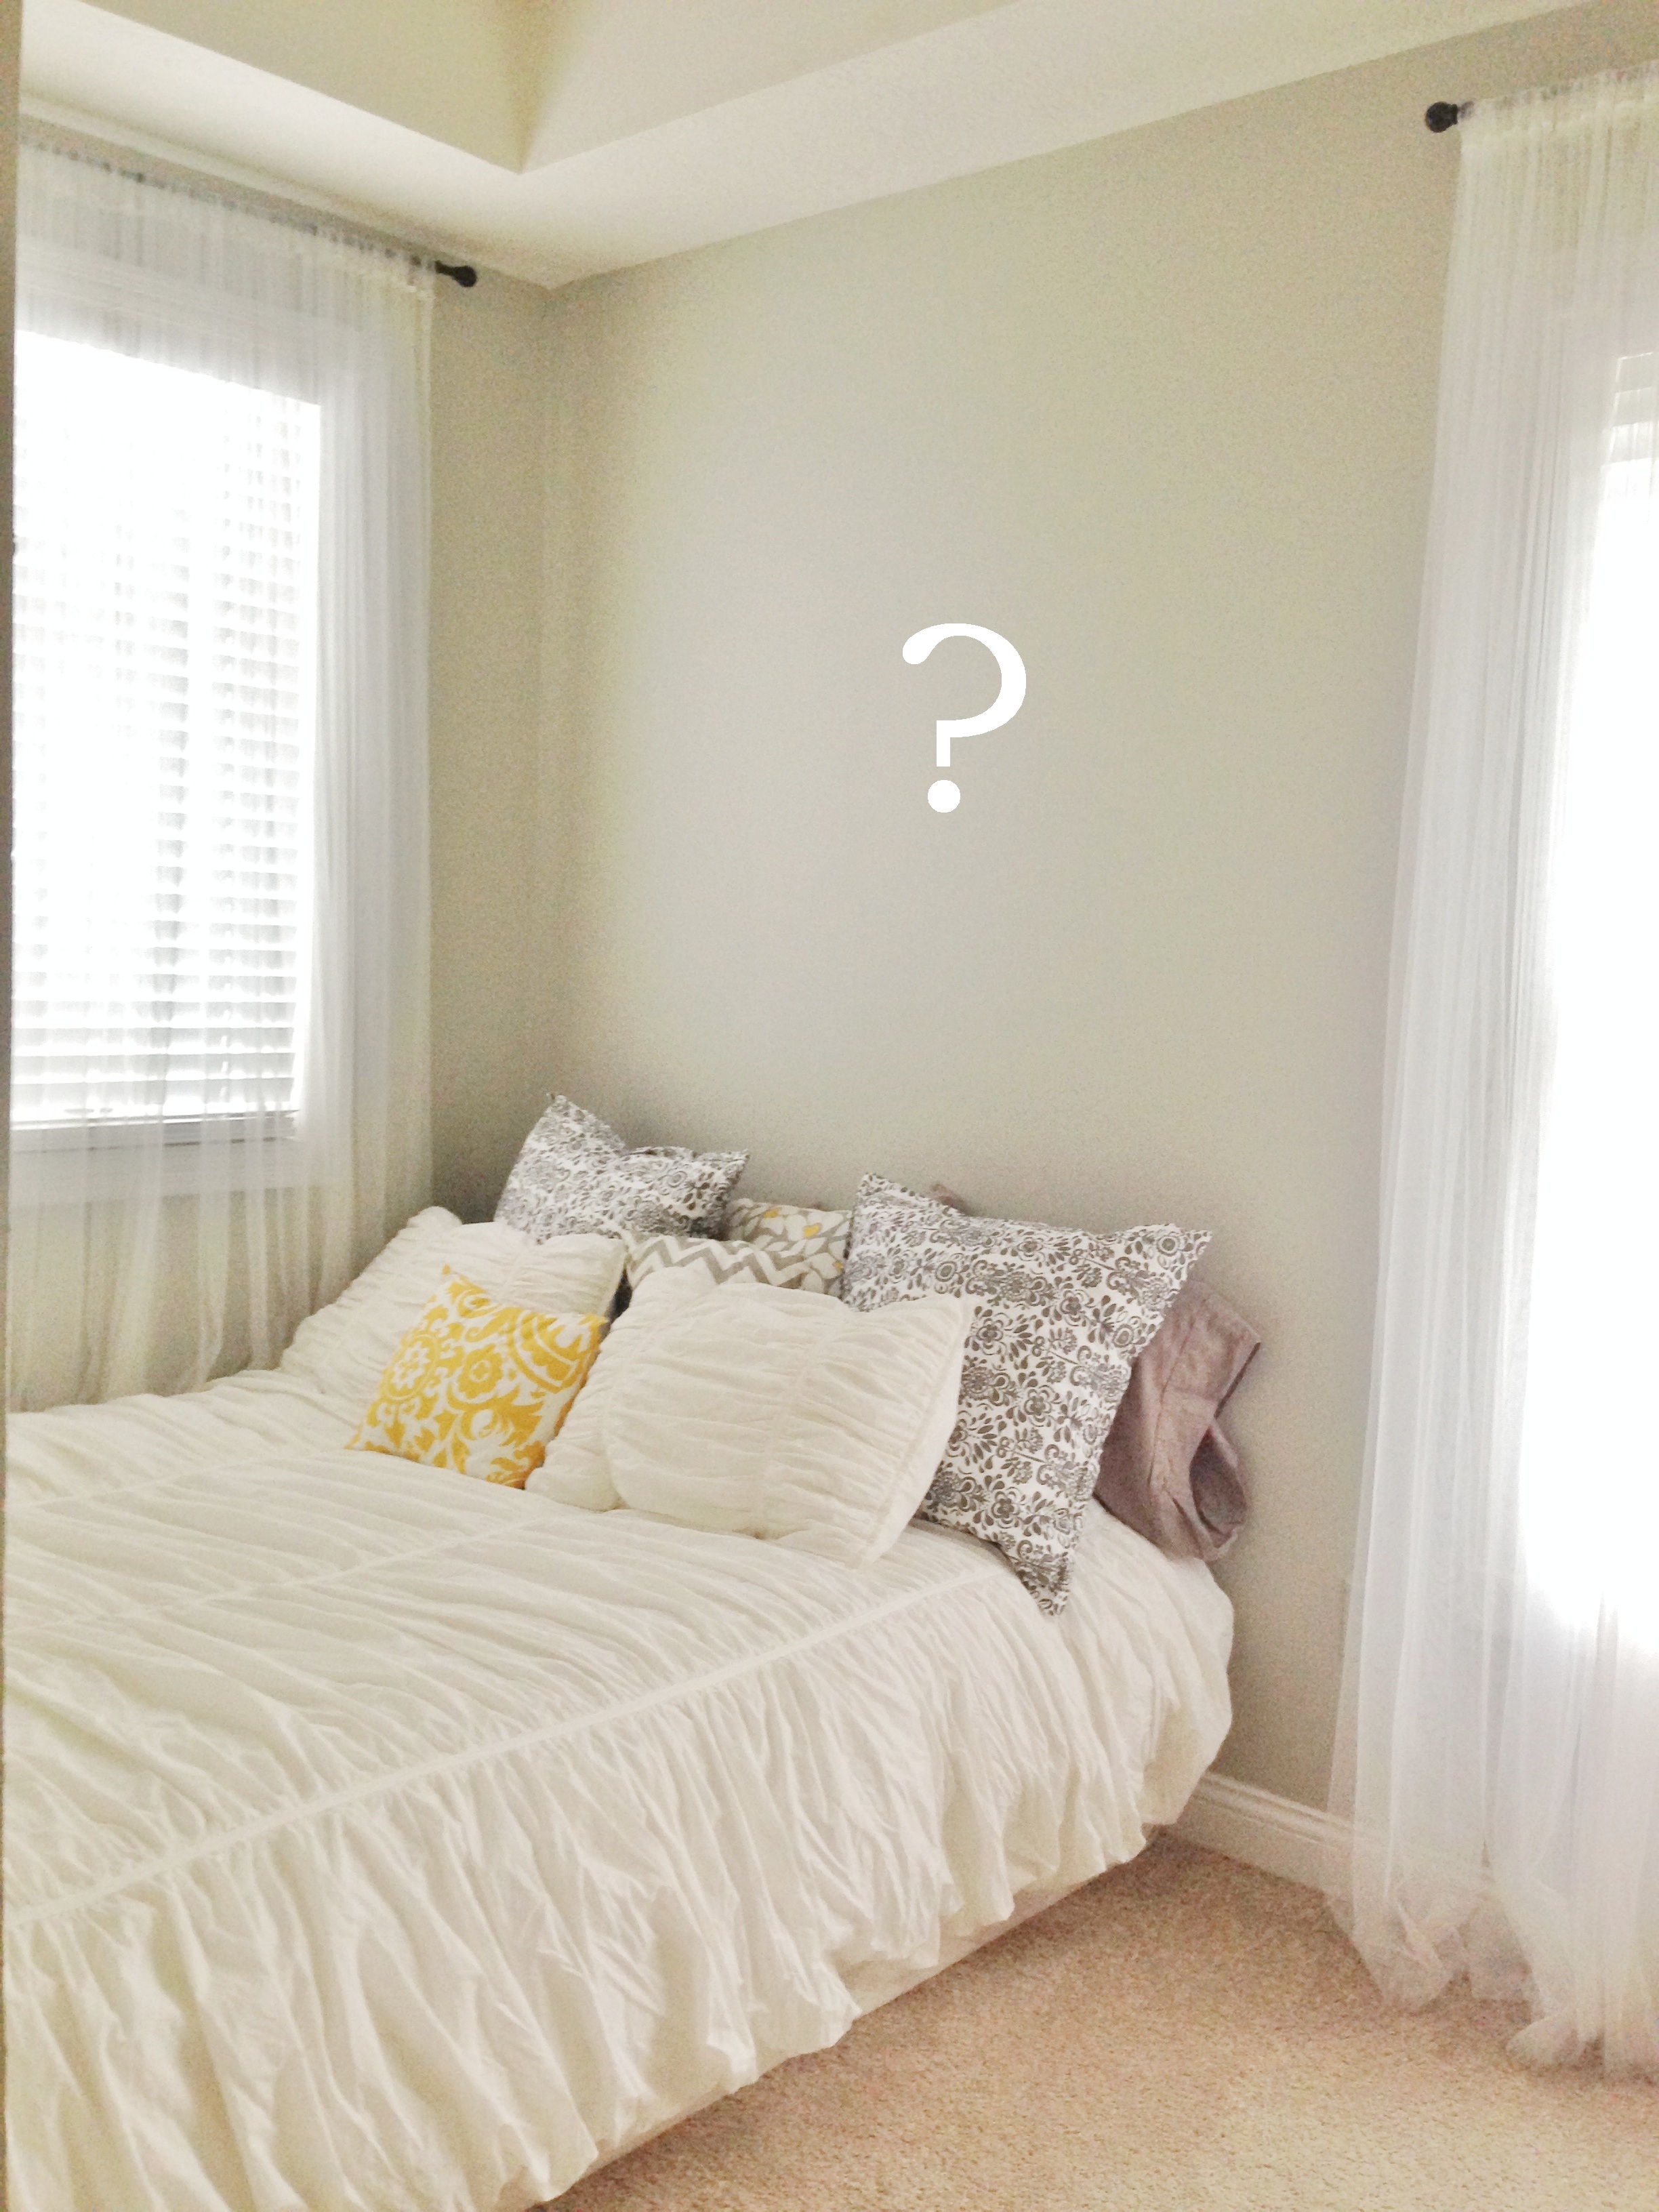
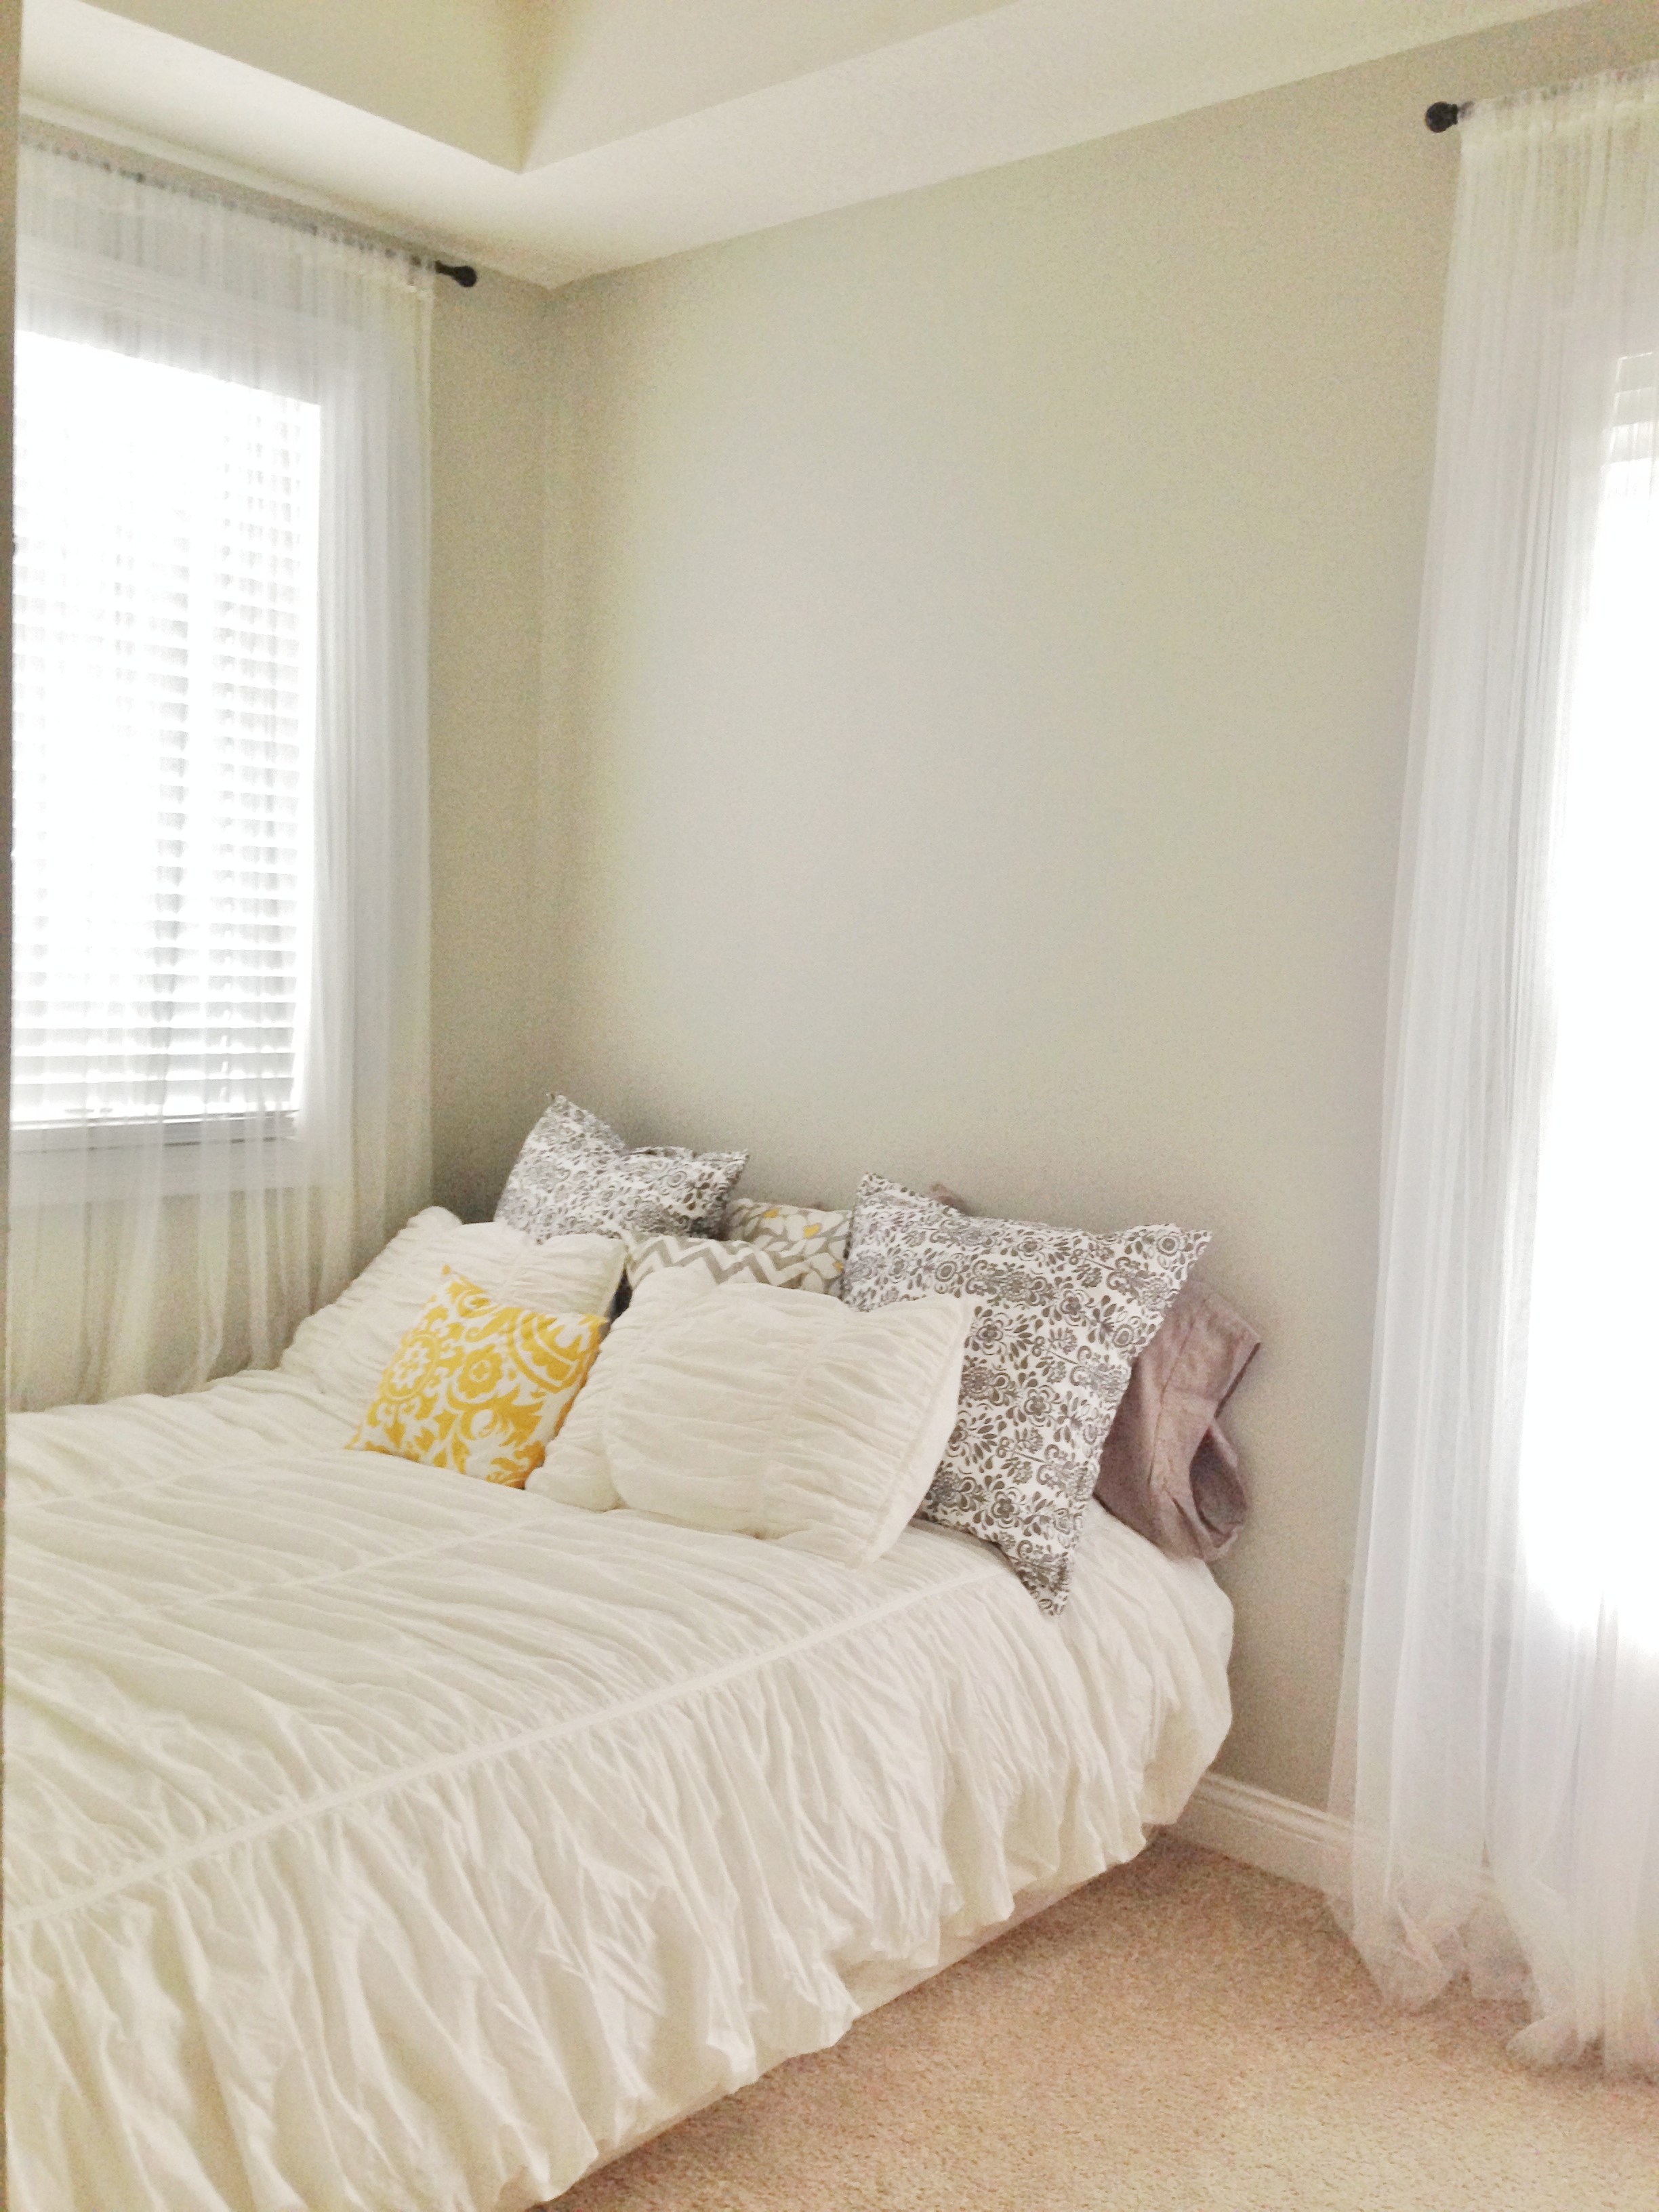
I’ve been on the lookout for something large to fill the space above the bed in the guest bedroom, but had a hard time figuring out what. Shelves? A picture (or pictures)? An accent wall?
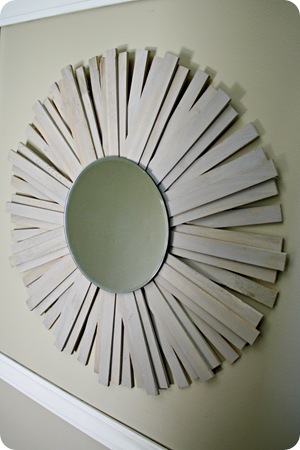
I do love sunburst mirrors and have been seeing lots of photos of DIY versions made with paint sticks, twigs, and all sorts of other materials. When I came across this one from Thrifty Decor Chick’s blog, it really caught my eye. Turns out it’s easy to make AND inexpensive. Sold!
Here’s what I used to make it:
3 Packs of big 14″ cedar shims (Home Depot contractor section has them!) – $4 each
1 8″ Mirror (JoAnn) – $3
1 Small can of Minwax 22761 Wood Finish Wood Stain Classic Gray, 1/2-Pint – $4
1 Bottle of wood glue (had it)
1 Piece of white chalk (had it)
Square piece of really sturdy cardboard or wood for the base (had it)
Mirror glue (had it)
Piece of steel wire for hanging (had it)
Picture hanger or nail(s) for hanging (had it)
Total project cost: $19
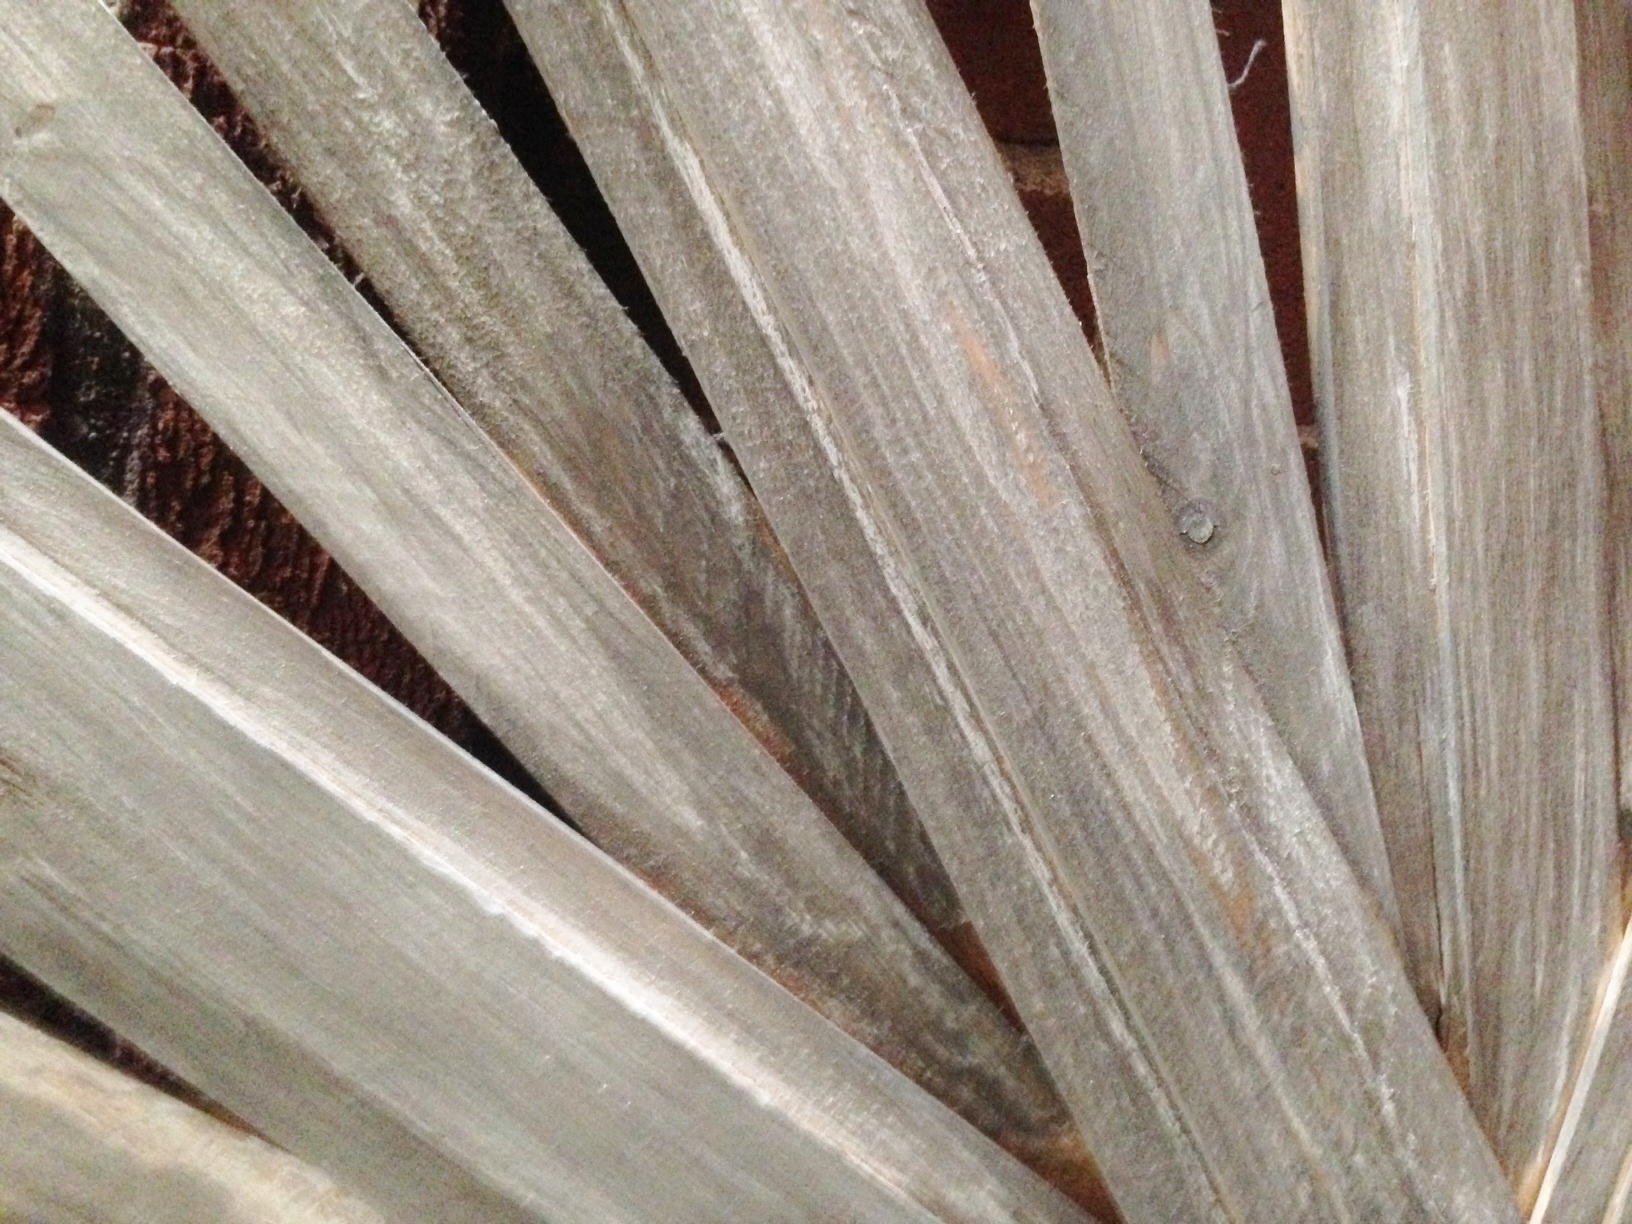
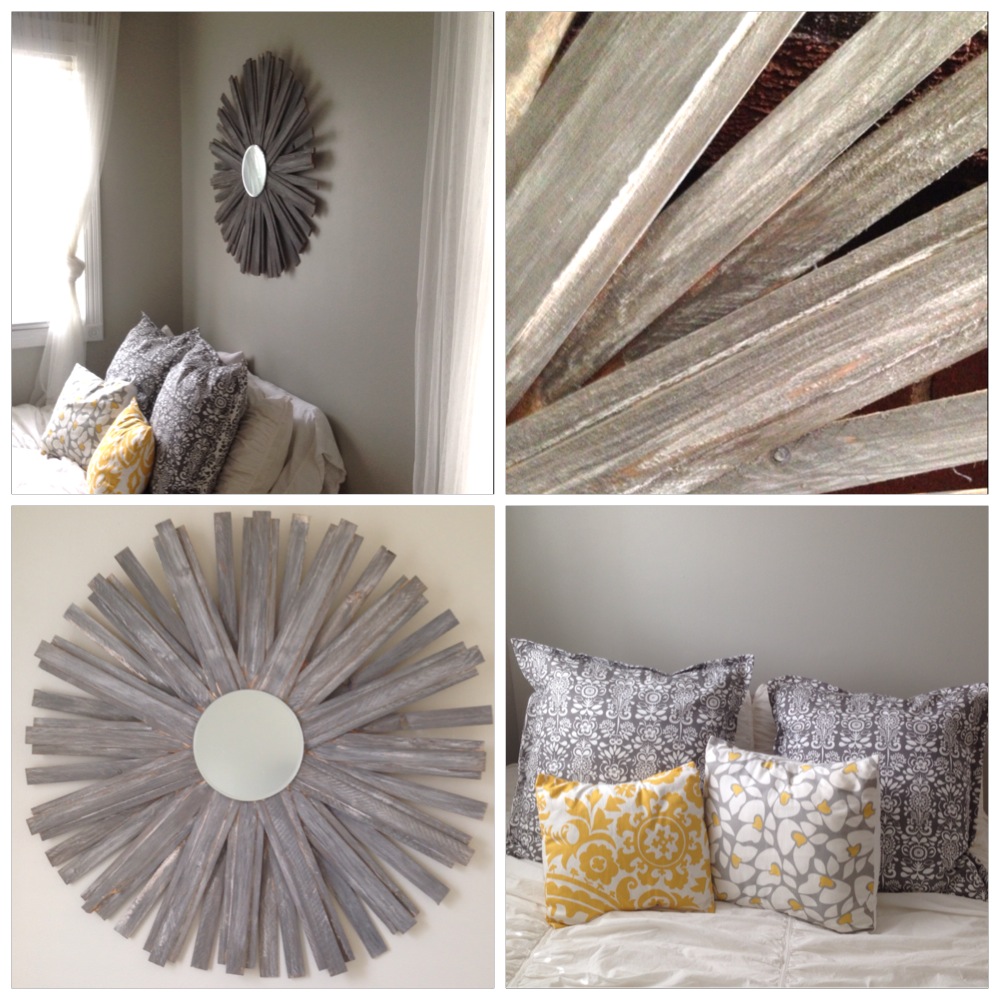
The tutorial on Thrifty Decor Chick’s blog is super helpful. I followed it step by step up until the staining part. To get the color I wanted, I used a gray stain. I didn’t go crazy with making it even and perfect because I wanted it to look distressed. After letting it dry for a few hours, I drew over the whole thing with white chalk and smudged it to give it a rustic soapstone look. Once that was done, I attached the mirror with mirror glue and let it sit for a few more hours.
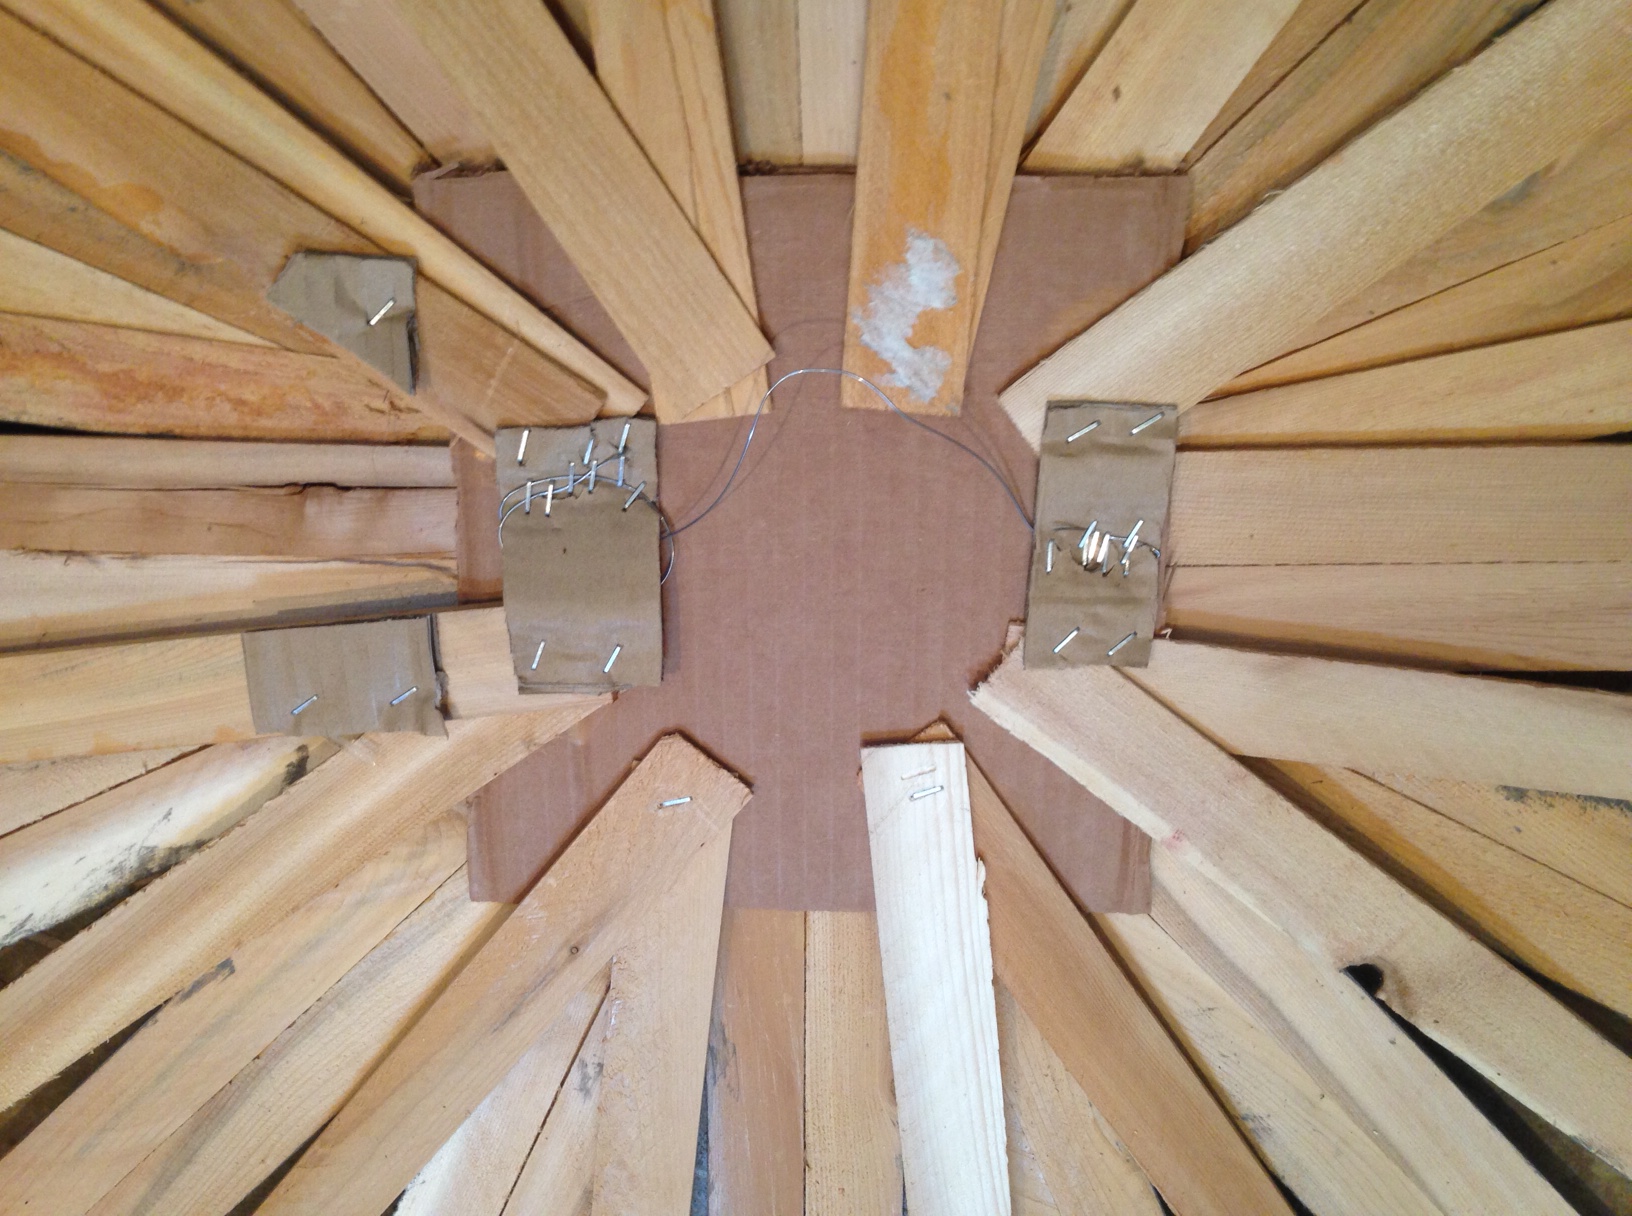
Bryan helped secure the wire onto the cardboard in the back of the mirror with his staple gun. This is what the back looked like before we hung it. I think it’s safe to say it will never fall down?
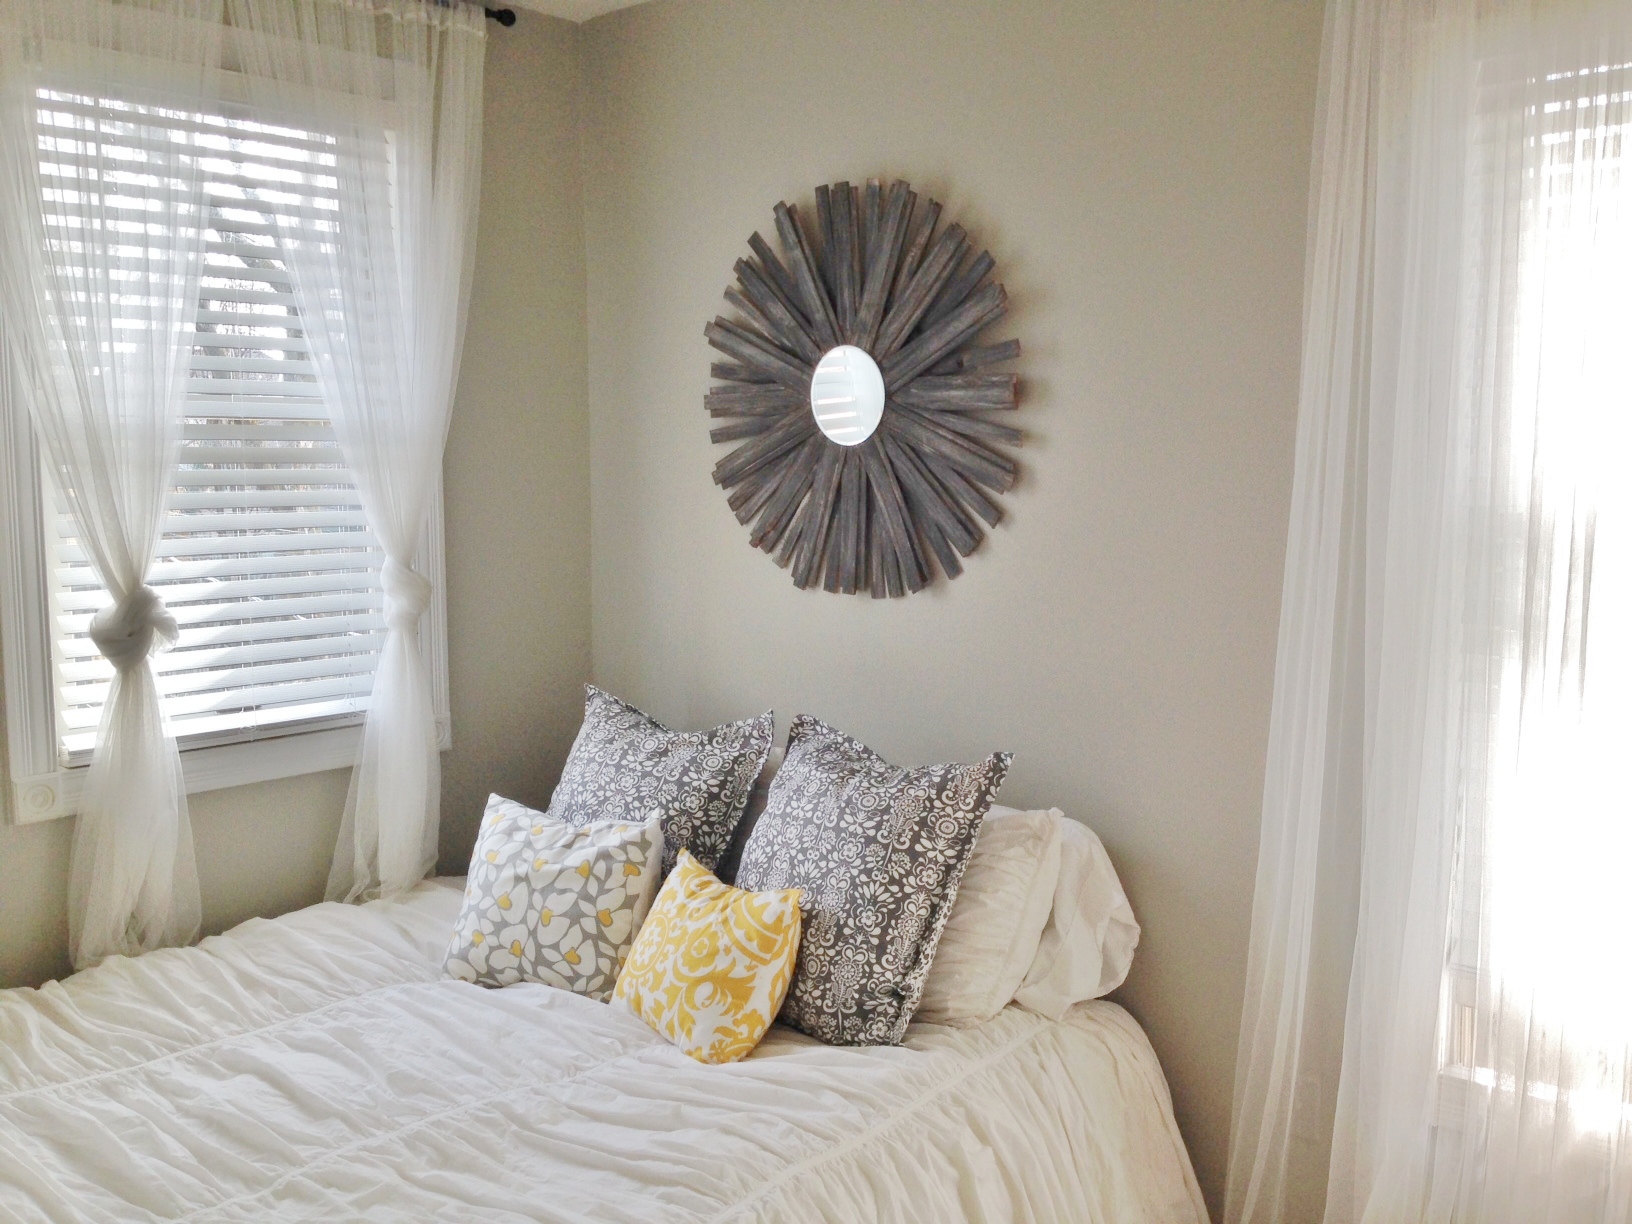
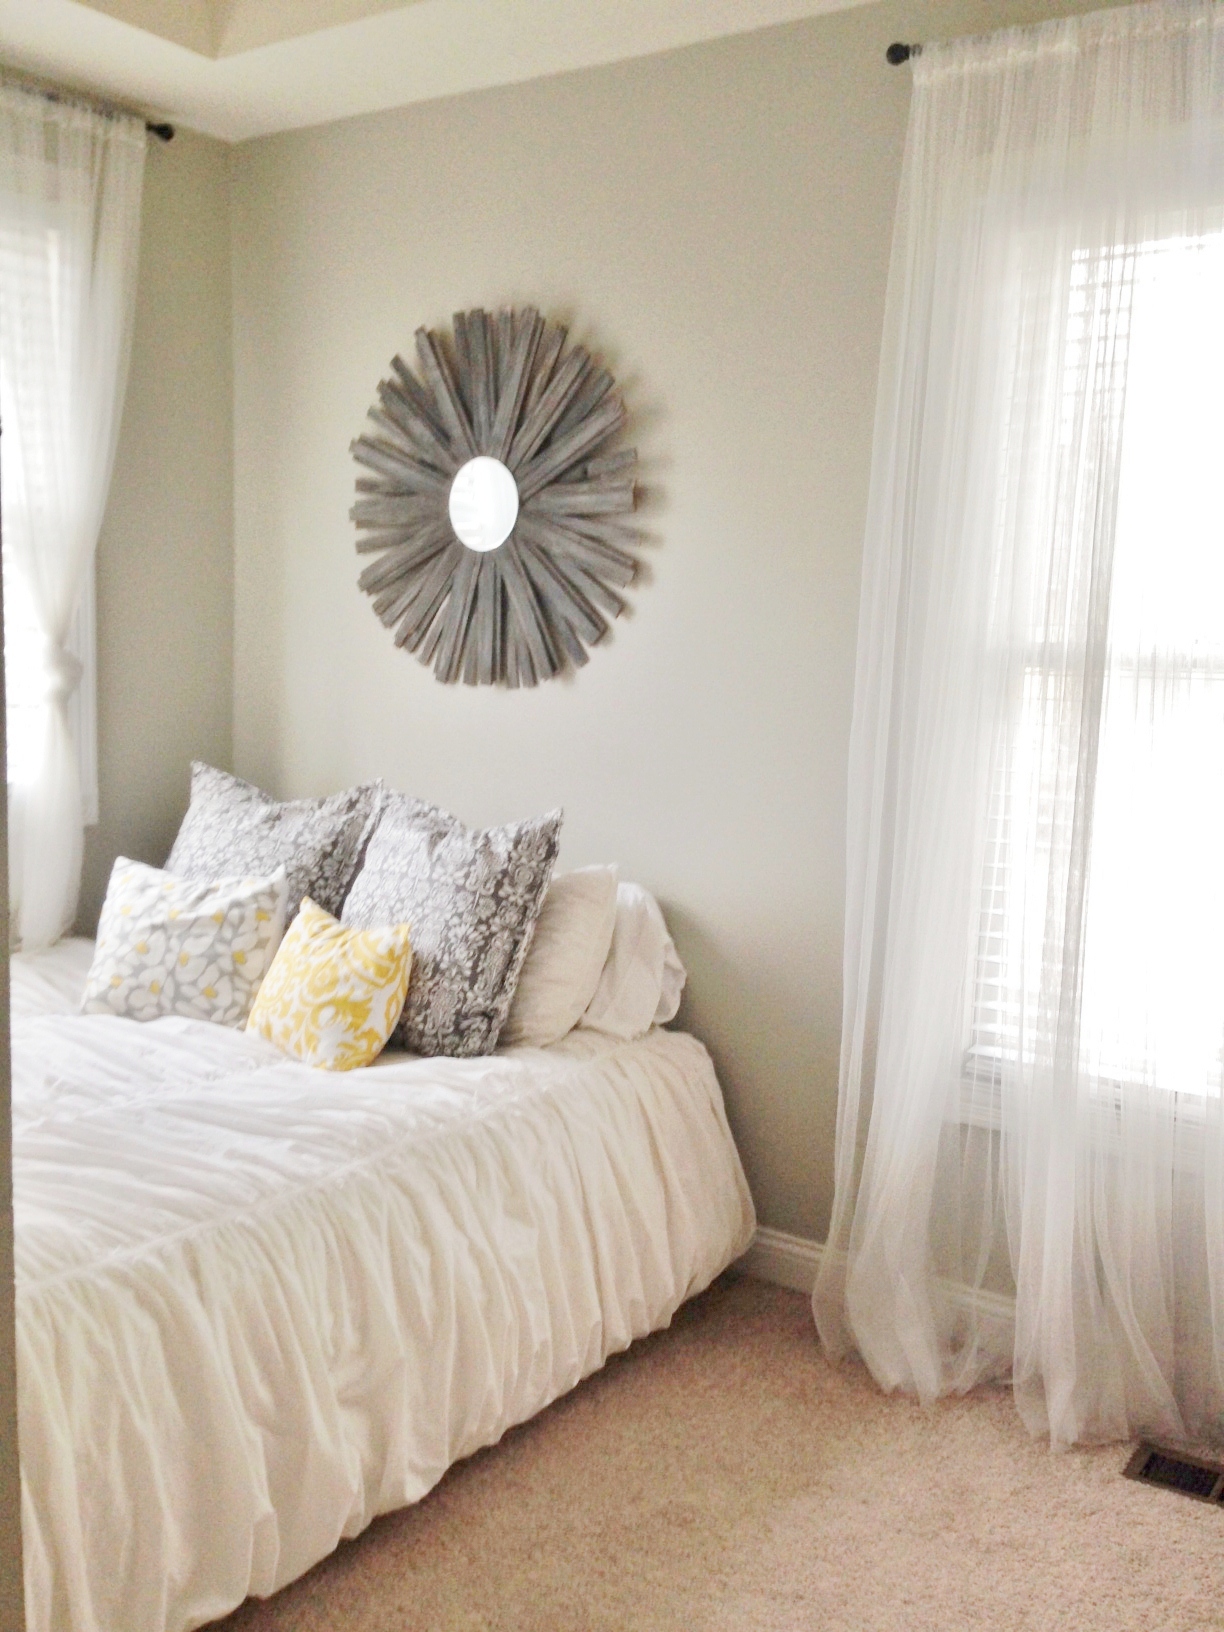
Here’s what the guest bedroom looks like now, with something filling the big blank wall. I’m loving it!
Before & After. What do you think?
Beautiful mirror, looks beyond incredible for the price!