Now that kitchen #1 is operational at the Pearl St. duplex, we’ve been focusing on doing low cost, high impact projects to make the rest of the house feel less like a construction zone. We’re fortunate that this property has been well maintained and doesn’t have major pest issues like our last property did. That was not fun. In this side of the duplex, every room needs something, but it doesn’t have to be a complete overhaul if we don’t want it to be. (Sidenote: the other side of the duplex is a different story, but we’ll save that for next time!)
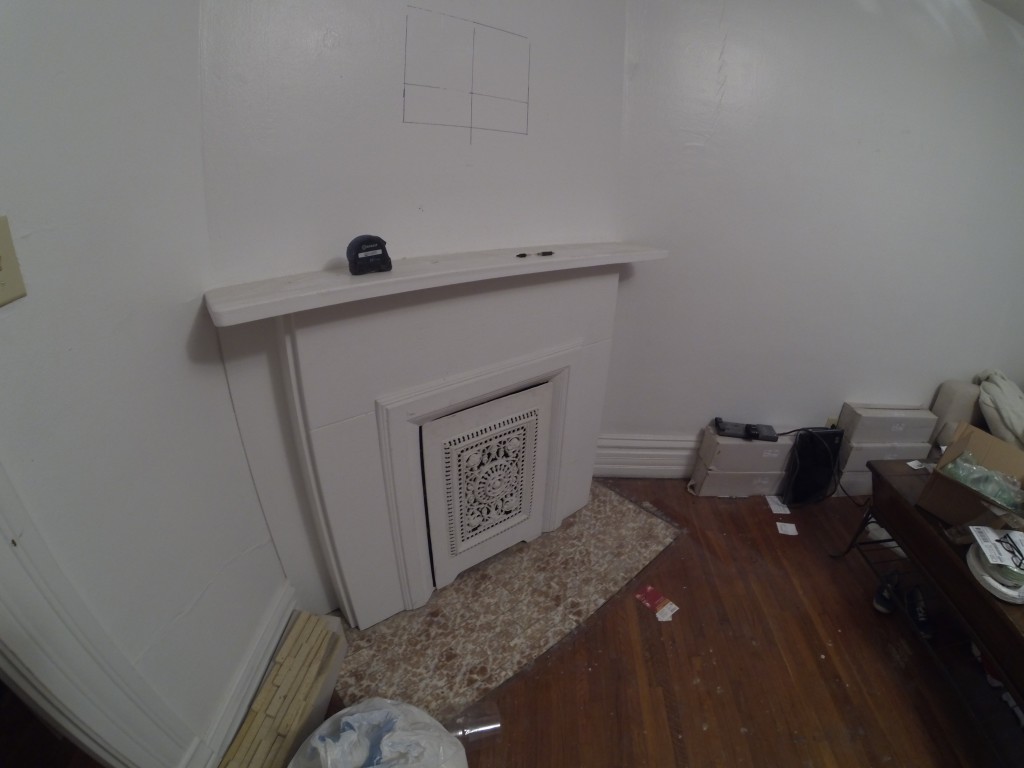
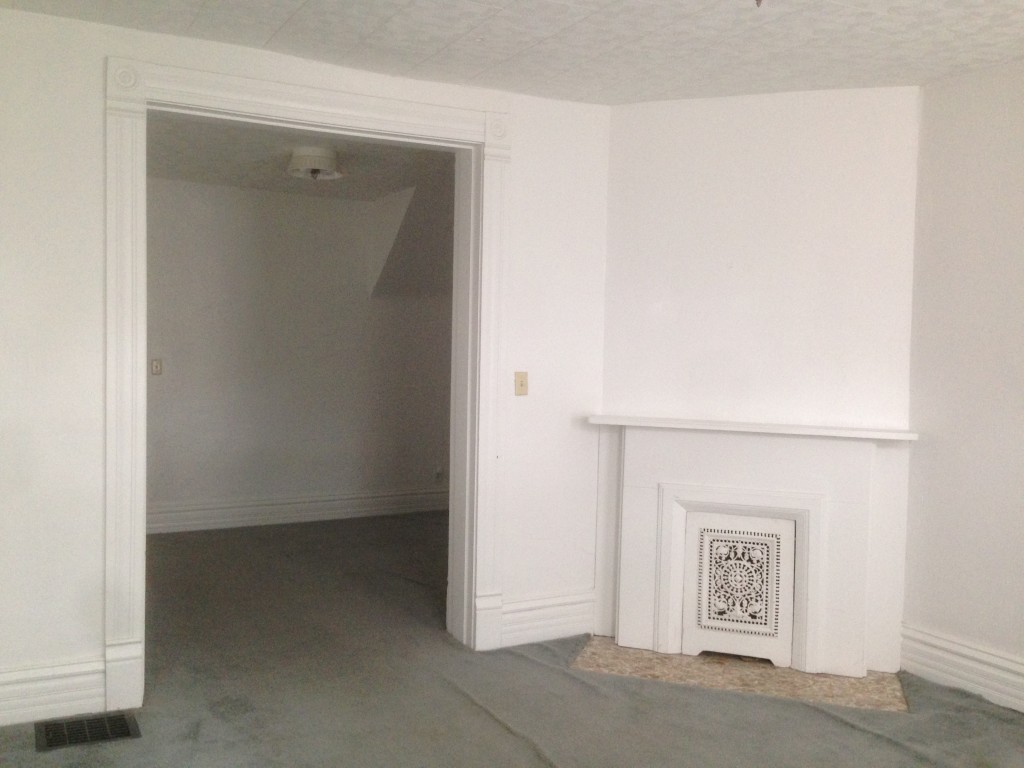
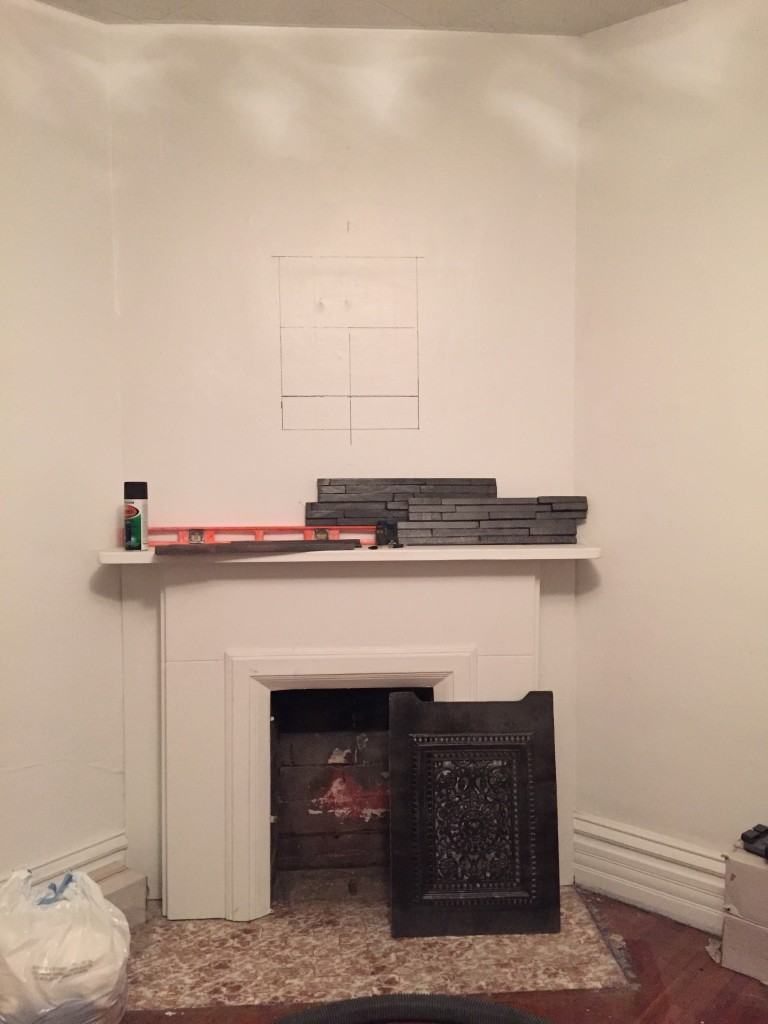
We decided to start in the living room/front room. Here’s what it looked like when we bought the property. Isn’t that corner fireplace just screaming for some attention?
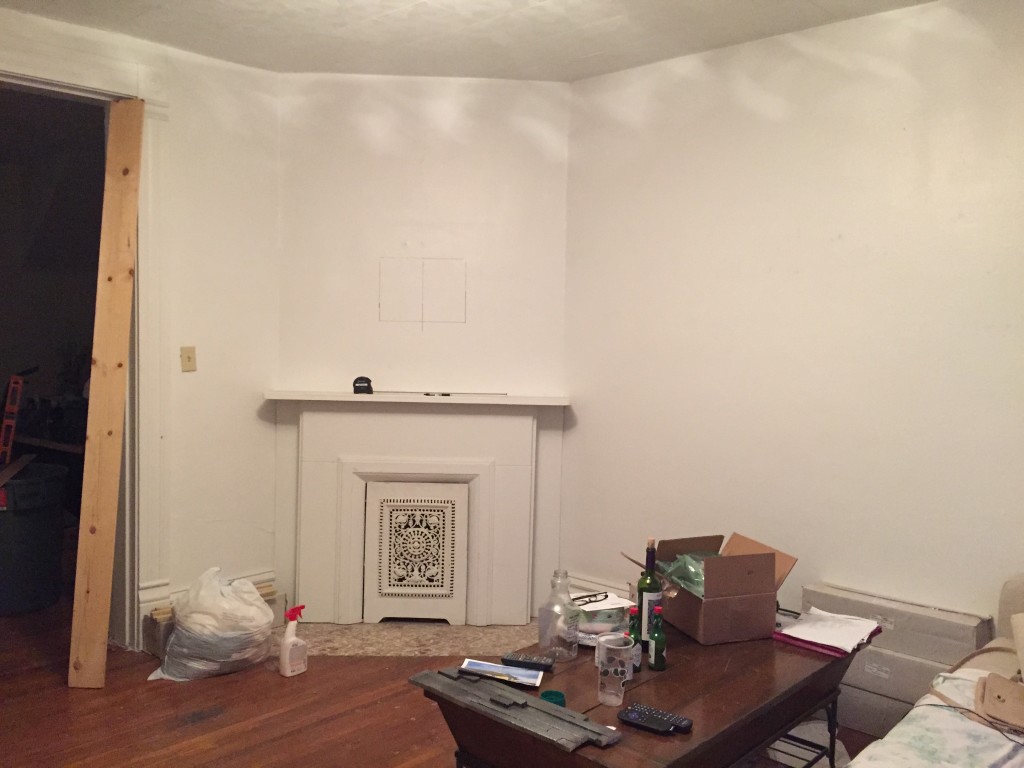
We got that carpet out of there as soon as we could, which revealed hardwood floors that seem to be in decent shape. They have a good amount of pet stains and other markings on them that may or may not come up with a good sanding job. That project will take more planning and time and money, so we set it aside for now.
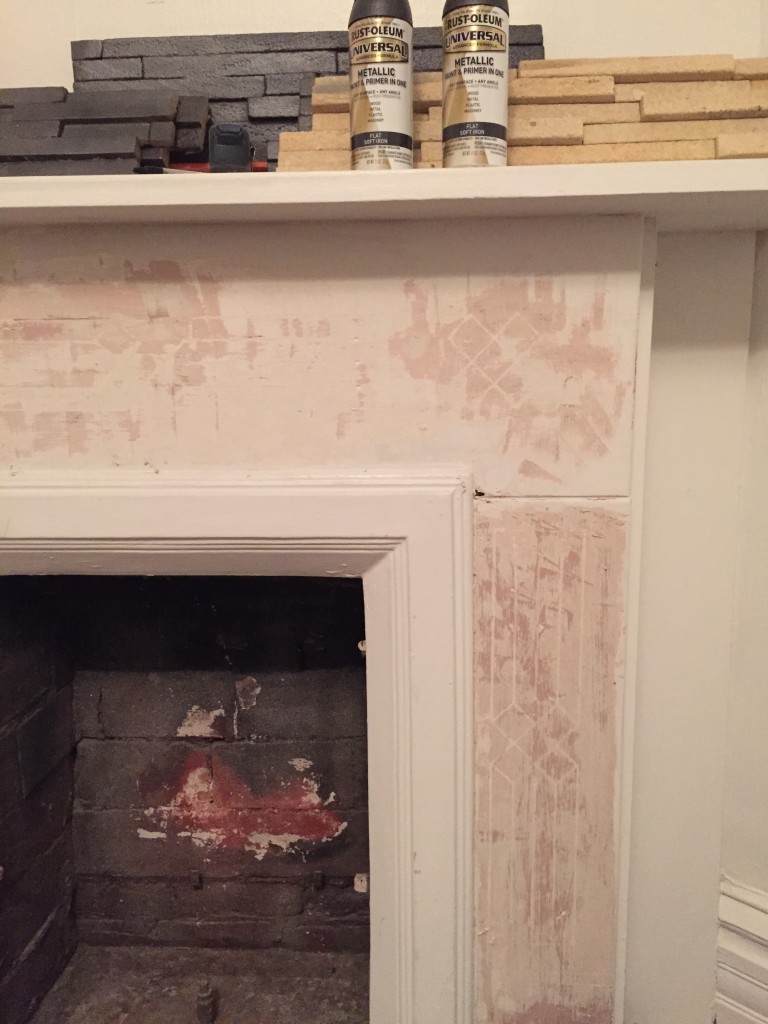
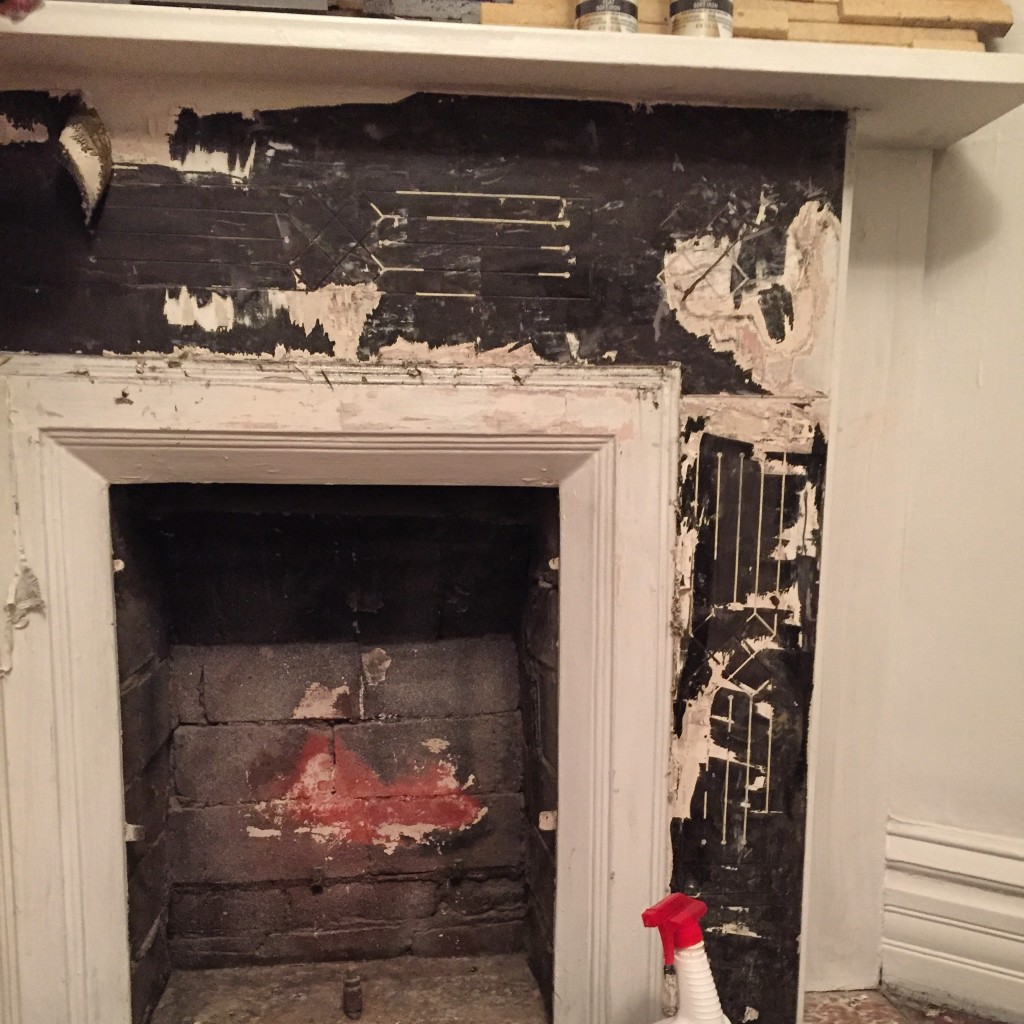
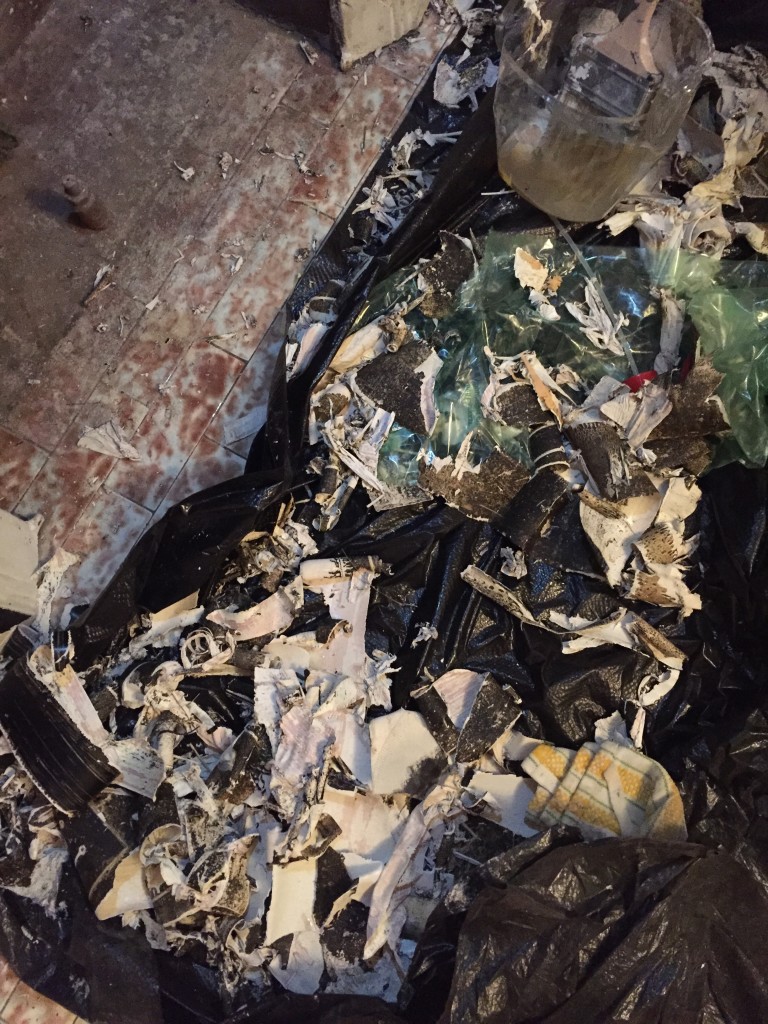
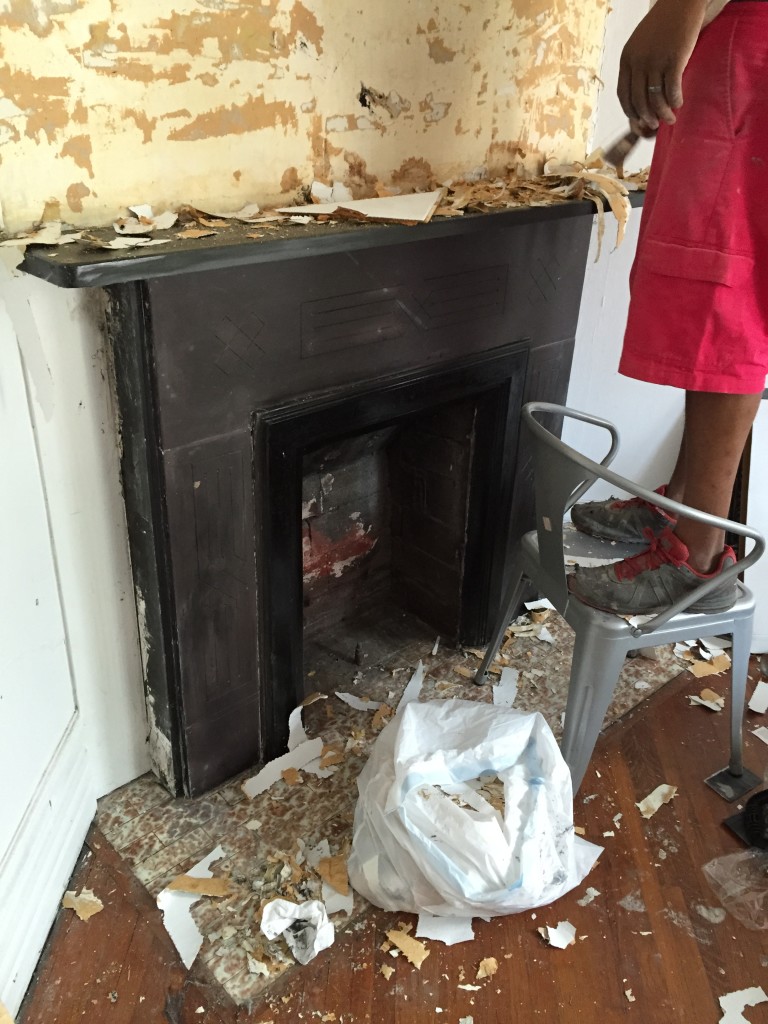
We started our fireplace update by stripping the white paint off of the mantel, expecting to find some nice wood under there. As we peeled the layers off, we discovered that the mantel definitely wasn’t wood. It was slate, and there were pretty carvings in it that really started to show through.
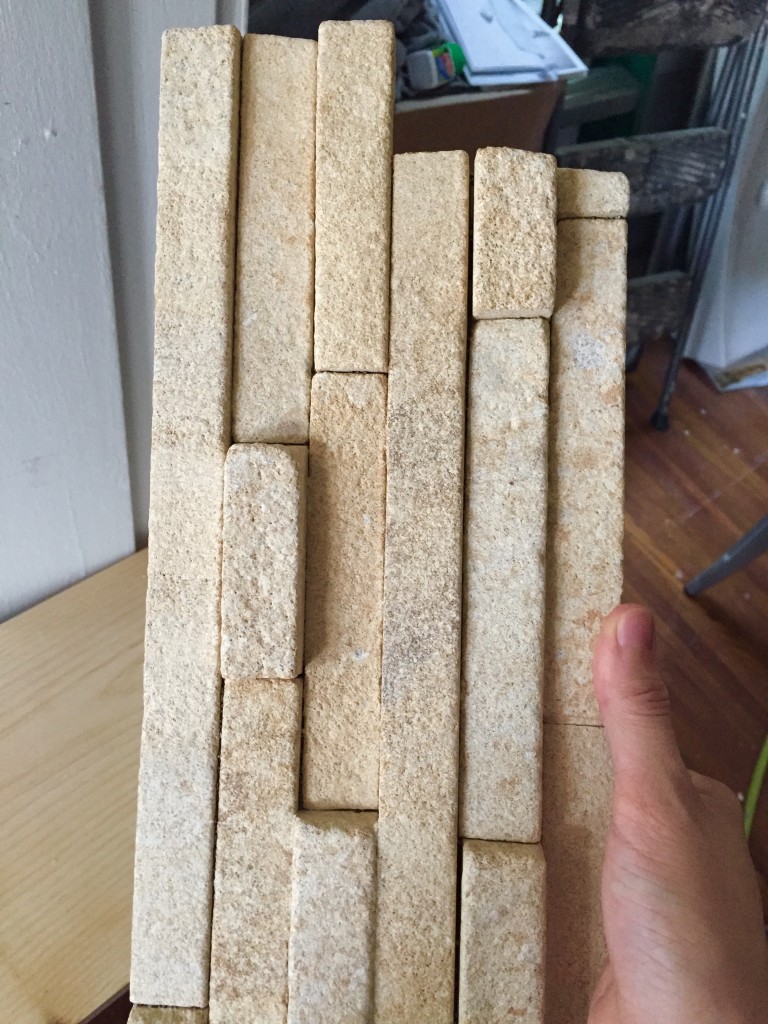
Next, we wanted to add some texture to the area between the mantel and the ceiling to really make the fireplace the focal point of the room. We stumbled upon this ledger stone at Floor & Decor, which was on clearance for under $2 per square foot!
Even though the yellowy color wasn’t what we were in the market for, it was something that could easily be fixed with some spray paint. We bought 6 boxes (36 sq ft), which ran us about $75. We also got a few cans of Rust-Oleum Flat Soft Iron spray paint to turn the yellow into grey. (Fun fact: the slate grey version of the ledger stone cost between $5-7 per square foot!)
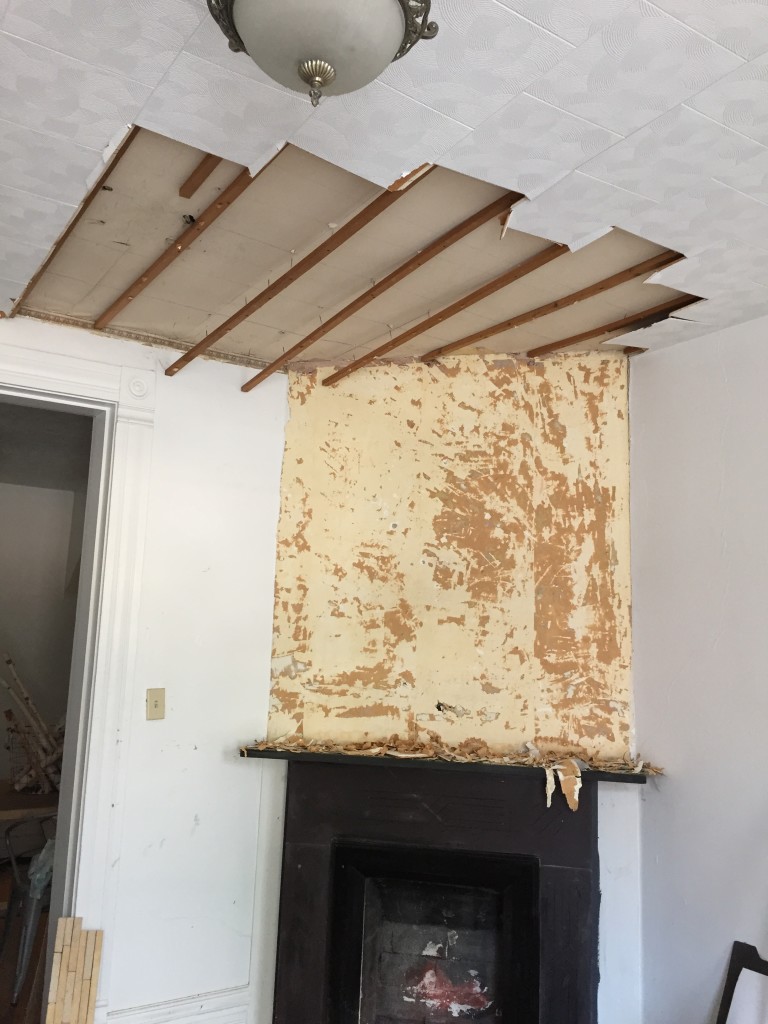
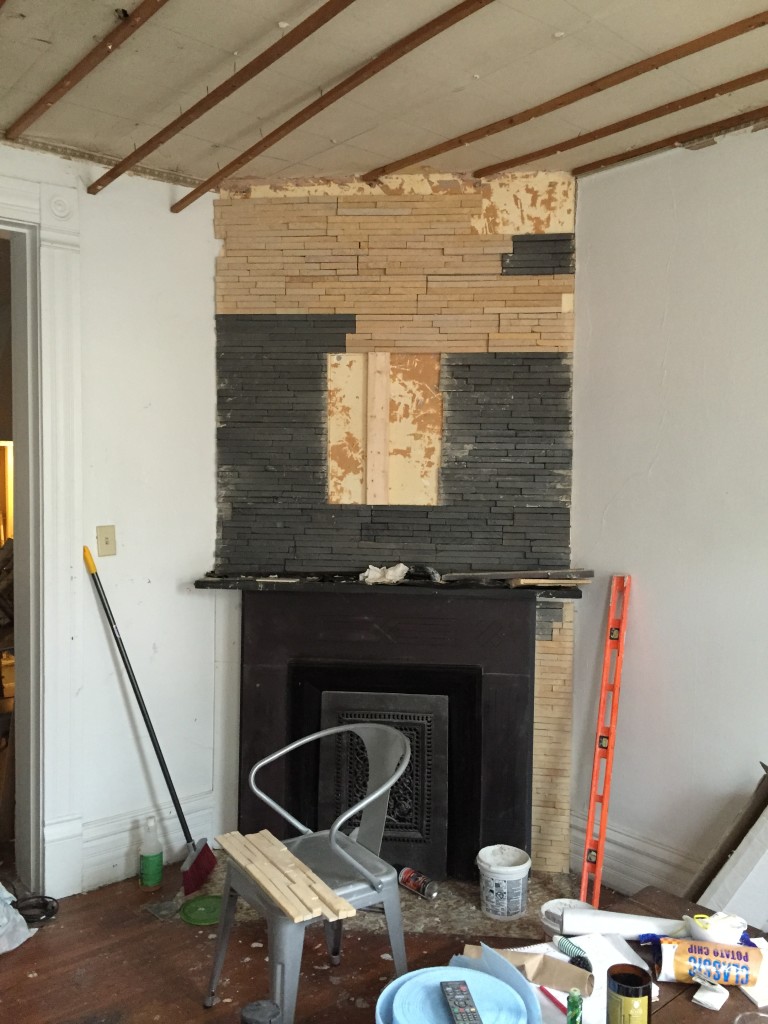
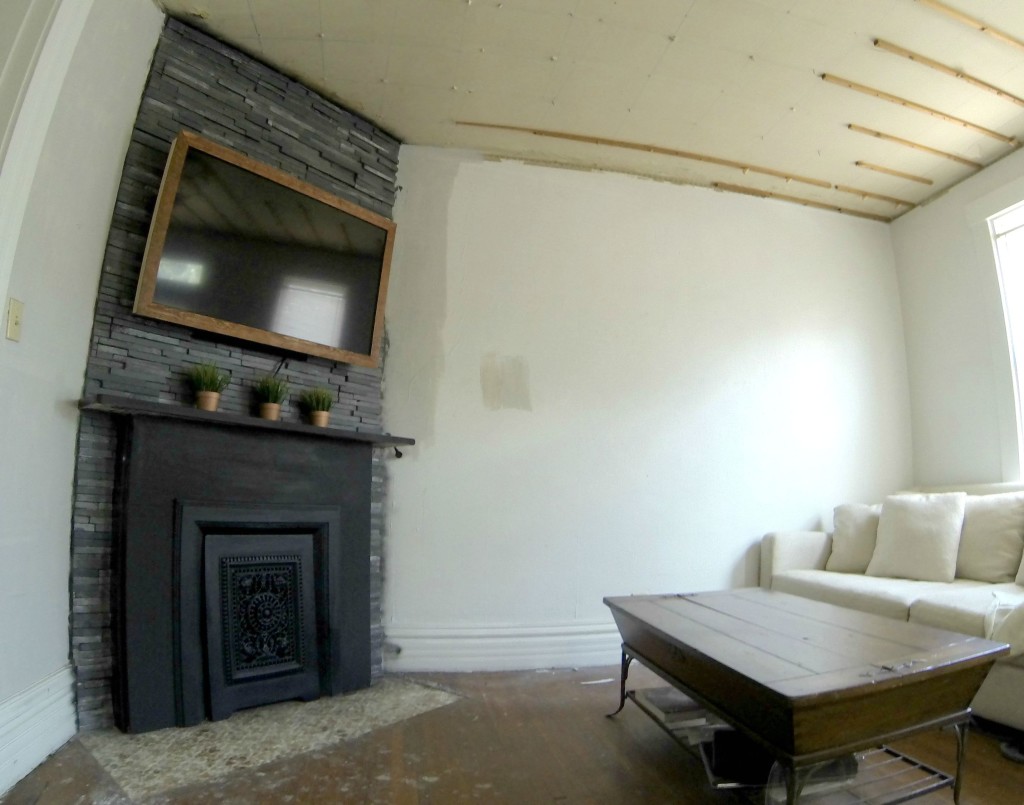
Before we got started installing the stone, we scraped off the old skim coat and removed the ceiling tiles around the wall, which added about 3″ of ceiling height to the room.
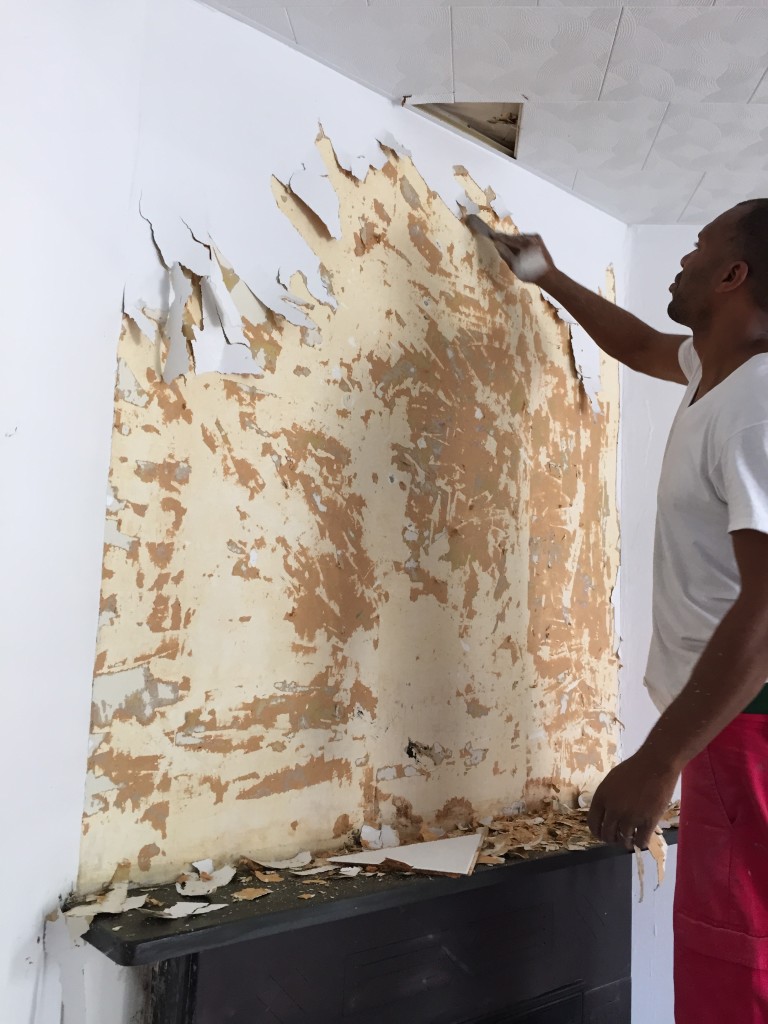
The tiles weren’t in bad shape, but they were dated and were eating up precious ceiling height.
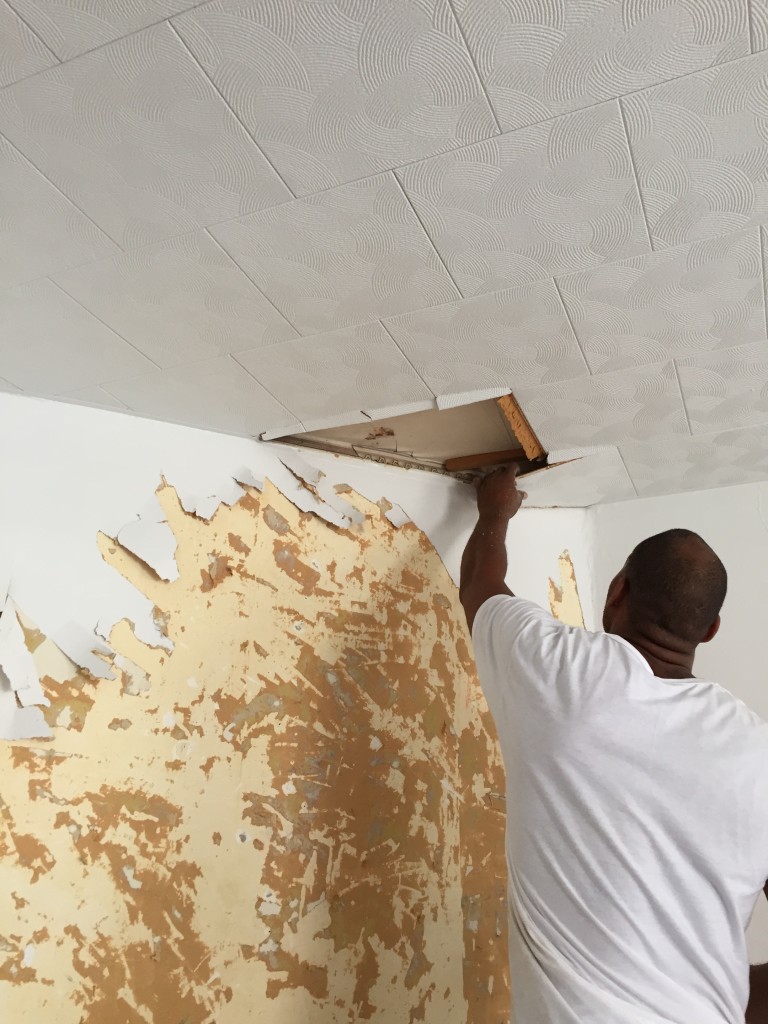
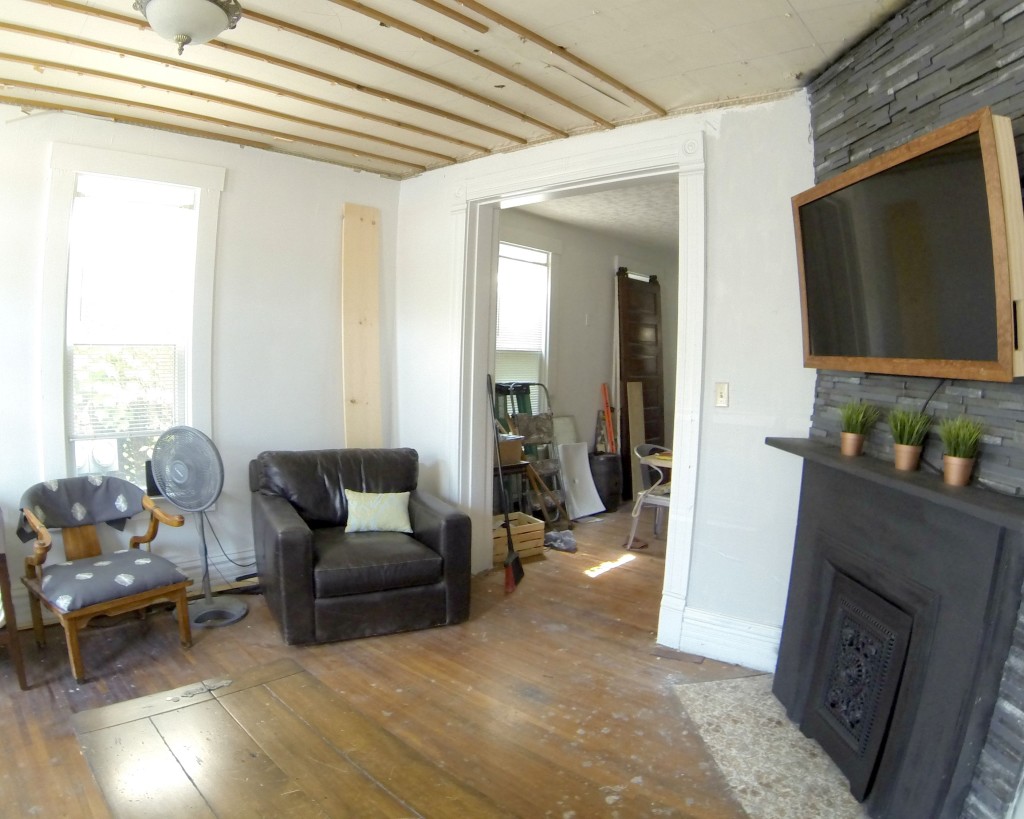
The contrast between the scraped fireplace wall and the rest of the white in the room made the whole room feel bigger already! Also, seeing those wooden furring strips on the ceiling gave us some inspiration for a potential ceiling treatment :).
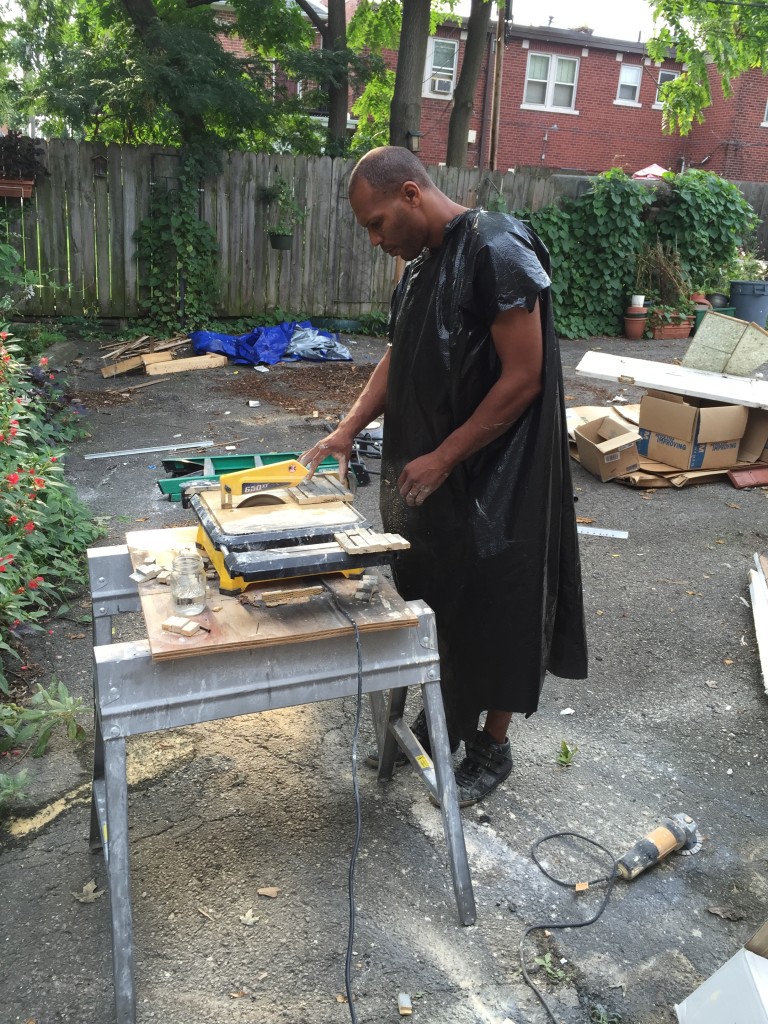
We needed a wet saw to cut the stone, so Bryan put on his tile cutting outfit (what am I going to do with him?) and went to town.
Installing the stone was fairly simple. The nice thing about it is that each piece has a lot of texture to it, so it’s really hard to see imperfections. We started off our process by spray painting the pieces of stone before cutting and installing them, but then realized that they got messed up in the process. So we switched our method and waited until they were all installed before we finished spray painting. You can see the difference between the old and new colors here.
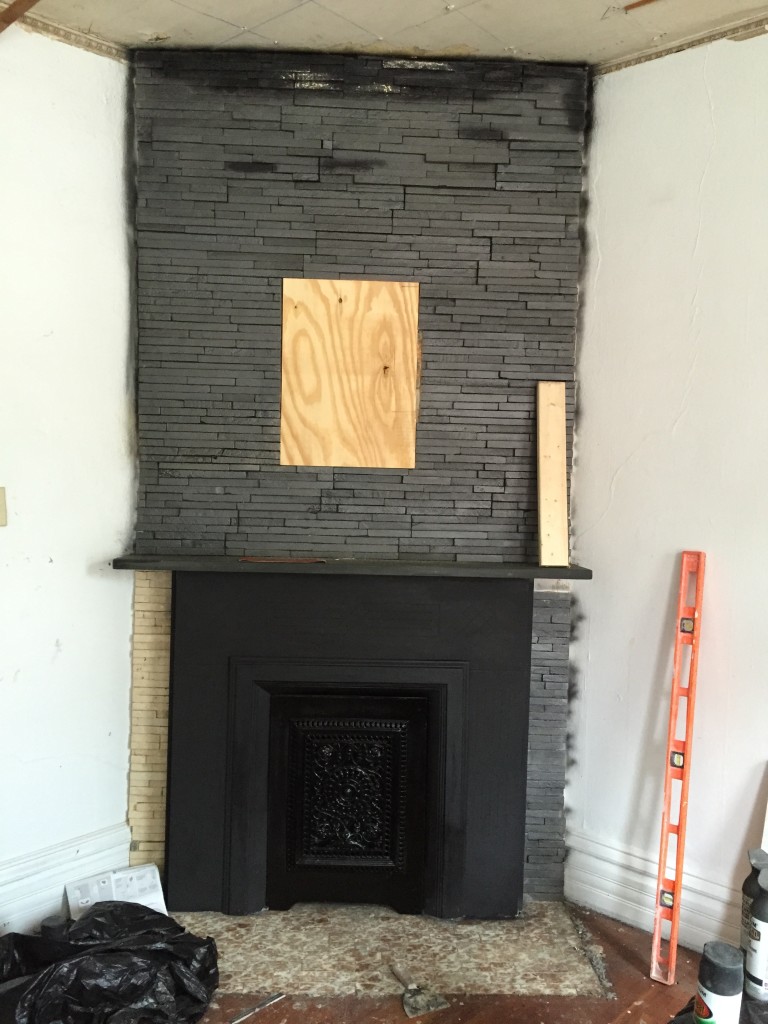
Here’s what the stone looked like after we finished spray painting. It’s really, really hard to tell that the stone is spray painted and not just real dark grey ledger stone. We left a spot open in the middle so we would have a flat surface to mount the TV on. There’s only one living room/family room in this cozy house (the whole thing is 1100 sq. ft.), so having the TV on the fireplace really allows us to maximize seating and floor space in here.
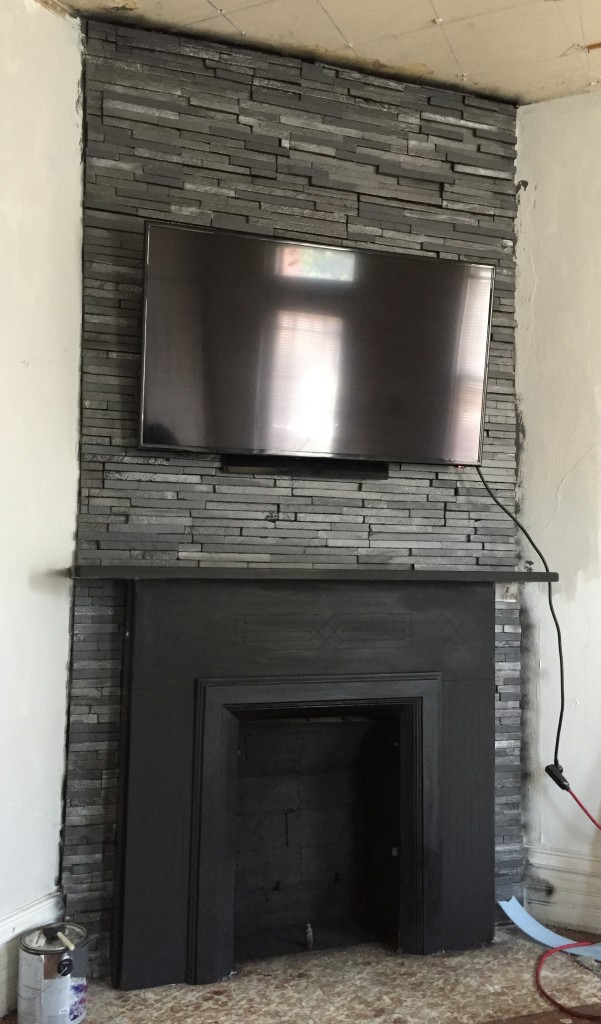
To give the stone more variation and lighten it up a bit, we painted some pieces with Benjamin Moore Gray (matte), and went over others with smudged white chalk. It made the whole thing look a little less dramatic, which worked better in the space, and contrasted better against the mantel. We also spray painted the inside of the fireplace and the grate with matte black high heat spray paint. We don’t plan to use the fireplace (it’s less than a foot deep!), but might want to put candles or other decorative items in there.
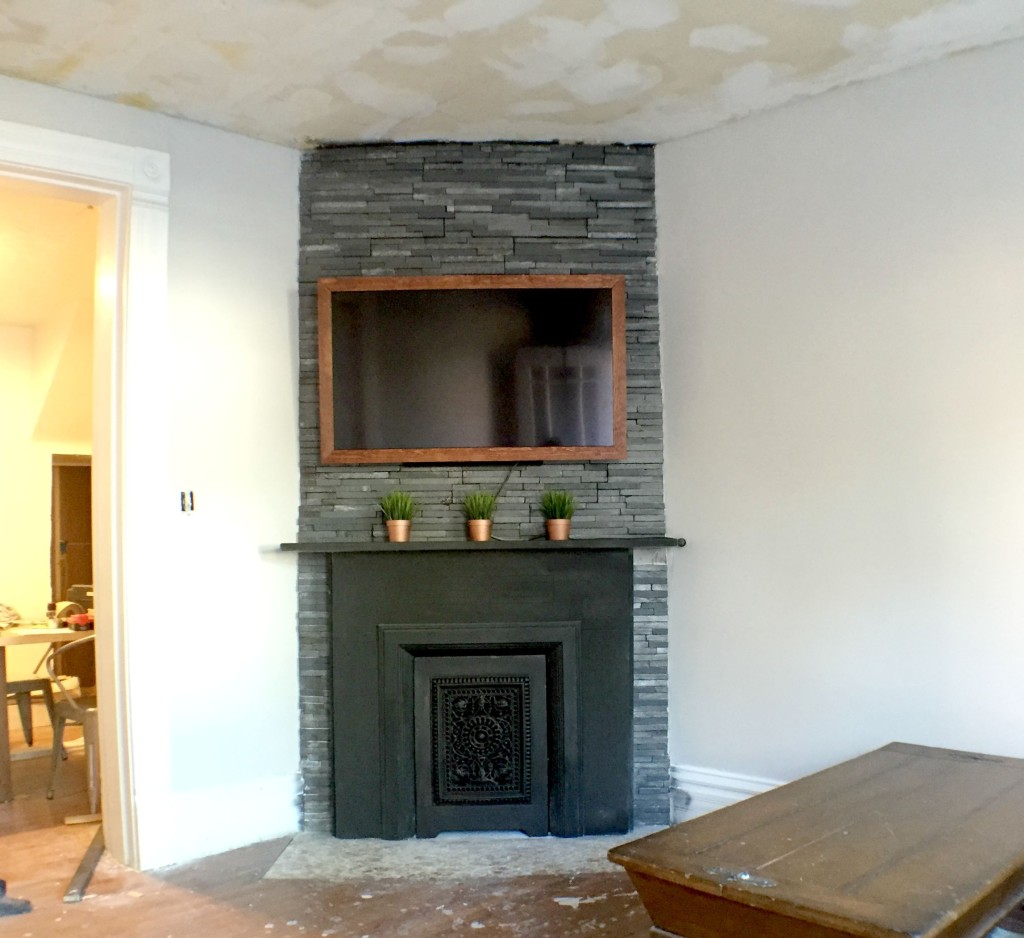
We still have a little lot more perfecting to do (including figuring out what to do about those pesky wires), but we love the way the spray painted stone turned out. It was $100 well spent! Here’s what the room looks like semi-cleaned-up (i.e., all of our renovation crap moved out of the living room into the dining room).
It sure has come a long way from being a sea of white!
Stay tuned for our phase II fireplace post on how we made the wooden TV frame for under $50!
Fireplace Facelift Cost Breakdown:
Ledger Stone – $75
Rust-Oleum Flat Soft Iron Spray Paint for stone – $20 for 3 cans
Rust-Oleum High Heat Spray Paint for grate and inside – $4
Tile Adhesive and materials – had it (should run ~$15-25)
Benjamin Moore Gray (2121-10) sample, color matched at Lowe’s – $3
Paint Stripper & Scrapers – had it
Chalk – had it
Total project cost: $102
There’s a product called D Line that you can hide cords in. It comes in different sizes, with elbows etc. and its paintable. We live in a very old house with plaster and lathe walls and we used it to hide our tv cords. Once we painted it the same color as the walls it’s hardly noticeable.
Thanks so much for the tip Diane! We’ll look it up!
[…] « DIY $102 Fireplace Facelift […]
Great job on the fireplace. I couldn’t help but giggle over the photo and comment of your husband in his “tile cutting” outfit.
Thanks Joni! ????
would love to see the outcome of the ceiling, im moving to fl. the house there have high ceiling i live in a very dark apt. in New York but im a island girl and want to see more sun shine in my new home and sort to bring the outside in im painting a skie in the new home foyer and living area
I saw your TV frame on Hometalk today and had to come over and check out your gorgeous fireplace – hard to believe it started with yellow stone you guys did a great job! I Love the unique door on it – I have not seen one like this before!
Thanks so much! ☺️