Update: Our bedroom renovation was featured on Apartment Therapy! Check it out here.
Happy weekend, friends! We’re back with part 2 of our Chesterfield reno reveal, and we’re talking all about the attic. If you missed part 1 with photos of the exterior, living room and bathroom, you can see it here.
The attic space is on the 2nd floor of the home. It’s a nice escape from the main level where the other bedrooms, bathroom, and common areas are. For that reason, we designed it as a master bedroom. Aside from making it feel less dated, we wanted it to feel cozy, open, and full of character. We had talked about adding built-ins and cubbies, taking out the walls and widening the room, adding reading nooks – you name it, we thought of it. But at the end of the day, we had to be realistic about our budget and timeline, and ended up leaving the walls where they were. Instead, we did a cosmetic makeover to the existing space by removing the dropped ceiling, exposing the original beams, upgrading the banister and carpet, and painting. Take a look!
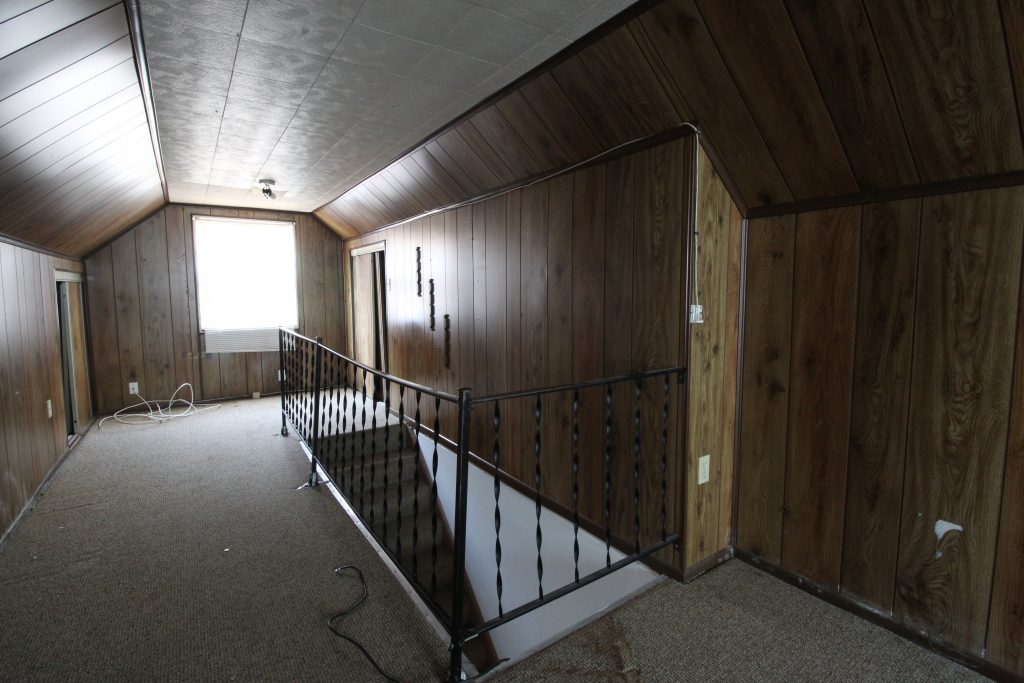
{Before} Here’s the view looking toward one end of the room.
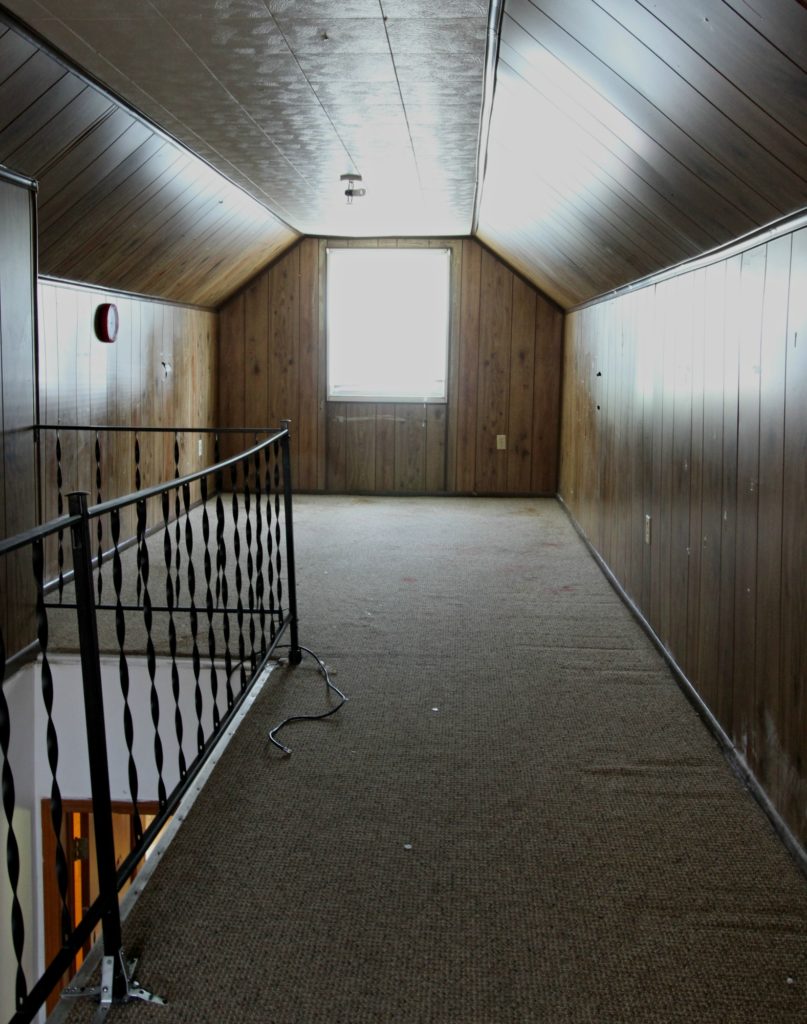
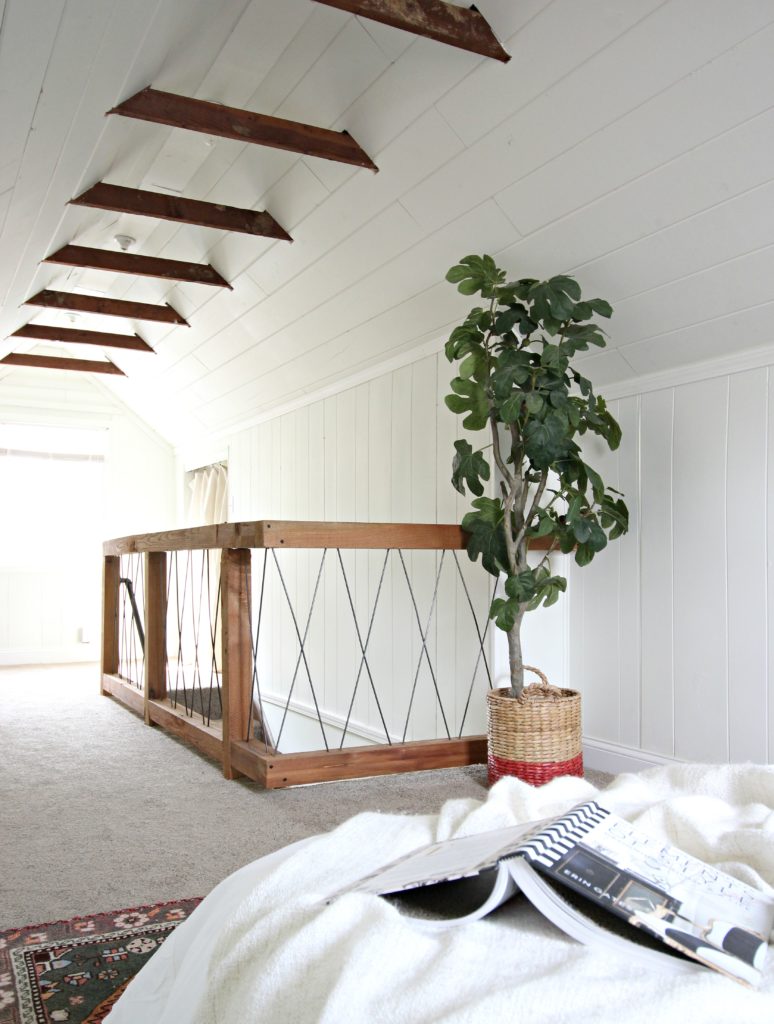
{After} We removed the dropped ceiling and paneling on the slopes and replaced it with 1×8 tongue & groove planks that we brought all the way up to the peak. We also replaced the old, wobbly railing with a custom railing made out of cedar 4×4 posts and steel rods.’
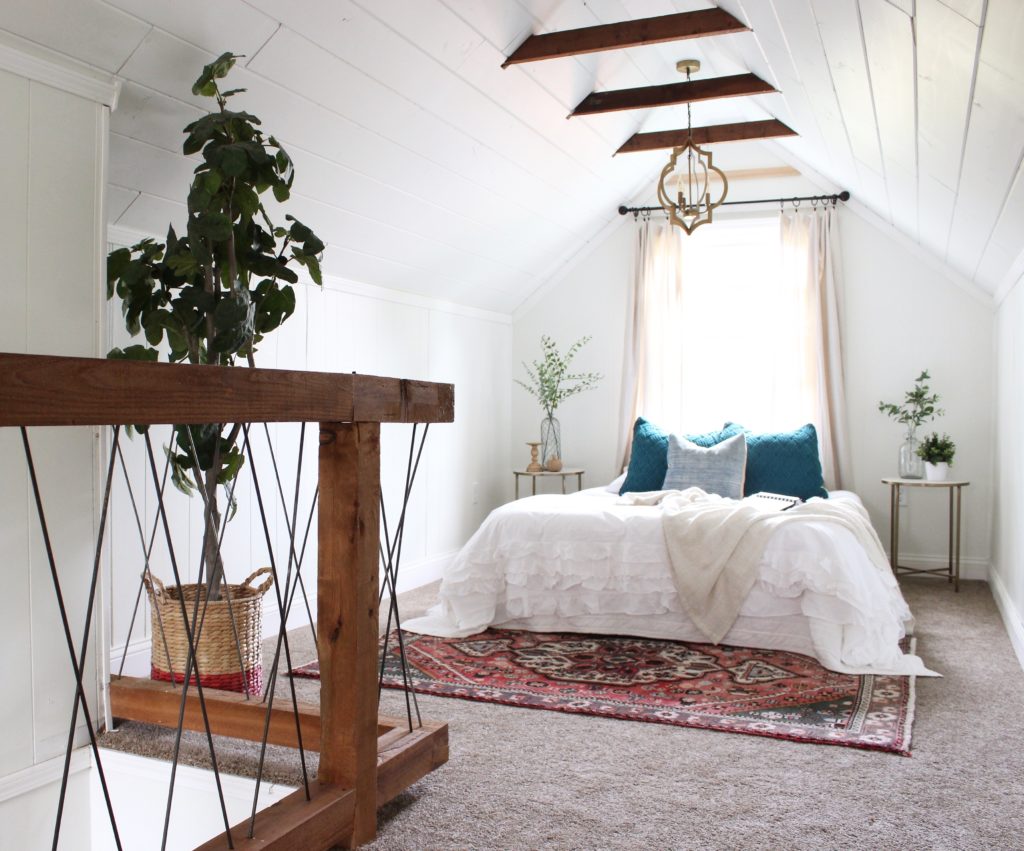 {After} We painted the walls and ceiling Benjamin Moore Simply White, exposed the original beams, and added more lighting, including a pretty brass quatrefoil pendant.
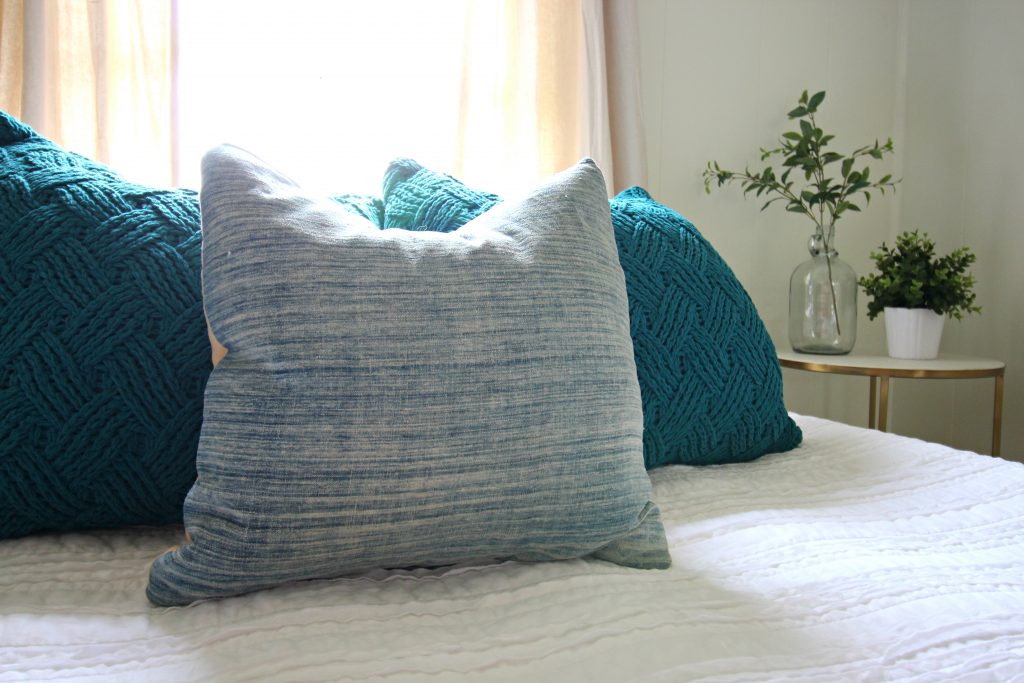
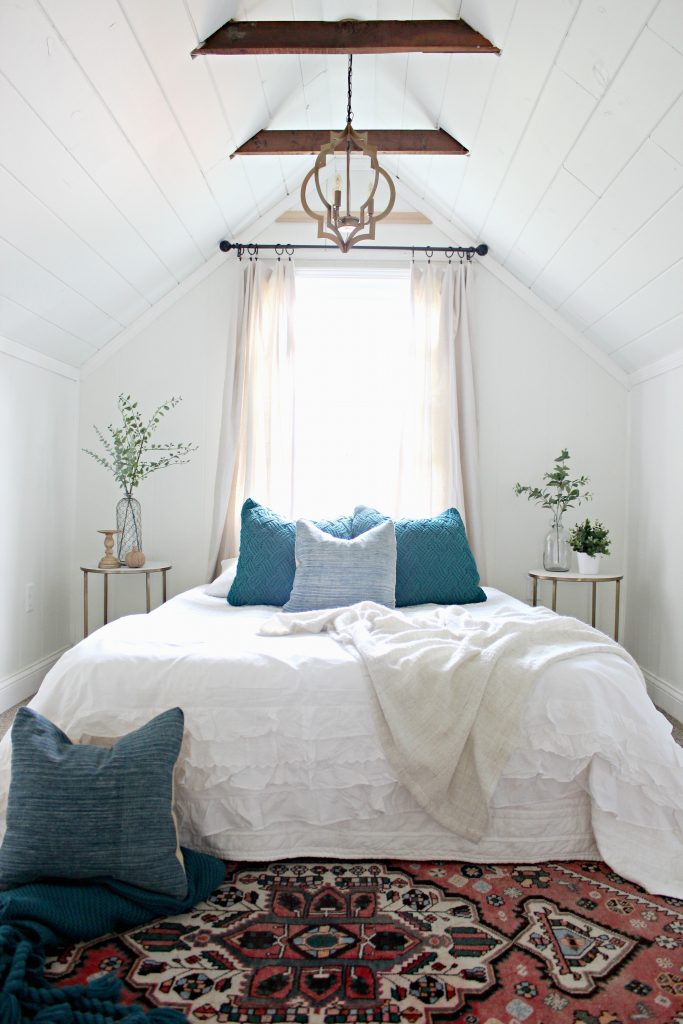 {After} We added pops of color to the neutral space by incorporating greenery, bright pillows, and a bold vintage rug.
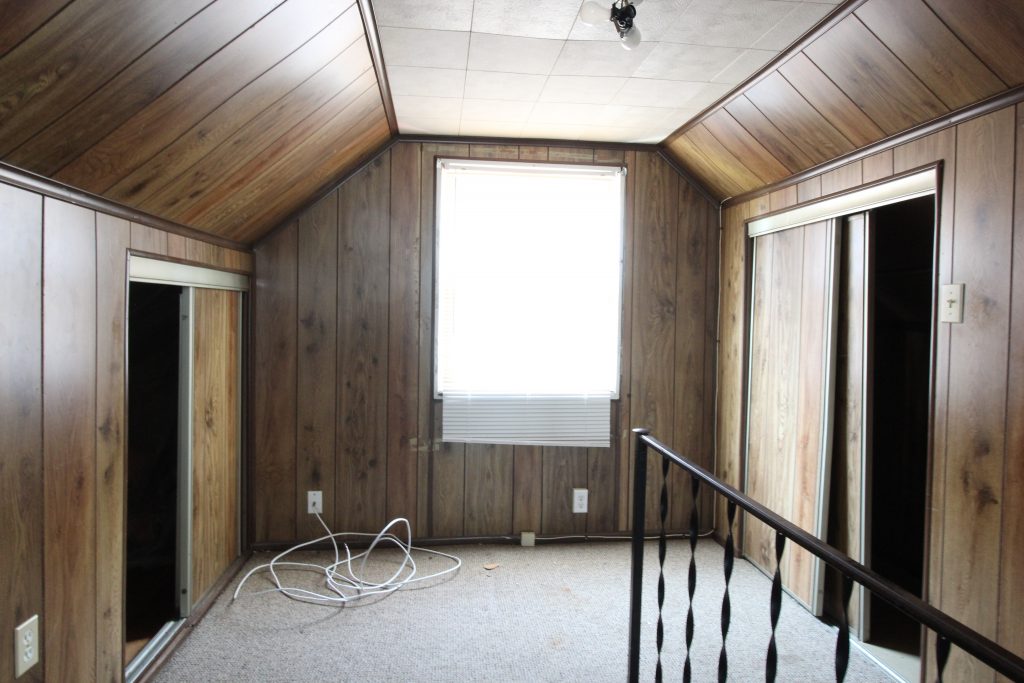
 {Before} Here’s a view of the other side of the room.
 {After} Removing the dropped ceiling added another foot of ceiling height. Exposing the beams and bringing the tongue & groove planks up to the peak was a lot of work, but very much worth it. They not only add character to the space, but they also make the room feel larger.
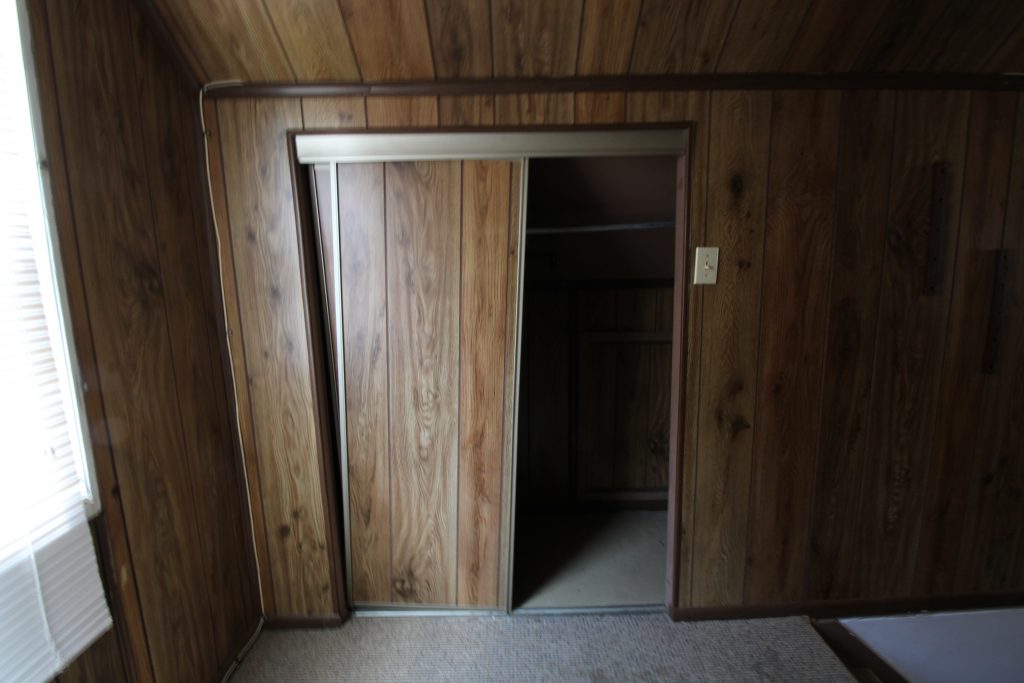
 {Before} The closet on the right was finished, and the closet on the left wasn’t. Both had doors that were falling apart.
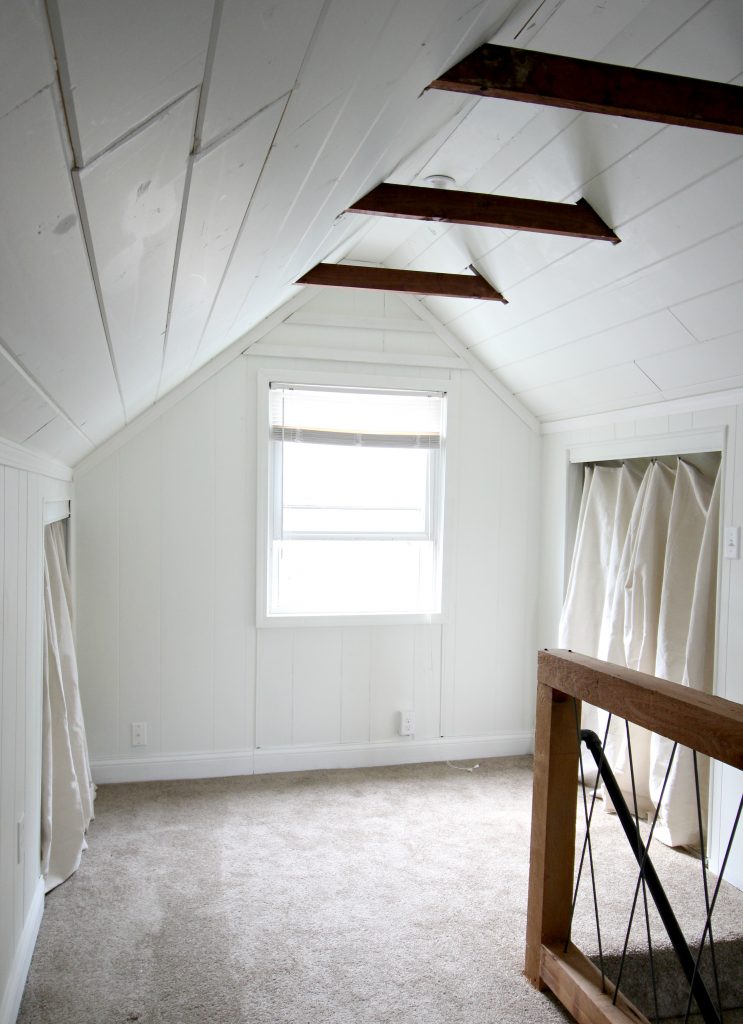
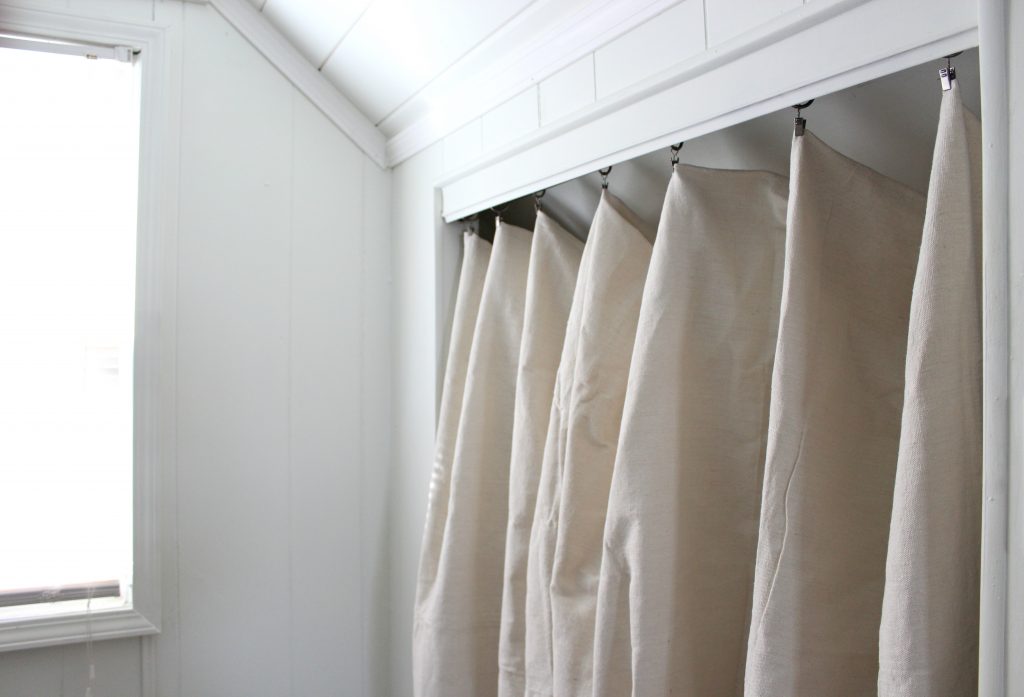
 {After} We finished the closet on the left to create more storage space, and replaced the old broken doors with drop cloth curtains.
{Before} Here’s another look at the old closet door.
 {After} And, the new one!
Sources
Brass pendant – World Market
Railing materials – Home Depot
Basket holding tree – Pottery Barn Outlet
Raw Edge Quilt – Target
Teal Sweater Pillows – Target
Vintage Indigo Pillow – Handmade, Bianca & Red
Rug – Dolores Wares
Small marble / brass tables – Target (similar here, also Target)
Vases, greenery on fireplace – Jo-Ann
Paint – Benjamin Moore – Simply White
Part 3 is next, and it’s the kitchen! We’ll be back soon. In the meantime, follow us on Instagram and Facebook for updates and sneak peaks.
What a dreamy master bedroom. It’s amazing!! I love the railing and am considering doing something similar. Just wondering….do you every have issues with passing “codes” with inspection with that type of railing?
[…] (Image credit: Catherine of Beginning in the Middle) […]
[…] (Image credit: Catherine of Beginning in the Middle) […]
[…] From Catherine & Bryan: We designed this space as a master bedroom. Aside from making it feel less dated, we wanted it to feel cozy, open, and full of character. We had talked about adding built-ins and cubbies, taking out the walls and widening the room, adding reading nooks – you name it, we thought of it. But at the end of the day, we had to be realistic about our budget and timeline, and ended up leaving the walls where they were. Instead, we transformed the existing space by removing the dropped ceiling, exposing the original beams, building a custom railing, replacing the grimy carpet, and painting. Take a look! […]
[…] (Image credit: Catherine of Beginning in the Middle) […]
Before you removed the drop ceiling do you remember what the ceiling height was in there? This is SO COOL!
Thanks Andrea! It was around 7.5 feet.
This room is amazing! I love that railing and we love this design and are considering something similar for our house but we also need it to go down a flight of steps too. I think it would work. Is it just metal round bar stock? I just love this little cottage… especially the colors you picked for the outside.
Maggie, Thanks so much! Yes, it’s doable. We did a very similar railing for our Pearl St. Project loft stairs. You can see more photos here – http://uacreativephoto.com/beginninginthemiddle-designteam/. In both versions, we used steel rods from a home improvement store (direct link is in the post).
Great! Thanks so much for your reply! Have a great weekend! ????
Catherine, I love your railing! Are you going to do a DIY post on how to build something similar? I’ve priced wire railings over and over but can’t afford them. I’d love to do something like yours, but am not sure about how to mount to the floor…? Also, did you place the steel bars at an angle?
Hi Mandy – Thanks so much! We didn’t do a tutorial this time, but will try to do one next time. To get the rods to stay in place, we drilled holes into the wood and angled them accordingly, depending on which direction we wanted the rods to go.
Thanks, Catherine! I want to try a mix of wood horizontal supports with metal posts and your idea for the metal rods in between. I’ll let you know how it goes — appreciate the reply!
What an amazing transformation. I especially love what you did with the railing as well – may have to try that!
Thanks so much Cheryl!
[…] Больше фотографий о превращениях старого чердака смотрите ТУТ. […]
Hi Catherine!
I am trying to get a feel for the budget of renovating our top floor. It is about the same size of this project. Can you give me a cost estimate for removing the drop ceiling in here?
Thanks, Hanna
Hi Hanna, we’d suggest getting a local contractor to take a look and give you a quote. 🙂
How are the vertical posts attached to the floor for strength ?
Thanks Paul
Great transformation. Glad to see it rid of that dingy old fashioned panelling and updated with white. looks very fresh.
Hi! This looks great!! Any additional info on the carpet supplier ? Color maybe ??
I wish I still had these details! Pretty sure it was from Lowe’s.