UPDATE! We were featured on Country Living (check it out here) and The Kitchn (see here)!
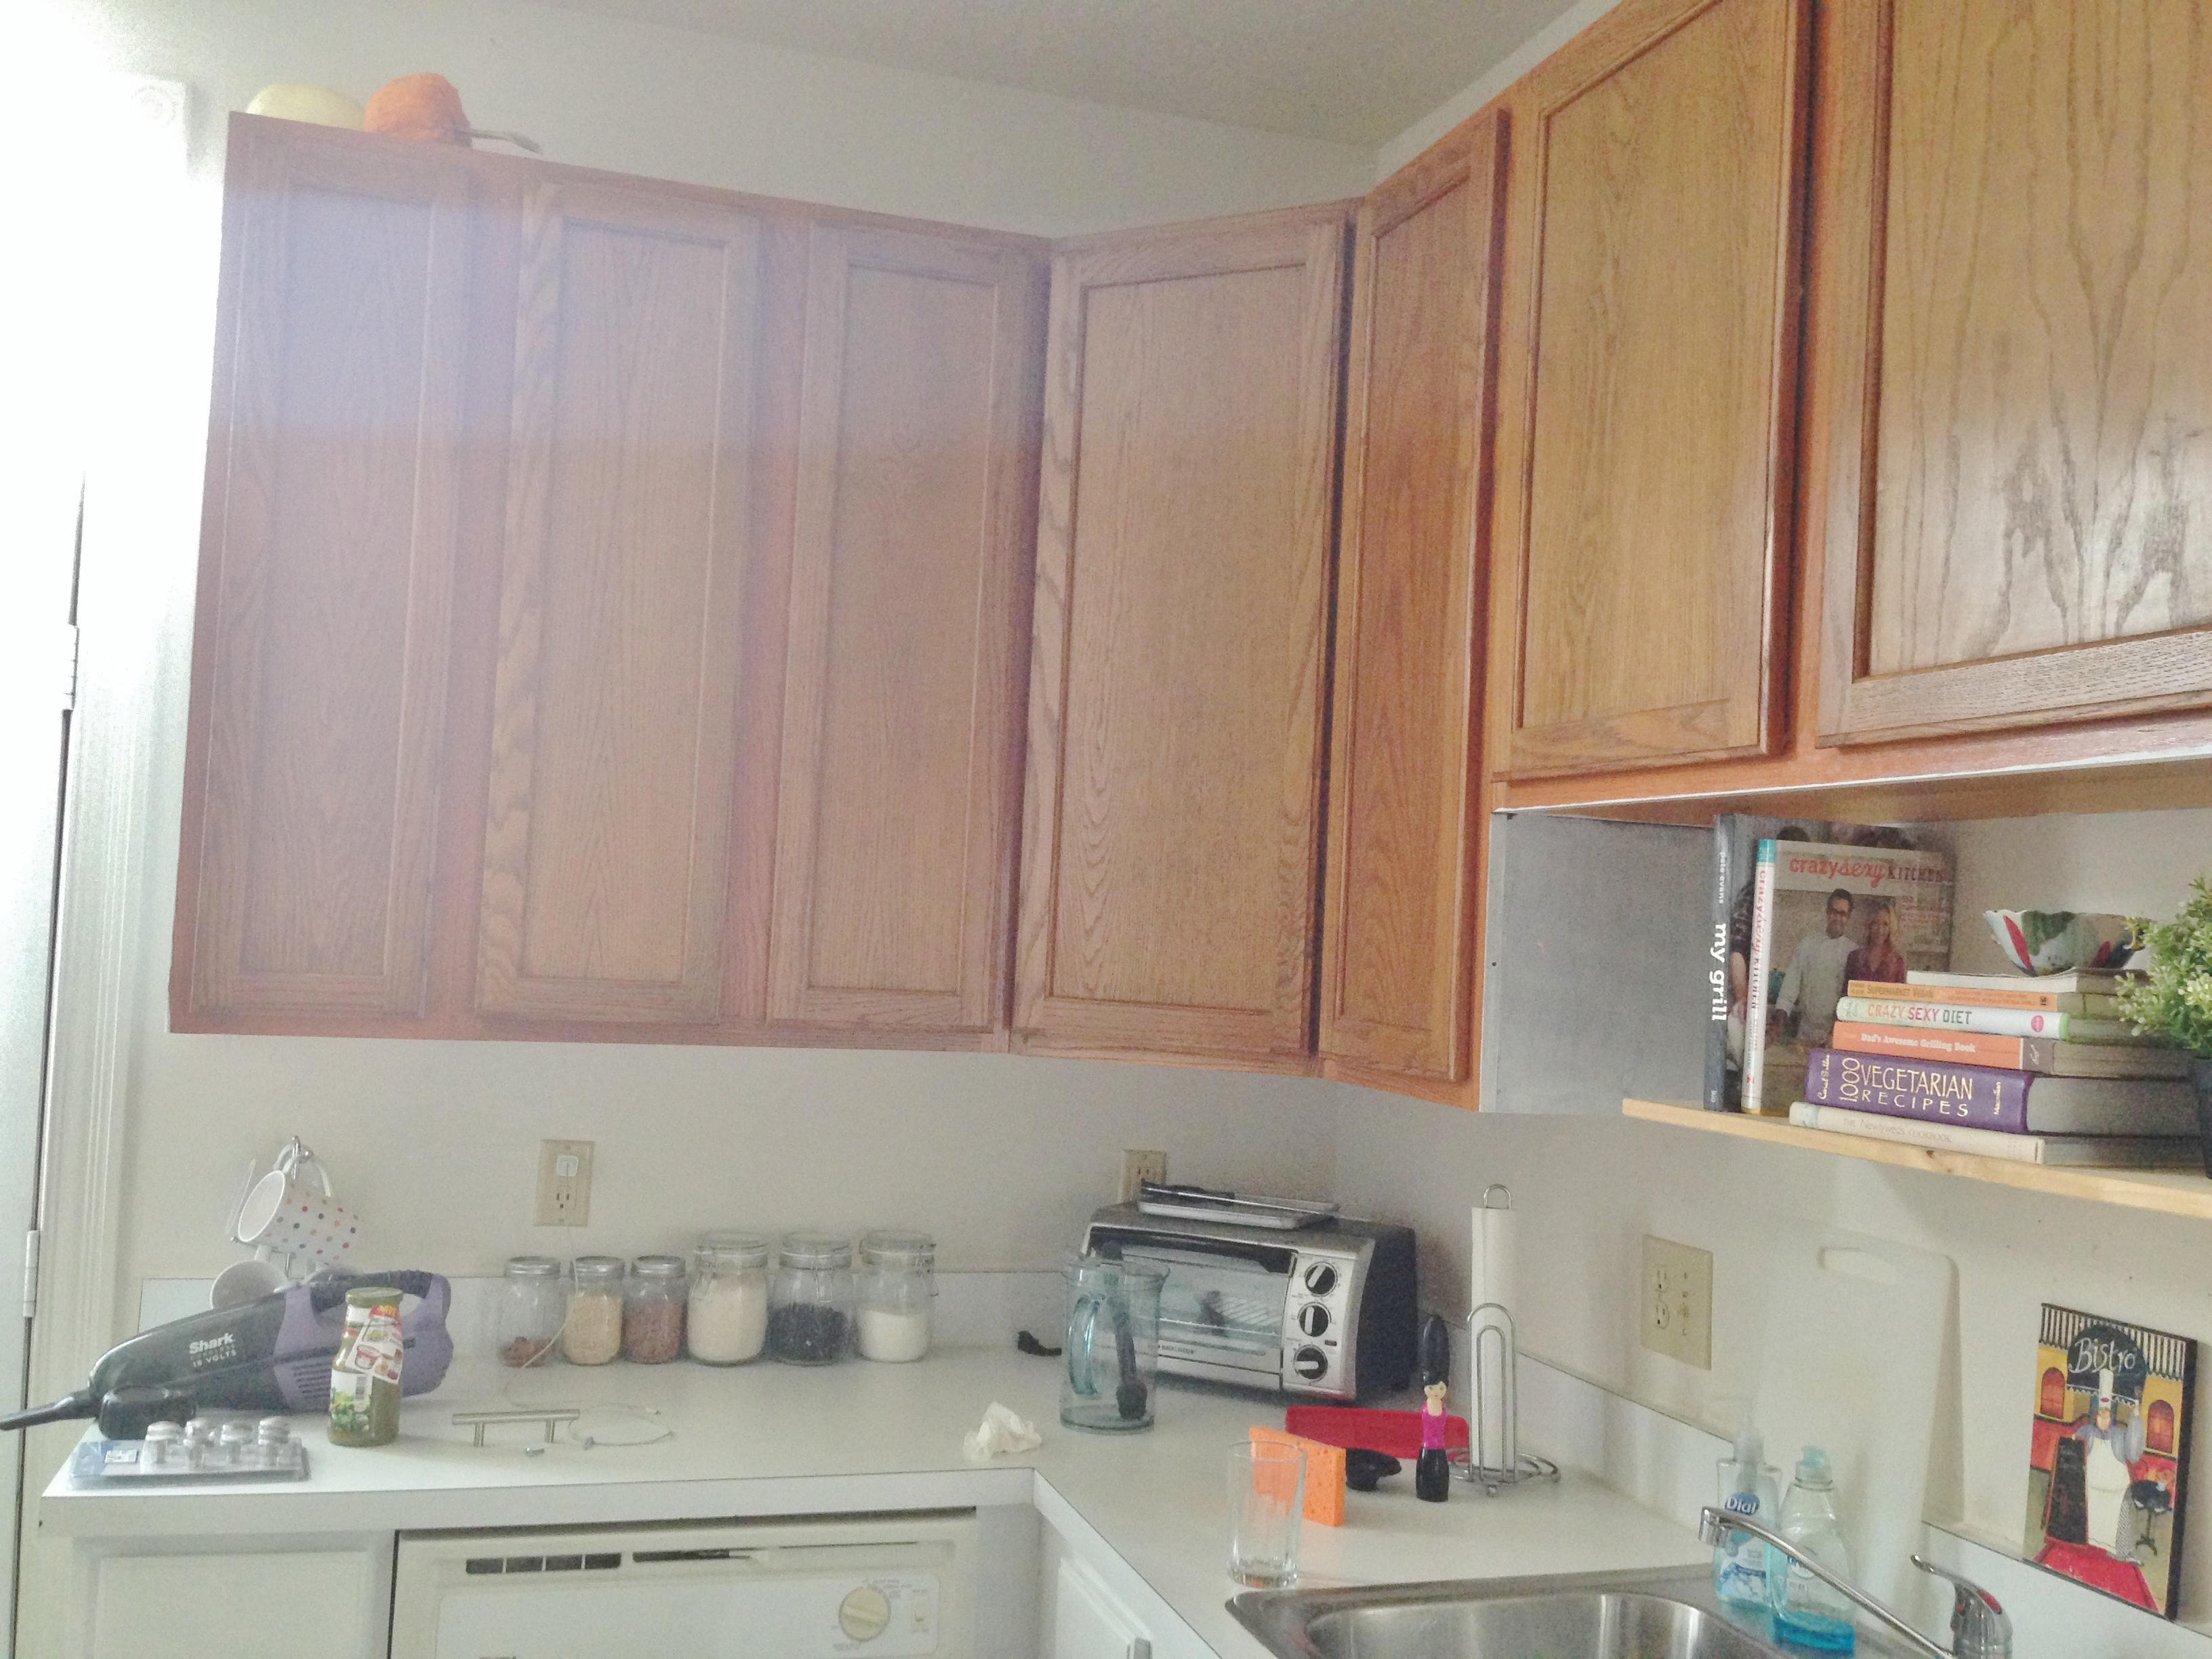
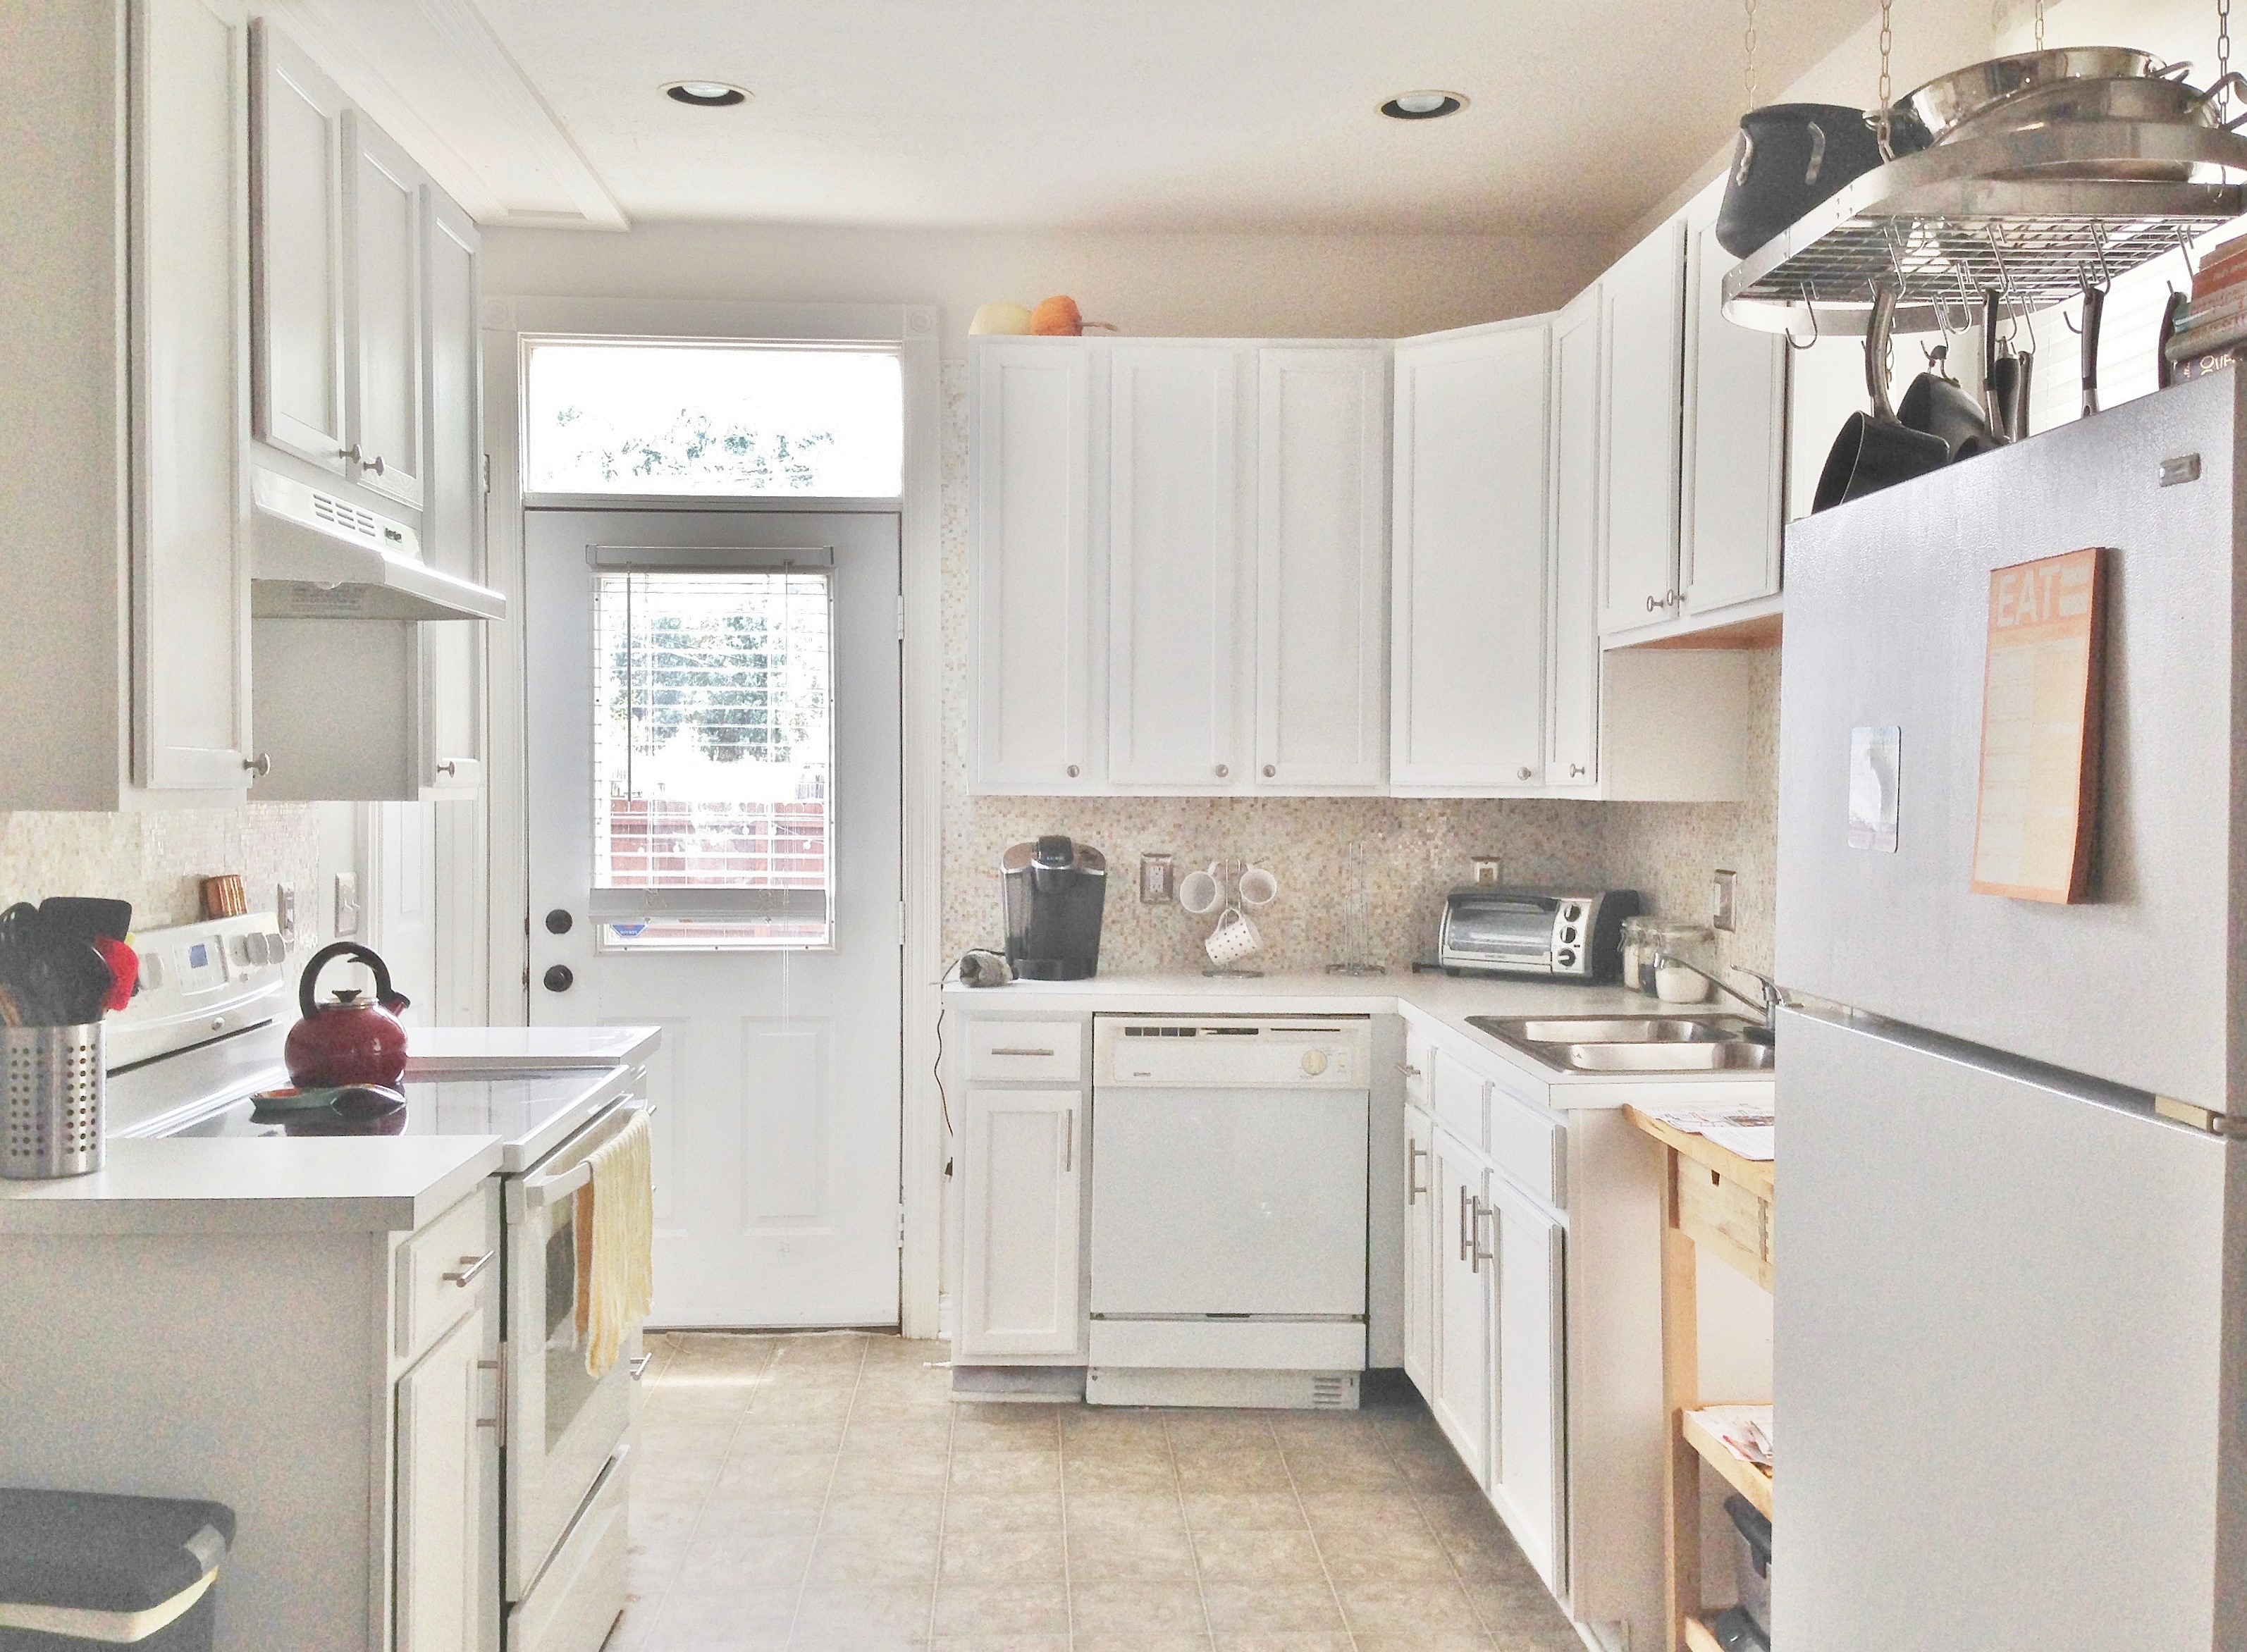
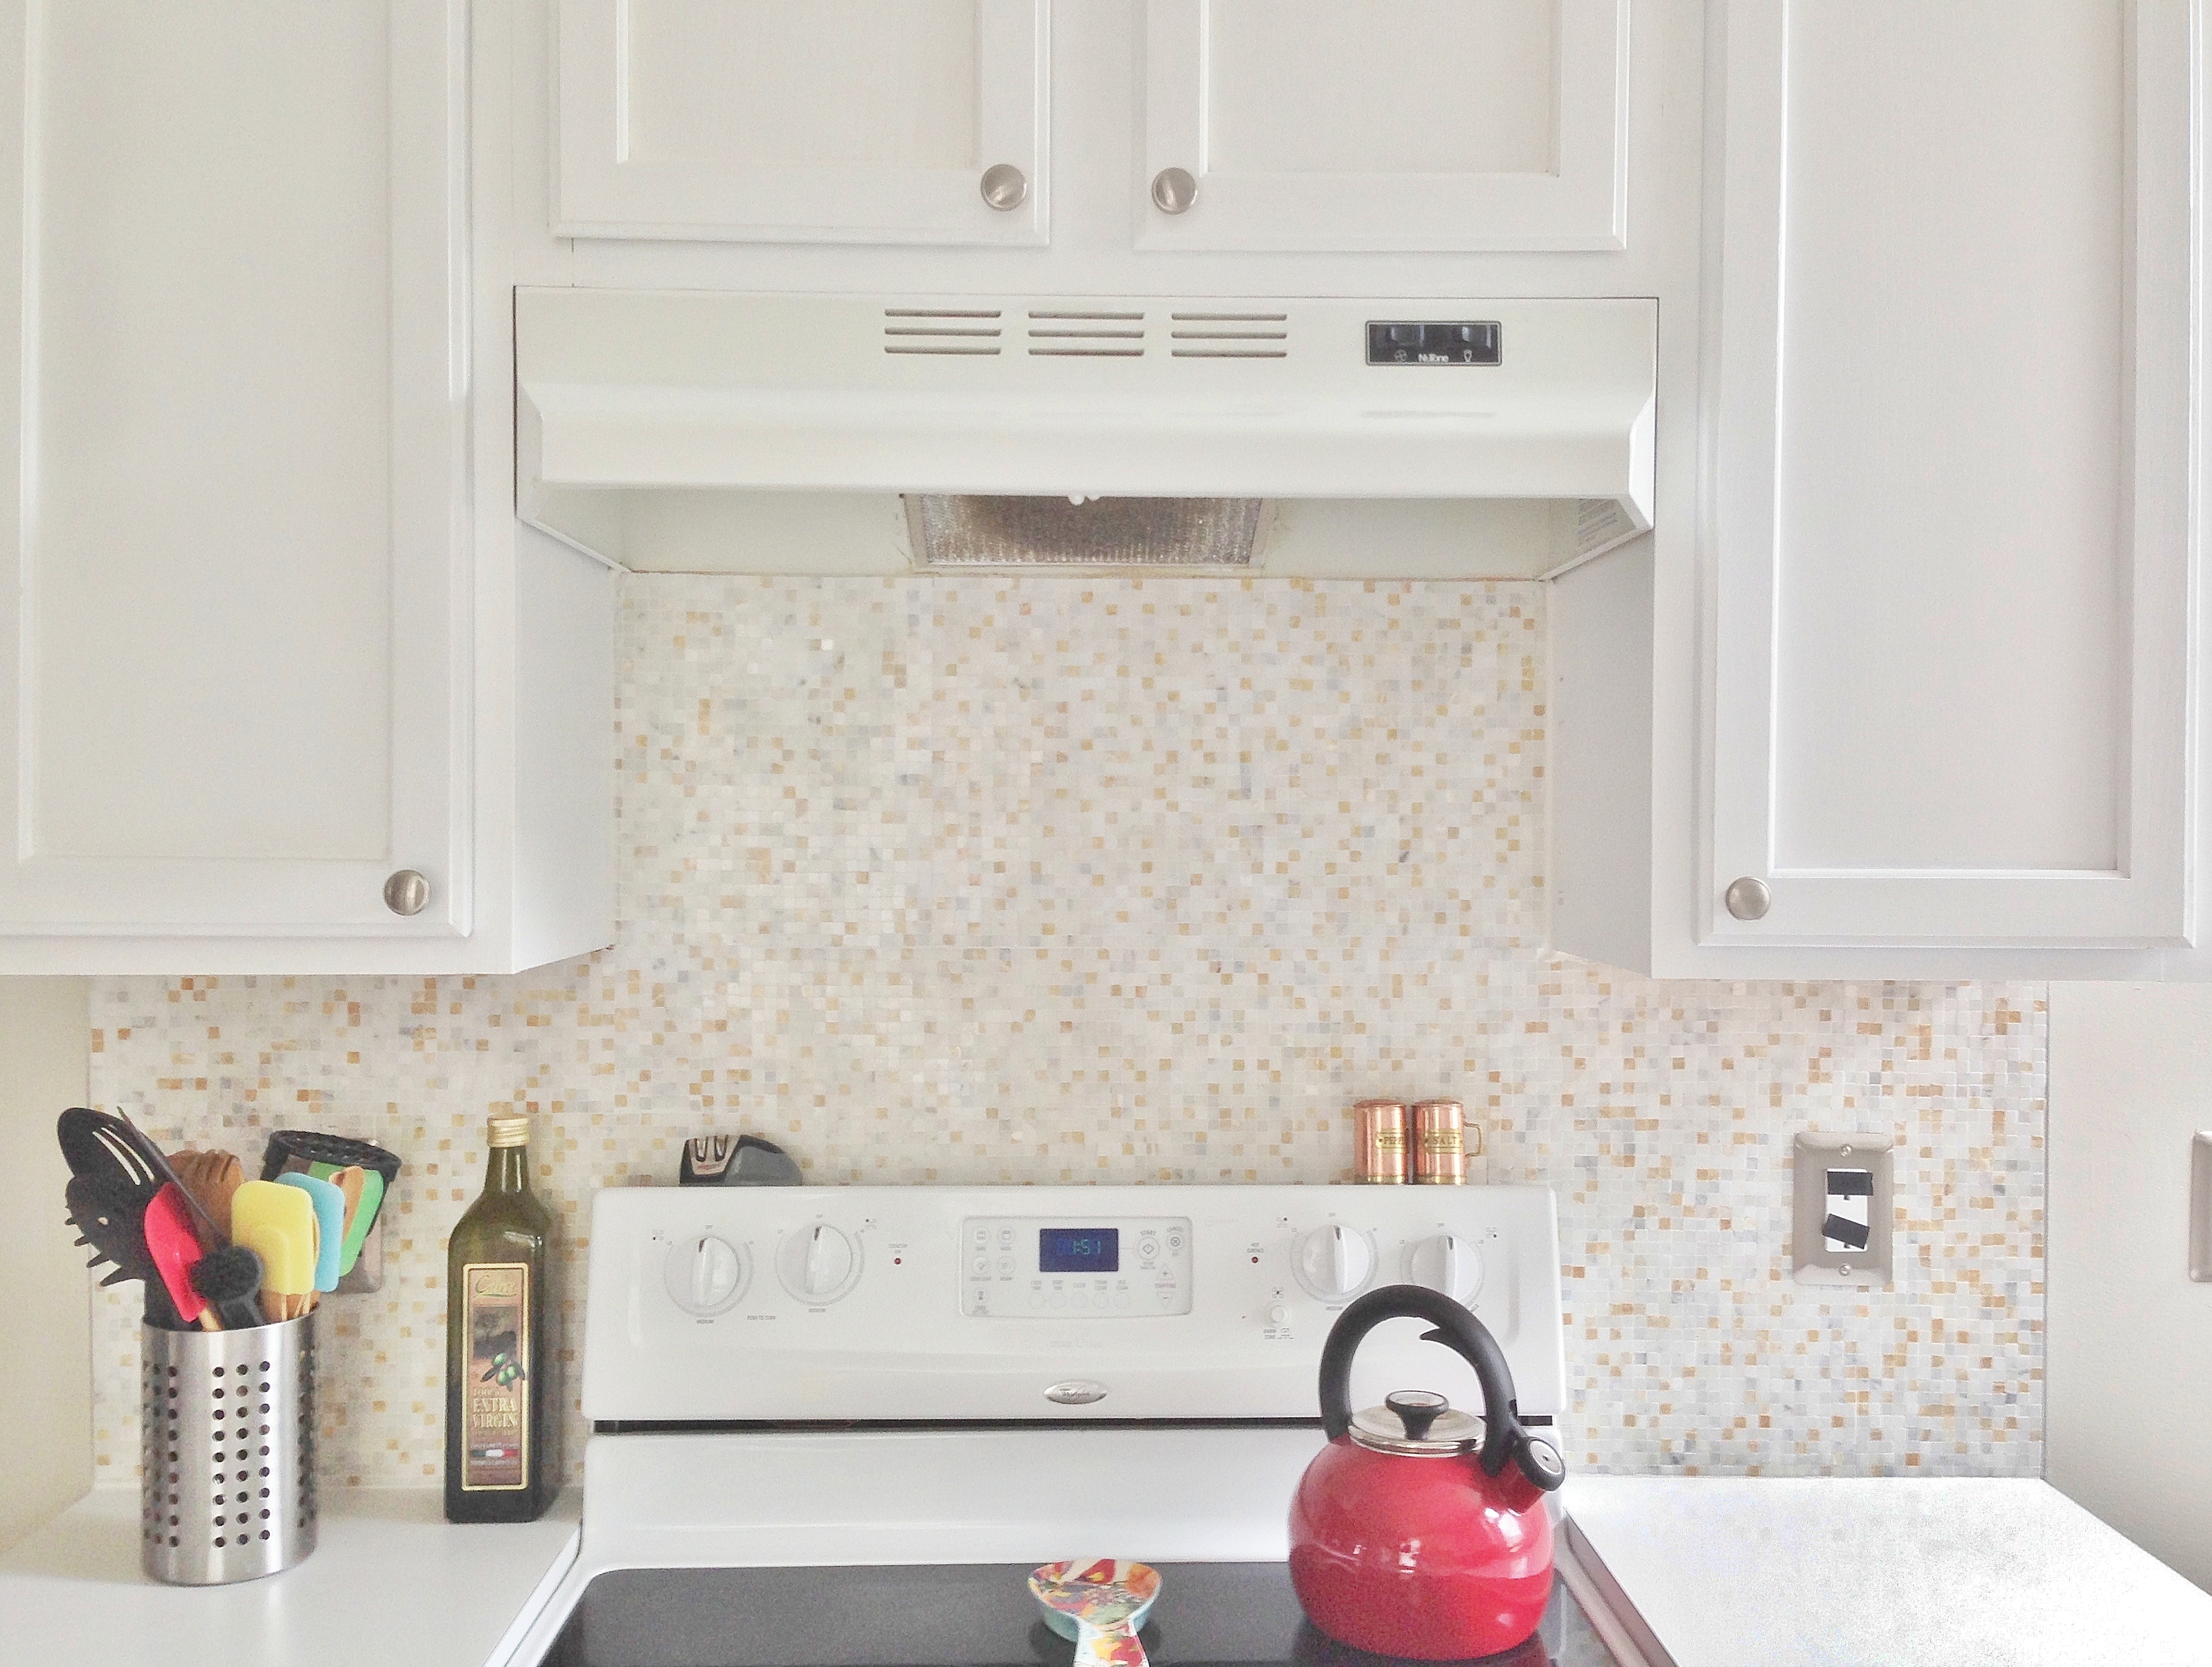
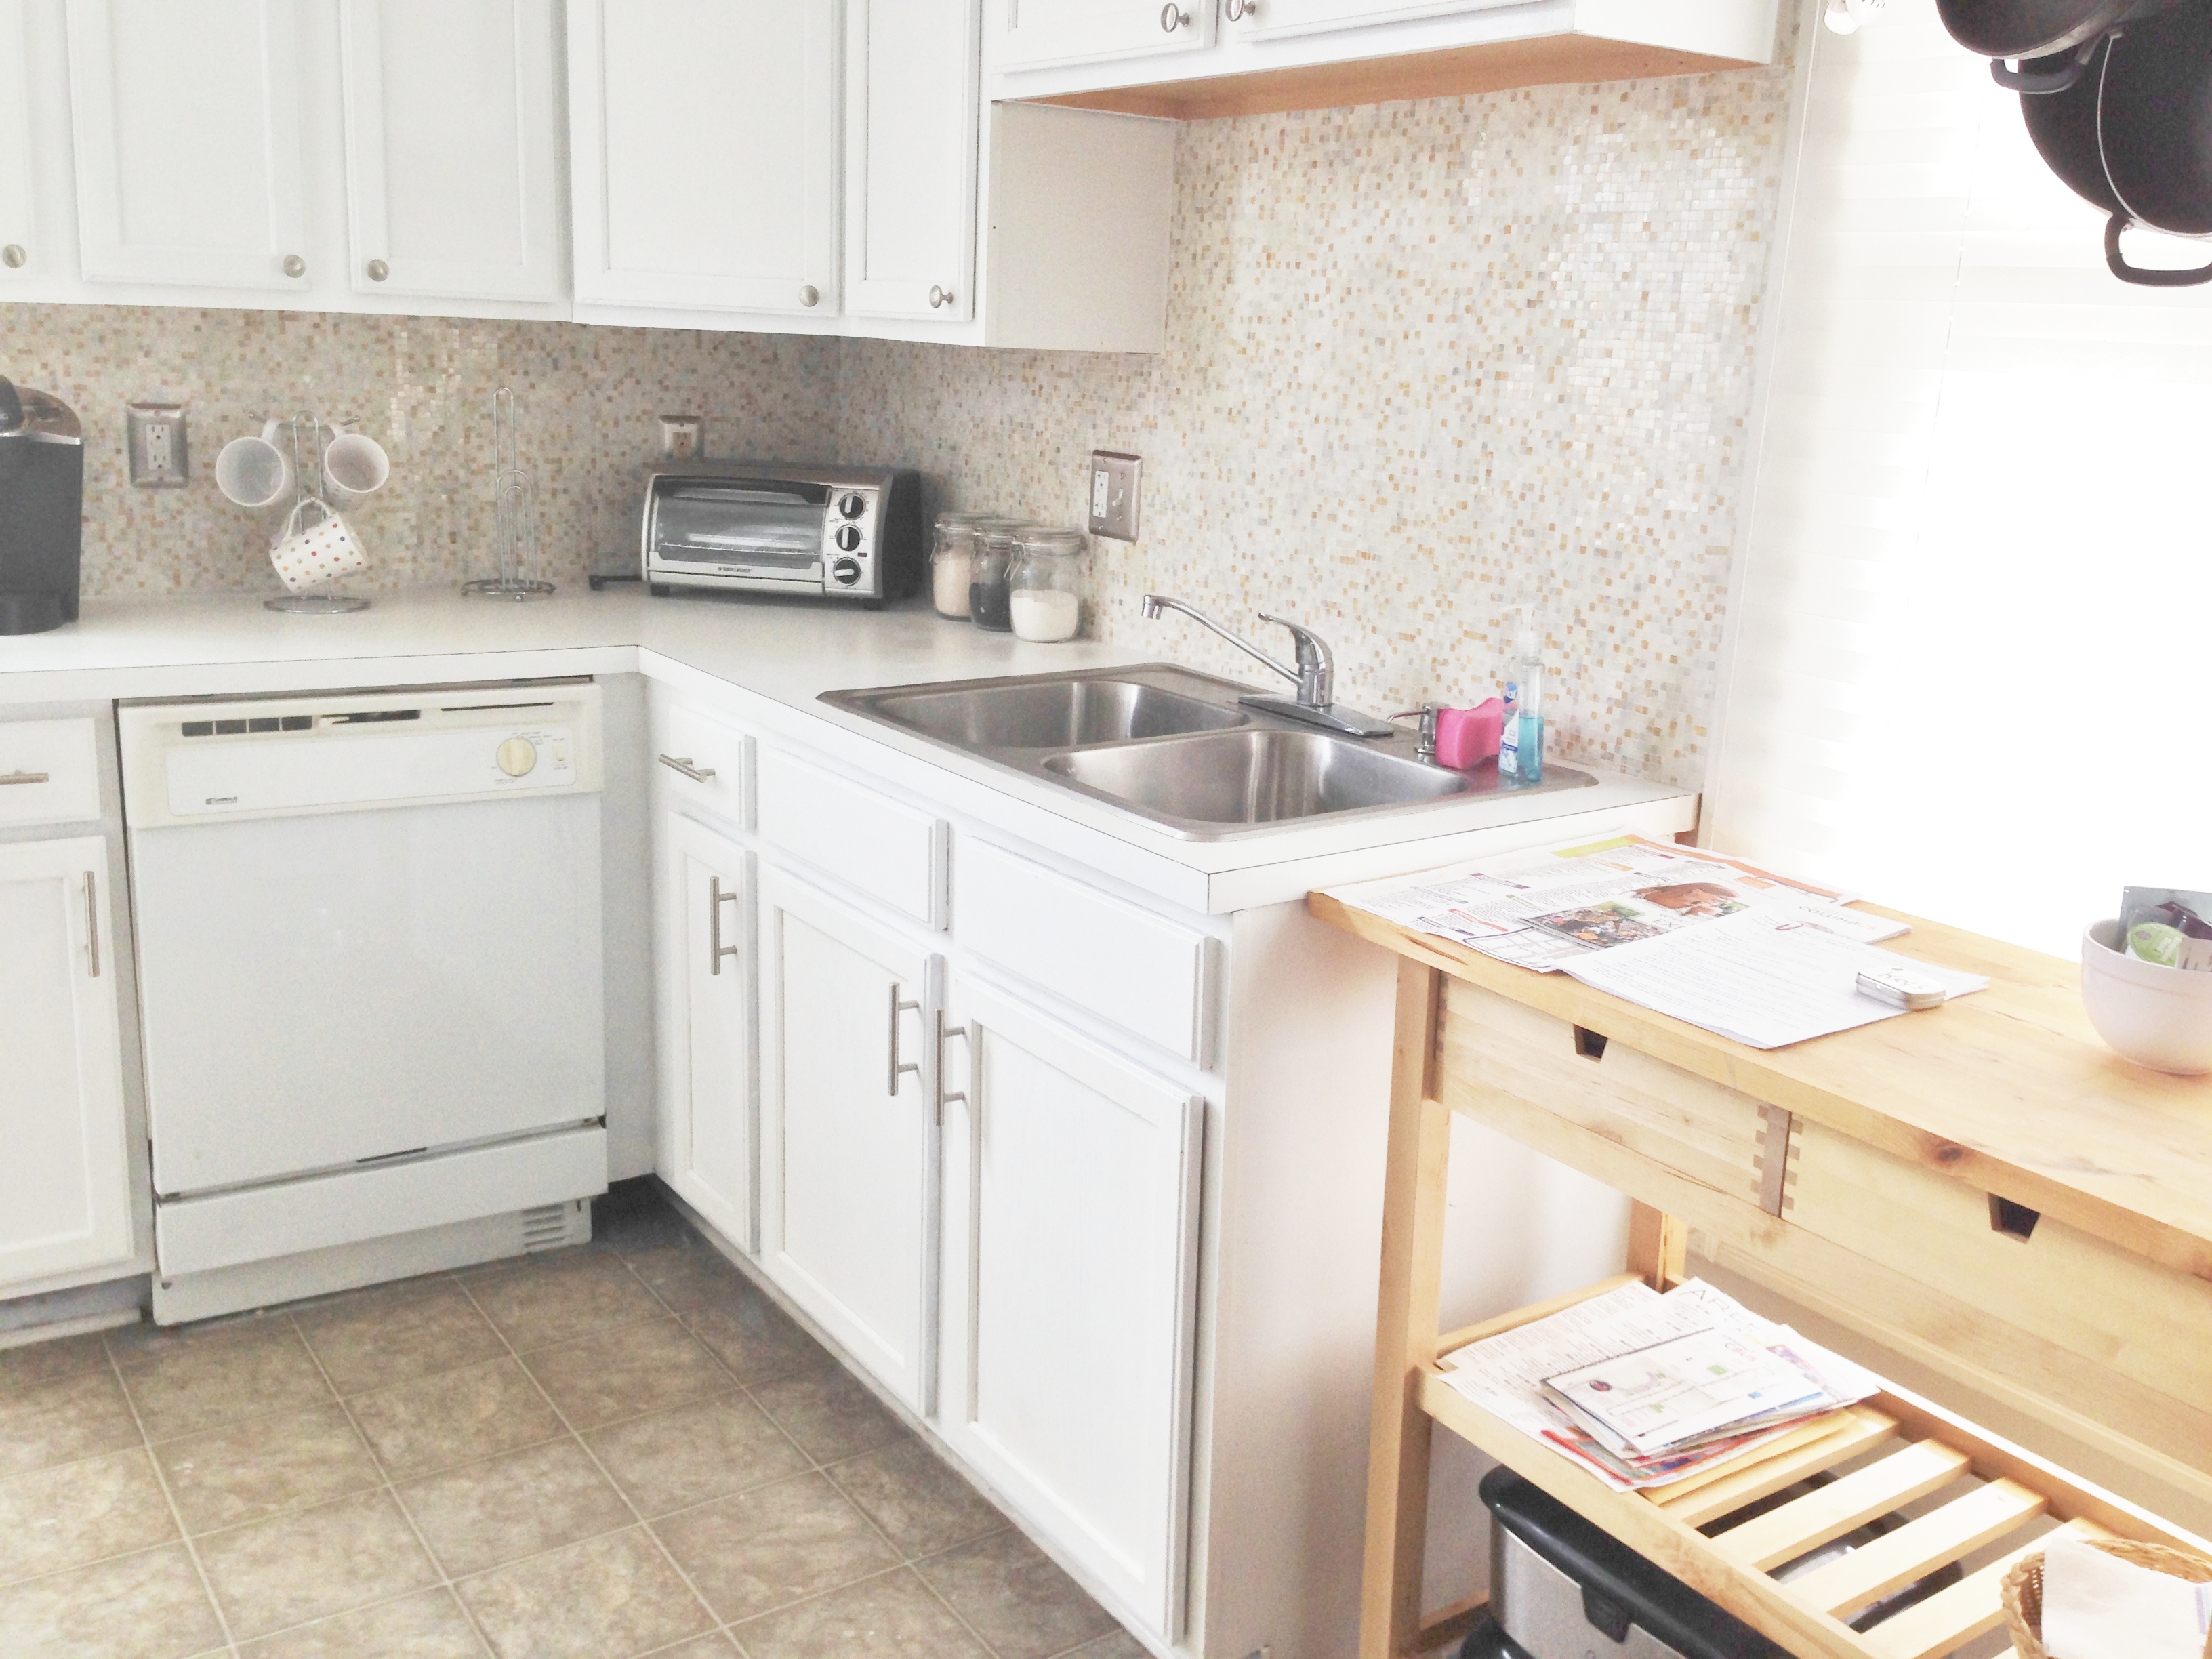
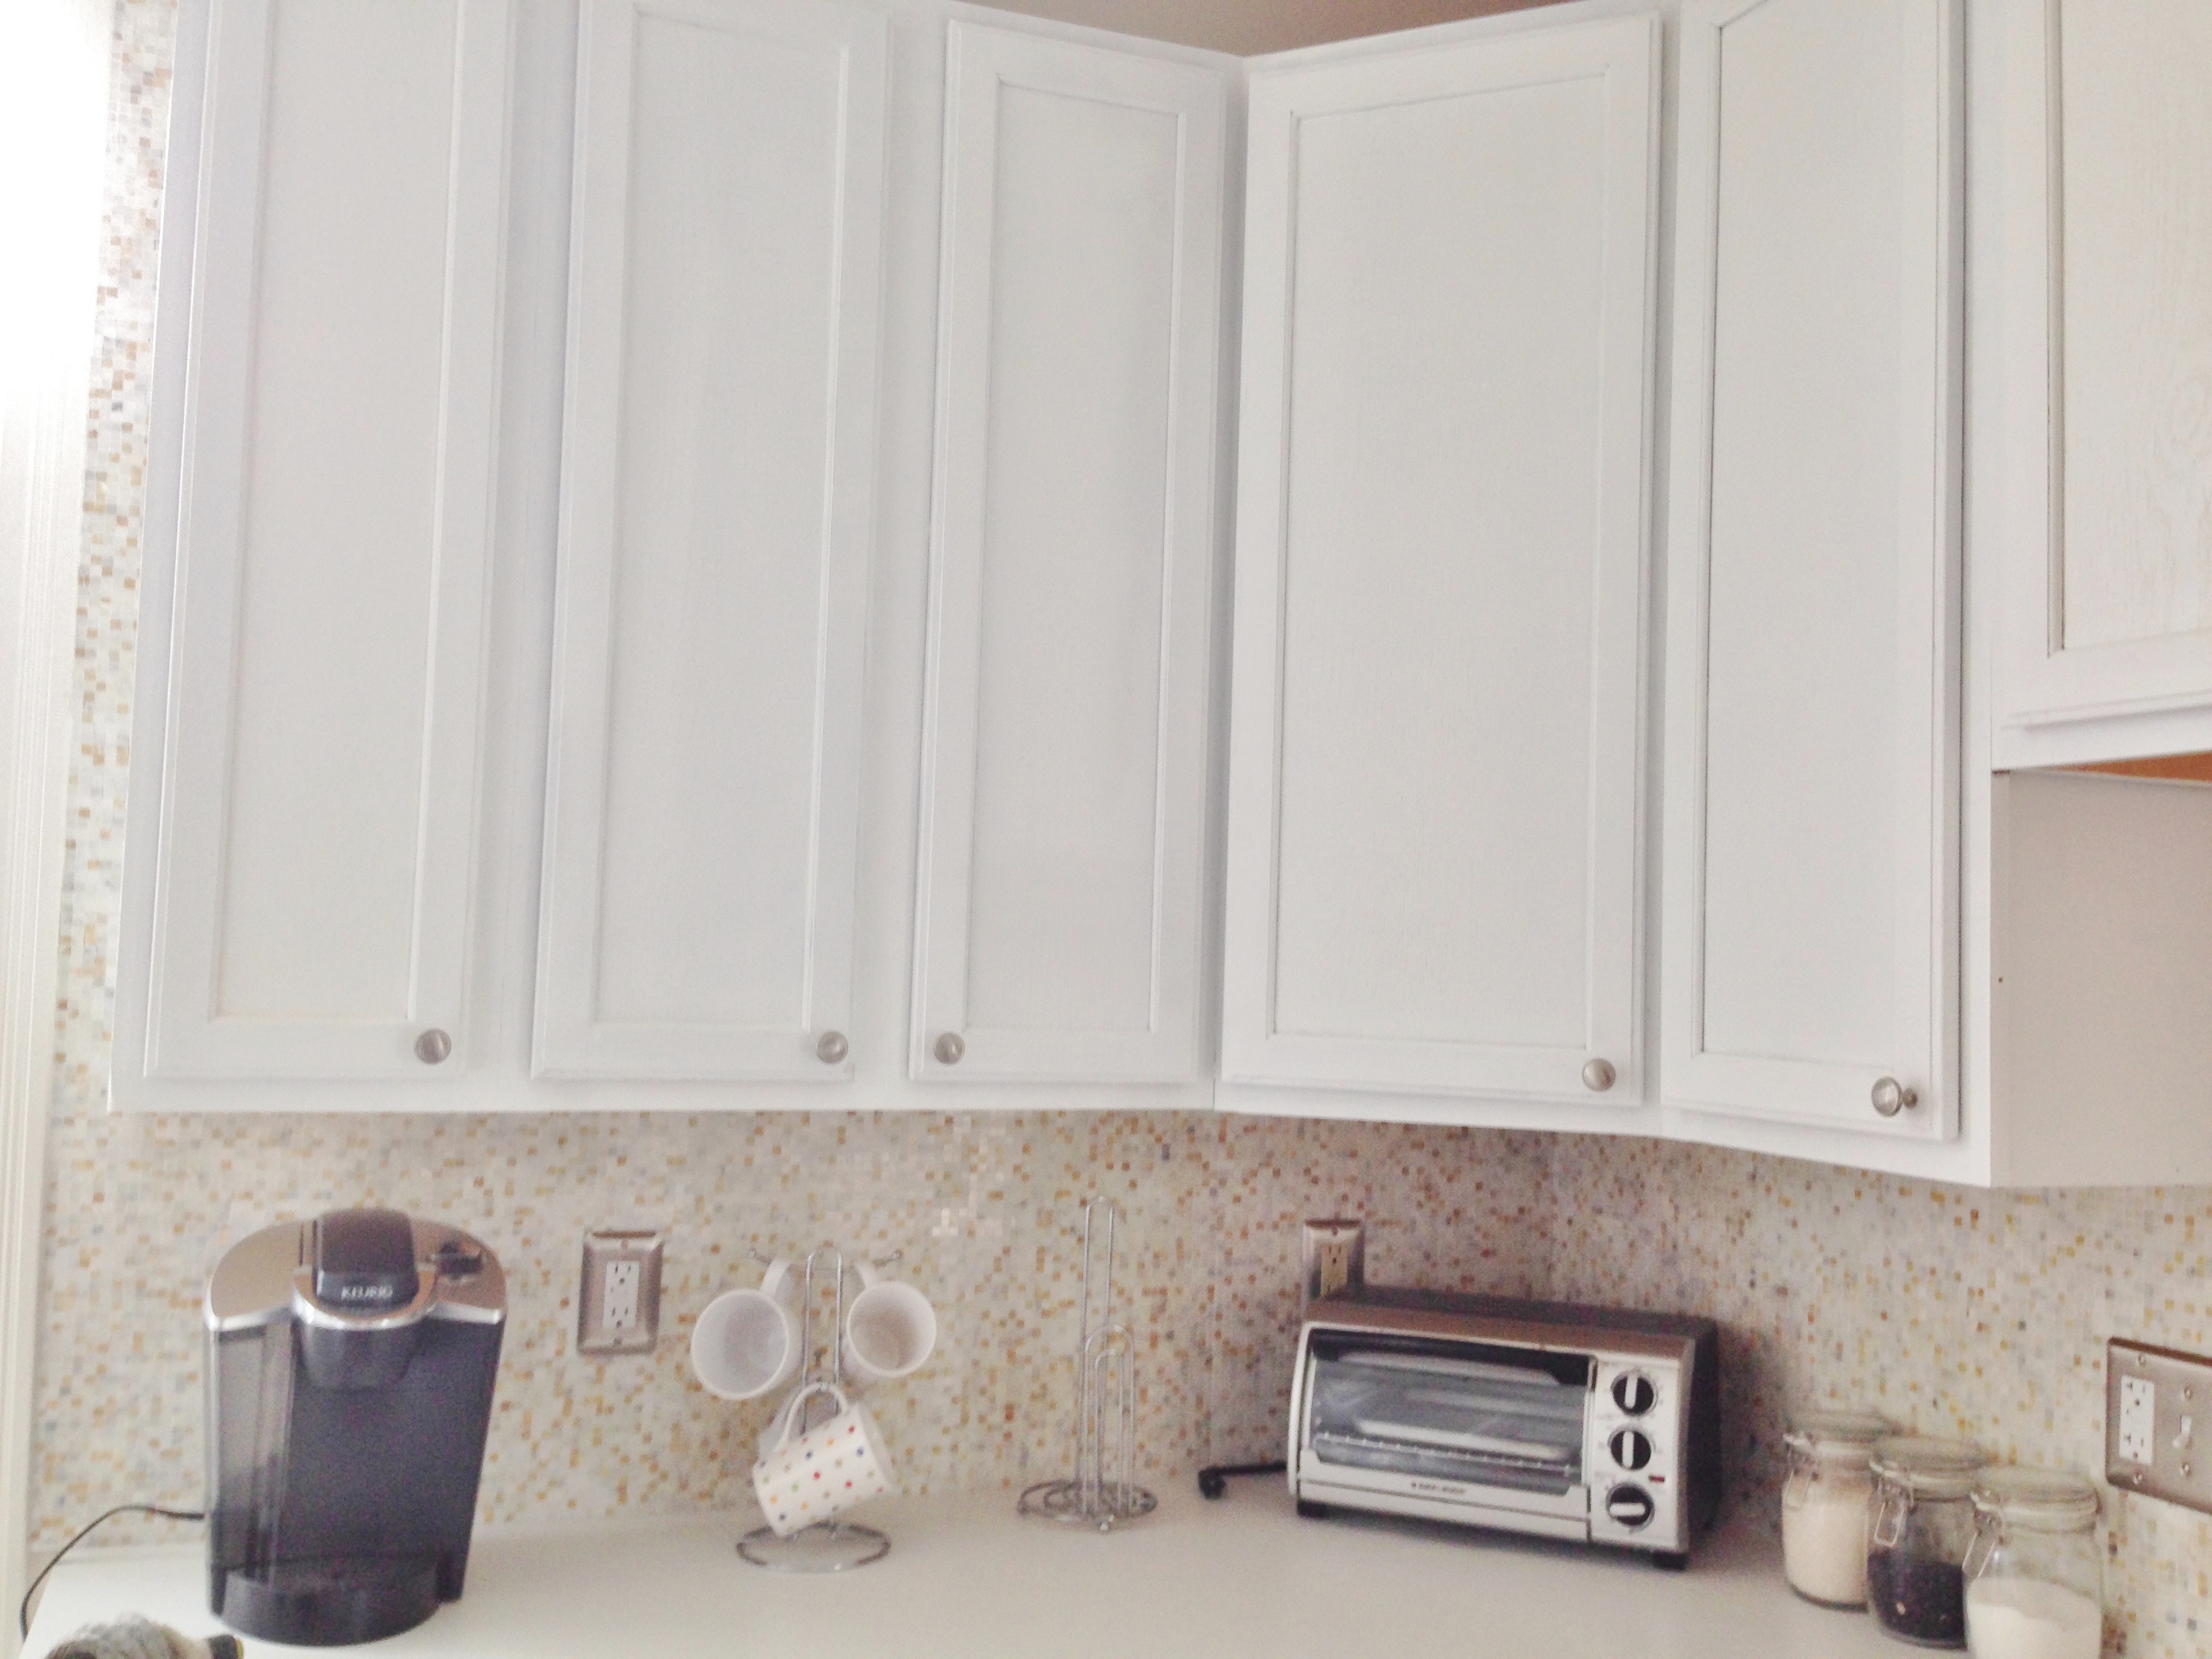
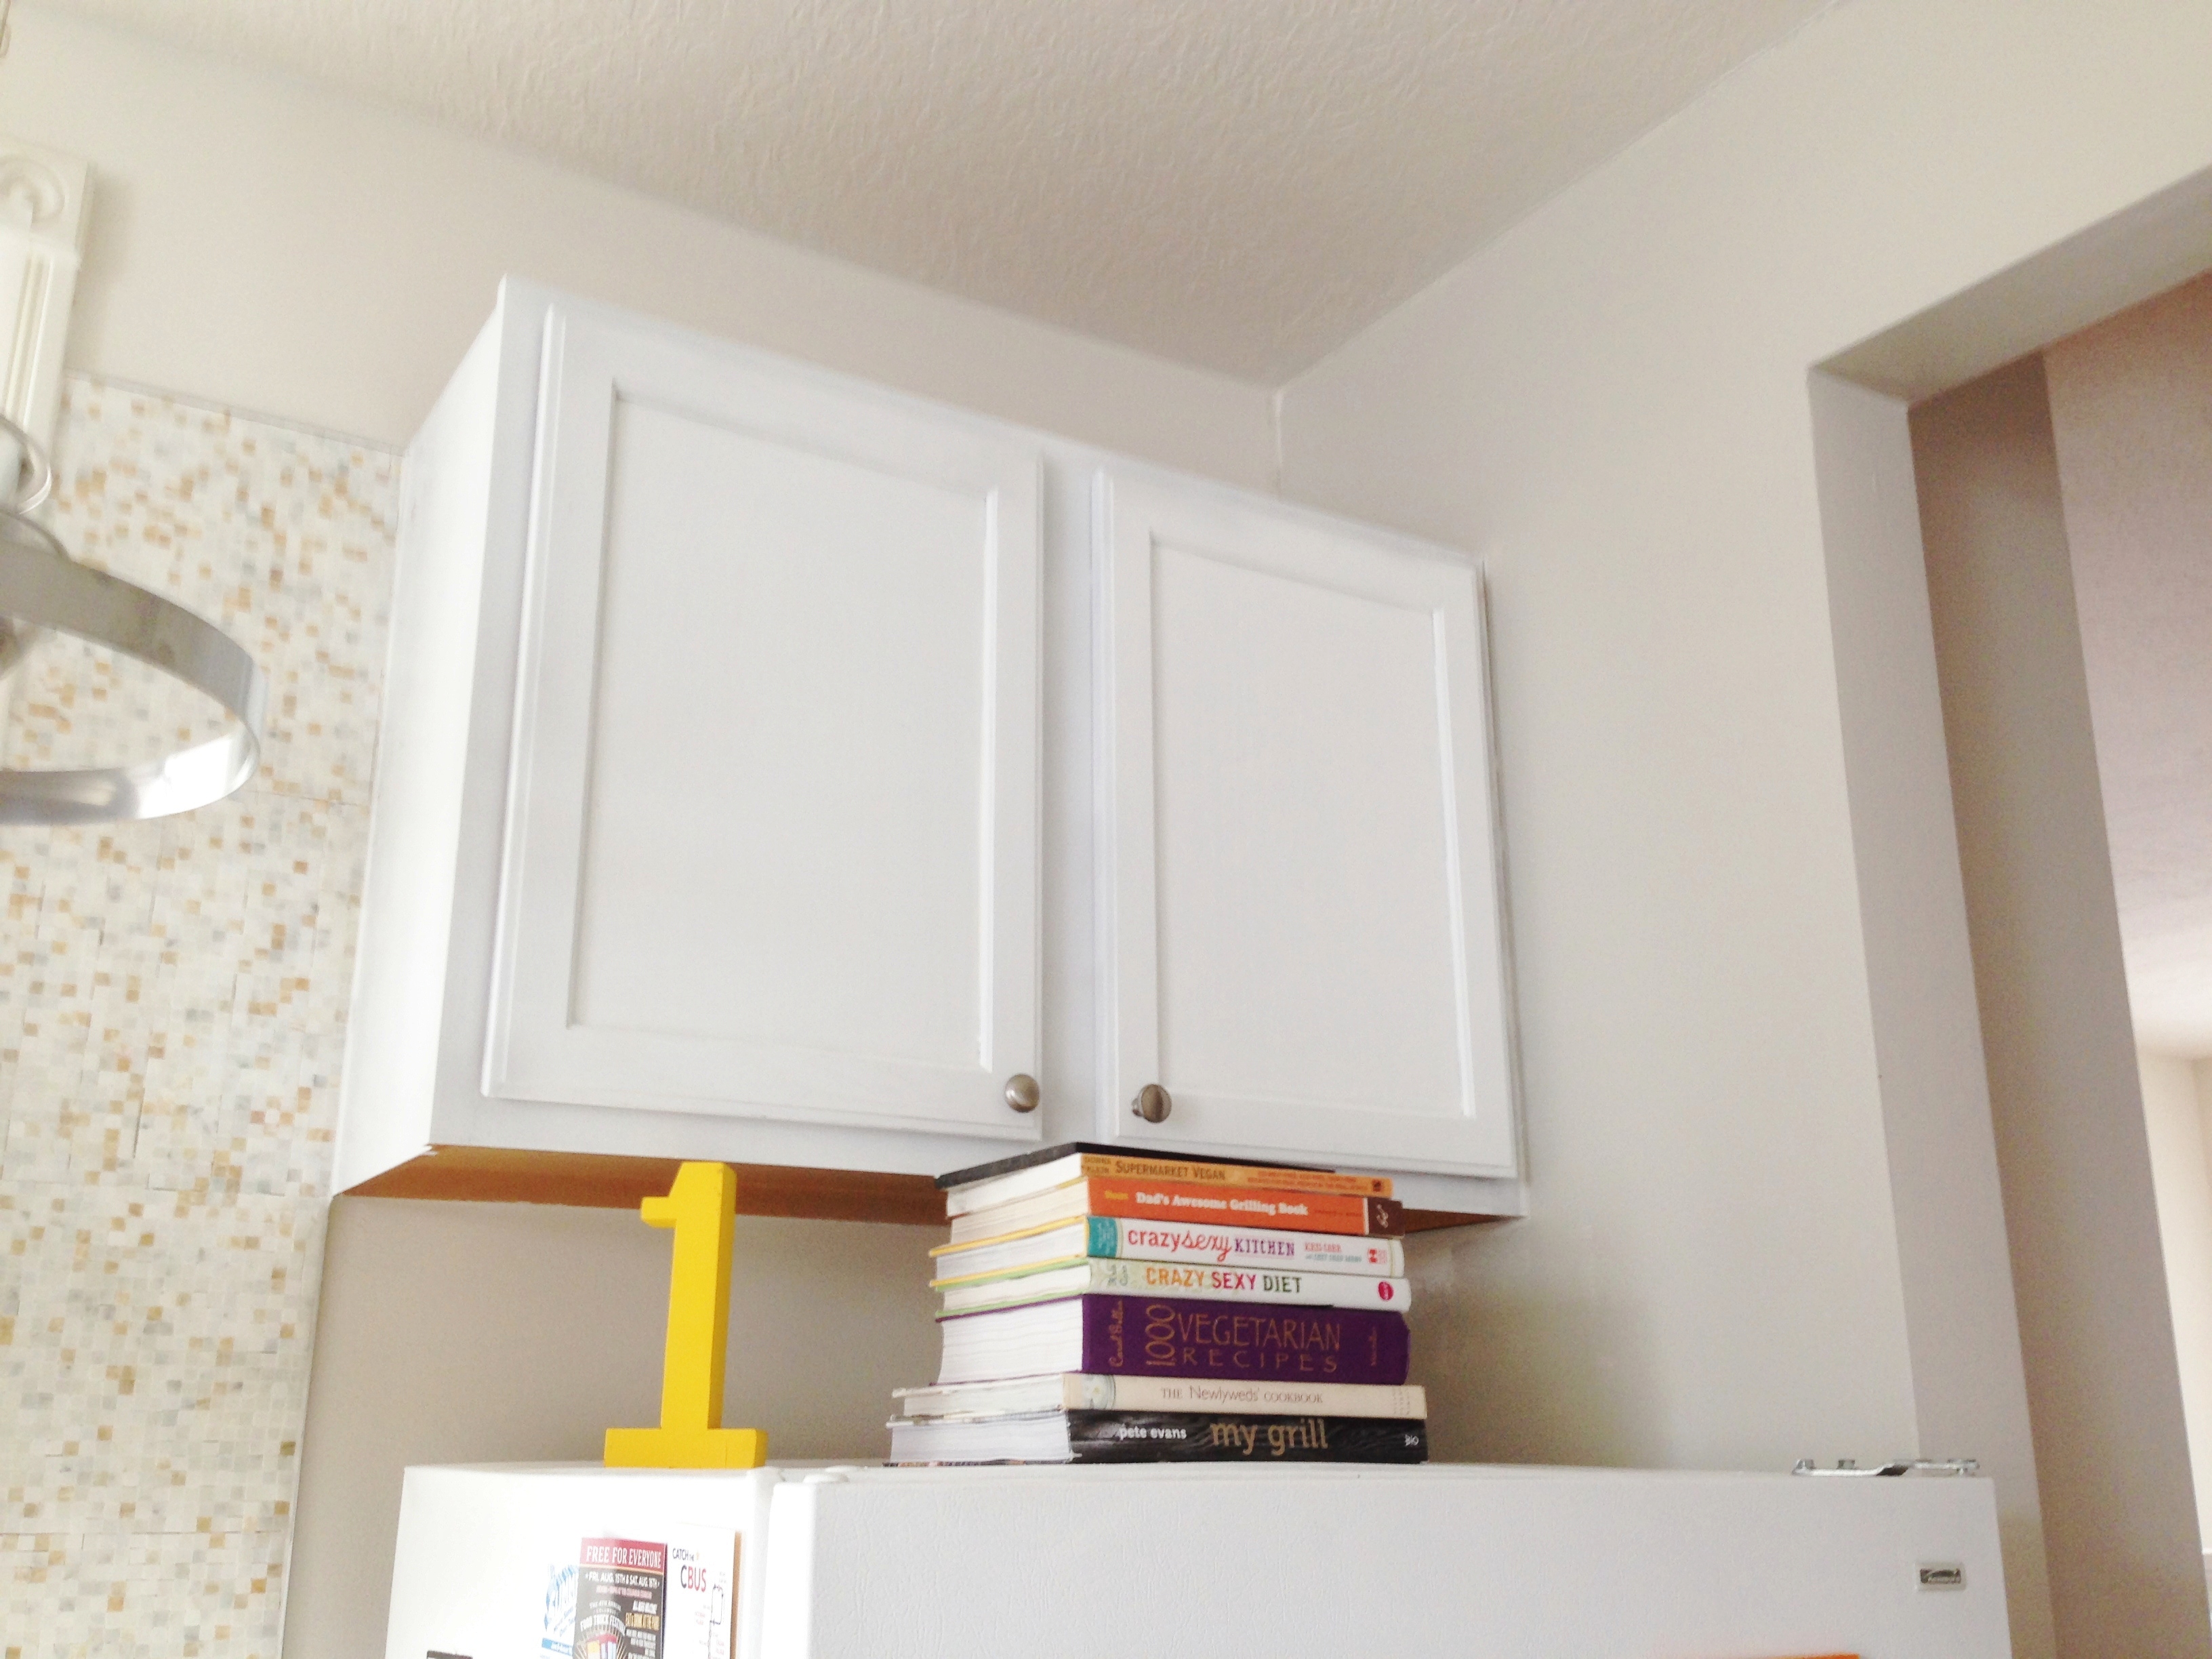
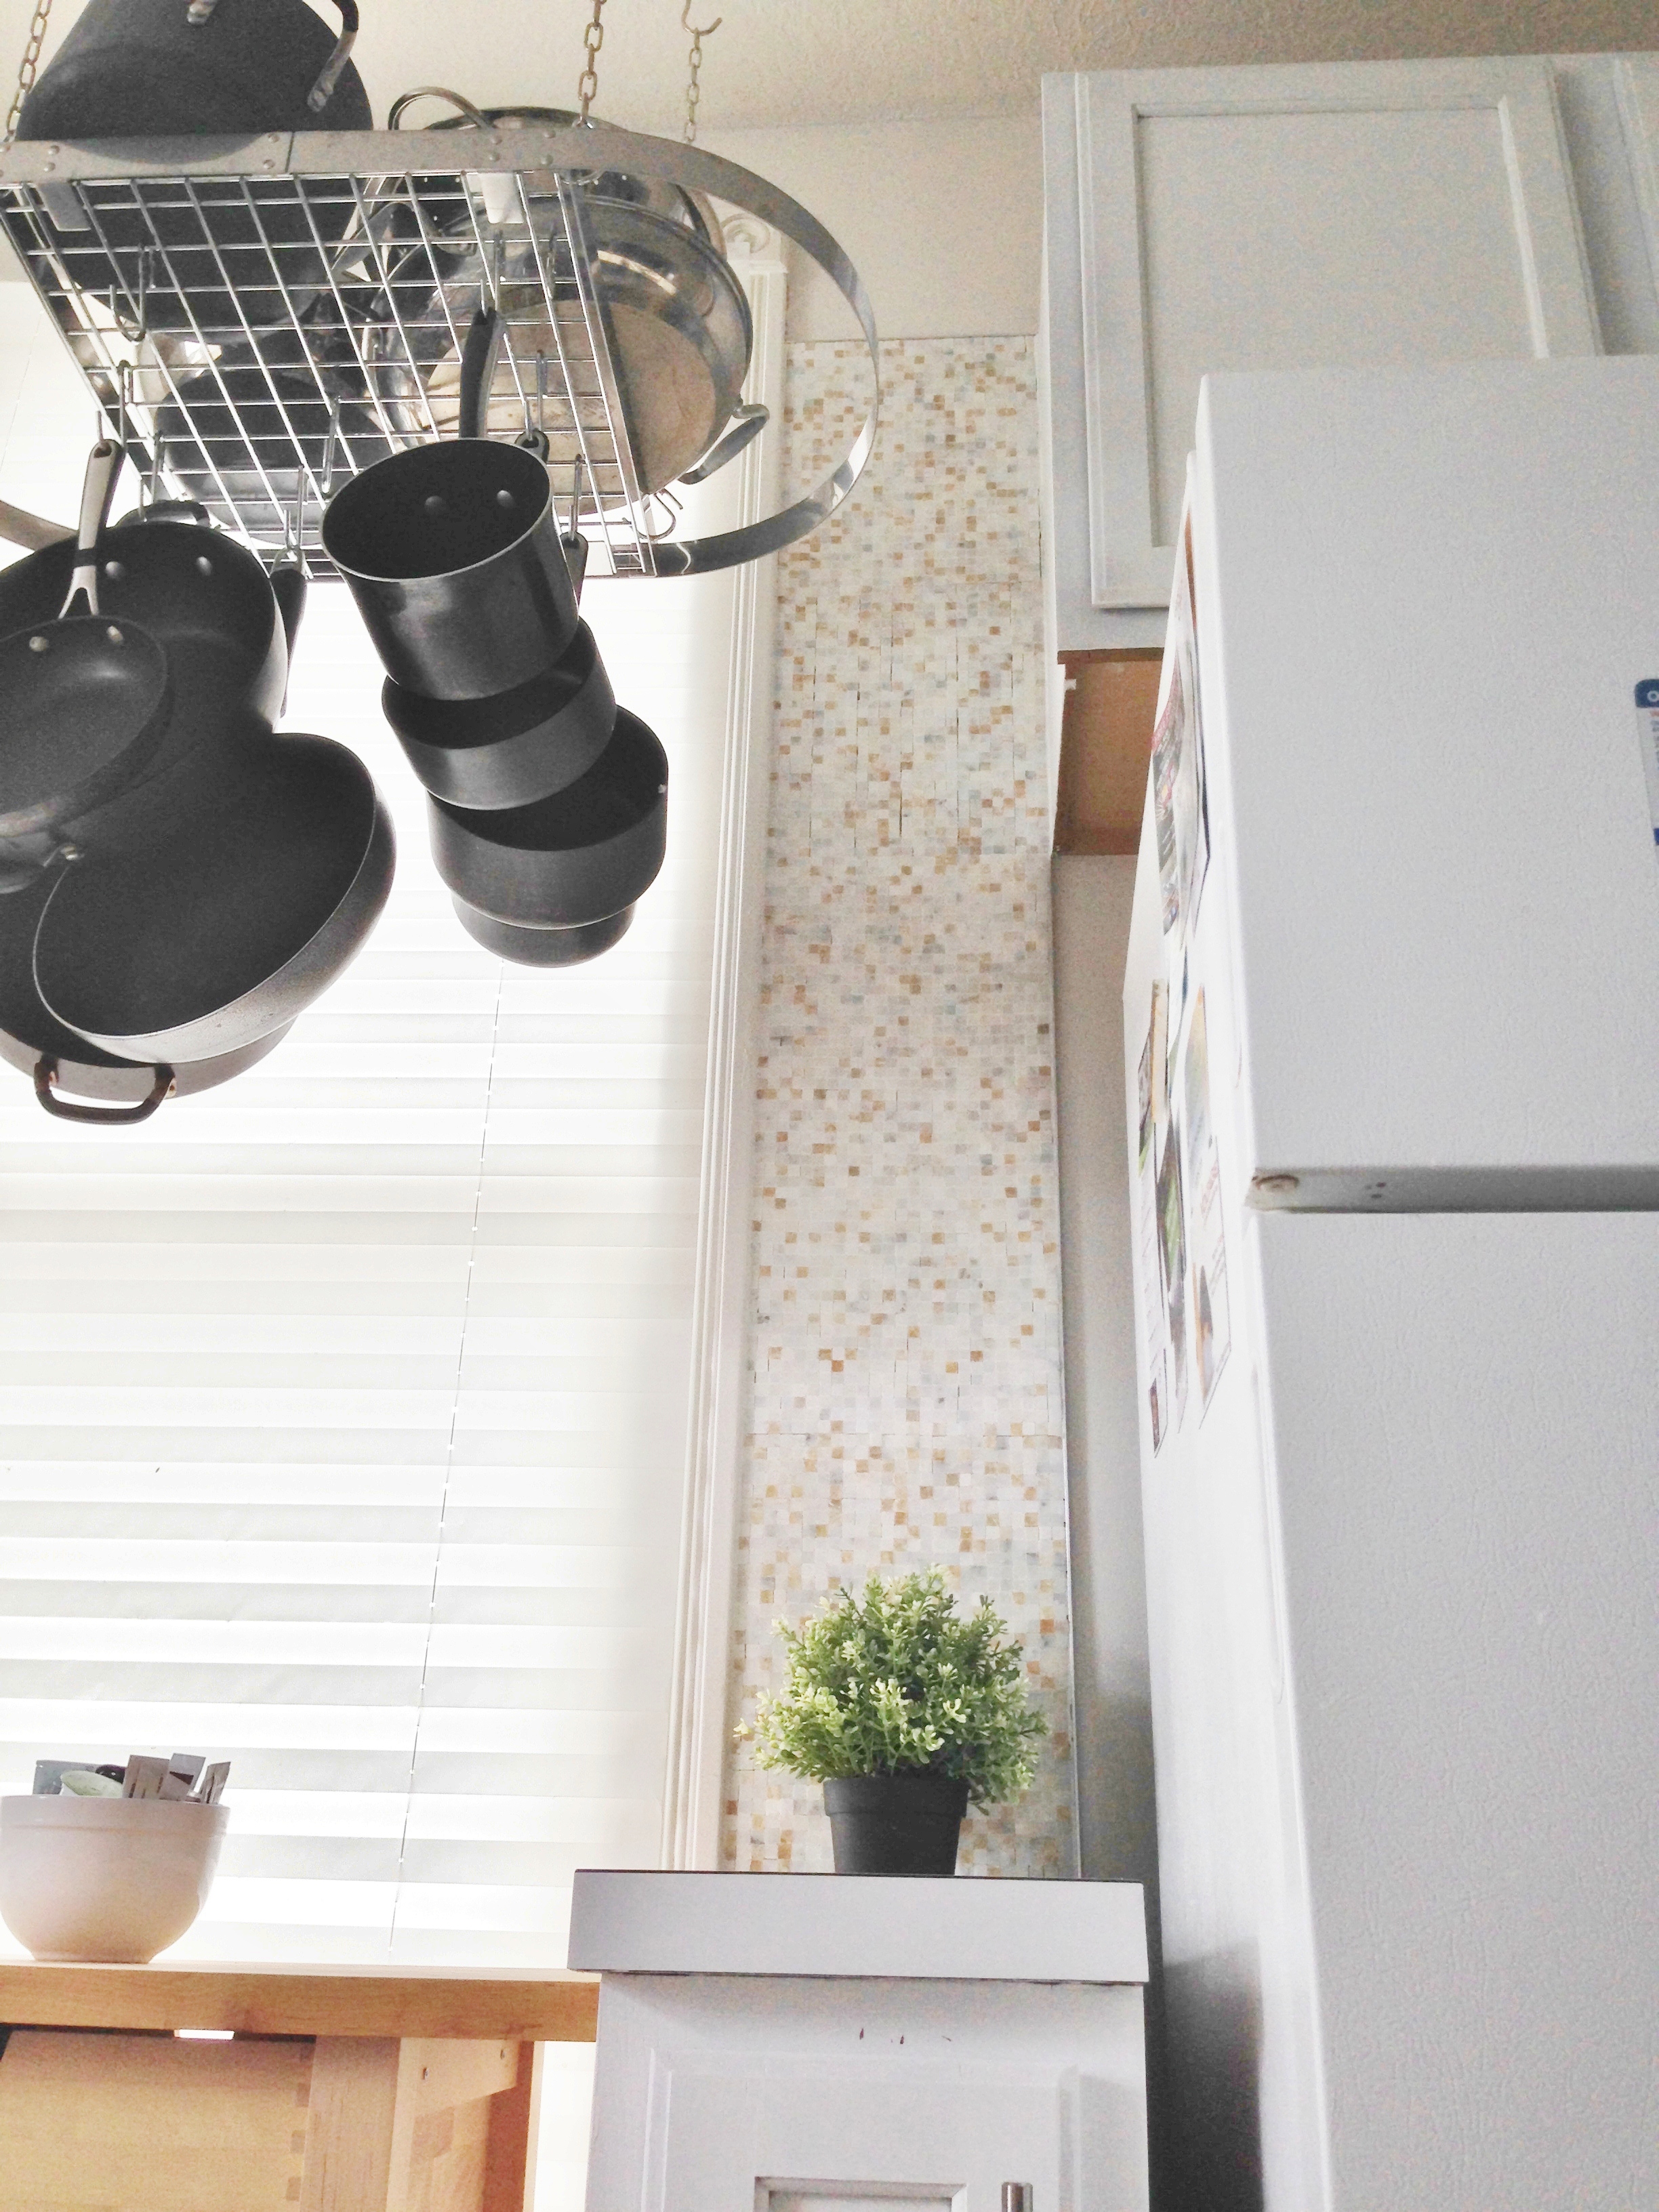
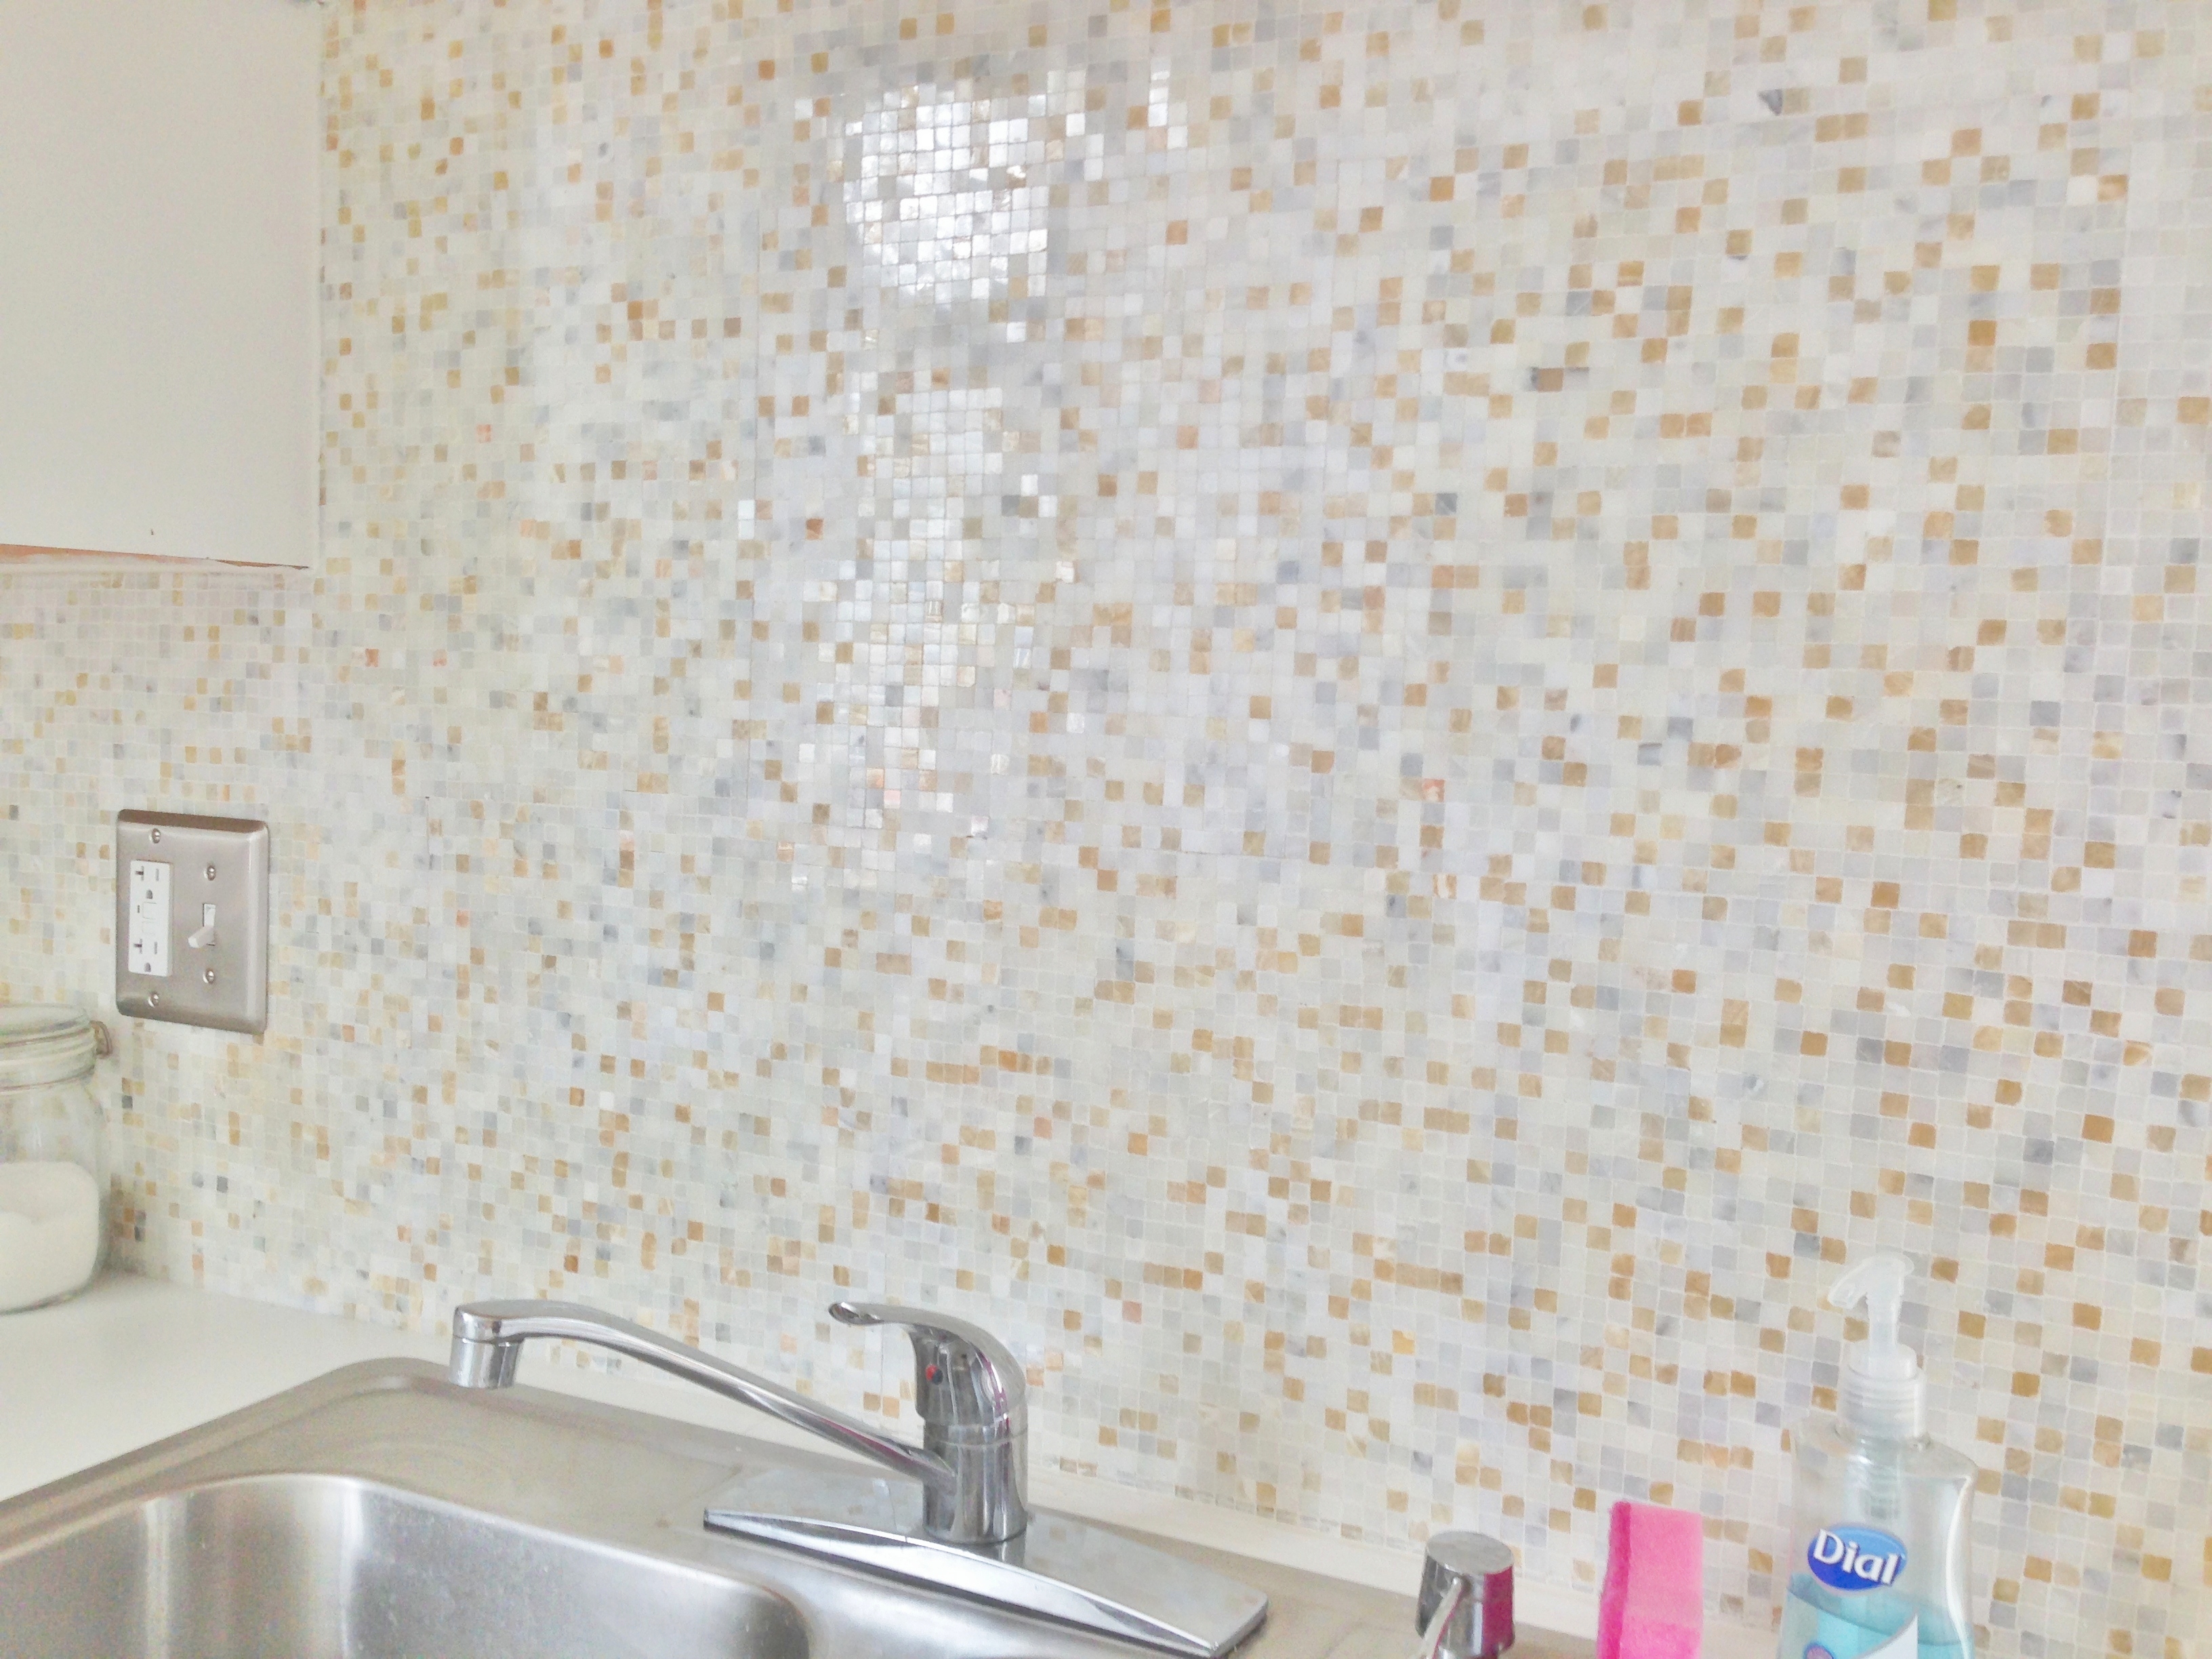
Well folks, we’ve finished our kitchen mini-update which means it’s time for some before & after photos! In our last two posts, we shared how we updated the cabinets and added a backsplash. We also swapped out the old ivory switch plates for new metal ones, which made a huge difference. We went with the Style Selections brand at Lowe’s because it was the least expensive, but still looked nice.
All in all, here’s what we spent on the project:
Cabinet Update – $113
Marble Backsplash – $244
Replace Switch Plates – $30
Total Cost: $387
I know we talked about doing the floor with these tiles, but realized it would be a lot more work than we expected. Since the kitchen floor extends under our fridge and washer/dryer, we would need to disconnect and move them in order to access those areas with the new tile. We didn’t have the time to do that this time around with renters coming and going, and just didn’t want to deal with the hassle.
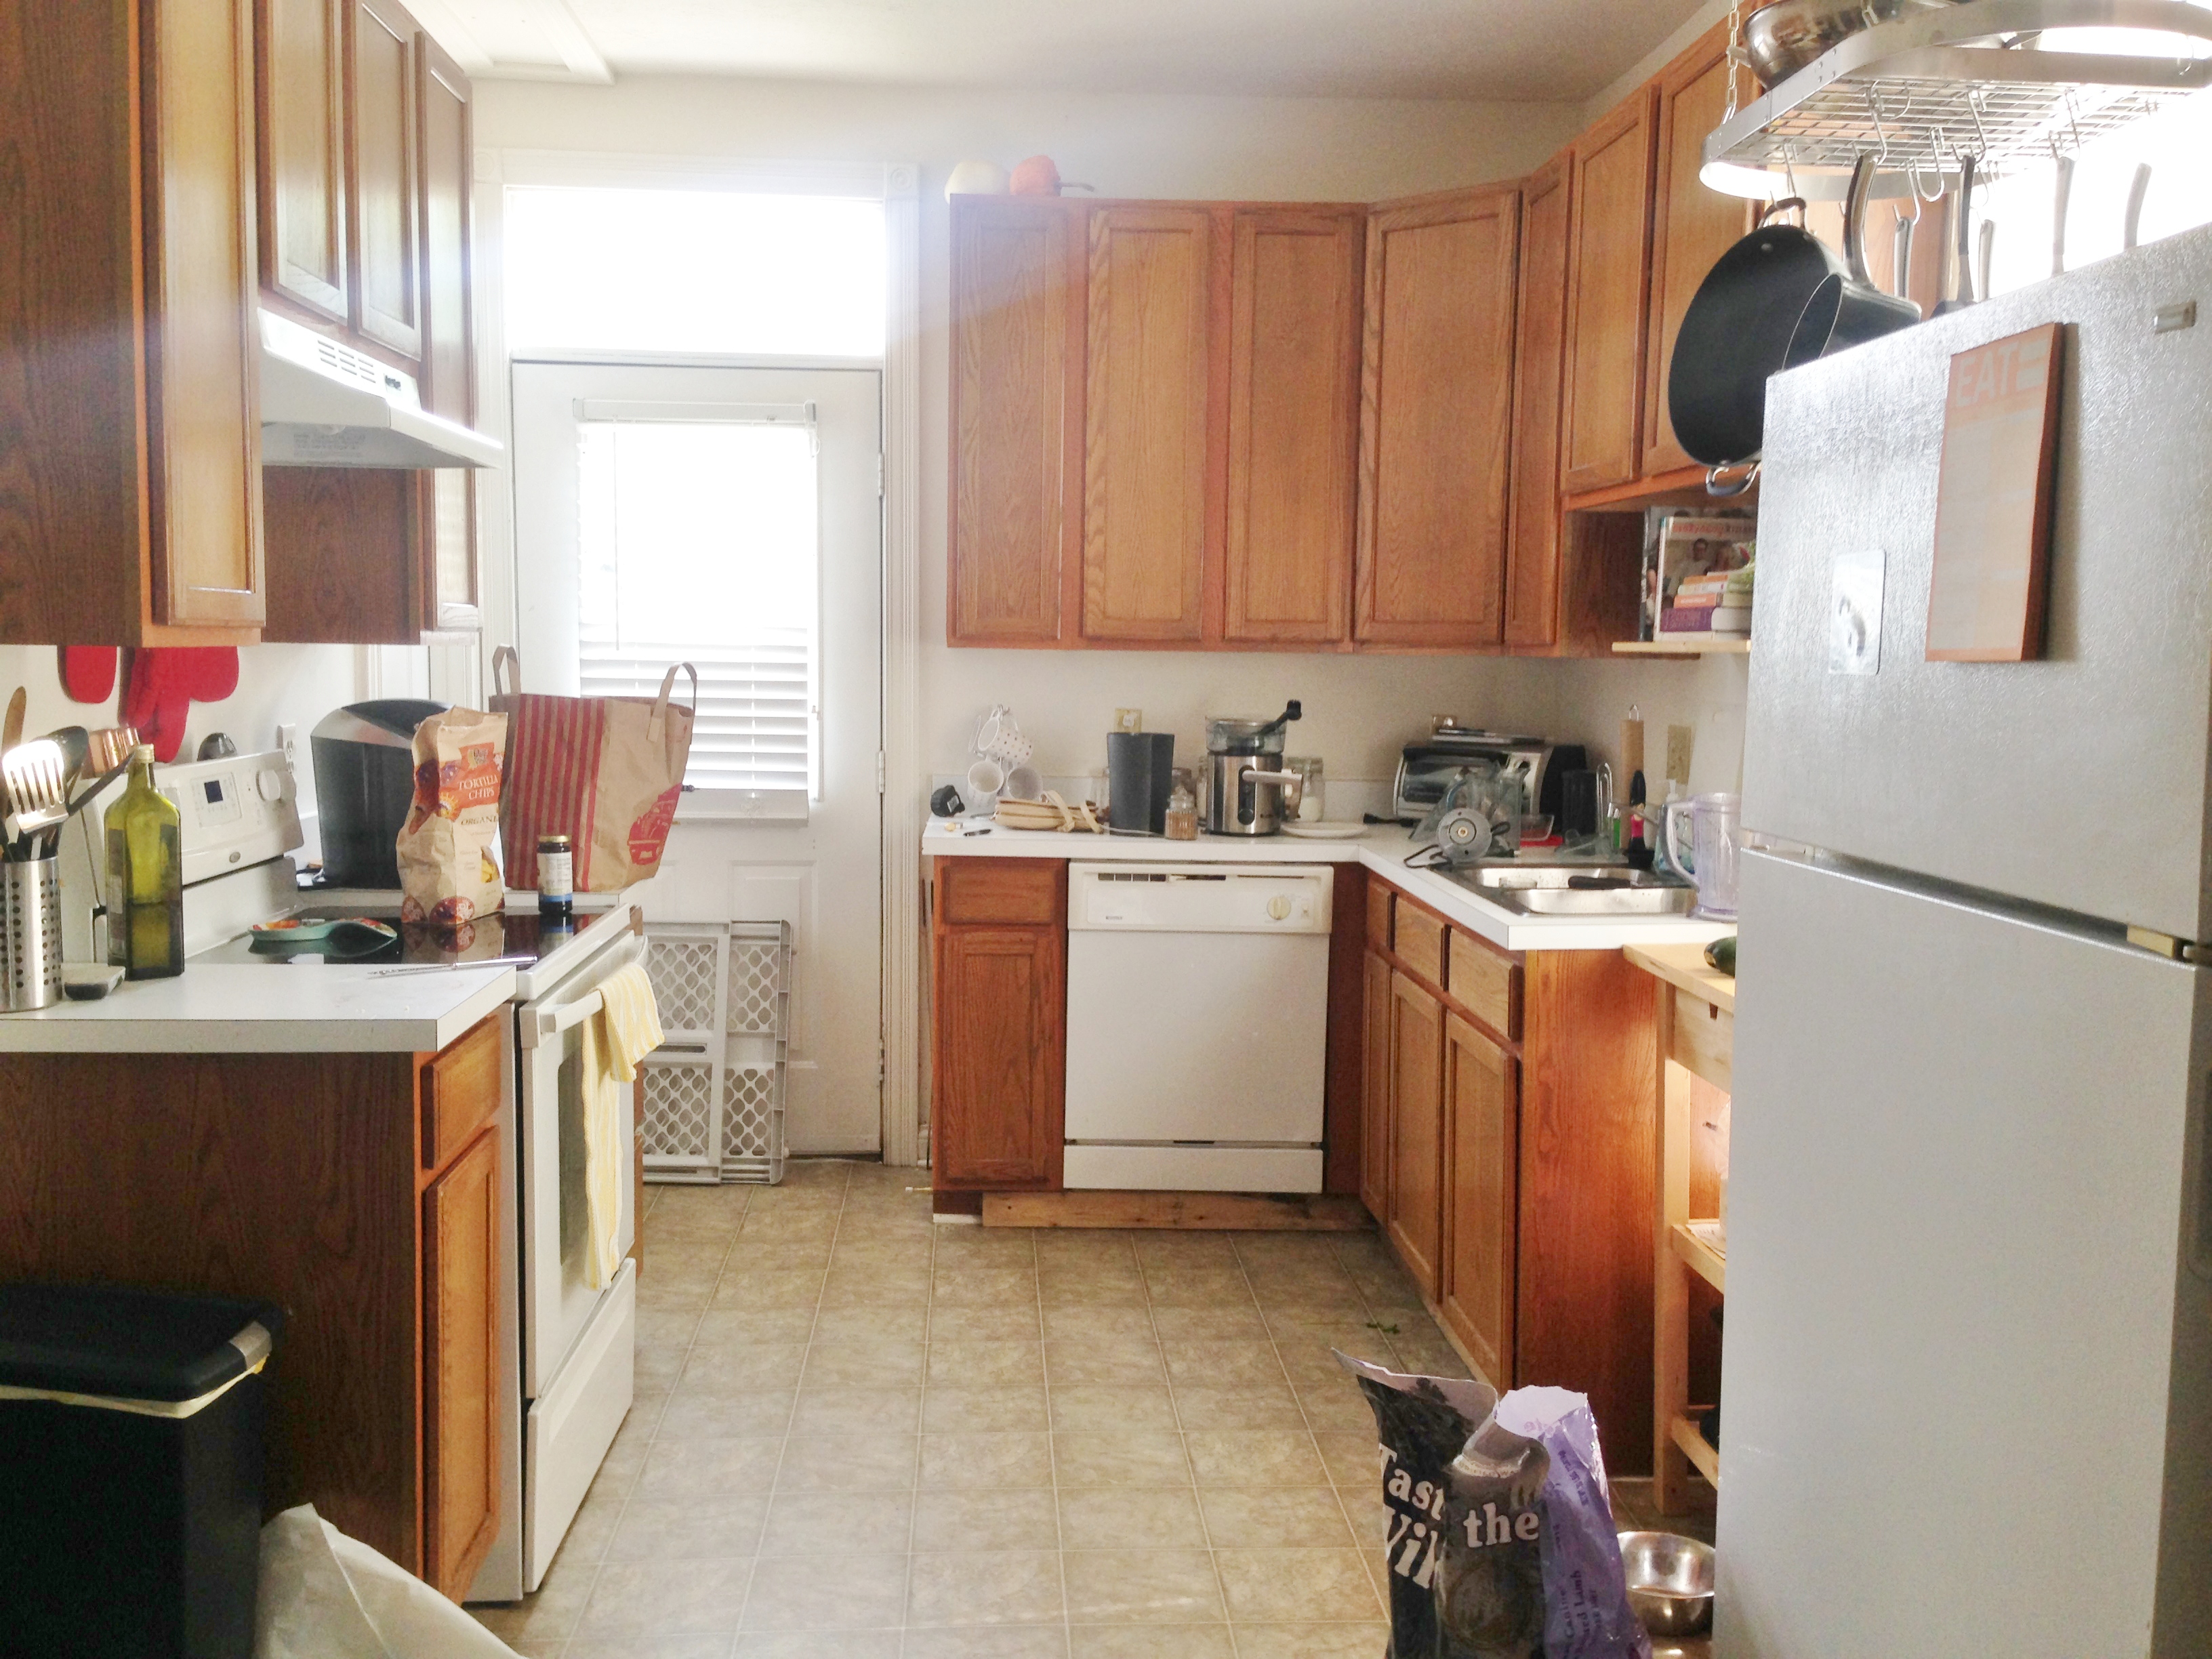
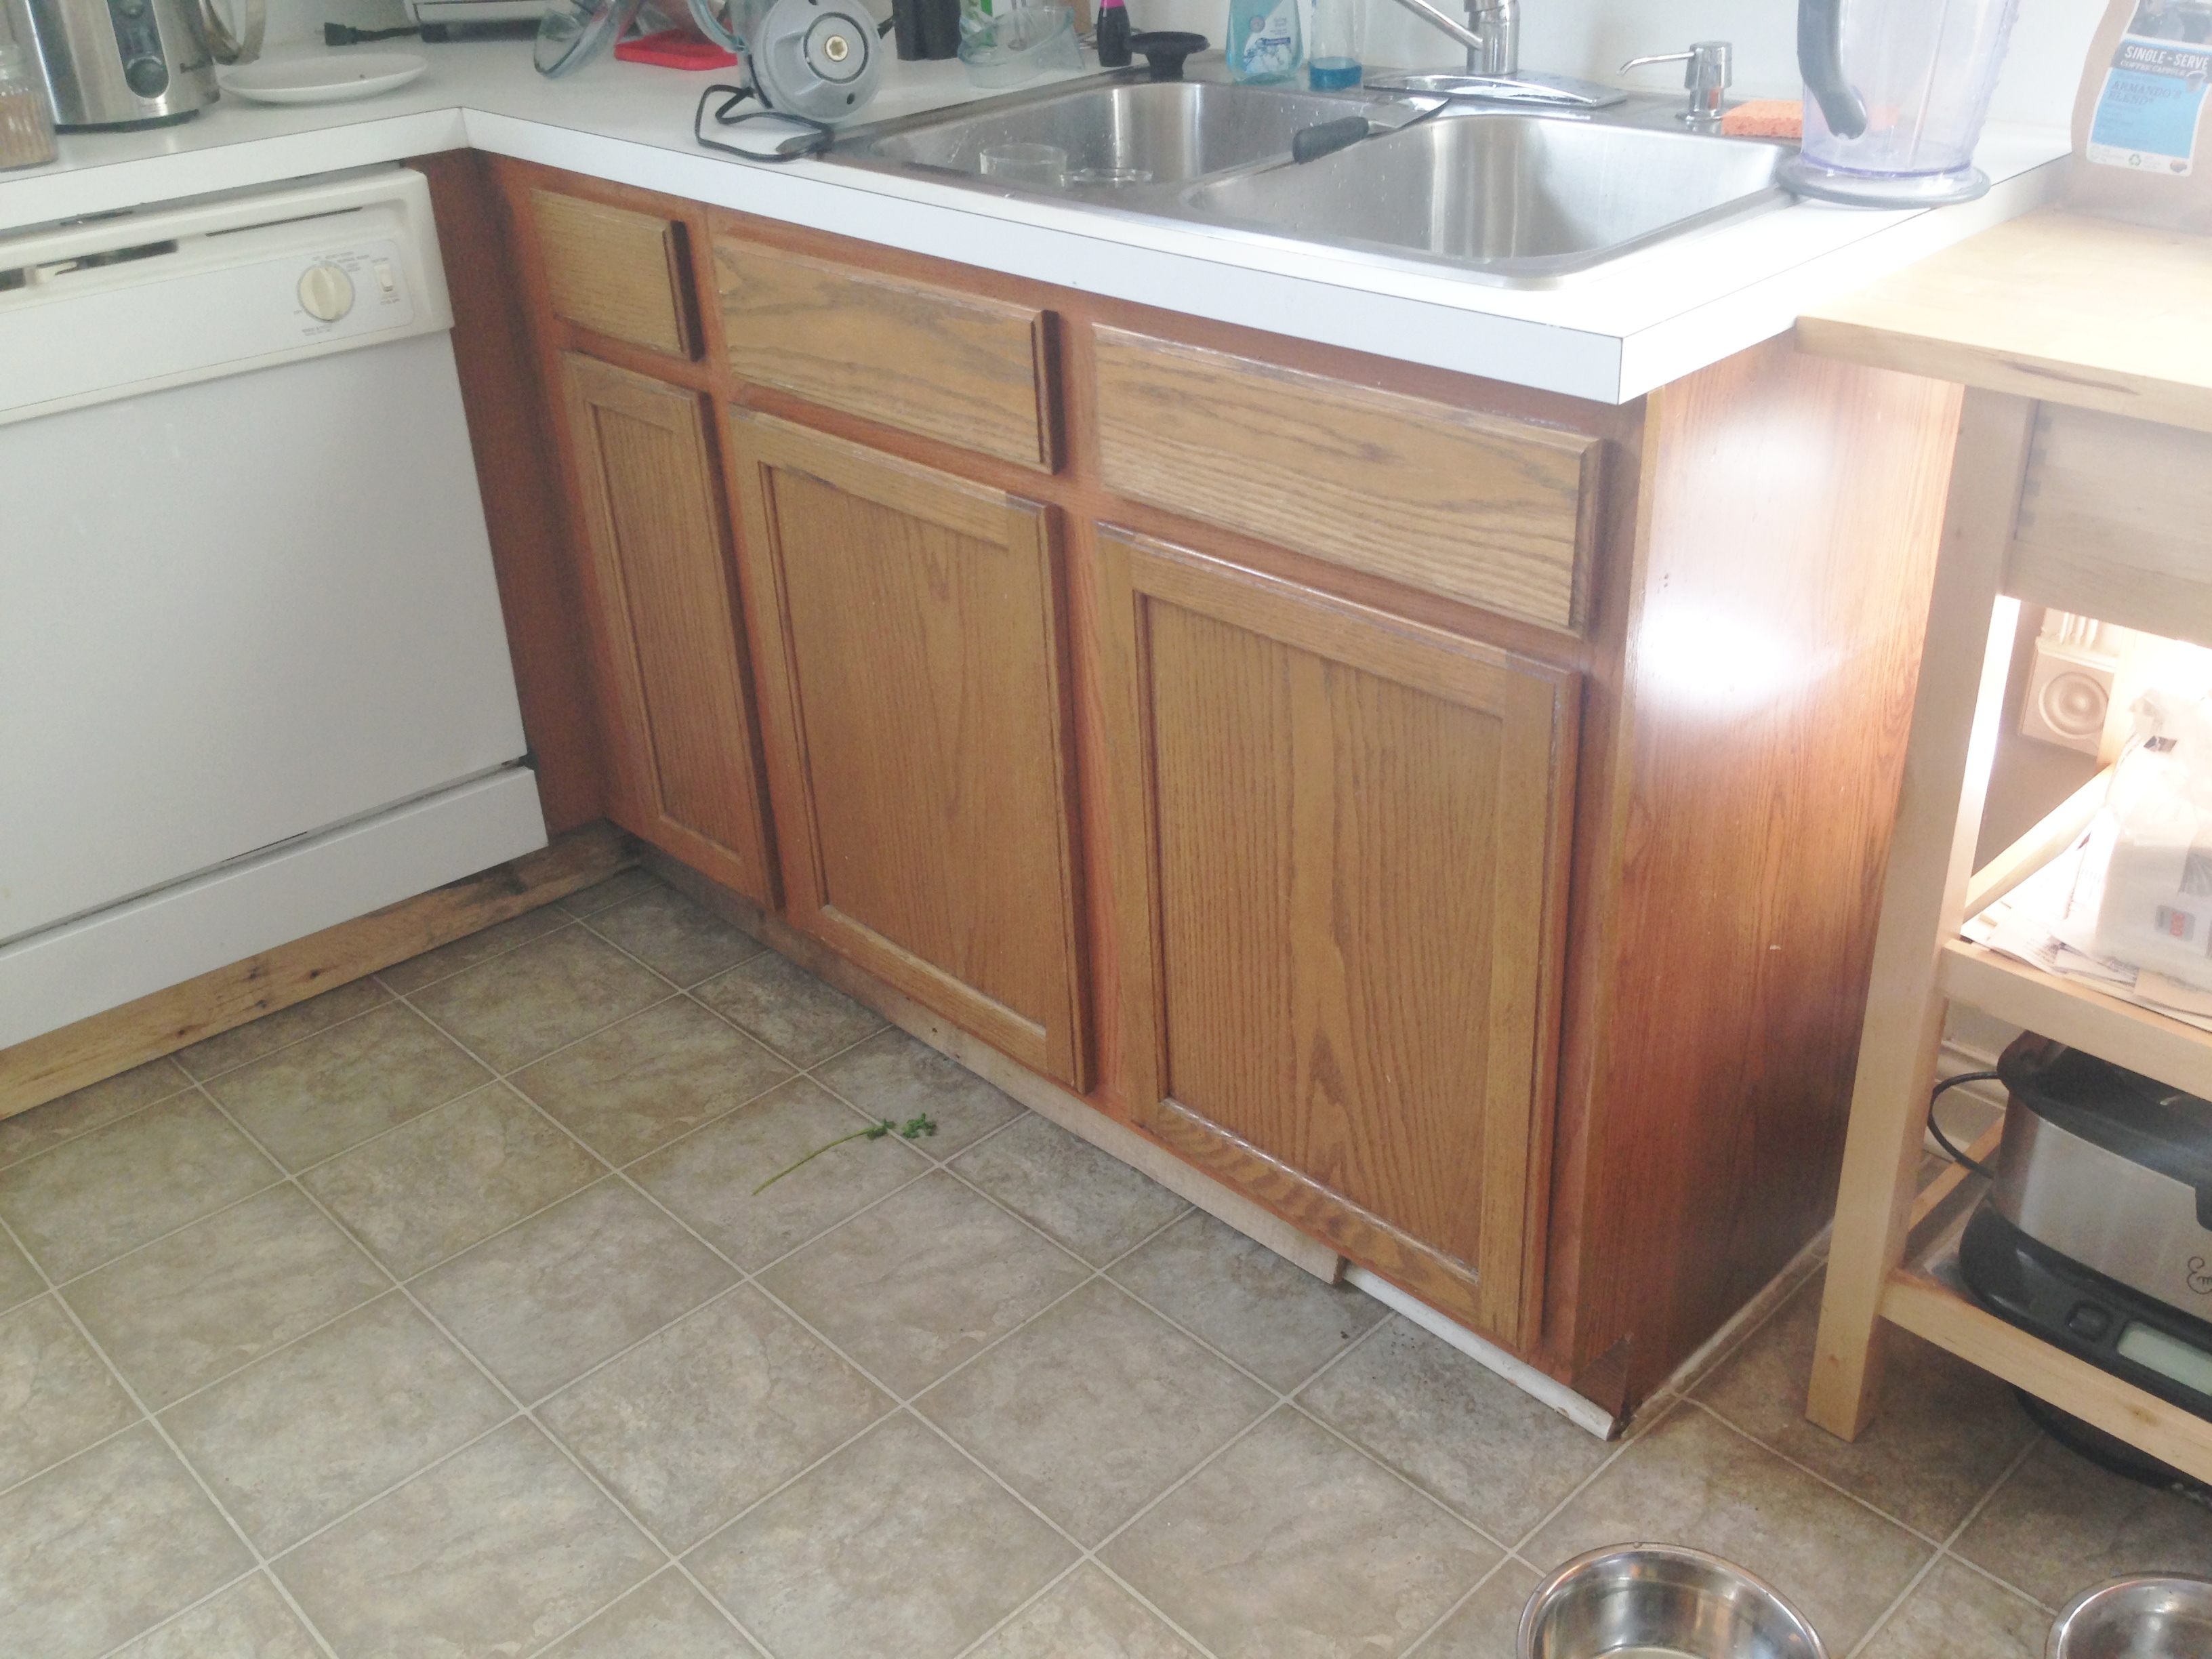
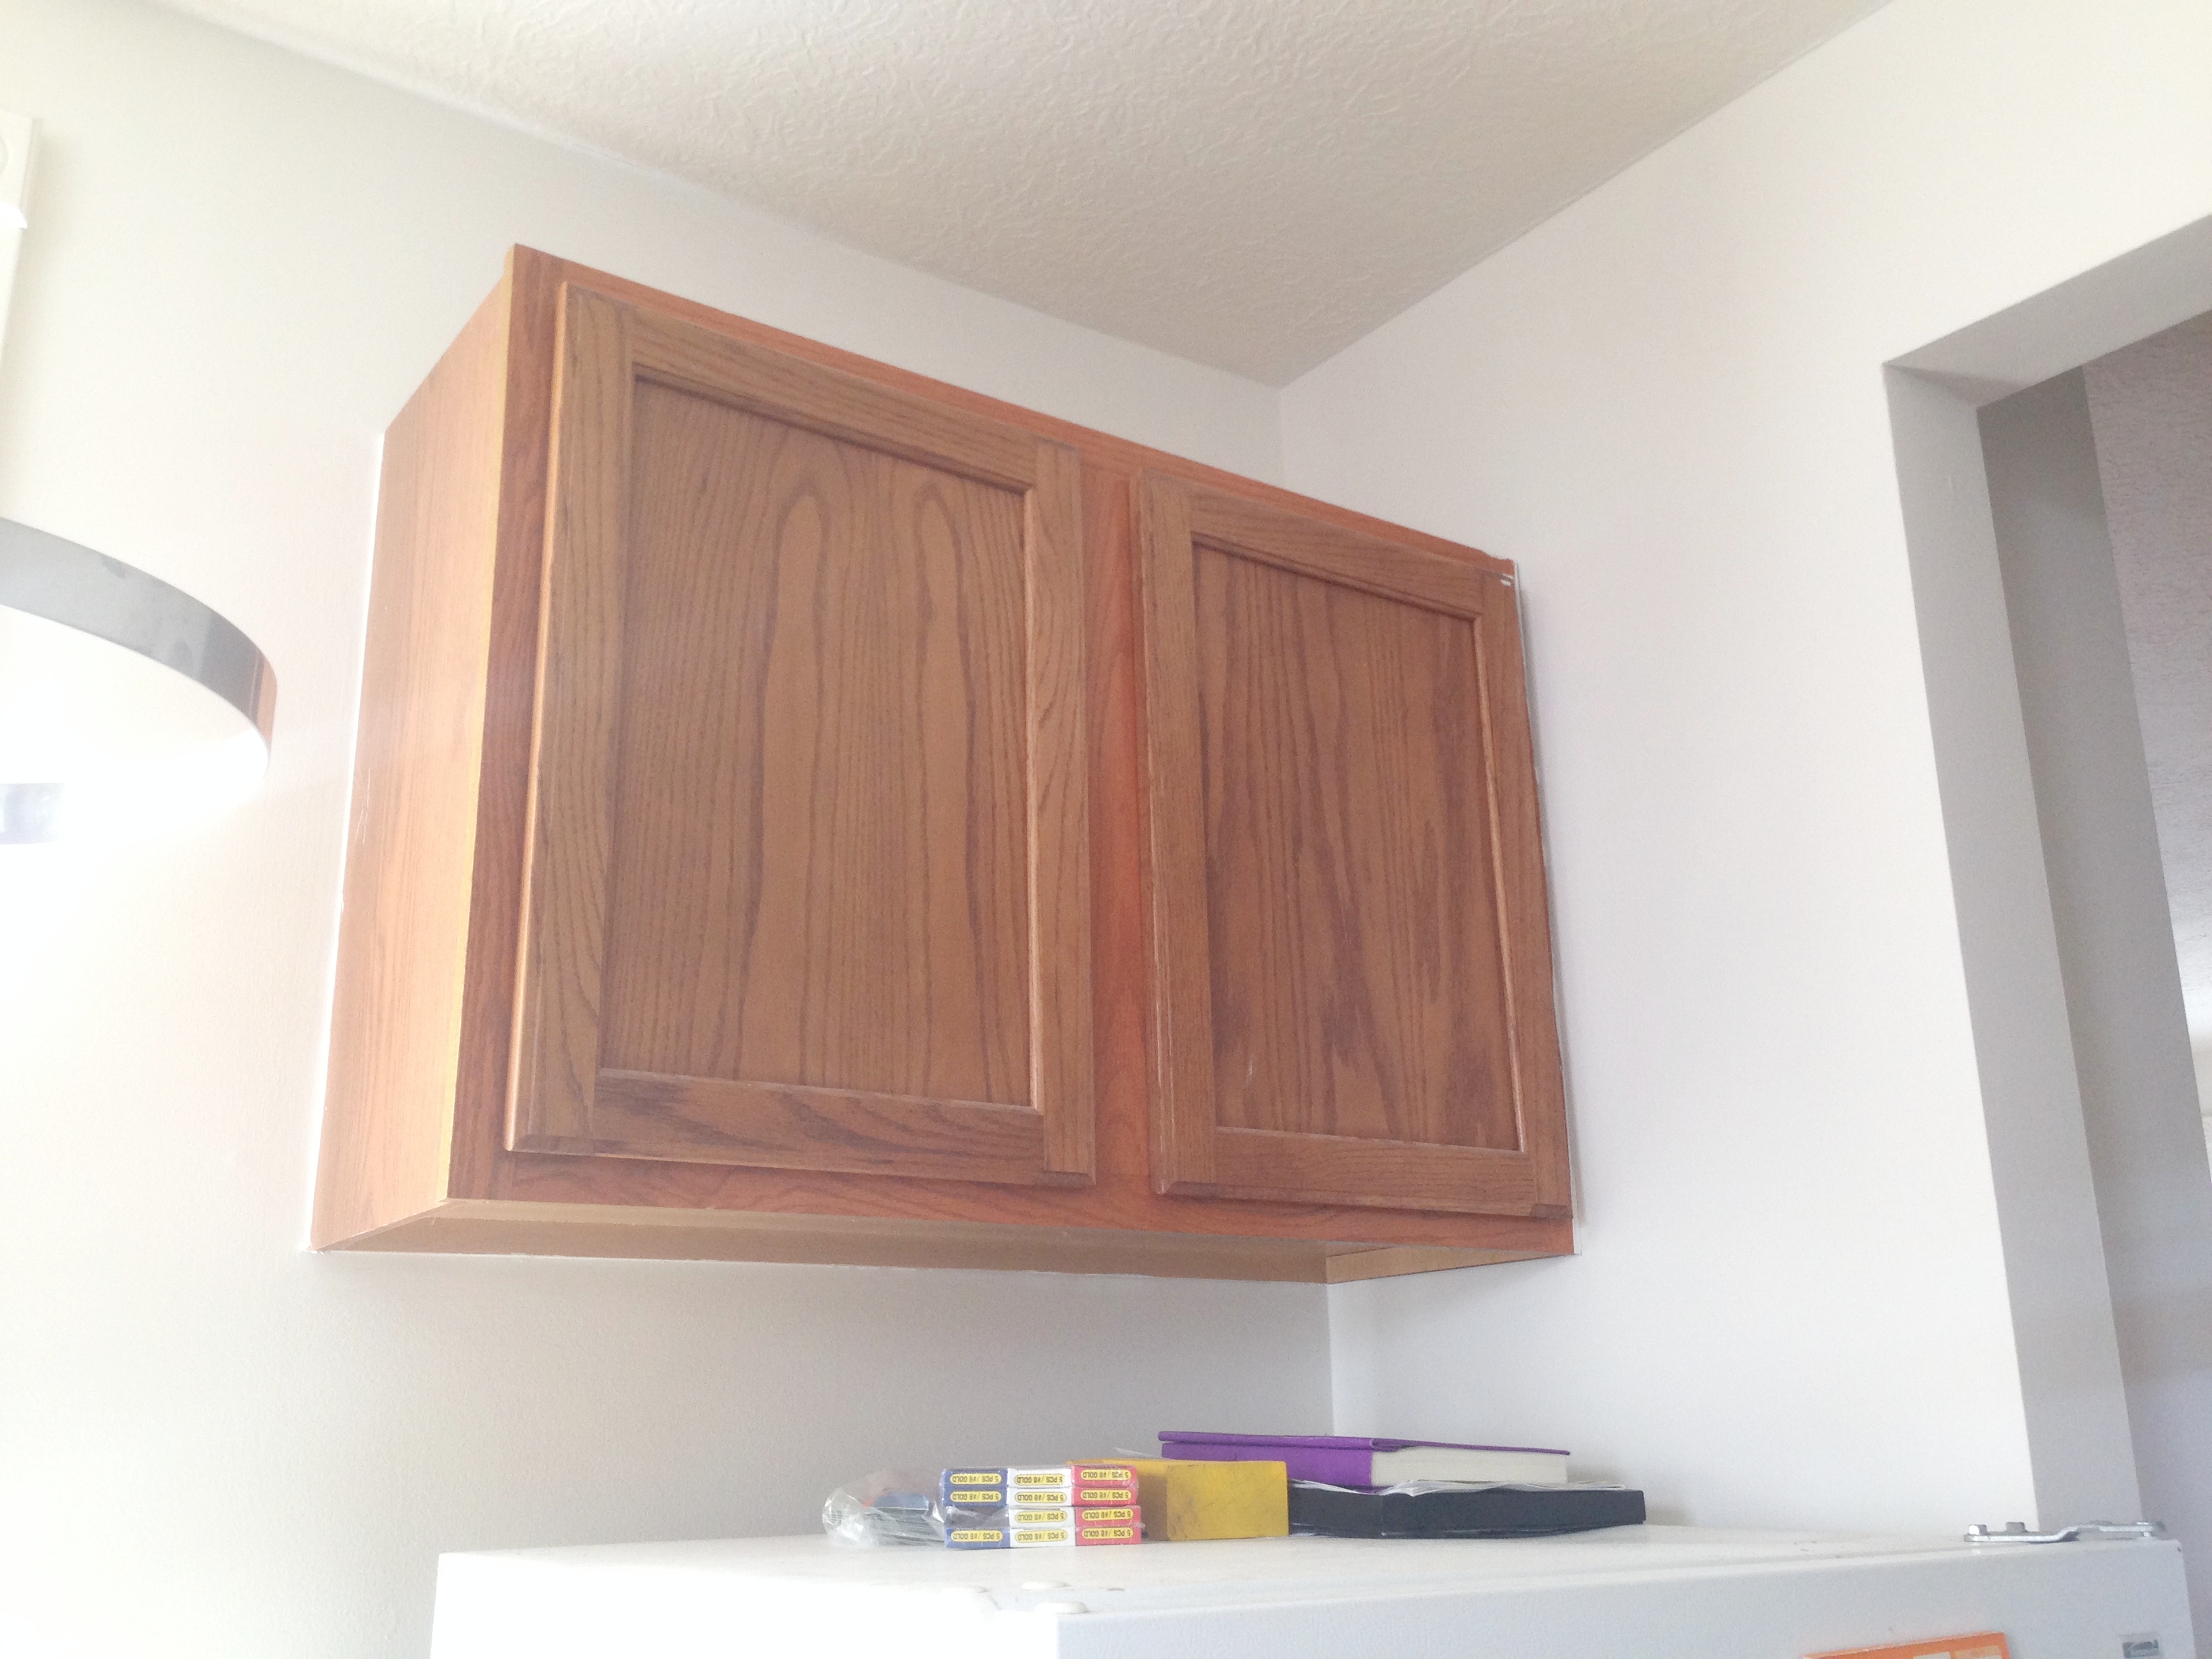
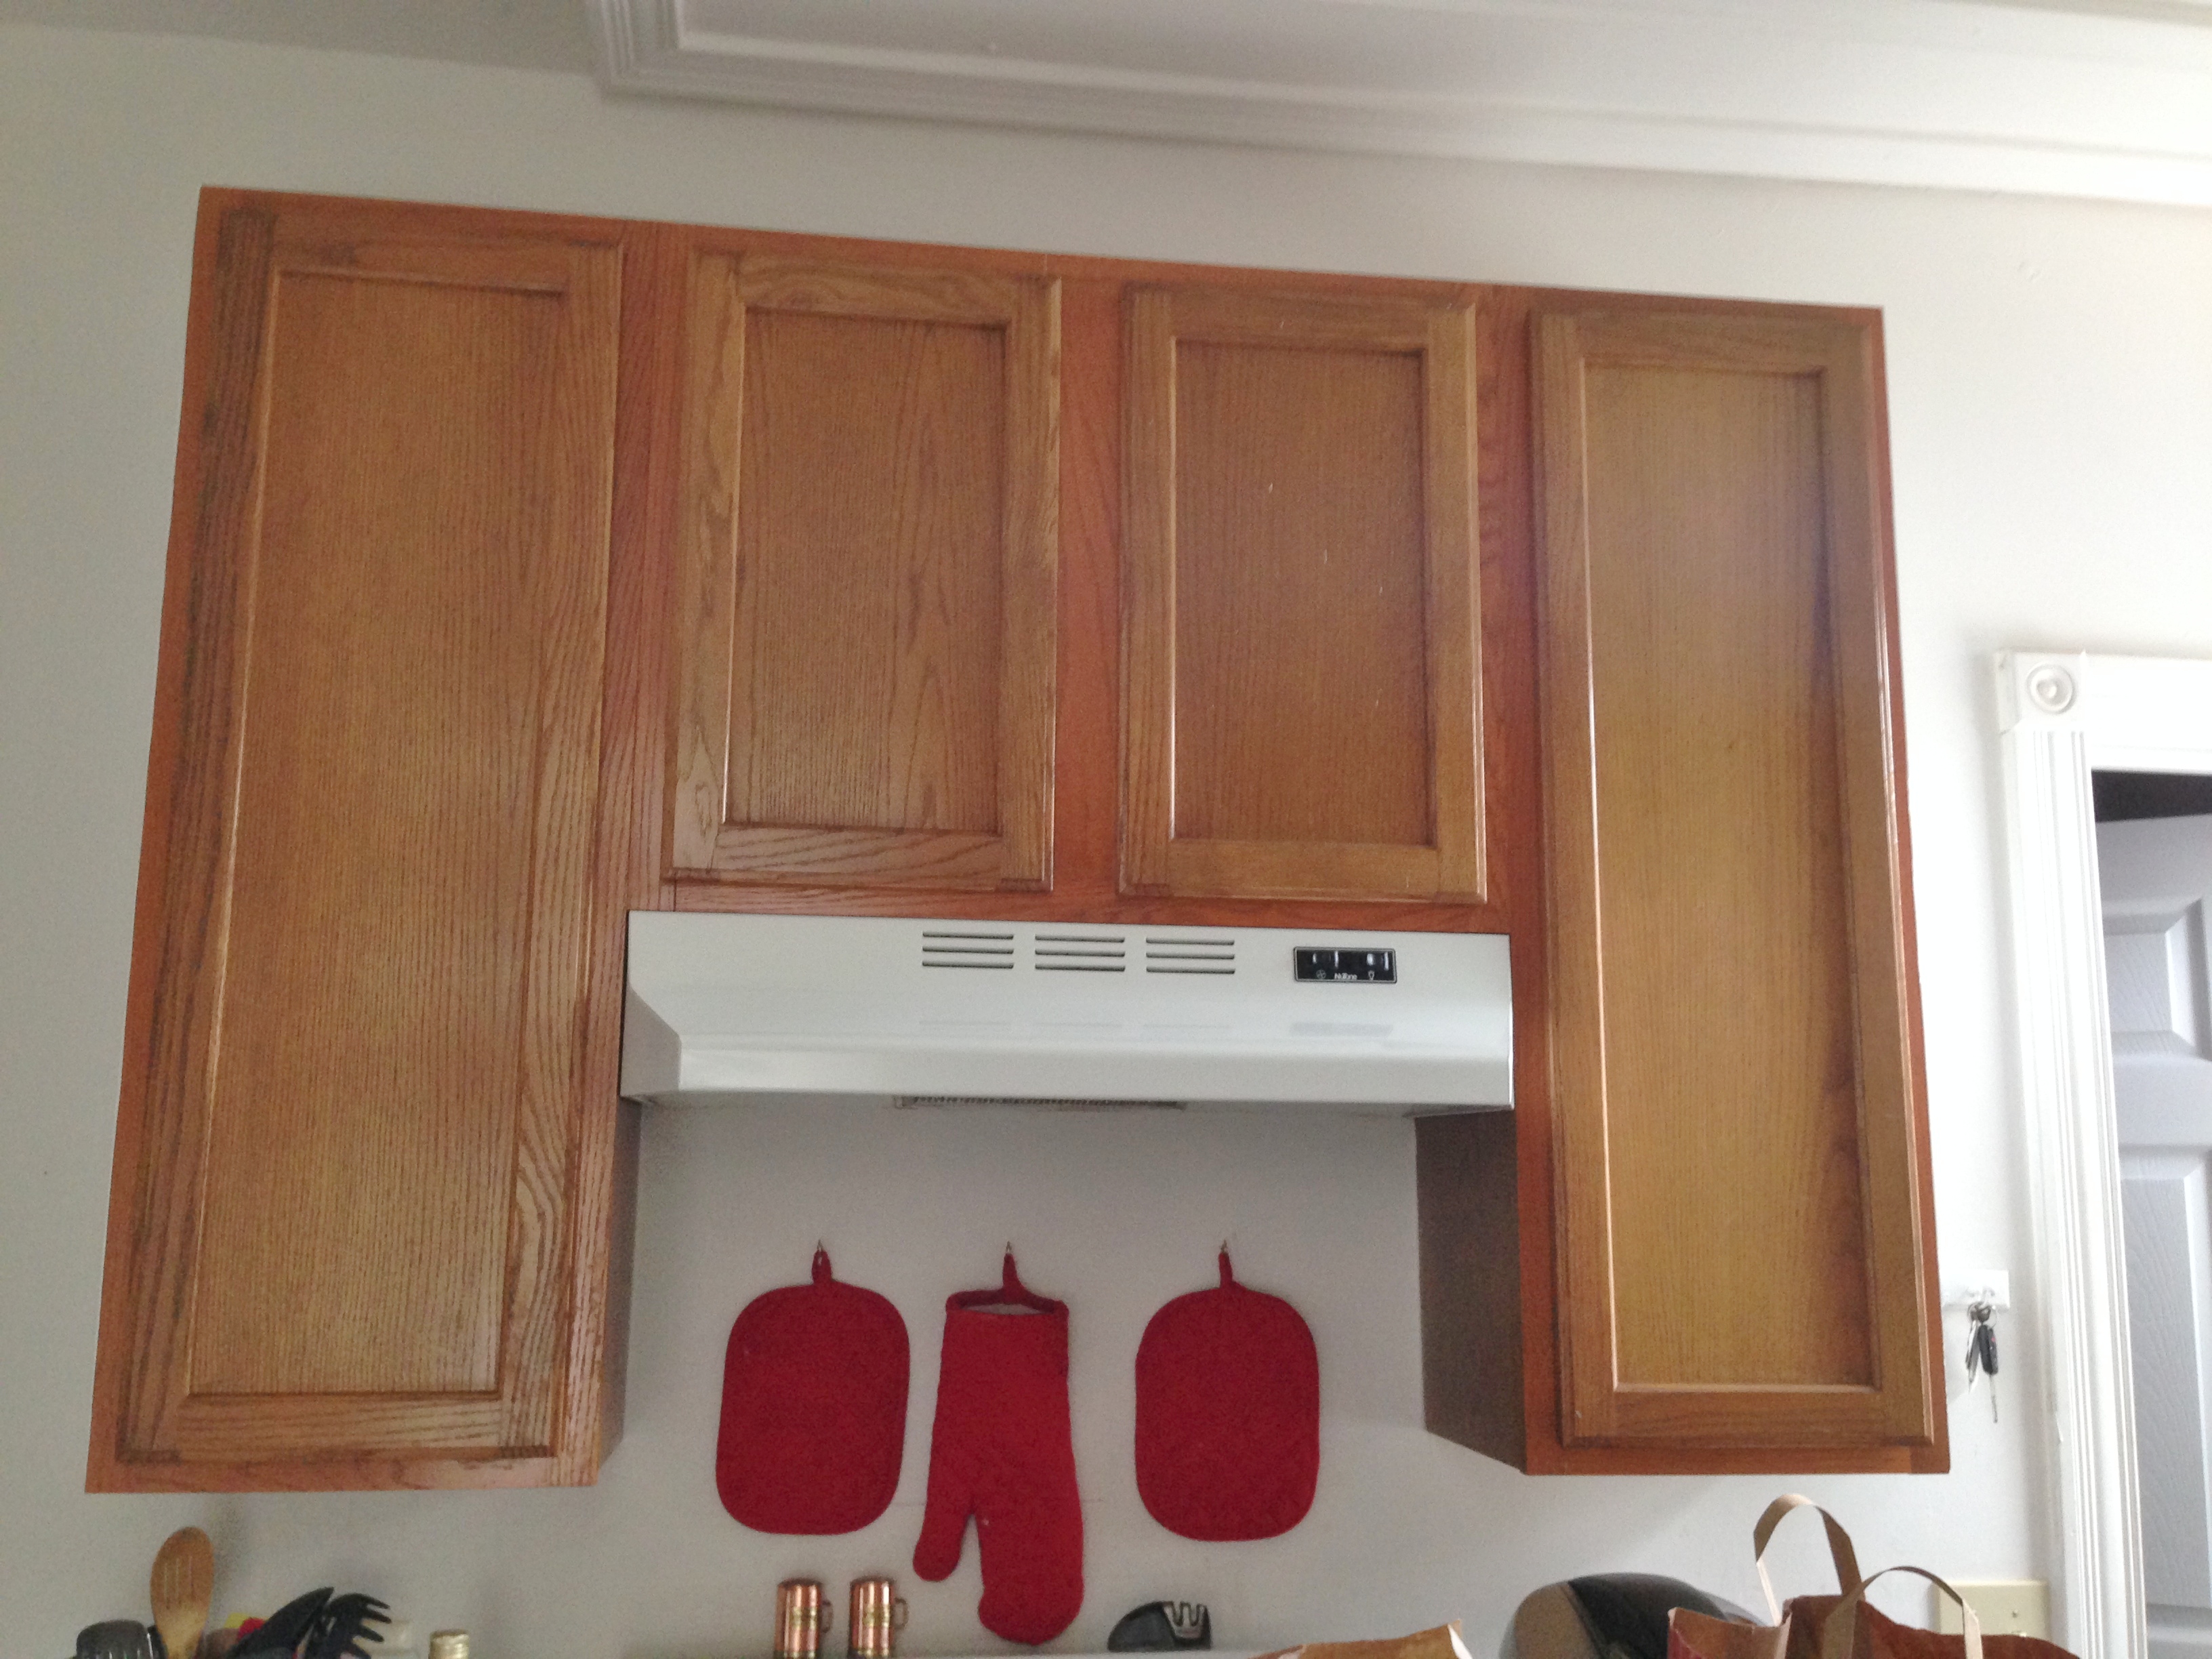
So, with that being said, here’s what the kitchen looked like before:
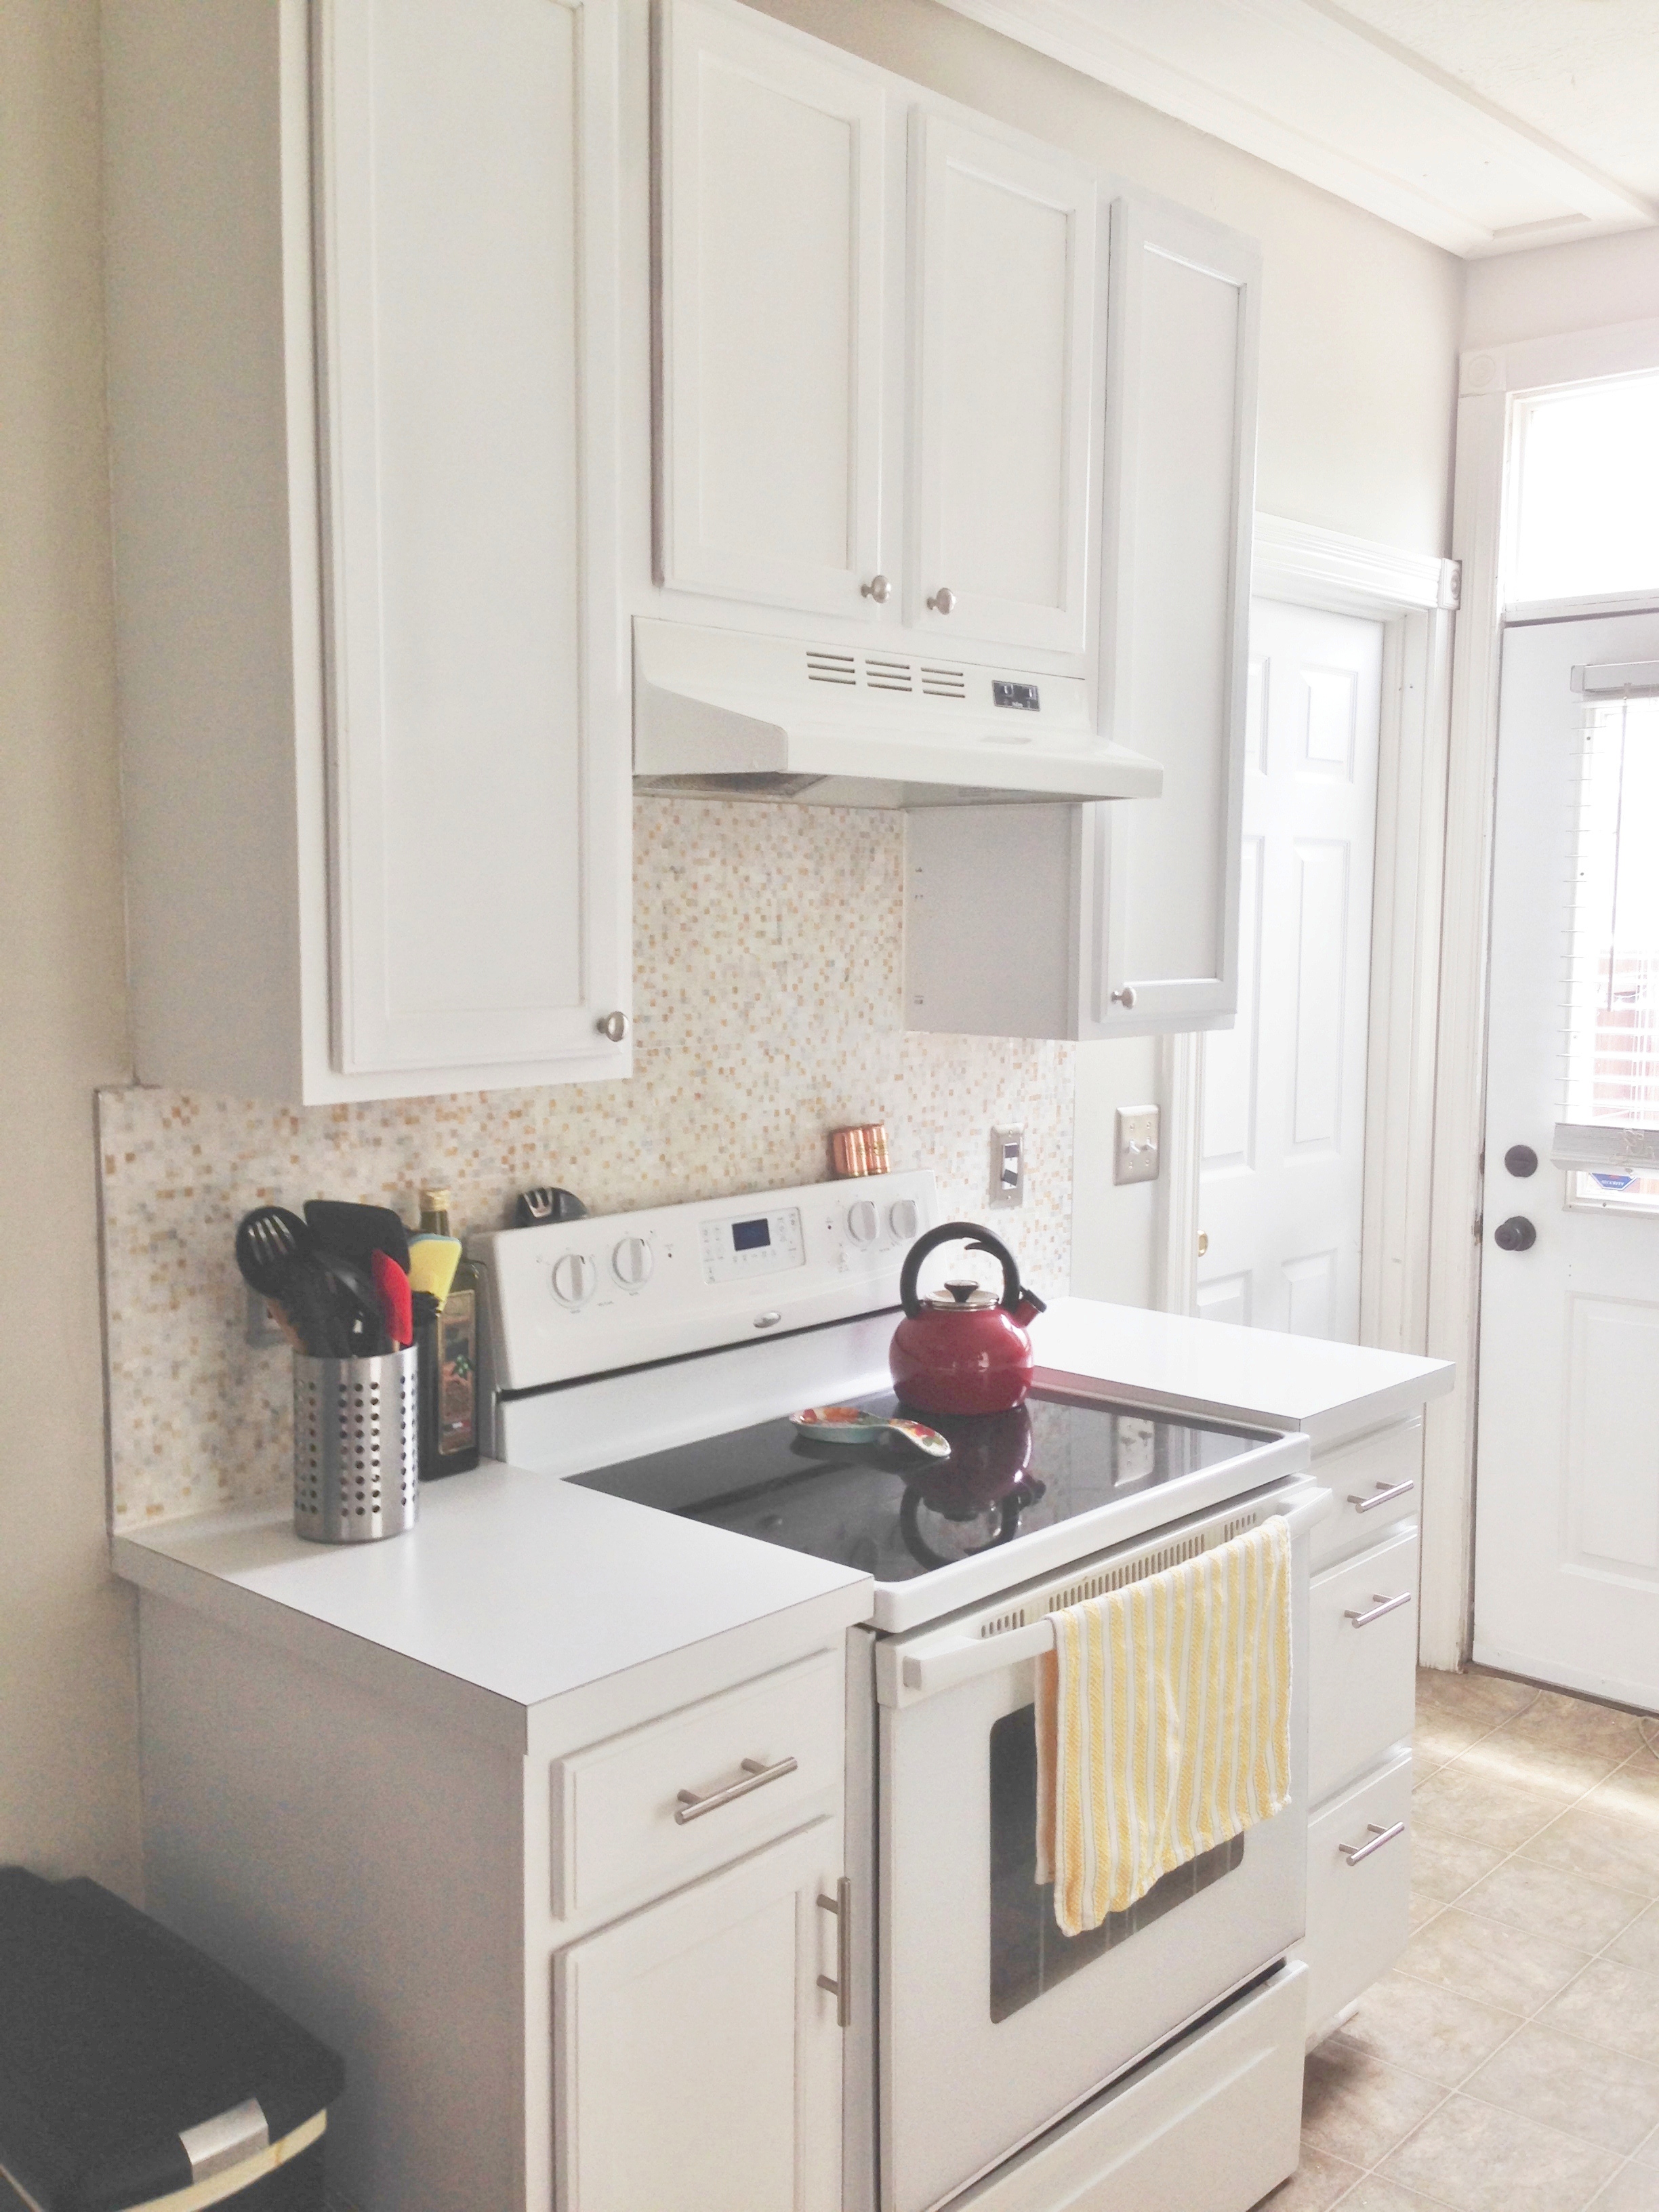
And here’s what it looks like now!
We love it. We don’t even mind the white appliances or the plain white countertops anymore! If we decide to get adventurous again, we’ll do DIY concrete countertops (like these) and tile the floor. And maybe replace the appliances. But for now, we’re happy with the way our mini-update looks… especially since it cost under $400 to do!
The kitchen looks awesome! Crazy what a little paint and tile can do.
Looks great … can you tell me what you used between the counter and the back splash. It looks like the before pics had a piece of the counter going up a few inches. In the after there isn’t anything. Is it just a line of caulk?
Thanks!!
Konnie- that’s exactly what happened. We had a 6″ laminate backsplash on there, and took it all off so we could bring the new marble backsplash all the way down. And you guessed it- we lined it with caulk!
You did an amazing job on such a small budget. Looks great!
Thanks Kris! PS, LOVE your blog.
Love the new look of your kitchen! I like your pot holder thing (not sure what to call it) hanging from the ceiling. Where did you get it?
Thanks Robin. We got the pot rack from good old amazon.com!
Fantastic job! You have just inspired me! My husband and I bought a house last year and same as you and Bryan, we were set on doing kitchen reno first but the budget has not allowed it – thanks for inspiring me – I think we maybe able to do a similar reno as you guys did – I love the white cabinets!
Thanks Lourdes!
Where did you find your little storage table with 2 drawers?
Susan- we got it from Ikea. I believe they still have it, too!
It looks fabulous!
Thanks so much Bessy!
Looks great! Where did you purchase your backsplash?
Thanks Susan! We got it from Floor & Decor. I believe they have a website 🙂
What type of paint did you uses to ain’t the cabinets….latex or oil based?
Jo Ann- We used latex.
[…] See full story on beginninginthemiddle.com […]
Beautiful! Any tips on avoiding pooling paint in the corners of your door trim? That’s keeping me from taking the leap and paintng mine.
Thanks Jen! I would just take a brush and go over the corners right after you roll the paint on. Make sure to carefully check each door before they dry because that’s when it gets tricky to fix. Good luck!
Best to take the doors off and paint them lying on a flat surface.
Yes Pam- a must!
Catherine, Great job. I love a white kitchen as you can always add color with accessories. A suggestion …you might think about painting underneath the top cabinets and adding some task lights. Made a huge difference in my own kitchen.
Thanks Pam!
This is amazing! Great job Cat & Bryan!
Thanks Trish!
[…] Great job on the update, Catherine and Bryan! You can see more of their kitchen makeover on their blog, Beginning in the Middle. […]
THAT was completely inspiring! TOTALLY beautiful result, I LOVED it! Thanks!!!
Thanks so much Elle!
[…] via The Golden Sycamore via Domestic Imperfection via Beginning in the Middle […]