Exciting news, guys! Our historic townhome is featured on Design * Sponge!! We are such big fans of Design * Sponge, and even bigger fans of Grace Bonney, so this is extra special for us. We recently purchased Grace’s new book, In the Company of Women, and have been so inspired by the stories of the female entrepreneurs, makers and artists she highlights.
We’ve been sharing lots of photos of our historic townhome on Instagram, so we’re excited to share the full before & after tour with you on the blog. In our “before” post, we walked through the home before renovations and wrote about our plans for each room. Now that we’re finished, it’s fun to go back and see what we actually ended up sticking to.
When we purchased the townhome, it had 3 bedrooms and 1.5 bathrooms. It had good bones and historic details – our favorites being the unpainted original woodwork, tall ceilings, and transom windows above all of the doors. Along with the good features, there were also creaky floors and doors that didn’t close smoothly – but we were okay with that, because we saw it as character. We’ve been in lots of old homes that have new everything, and they just don’t have that historic charm that this house has. We knew this house had something special, so we focused on highlighting these details wherever possible, and updating what needed to be updated.
A big thanks to Esther Jung Photography for capturing our space so perfectly!
Front
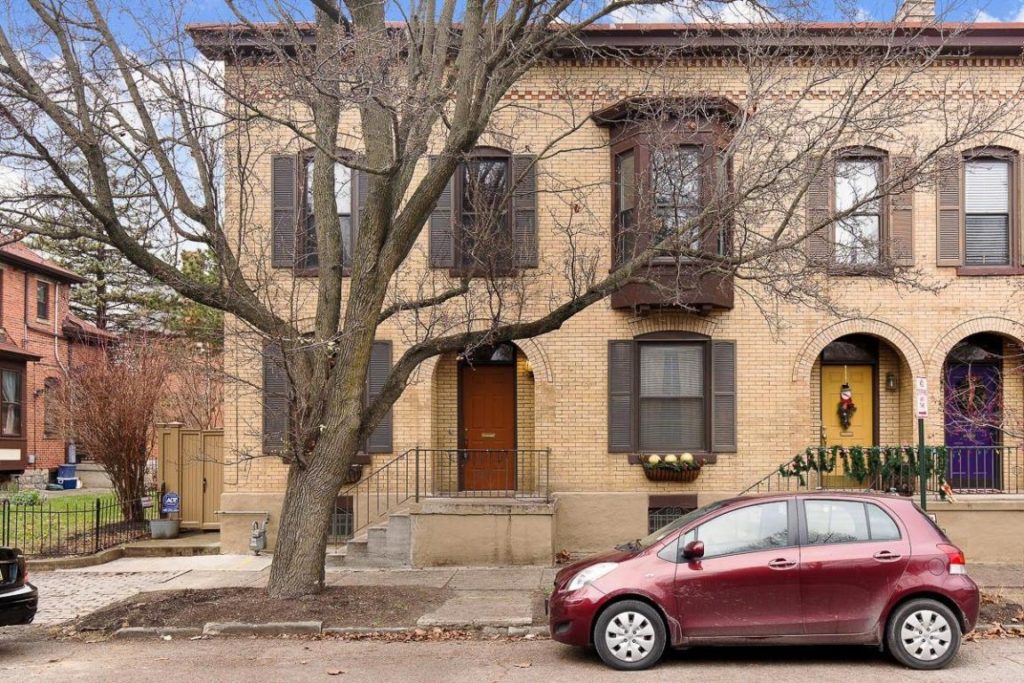
{Before} – Our townhome is on the left. (Sidenote: how beautiful is this building?)
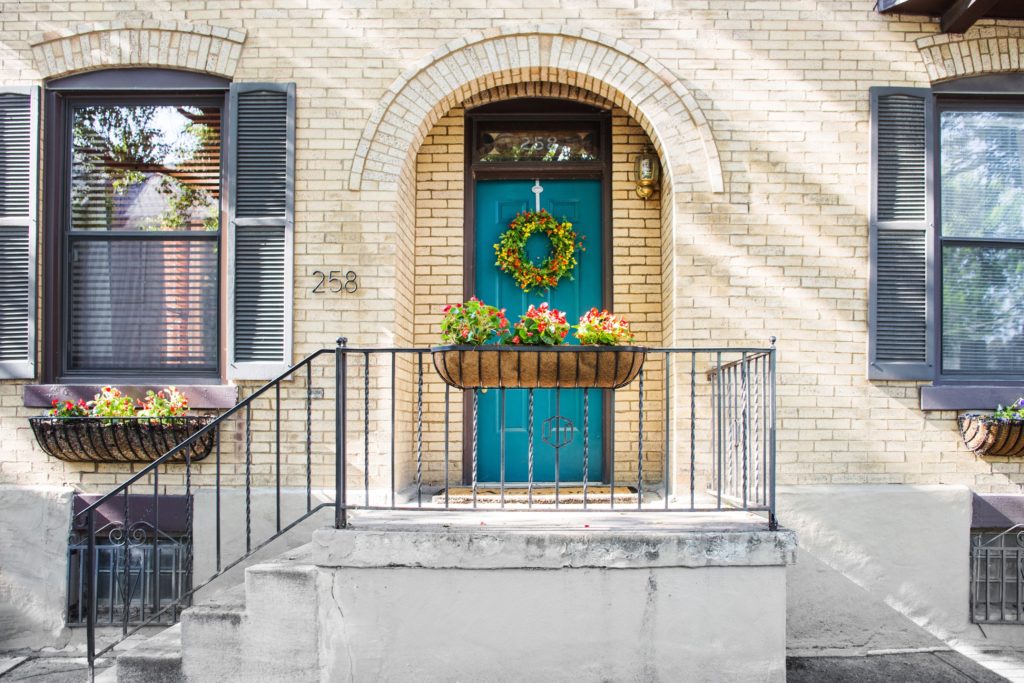
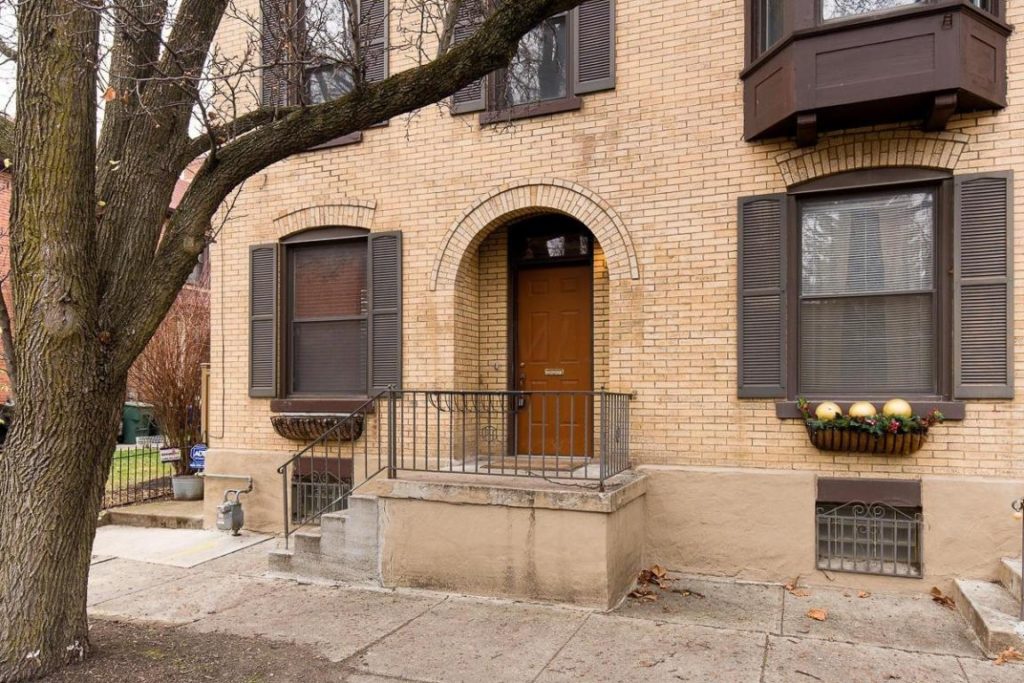 {After} We painted the door Behr Marquee Verdant Forest, added some begonias to the flower boxes, and DIY’d a wreath out of garland & florals from Michael’s. We didn’t do anything to the brick – it just appears lighter because of the camera exposure.
 Front room
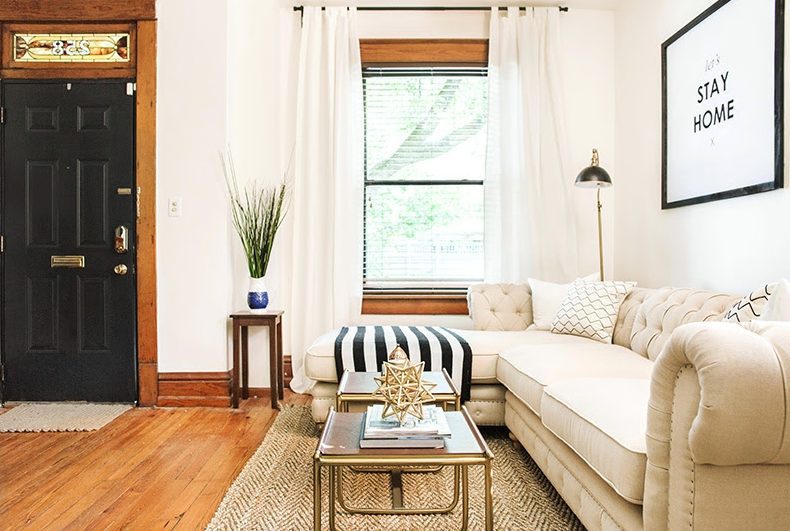
{Before} – This is the view into the living room from the front door. The walls and trim may look good in this photo, but in real life, they needed to be cleaned up.
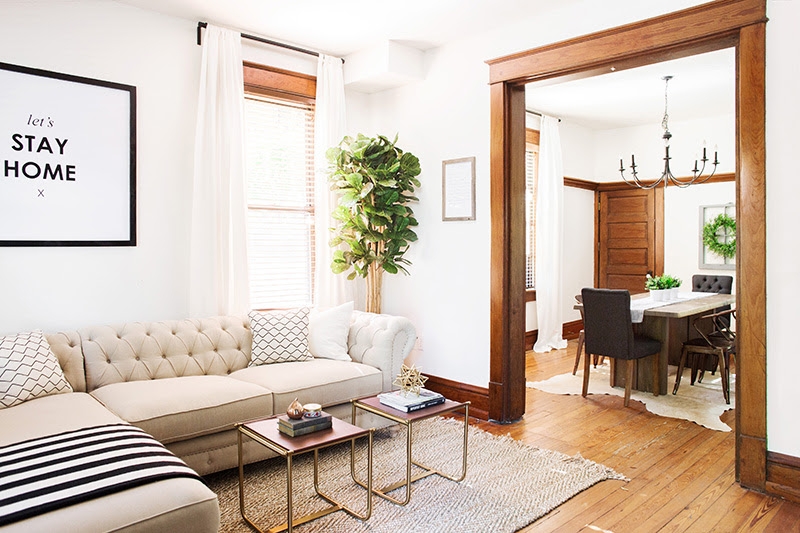
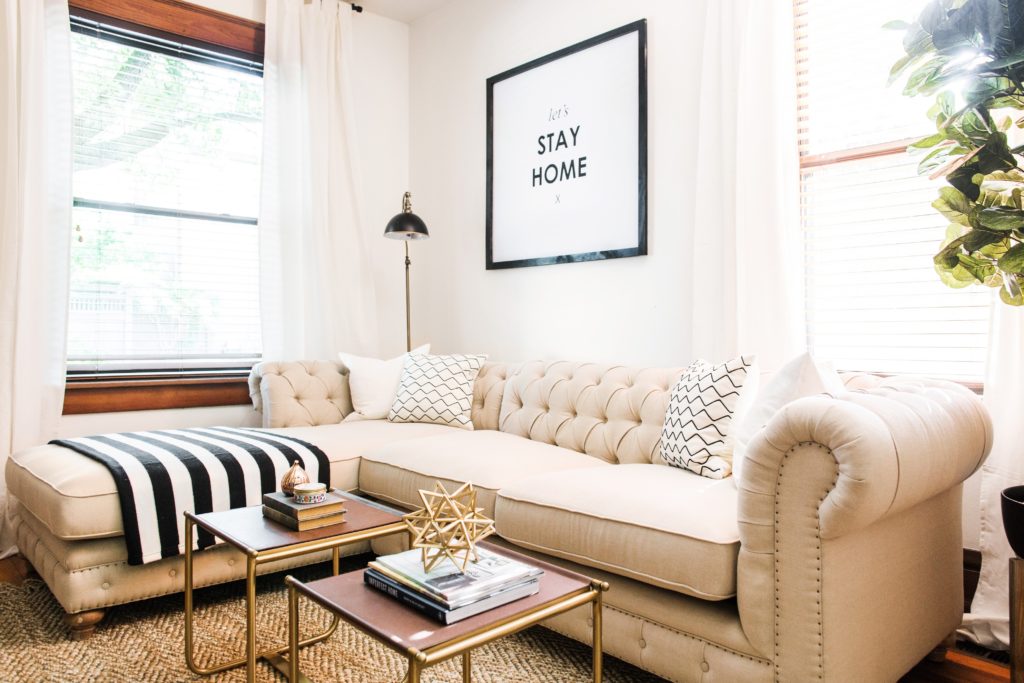
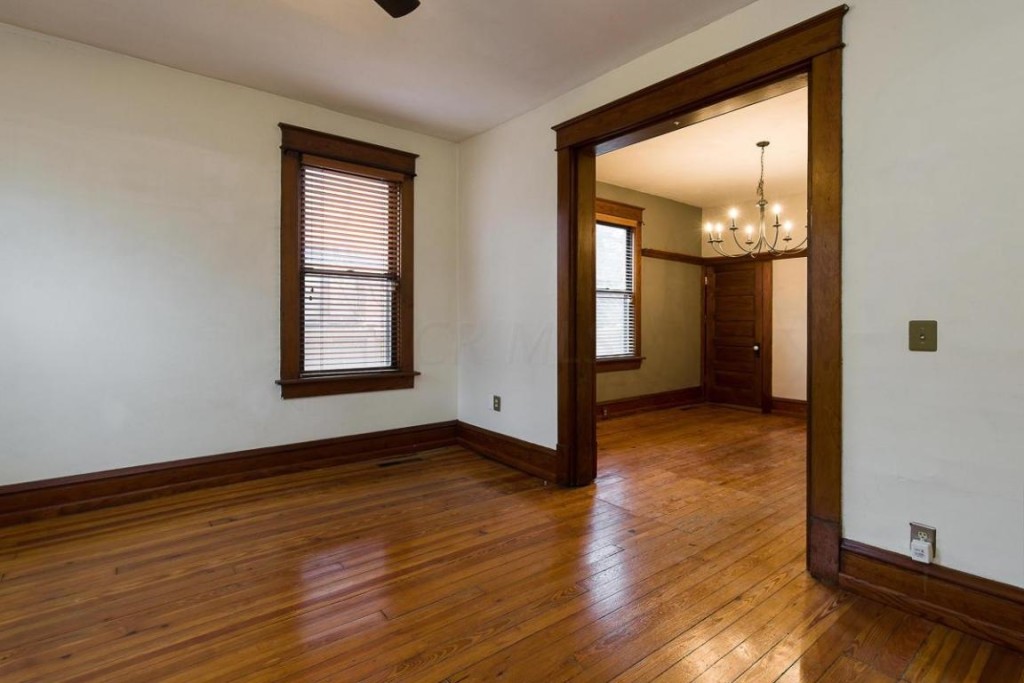 {After} We gave the entire space a new coat of Benjamin Moore Simply White paint, hung tall white curtains, and furnished the space with neutrals, plants, and some statement pieces. We found the faux fiddle leaf fig tree at Amazon, extra tall curtains & rods at Ikea, and the couch discounted from Joss & Main (both the left and right facing versions are available here). The tables are from Target, and jute rug from World Market (similar here). The “Let’s Stay Home” print is one of our favorite parts of this room. We purchased the PDF file from Etsy, enlarged it to 48×48 at Staples, and DIY’d a black wood frame out of 1x2s.
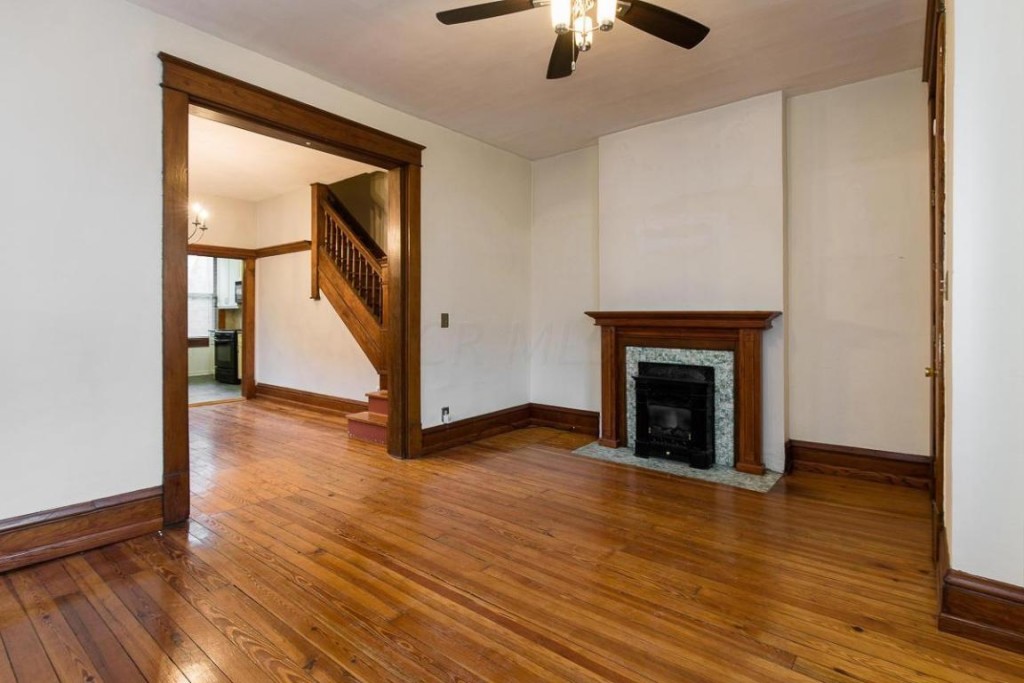
 {Before}
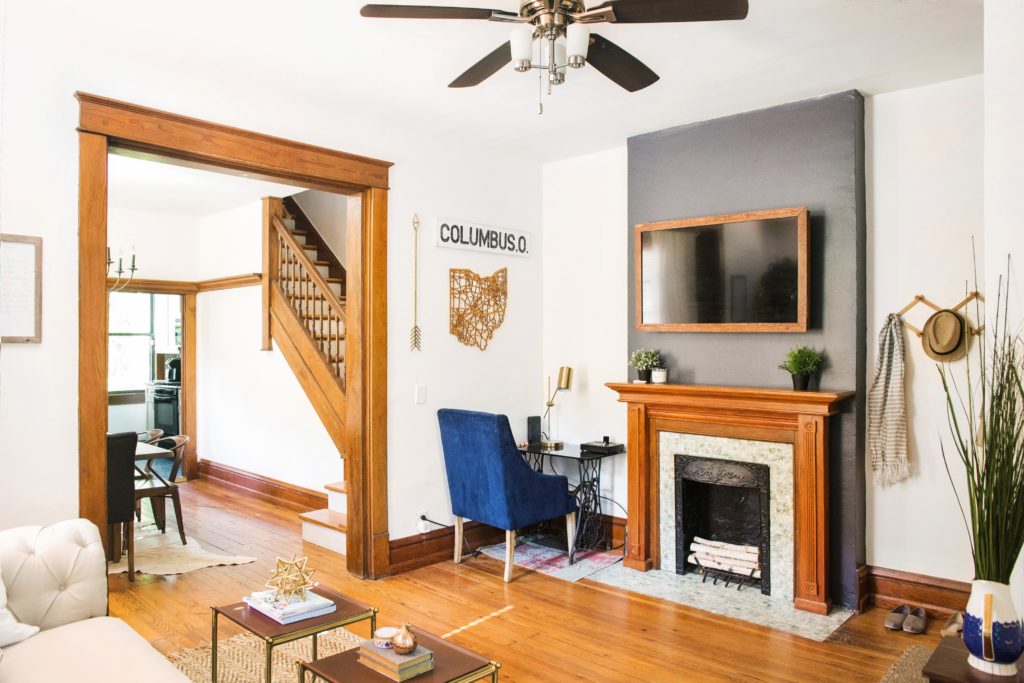
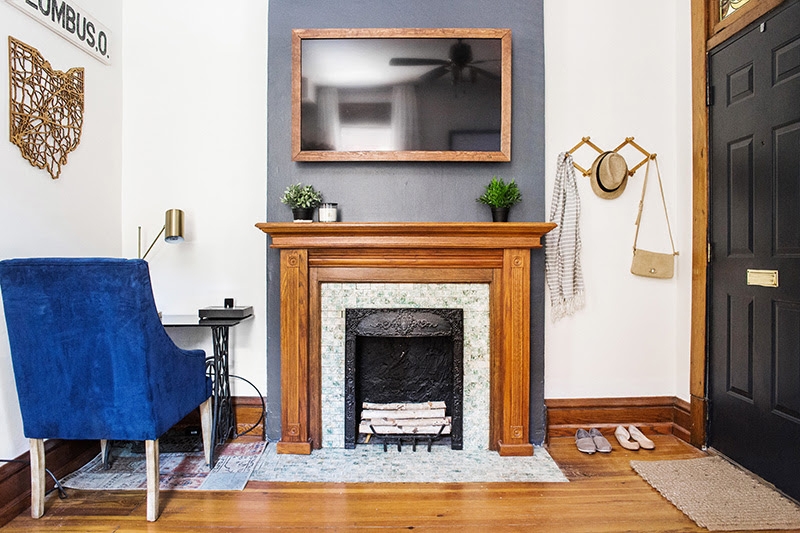
 {After} We painted the fireplace chimney Behr Pencil Point, added some fun Columbus wall art from Vernacular, and incorporated some vintage finds, like the Singer sewing machine that we turned into a desk. Because this is a small house and there’s only one living room/family room/front room, we had to incorporate the TV into this space. We DIY’d a wood TV frame to make it blend with the décor a bit better (you can see our full tutorial here), and added some hooks for storage.
 {Before}
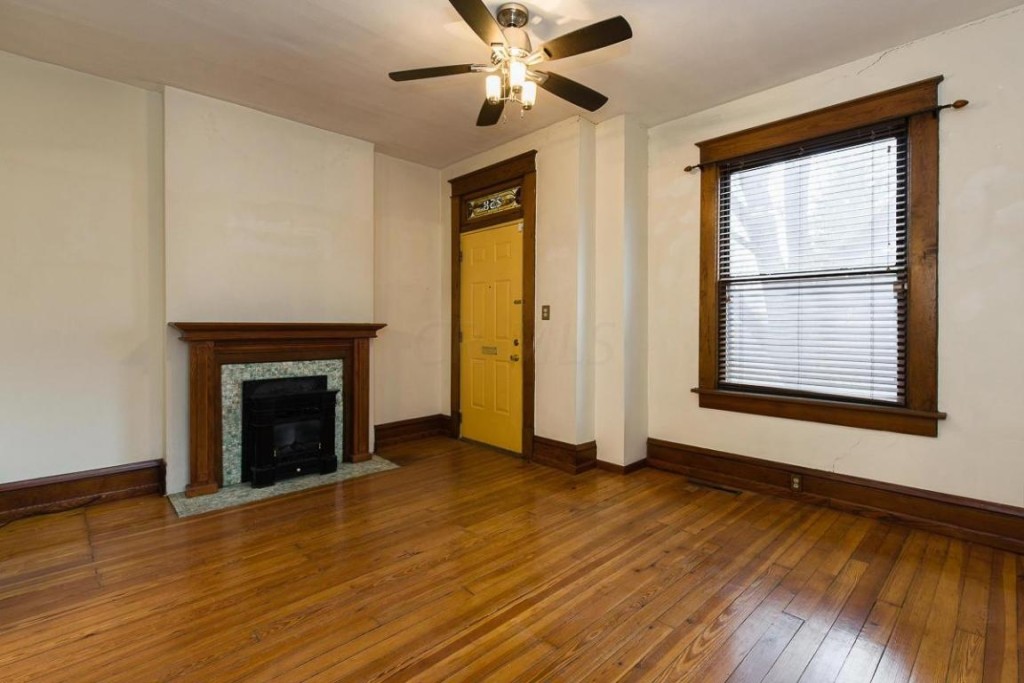 {After} – We repainted the front door BM Hale Navy. We love how it pops against the stained glass transom window!
 We removed the broken gas fireplace insert that had been in there and replaced it with some birch logs. We’re hoping to add another insert in the future that fits the shape of the fireplace better.
 This couch is the perfect mix of classy and comfy. The chaise at the end is almost as big as a twin bed!
 Dining Room
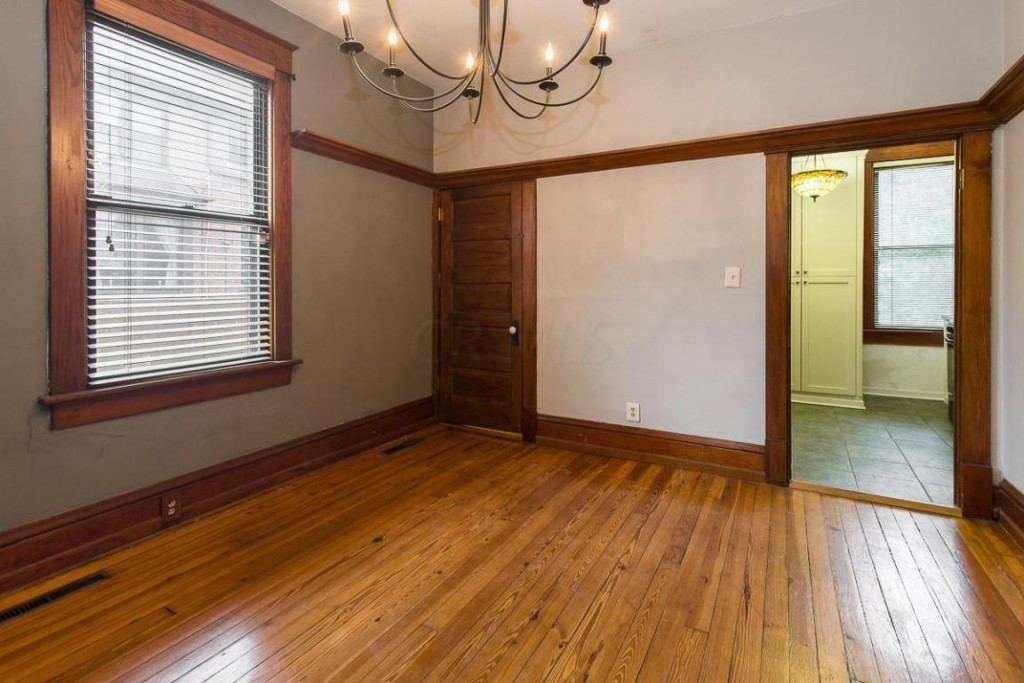
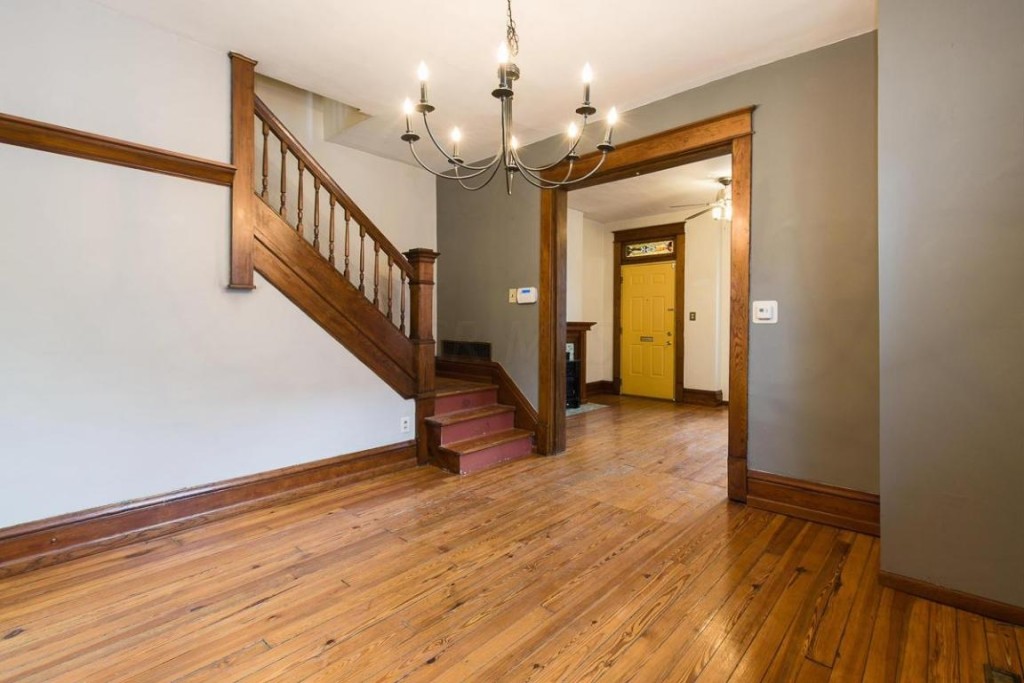
{Before} – Beyond the living room is the dining room and a small powder room on the left, where the closed door is.
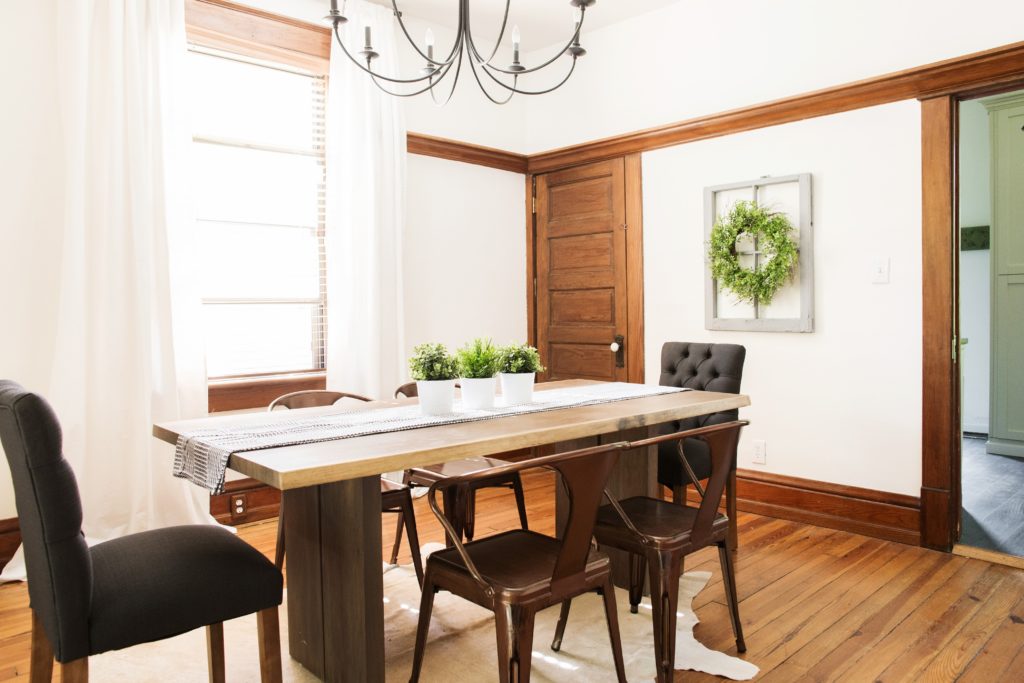
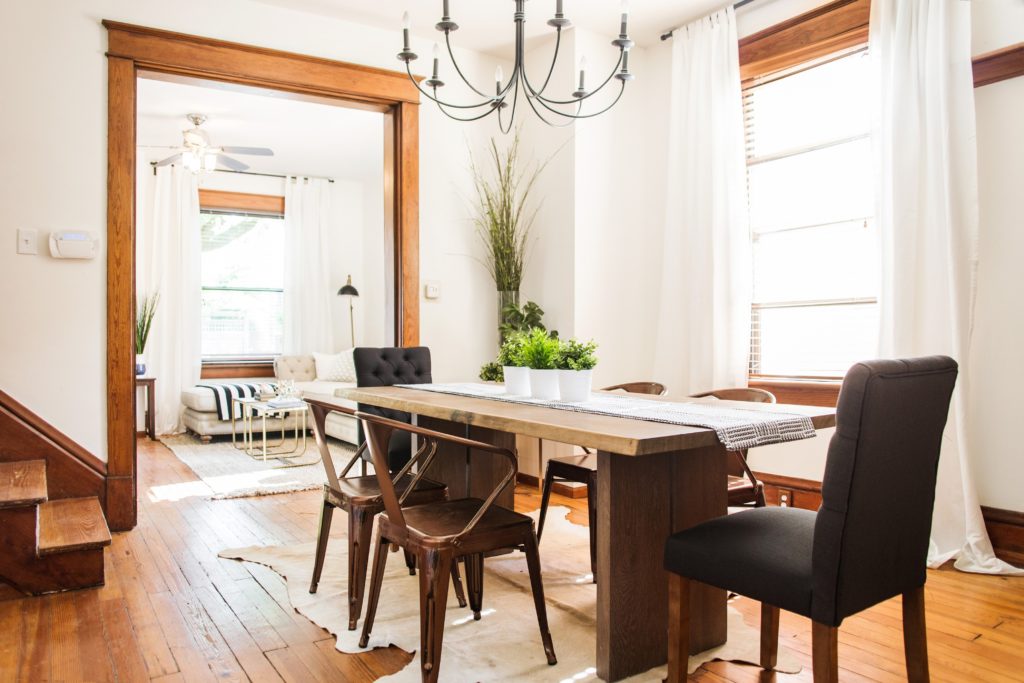
 {After} We kept the paint color and curtains consistent on the first floor, and brought in some greenery. We found an old window at Columbus Architectural Salvage which fit perfectly on the wall, and layered it with a green wreath. We decided to mix up the chairs by combining tufted navy chairs from Target with copper metal chairs from Amazon. The table was a lucky, super discounted Crate & Barrel outlet find. You can find the 77″ version here and the 99″ version here. We normally aren’t too crazy about having rugs under dining tables, but this cowhide has taken a beating and still looks great. We purchased it at a local store, but you can find a similar one here or search for champagne/beige cowhide rug online.
 {Before}
 {After}
 {Before}
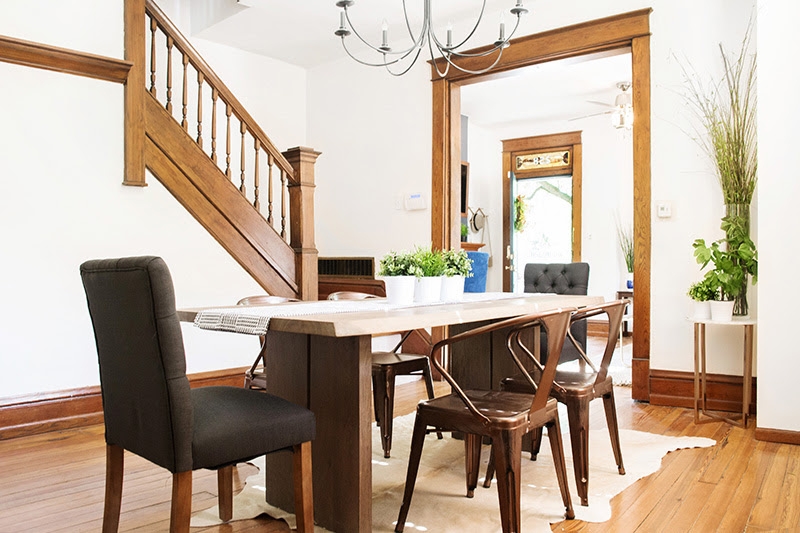
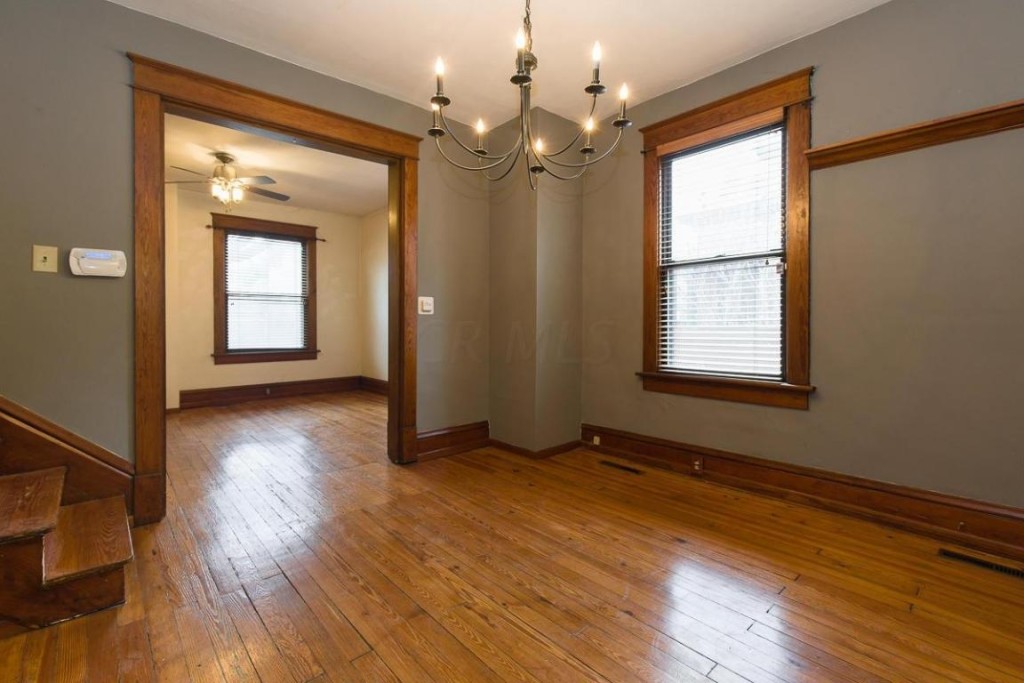 {After} – Here’s another view of the dining room looking into the living room. The light fixture came with the house (similar here and here).
 Kitchen
{Before}
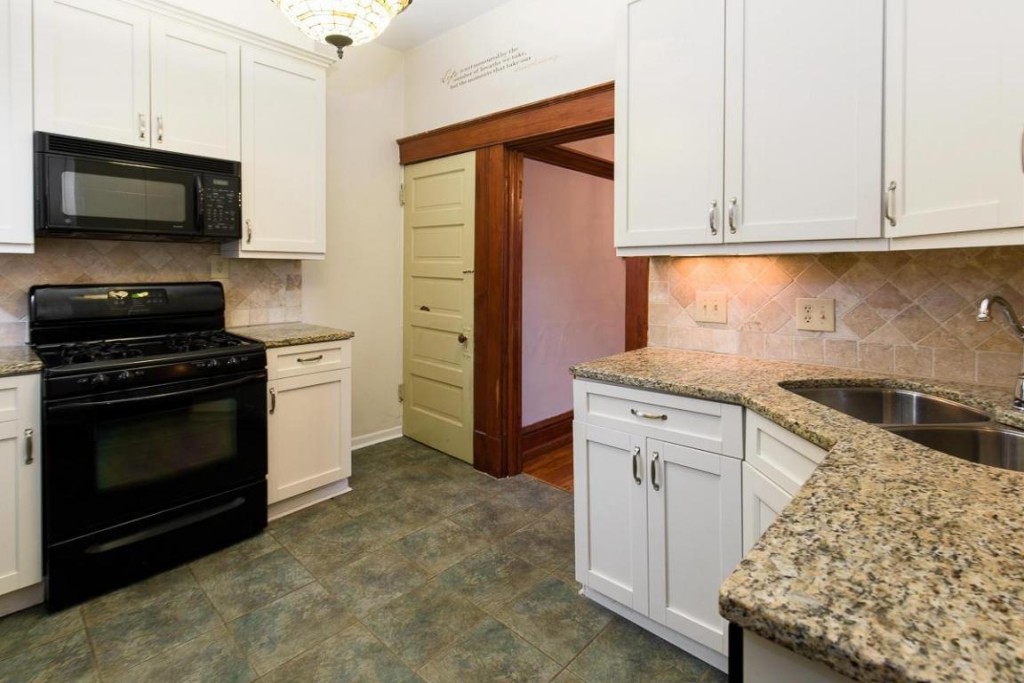
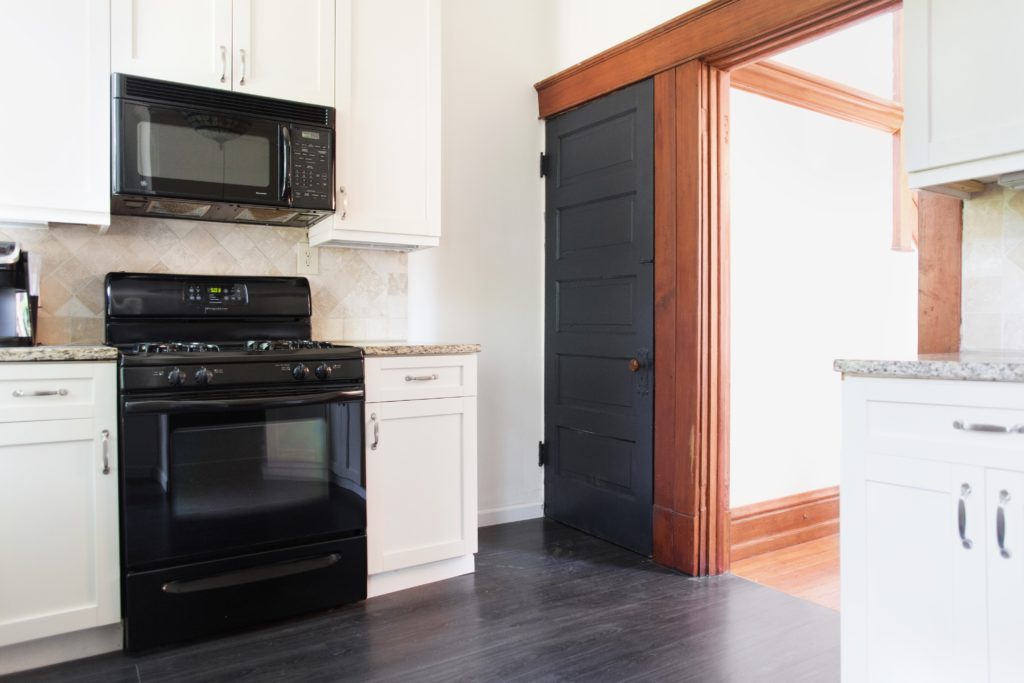
{After} – Although the kitchen wasn’t exactly our style, we decided to keep it the way it was – except for the floor. We layed dark grey luxury vinyl planks right over the tile, and updated the door by painting it BM Hale Navy. These quick, inexpensive updates completely transformed the space.
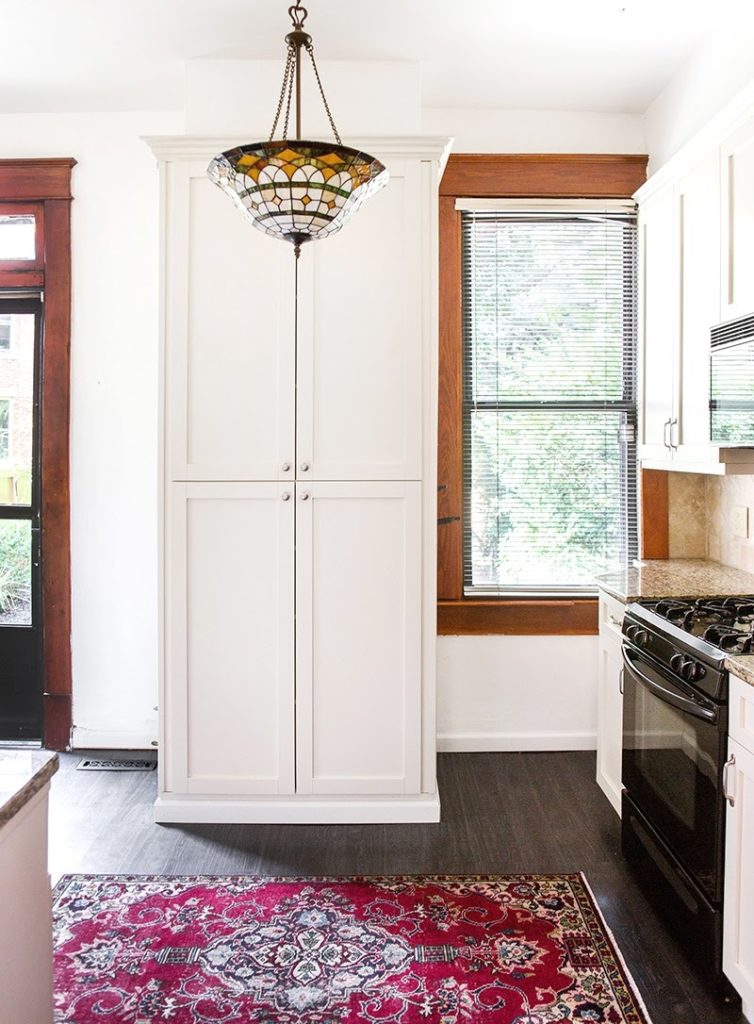
 The vintage rug is from a local Columbus shop, Dolores Wares. It adds a perfect pop of color to the kitchen.
 Bathroom #1
{Before} – This was the only full bathroom in the house.
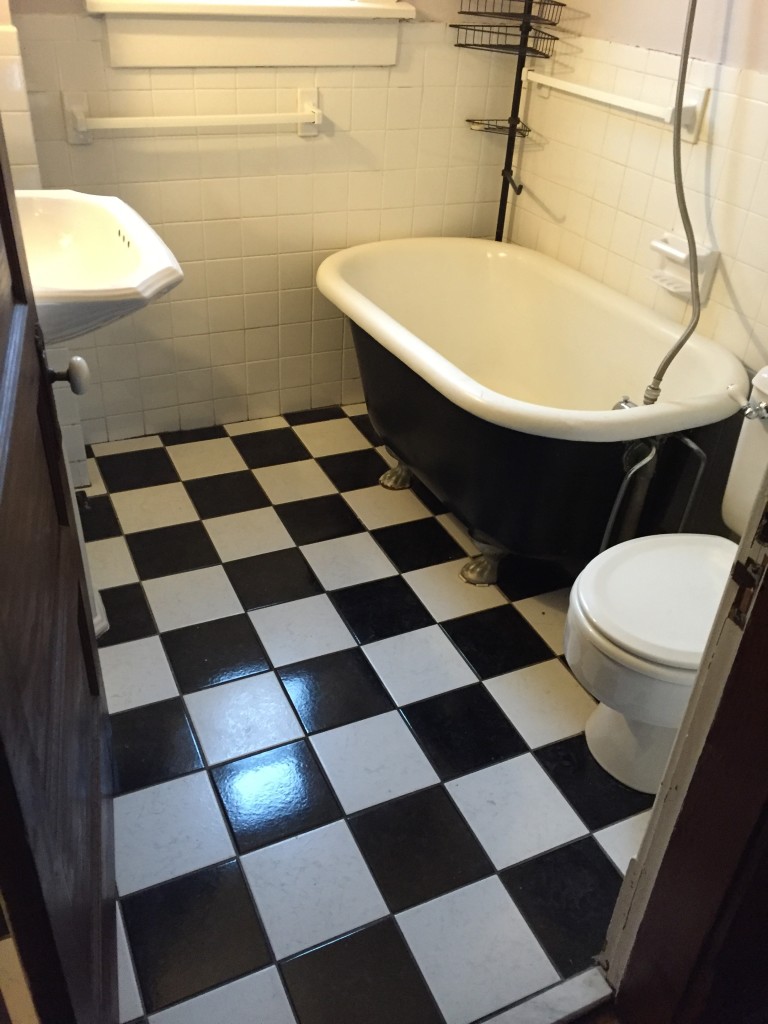
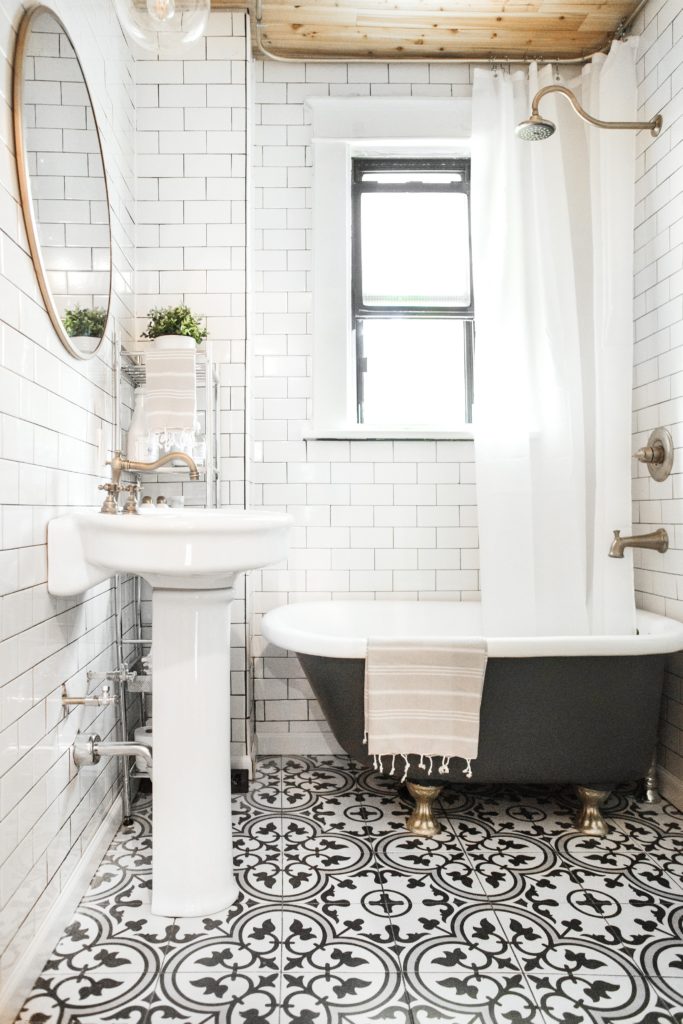
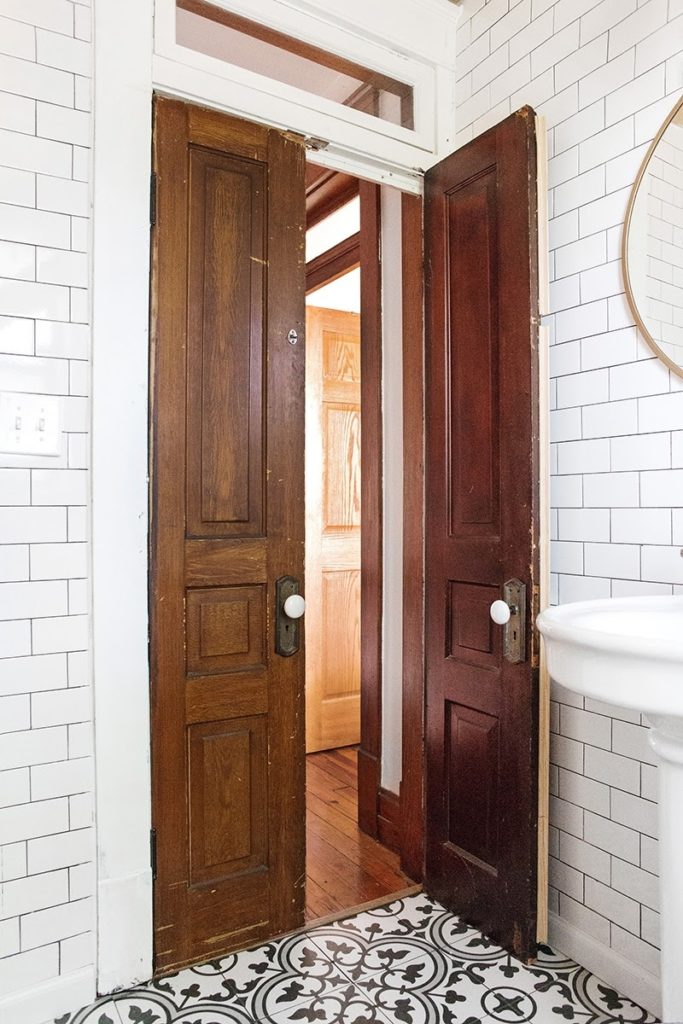
{After} – We gutted this entire space after discovering major water damage under the floor. That damage turned out to be a blessing in disguise, because this bathroom is now one of our favorites. You can read all about it and see more before & afters in our blog post here.
Master Bedroom
[Before}
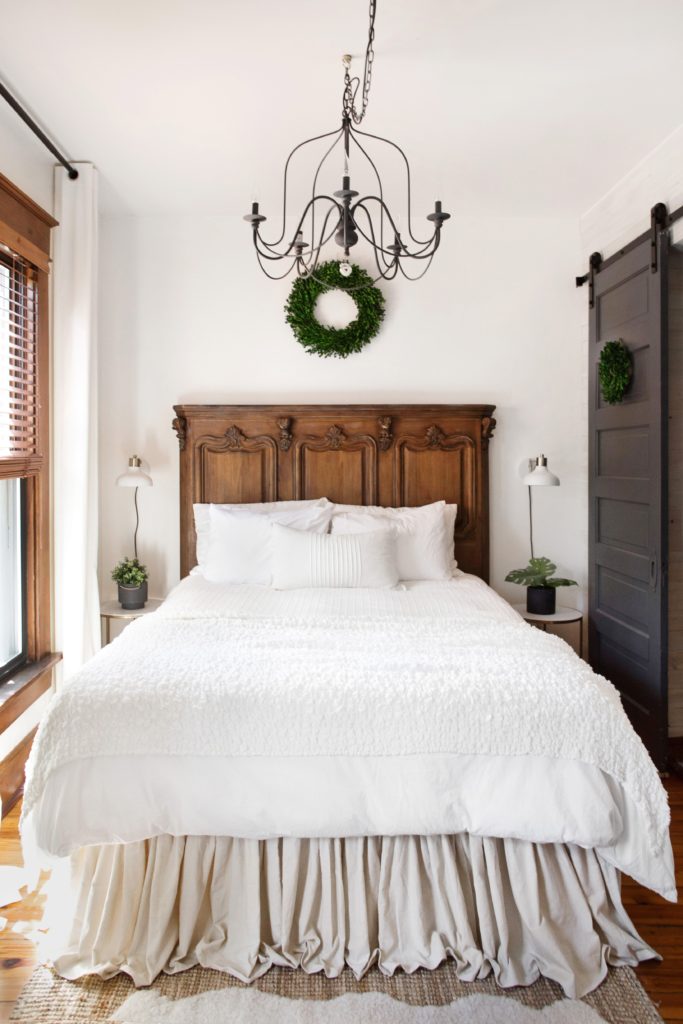
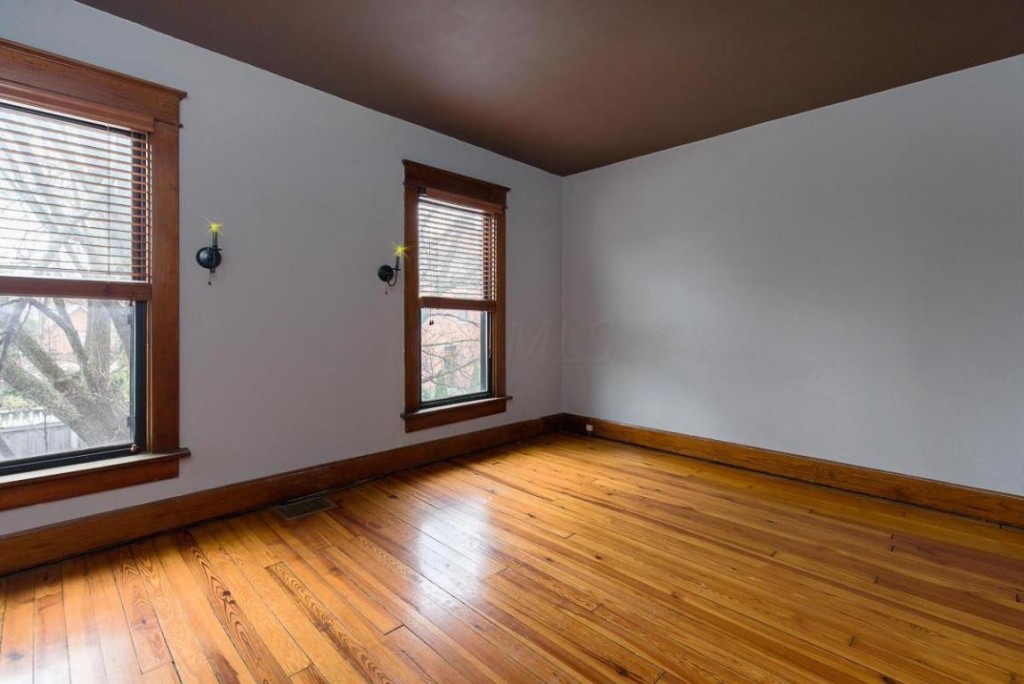 {After} – We wanted this room to feel peaceful and elegant.
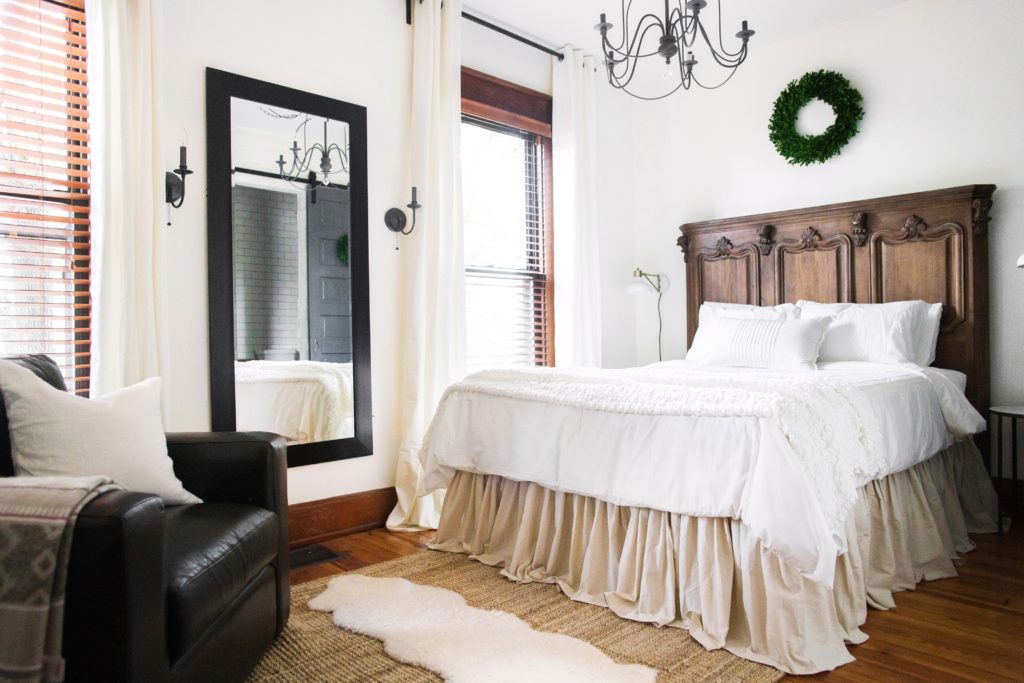
The headboard was a lucky Arhaus Outlet find, but the rest of the bed was missing. We made one ourselves out of plywood, and completed it with a drop cloth bedskirt that cost us less than $50 (full tutorial here). The bedding is from Ikea, the chandelier is from World Market, and the plug-in wall sconces are from Target.
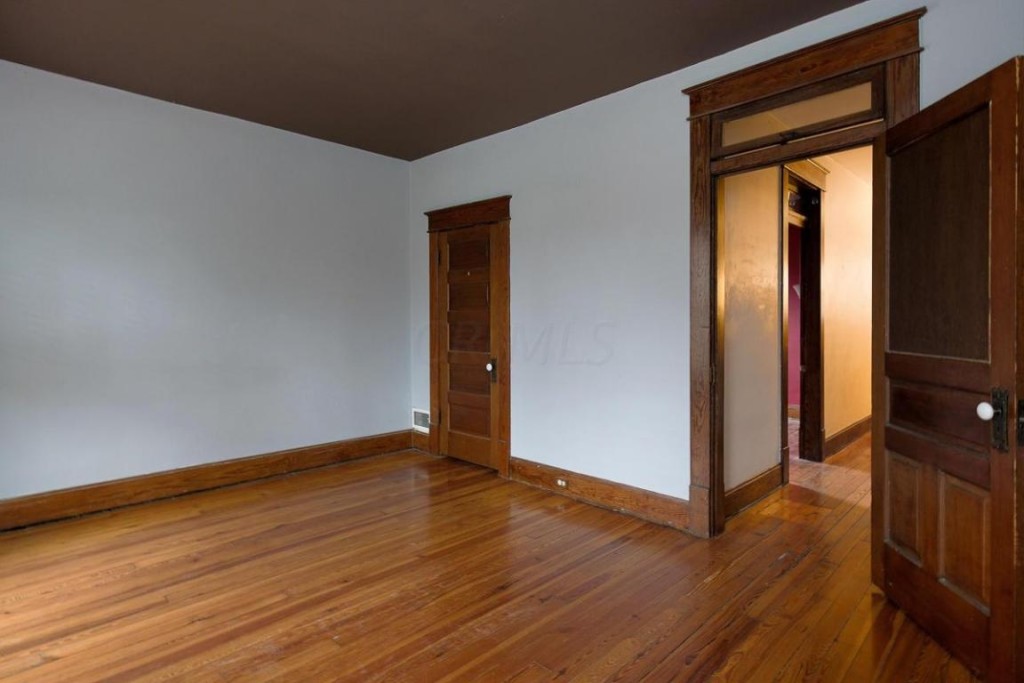
{Before}
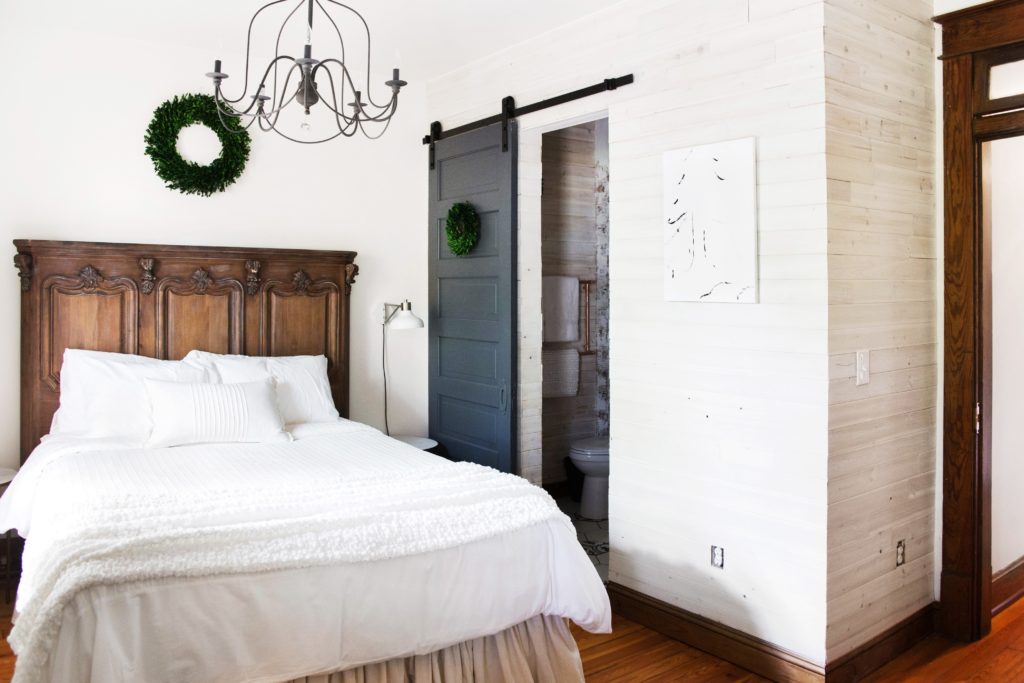
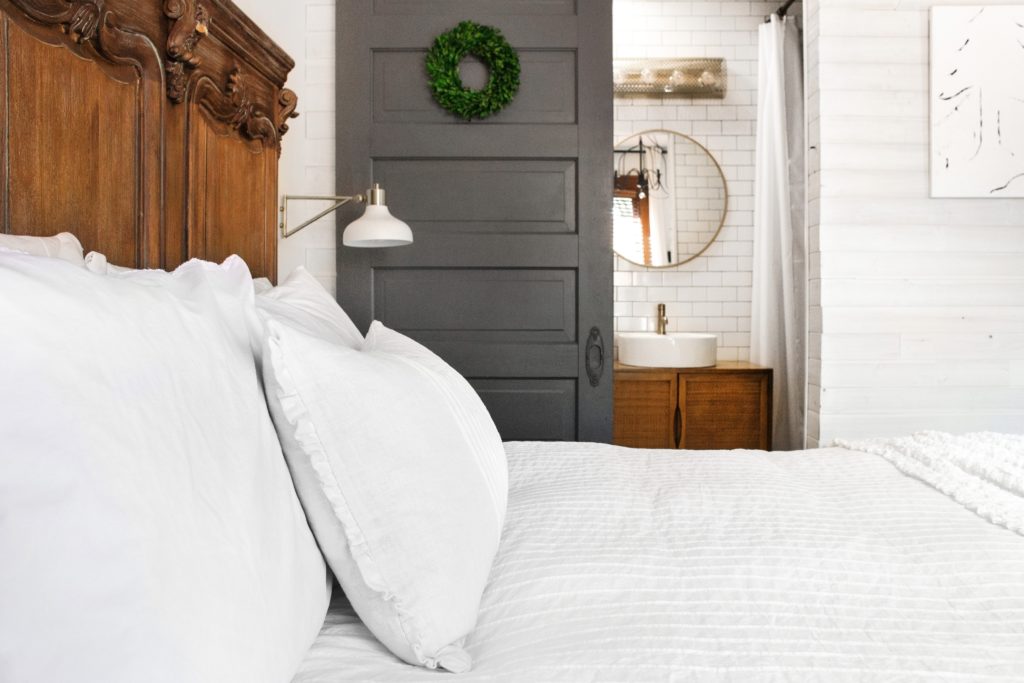
 {After} – We also added a small bathroom to the space! We had an extra pocket door from a prior renovation that worked perfectly as a sliding door to the new bathroom, and Bryan painted some neutral artwork to hang on the wall.
 Master Bathroom
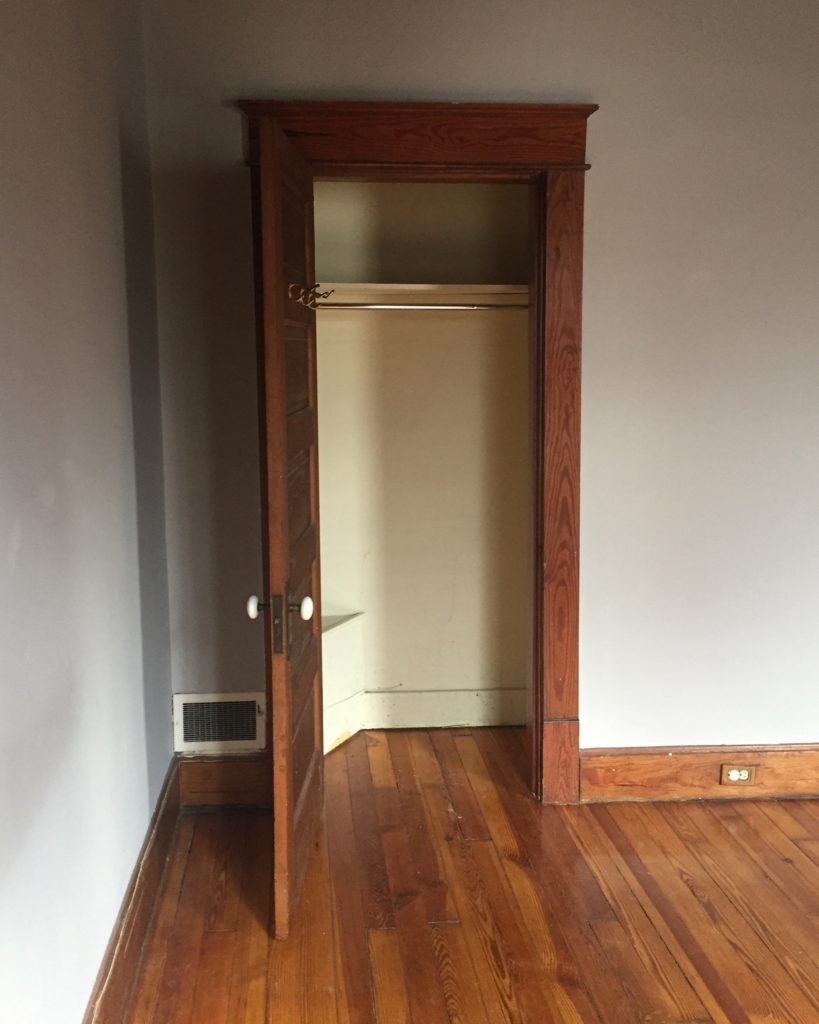
{Before} – This is the closet that we stole to make room for the bathroom.
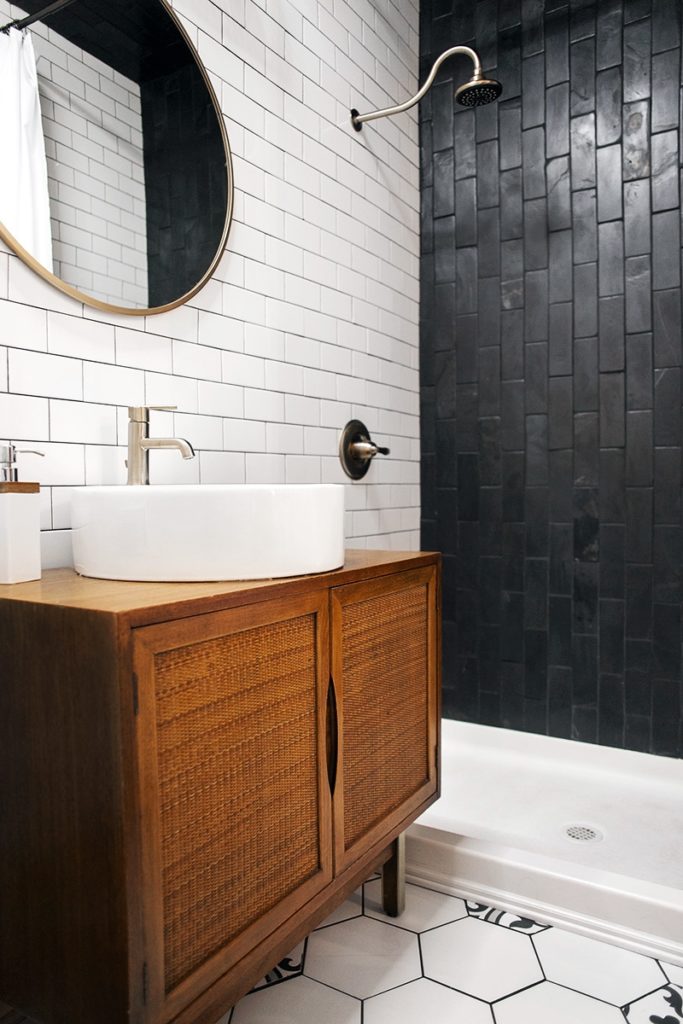
 {After} – Having a second full bathroom has not only added functionality to the home, but also has added value. Lots more photos, details, and source info in our full “Closet Turned Bathroom” post here.
Bedroom #2
{Before}
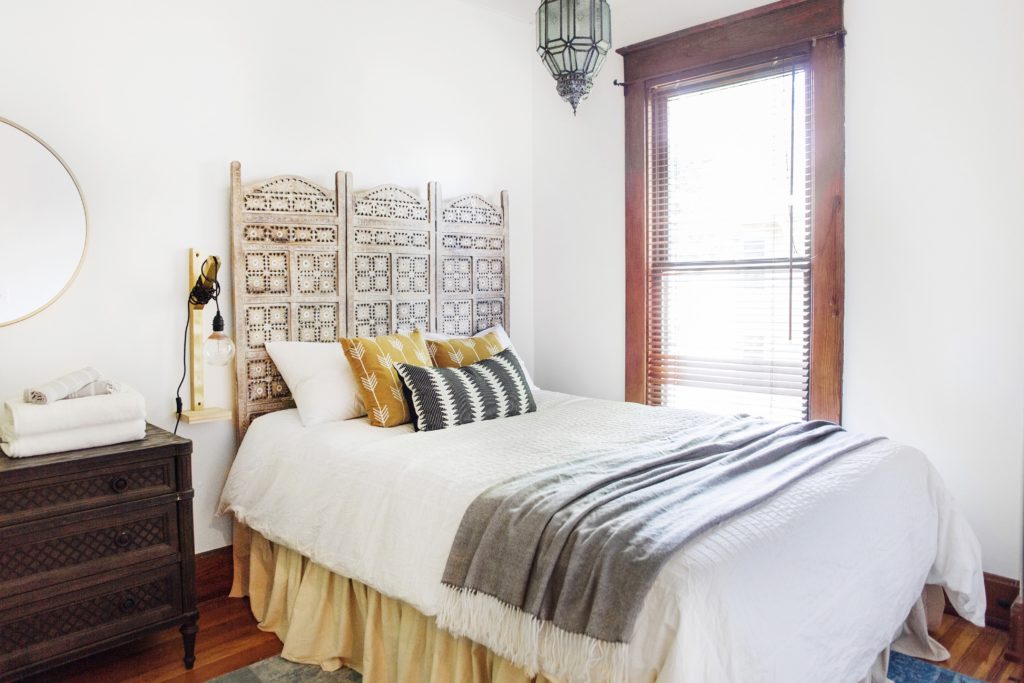
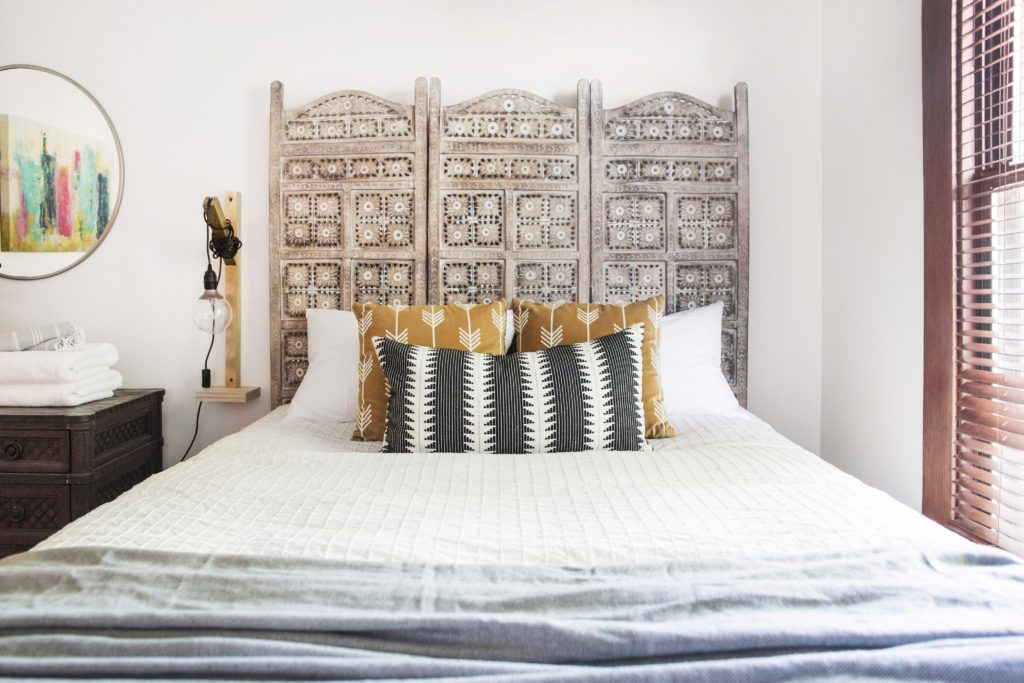
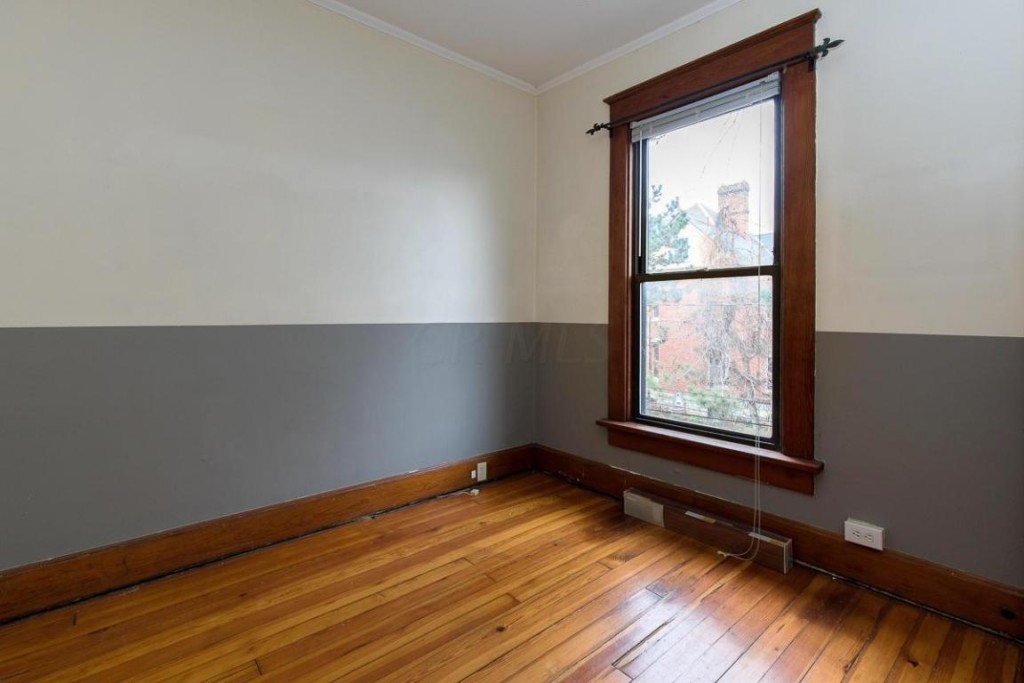 {After} – This room needed some baseboard touch ups + white paint, but other than that it was good to go. We made this bed out of a vintage room divider and the same drop cloth bed skirt as the master. We found a vintage lantern at Elm & Iron that we turned into a pendant, and added a Restoration Hardware dresser + Target mirror. The black and white pillow is from Target, as well as the two velvet arrow pillows (no longer available).
 Bedroom #3
{Before}
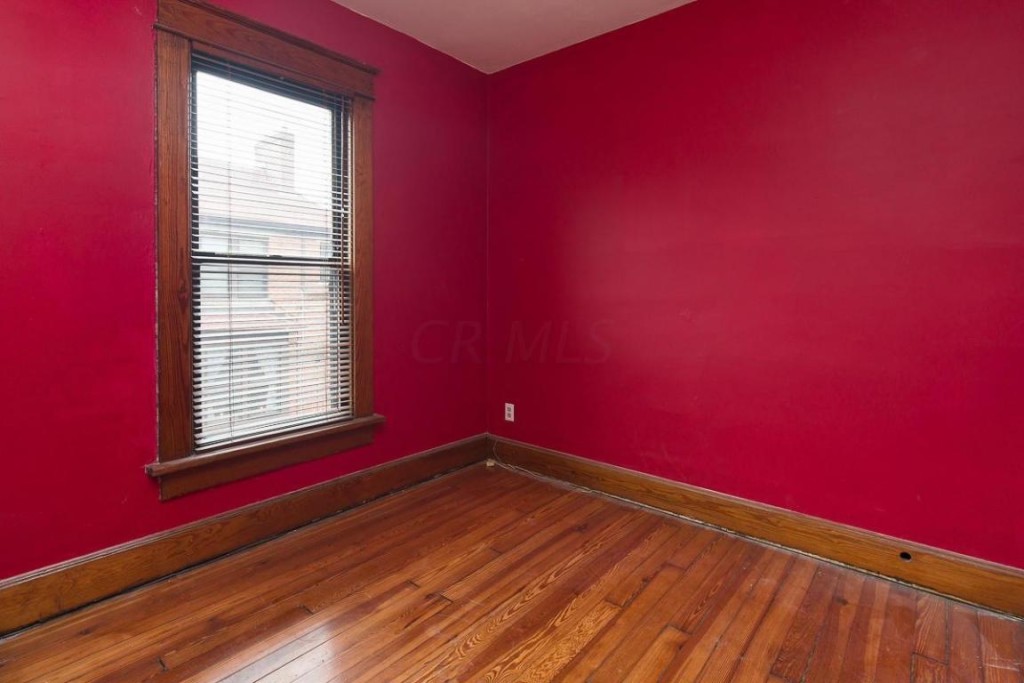 {After} – We love the pop of color the rug adds to the room. It’s from Dolores Wares (same shop as the kitchen rug).
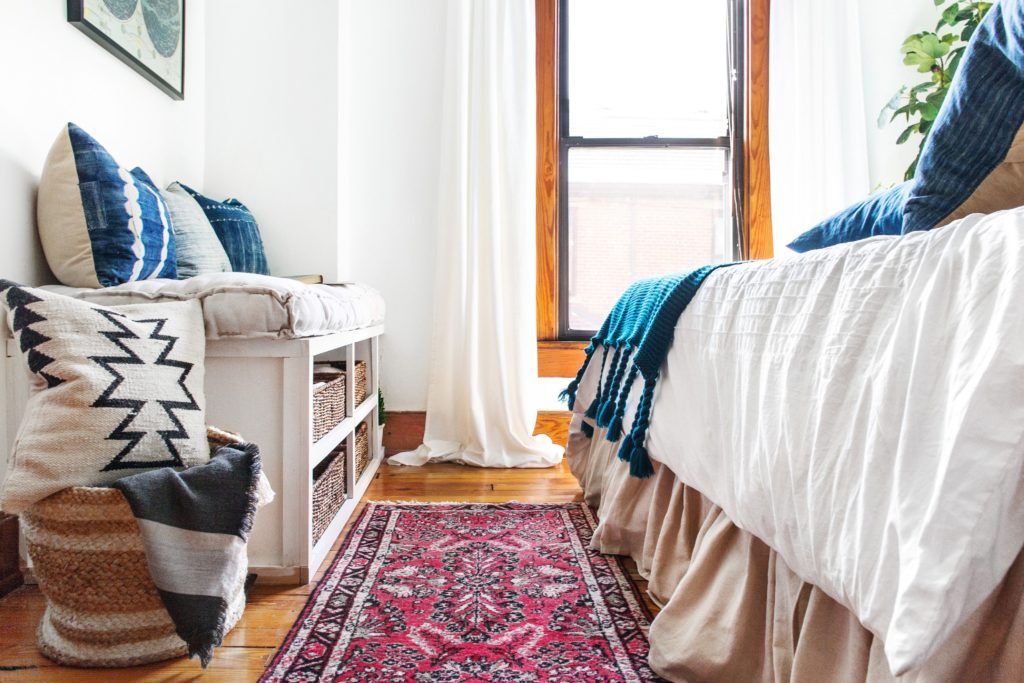
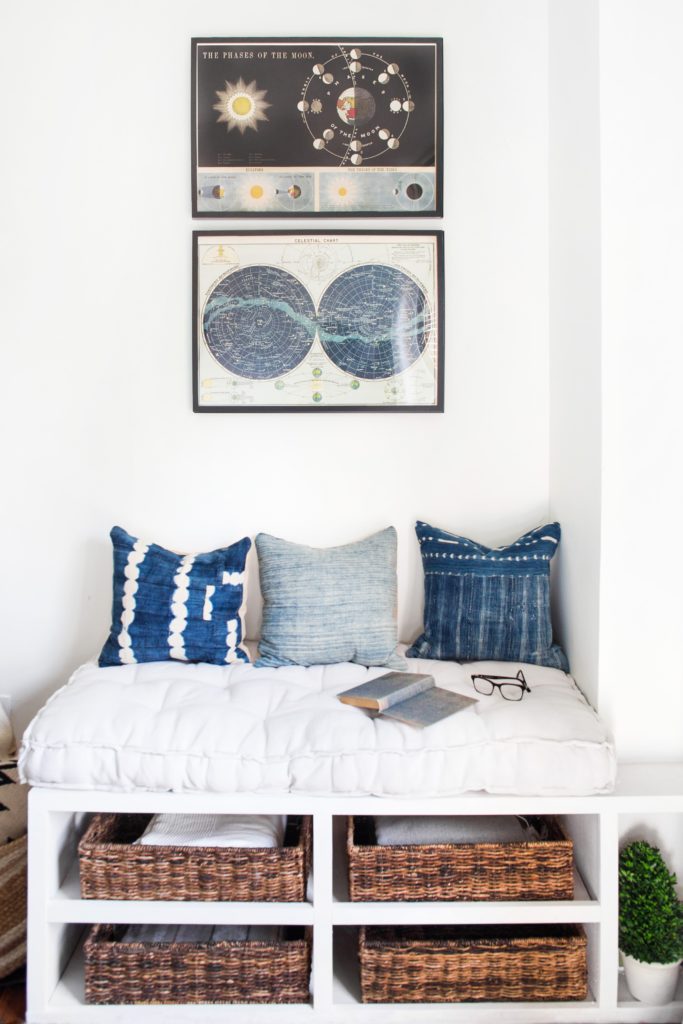
Bryan built this little reading nook with storage space underneath. It also conceals some HVAC that runs through the room. We purchased our cushion from The Linen Rabbit (it’s amazing!), and the pillows were handmade by my sister, who owns a textile studio in Santa Fe, NM called Bianca & Red. The vintage prints are from Elm & Iron.
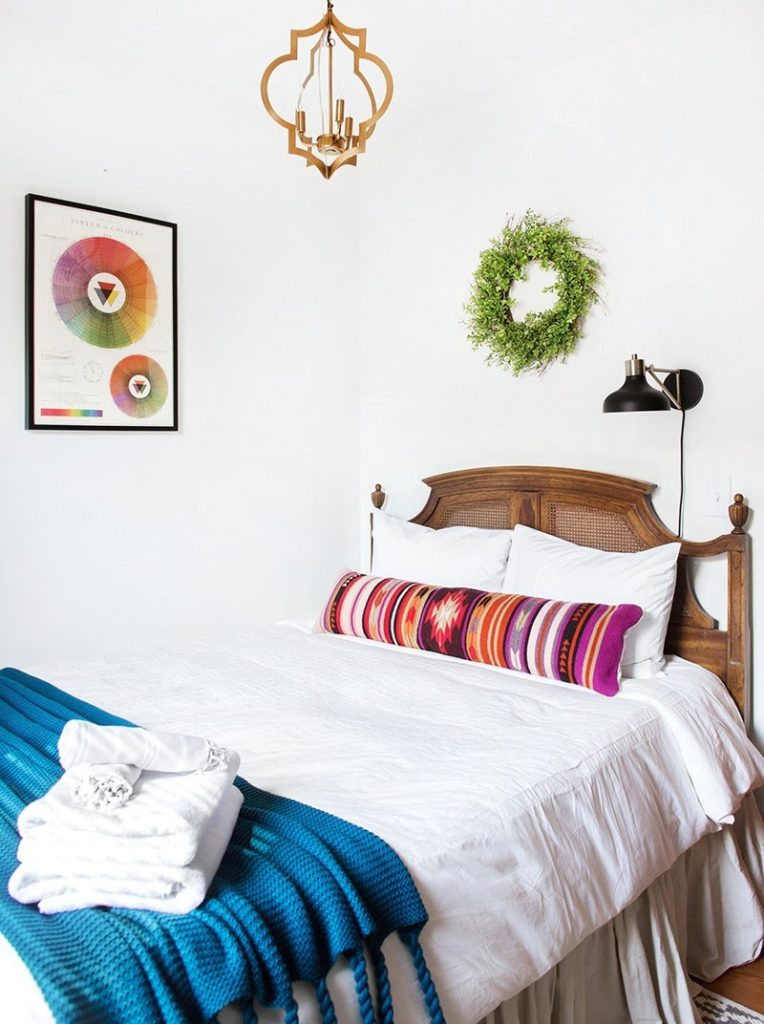
Similar to the other bedrooms, we found the headboard (this one was from Craigslist), made our own bed frame, and added a drop cloth bed skirt. The brass pendant is from World Market, the plug-in wall sconce is from Target, and the pillow is from The Citizenry. The vintage print is from Elm & Iron.
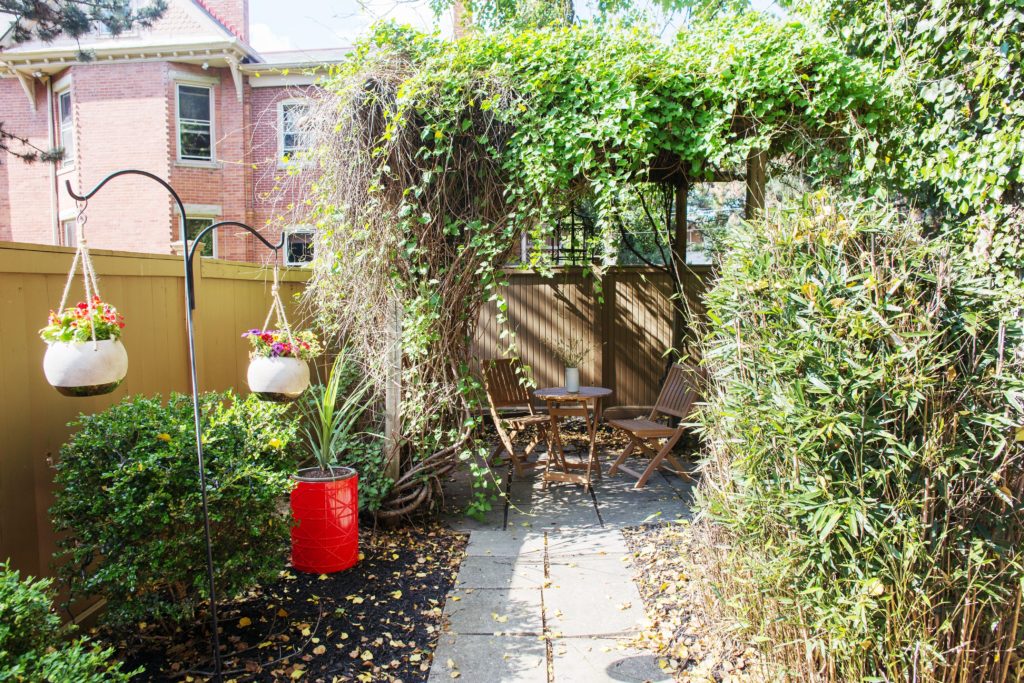
Backyard
{Before}
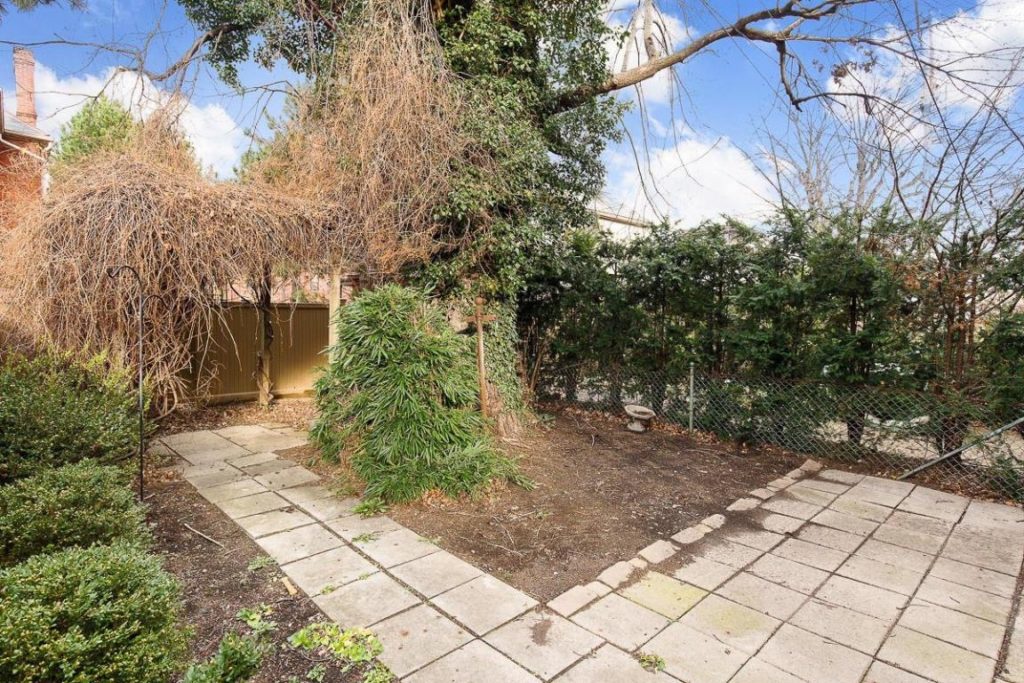 {After} – We cleaned up the overgrown shrubs, mulched, and added some colorful furniture.
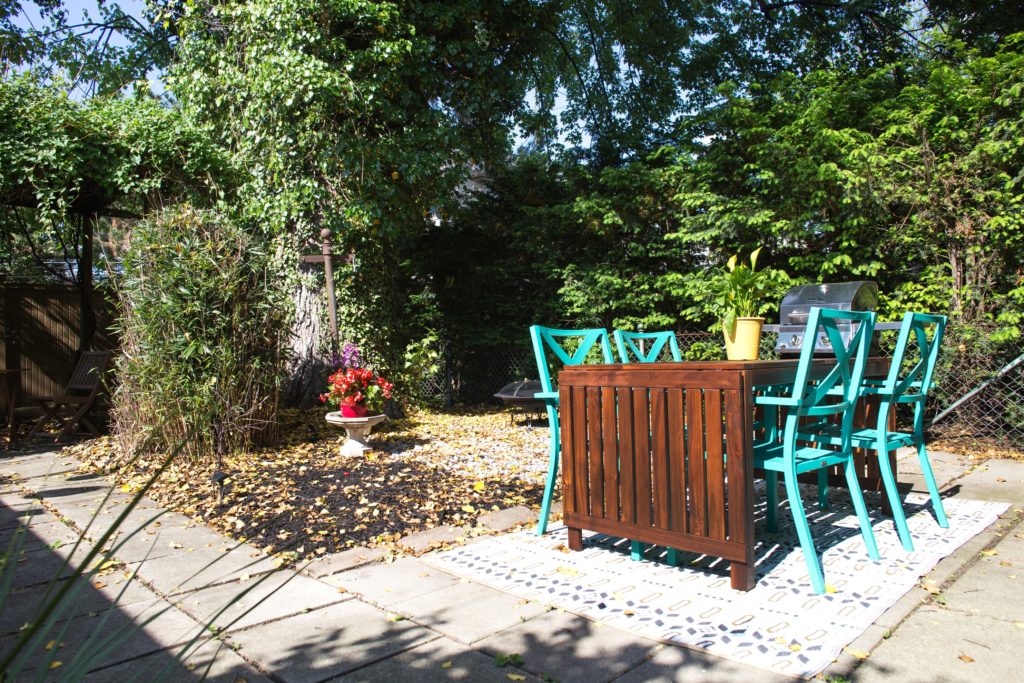 This little hideaway is our favorite. It’s a perfect place to relax in the warmer months.
 We’ll be back soon with a tour of this home decorated for Christmas! In the meantime, follow us on Instagram and Facebook to see what we’re up to!
*This post contains affiliate links*
In bedroom #2 you made an amazing looking pendant light bracket, would you possibly be willing to do a diy tutorial on how to make that?
Hi Kathryn, Thanks for your comment! We’ll try to do a tutorial the next time we do one of these. We used a pendant light kit, similar to this one, and just connected it onto the lantern. Hope this helps for now!
Awesome! What steps did you take to prep your kitchen floor tiles to apply the luxury vinyl planks? Thanks!
These planks are floating (no adhesive) so we didn’t have to do much of anything, other than making sure the surface was totally clean.
[…] been a little over three years since we opened our Historic Townhome Airbnb rental and started The Village Host. We LOVE being hosts and creating beautiful spaces […]
Bravo, well done, thoughtful and full of personality