We’ve been sharing our progress along the way for both sides of our 1920 duplex renovation (side #1 here, and side #2 here). It’s been a long journey, but guess what? We’re finally at the point where we can share some before and after photos! We’re going to do one room at a time and share all of the juicy details on each one. First up is our kitchen on side #2 of the duplex, which had been not-so-tastefully updated in the 70s.
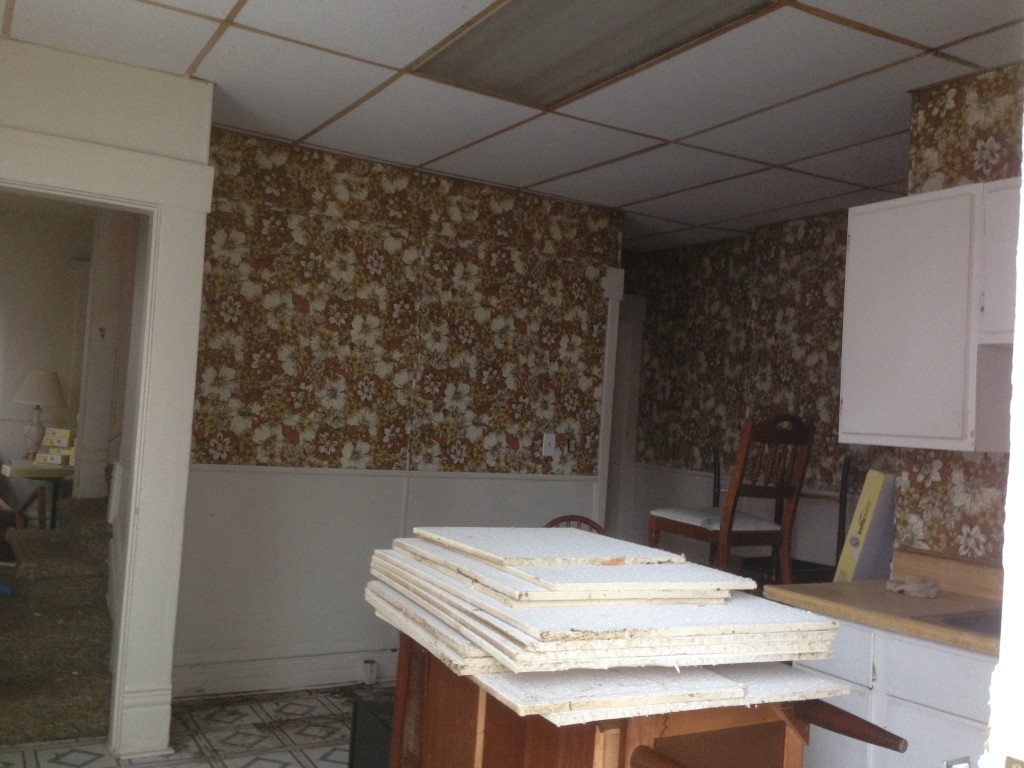
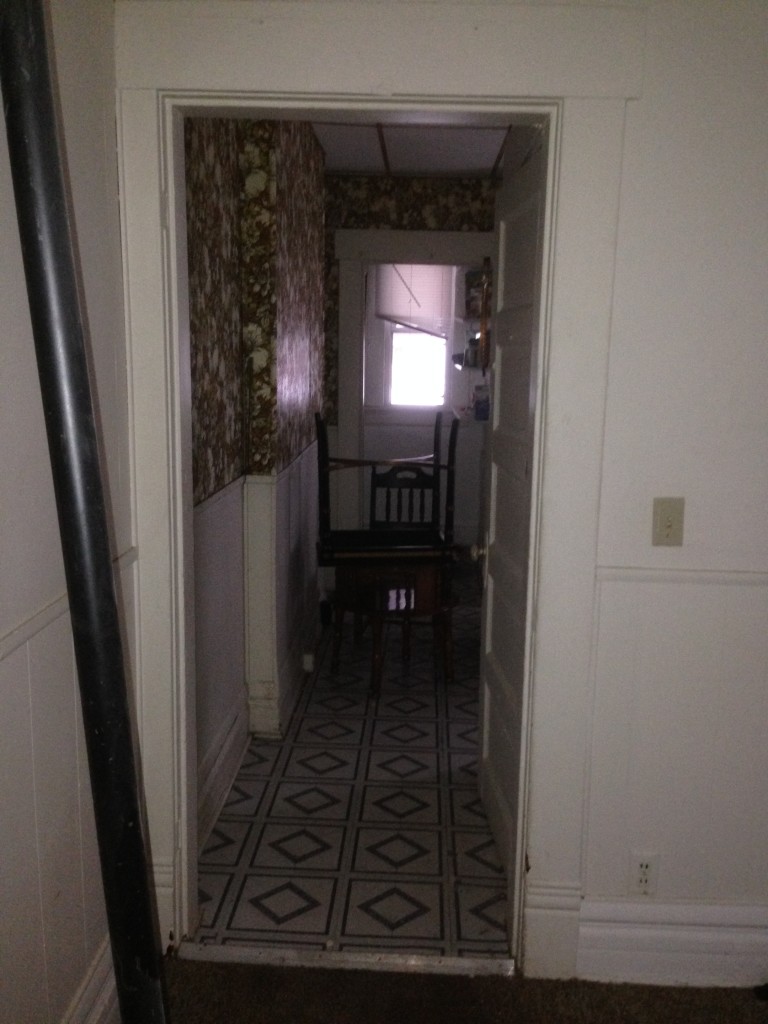
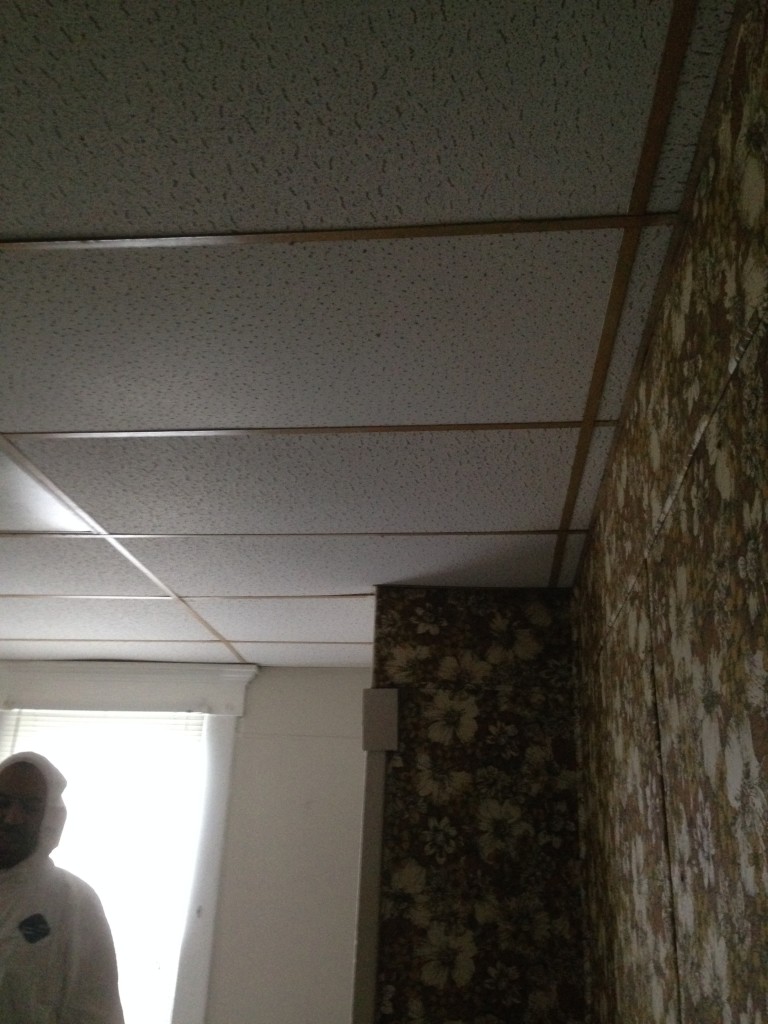
This is what it looked like when we bought the house:
{View from the back door looking into the house}
{View from the dining room into the kitchen}
{Looking up}
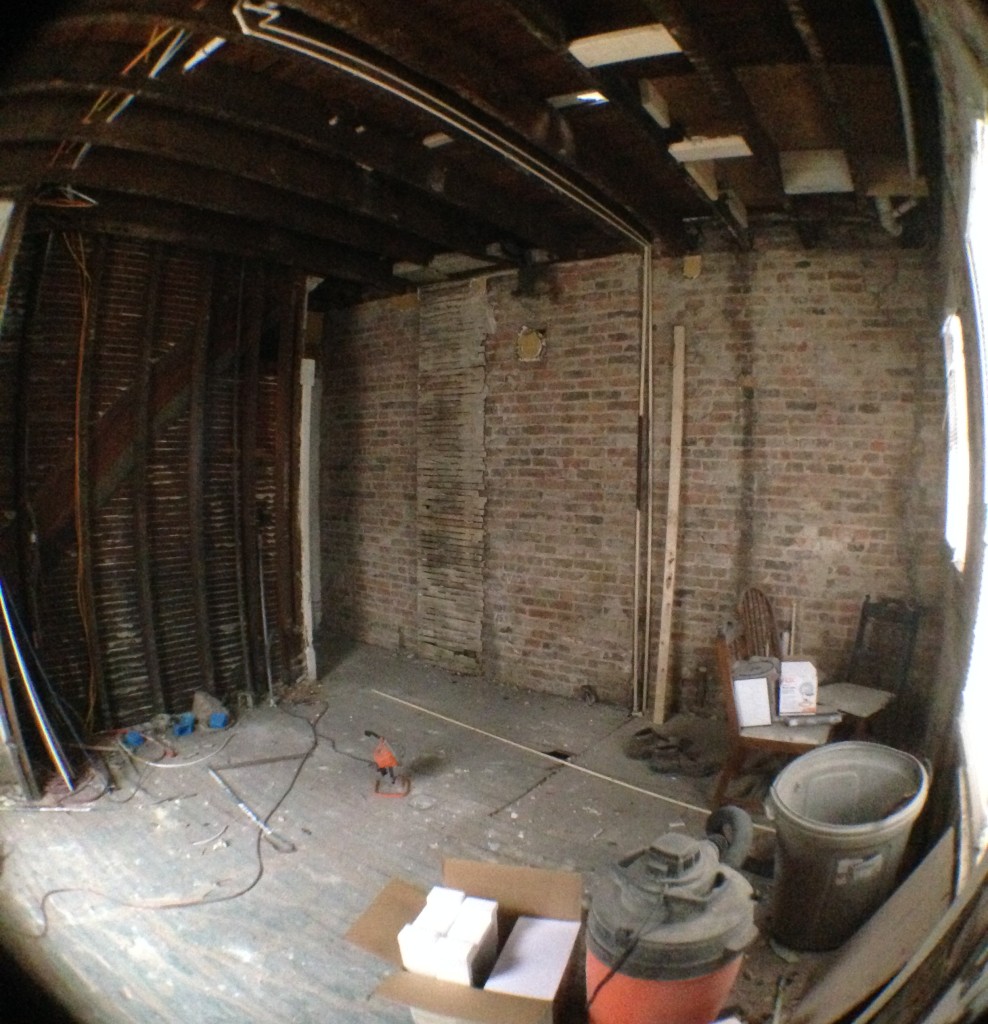
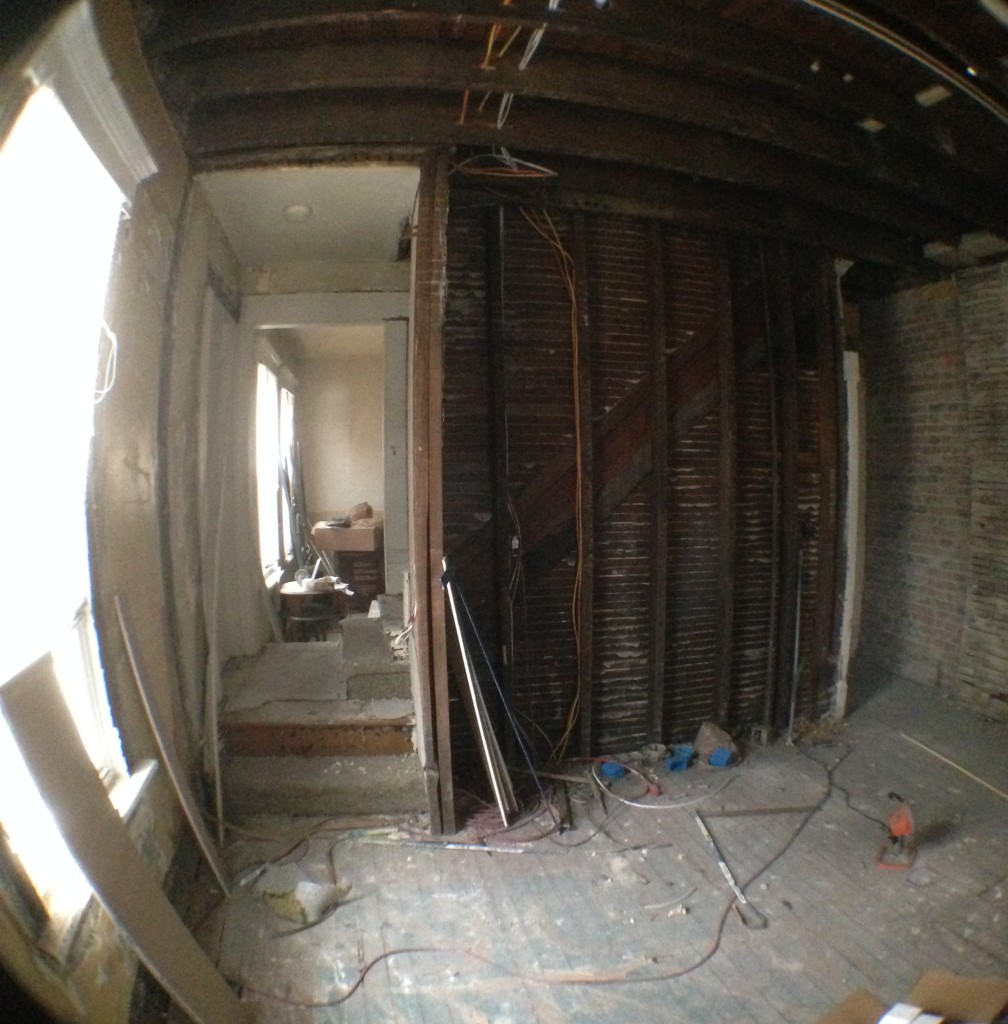
Believe it or not, this side was in way better shape than the kitchen on side #1. But it still wasn’t our jam. We took everything out, including the awkwardly placed cabinets, linoleum flooring, and dropped ceilings (which increased our ceiling height in there to 10′!). Also, the floral wallpaper had to go. Sorry guys.
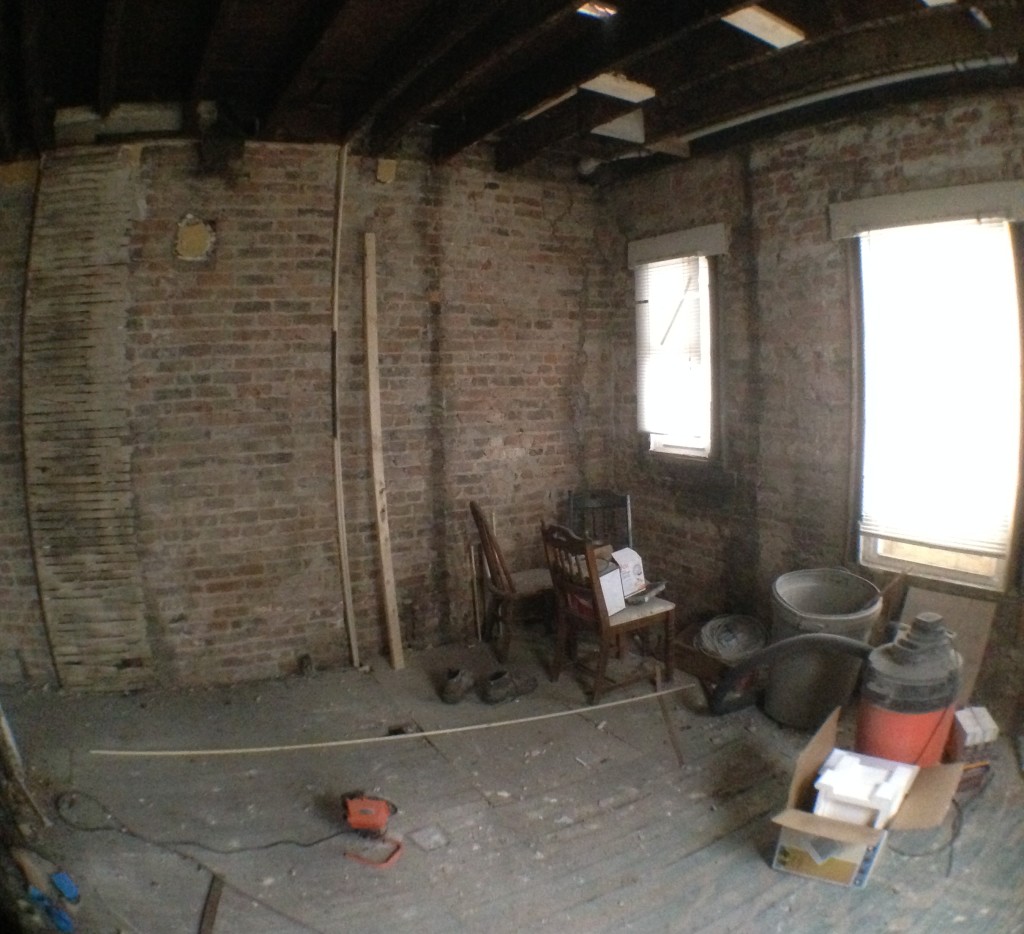
We knew from side #1 that we had double brick walls in this property, so we exposed the brick on this side, too. Here’s what it looked like mid-demo.
{View from the stairs looking toward the back of the room}
{View from the back door looking into the house}
On this side of the duplex, we chose not to add the half bath and first floor laundry like we did on side #1. Instead, we left it as one big kitchen. It was a trade-off – bigger kitchen without a half bath vs smaller kitchen with half bath – but we were okay with that because we know different people have different preferences.
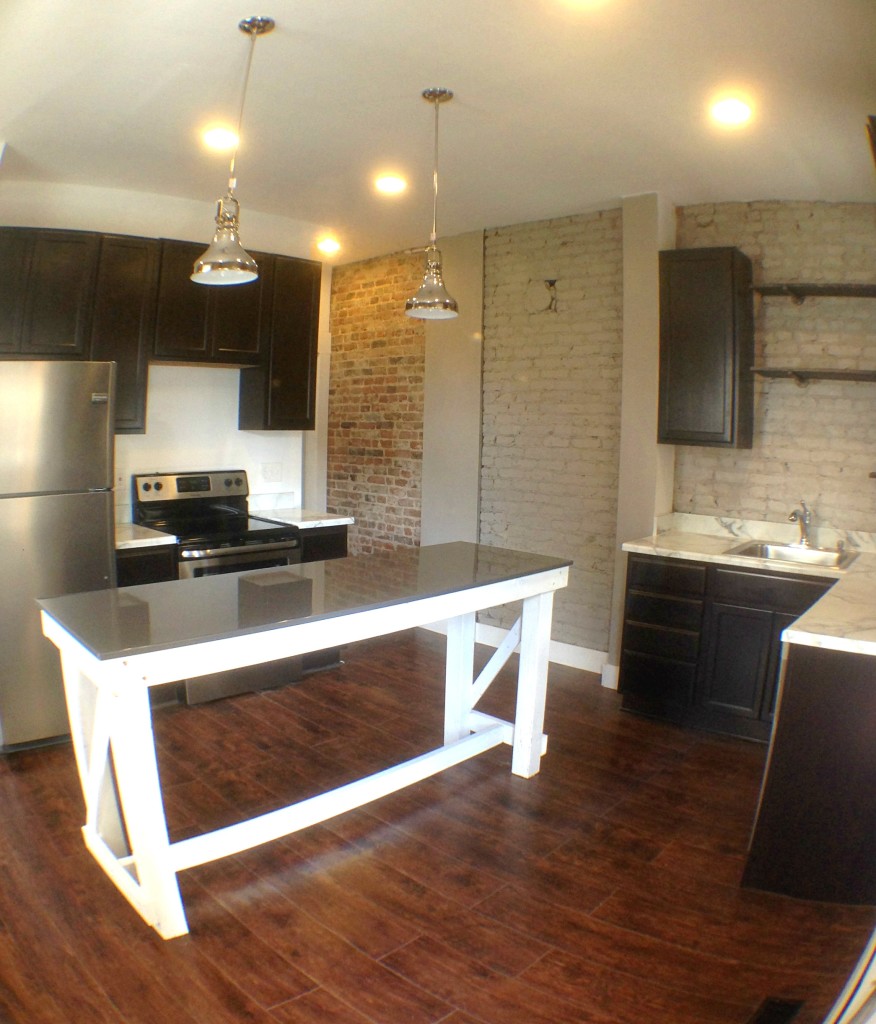
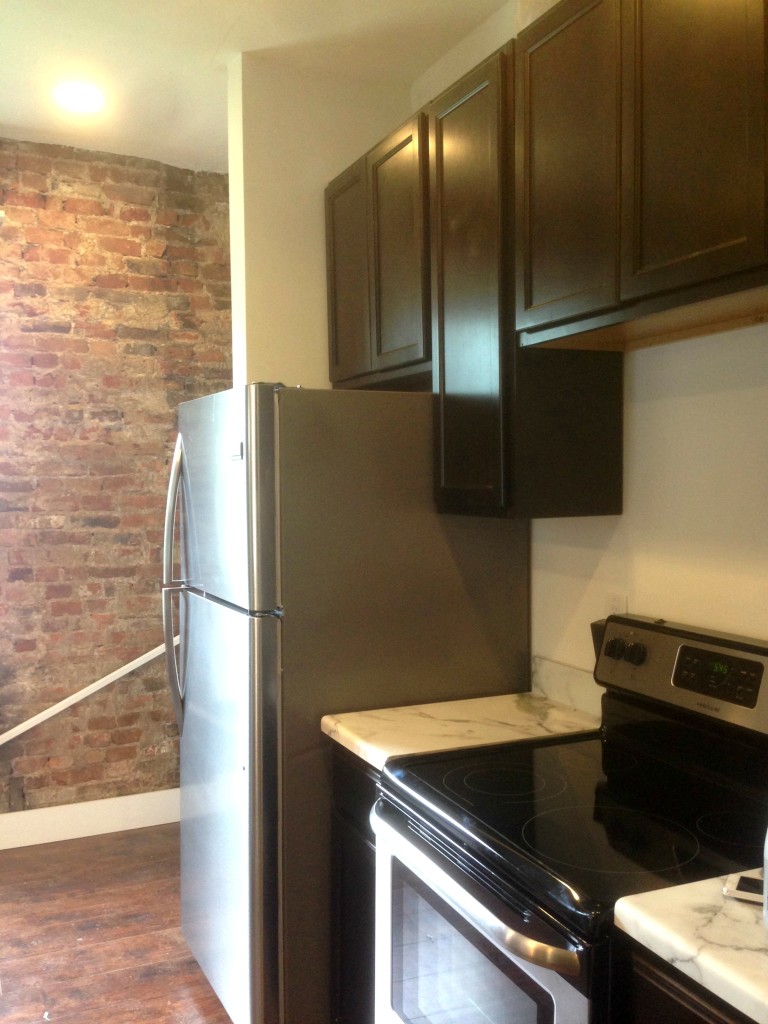
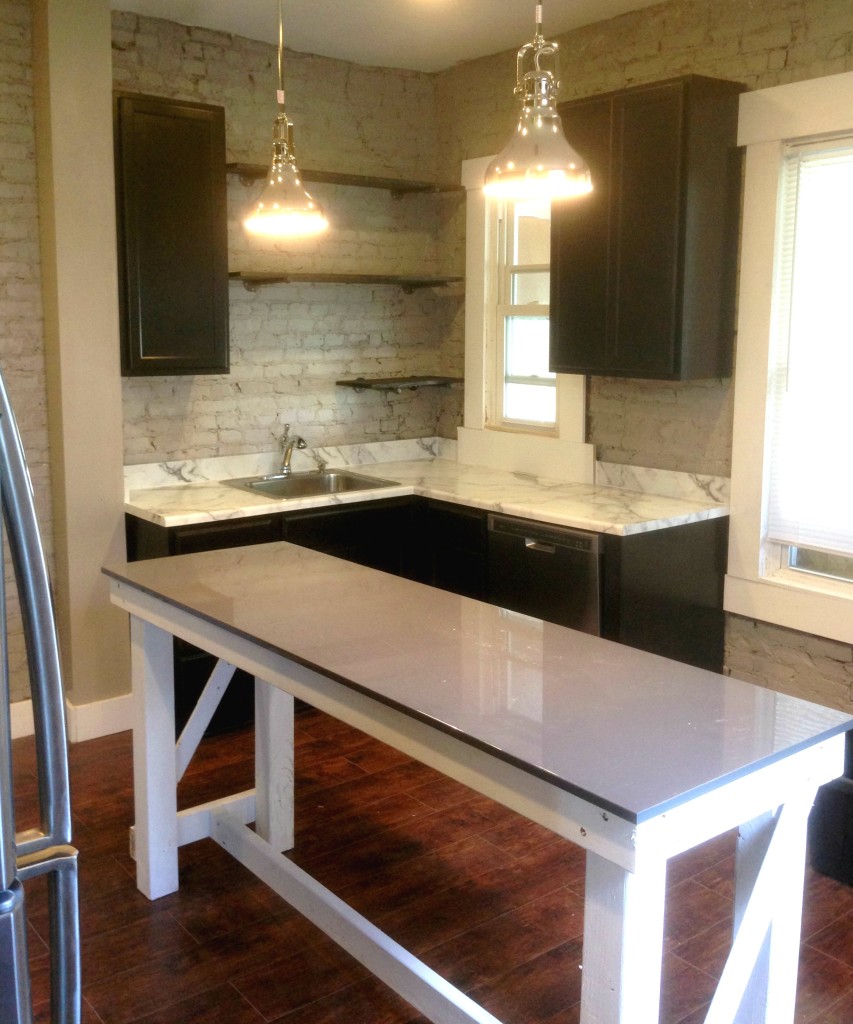
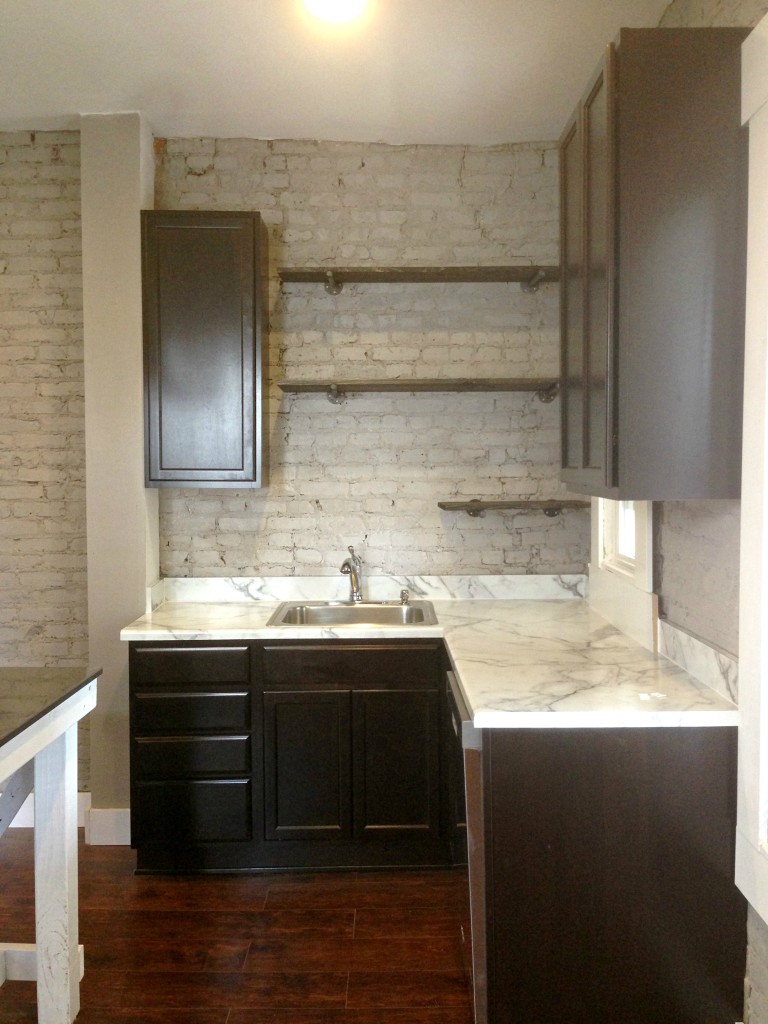
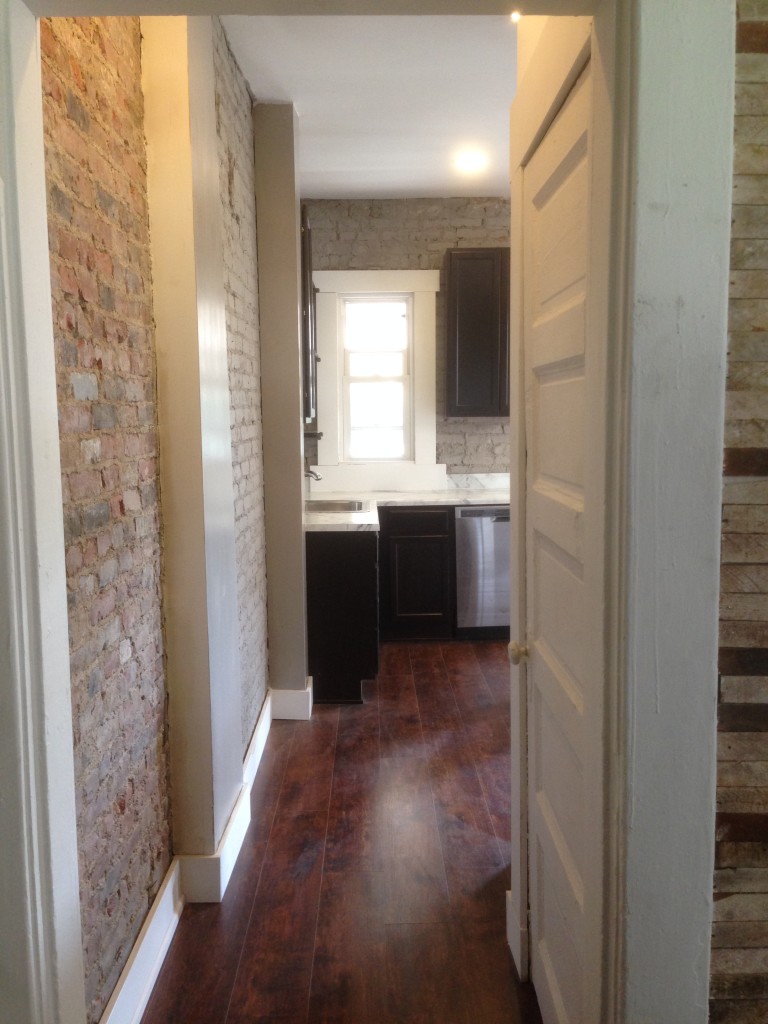
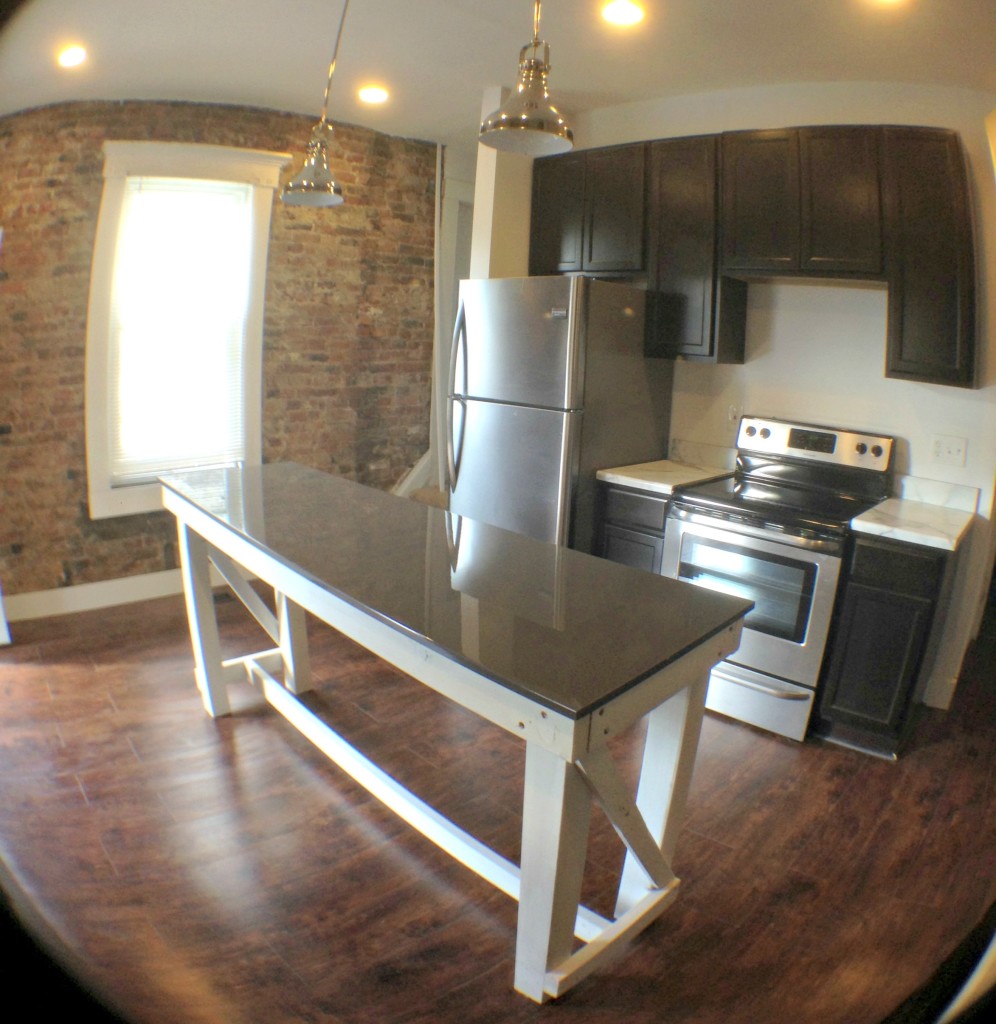
We started with a blank slate, and the design kind of evolved as we went along. We knew we had a small budget to work with on this renovation, so we worked with what we had as much as possible. Having the exposed brick in there not only added a ton of character to the space, but also saved us lots of time and money on drywall. We chose high quality, durable laminate counters that look like Carrera marble, espresso cabinets, and added a few open shelves to fill in the space. We purchased our stainless appliances from Sears Outlet, and added a range hood to the space above the oven after this photo was taken! Bryan built the island for under $50 from an Ikea table we had purchased a few years ago on clearance and some 2x4s.
Here’s what it looks like now!
Total DIY Renovation Cost (not including plumbing): $4,385
Flooring – Alameda Hickory Laminate – 50% off Black Friday special ($90)
Drywall – DIY drywall and finishing on ceiling and wall behind appliances ($200)
Laminate Underlayment – Airguard Premium 3-in-1 Underlayment with Microban ($100)
Countertops – 180FX Formica Laminate in Calcutta Marble (installed price – $950)
Brick sealer – Seal-Krete Clear Gloss Sealer ($30)
Paint – Valspar Montpelier Ashlar Gray ($30)
Cabinets – Bella Kitchen and Bath ($1500, but Bryan received a 40% discount, so we only paid $900!)
Island – Built by Bryan from 2x4s and a $10 Ikea clearance door ($50)
Pendant lights – Allen + Roth 8.1-in W Polished Nickel Mini Pendant Light with Metal Shade ($45 each)
Open Shelves – three 48″ pine boards ($33)
Piping for Open Shelves – six 12″ nipples ($24), six floor flanges ($30), and six caps ($8) – ($62 total)
Sink – Stainless Steel 25″ ($100)
Appliances and range hood (not shown) – Sears Outlet – $1700
Sink Faucet – Pull down from Home Depot ($95)
One more look…
Before
After
Before
After
[…] « Before & After: A 70s Kitchen Makeover […]
Hey guys! I’m a new follower and I’m really enjoying going back and reading all of your previous posts, but it seems like all the links you’ve included referencing prior projects aren’t working and say “page not found”. Might want to look into that. 🙂
Thank you so much! Our blog was hacked & all of our links changed, so that’s why. :/ Lots of updating to do!
I found your blog is very informative, very useful for me and everyone. Thank you so much for sharing information with us.