Our laundry room at our #pearlgoesmodern Airbnb is FINISHED! When we started this project last month, Bryan & I had low-ish expectations for what we could do with an old, creepy basement that was dark and had low ceilings. Let’s just say we surprised ourselves…
If you missed posts #1 and #2 in our series, catch up here and here, and if you missed our IG Stories of our progress, you can view them here.
This post is sponsored by Lowe’s.
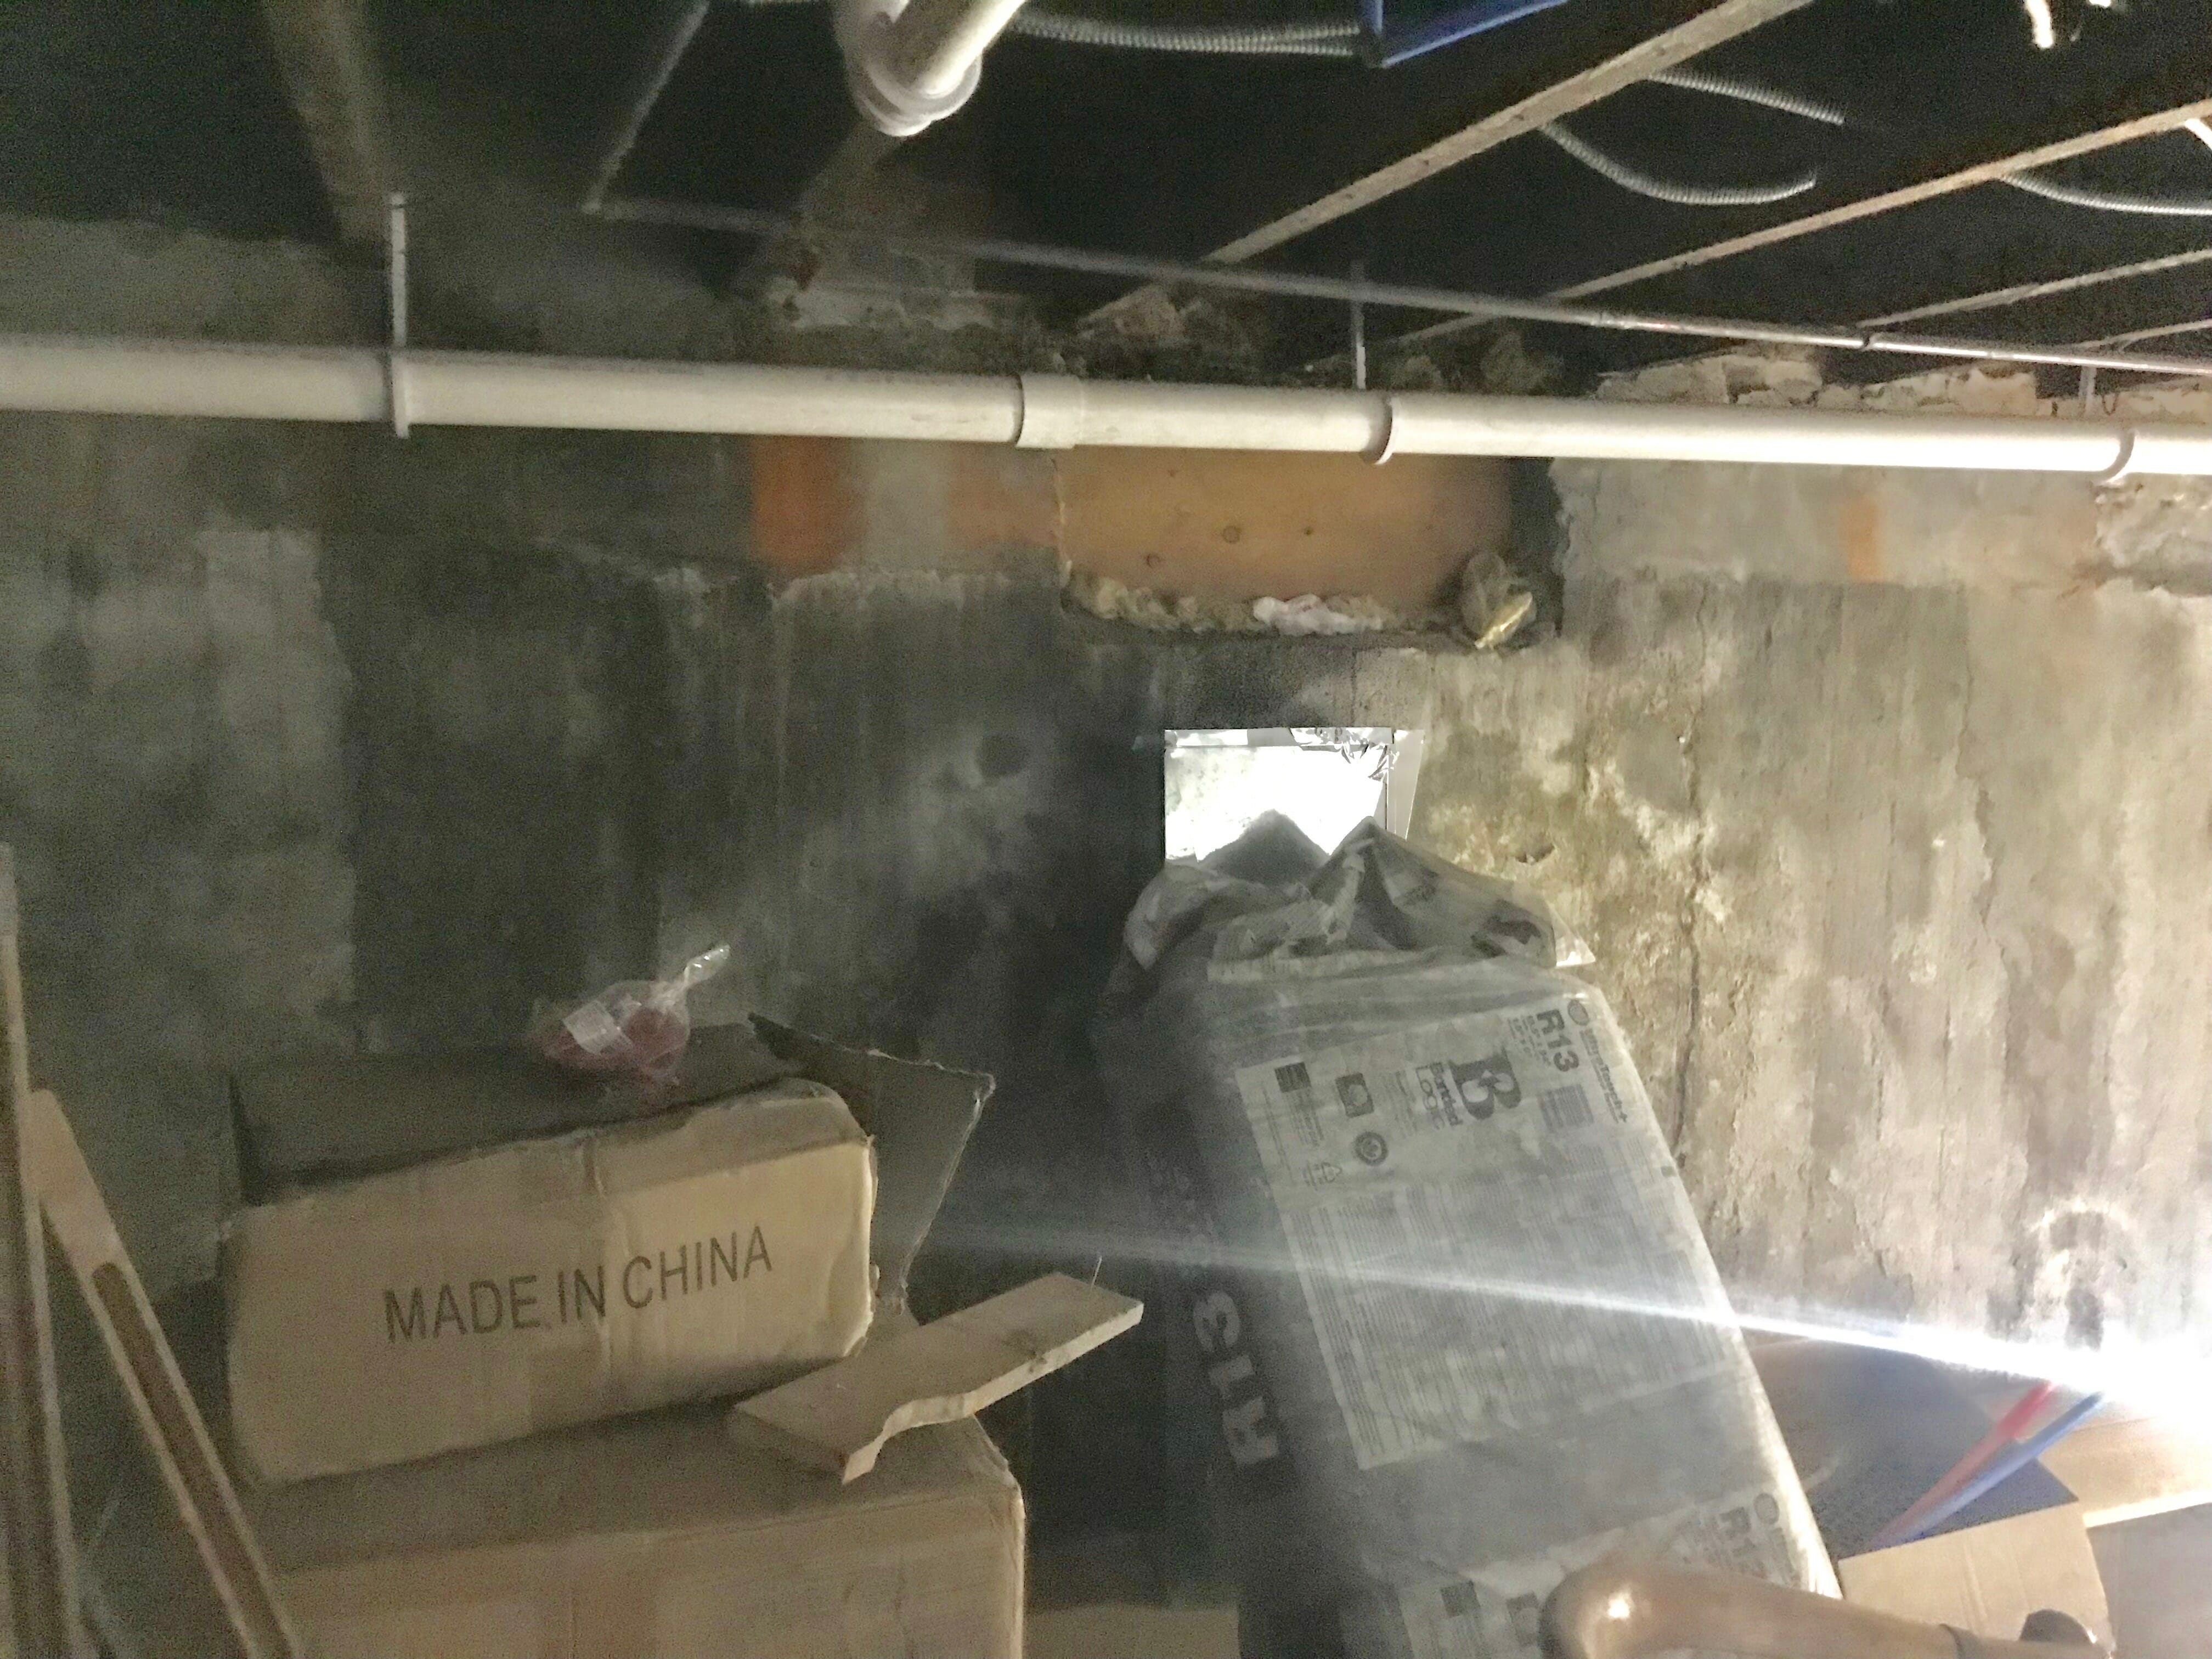
Let’s take a little walk down memory lane. We started with this…

Made progress here…

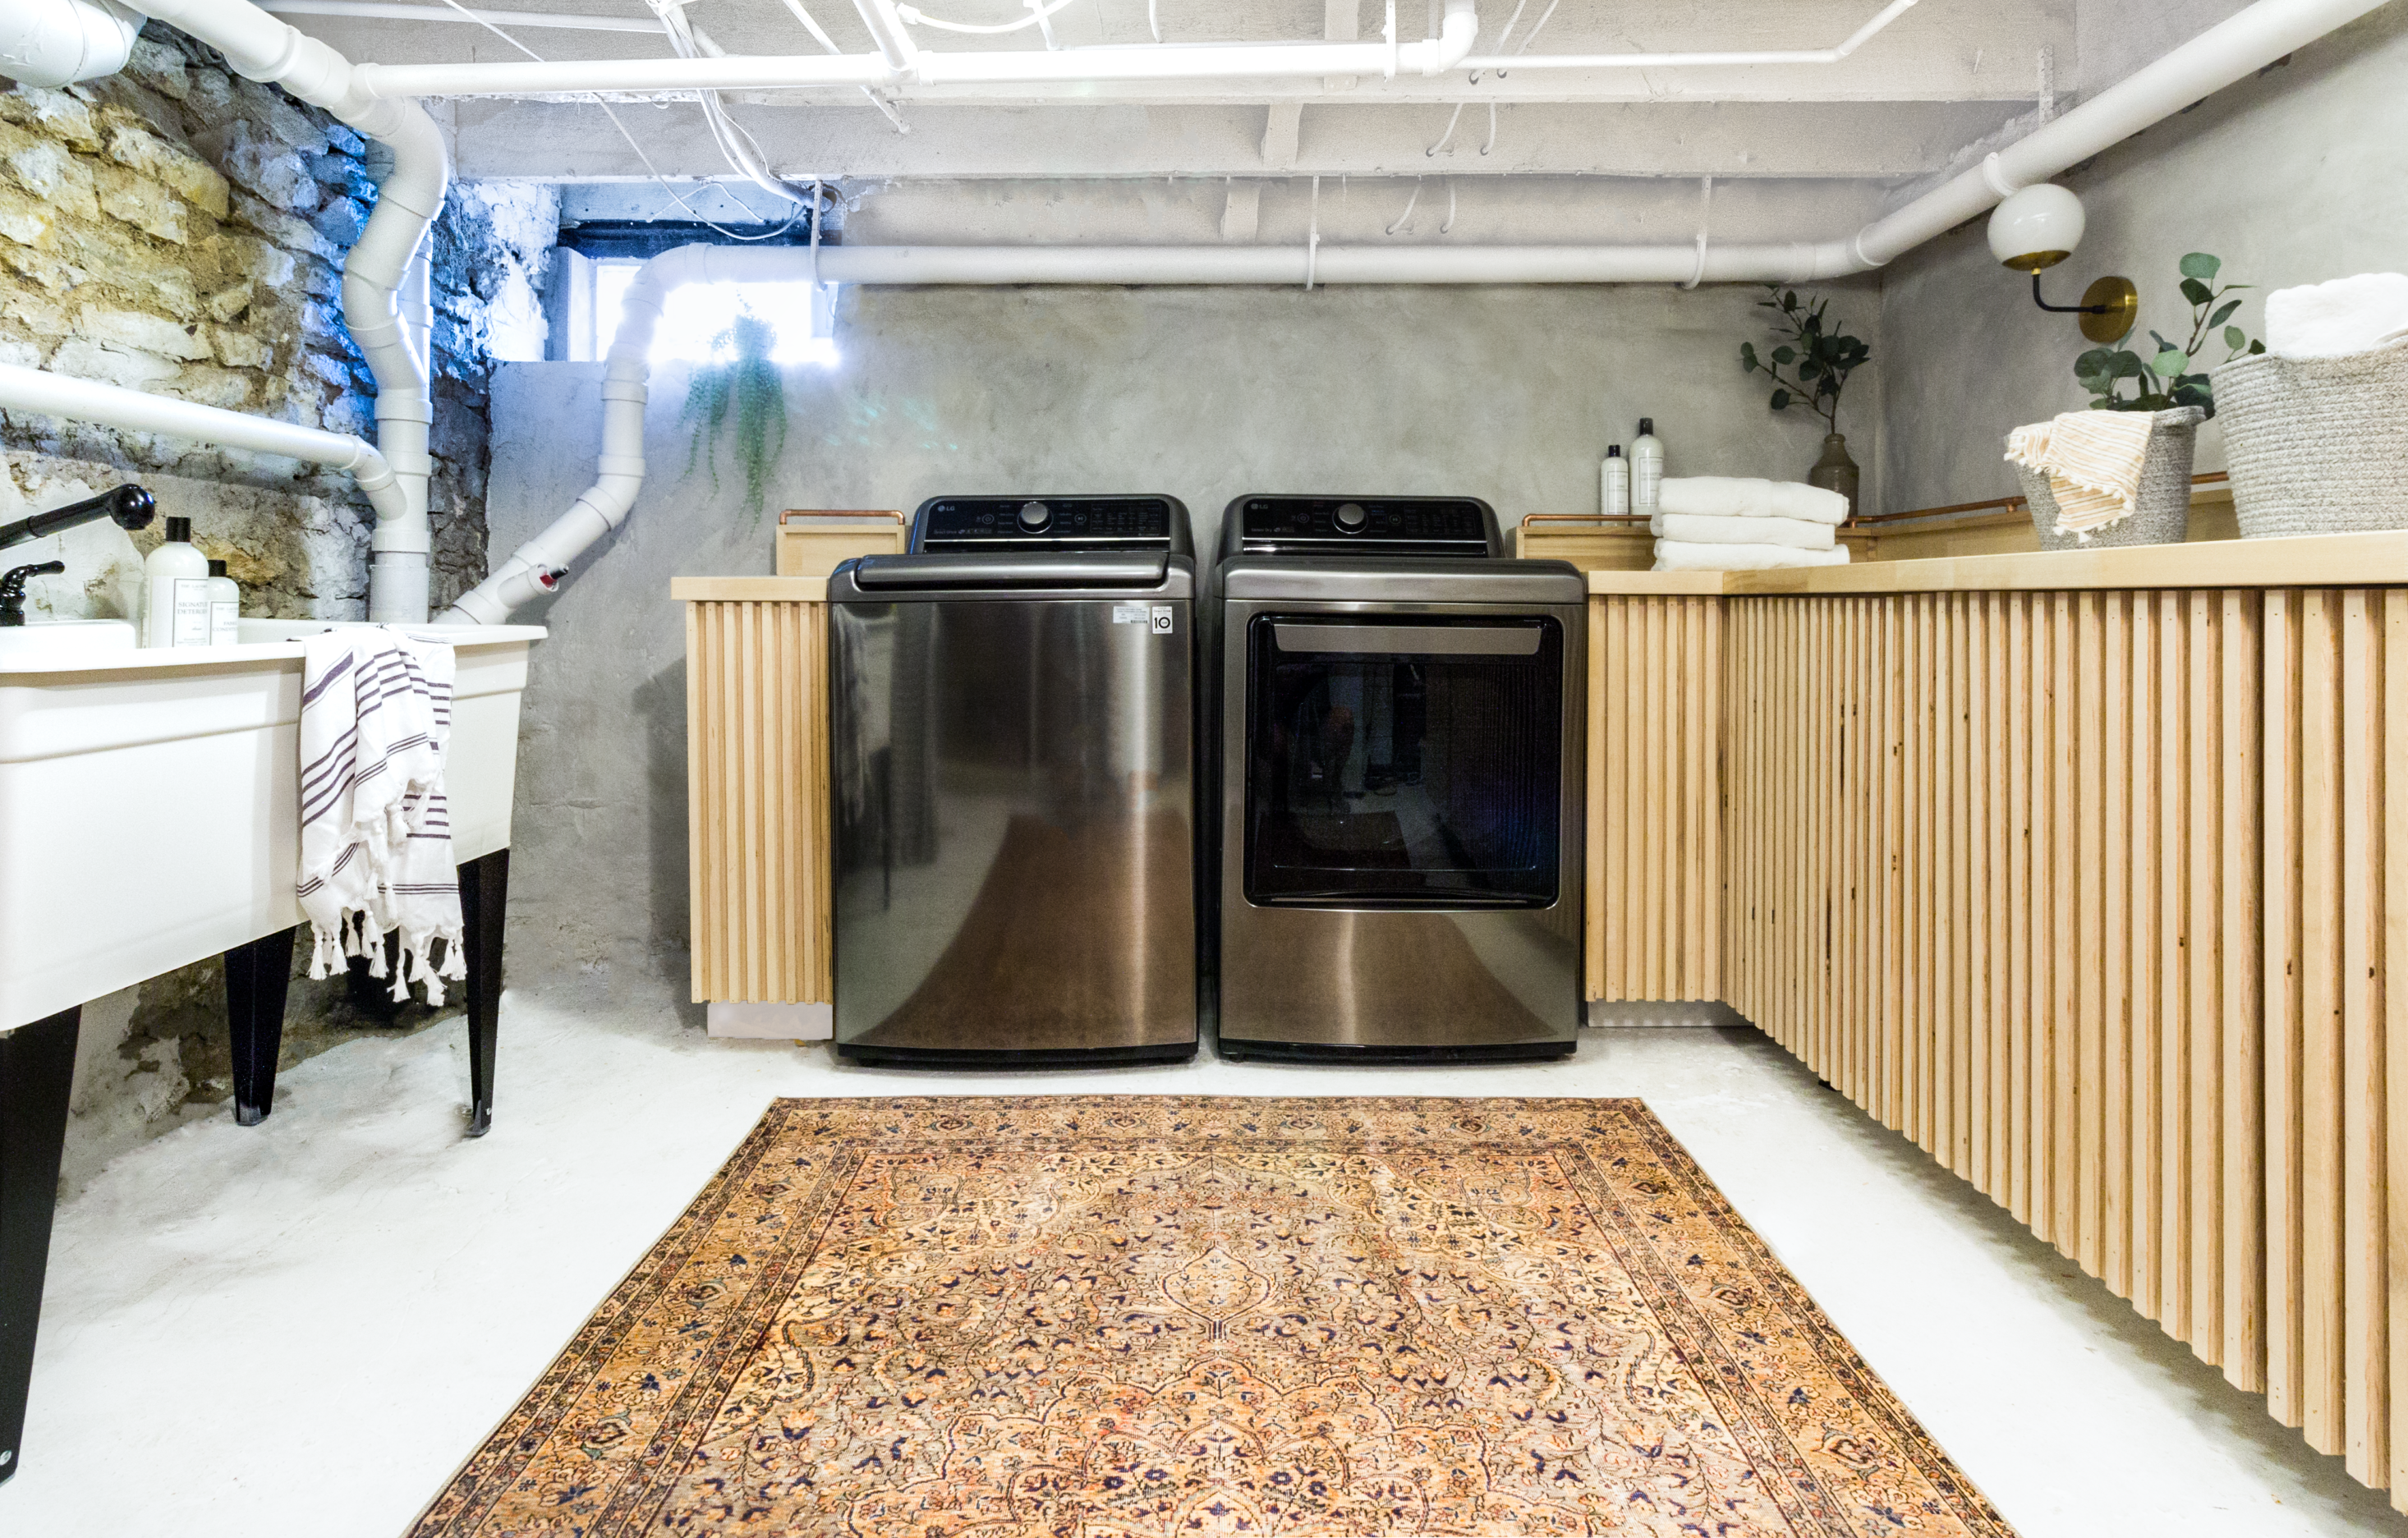
And ended up with… THIS!
RAW DETAILS
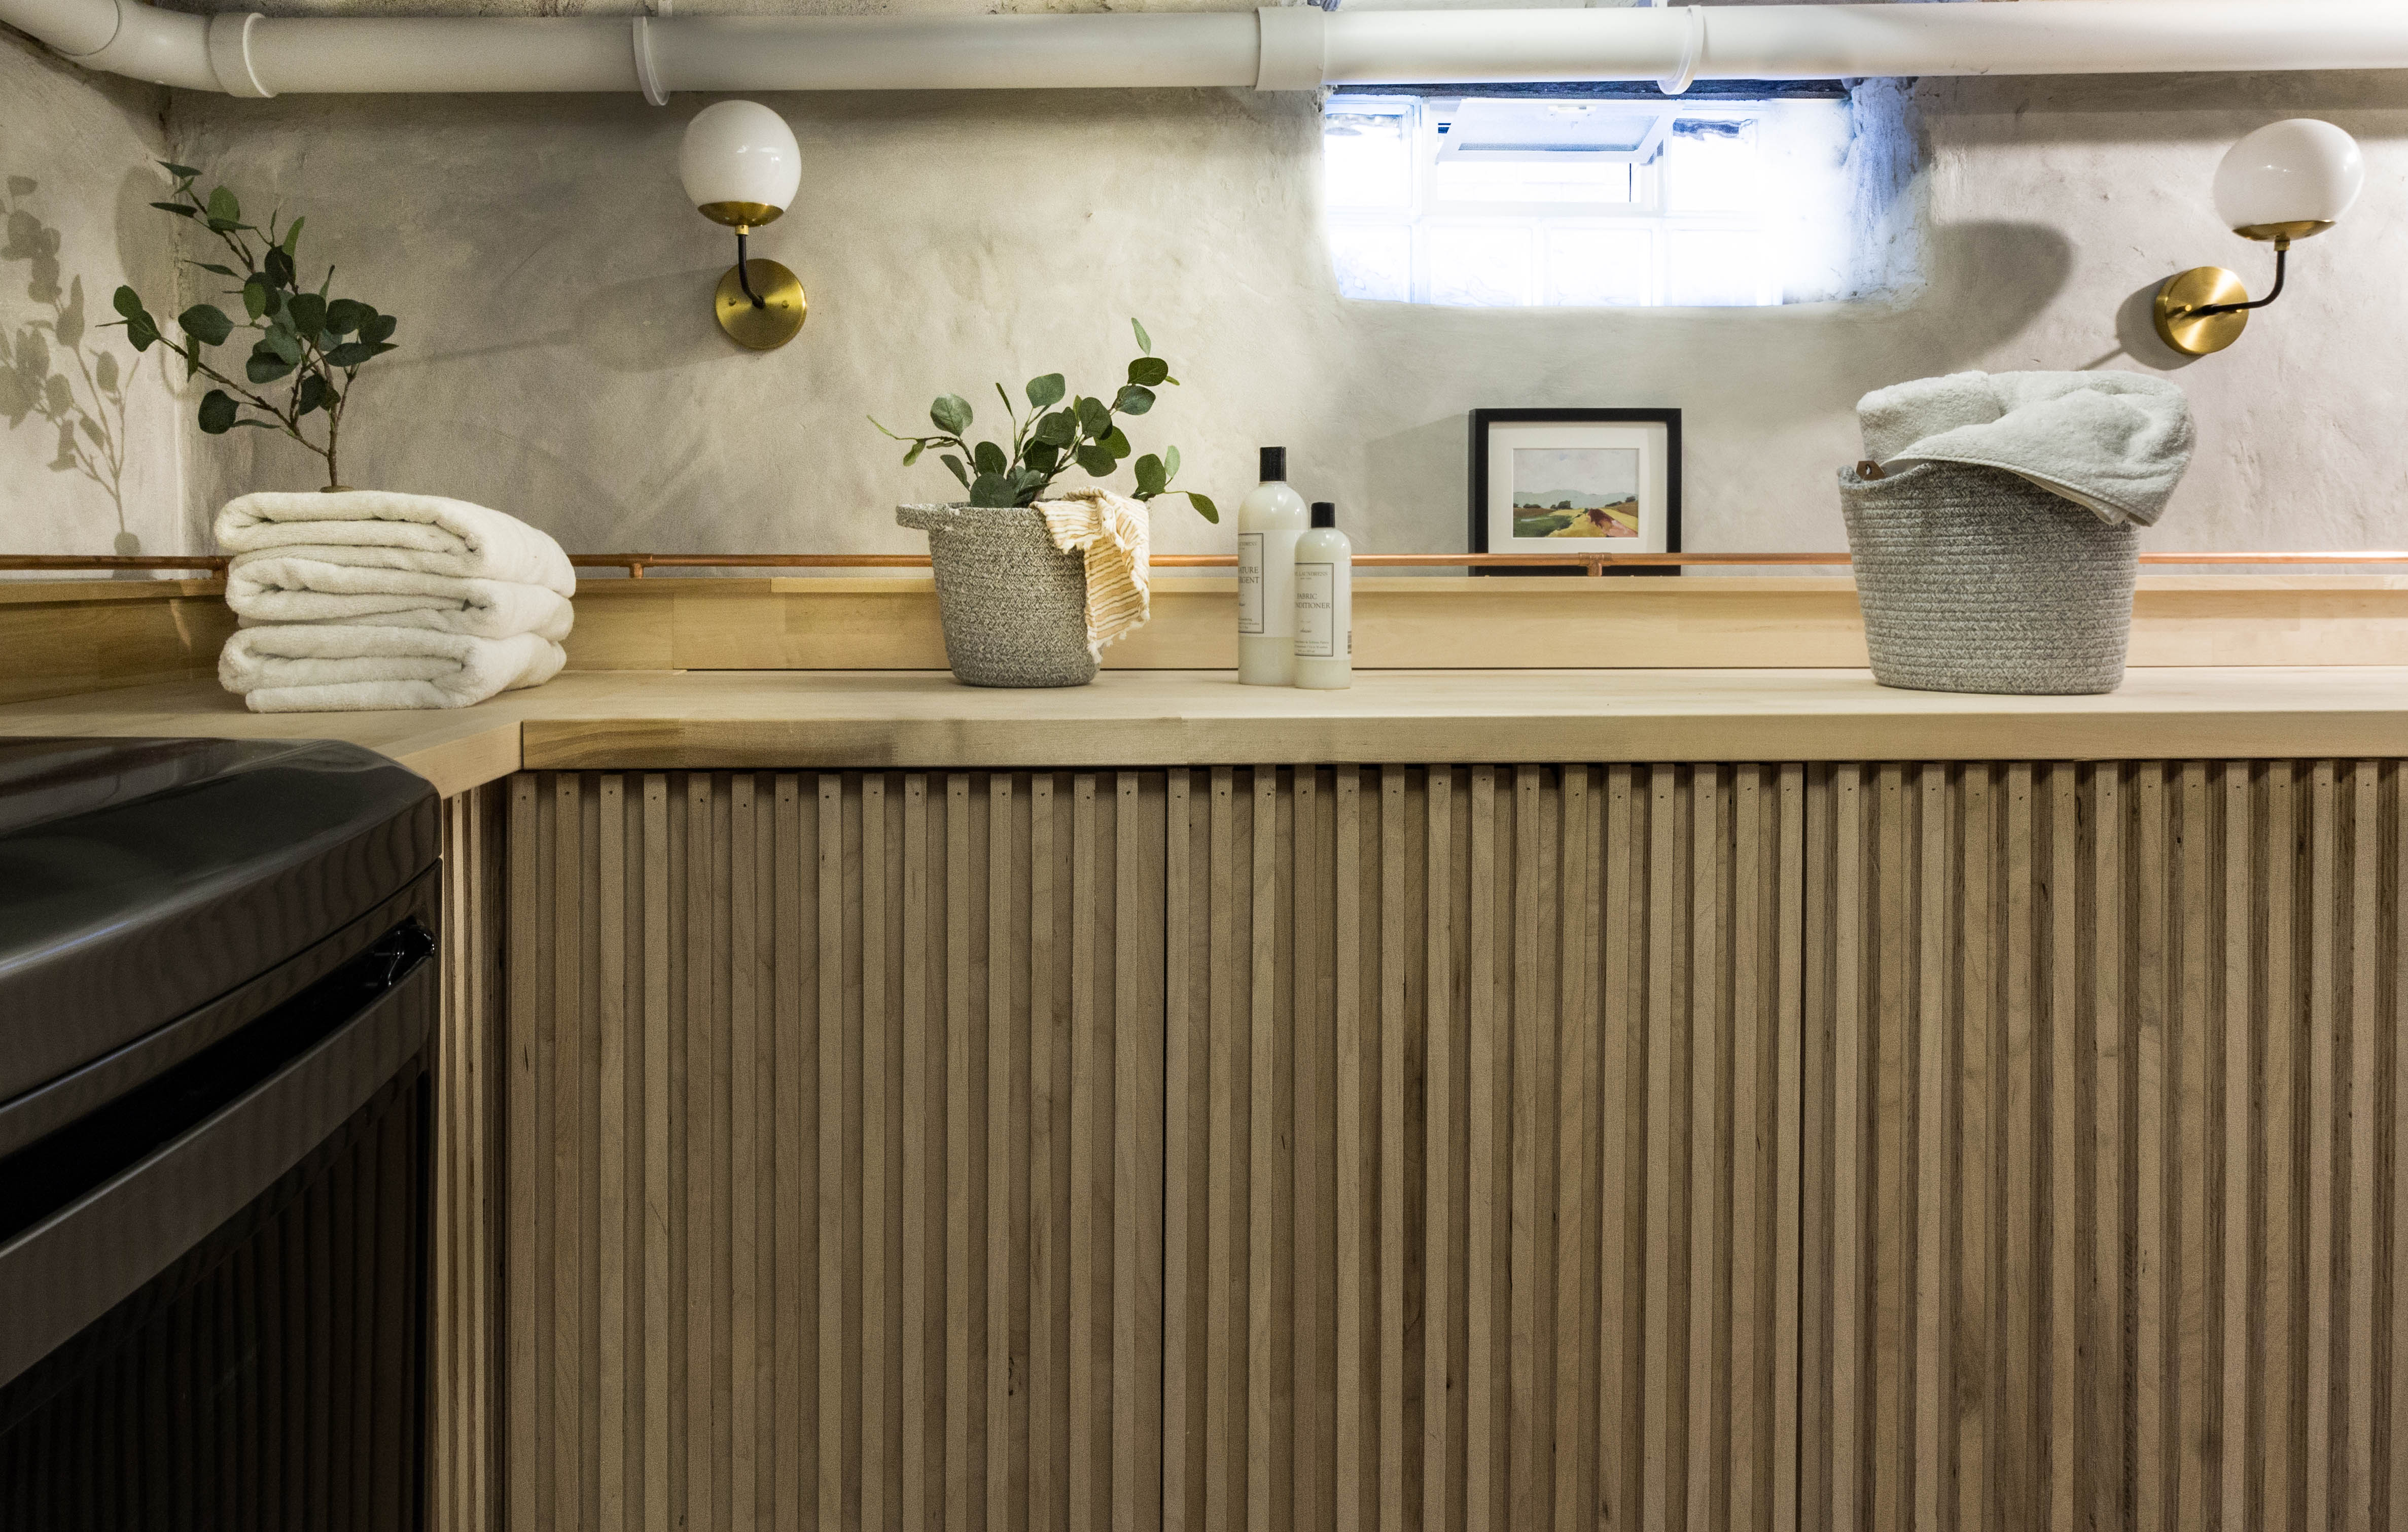
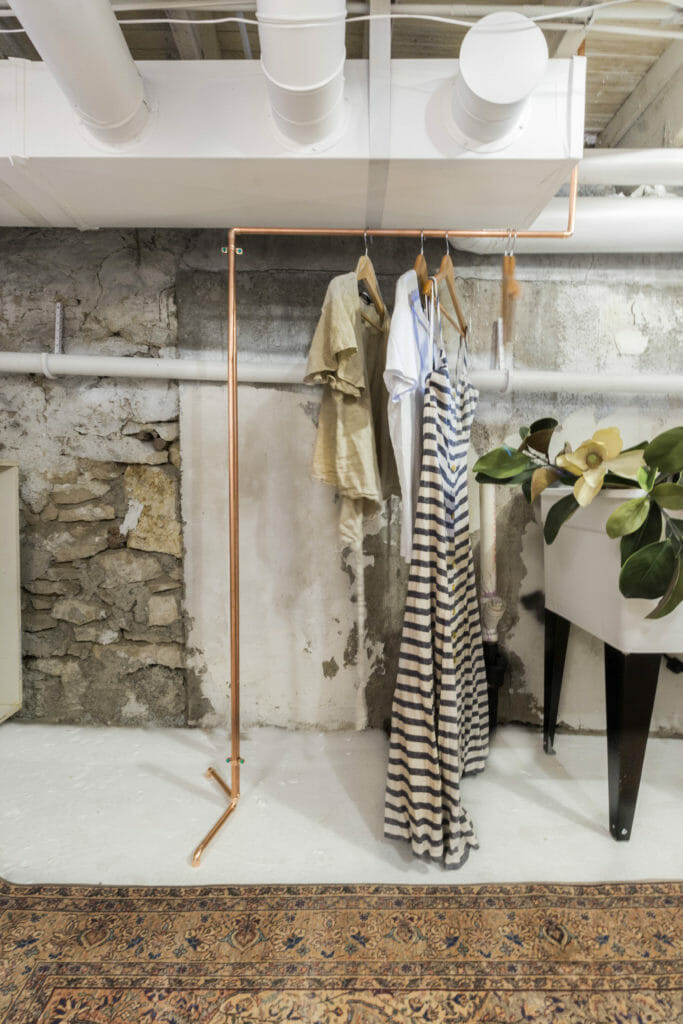
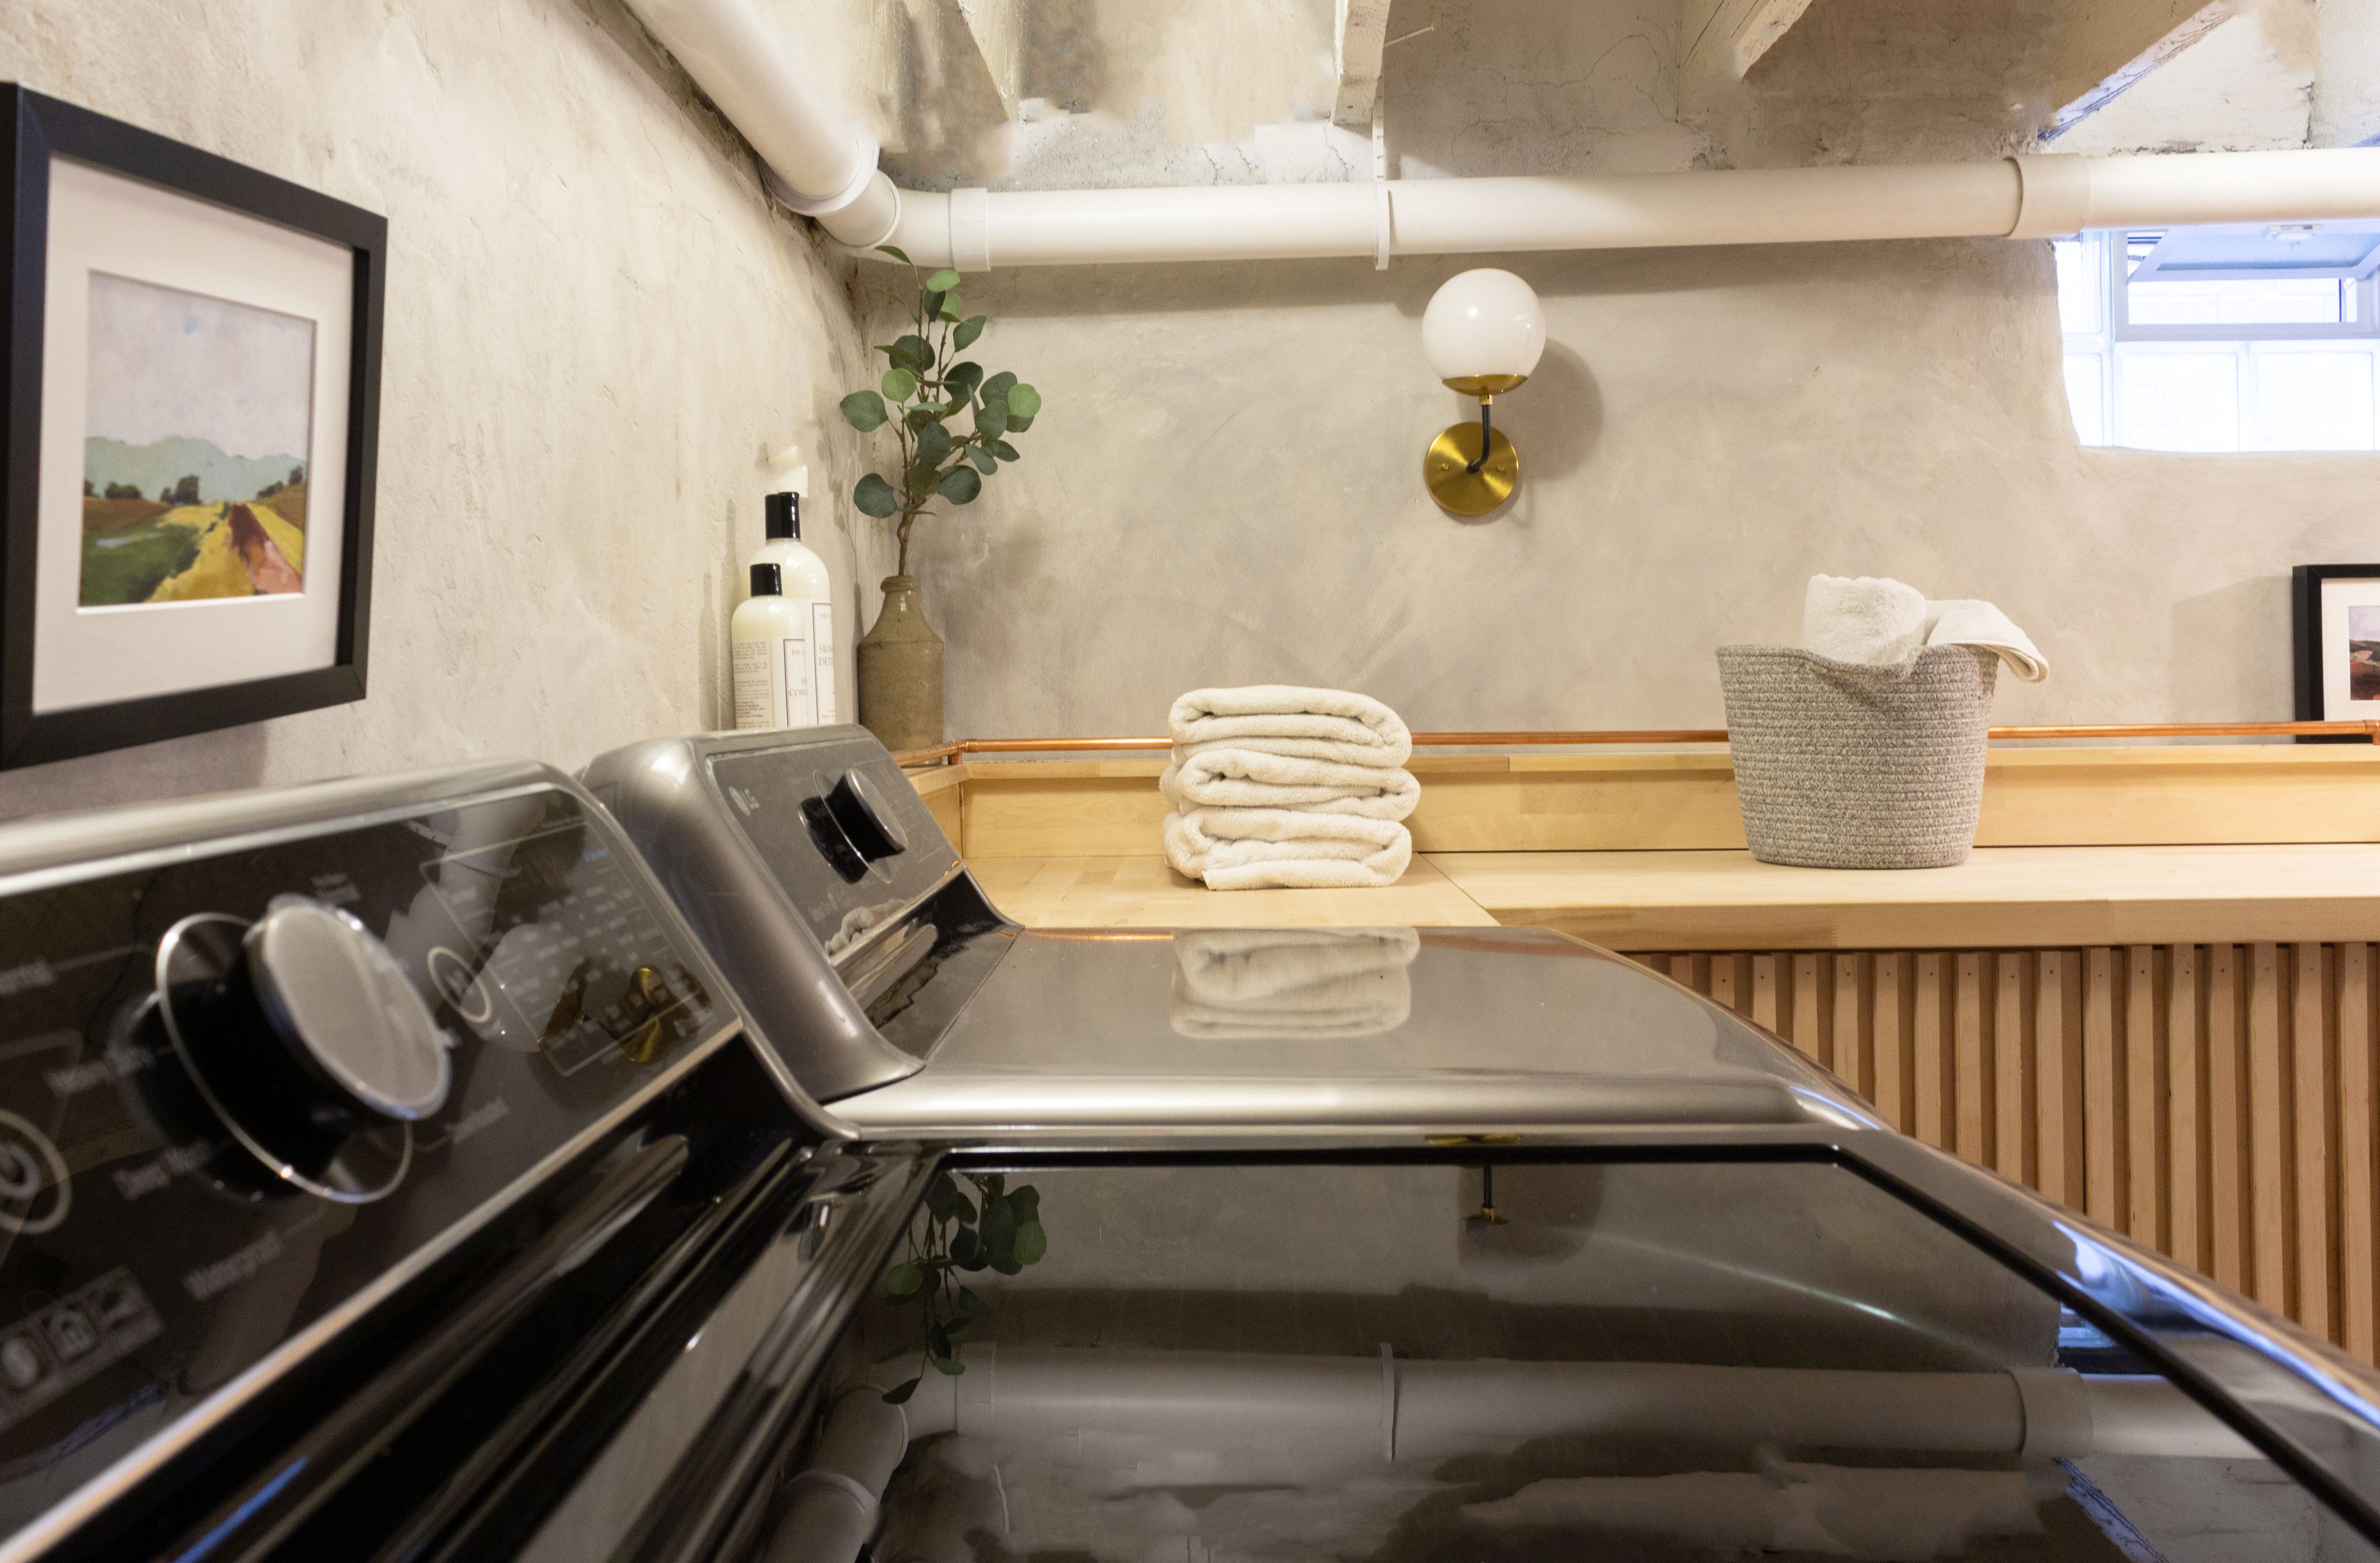
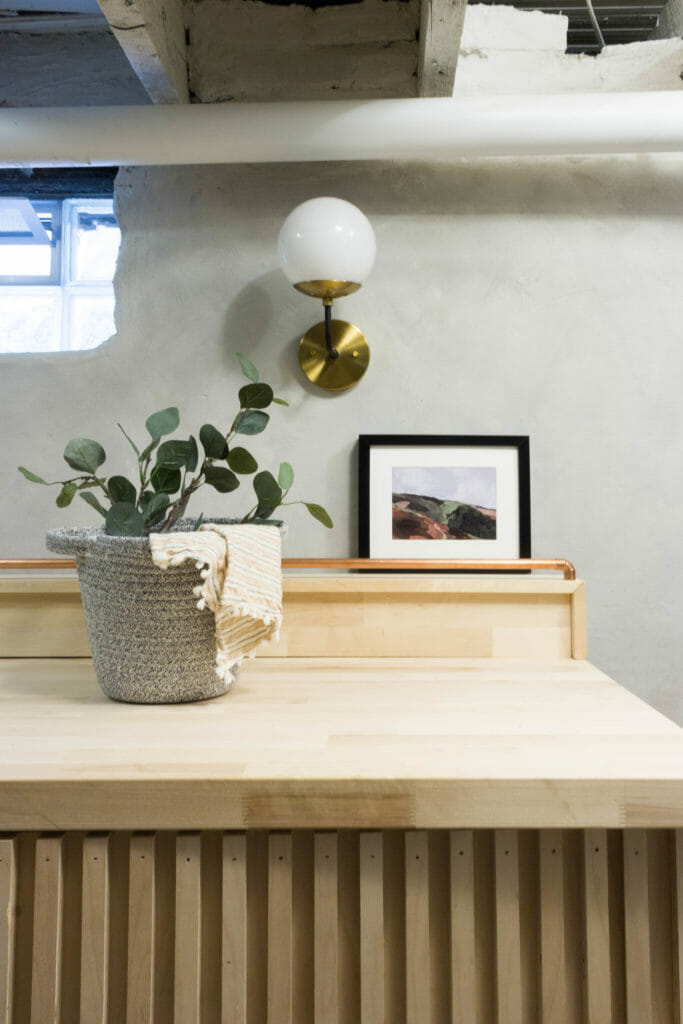
We knew we were working with an imperfect, unfinished basement space… so instead of trying to make it something it wasn’t, we embraced it. A few of our favorite details here are the newly skimmed walls (we explained our method here), the slat door fronts we built, and the copper rail + clothing rack we added. All of these details were basic, inexpensive building materials from Lowe’s that we customized.
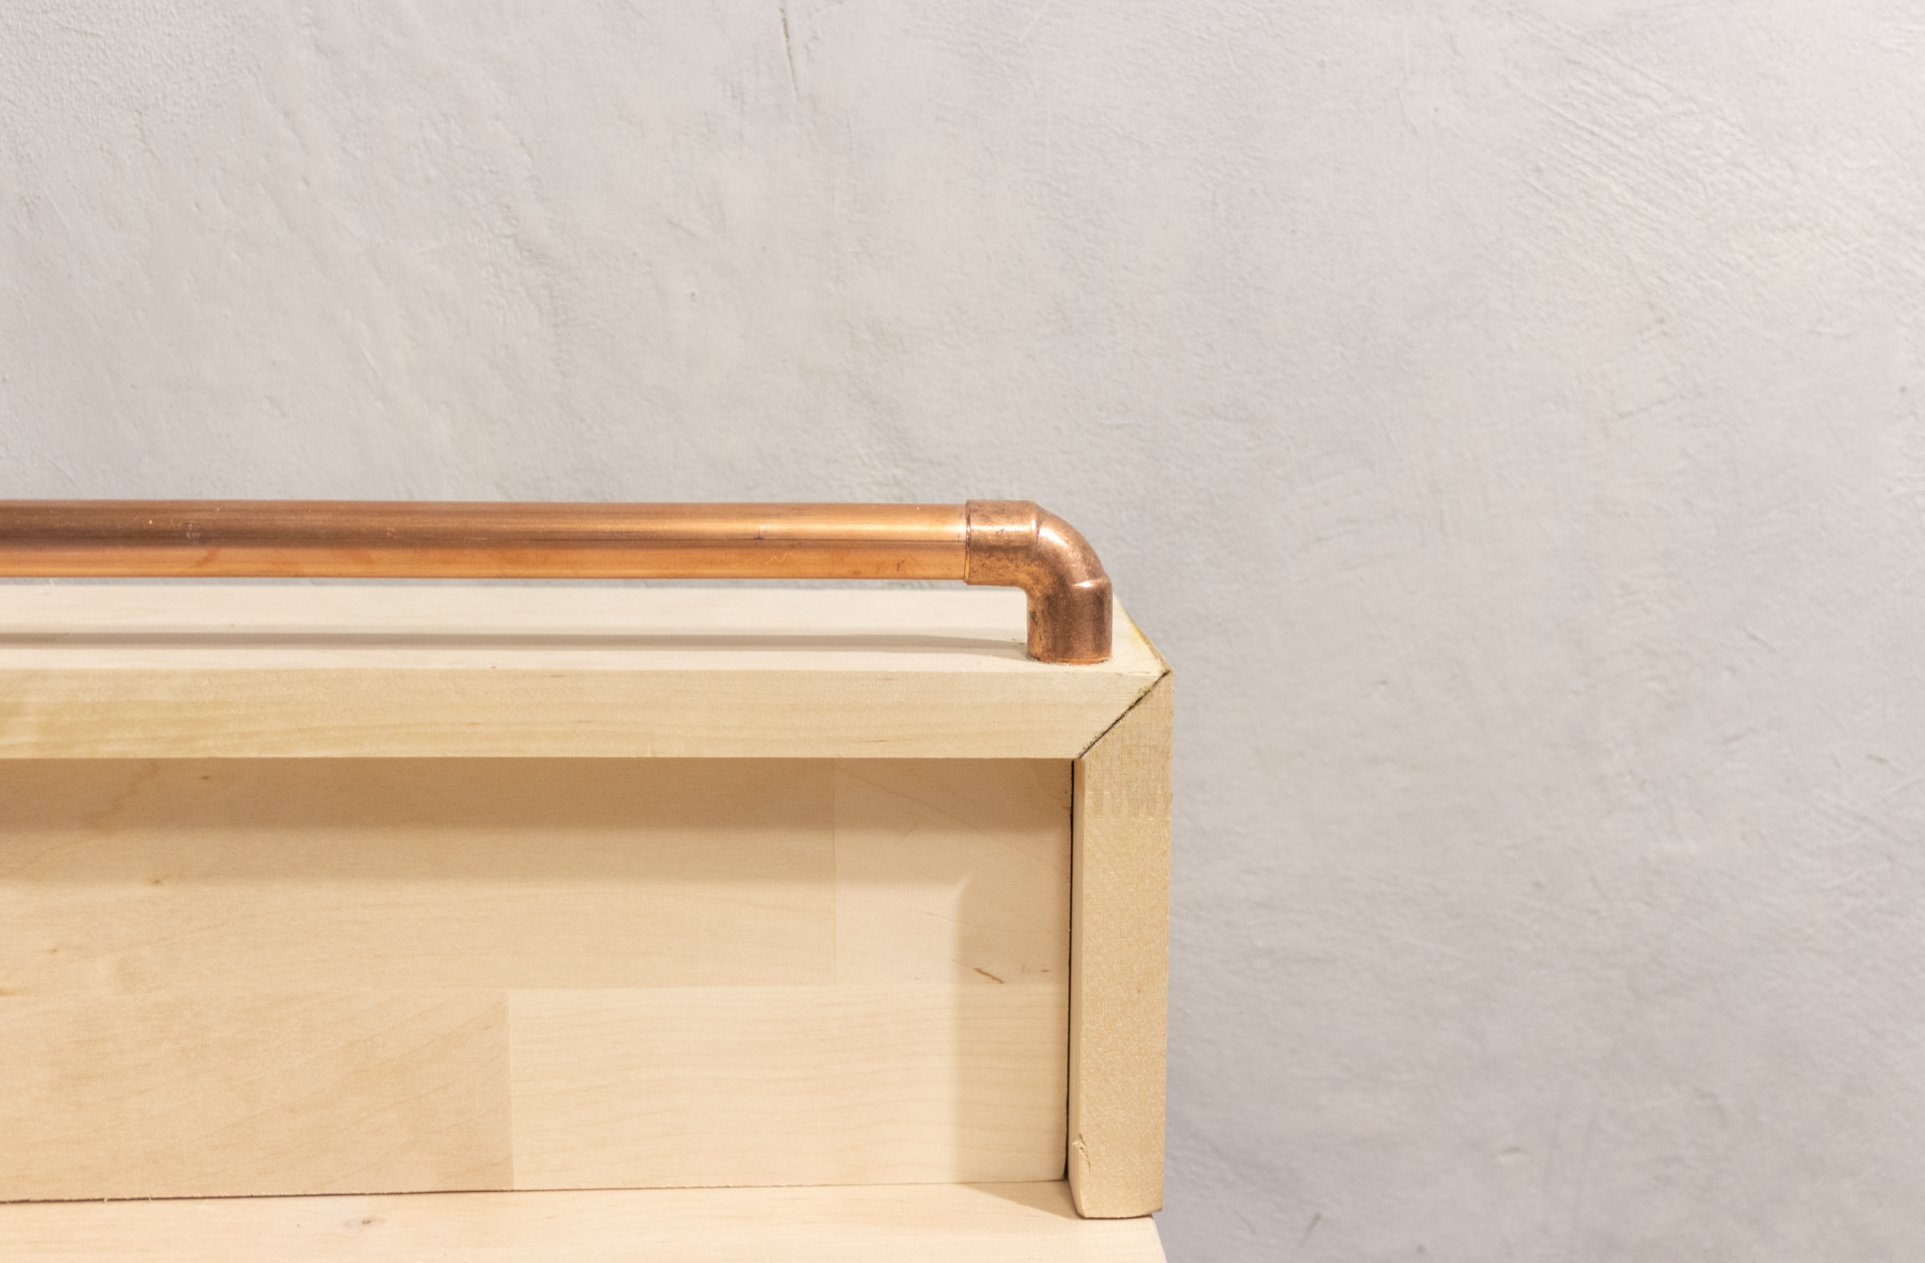
Copper. It’s such a pretty metal that we haven’t used in awhile, except for plumbing. We had some extra and decided to make it into a little rail for our shelf. It’ll help keep things from falling off, and it looks pretty!
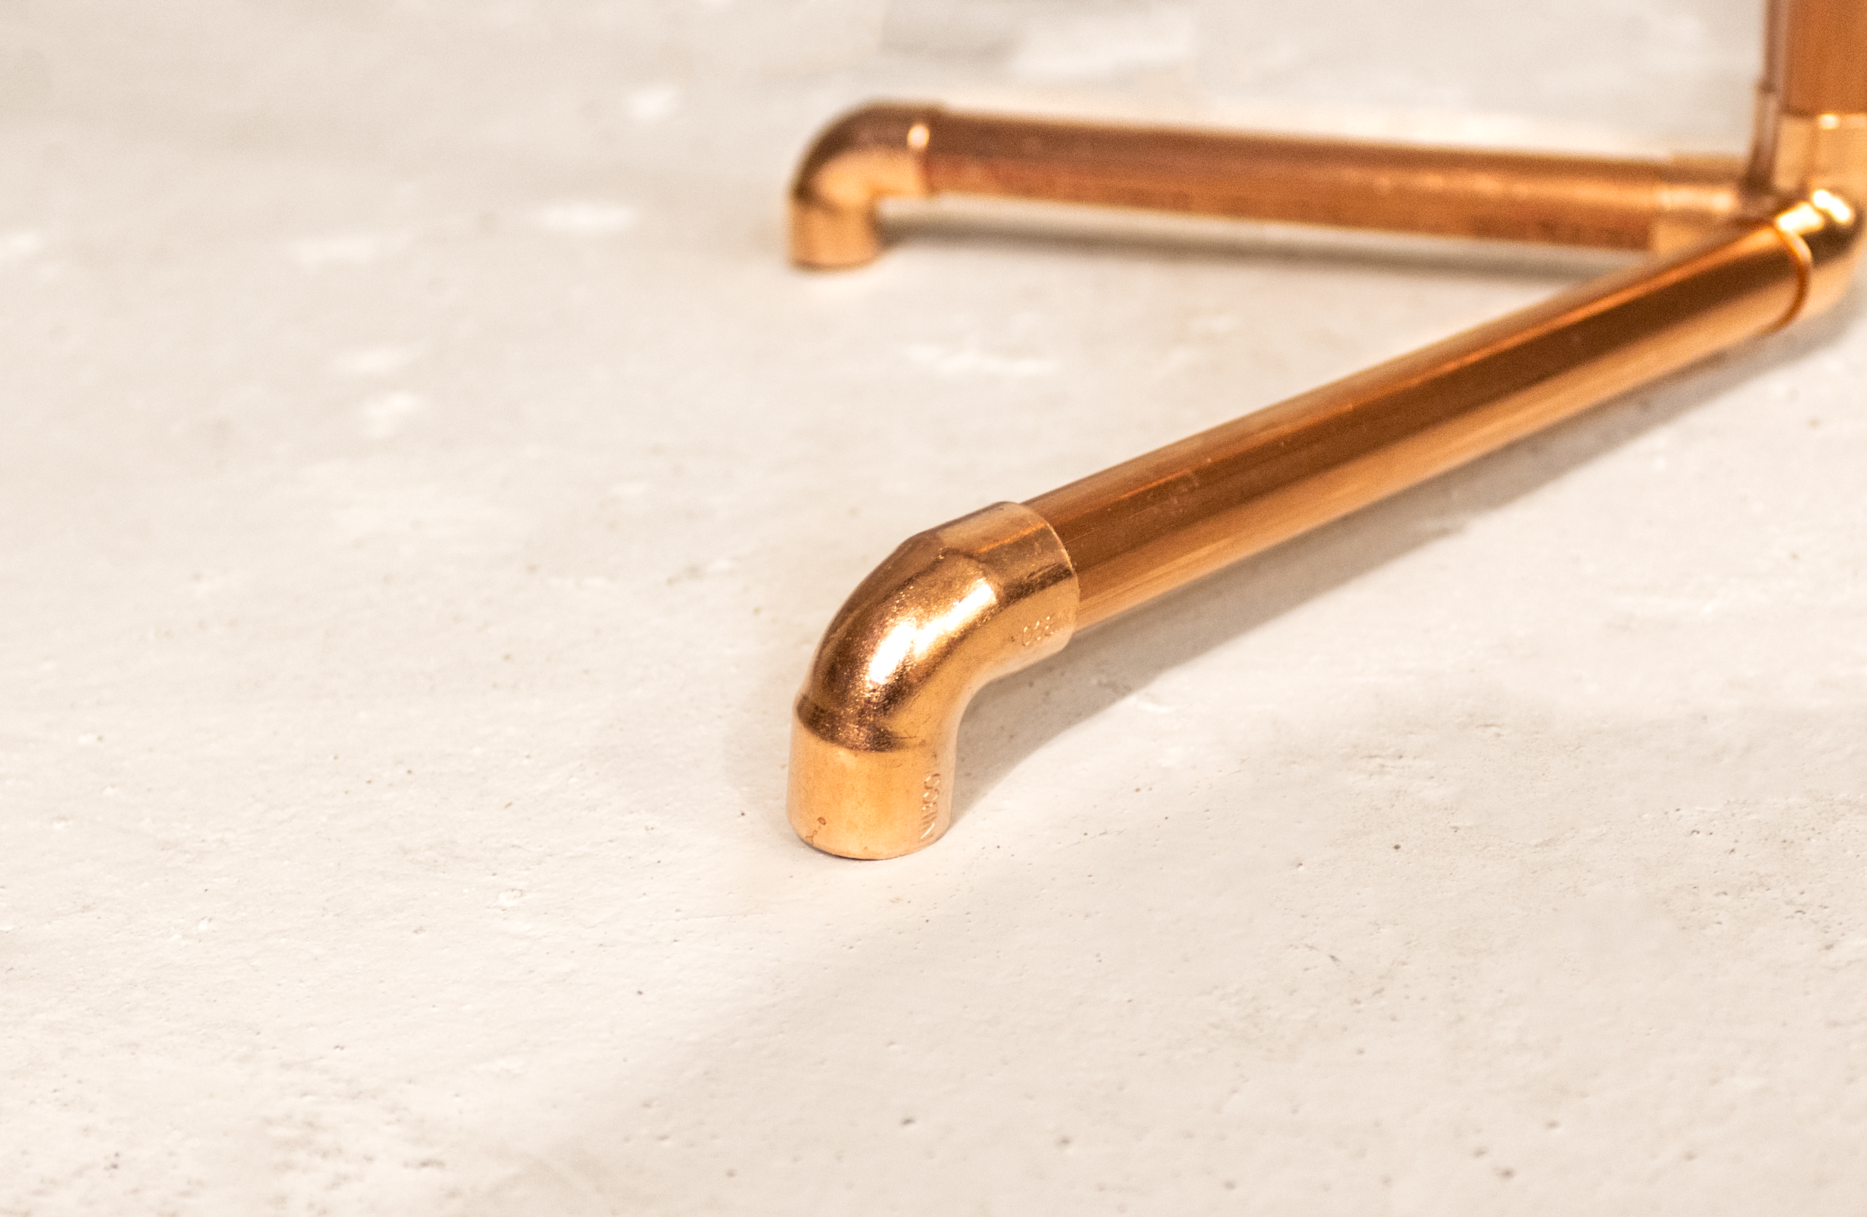
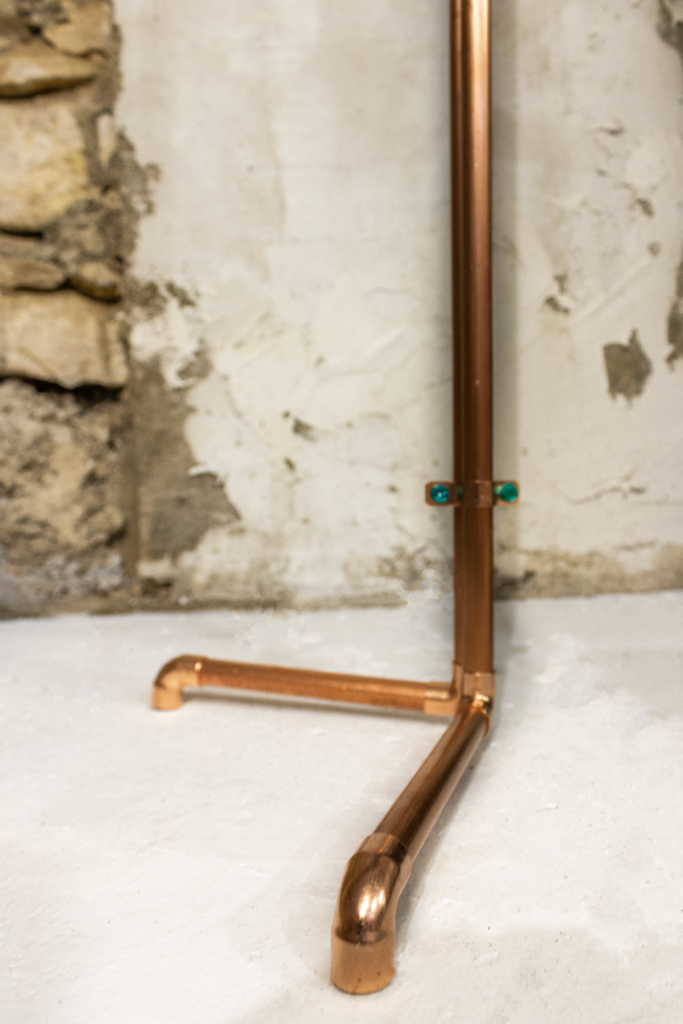
We also used copper to build a hanging rack, which we attached to the floor joist above. Bryan doubled up the bottom to keep it in place (it’s not attached to the floor, just the ceiling).
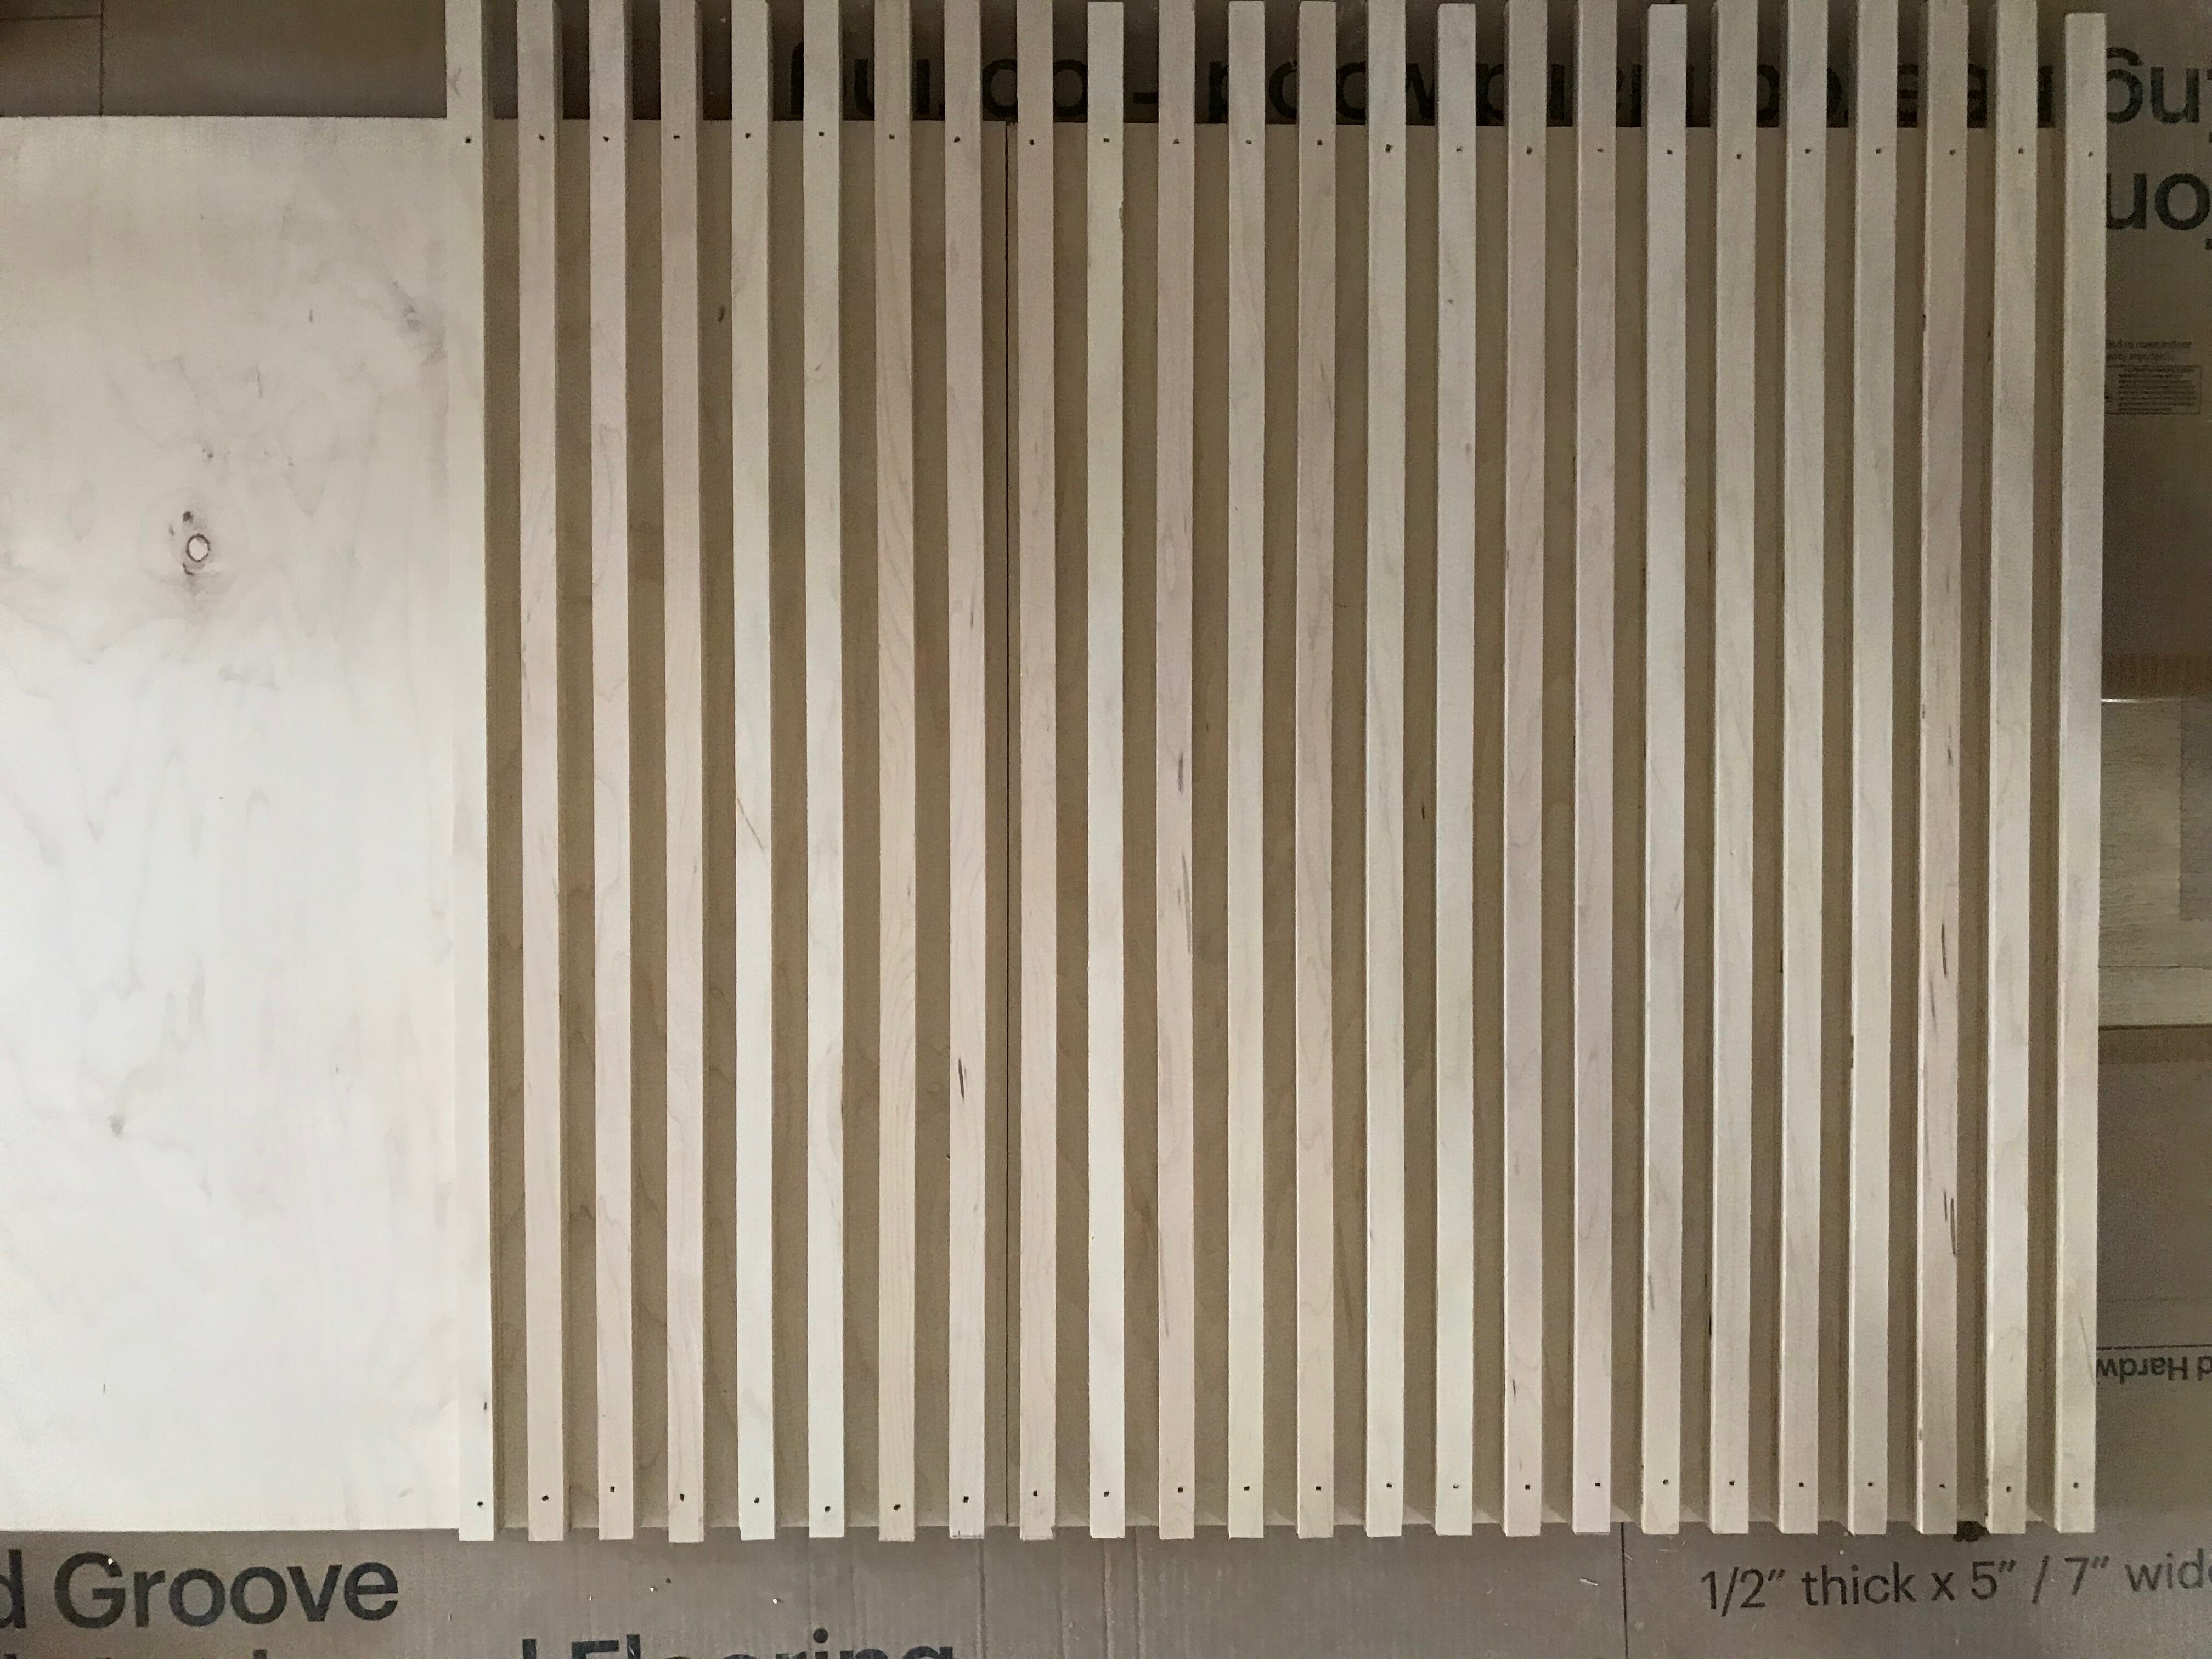
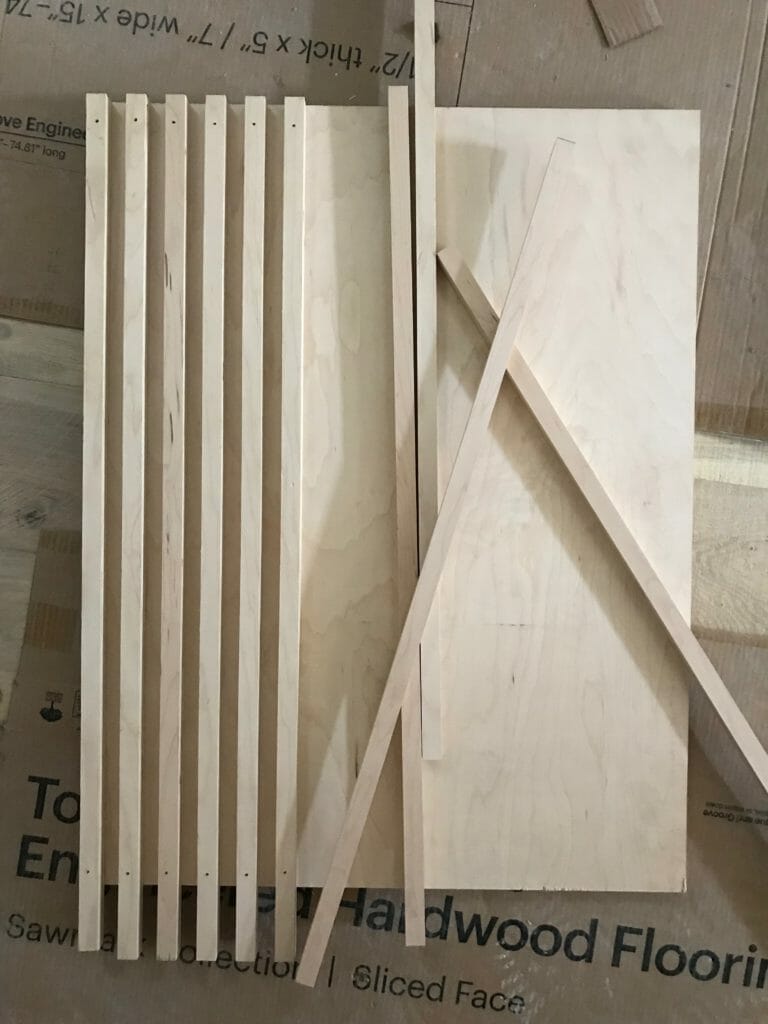
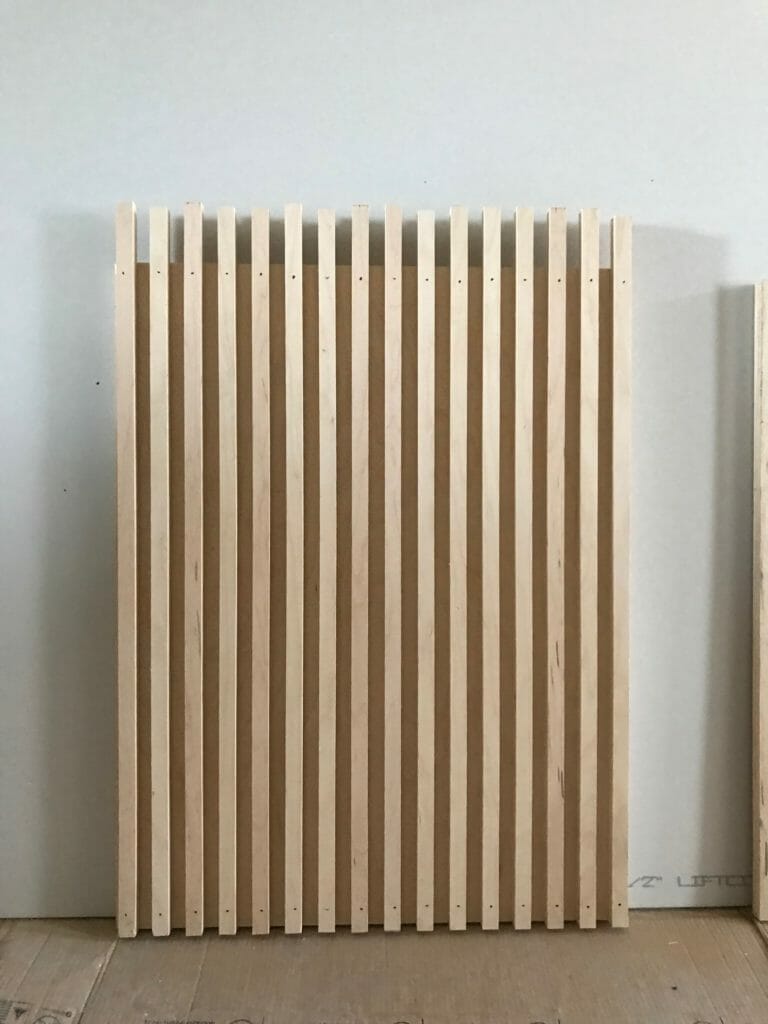
We built our folding table out of pine and cut pieces of plywood to size for the doors. We finished them off by cutting lots (and lots and lots) of slats and installing them evenly spaced on the door fronts.
We wanted to conceal the gaps between the doors to make it look like one continuous surface, so we kept our slat spacing as we crossed over from door to door.
Here’s a photo of the two doors butted up against each other…
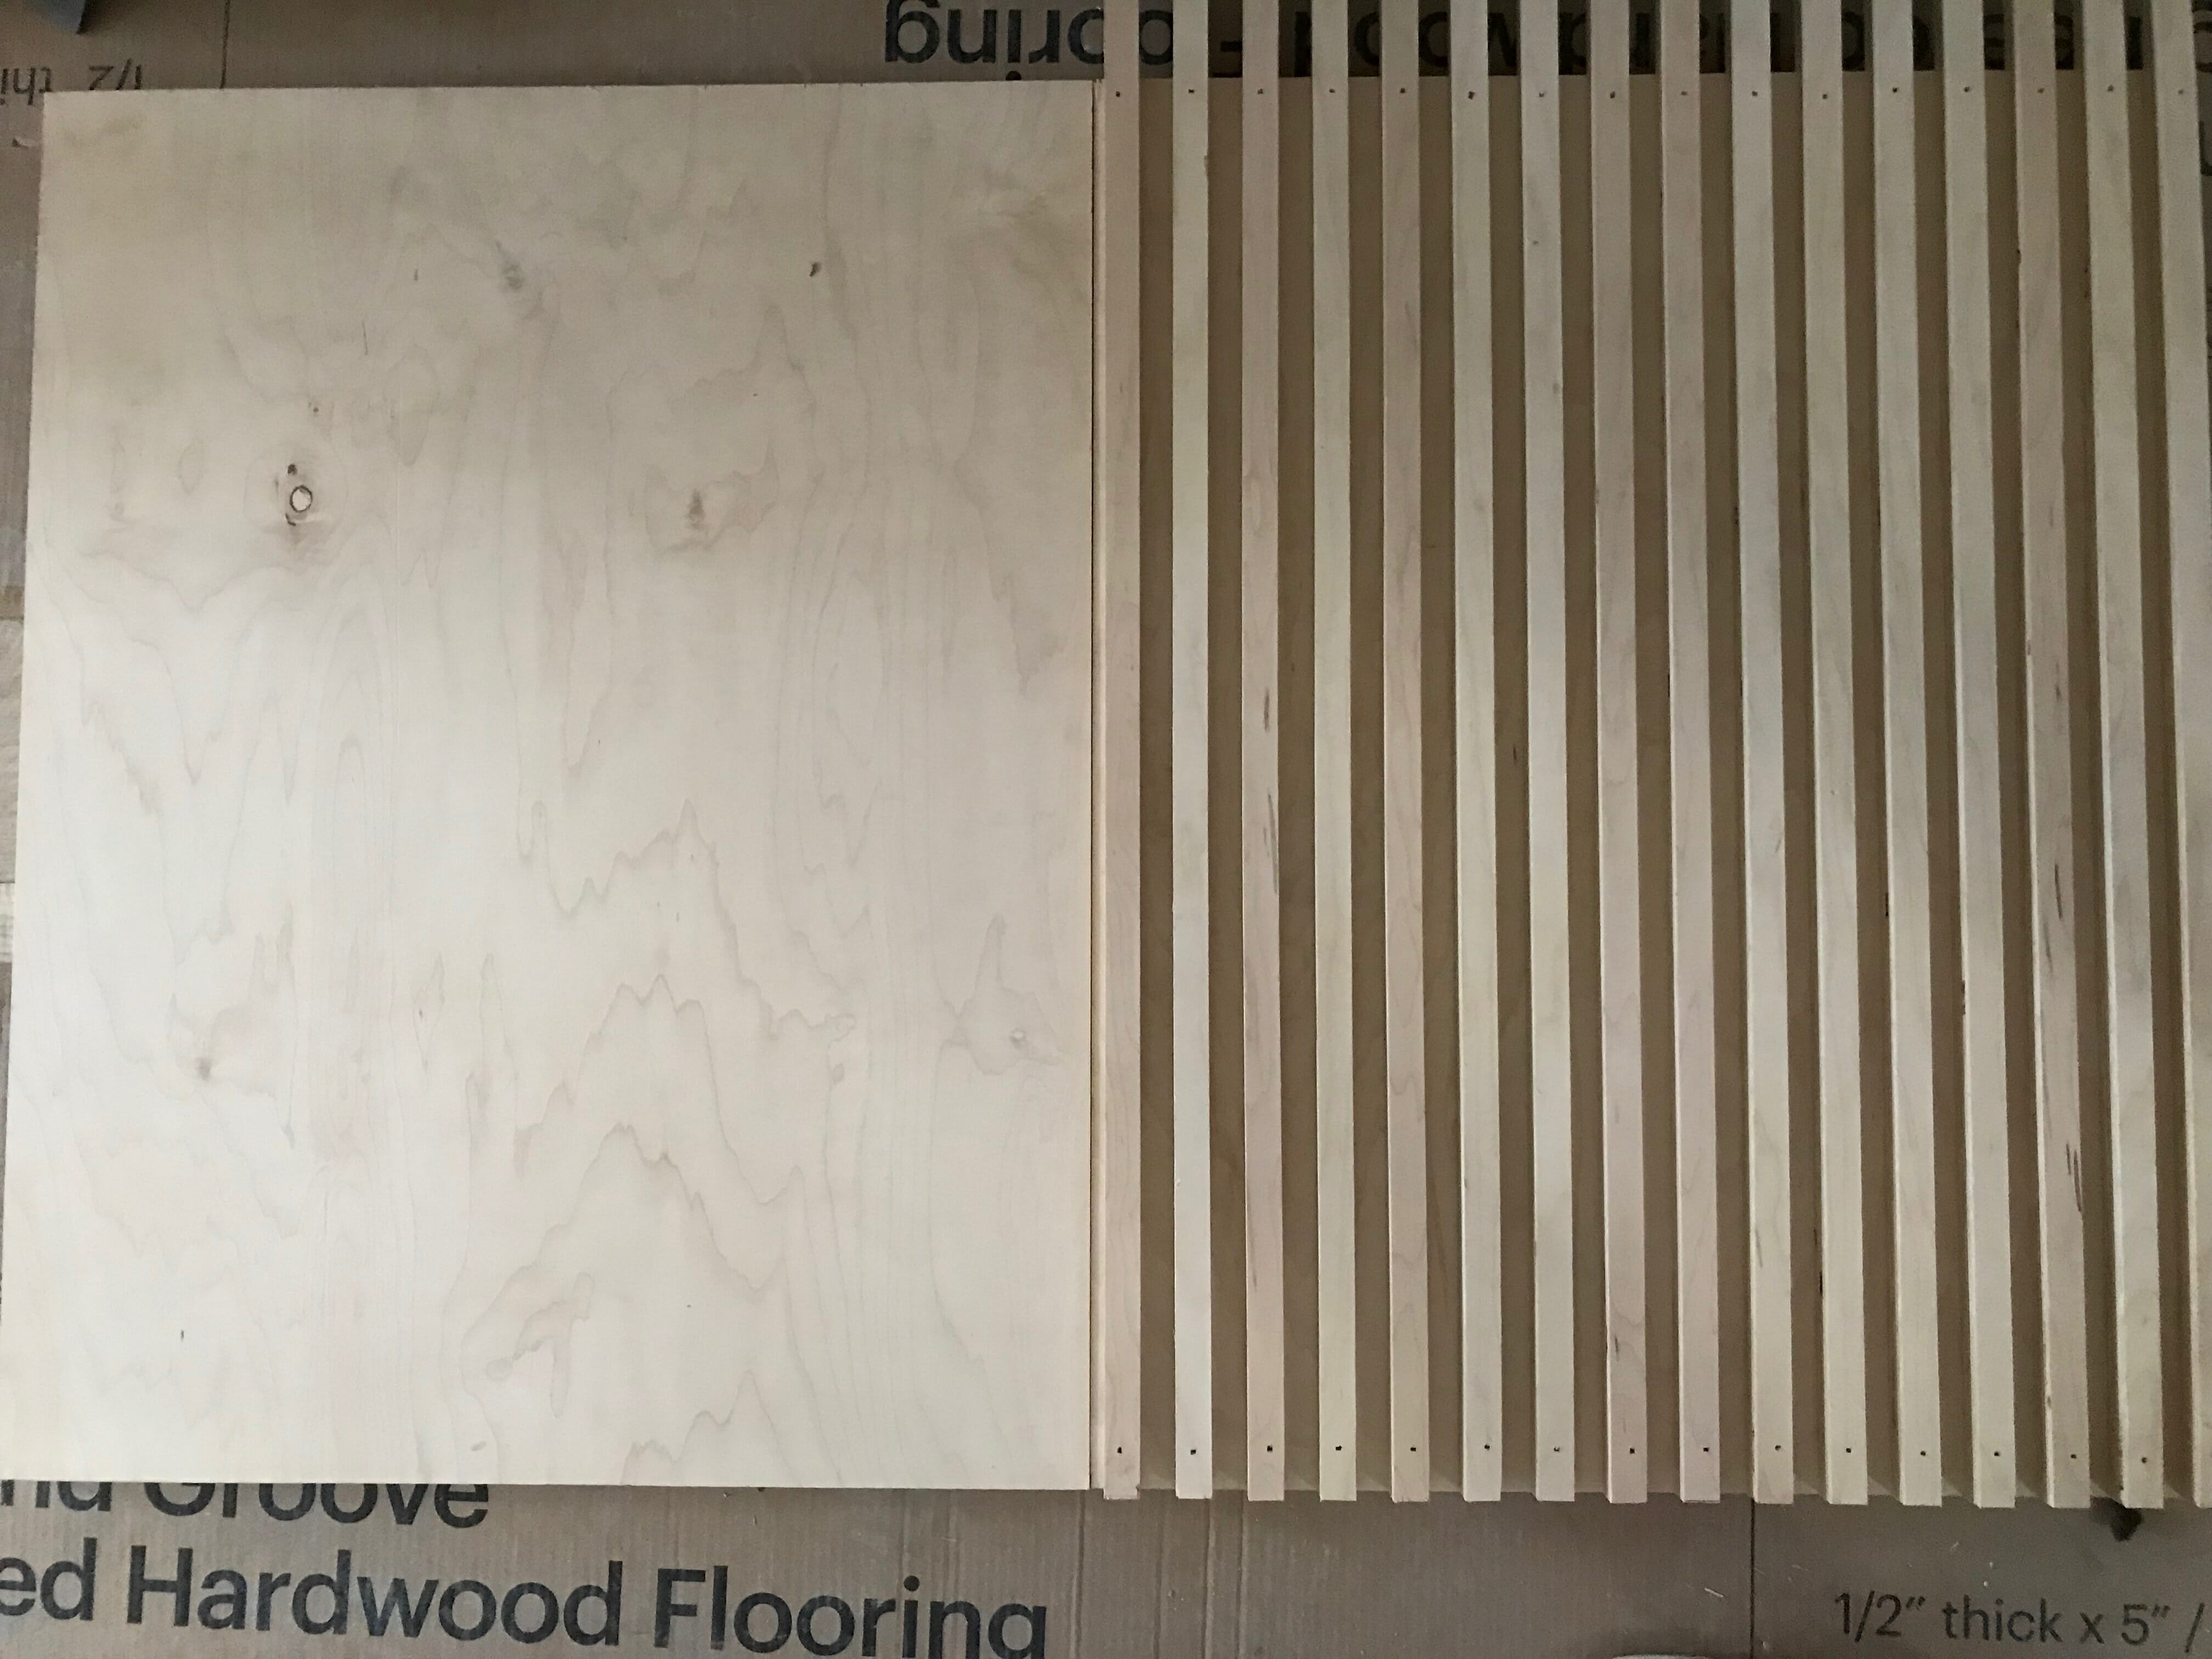
Can you spot the seam? 🙂
We have TONS of open space on the bottom to store large containers, extra paper towels/toilet paper for guests, etc. We used the entire length of the butcher block (8′) to allow for a looong run of folding space.
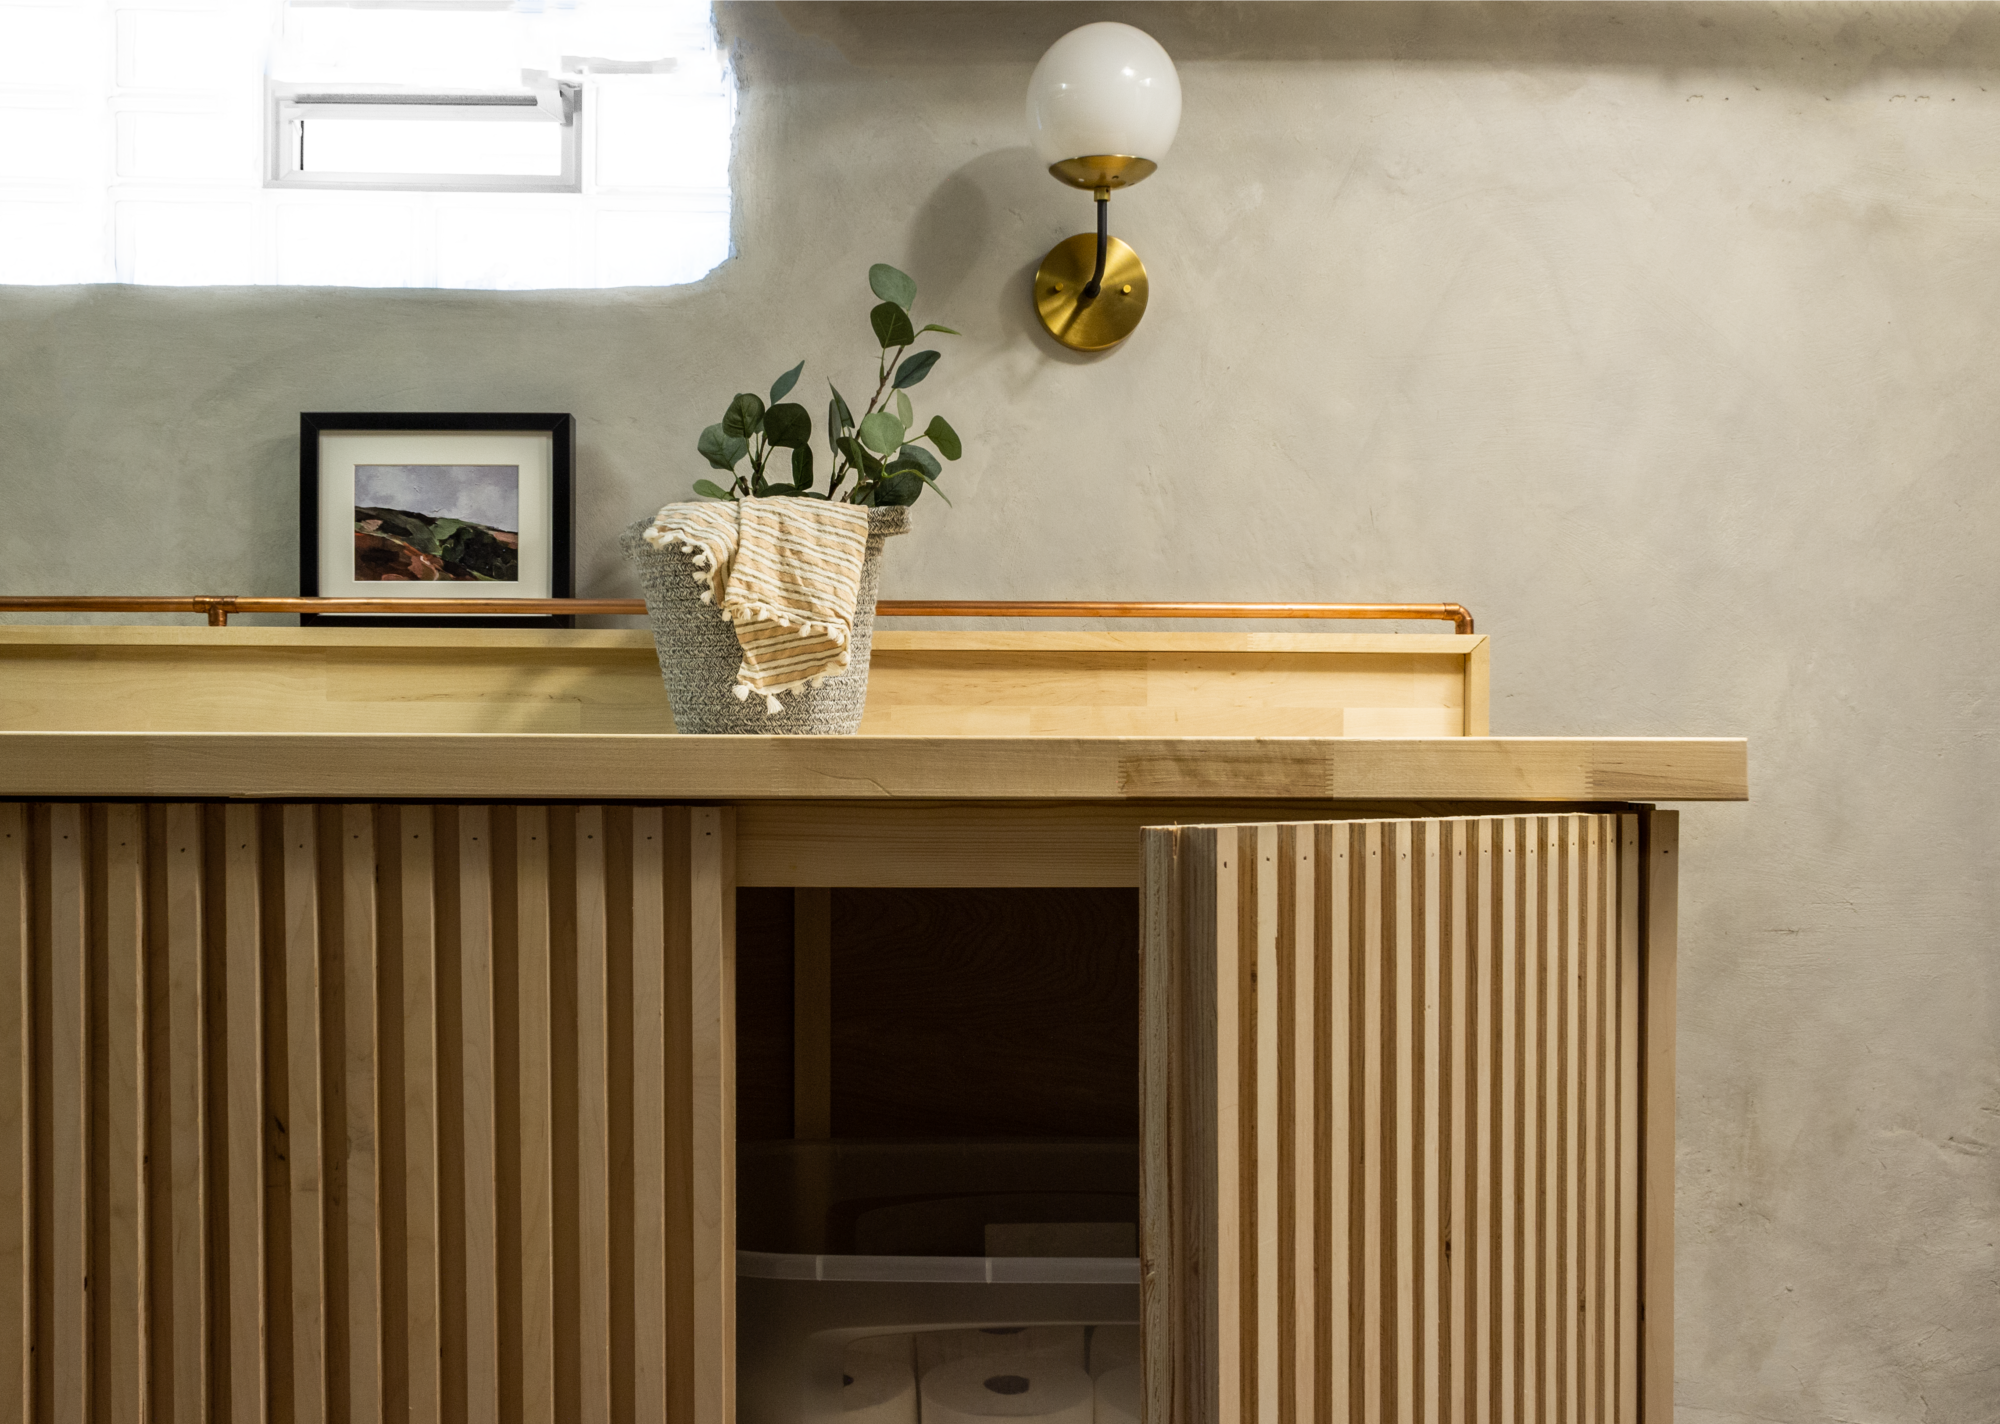
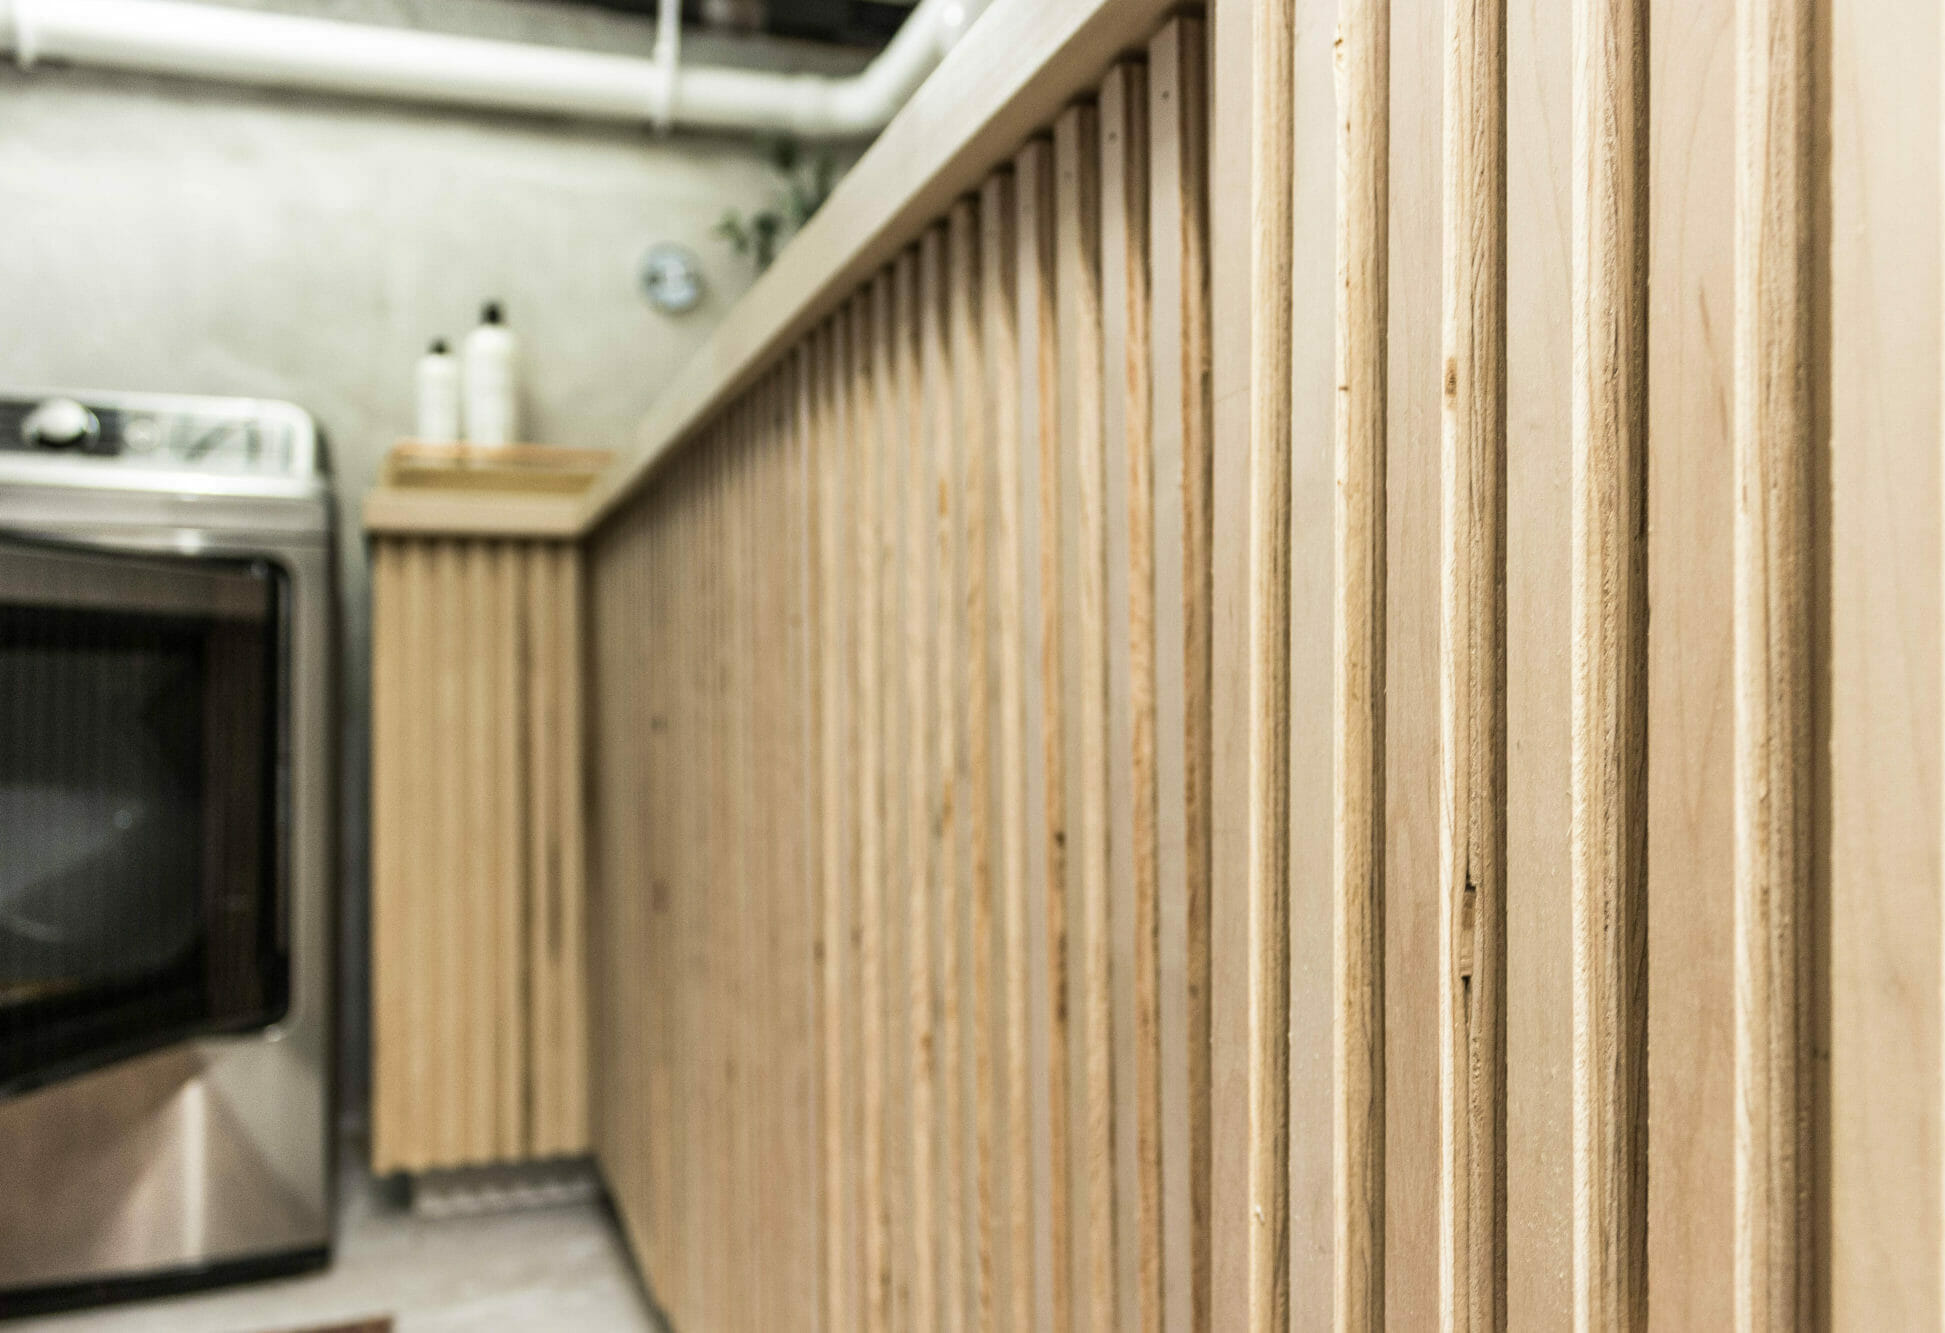
Usually we wouldn’t be into the raw plywood edge, but love the way it looks in this space.
our new smartthinq WASHER & DRYER
So, so excited to have these new machines installed!! Ever since we published our first post, we’ve been getting comments from readers saying that they have the same machines and LOVE them. I’m not surprised — the reviews are fantastic on both the washer and dryer!
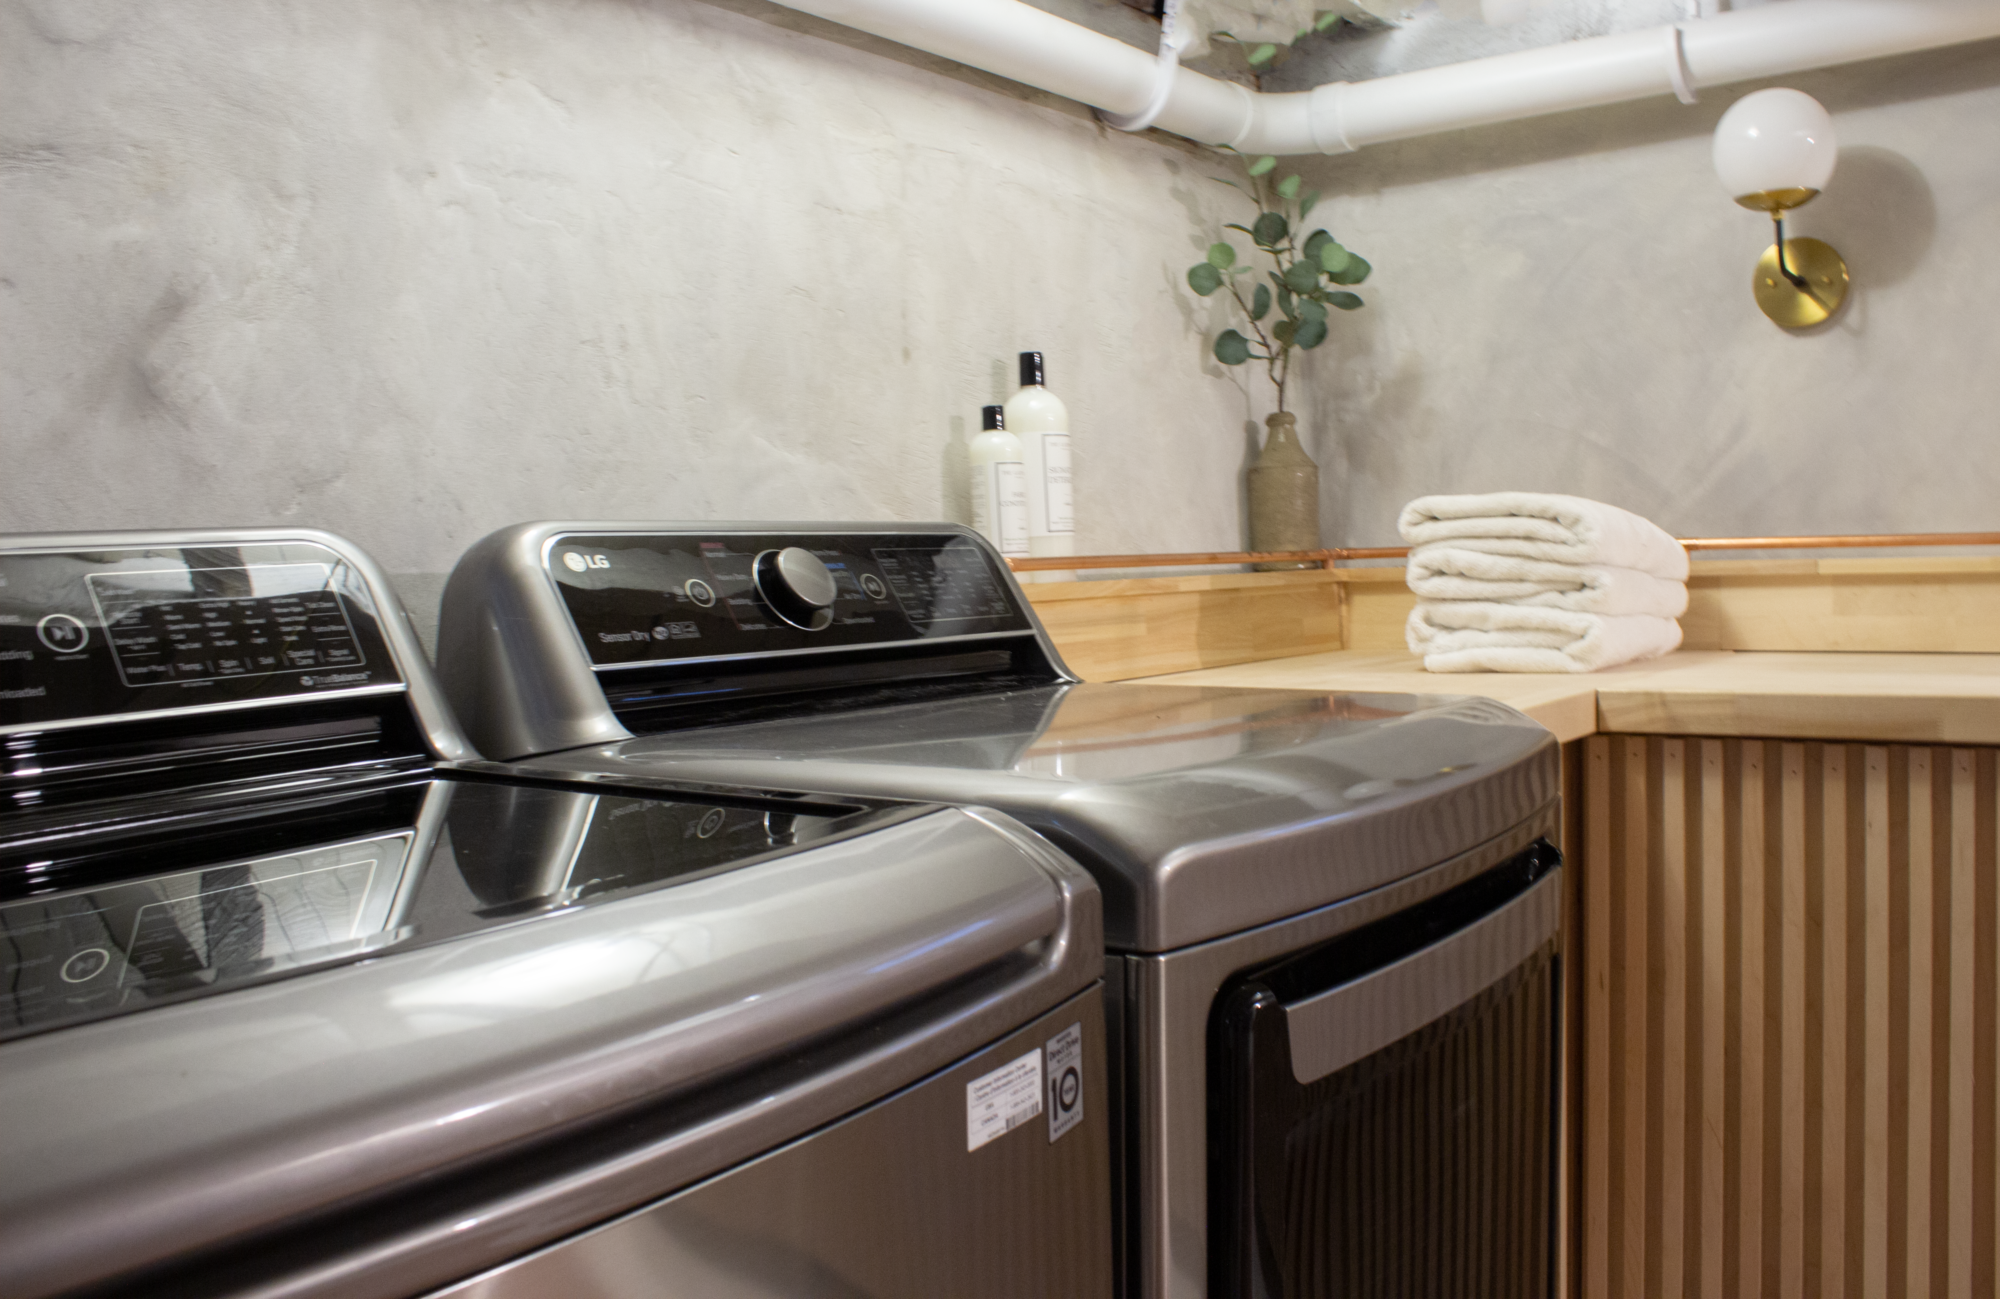 The stainless/black combo works so well down here and plays off of our light gray walls.
Most importantly, though, these machines are solid and can handle large loads of laundry. The washer has a 5 cubic ft capacity and can handle an entire set of king bedding in one load – woo! The dryer has 7.3 cubic ft. capacity.
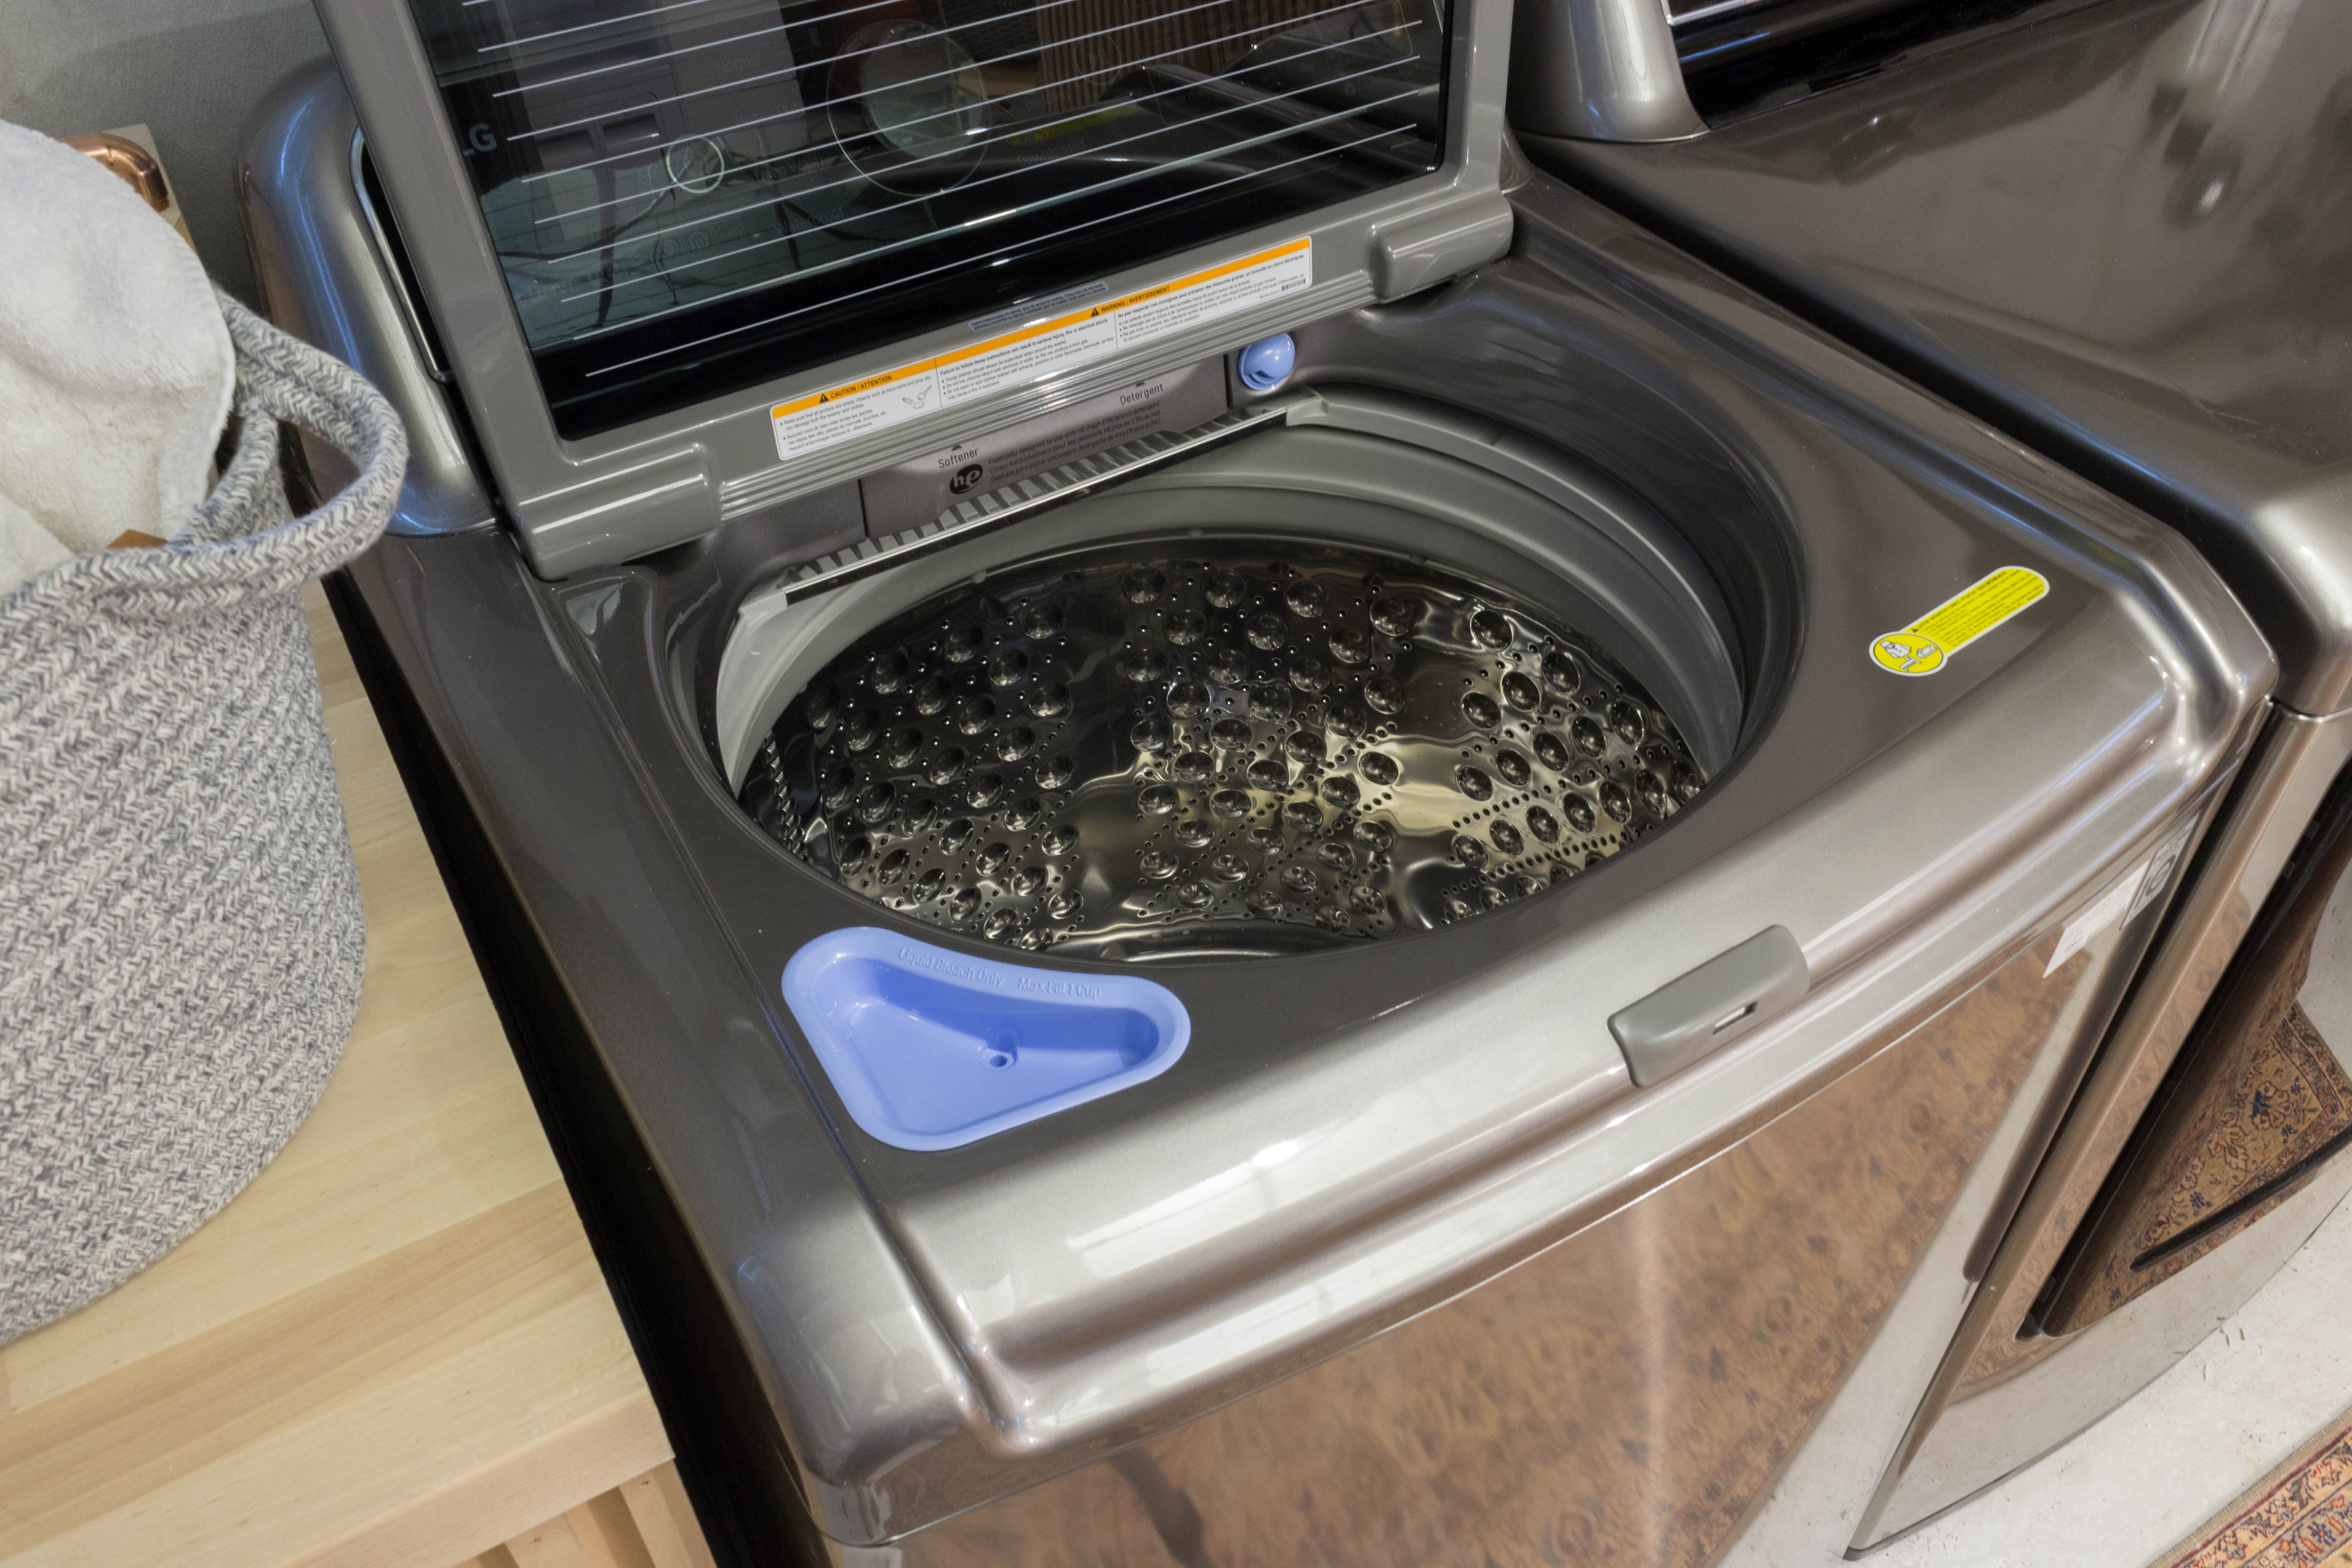
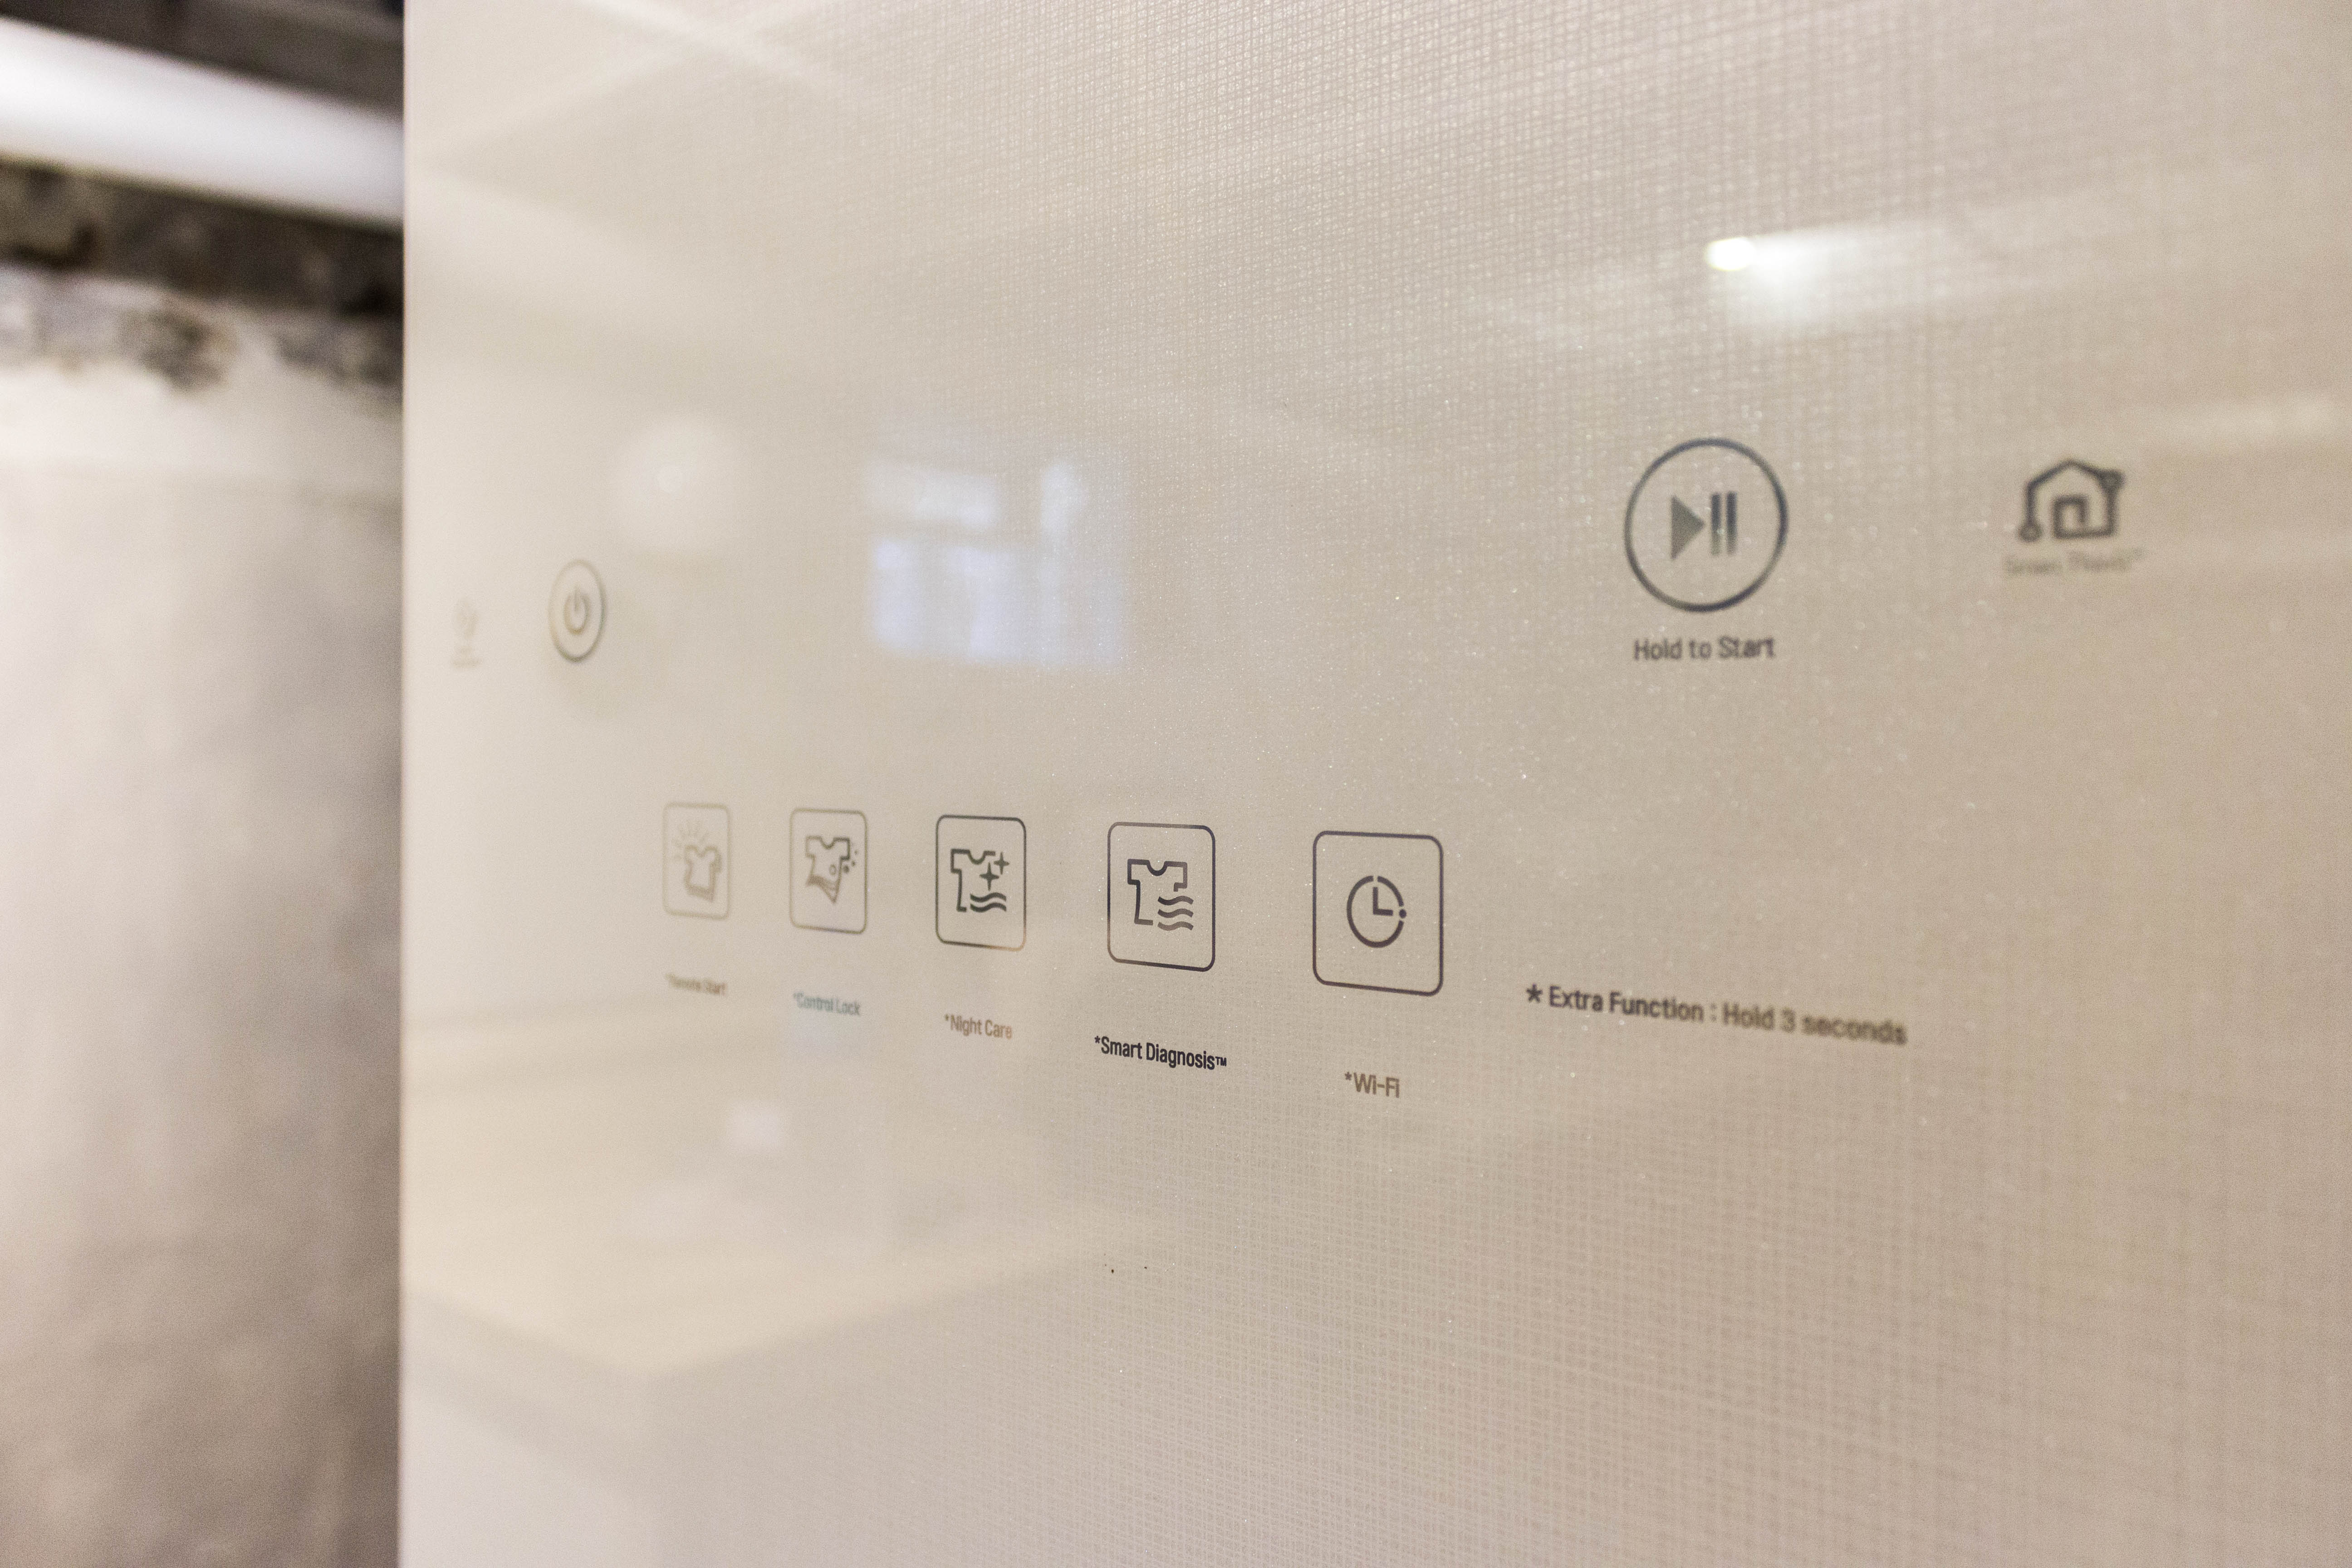
Another fun feature is SmartThinQ technology, which allows both of them to be controlled via wifi remotely. We’re super happy with them.
LG steamer
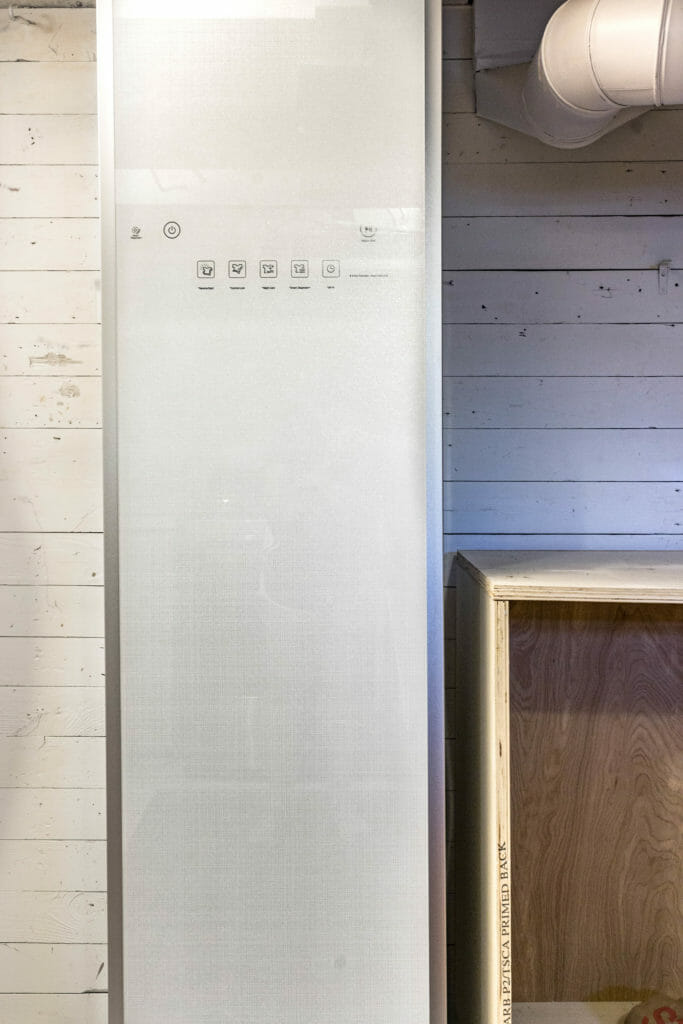
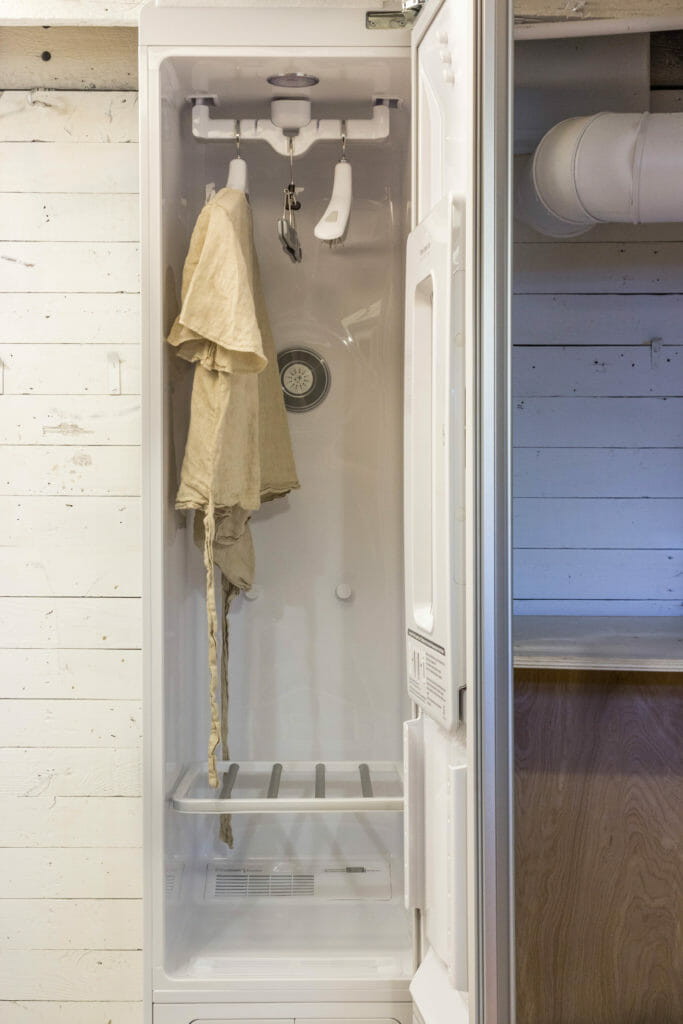
Another piece we added is LG’s Styler, which is really like a big, programmable steamer cabinet. In addition to being able to remove wrinkles, it’s certified by the Asthma & Allergy Foundation of America for reducing bacteria and fungi by at least 99%. Steaming can also reduce odors from food and smoke.
An unexpected feature? The pants creaser, which keeps pants creases looking crisp.
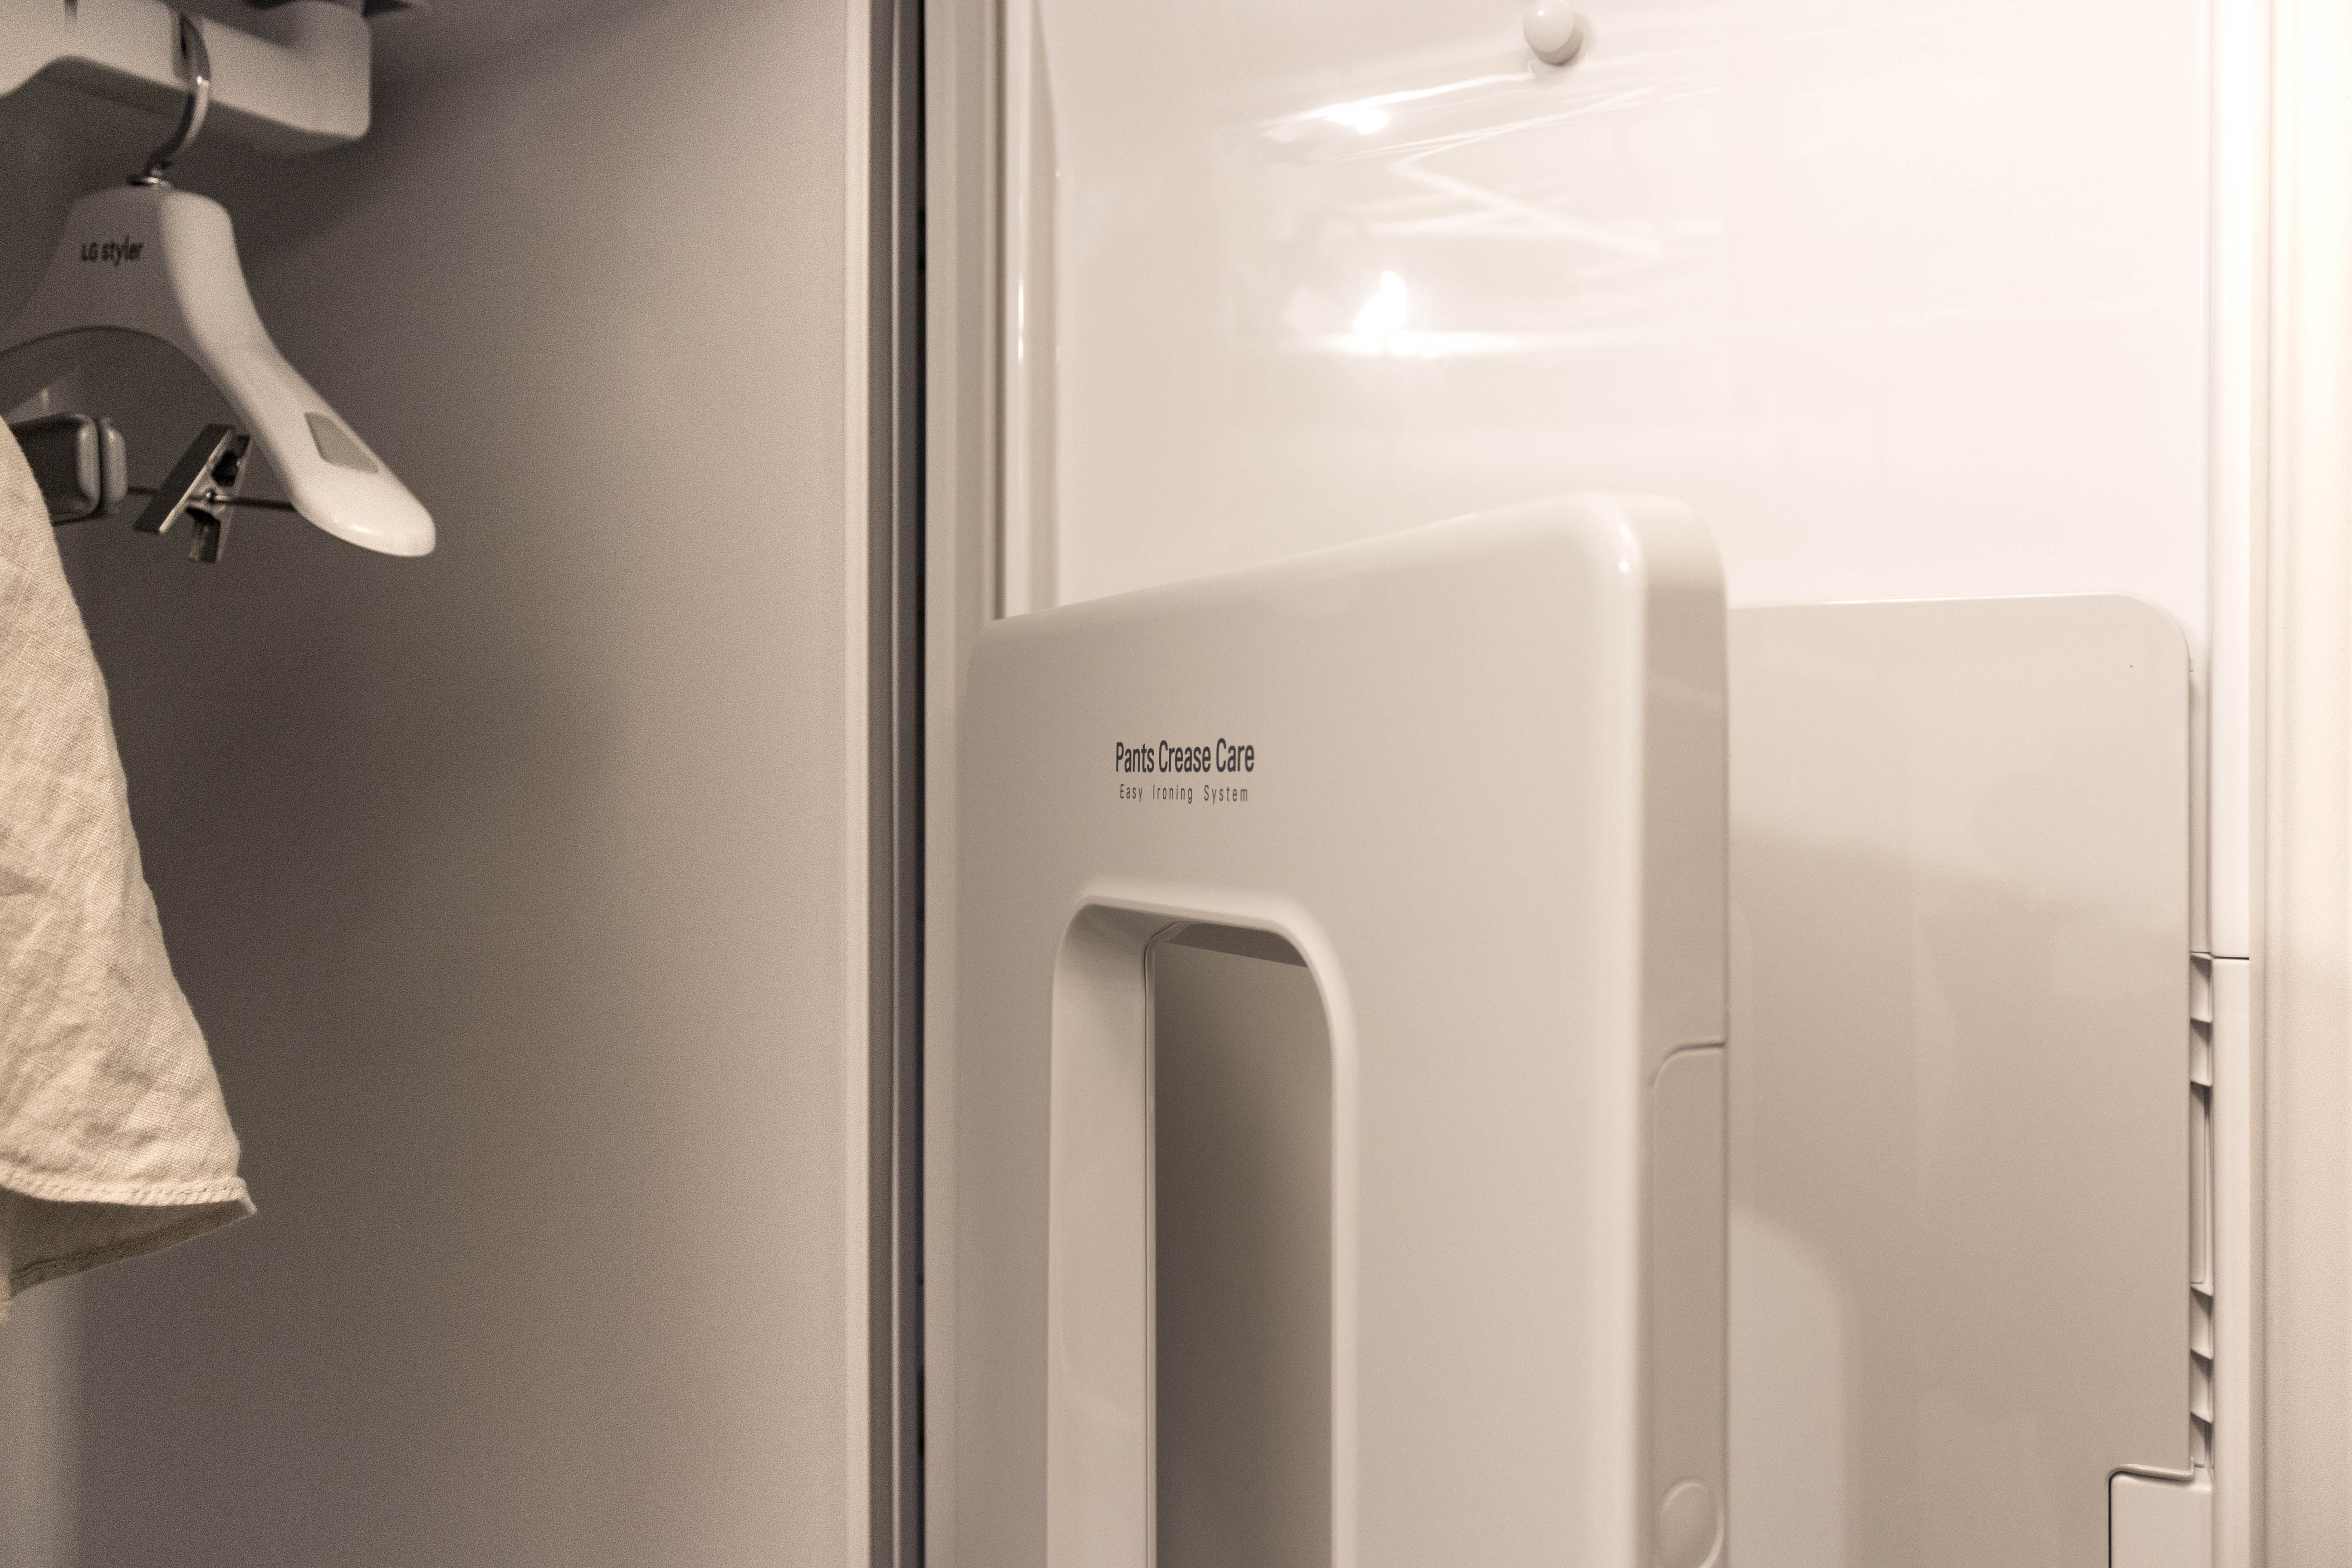
I love that all of this is programmable and does the work for you, unlike other steamers. It also has SmartThinQ technology and can be controlled via WiFi like the washer & dryer.
sink hack
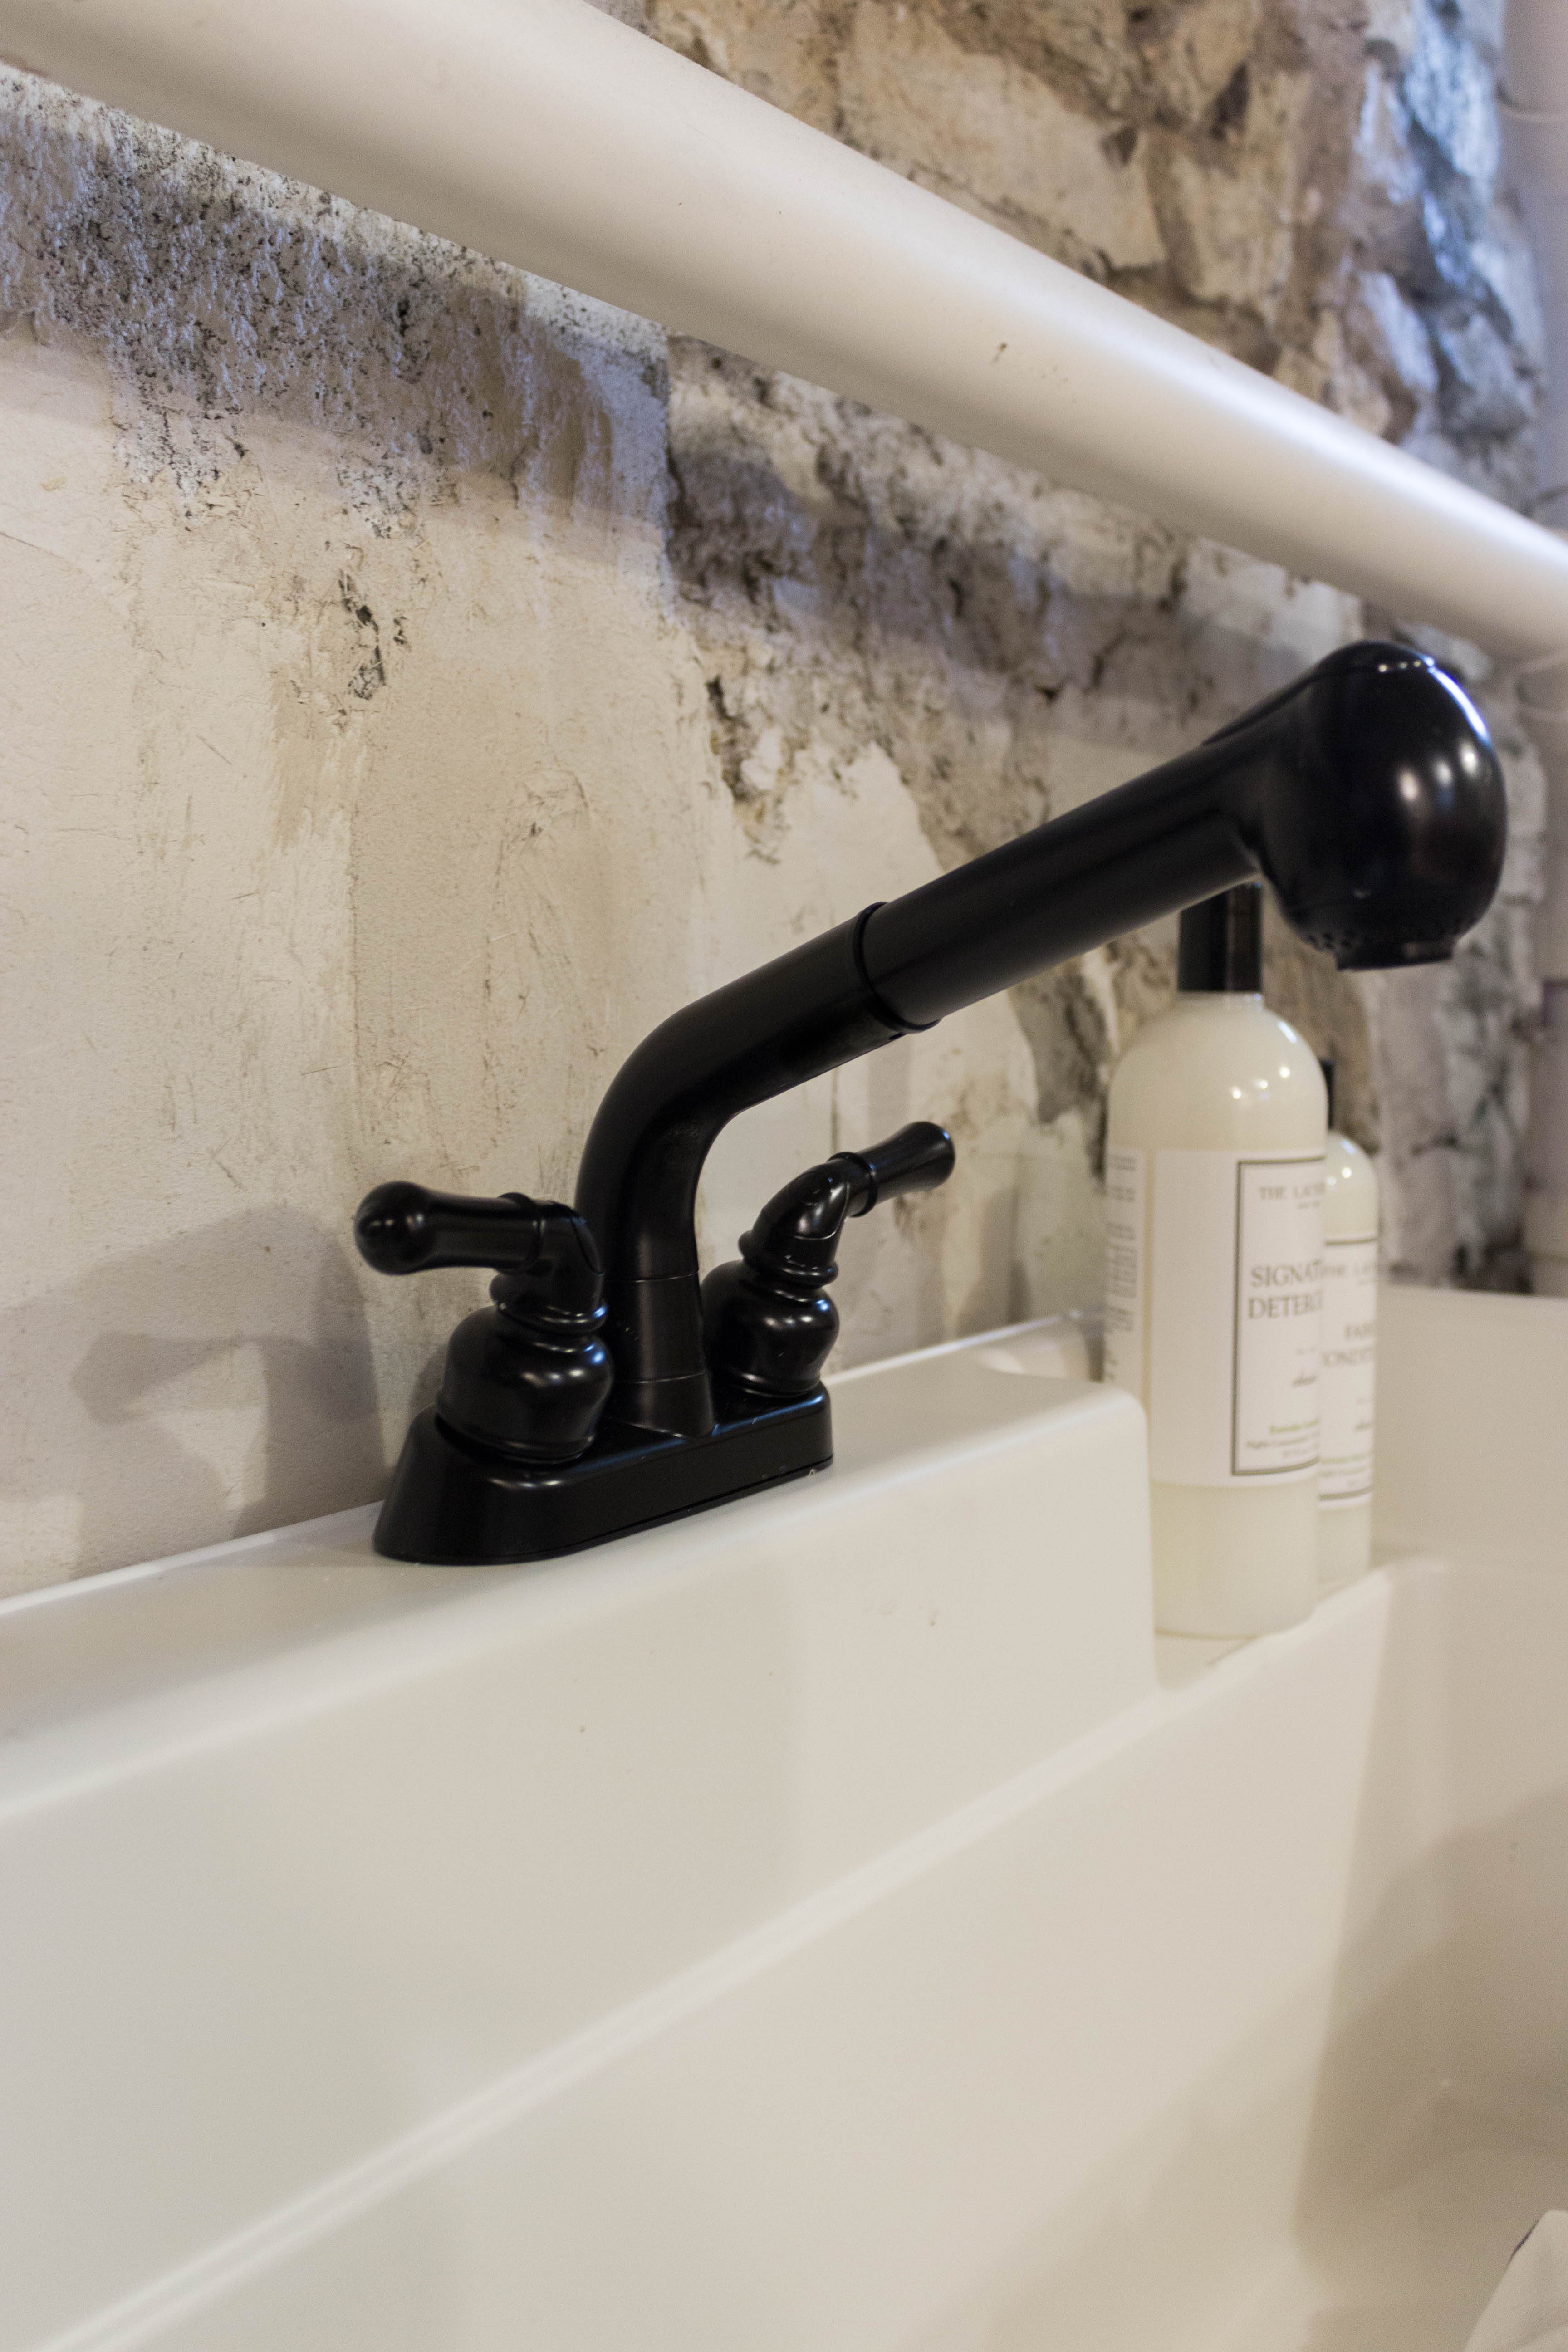
We knew we wanted a utility sink down here and ordered a 40″ one by Mustee. We didn’t love the way the white plastic + grey metal legs looked, so we spray painted them black.
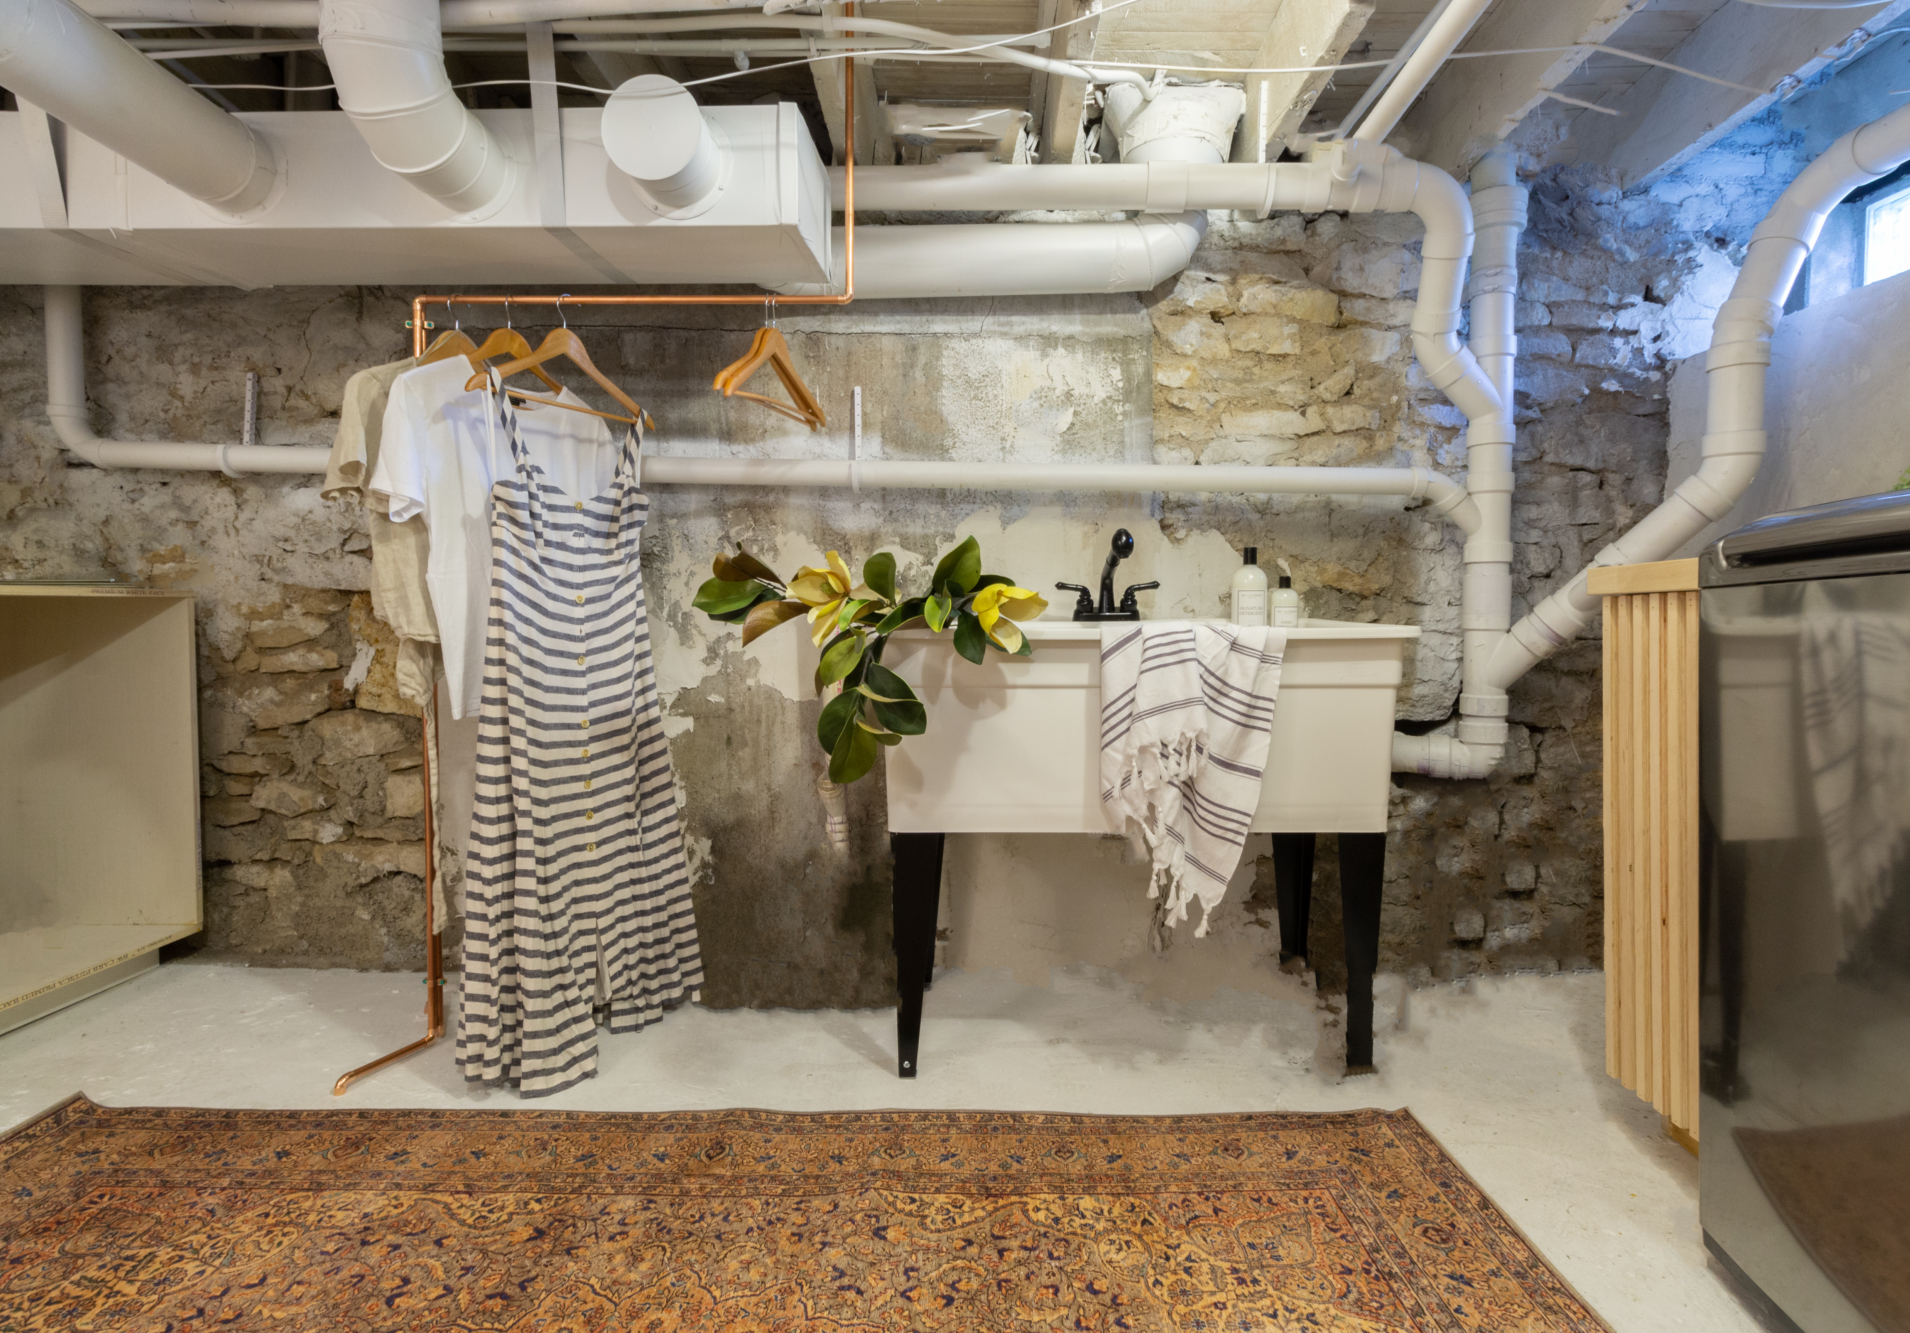
This sink is amazing, by the way — SUPER deep, and will surely come in handy when soaking & scrubbing bedding. It would be so good for washing a dog, too! The pull-down faucet came with the sink, so we saved on our budget there, and spray painted it black to match the legs.
lighting & DECOR
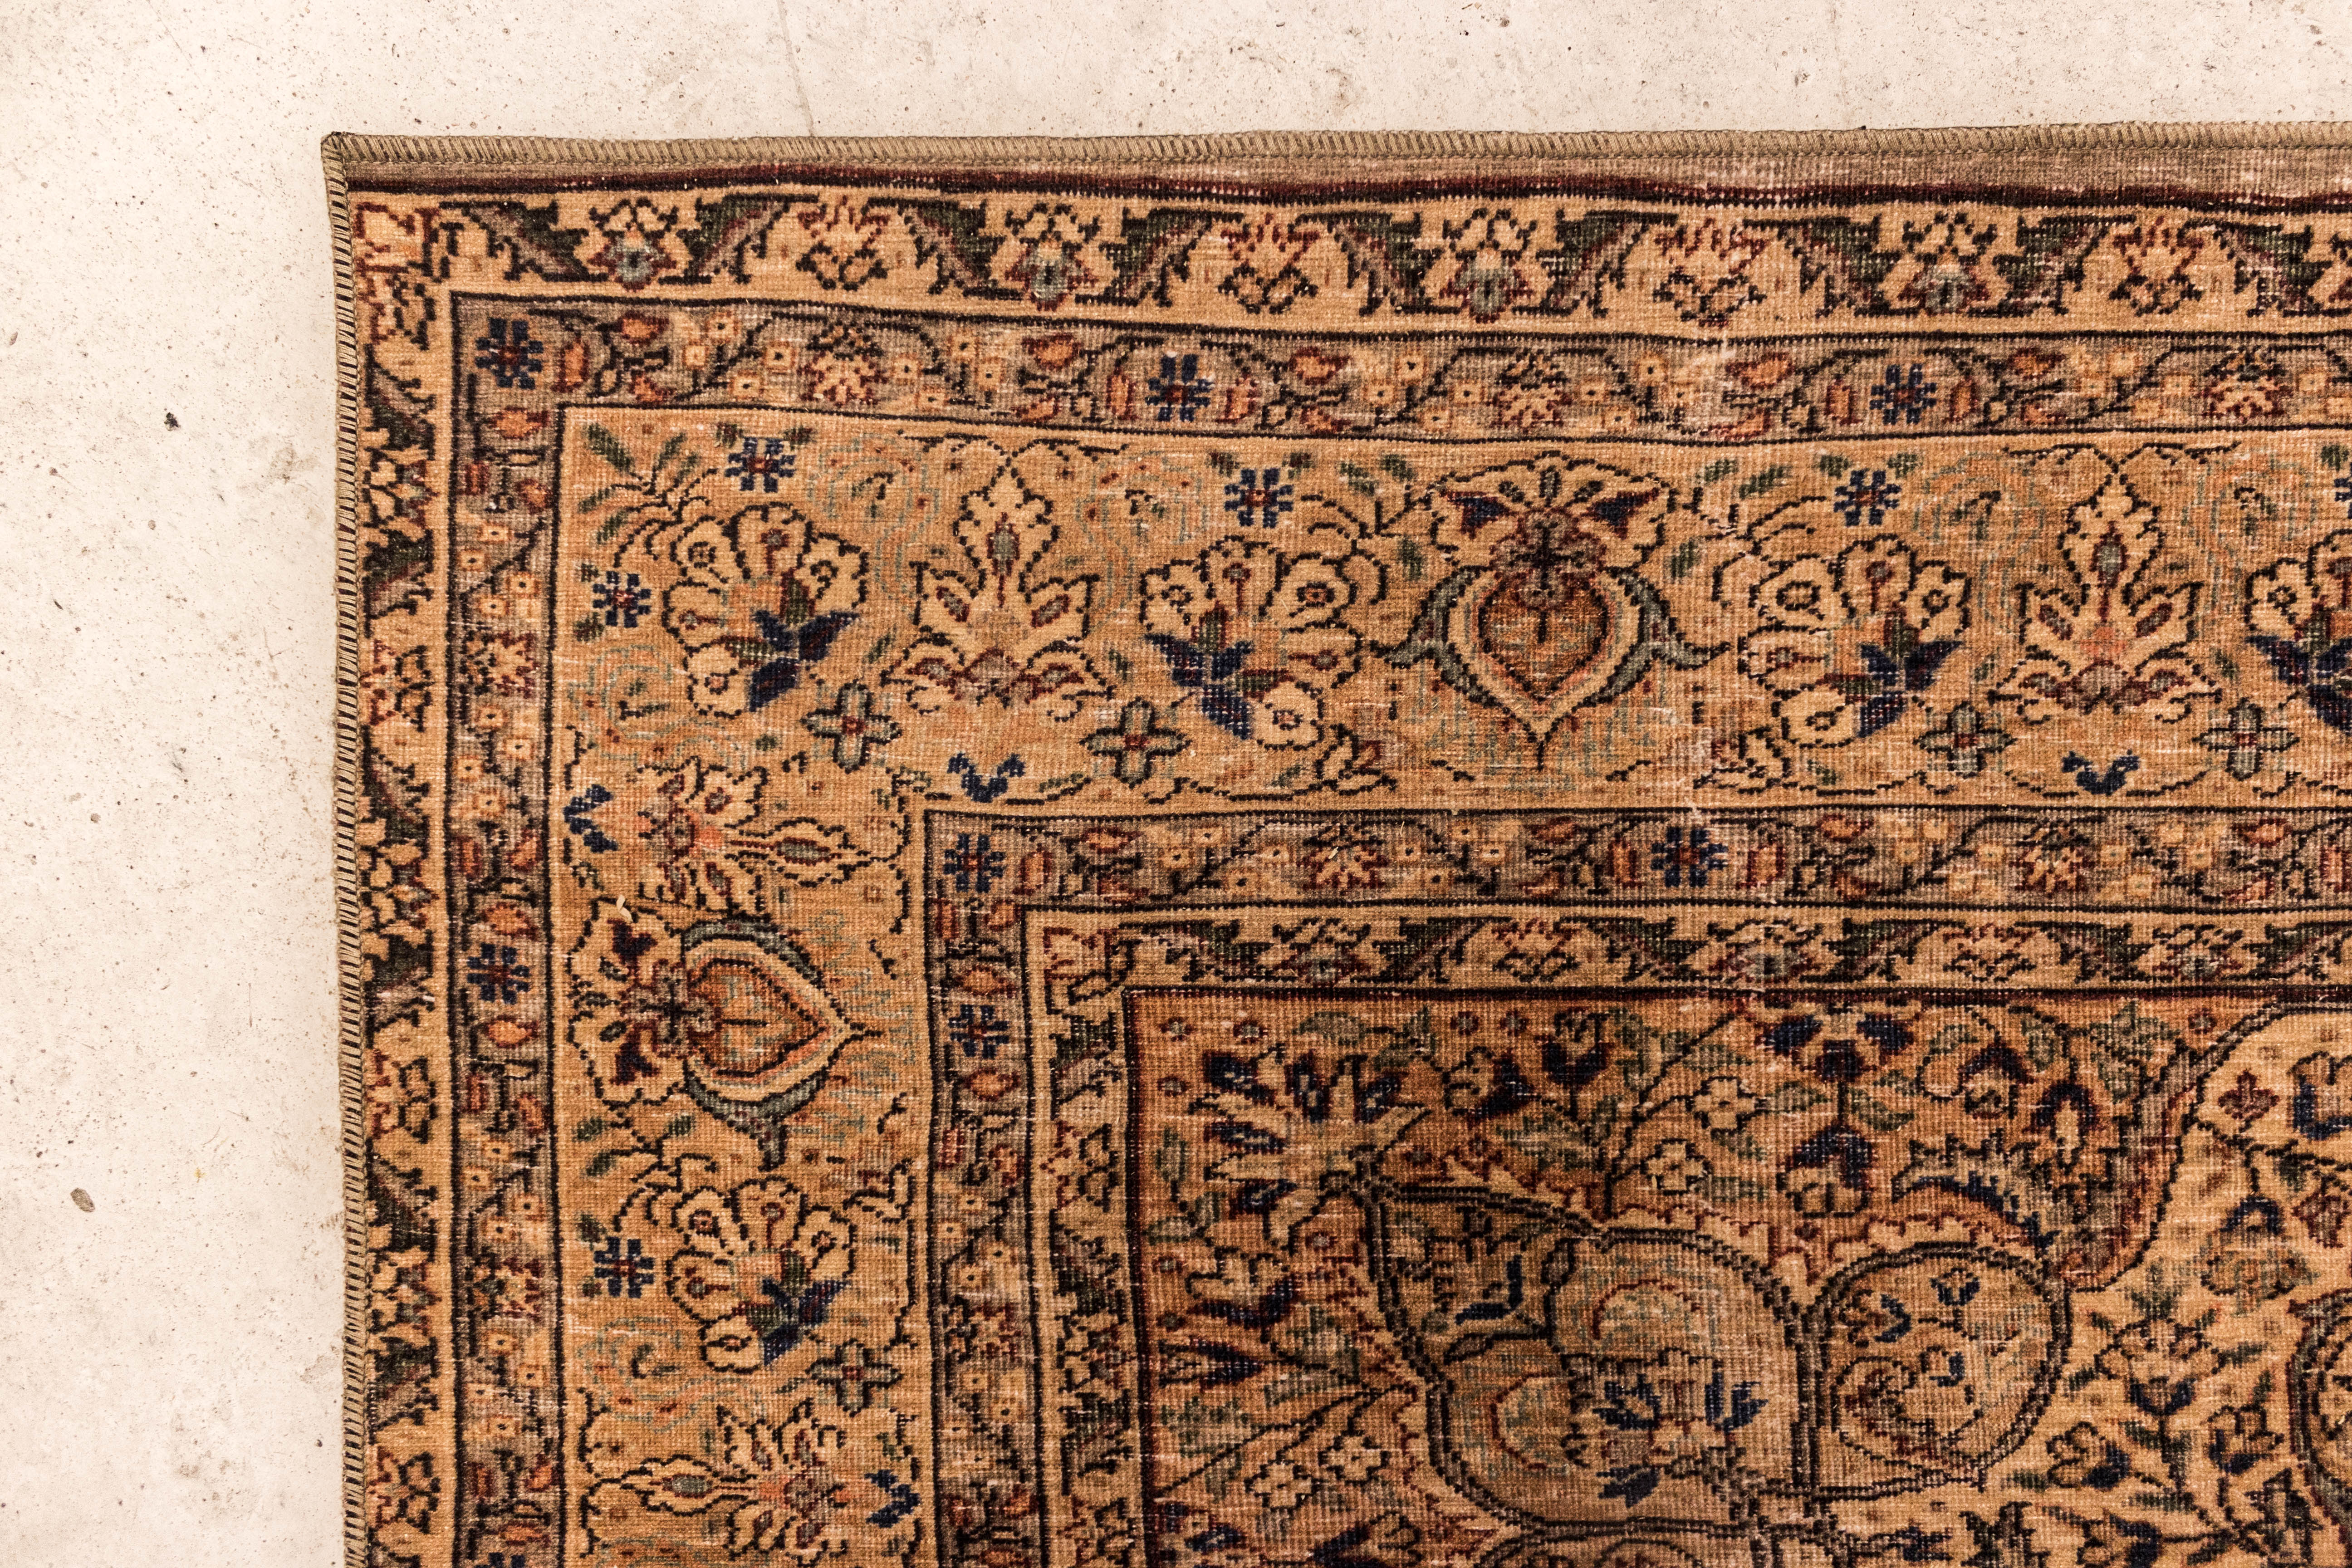
We opted for an indoor/outdoor rug down here because it is an unfinished basement after all. We were excited to find this vintage rug at Lowe’s! It adds a fun pop of color to our space, and we won’t have to worry about maintenance.
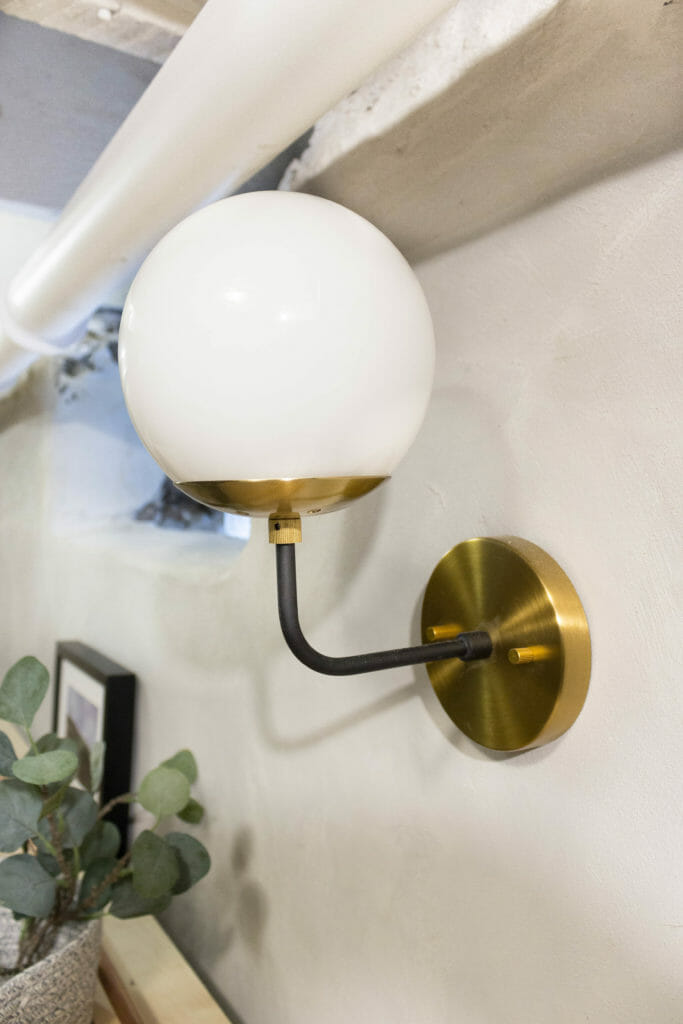
We found pretty brass & gold Safeviah sconces for additional lighting down here (they were under $65 each!)
And cute rope bins for towels and other storage. They had one small size and one large size, and we grabbed one of each.

That’s all for now! We’ll leave you with one more before/after recap:
Before…

After!

Before…
 After!
SO excited to have one more room down. One step closer to the finish line and welcoming our first guests! Currently we’re aiming to have this whole home finished by the end of October… fingers crossed.
Looks amazing!! How did you wire the sconces through concrete?
You two are amazing. Love your website.
Thank you!! <3
Gorgeous! I didn’t think I could love a basement laundry room this much. I love that you guys managed to achieve such a high end look for this space. Question on the true color of the rug: your pictures look as though the rug is heavy in rust/orange tones but the Lowe’s product pictures look much more beige and muted – what colors do you see most of in person? This might just be the rug I’ve been searching for!
Hi Caitlin! It’s definitely not muted like it is on the site. The way it’s pictured in our photos is more accurate – it’s rust/orange with very little taupe/beige.
I would not have guessed that was the same rug – the colors look so different on the Lowes website! I probably wouldn’t have given it a second look, but it looks so incredibly gorgeous in your space…that’s going on my wishlist for sure!
You guys did an incredible job. It’s pretty low on my priority list, but I would love to give my basement a light makeover…this one is just stunning, and so inspirational! I’m drooling over those walls. Thanks for sharing!
Thank you so much, Laura! We thought the same thing about the rug — the coloring on the site is so muted and different than what it looks like in real life. <3
What a great reveal! Thank you for using such great, accessible products! Can’t wait to introduce some of them into my own home!
SO glad you liked it, Jessica!
I assumed that wood was all square dowels but how smart of you to rip down plywood. Much more cost effective and the look is the same. Thanks for sharing your brilliance!
REALLY impressed with your slatted doors! are they hard to open?? trying to imagine where my fingers could grab. SO inspired.
they’re not! the plywood is 3/4″ thick so it’s pretty easy to grab. we’re also considering installing push-open hinges at some point 😉
We just bought a house with a basement that looks very similar to your “before” pics. It feels so daunting, but after seeing what you were able to create, on your own, so quickly, I have a lot more confidence in what I can do down there. Thank you for these posts! It really looks amazing!
So happy to hear this!
How did you power the sconces?
[…] creepier the basement. I cannot get over Catherine and Bryan’s laundry room makeover at their Columbus Airbnb! The raw wood, exposed stone, and cement walls give this once-scary basement a natural and soothing […]