We have a kitchen! Well, a kitchen in the making might be a better way to describe it… but it’s well on its way.
Our appliance delivery was scheduled for last Saturday morning, which meant we had a ton of work to do before then. Most importantly, we needed to have the floor installed. But before the floor could be installed, we needed to have the base cabinets installed. Before the base cabinets could be installed, the upper cabinets needed to be installed. Before we could install the upper cabinets, the drywall mud needed to dry and we needed to paint the walls.
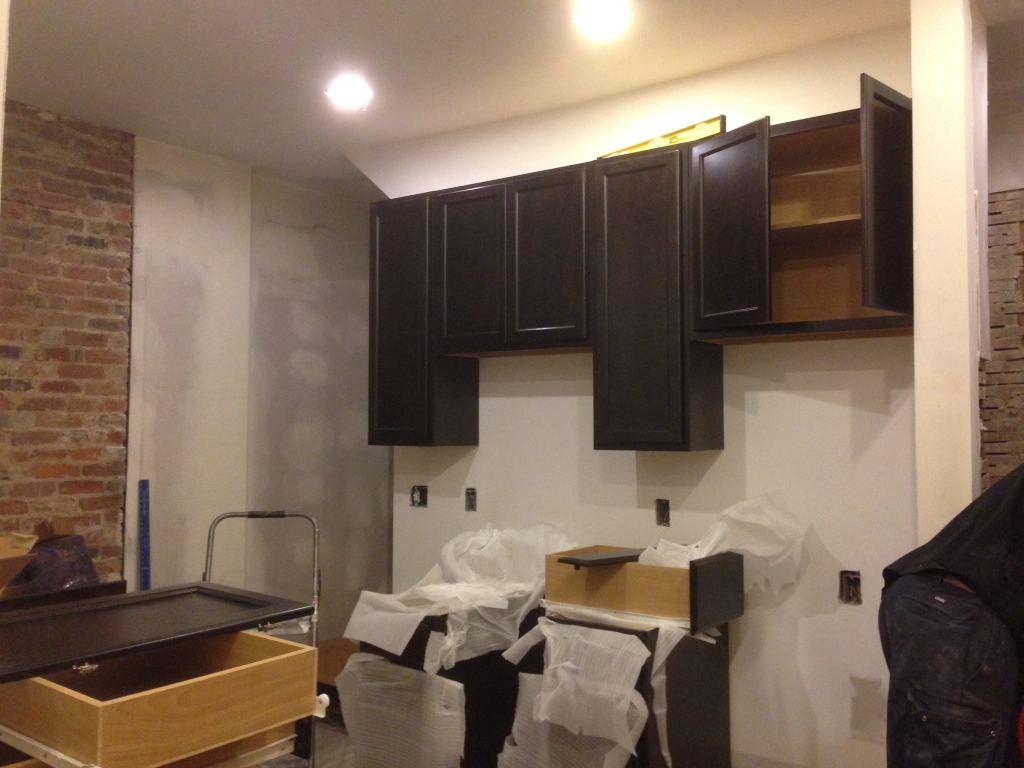
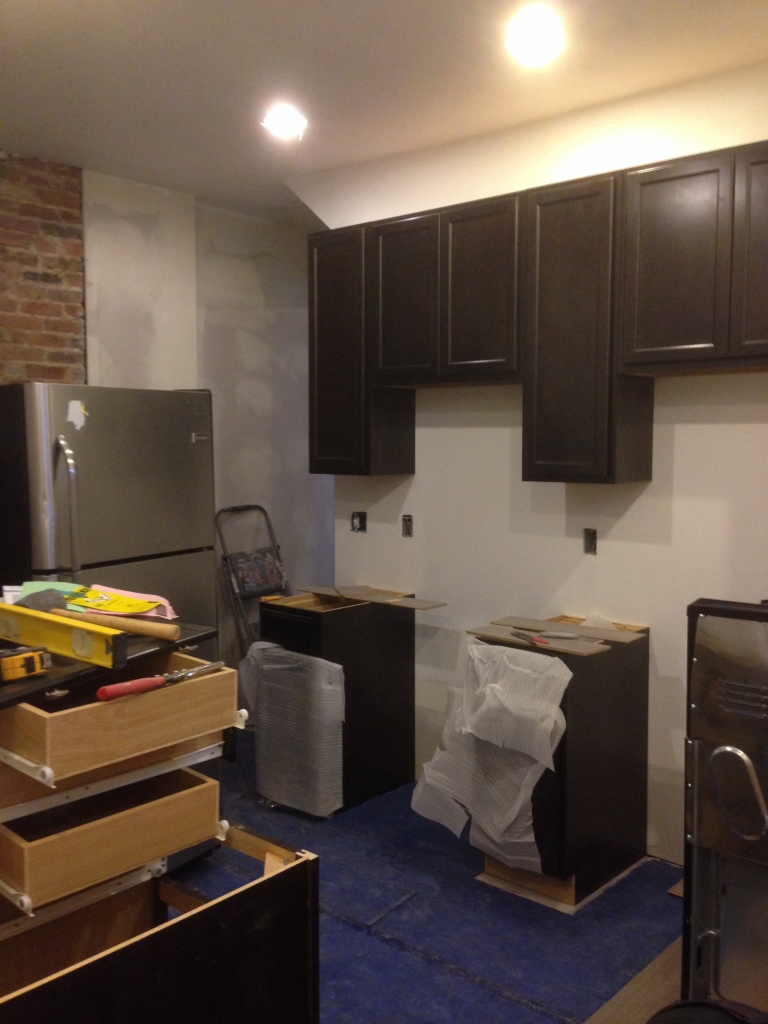
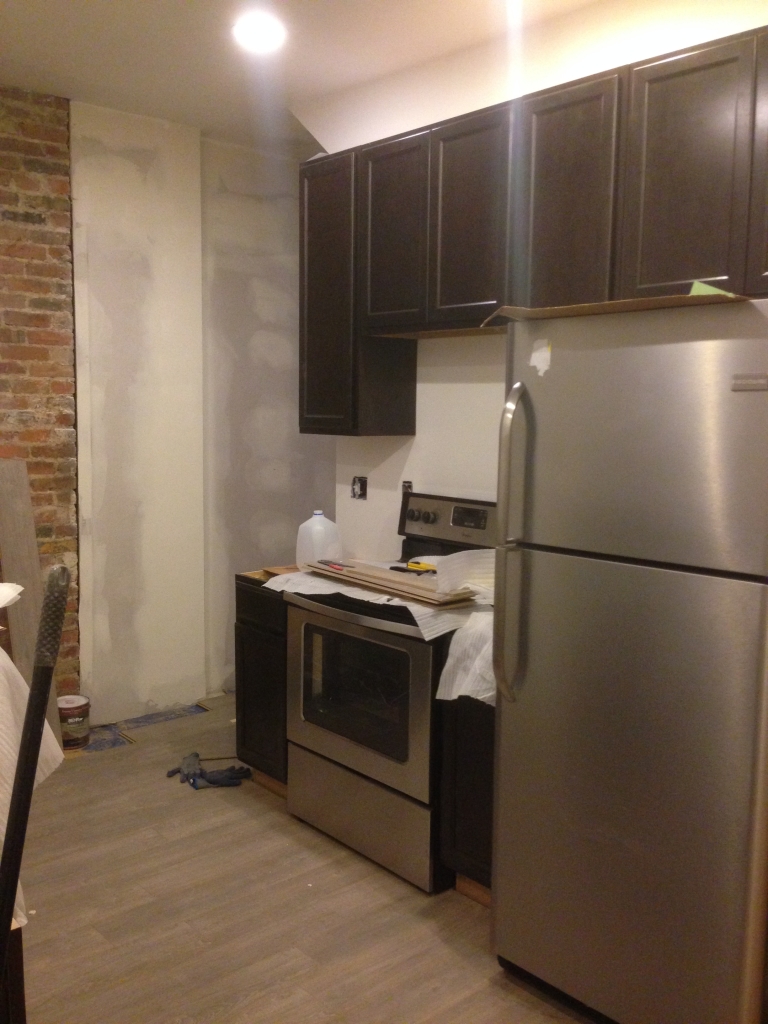
Friday night rolled around and the drywall mud finally dried around 8pm, which didn’t allow a whole lot of time to get stuff done. So we had some caffeine and got to work, knowing we would be up late. Well, an all-nighter later, we had two painted walls and a painted ceiling, cabinets and a floor installed, and we were able to install our appliances on time!
Mission: Accomplished.
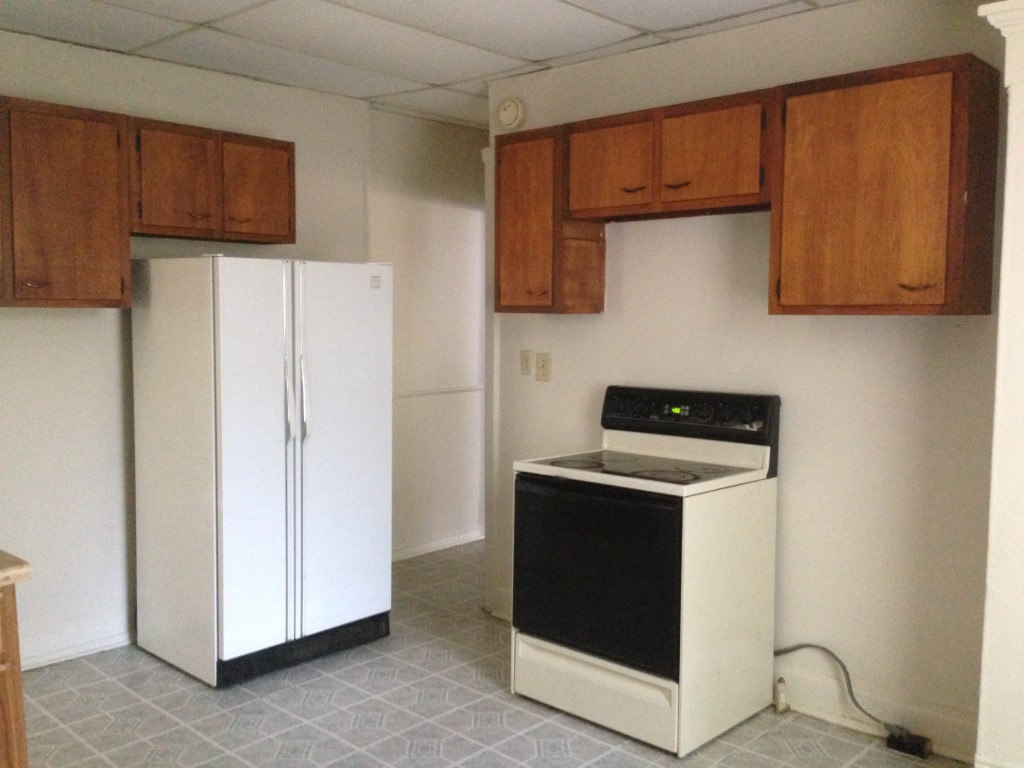
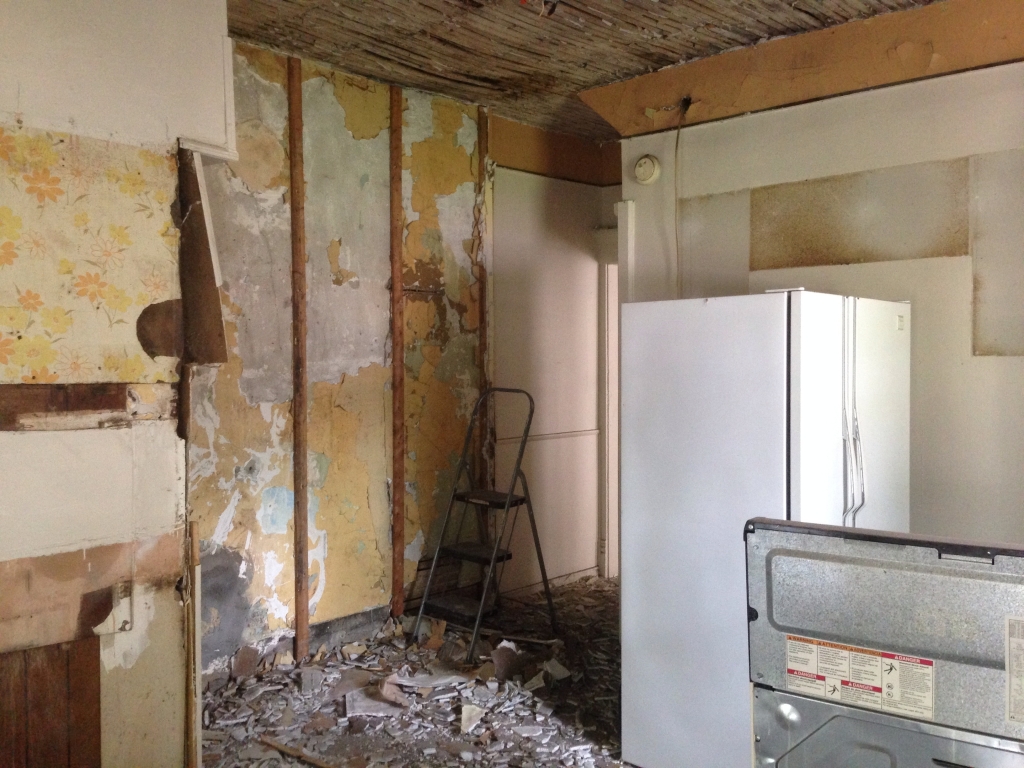
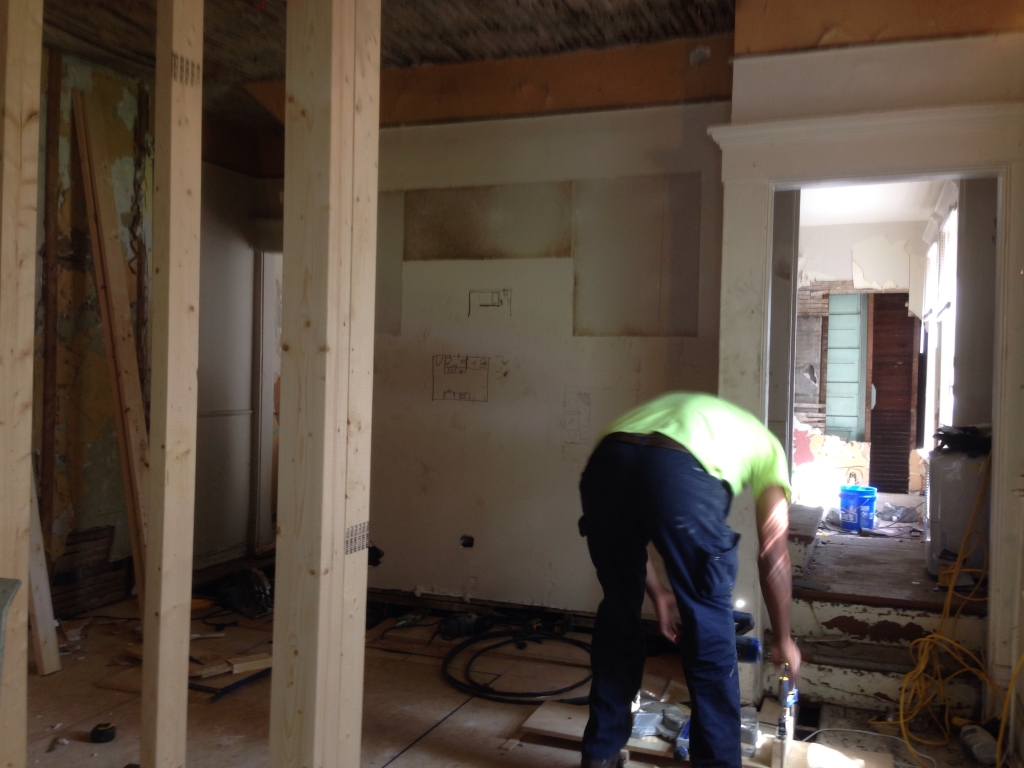
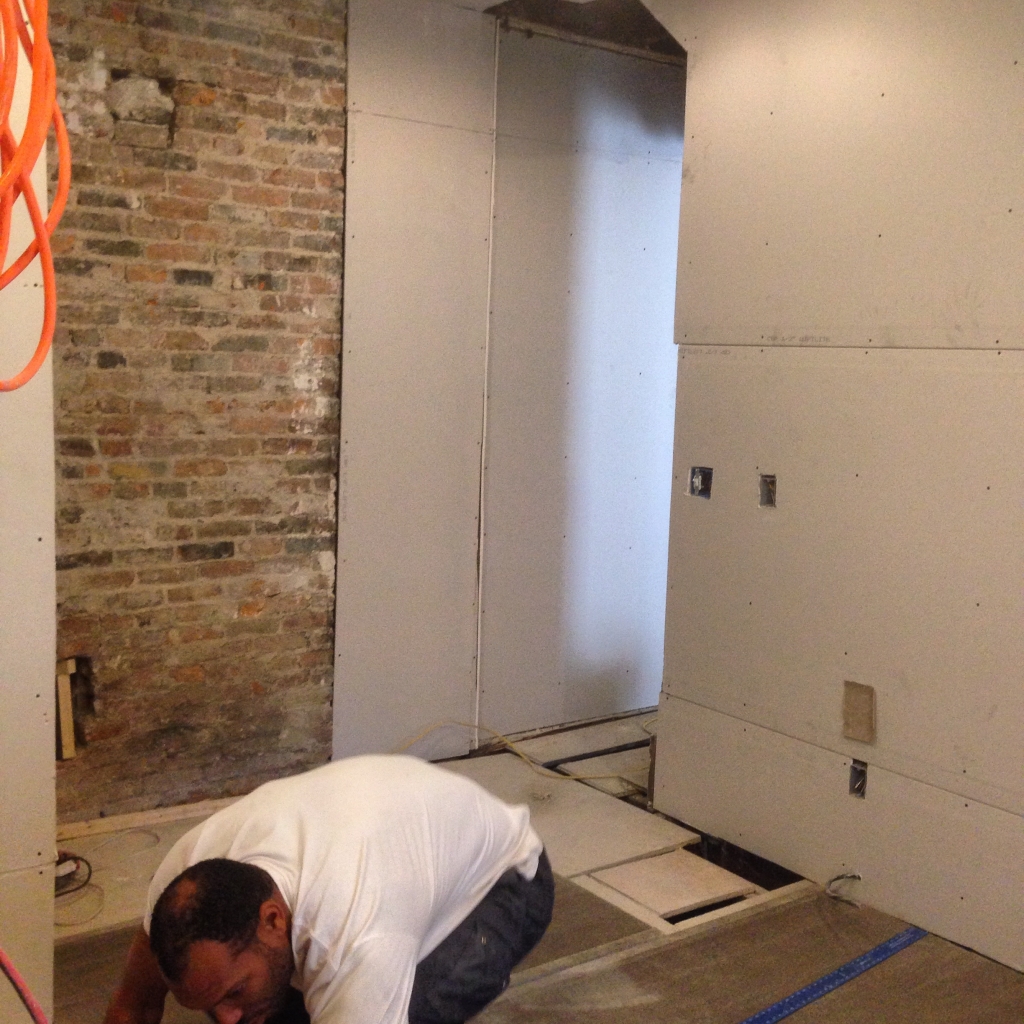
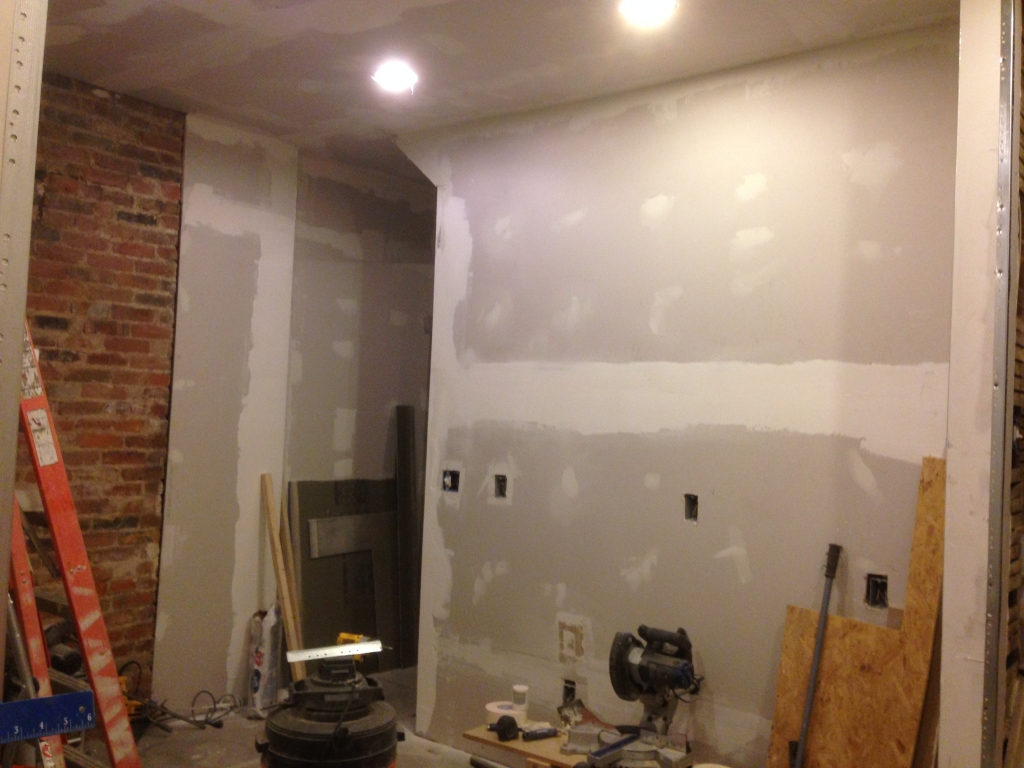
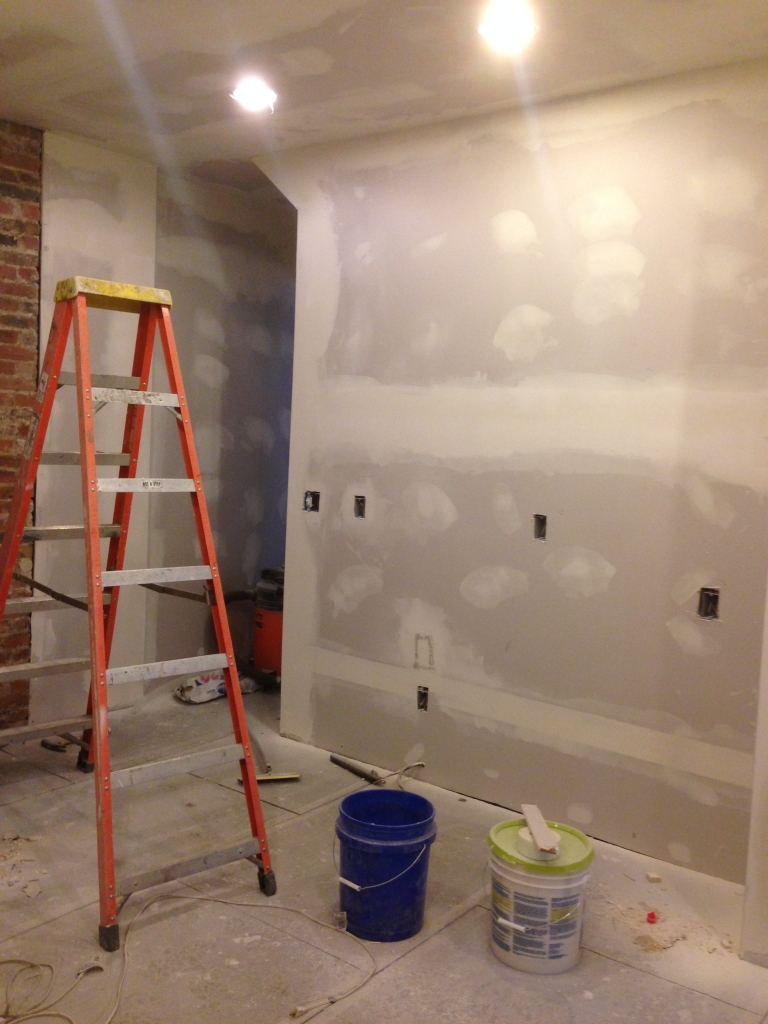
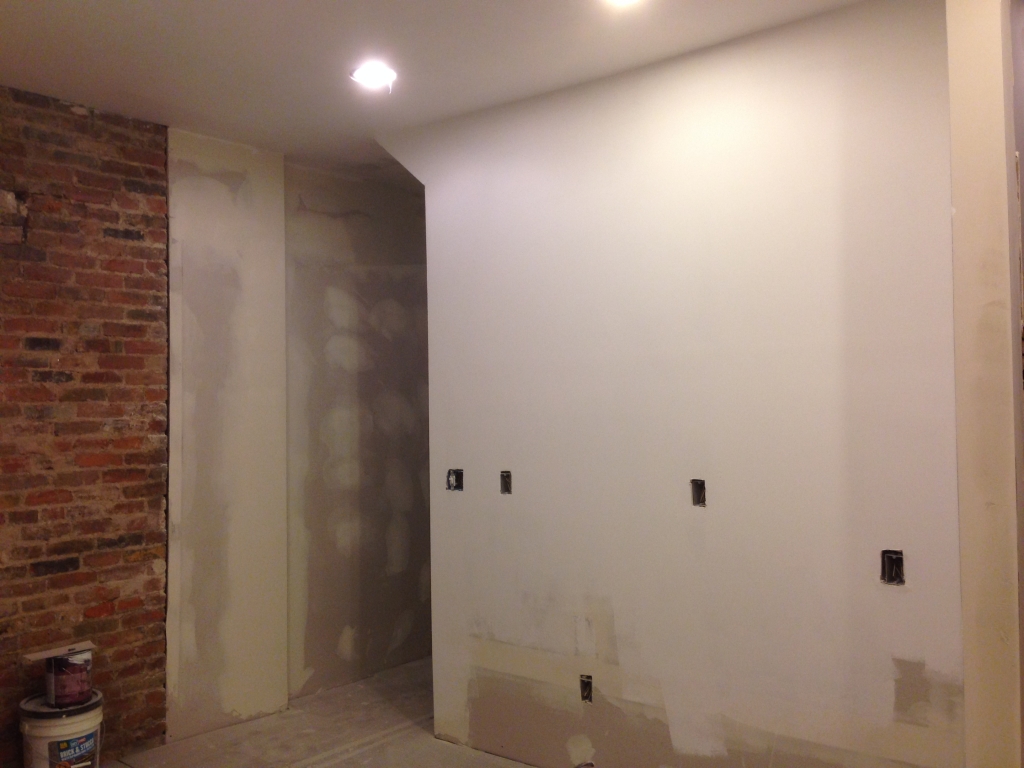
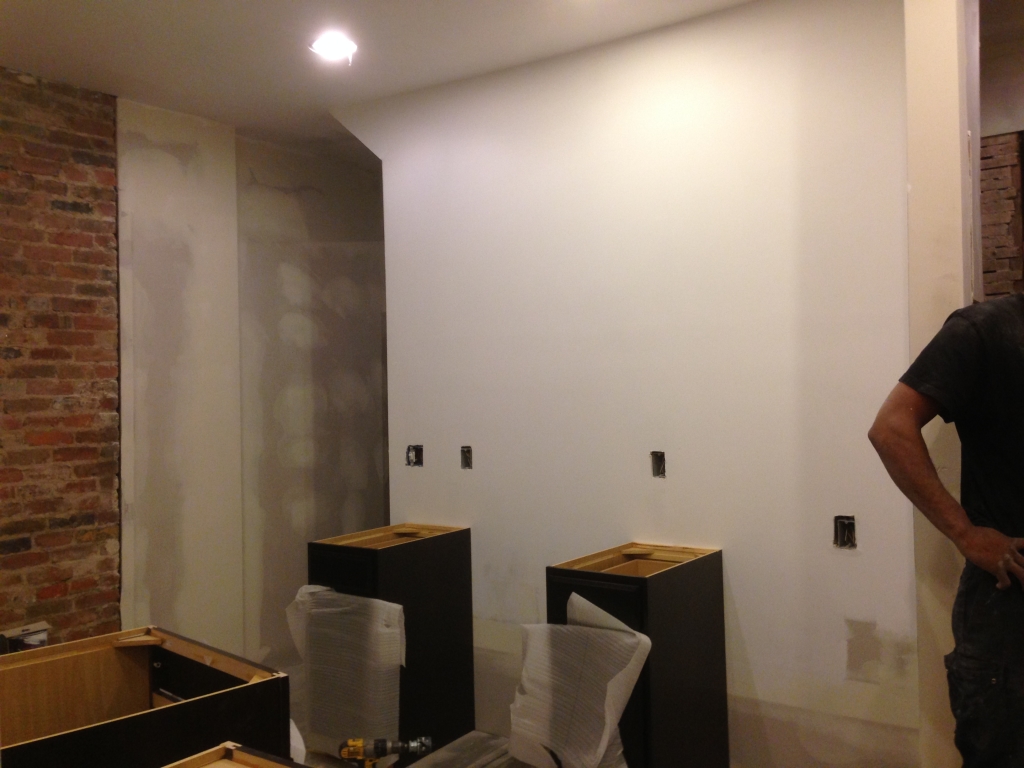
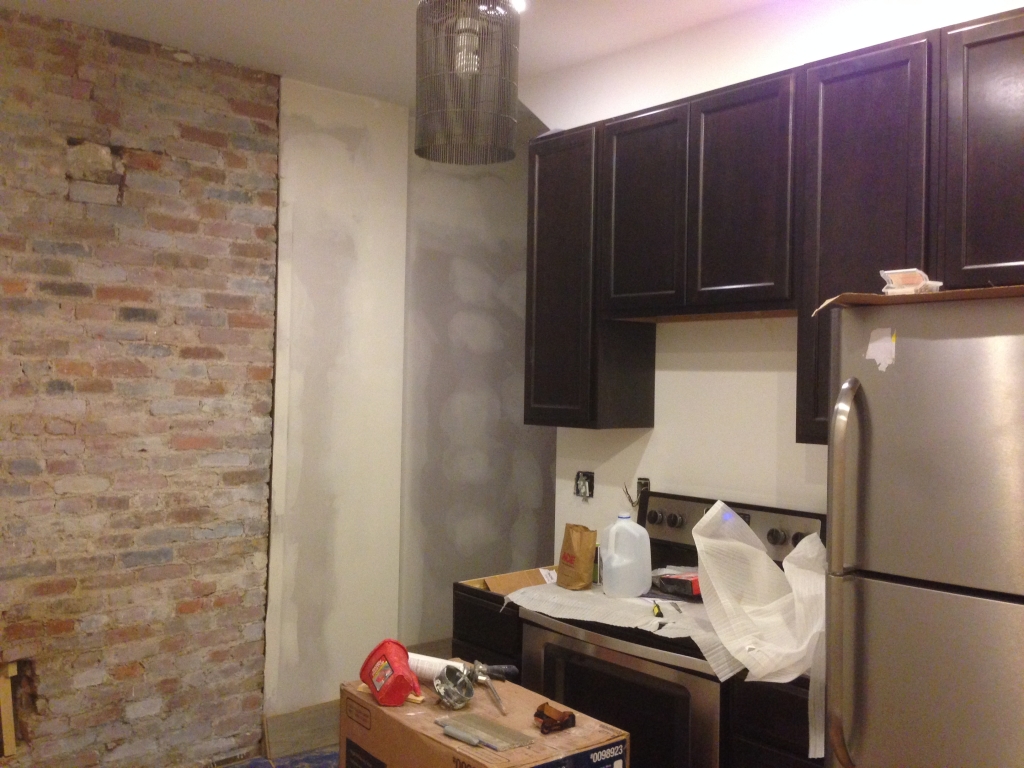
Here are a few snapshots of our progress along the way (if you want to know more, check out our prior kitchen posts here and here). These photos are of just one side of the galley – the other one isn’t finished yet so we’ll save those for next time.
This week, we’re hoping to finish laying the floor into the powder room and laundry room, paint the rest of the walls, and do a DIY install of our countertops. (UPDATE: We got new granite countertops for under $500! See how we pulled it off here.)
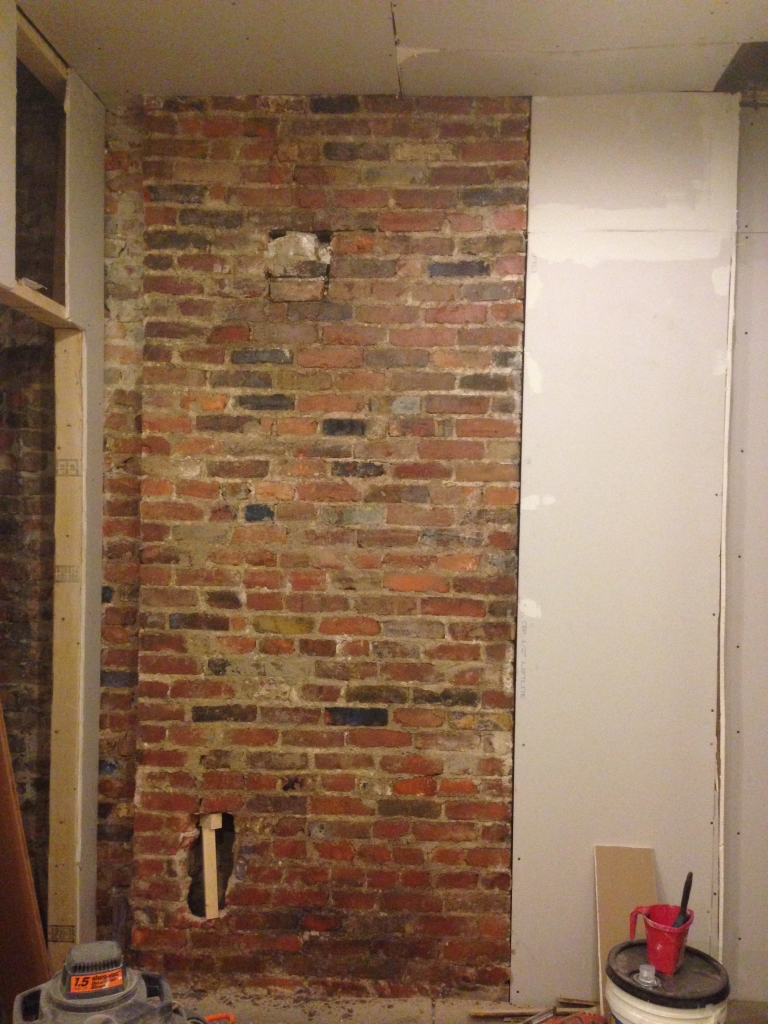
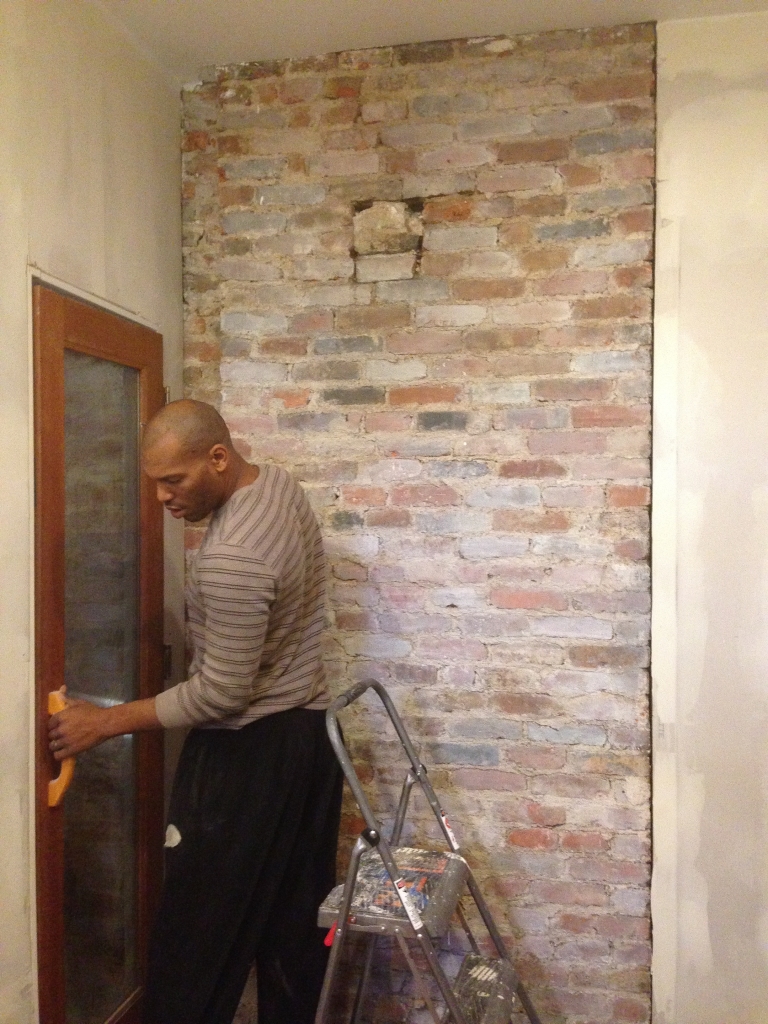
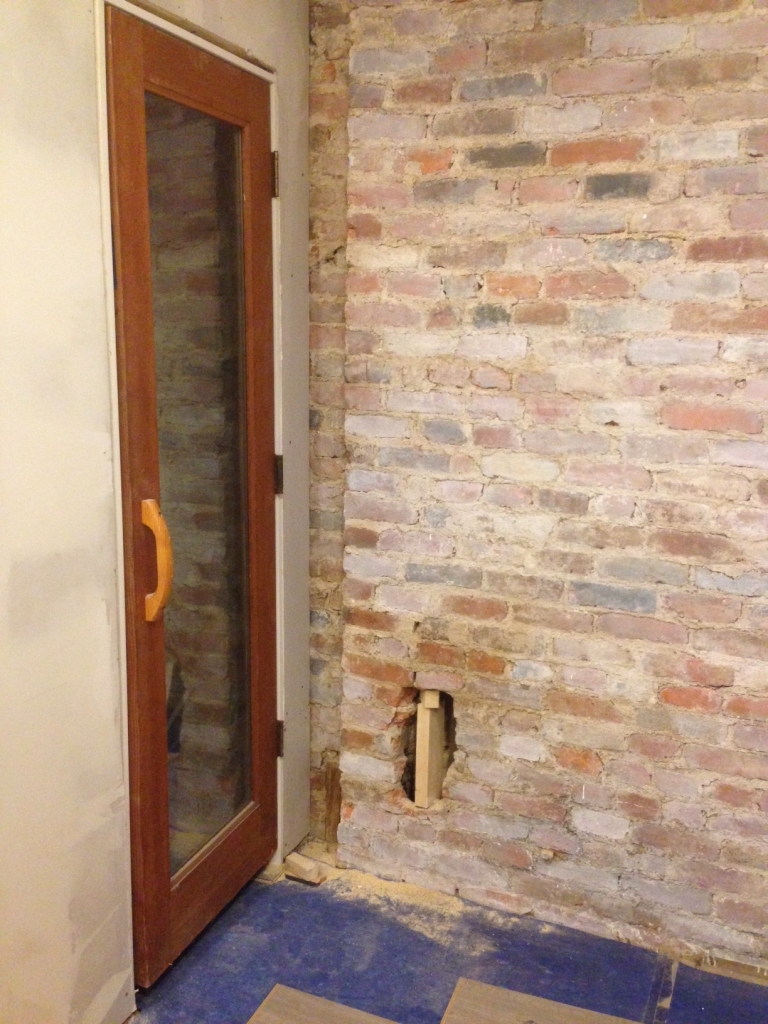
I don’t know if you can tell, but in the last photo, the exposed brick is a little whiter than it was in the prior photos. We decided to give it a subtle whitewash treatment to blend the stains and stubborn plaster that wouldn’t come off. This is what it looked like before whitewashing.
After applying the water/paint mixture with a paint brush (which was about 1/4 paint, 3/4 water) I took a sponge and wiped off a few bricks on each row. I wanted it to still look rustic and I didn’t want to completely get rid of the brick color, so this was a perfect solution. I was nervous at first, but love the way it turned out!
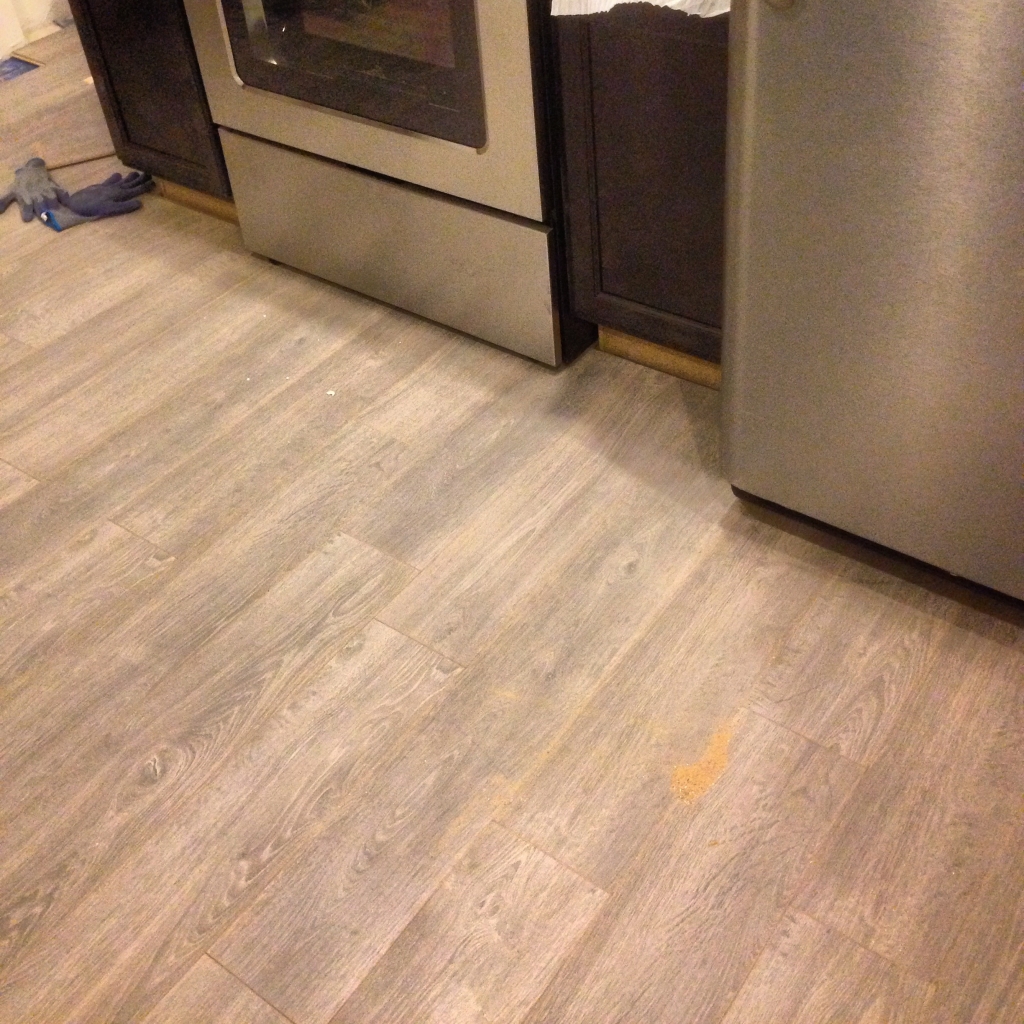
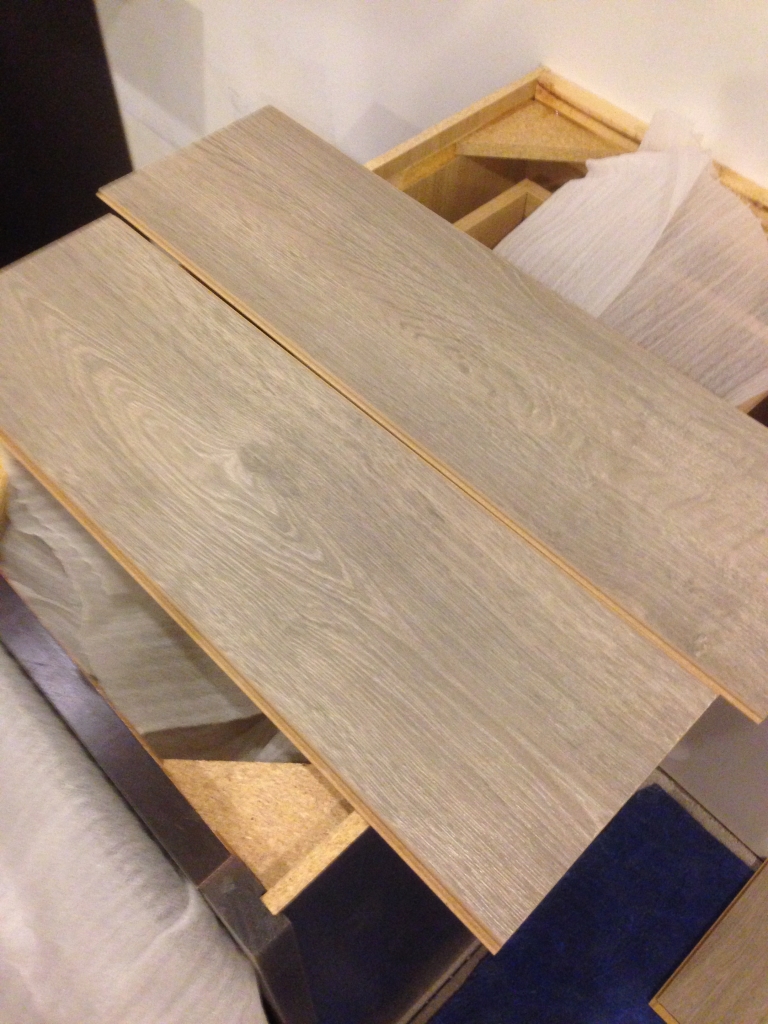
As for the floor, we chose a grey, extra-sturdy laminate. We were originally going to go with a grey ceramic tile, but decided against it because we didn’t want our feet to get cold! The laminate was super easy to install, and the wood grain look gives the room a warmer, cozier feel, which is another plus.
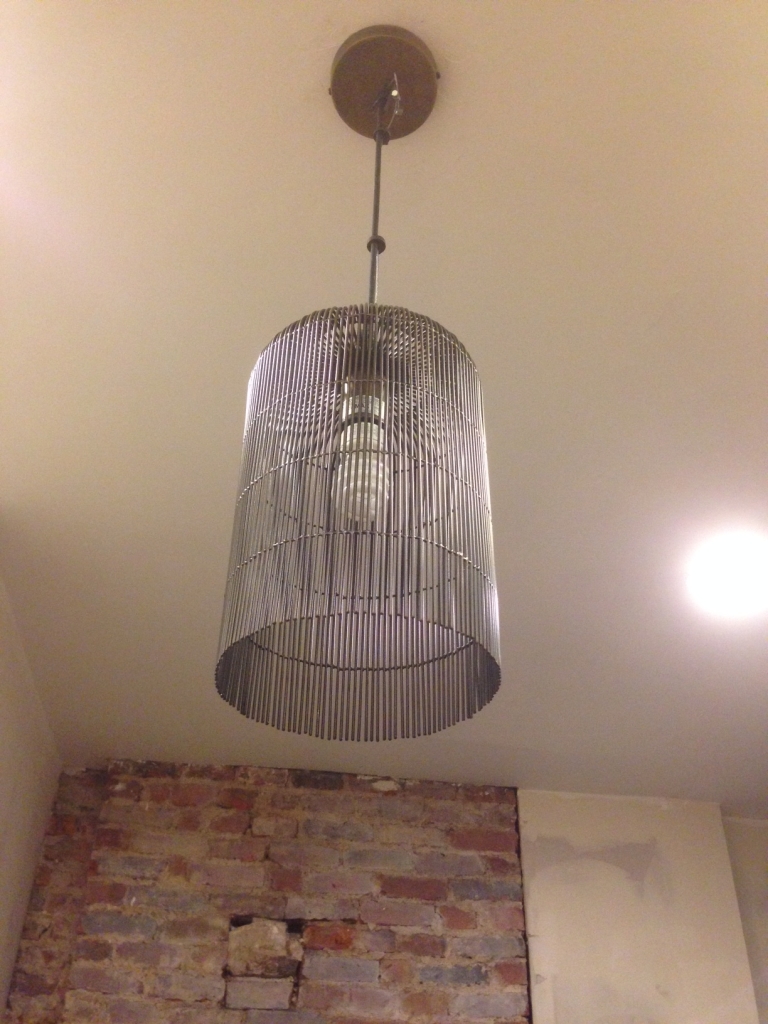
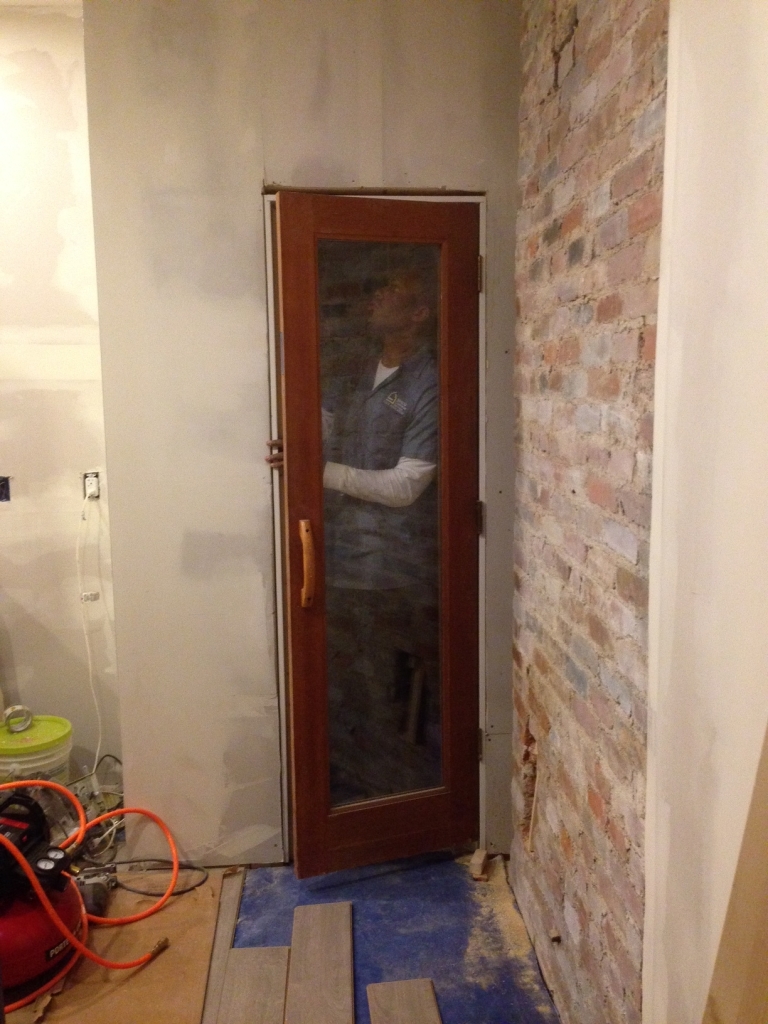
Bryan also installed a light fixture for us from Crate & Barrel Outlet ($40 – woo!) and our powder room door, which we have big plans for. Hint: it’ll be something similar to our front door makeover at our first house!
It’s so fun to see the transformation. We’ll be back soon with more photos and updates. If you want to follow along in between posts, check out our Instagram account @beginninginthemiddle
Love, love, love the cabinets you chose! And the gray laminate is gorgeous and sort of matches your “new” brick wall. Great job! Looking forward to seeing more updates as you go along 🙂
Thanks so much, Pam!
[…] you want to know more about our kitchen progress, click here, here and here. And, if you want to stay in the loop on our reno in between blog posts, follow […]