We have kitchen progress updates for you! It’s been an eventful past few weeks to say the least, but this room is finally starting to take shape. If you missed the before photos in our Pearl St. property tour, we’ll bring you up to speed.
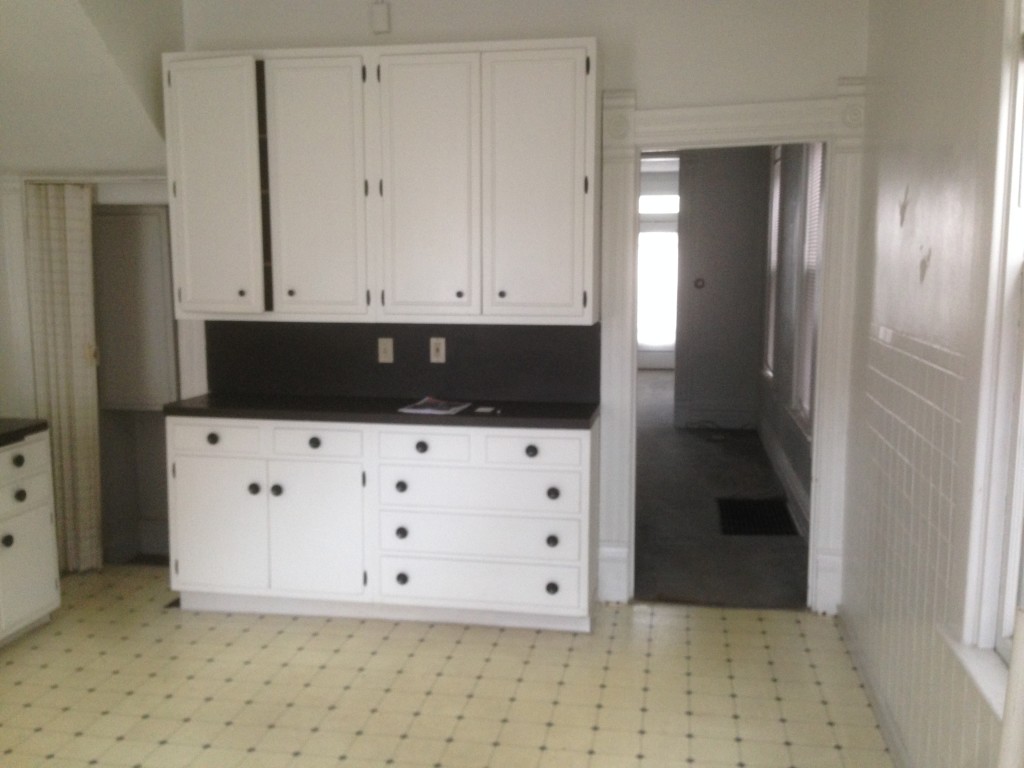
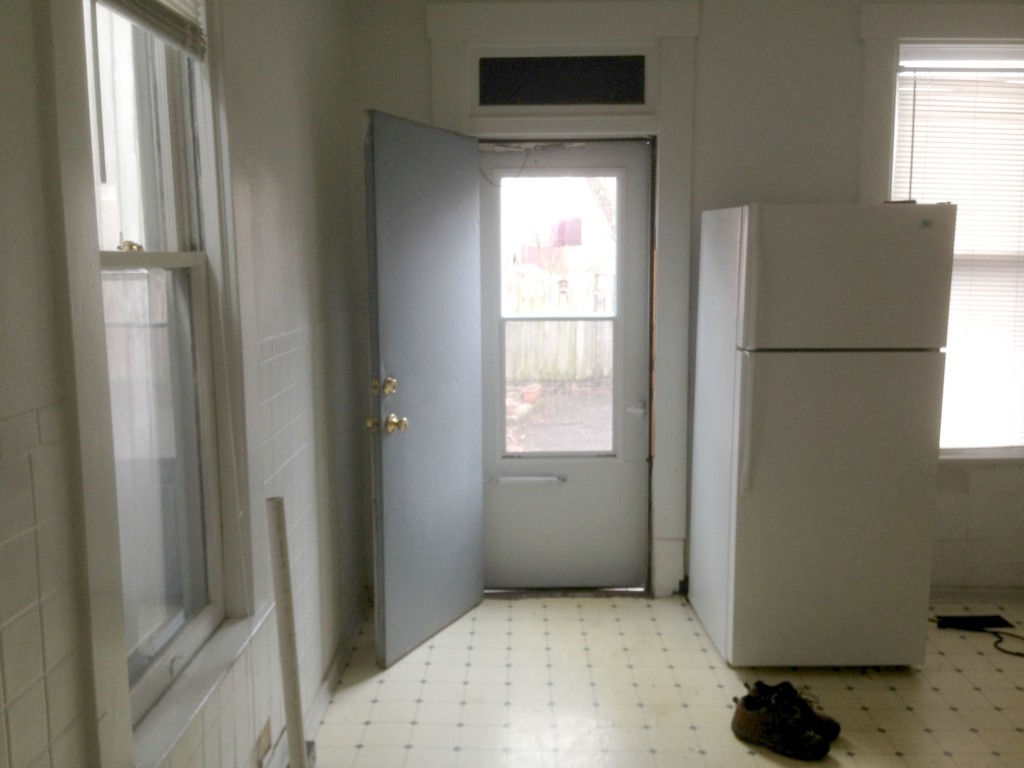
Here’s the old view from the back door. The opening on the right of the photo leads you into the dining room/living room. The stairs to the 2nd floor are directly behind the cabinets. The opening on the left of the photo goes to the basement.
We toyed with the idea of relocating the stairs to another part of the house so that we could open up this wall and have an open concept layout on the first floor. But then we realized all of the added costs that come with that move – the actual cost of moving the stairs, new flooring, new room layouts on the 2nd floor, etc etc. It just wasn’t going to happen on our budget this time around, so we’re making the most of the space we have!
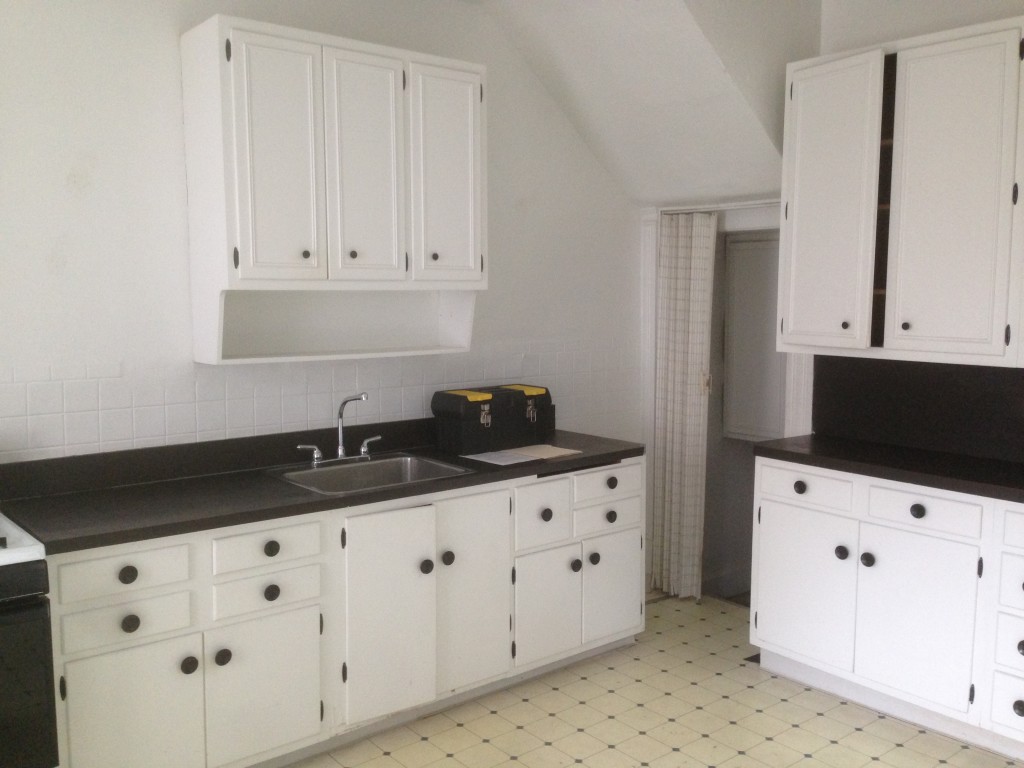
Moving counterclockwise, we had the sink and stove and more cabinets on the left wall. We tried to reuse the cabinets in our new layout, but we couldn’t get it to work, so Bryan snagged them to use in his temporary wood shop in the basement.
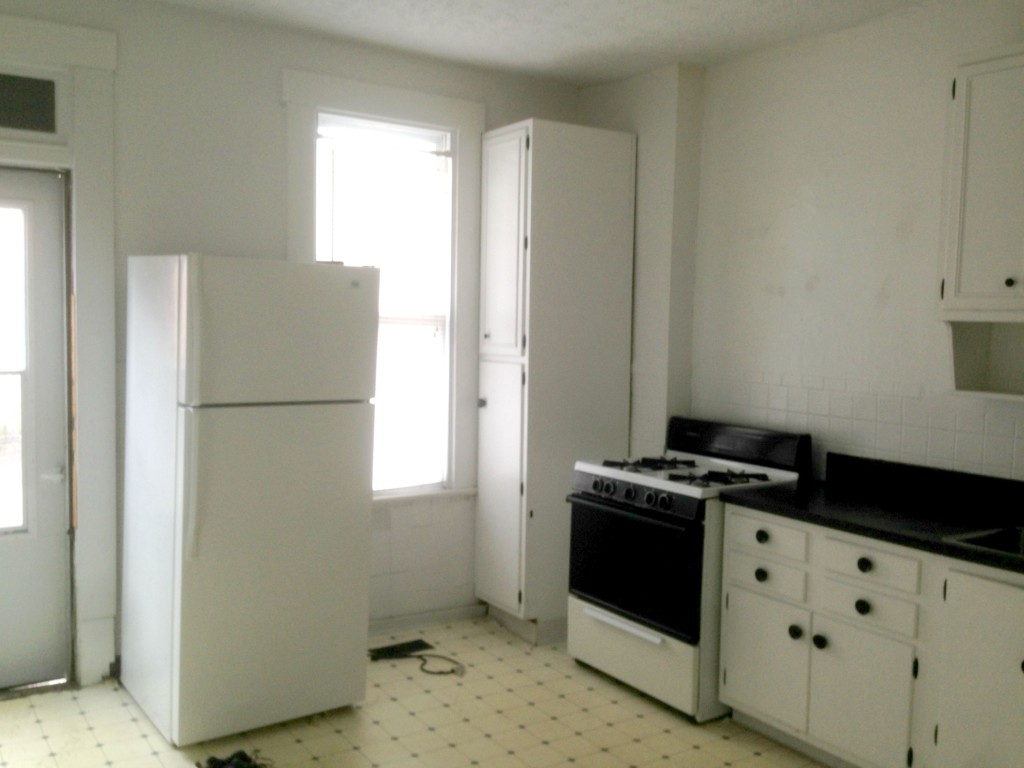
The fridge was hangin out by itself, right next to the back door…
… And those tile looking things on the wall on the left of this next photo weren’t really tiles, they were some sort of paneling. Stay tuned for another post on what we did about that.
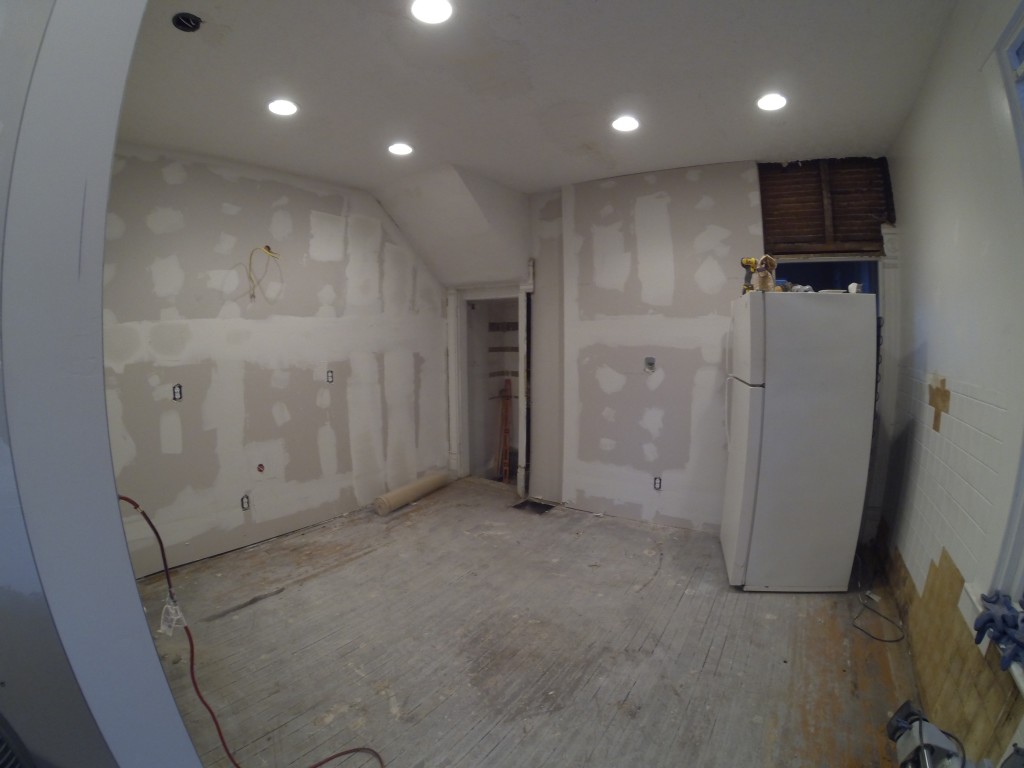
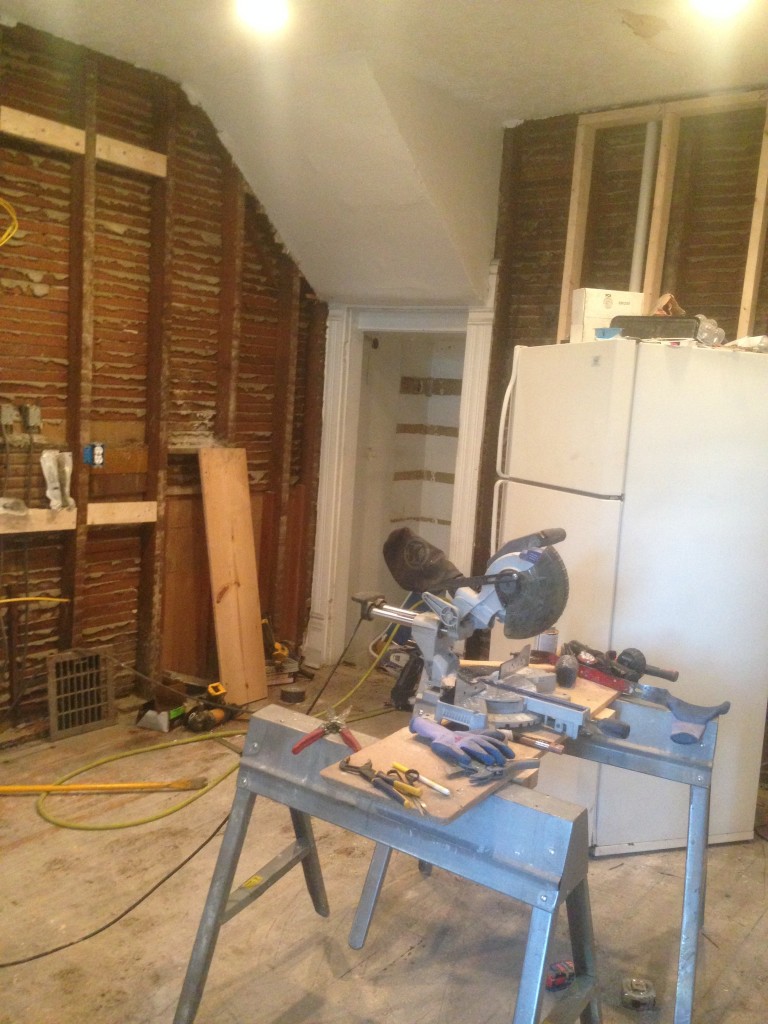
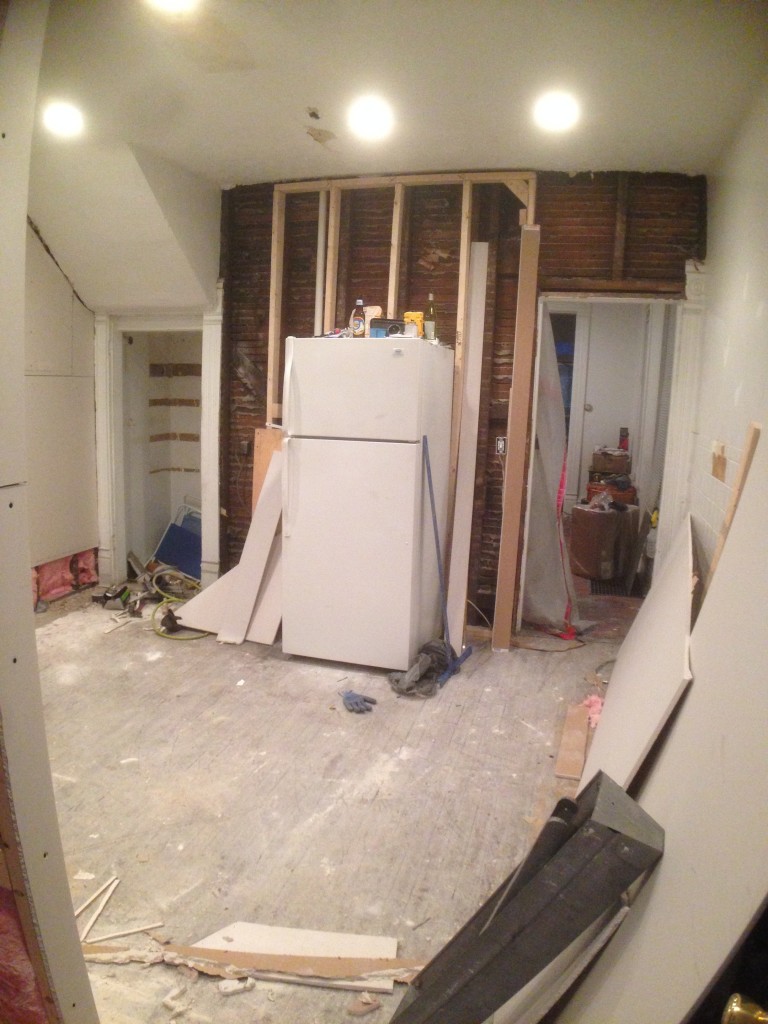
The first thing on the agenda was to add a half bath to the space, because the only other bathroom in the house is on the second floor. We did some demo so that electrical and plumbing could easily be updated. Thankfully, there were no nasty surprises like we had in our brick duplex!
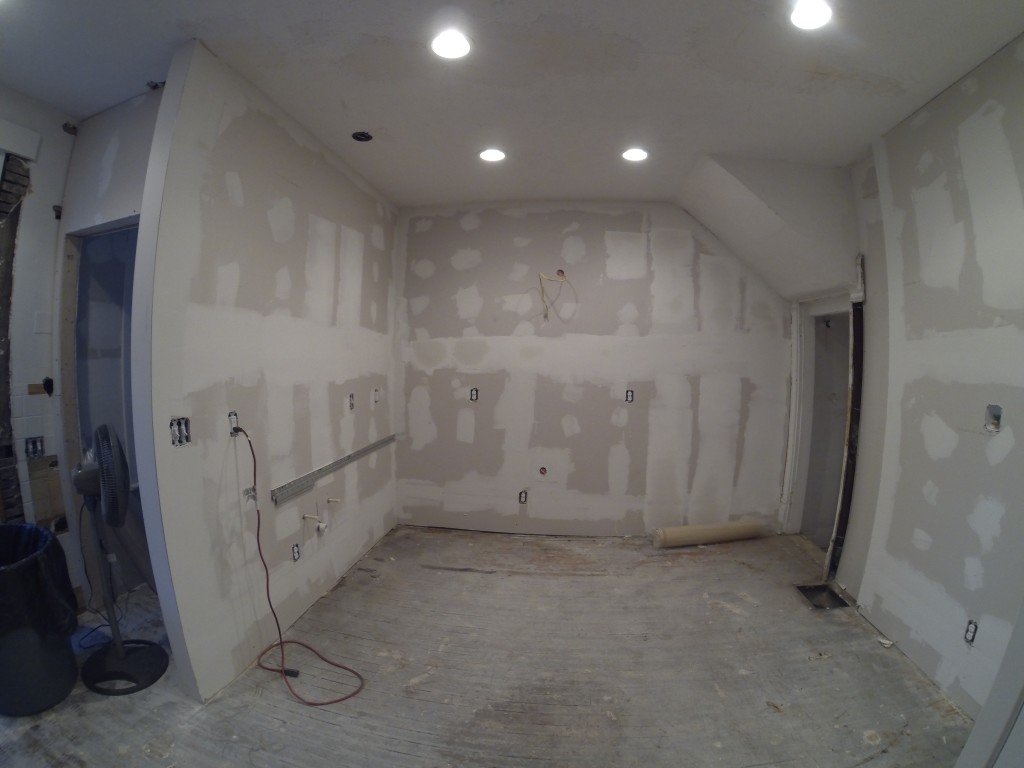
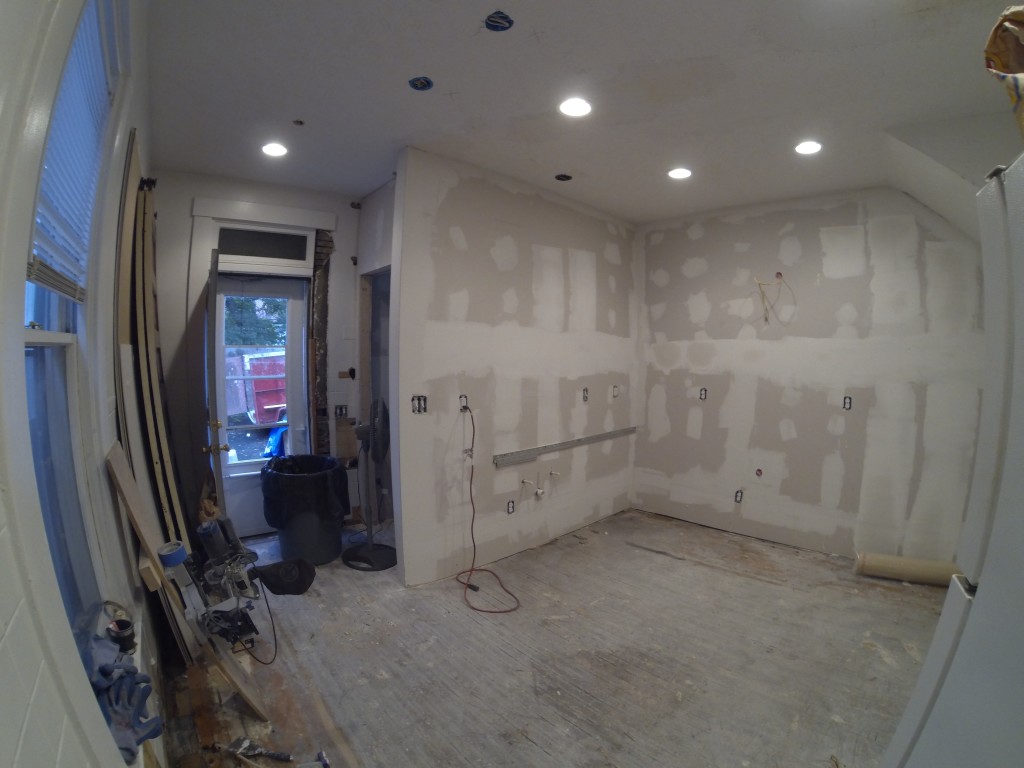
Here’s what the space looked like after the powder room was framed out and the drywall was finished.
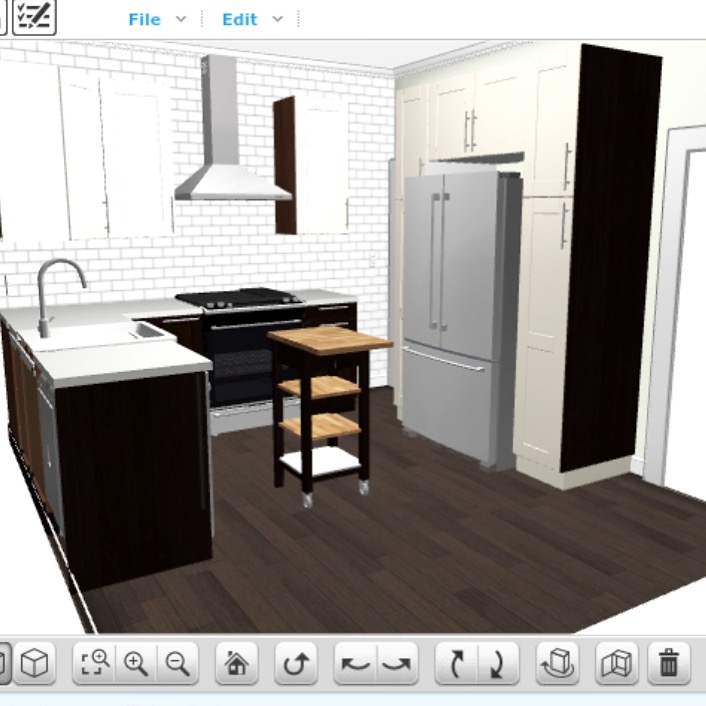
Now for the fun part. We chose Ikea cabinets after doing some research. Our main draw was affordability, ability to pick them up immediately (and not have to wait 4+ weeks like other companies), and the option to return if we didn’t like something. We landed on dark Laxarby base cabinets and off-white Grimslov upper cabinets. Here’s what our original layout looked like on Ikea’s kitchen planning tool (love this thing!):
The only problem with this layout is that we were still stuck with that awkward basement entrance in the back corner.
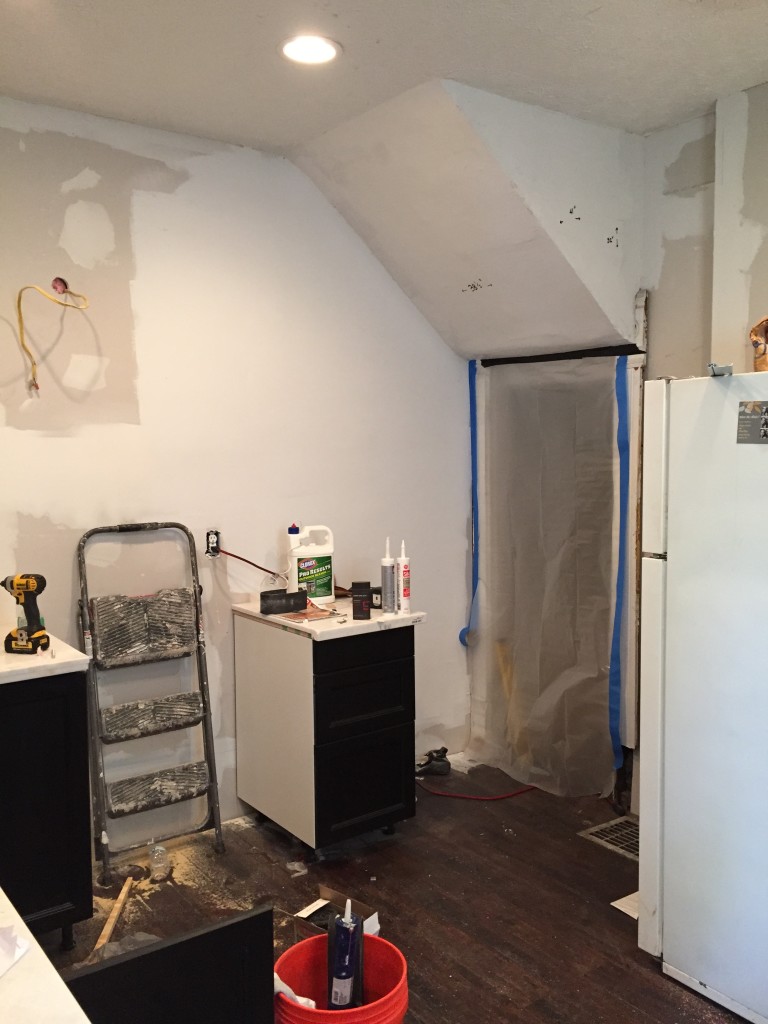
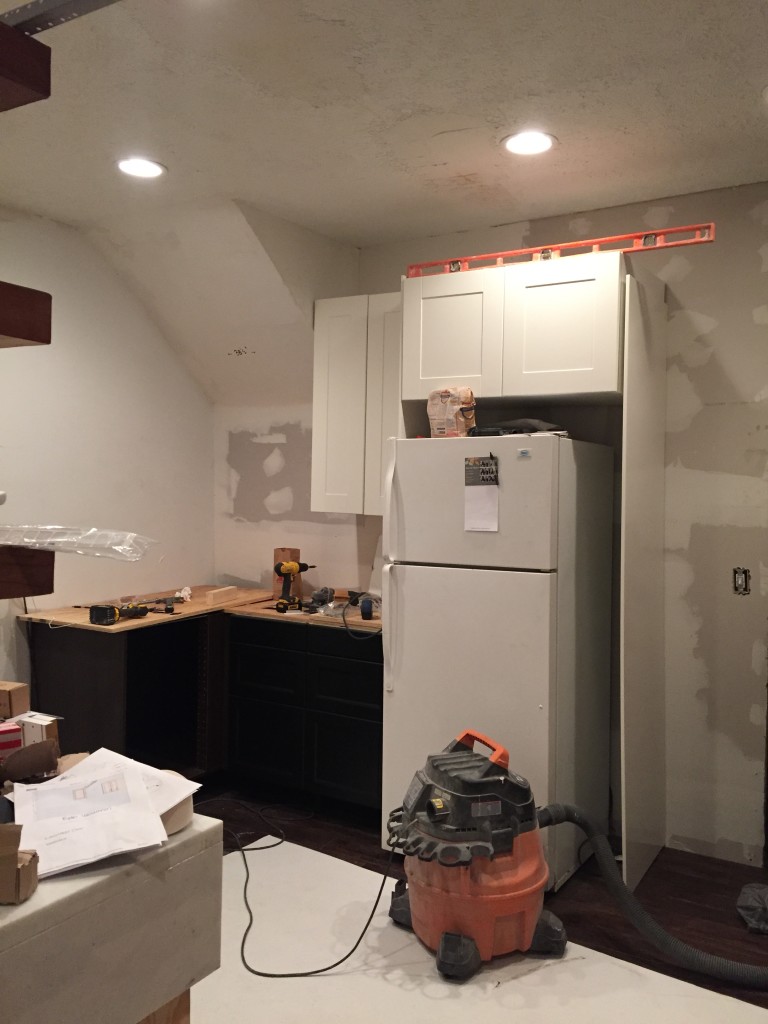
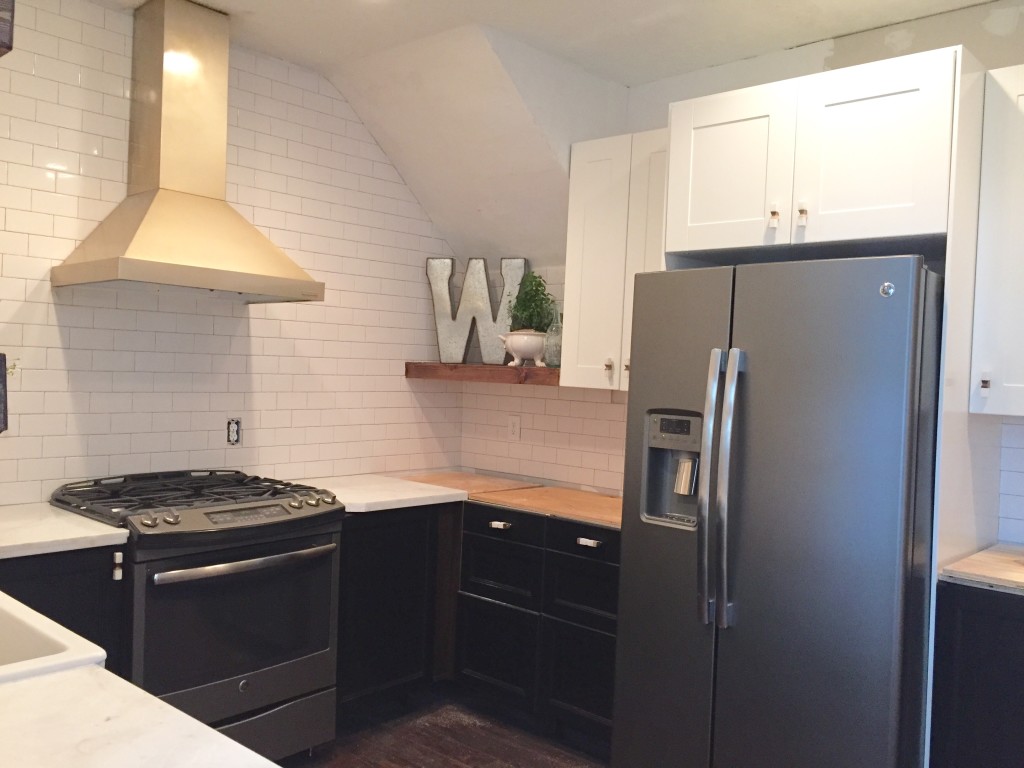
After picking our first phase of base cabinets and installing our counters on the left side of the kitchen, Bryan had the GENIUS idea to close up the basement entrance in the kitchen and move it into the dining room. This allowed us to continue the counter space and cabinets around that corner to make a full, connected U. Luckily the change didn’t mess up any cabinet existing plans. We just had to order a few extras, which was well worth the added cost!
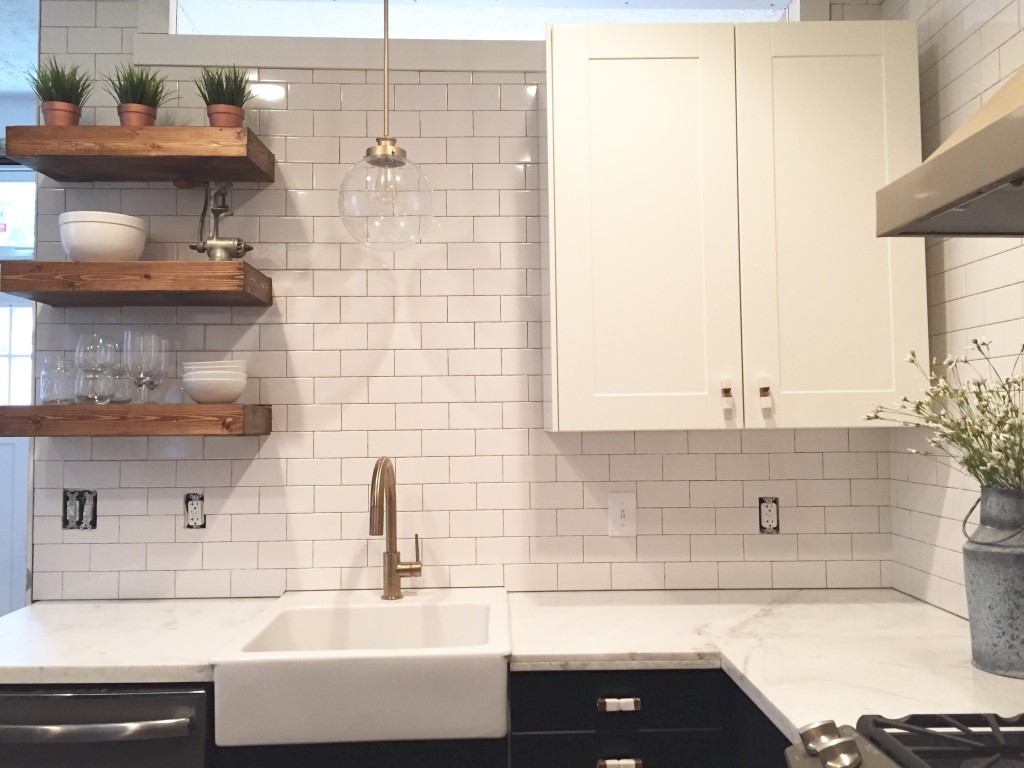
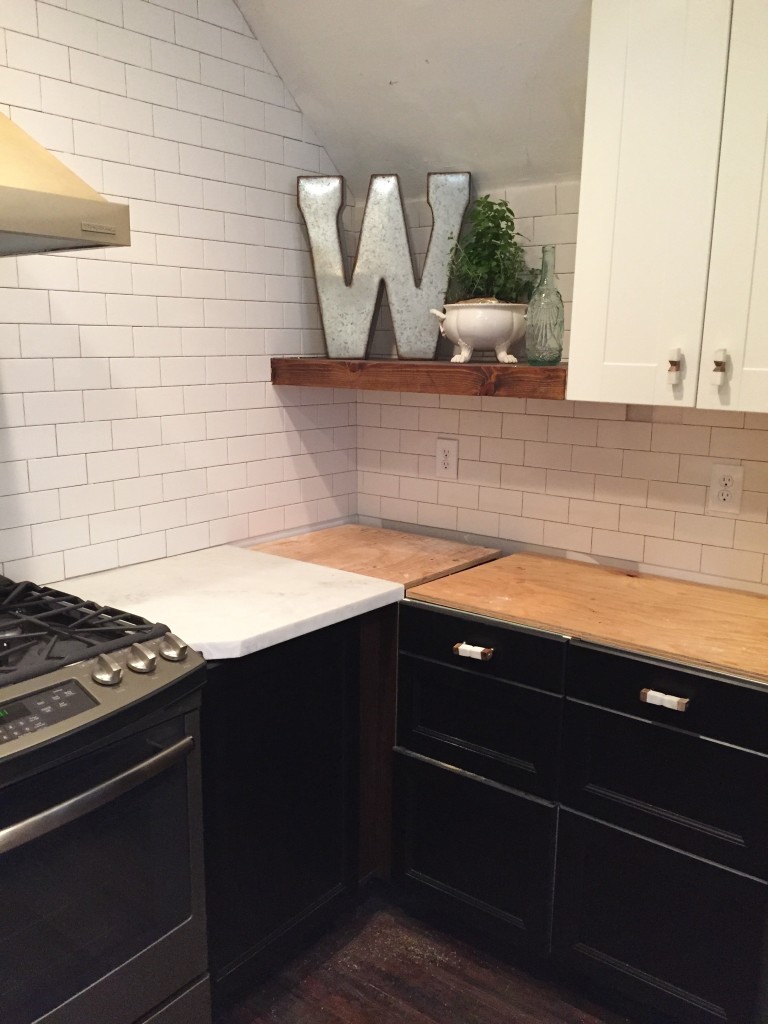
Since the corner is a bit awkward unique, Bryan built a custom open shelf to fit the space. It’ll make a great spot for displaying taller items, like pitchers or plants (?), or perhaps small appliances. The wood back here is balanced out by the wood open shelves by the sink.
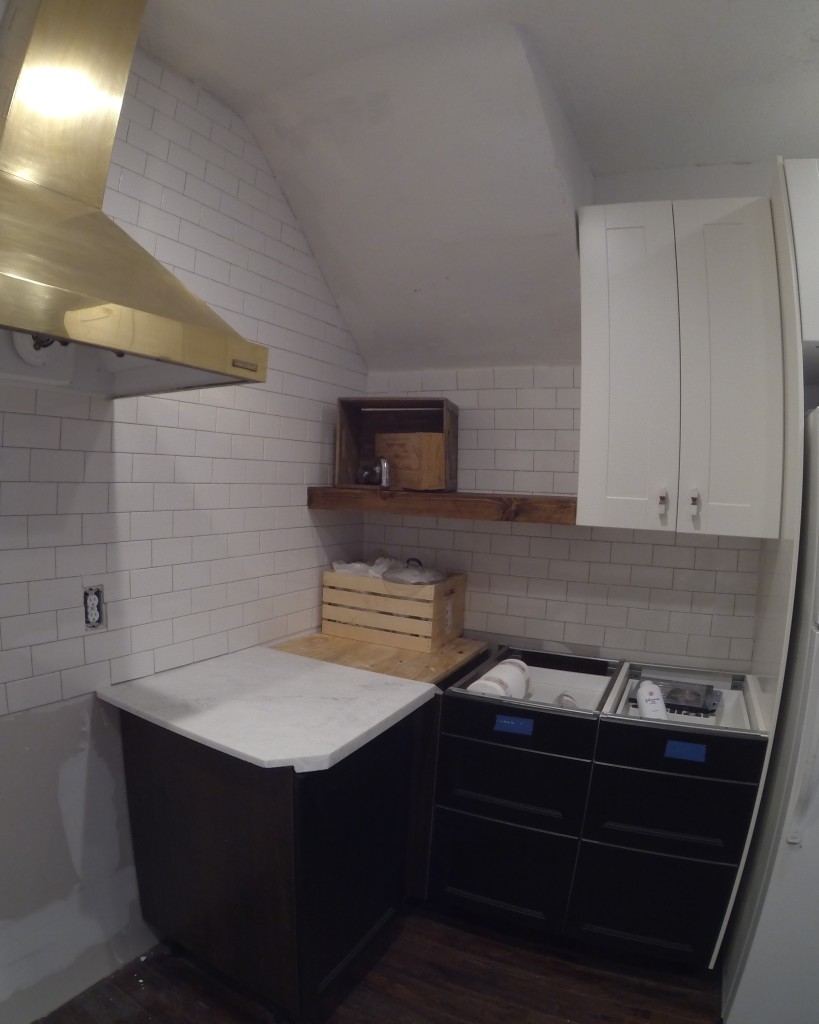
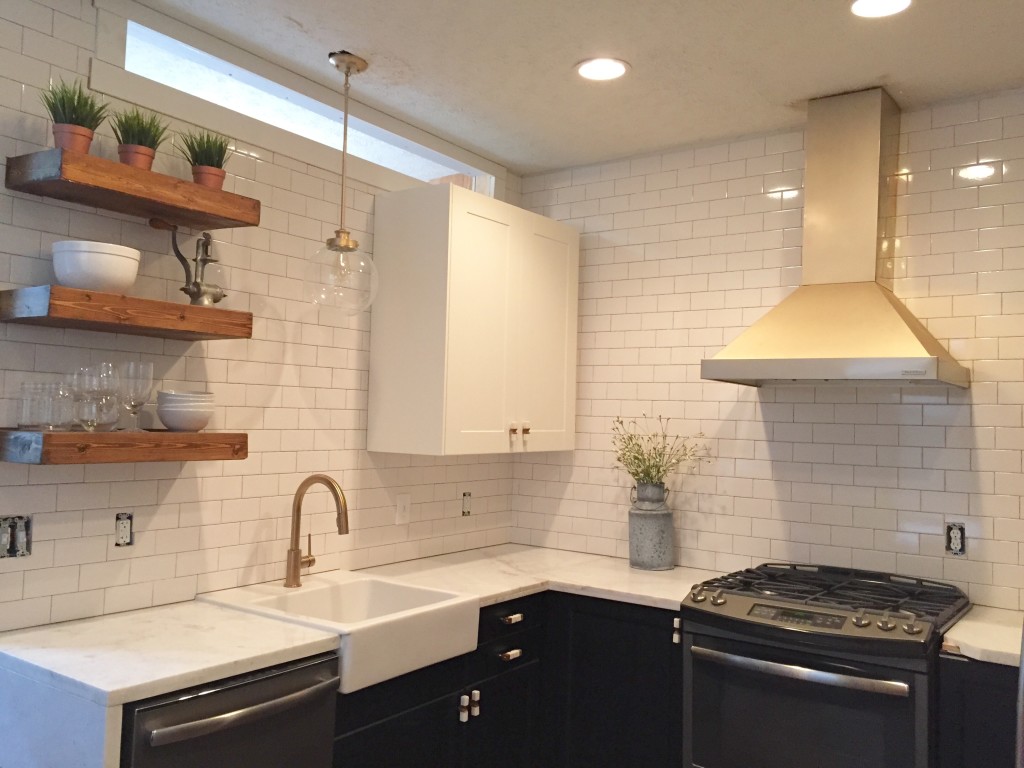
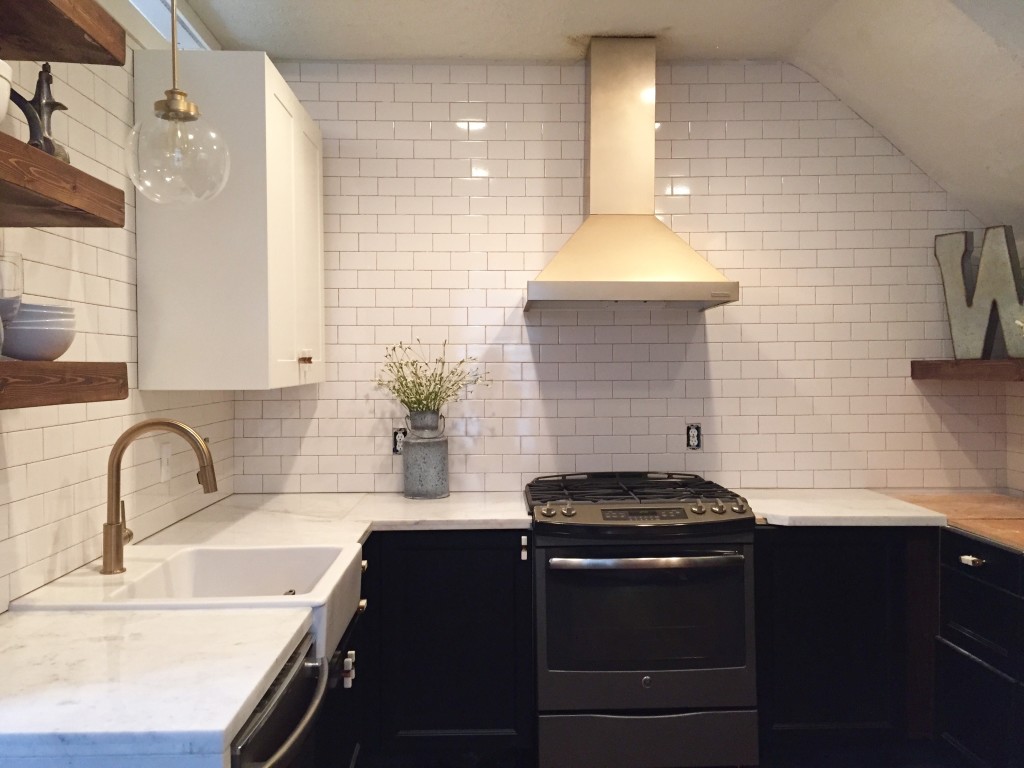
The brass range hood and the marble/wood hardware are probably my favorite parts of this kitchen. We found the hood on Craigslist for $125. You guys. We looked up the value of the hood after we picked it up, and it retails for $3000! We’ll do another post with more details on the hood and why we decided to go brass.
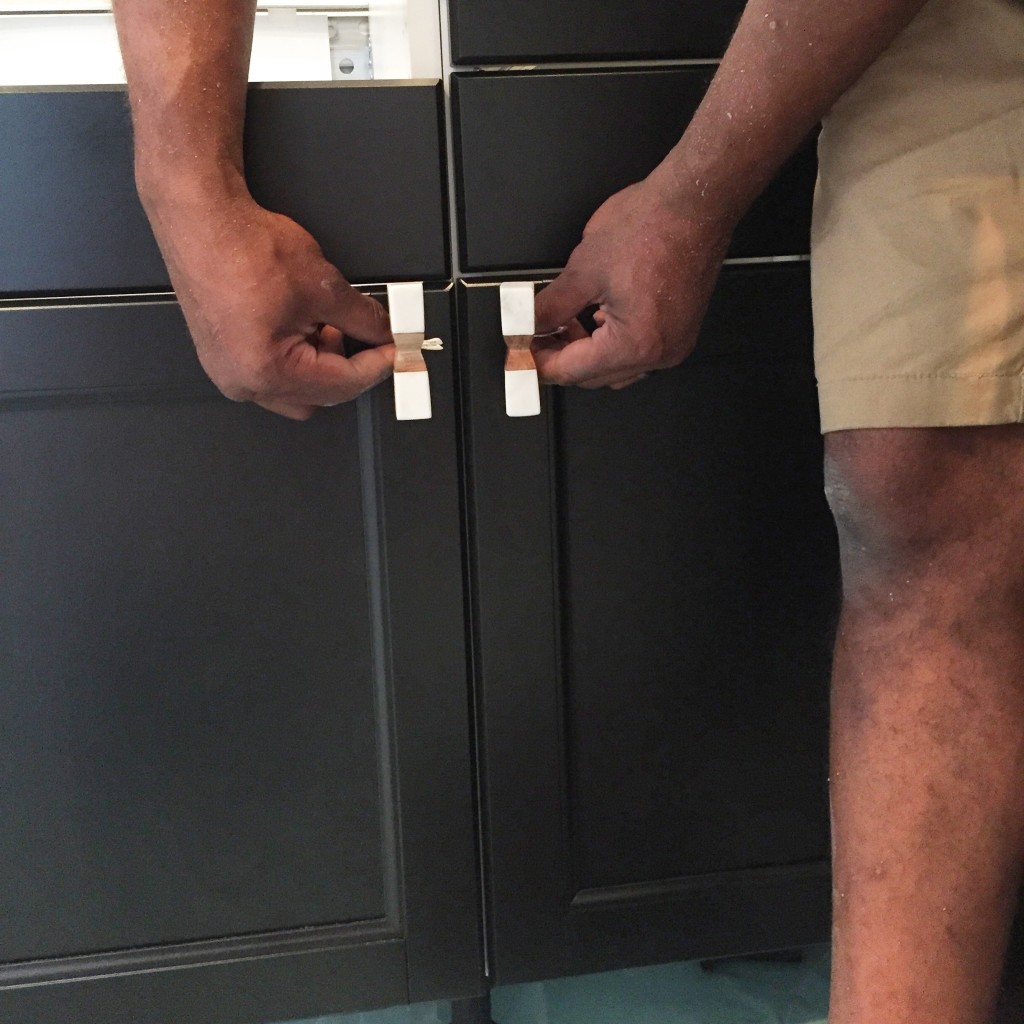
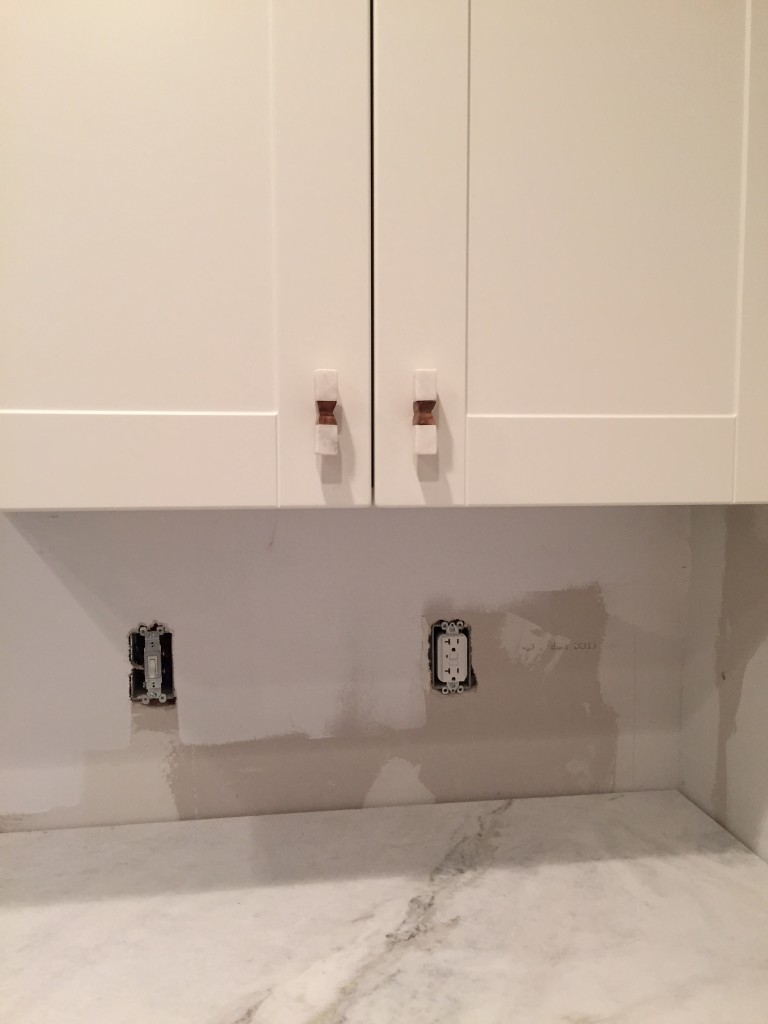
As for the hardware, we accidentally found it while we were window shopping at Anthropologie one night (product link is at the bottom of the post). These knobs and pulls ended up being our inspiration for the whole kitchen design! They were a splurge, just like almost everything in that store, but a somewhat controlled splurge. The kitchen isn’t huge, it was worth it for the impact it has on the space. At least that’s what we’re telling ourselves!
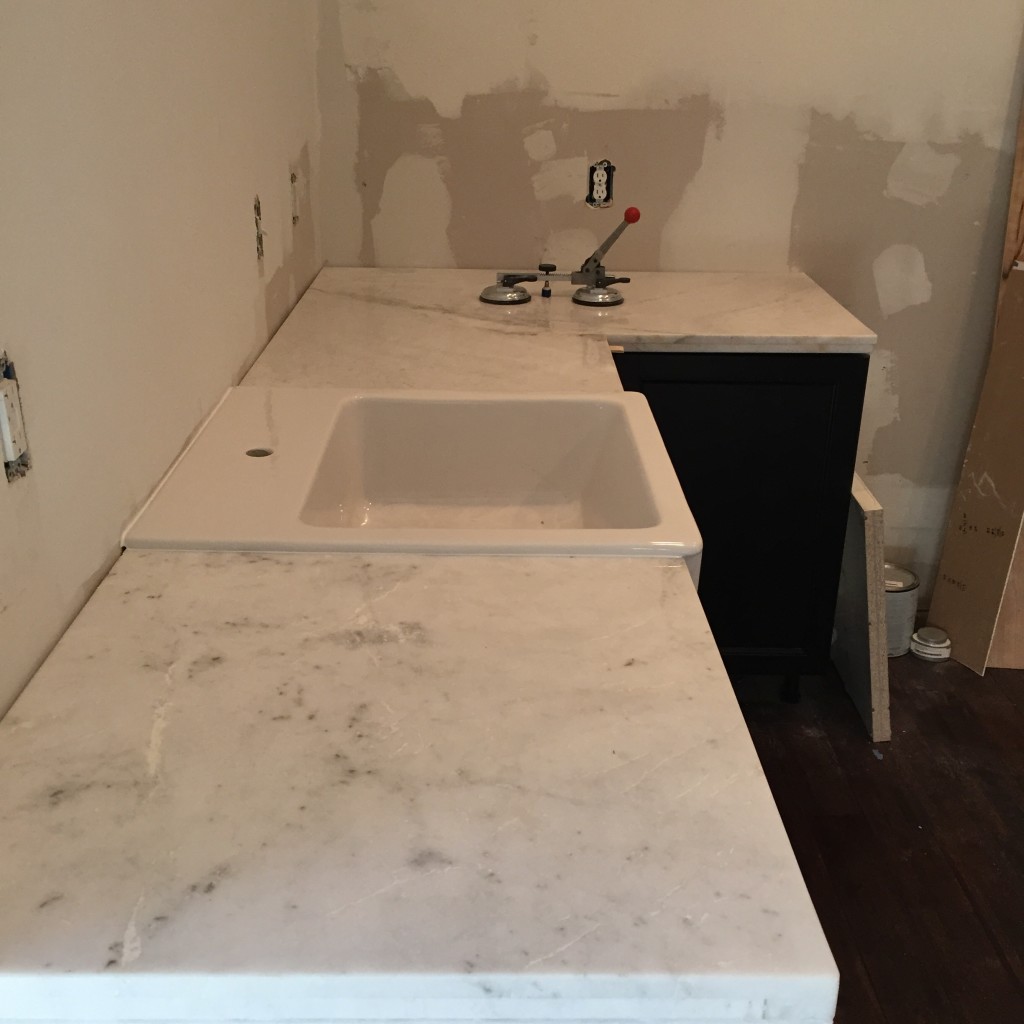
For countertops, we went with Arabescato Venato marble prefab slabs from Floor & Decor. We used the same method as our brick house renovation to pick up and cut and install marble ourselves. By doing it this way, we saved almost $50/sq. ft!
Having an apron front sink wasn’t something that was a must for us, but this one from Ikea was so reasonable and had another even bigger benefit: no dreaded sink cutout necessary!
The kitchen has come a long way since our original rendering, but we’re happy with it! We love the balance of the wood open shelves on either side of the kitchen, and the brass, and the black and white. We still have a lot left on our to-do list, like grouting all of that subway tile (eek), finishing the marble counters, and installing more hardware and switch plates, but at least we have a good chunk of finished goodness to enjoy in the meantime.
Product Info:
- IKEA cabinets with a combo of Laxarby (base) and Grimslov (uppers) door styles
- IKEA apron front sink
- Anthropologie knobs and pulls (purchased during 20% off sale)
- Delta Champagne Bronze faucet – $320 (Amazon open box special)
- Marble countertops, truck rental and diamond tip saw blade – $1500
- Easy-install hardwood floors – $4.99/sq. ft.
- Brass range hood – Craigslist – $125
- GE Slate 4 pc. appliance package, price matched at Lowe’s – $2700 (inc. $300 rebate)
- Subway tile & tiling materials – $300
We’ll be back soon with more!
Great work on the reno’s, it look amazing
Thank you!
[…] « Pearl St. Project: Kitchen Progress […]
Hello! Beautiful kitchen 🙂 Which subway tile did you find matched the grimslov?
Hi Melody! We used the subway tile from Home Depot.