Well guys, the floors are sanded. We have plumbing, hot water and heat. And electricity. And a tub and toilet in the bathroom. And drywall in the kitchen.
The house is starting to come together… FINALLY! I’m not gonna lie, the whole “rehabbing houses” thing sounds a lot more glamorous than it actually is. It’s really difficult and really gross, and the construction phase is way worse (and longer) than it looks on HGTV. Sometimes it feels like we’ve been doing a lot of work and don’t have anything to show for it. But then I look back at the blog, and all of our other photos, and am quickly reminded of how much we have done since purchasing the house mid-August. We’re not quite at the “before/after” phase yet, but we’re getting there one step at a time and learning a ton along the way.
Before we start piecing everything together, I thought it would be a good time to share a little house tour so you can see where we’re at and what some of our plans are for each room. (Also, check out our Duplex Progress page to see more photos and details on the project!)
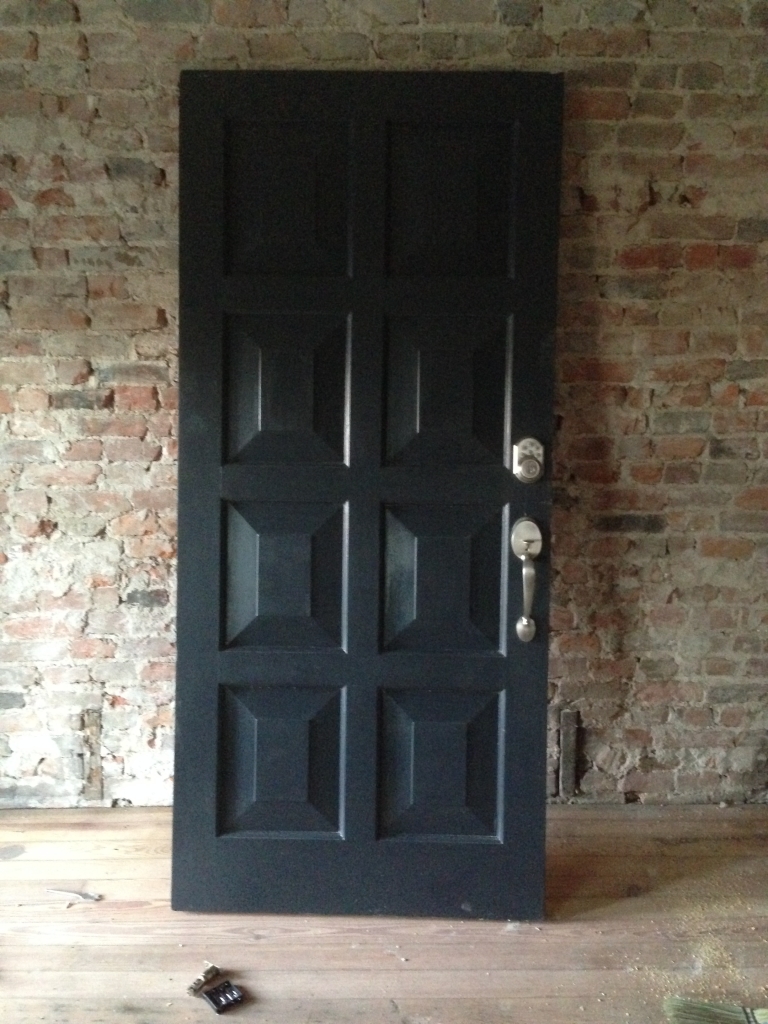
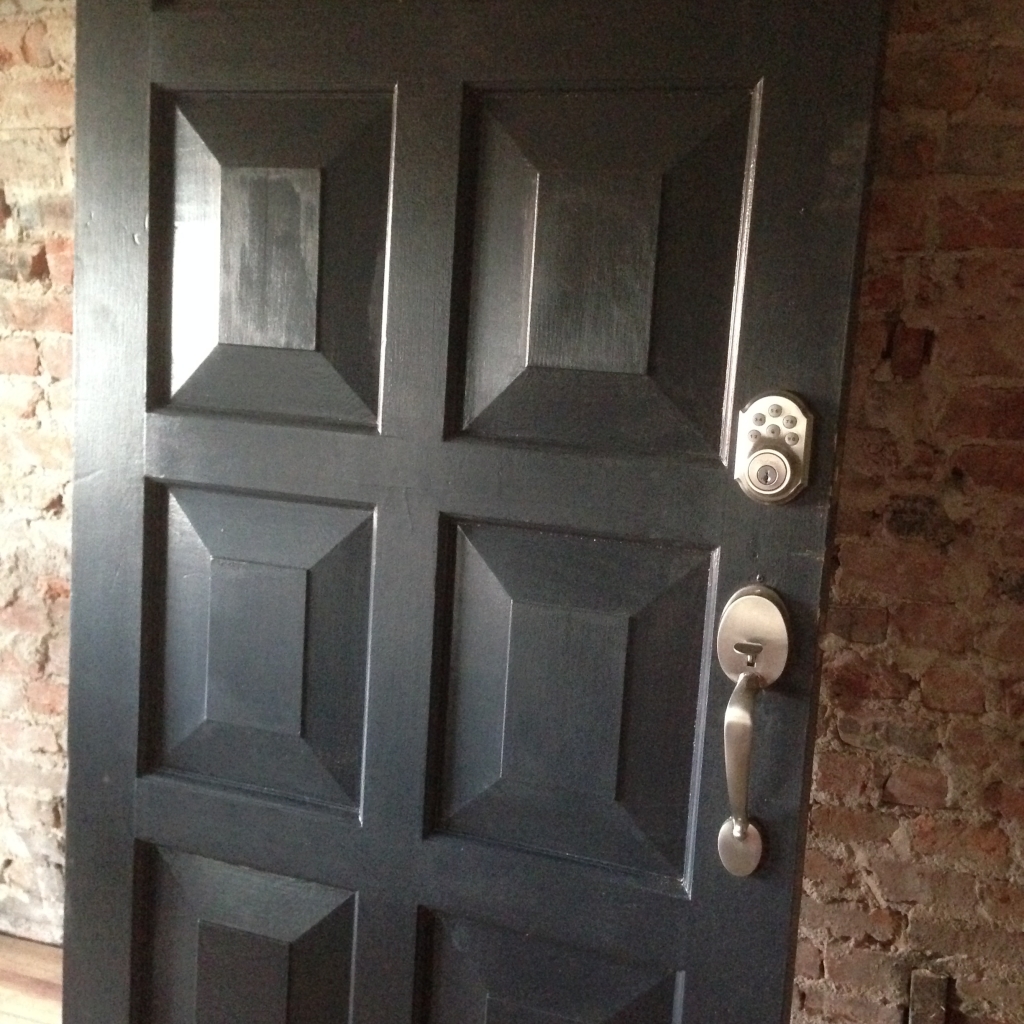
Front door:
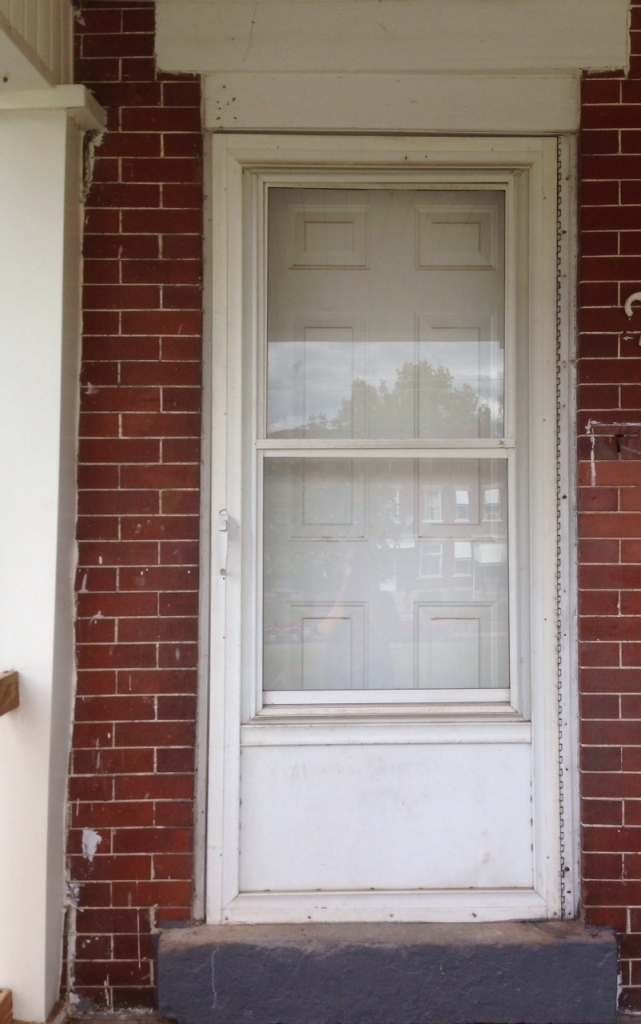
The front door situation needs some major attention. We purchased a solid wood door from our local Habitat for Humanity – ReStore for $65 that I’m in love with. It used to be pink, so I painted it dark navy and added some nice hardware to it. I still want to add a kick plate, door knocker and peep hole to make it look extra nice. The plan is to remove both the glass door and white door, and swap them out for the new snazzy one. And we’ll clean the brick and get new house numbers. I have my eye on an address plaque, like one of these.
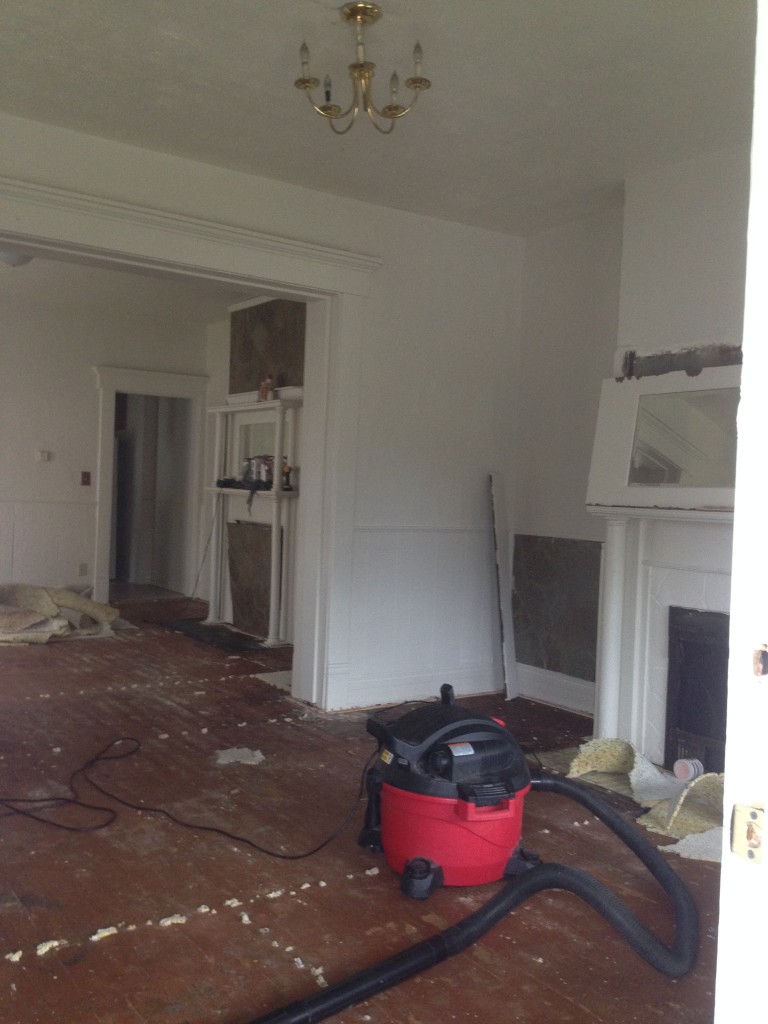
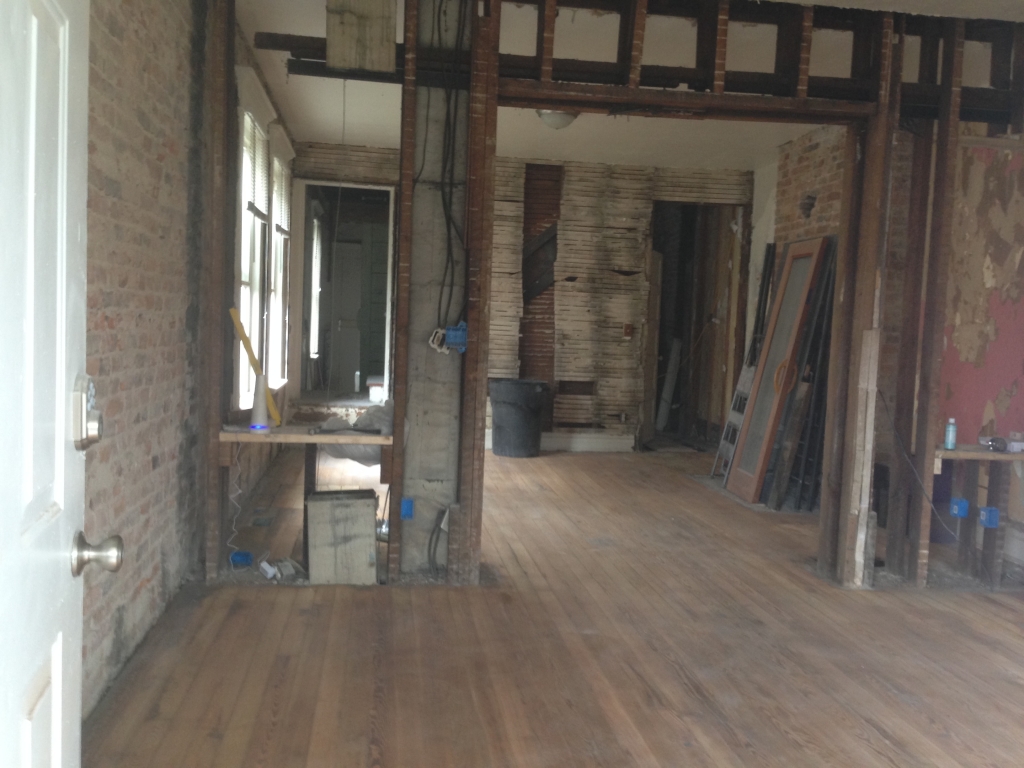
Living room into dining room:
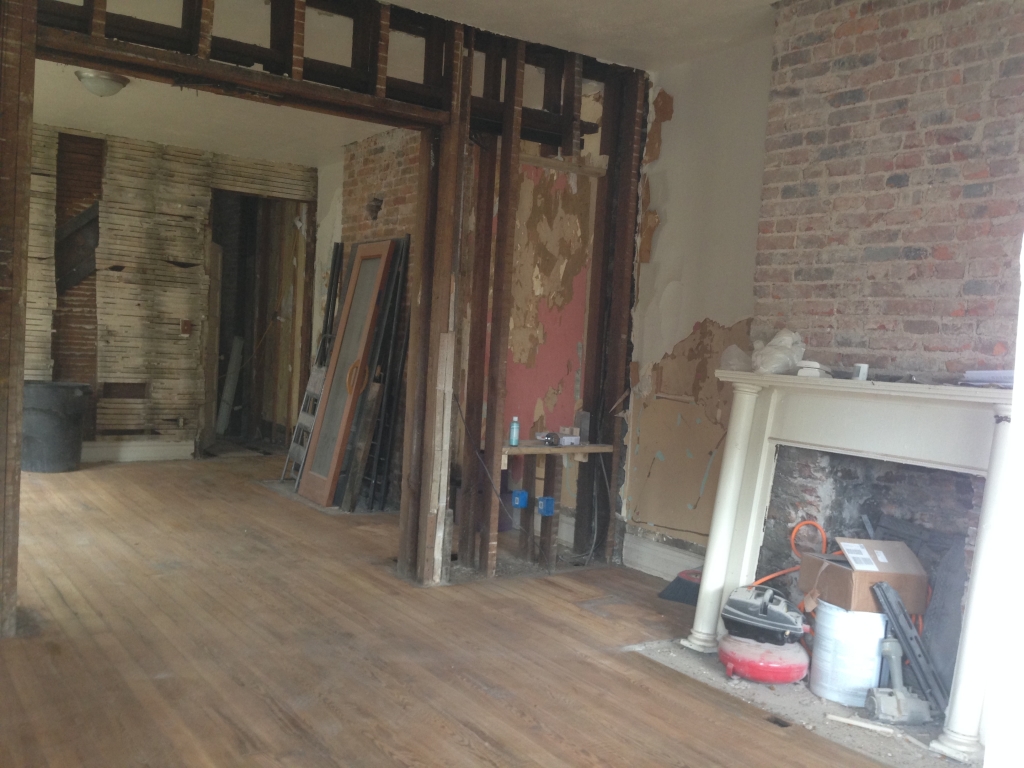
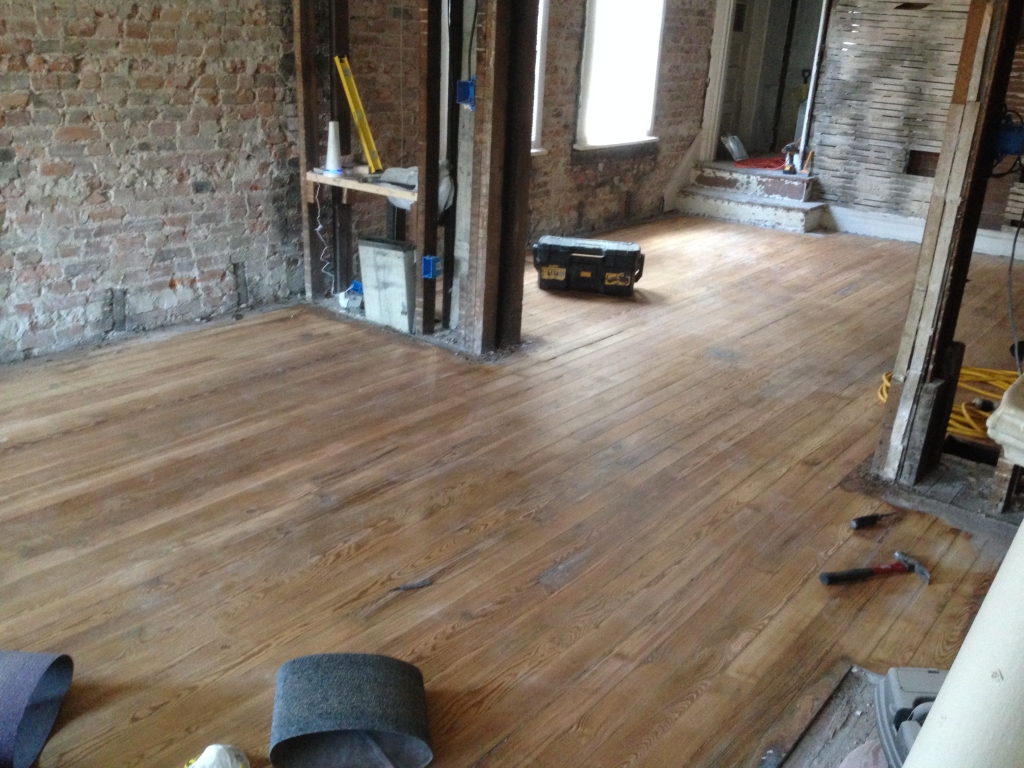
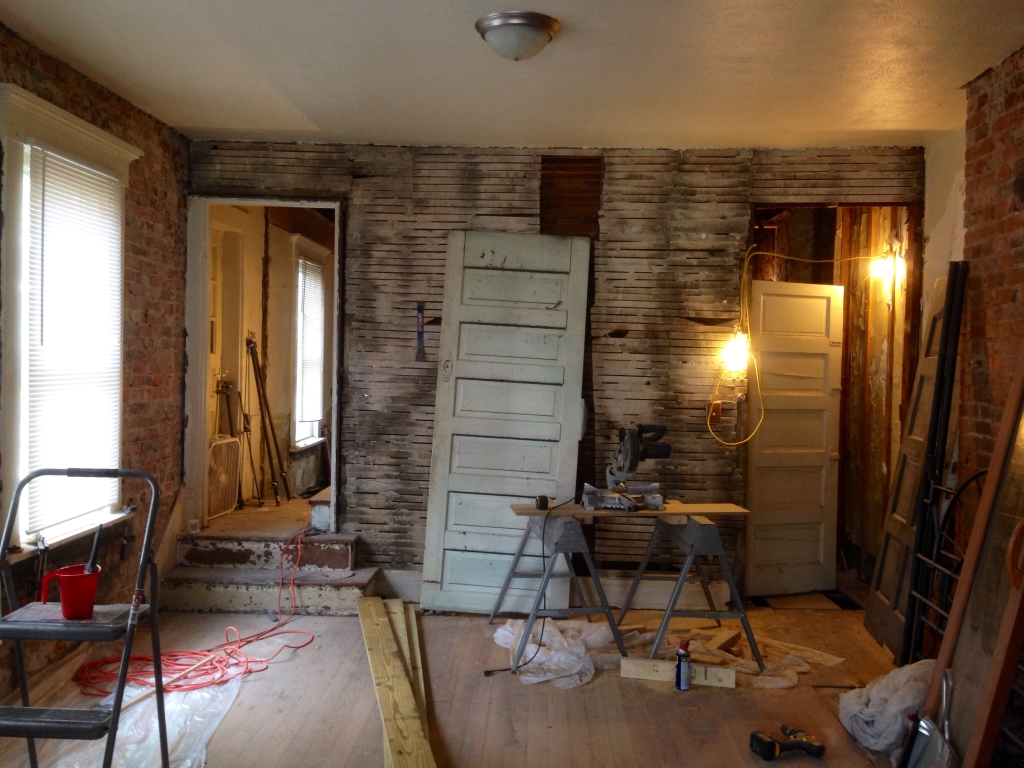
After spending 2+ weeks trying to get rid of the multiple layers of paint on the original pine floors, we surrendered and hired pros to finish the job. They told us it’s the hardest job they’ve had in 30 years, but they finally got all of the paint off and sanded/stained the floors! (These living room photos were taken right before the floors were stained, but you can get a preview of the finished floors in the stair photos below)
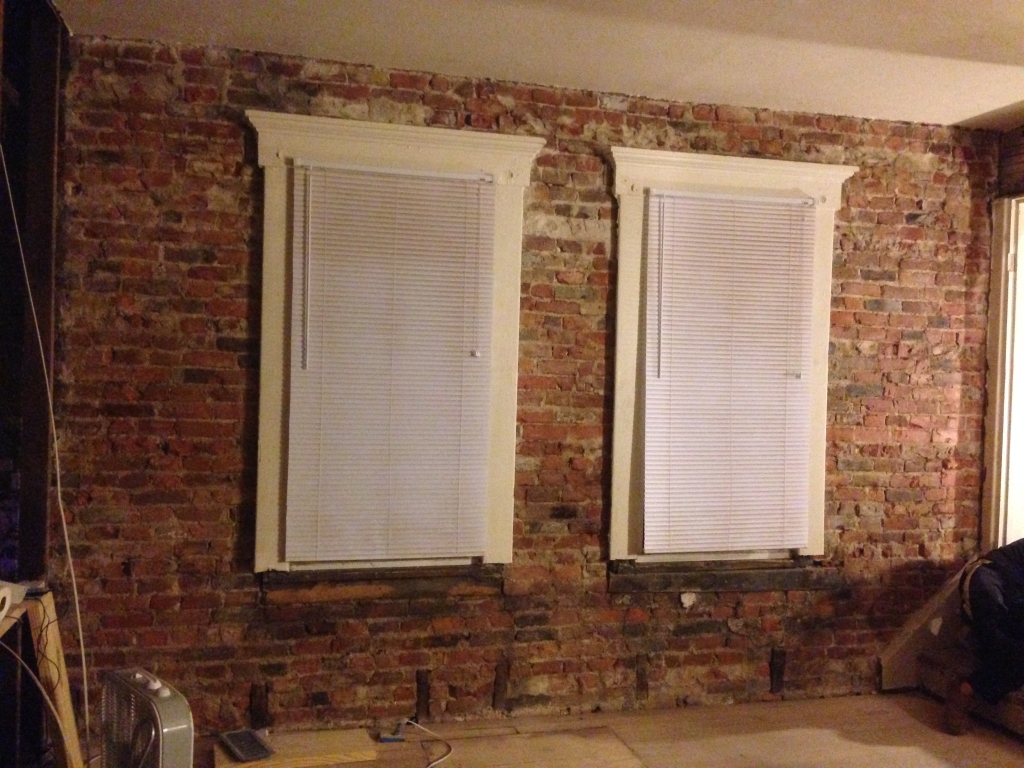
We also exposed brick on the outside wall in the living room and dining room (on the left), and cut window openings into the wall dividing the living room and dining room. When the time comes, we’ll drywall around the windows and main walkway, and close up everything else like it was originally. We’re hoping this will add more light and openness to both rooms while still maintaining the character of each room.
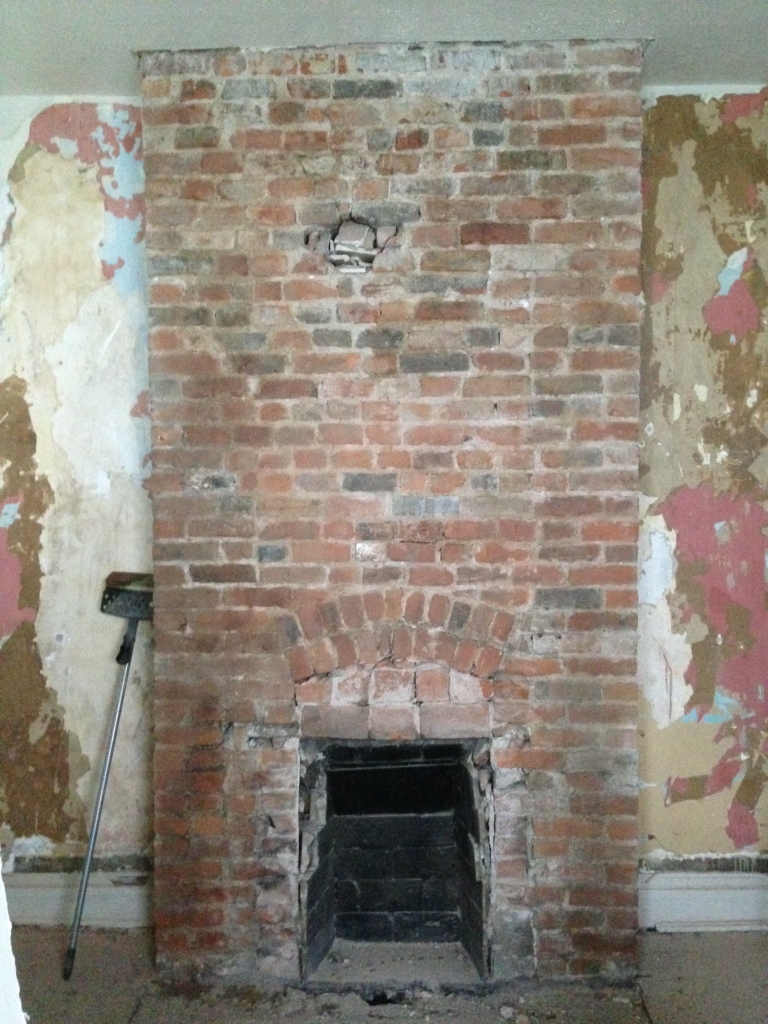
As for the fireplace, we’ll probably leave it exposed and attempt to add some vent-free gas logs, because that would just top off the cozyness in there! We’re also going to add a tile pattern to the hearth area. Right now I have my heart set on marble herringbone.
Dining room:
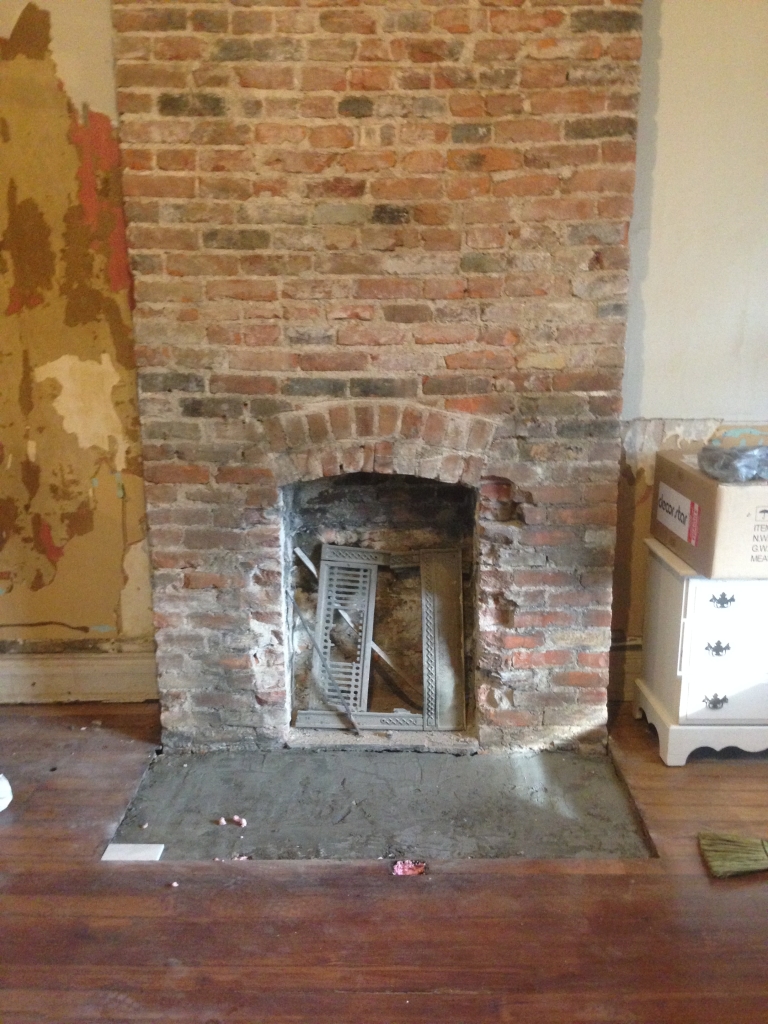
Our plan for this room is to add a coffered ceiling and fancy light fixture in here. We’ll leave the fireplace exposed, but seal it and fix it up so it looks less run down. If we can swing it, we’ll add some vent-free gas logs to this fireplace, too. And drywall all of the walls except for the exposed brick one, of course!
Stairs:
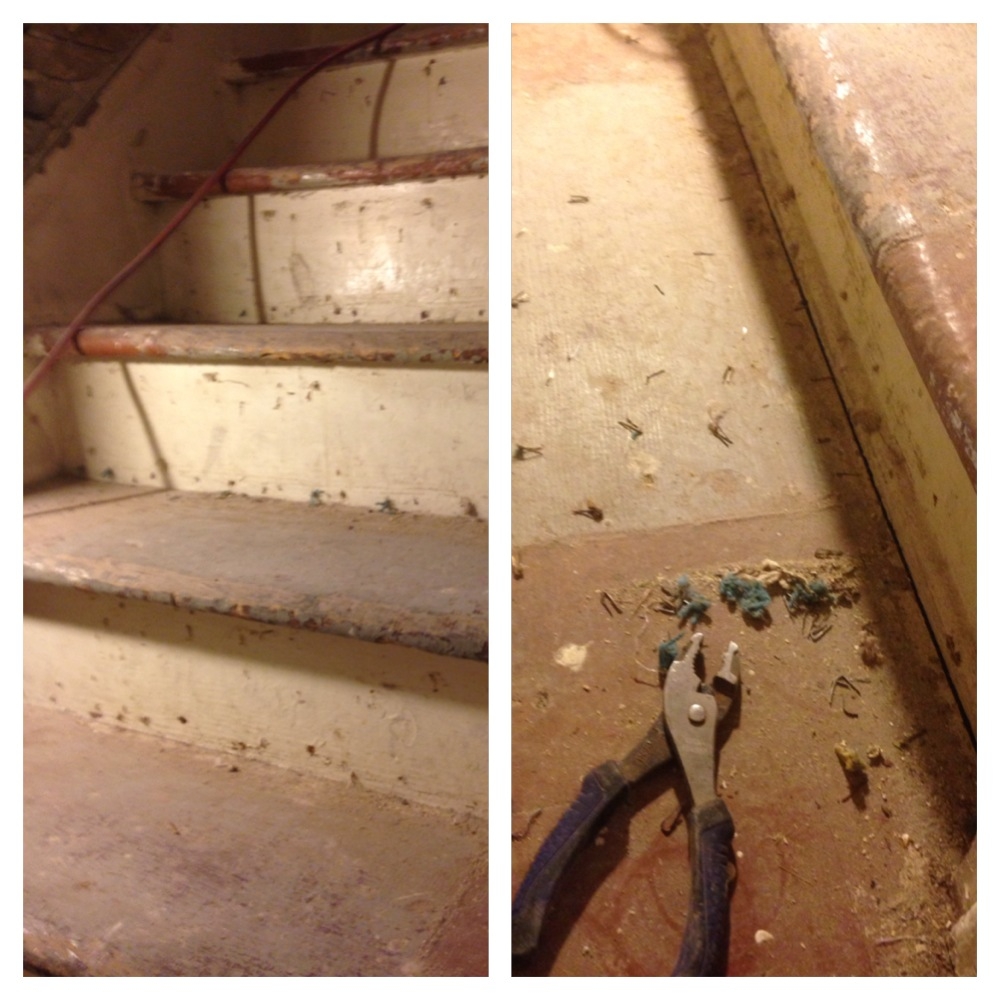
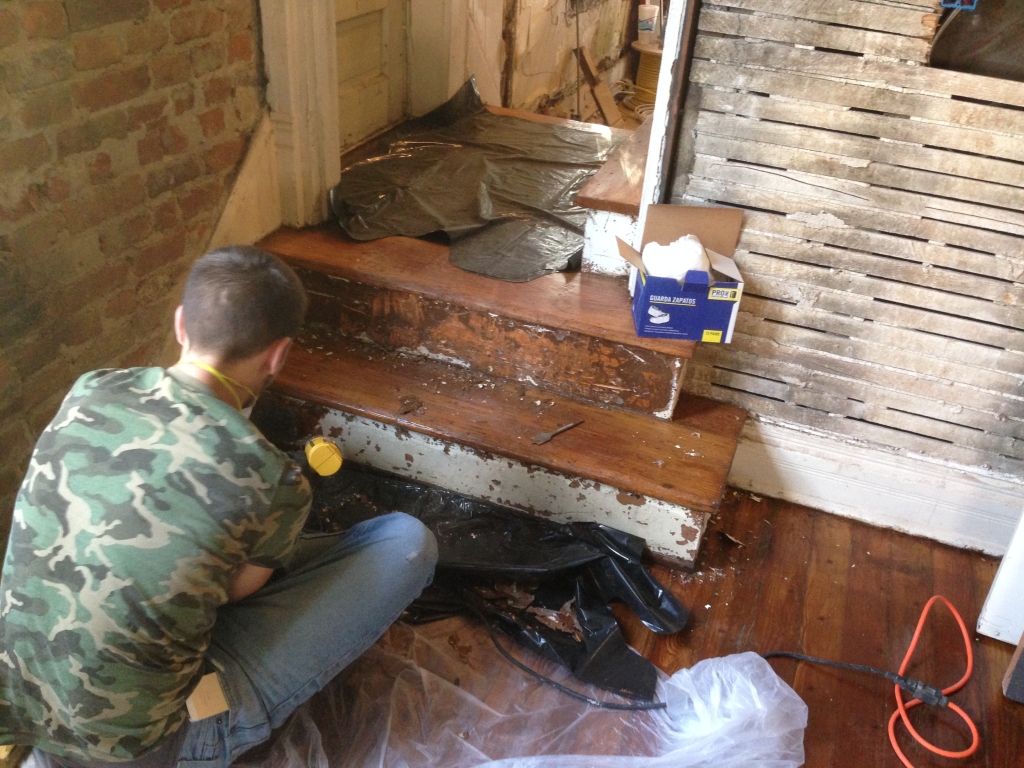
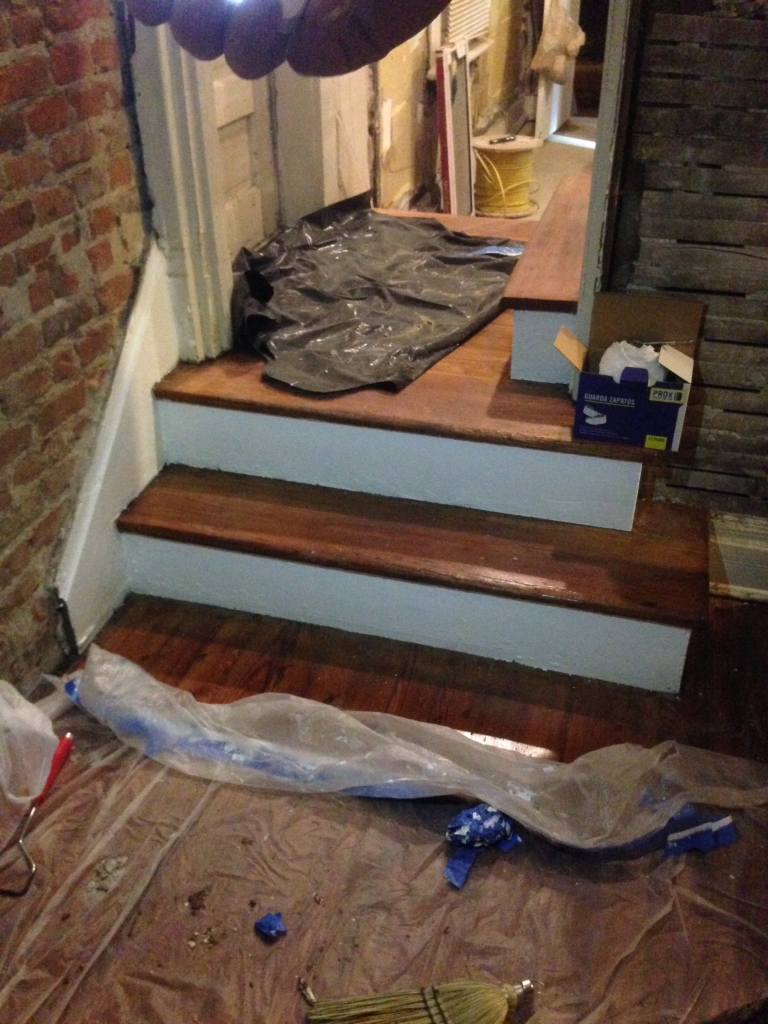
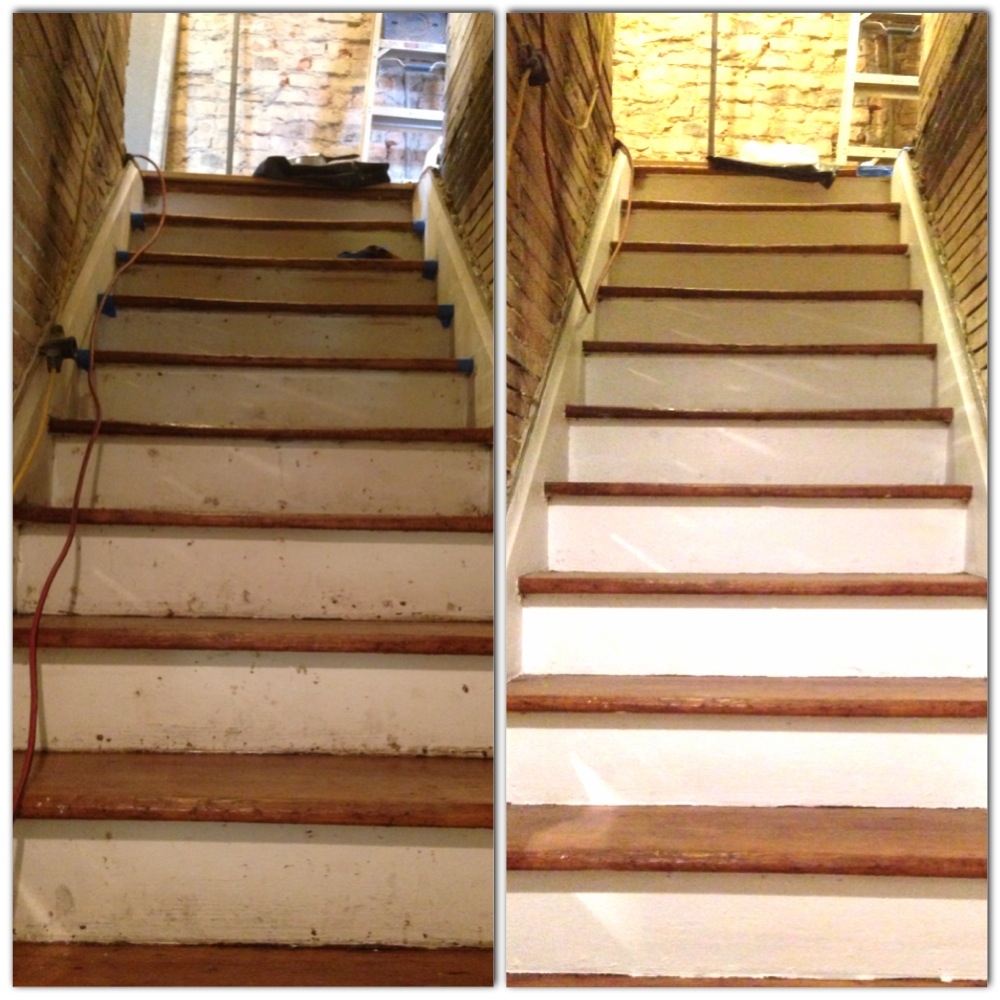
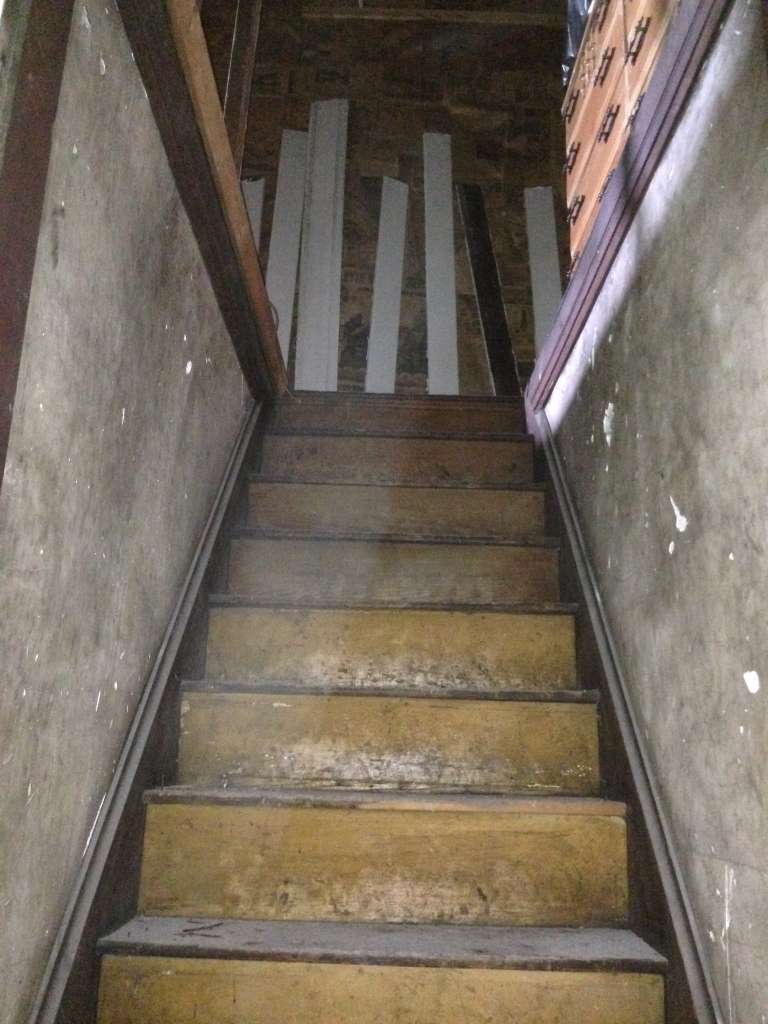
The stairs were painted and full of staples and nails, which equals nightmare! The flooring guys sanded and stained the treads, and we took care of painting the risers. We still need to add some trim and finish them off, but there’s such a huge difference already (psst, can you see our newly stained floors?!)
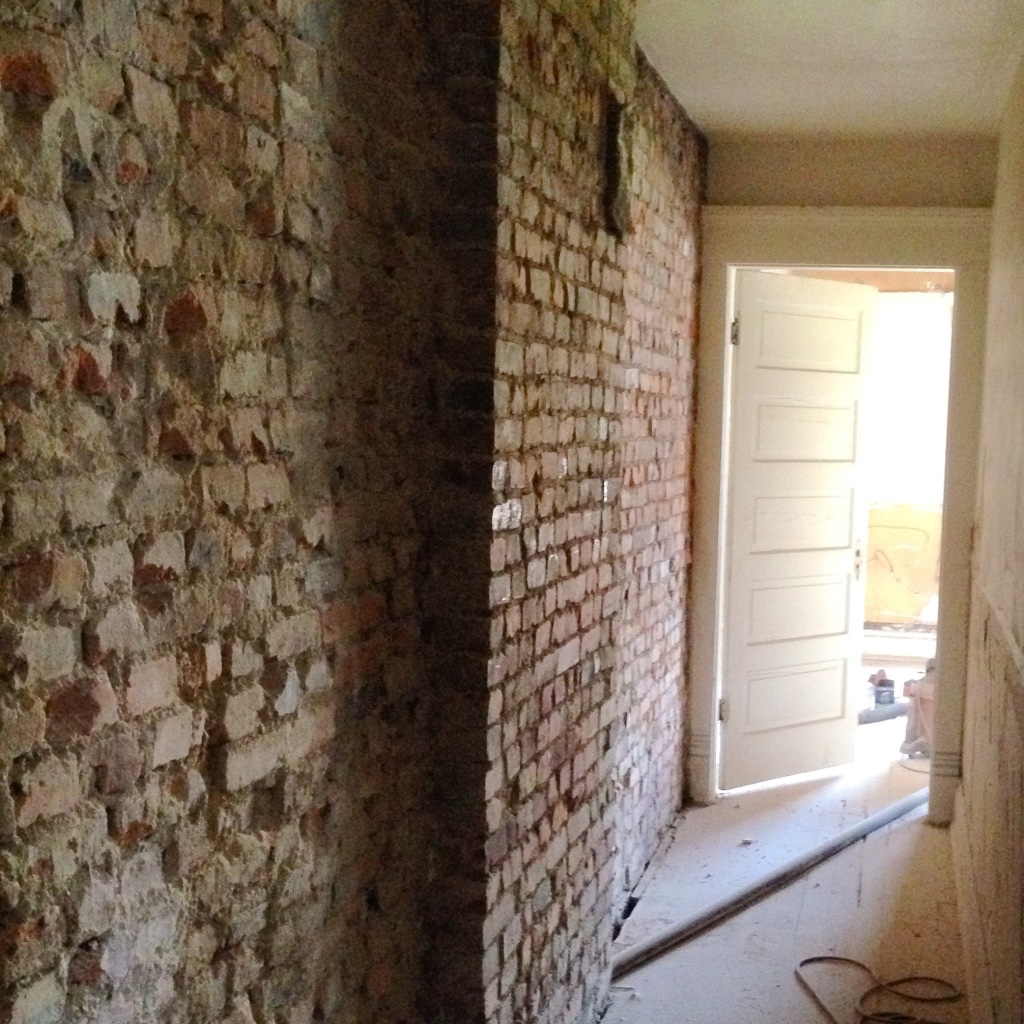
2nd floor hallway:
So far, we exposed brick on one side of the hall and added some recessed lighting. We’ll drywall the other side to finish it off.
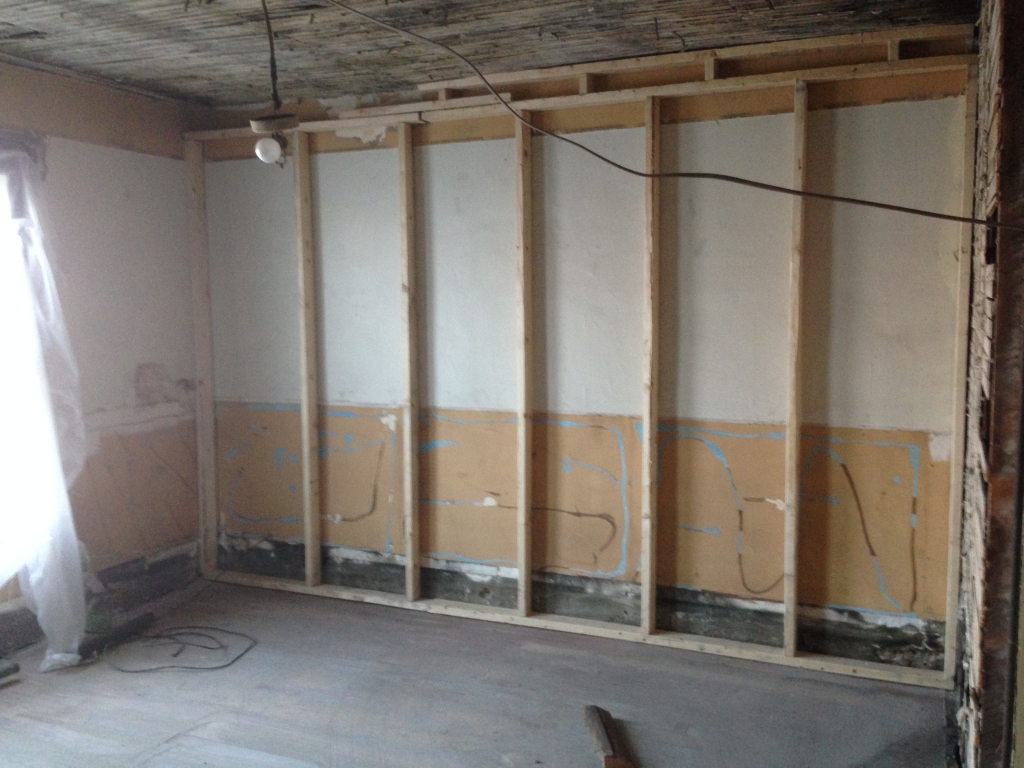
Bedroom #1 (Master)
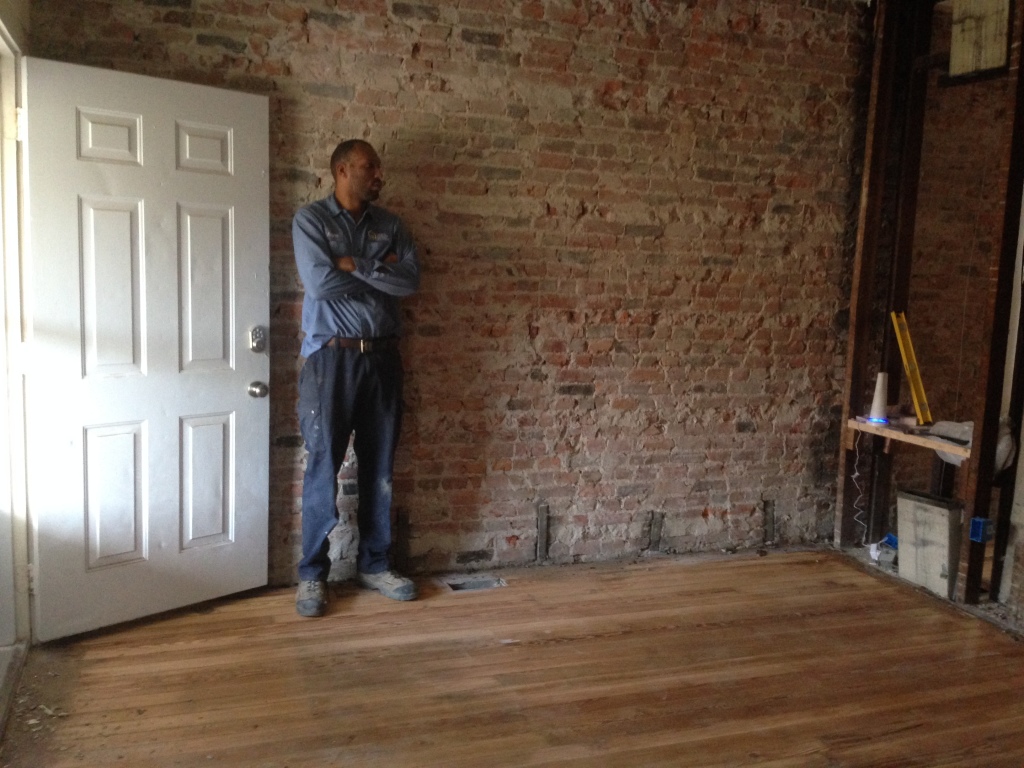
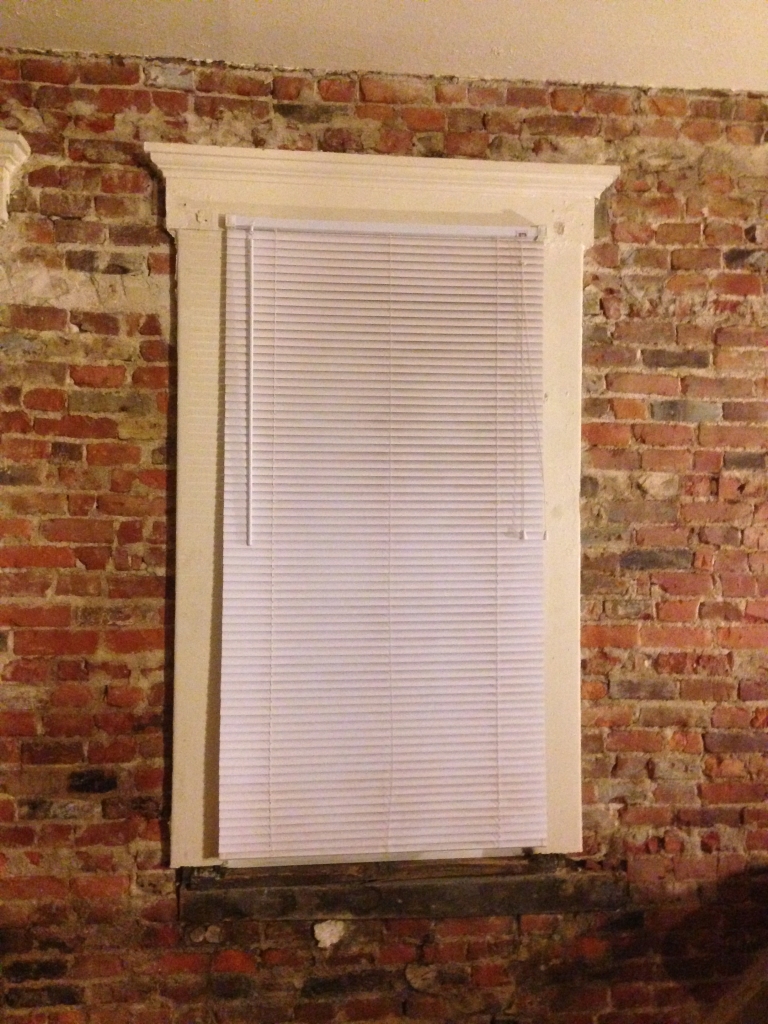
Since three of the four walls in this bedroom are brick, we lacked enough space for outlets so we added a frame to the far wall for wires (and insulation!) There are two big windows on the wall to the left of the framed wall, which faces the street.
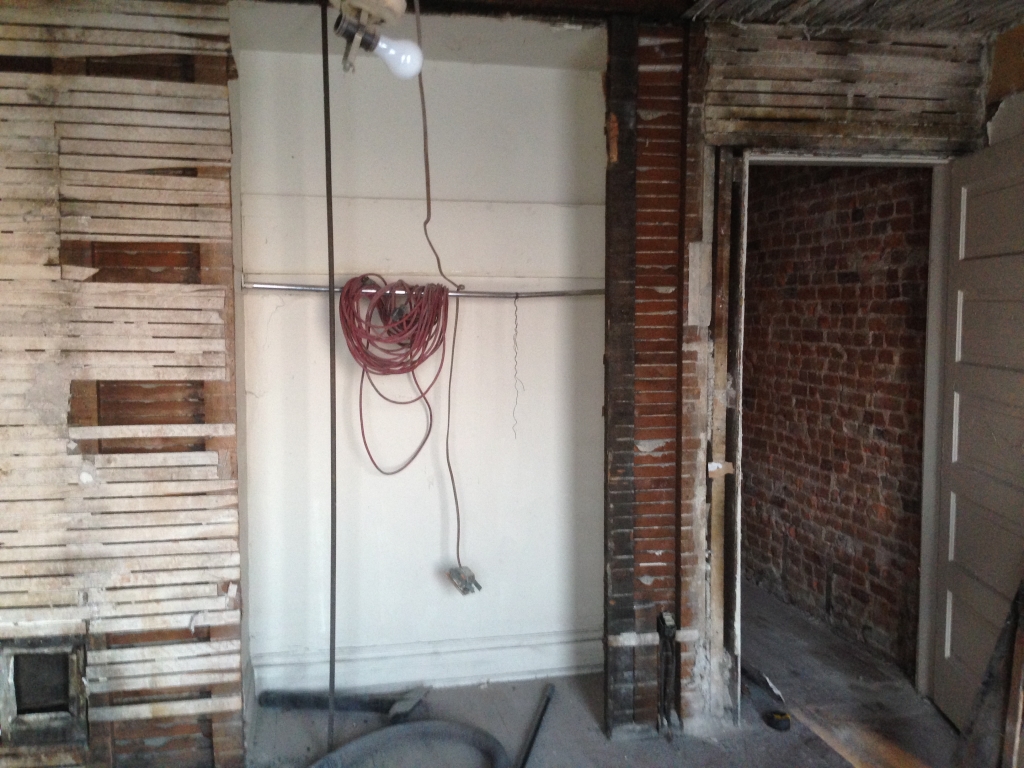
The closet was small, and we didn’t really want to cut into either of the rooms to make it larger, so we expanded the doorway to span the entire length and height of the closet. We’re planning on installing a sliding barn door so that the entire closet will be accessible.
The thing I like most about this room is that the chimney from the living room fireplace runs up through it. Right now, it’s hidden by all of our junk, but when the time comes we may add a faux mantle to jazz it up, and maybe a reading chair where the tub is being stored now.
Bedroom #2 (guest bedroom)
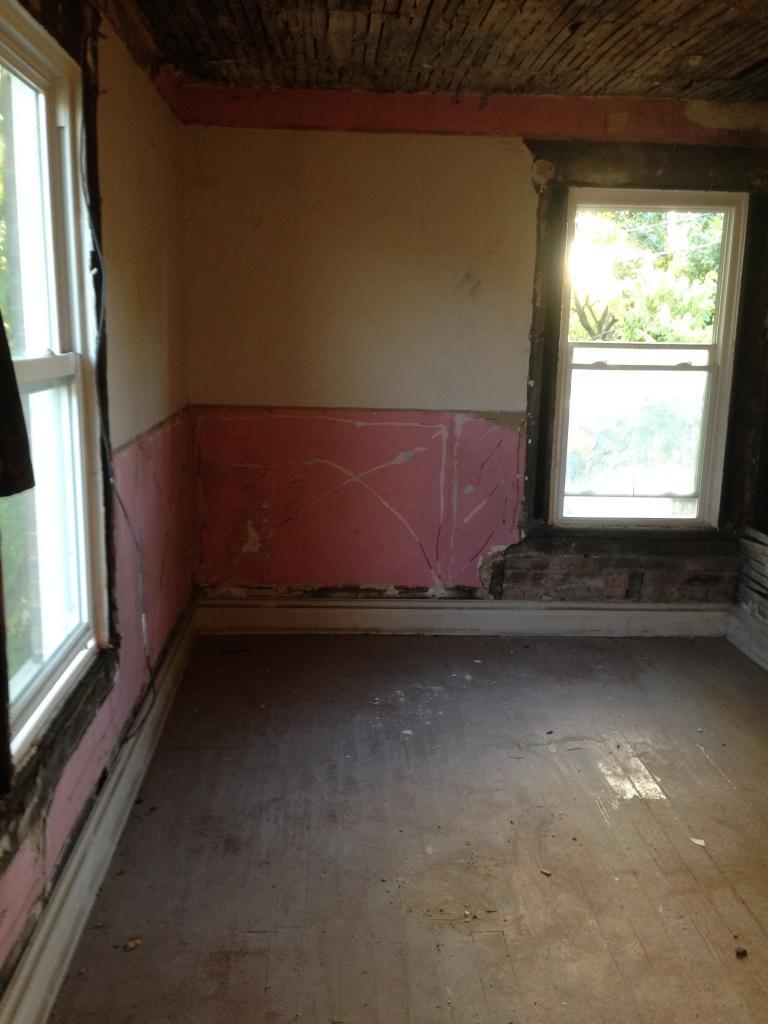
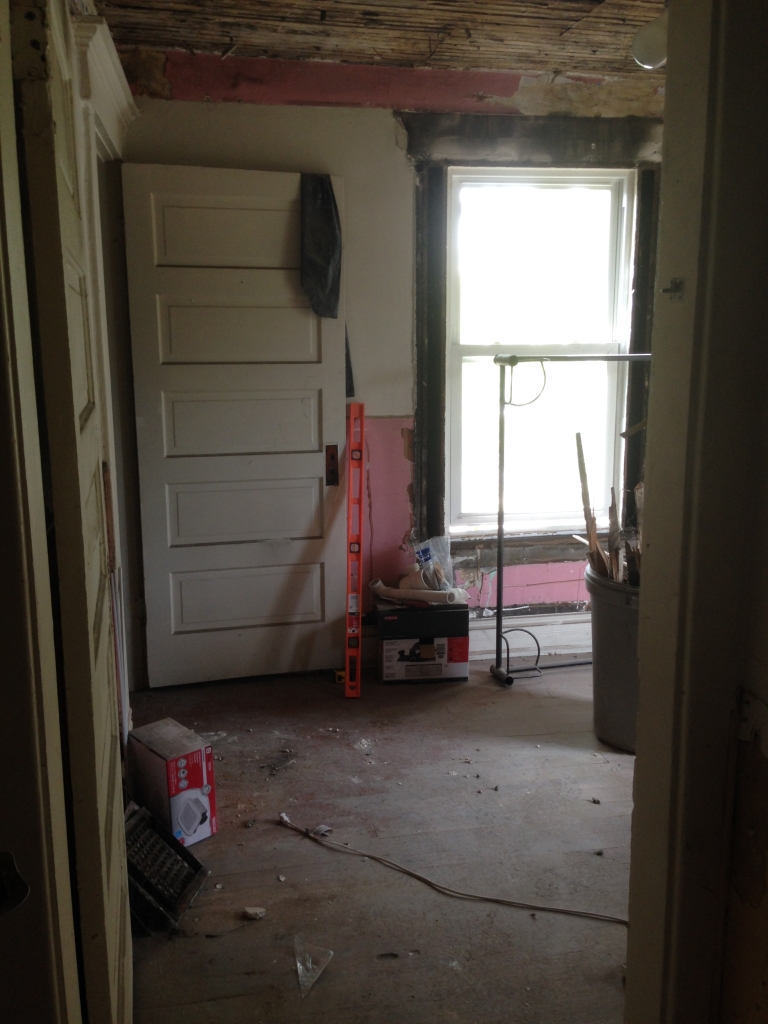
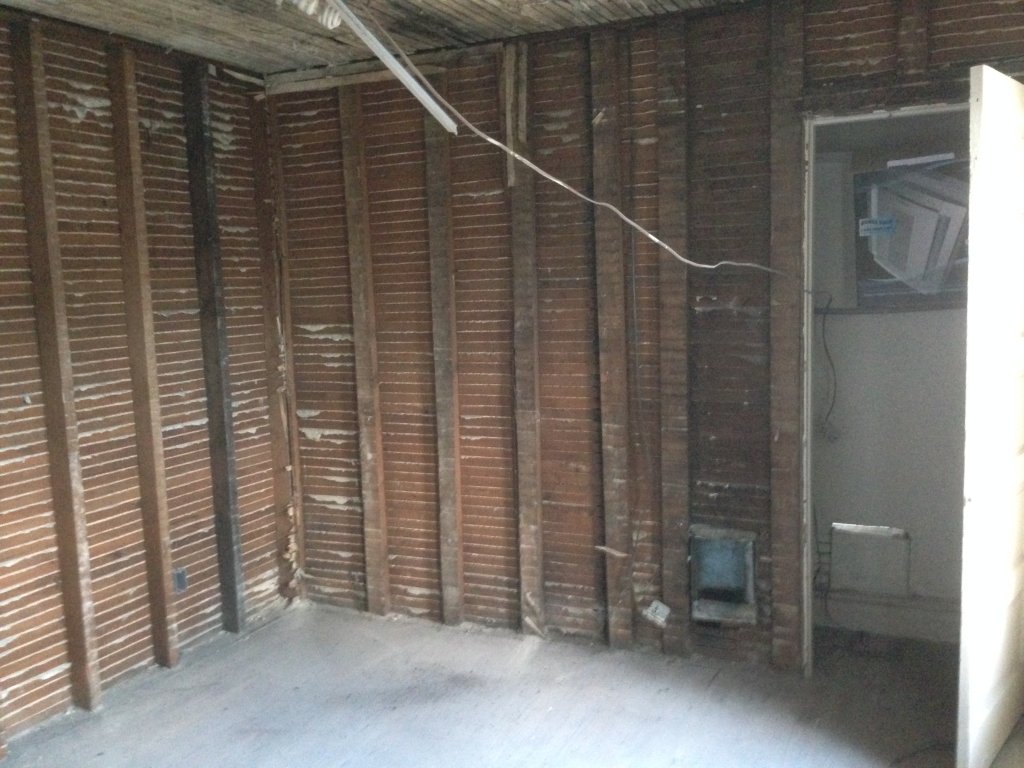
It’s hard to get a good shot of this room because of the lighting! Right now, it’s just all gutted and waiting for drywall. It’s a pretty decent sized room, has a small closet and room for a queen bed. We’ll add a cool light fixture and a four post bed, and some simple curtains to the two windows, which are to the right of where this photo ends.
Bedroom #3 / office
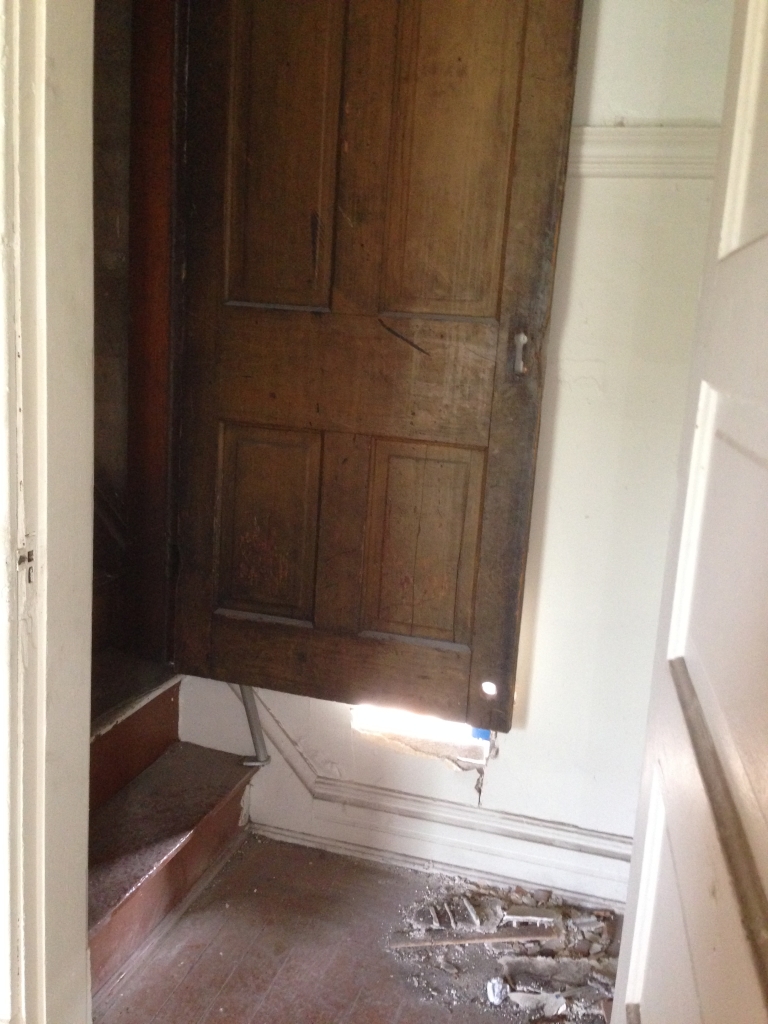
This room is on the small side compared to the other two bedrooms, so it will make a perfect office. The “closet door” you see below is actually an entrance to the walk-up 3rd floor, which we plan to make a finished space!
3rd Floor/attic:
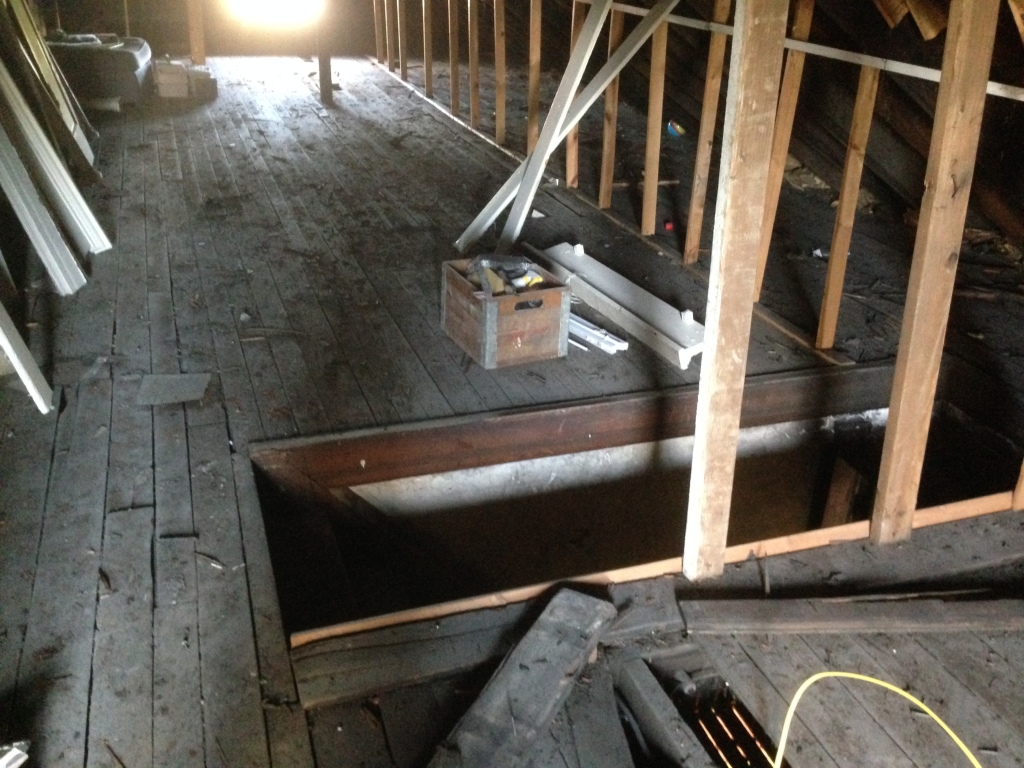
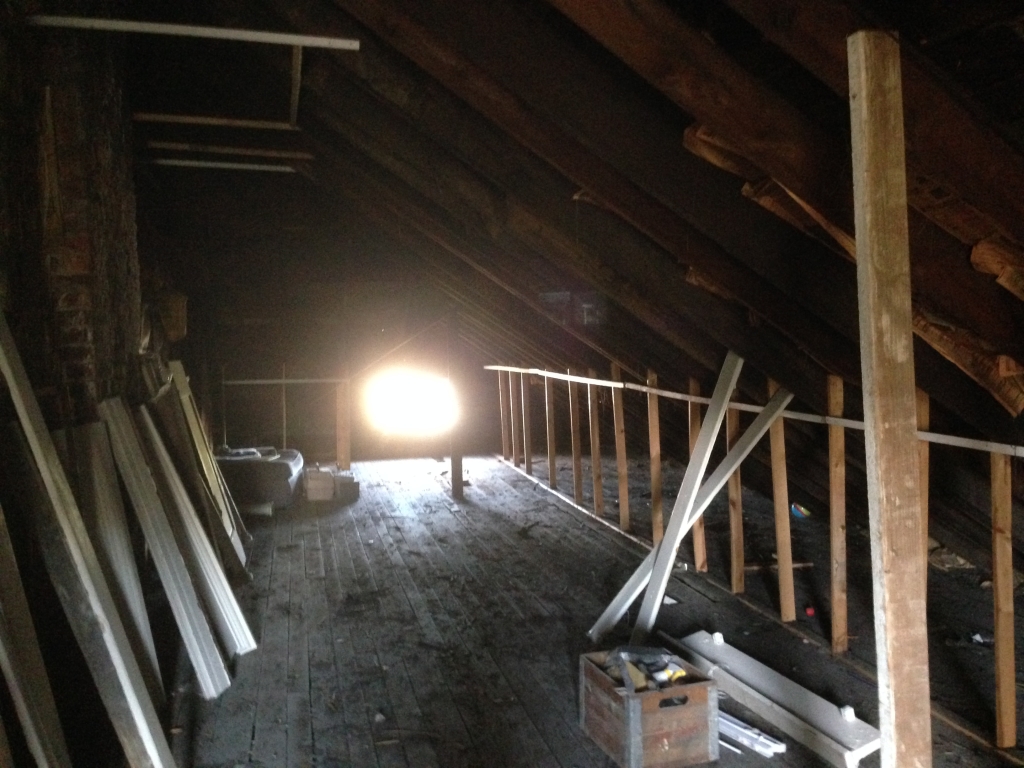
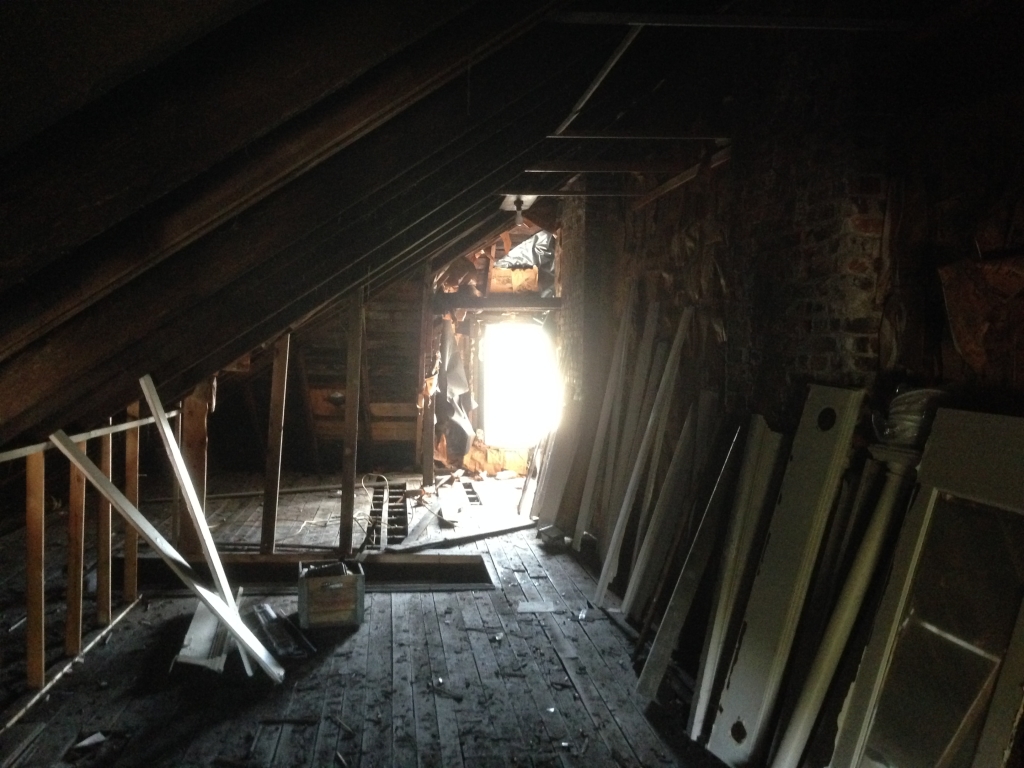
Through the door in the 3rd bedroom is an entrance to this hidden gem. It spans the entire length of the house and has great ceiling height. On one end of the stairs, we plan to add another full bath. In the middle space, we’ll add carpeting, some beanbag couches, and a TV. On the other end of the space, we’ll add a little bedroom nook.
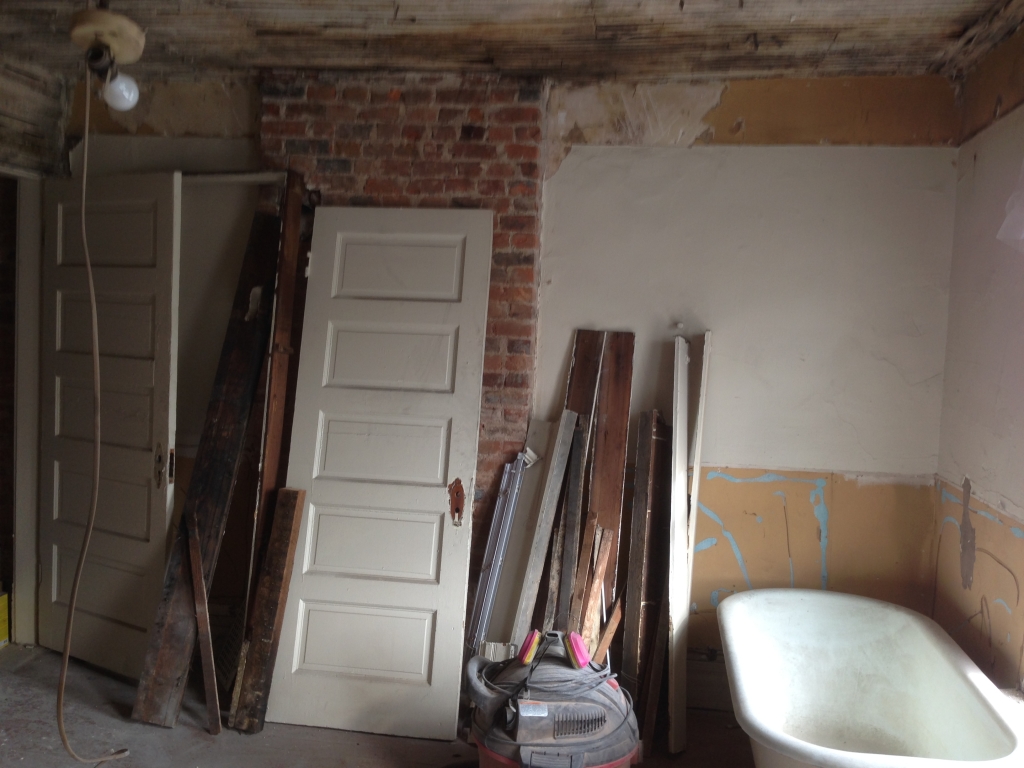
Full bath – 2nd floor
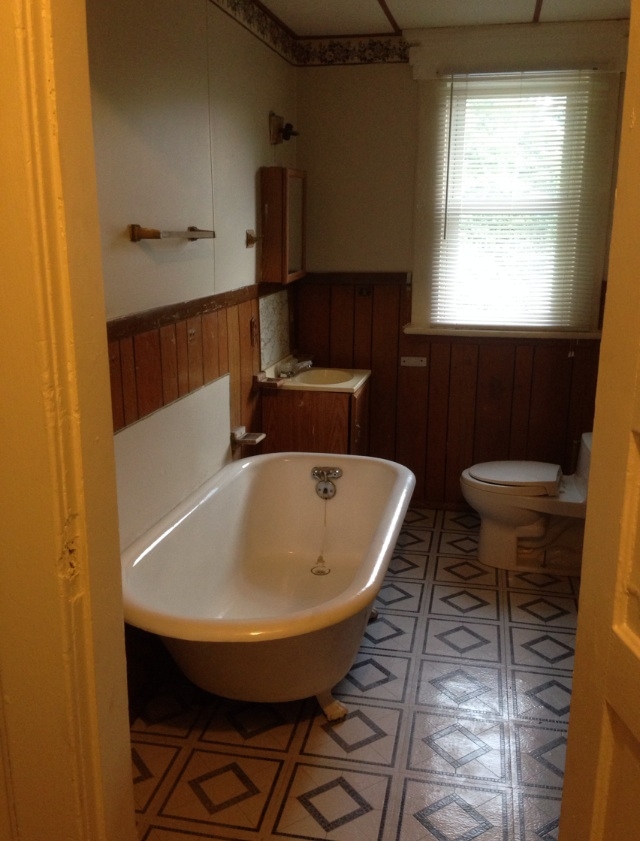
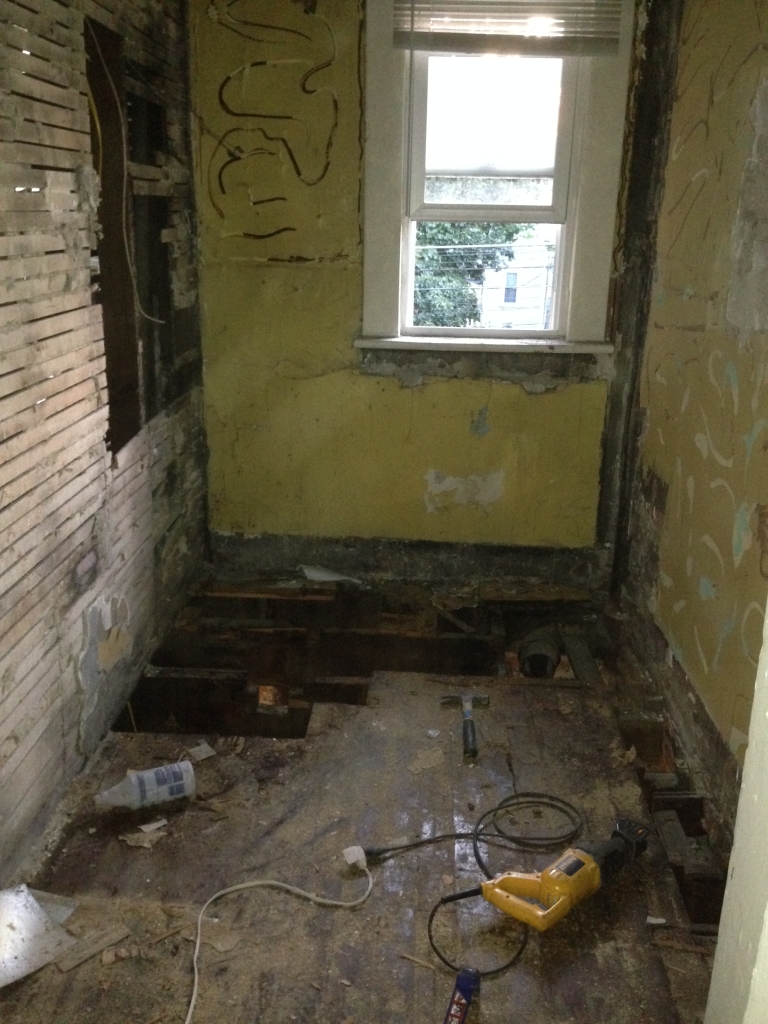
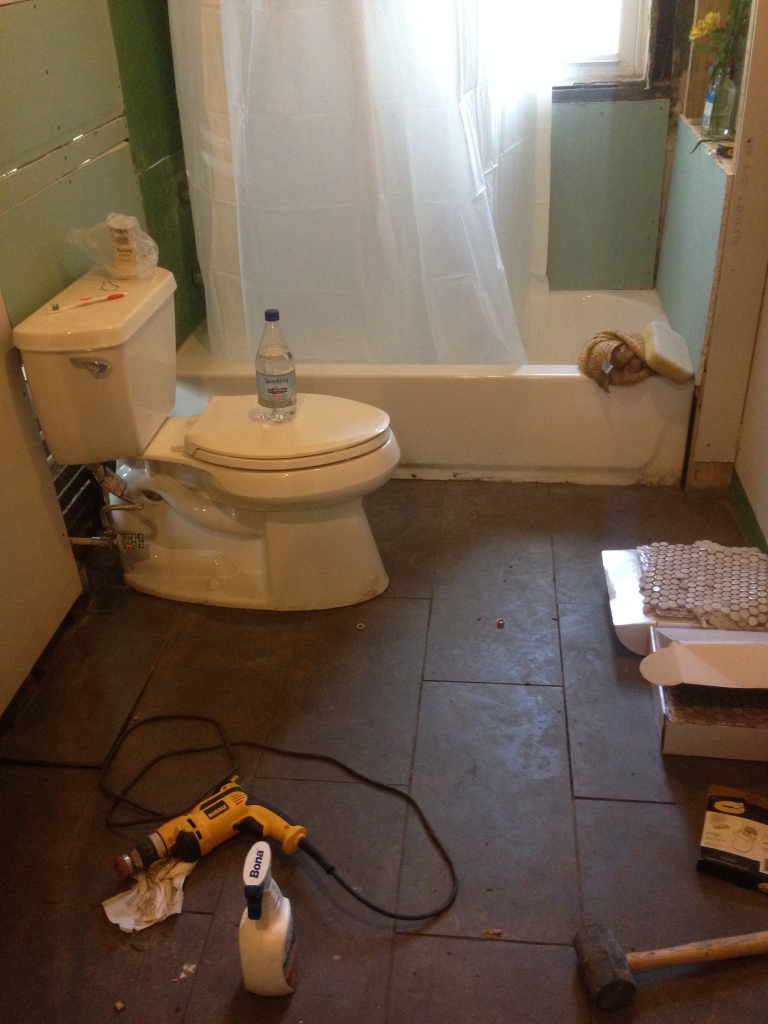
With the help of our awesome neighbor friends, we were able to reconfigure the bathroom to have a much more functional layout. Before, the tub was cutting into about half of the doorway, and there was very little space between the end of the toilet and the vanity. It was awkward. Now, the tub is in the back, and the toilet and vanity will both be on the left wall to allow for more room to move around on the right. (And yes, we really wanted to salvage the claw foot tub, but it didn’t fit, so it’s being stored in our basement for our next project.)
Kitchen:
The kitchen is in a league of its own. I’ll share photos in a few days – right now there’s so much junk in there it’s hard to get a good shot!
In case you missed it, we gutted the whole thing including the floor, because there was black mold and roaches and lots of other nasty stuff in there. In the process, we decided to redesign the kitchen to allow for an added powder room and first floor laundry in the space. We purchased new stainless steel appliances, dark espresso cabinets, and are leaning toward quartz countertops like these from our favorite tile store (we discovered that they have pre-fab natural stone countertop slabs for cheap – score!) The only catch – and it’s a big one – is that we’ll either have to find someone to cut it/deliver it for us, or do a lot of YouTube research and do it ourselves.
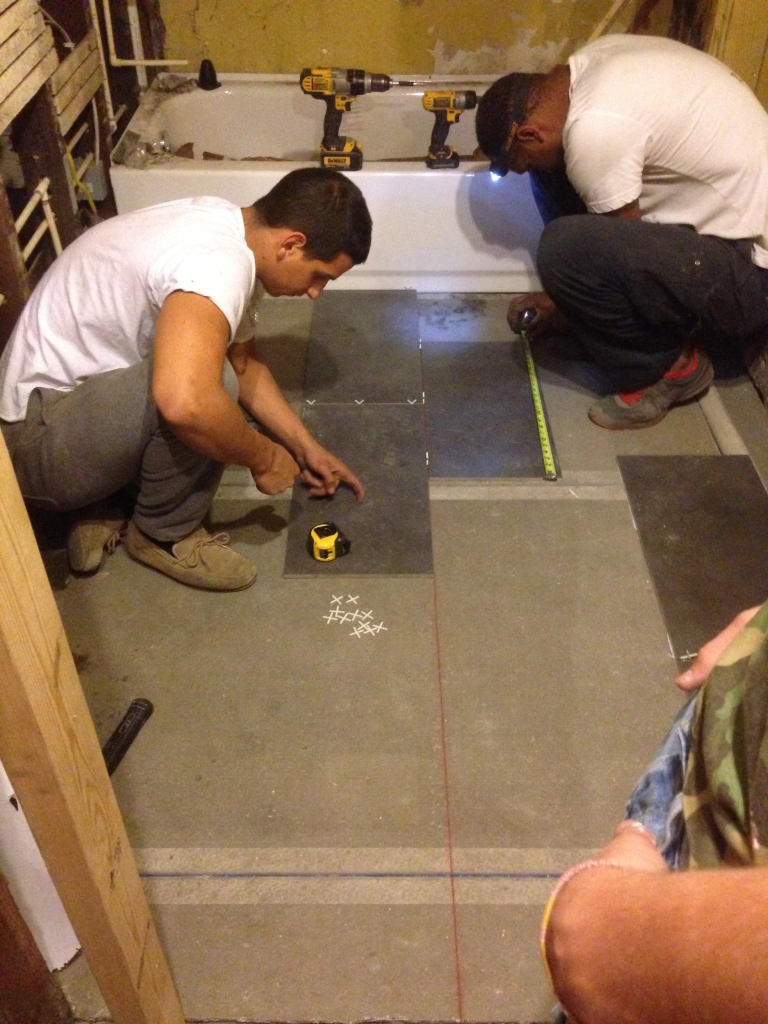
As of now, we have about 75% of the kitchen drywalled and are starting to prep the floor for tile. The goal for this weekend is to get the floor tiled, and the walls finished (and maybe painted, too) so we can get our cabinets and appliances installed by next week.
Stay tuned – more to come soon!
Your house is coming together nicely! I can’t imagine all that work! We just do small projects here and there and I’m always amazed how long things take! Best wishes!
Thanks so much!
[…] back in October, and we’ve come such a long way since then (if you missed it, check it out here). We still have a lot left to do, but at least it’s slowly starting to feel like the comfy, […]